Articles
How To Use Bissell Steam Cleaner Hand Tools
Modified: February 29, 2024
Learn how to use Bissell steam cleaner hand tools efficiently with our informative articles. Master the art of steam cleaning for a spotless home.
(Many of the links in this article redirect to a specific reviewed product. Your purchase of these products through affiliate links helps to generate commission for Storables.com, at no extra cost. Learn more)
Introduction
Welcome to the world of Bissell steam cleaners and their versatile hand tools! If you’ve recently purchased or are considering buying a Bissell steam cleaner, you’ll be delighted to know that it comes with a range of handy tools designed to make your cleaning experience efficient and effective.
In this article, we will provide you with a comprehensive guide on how to use the Bissell steam cleaner hand tools to tackle various cleaning tasks around your home. Whether you need to spot clean spills and stains, refresh upholstery, or reach those tricky nooks and crannies, the Bissell steam cleaner hand tools have got you covered.
Before we dive into the step-by-step instructions, let’s first take a quick overview of what the Bissell steam cleaner hand tools entail.
Key Takeaways:
- Revolutionize your cleaning routine with Bissell steam cleaner hand tools. From spot cleaning to reaching tricky areas, these versatile tools make cleaning efficient and enjoyable.
- Familiarize, prepare, and master the art of using Bissell steam cleaner hand tools. Choose the right tool, clean, and store them properly for effective and long-lasting cleaning results.
Read more: How To Use Bissel Steam Cleaner
Overview of Bissell Steam Cleaner Hand Tools
The Bissell steam cleaner hand tools are specifically designed attachments and accessories that can be used in conjunction with your Bissell steam cleaner to perform a variety of cleaning tasks. These tools are designed to provide targeted cleaning for spot cleaning, upholstery cleaning, and accessing hard-to-reach areas.
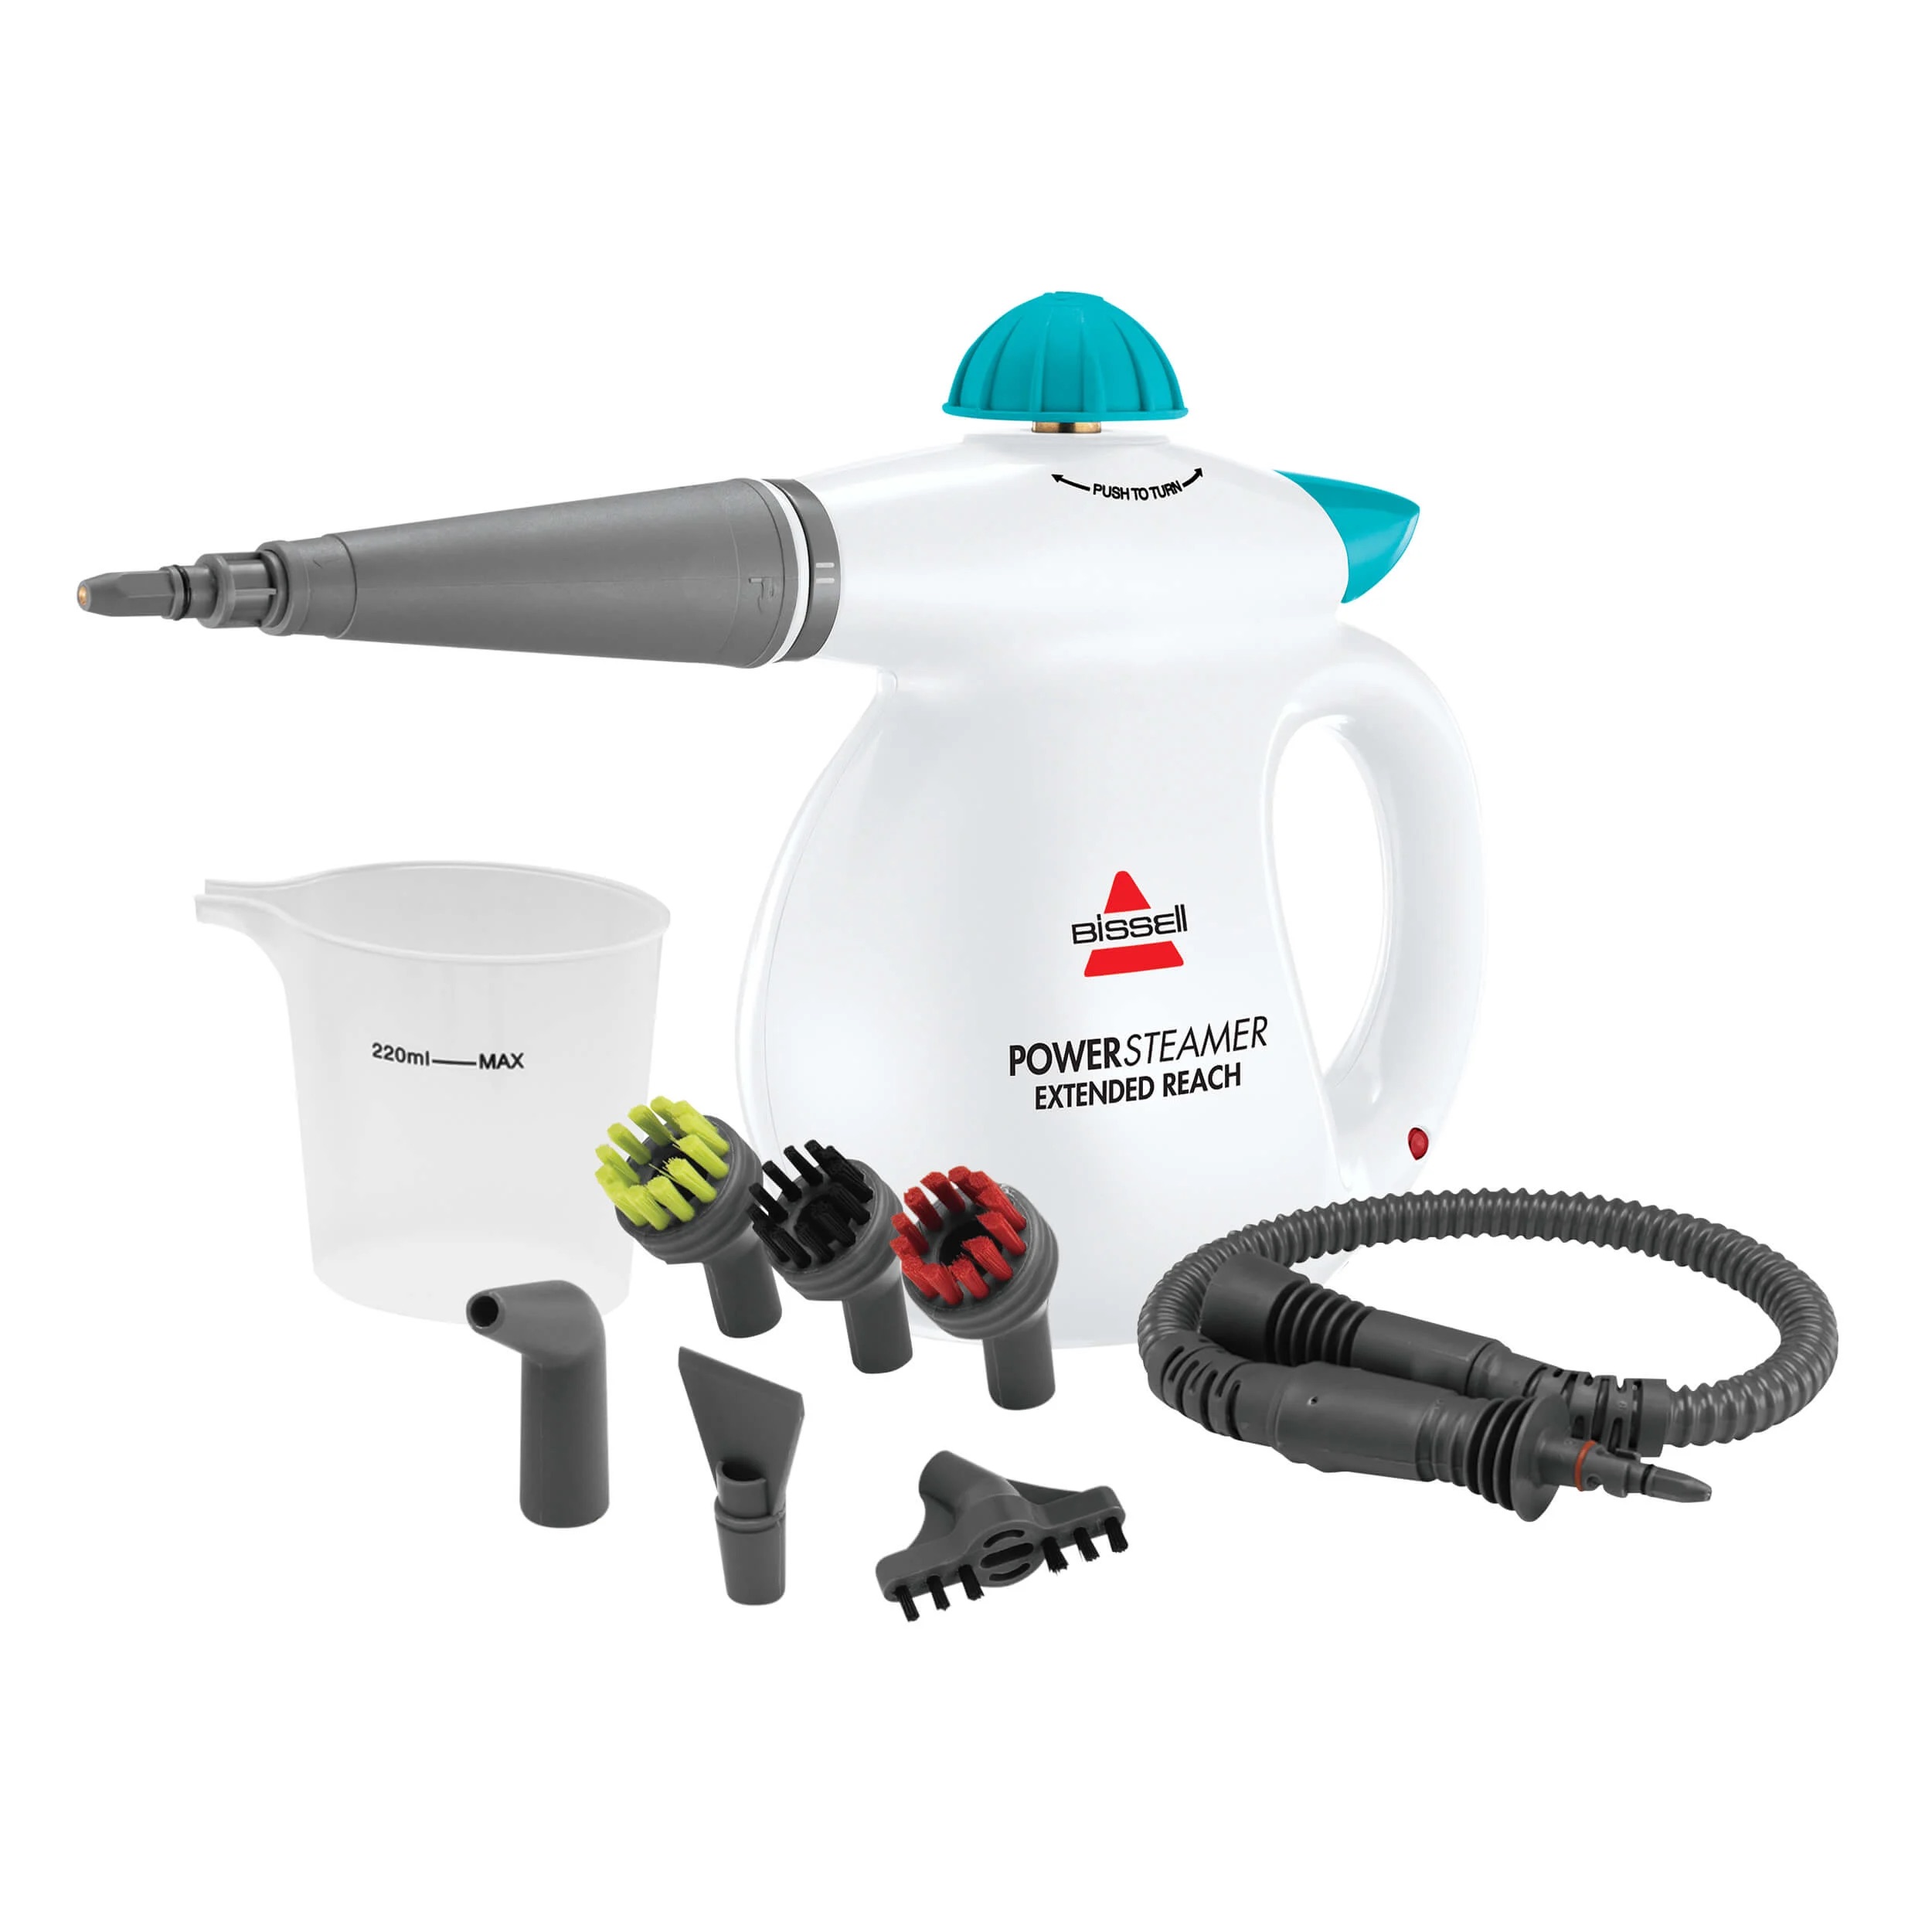
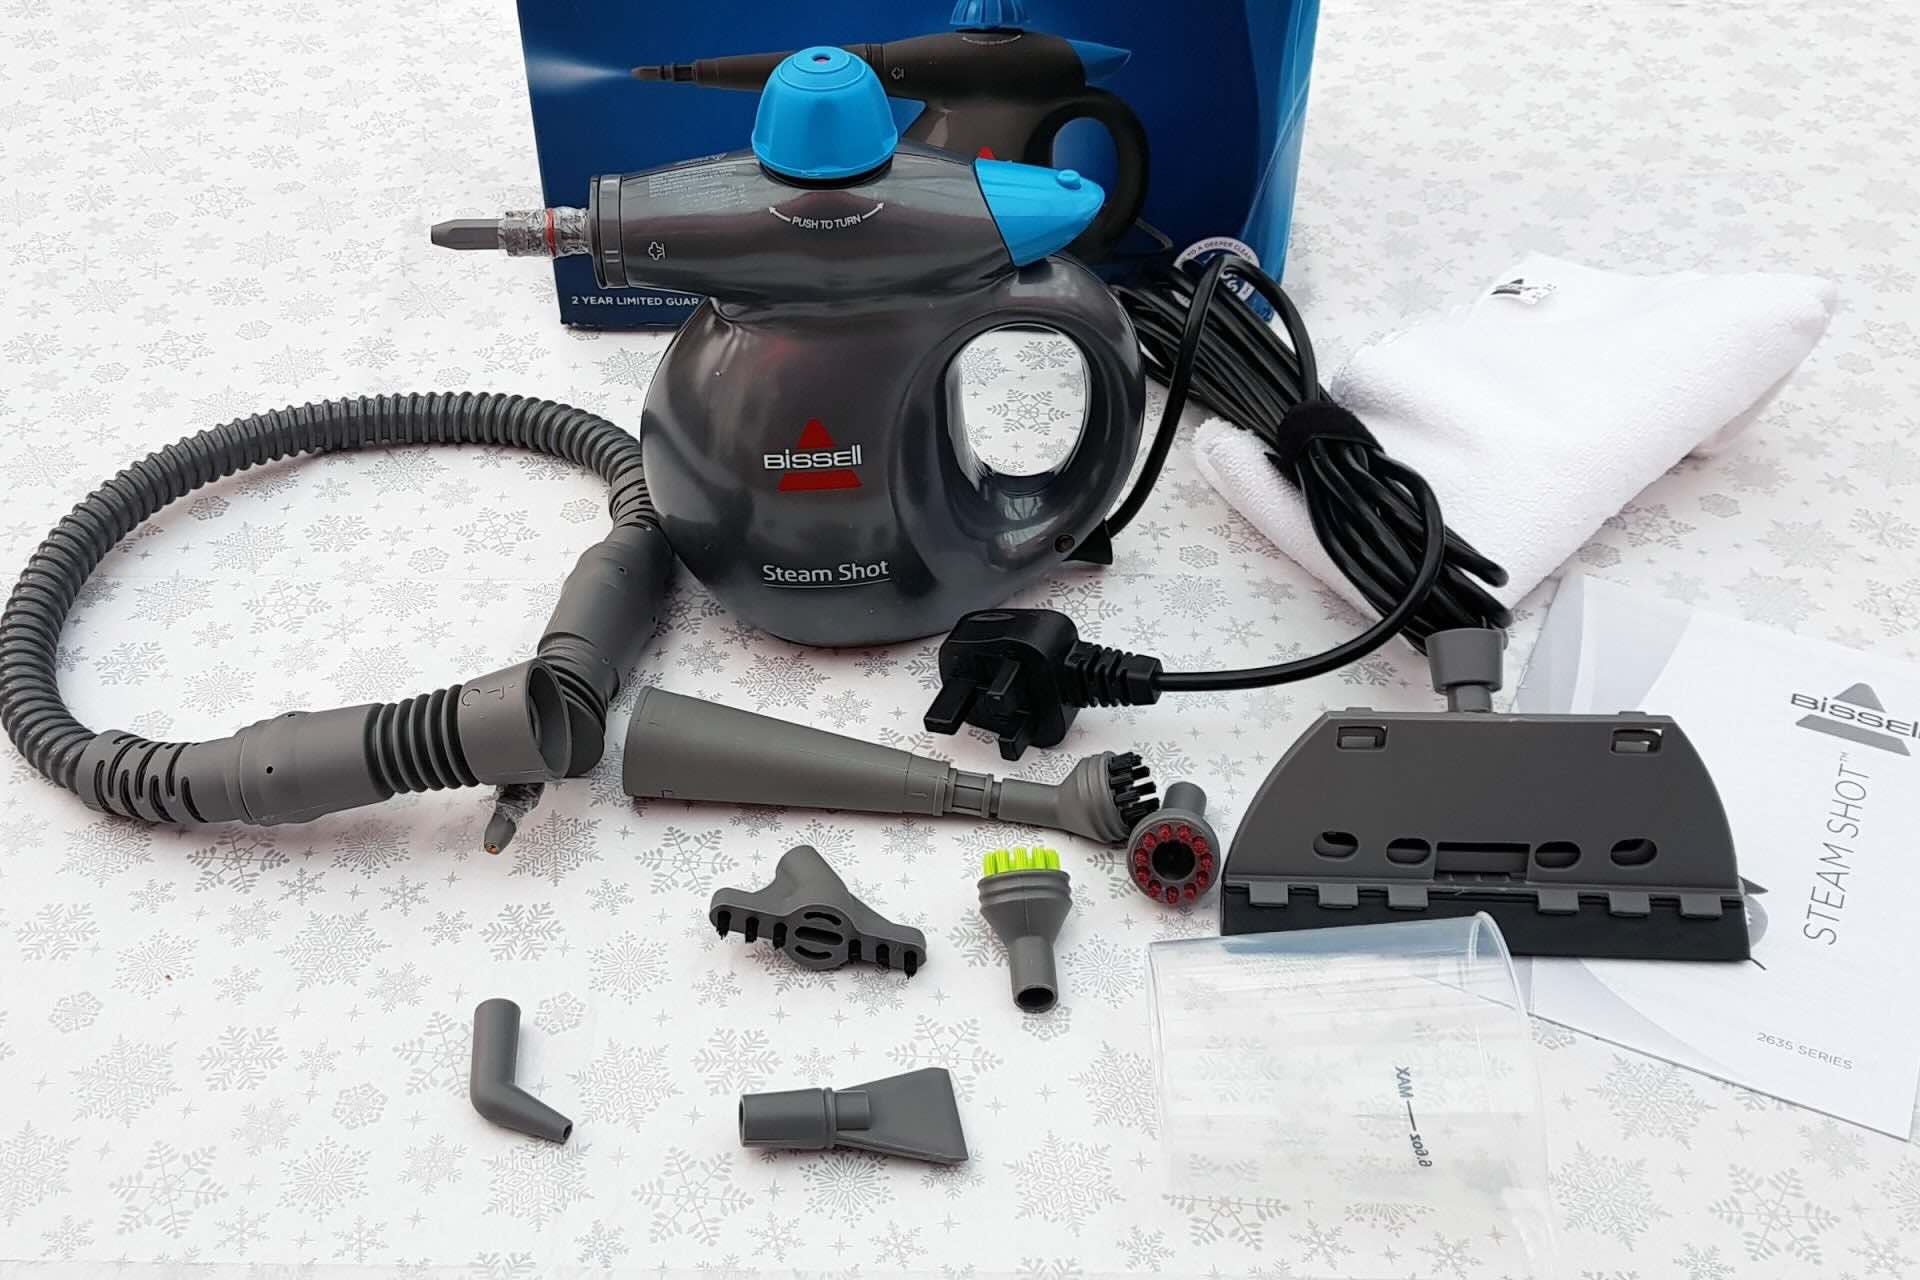
Some of the commonly included hand tools in a Bissell steam cleaner package are:
- Stain Tools: These tools are equipped with specialized brushes and nozzles to target and treat specific stains on carpets, rugs, and upholstery.
- Upholstery Tools: Designed to gently clean and refresh upholstered furniture, these tools typically have a wider cleaning head and bristles for effective upholstery cleaning.
- Crevice Tools: These slim, narrow tools allow you to reach into tight and narrow spaces such as crevices, corners, and along baseboards to remove dirt and debris.
- Extension Tools: These extendable rods or wands provide additional reach and flexibility, allowing you to clean high ceilings, curtains, or other above-ground areas.
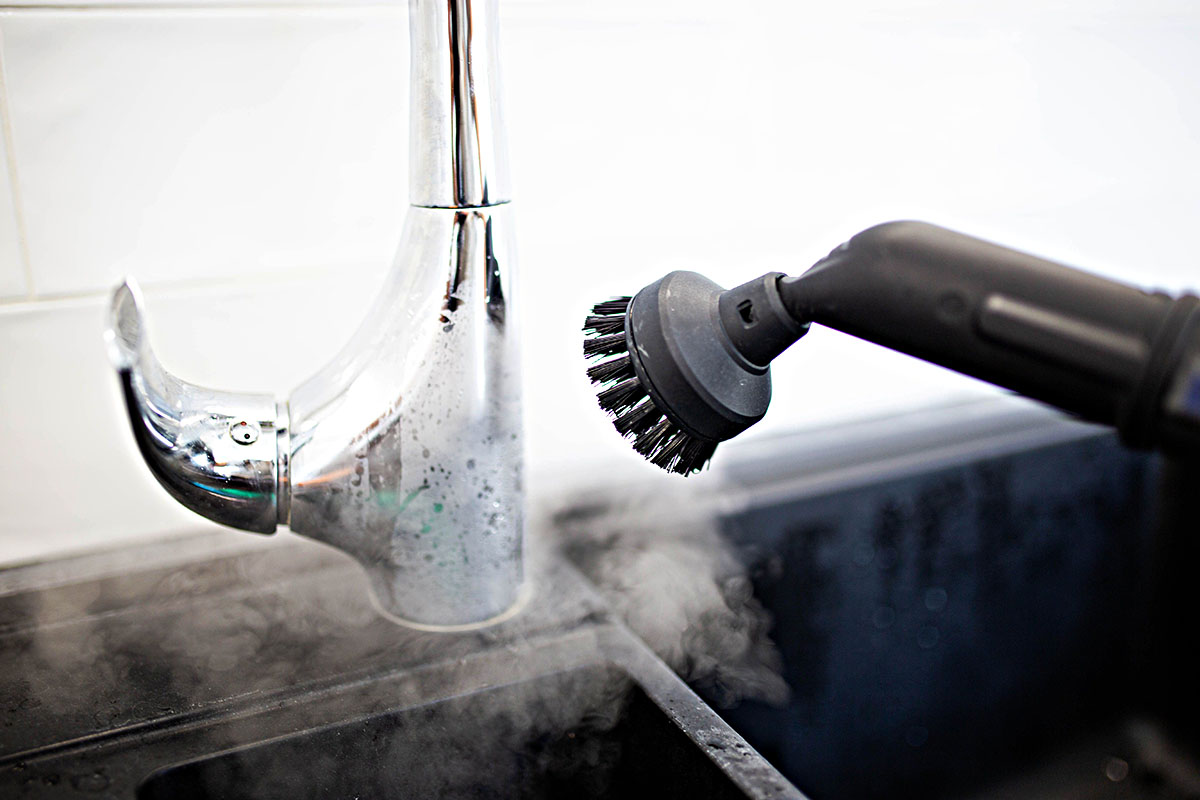
- Detail Brushes: These smaller brushes are ideal for scrubbing and agitating tough stains and grime in smaller areas like grout lines, tile edges, or tight corners.
Each Bissell steam cleaner model may come with a different set of hand tools, so it’s important to refer to the user manual or packaging to identify the specific tools included with your steam cleaner.
Now that we have a general understanding of the Bissell steam cleaner hand tools, let’s move on to the step-by-step process on how to effectively use them.
Step 1: Familiarizing Yourself with the Hand Tools
Before you begin using the Bissell steam cleaner hand tools, it’s essential to familiarize yourself with each tool’s purpose and functionality.
Take a close look at each hand tool and identify its specific features, such as the type of bristles, the shape of the nozzle, or the size of the cleaning head. Understanding these features will enable you to choose the right tool for the specific cleaning task at hand.
Refer to the user manual or online resources provided by Bissell to learn more about the recommended usage and best practices for each hand tool. This will help you maximize the effectiveness of the tools and ensure their proper use.
Additionally, take the time to understand how to connect the hand tools to the steam cleaner. Some models may require simple attachments, while others may involve secure locking mechanisms. Make sure you know the proper way to attach and detach the hand tools to avoid any accidents or damage to the steam cleaner.
Familiarizing yourself with the hand tools will not only make your cleaning experience smoother but also help you achieve better cleaning results. So, take the time to explore each tool and get comfortable with their features before moving on to the next step.
Step 2: Preparing the Bissell Steam Cleaner for Use
Before you start using the Bissell steam cleaner hand tools, it’s essential to ensure that your steam cleaner is properly prepared for operation. Follow these steps to get your steam cleaner ready:
- Check the water tank: Make sure the water tank of your Bissell steam cleaner is filled with clean water. Refer to the user manual for the recommended water level and any additional instructions specific to your model.
- Plug in the steam cleaner: Locate a nearby electrical outlet and plug in the steam cleaner. Ensure that the power cord is properly connected and not tangled.
- Allow the steam cleaner to heat up: Turn on the steam cleaner and let it heat up according to the manufacturer’s instructions. The heating time may vary between models, typically taking a few minutes.
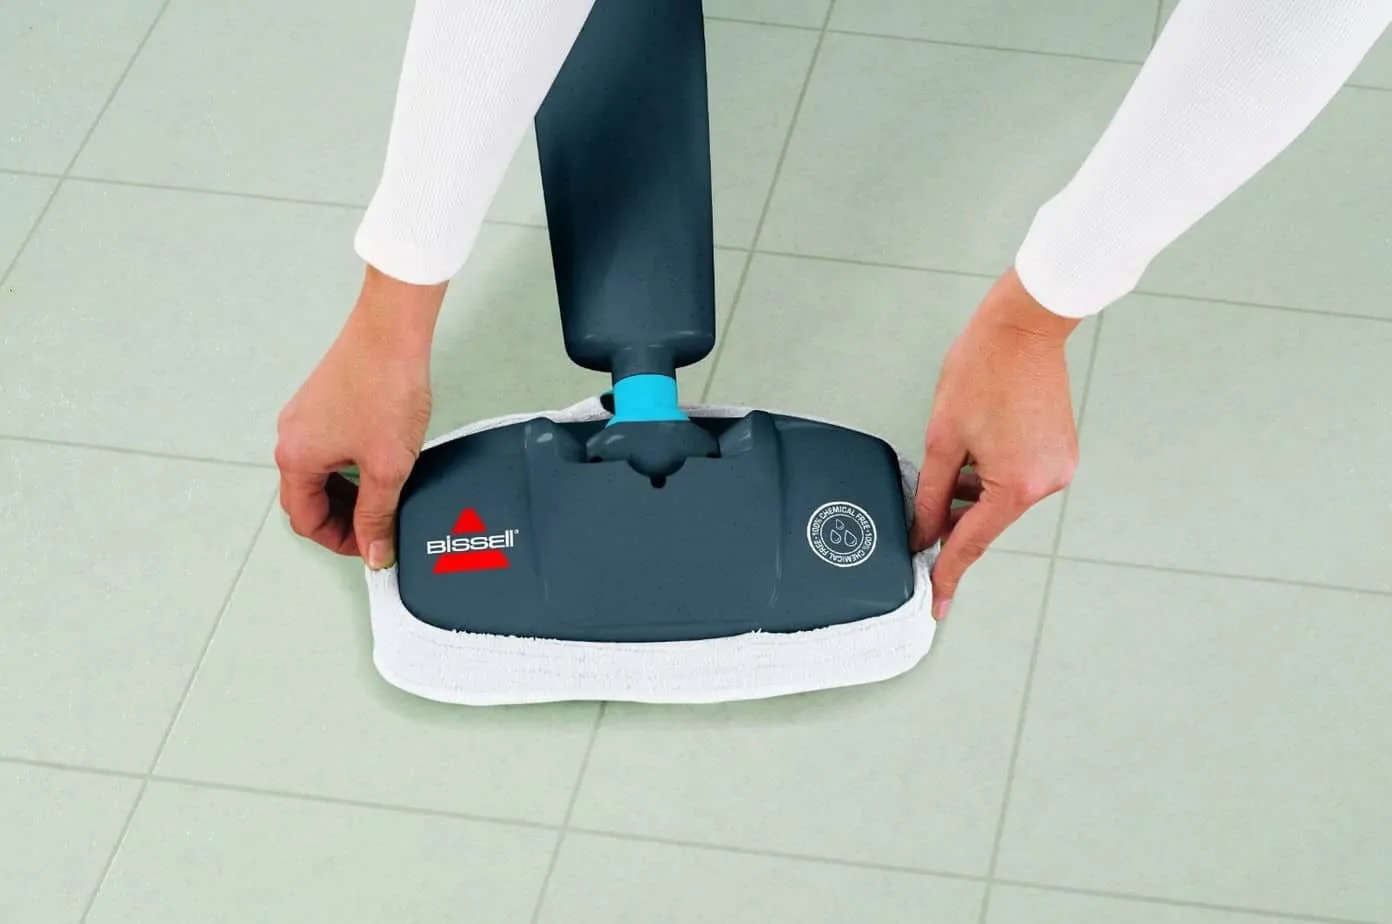
- Attach the appropriate cleaning pad: Depending on the surface you’ll be cleaning, choose the appropriate cleaning pad or microfiber cloth and attach it securely to the steam cleaner. This will ensure effective cleaning and protect the surface from any potential damage.
Once you’ve completed these steps, your Bissell steam cleaner is ready for use. Ensure that you have a clear understanding of the steam cleaner’s operation and any safety precautions outlined in the user manual.
Now that your steam cleaner is prepared, it’s time to move on to the next step: attaching and detaching the hand tools.
Step 3: Attaching and Detaching Hand Tools to the Steam Cleaner
To use the Bissell steam cleaner hand tools effectively, you’ll need to know how to attach and detach them from the steam cleaner. Follow these steps to ensure a secure connection:
- Identify the attachment points: Locate the attachment points on the steam cleaner where the hand tools can be connected. These attachment points may vary depending on your steam cleaner model, so refer to the user manual if you’re unsure.
- Choose the appropriate hand tool: Depending on the cleaning task you want to perform, select the appropriate hand tool from your set. Remember to consider the surface you’ll be cleaning and the specific features offered by each tool.
- Align and insert the tool: Align the hand tool with the attachment point on the steam cleaner and gently push it until it locks into place. Ensure that the connection is secure and there is no wobbling or movement.
- Test the connection: Before you start cleaning, give the hand tool a gentle tug to ensure it is correctly attached. If it comes off easily, reattach it following the previous steps.
When you’re finished using a hand tool and want to switch to another or return to standard cleaning, follow these steps to detach the tool:
- Release the tool lock: Look for any locking mechanisms or buttons that need to be released to detach the hand tool. Press or unlock them as instructed in the user manual.
- Remove the hand tool: Once the lock is released, gently pull or twist the hand tool to detach it from the steam cleaner.
- Secure the hand tool: After detaching, store the hand tool in a safe place where it won’t get damaged or lost. You may have dedicated storage compartments in your steam cleaner or a separate storage bag for the hand tools.
By mastering the art of attaching and detaching the hand tools, you’ll be able to switch between them seamlessly, making your cleaning tasks more efficient and effective. Now, we’re ready to move on to using the hand tools for spot cleaning.
When using Bissell steam cleaner hand tools, make sure to attach the appropriate tool for the specific cleaning task. Use a back-and-forth motion to effectively clean surfaces, and always follow the manufacturer’s instructions for best results.
Read more: How To Clean A Bissell Steam Cleaner
Step 4: Using Hand Tools for Spot Cleaning
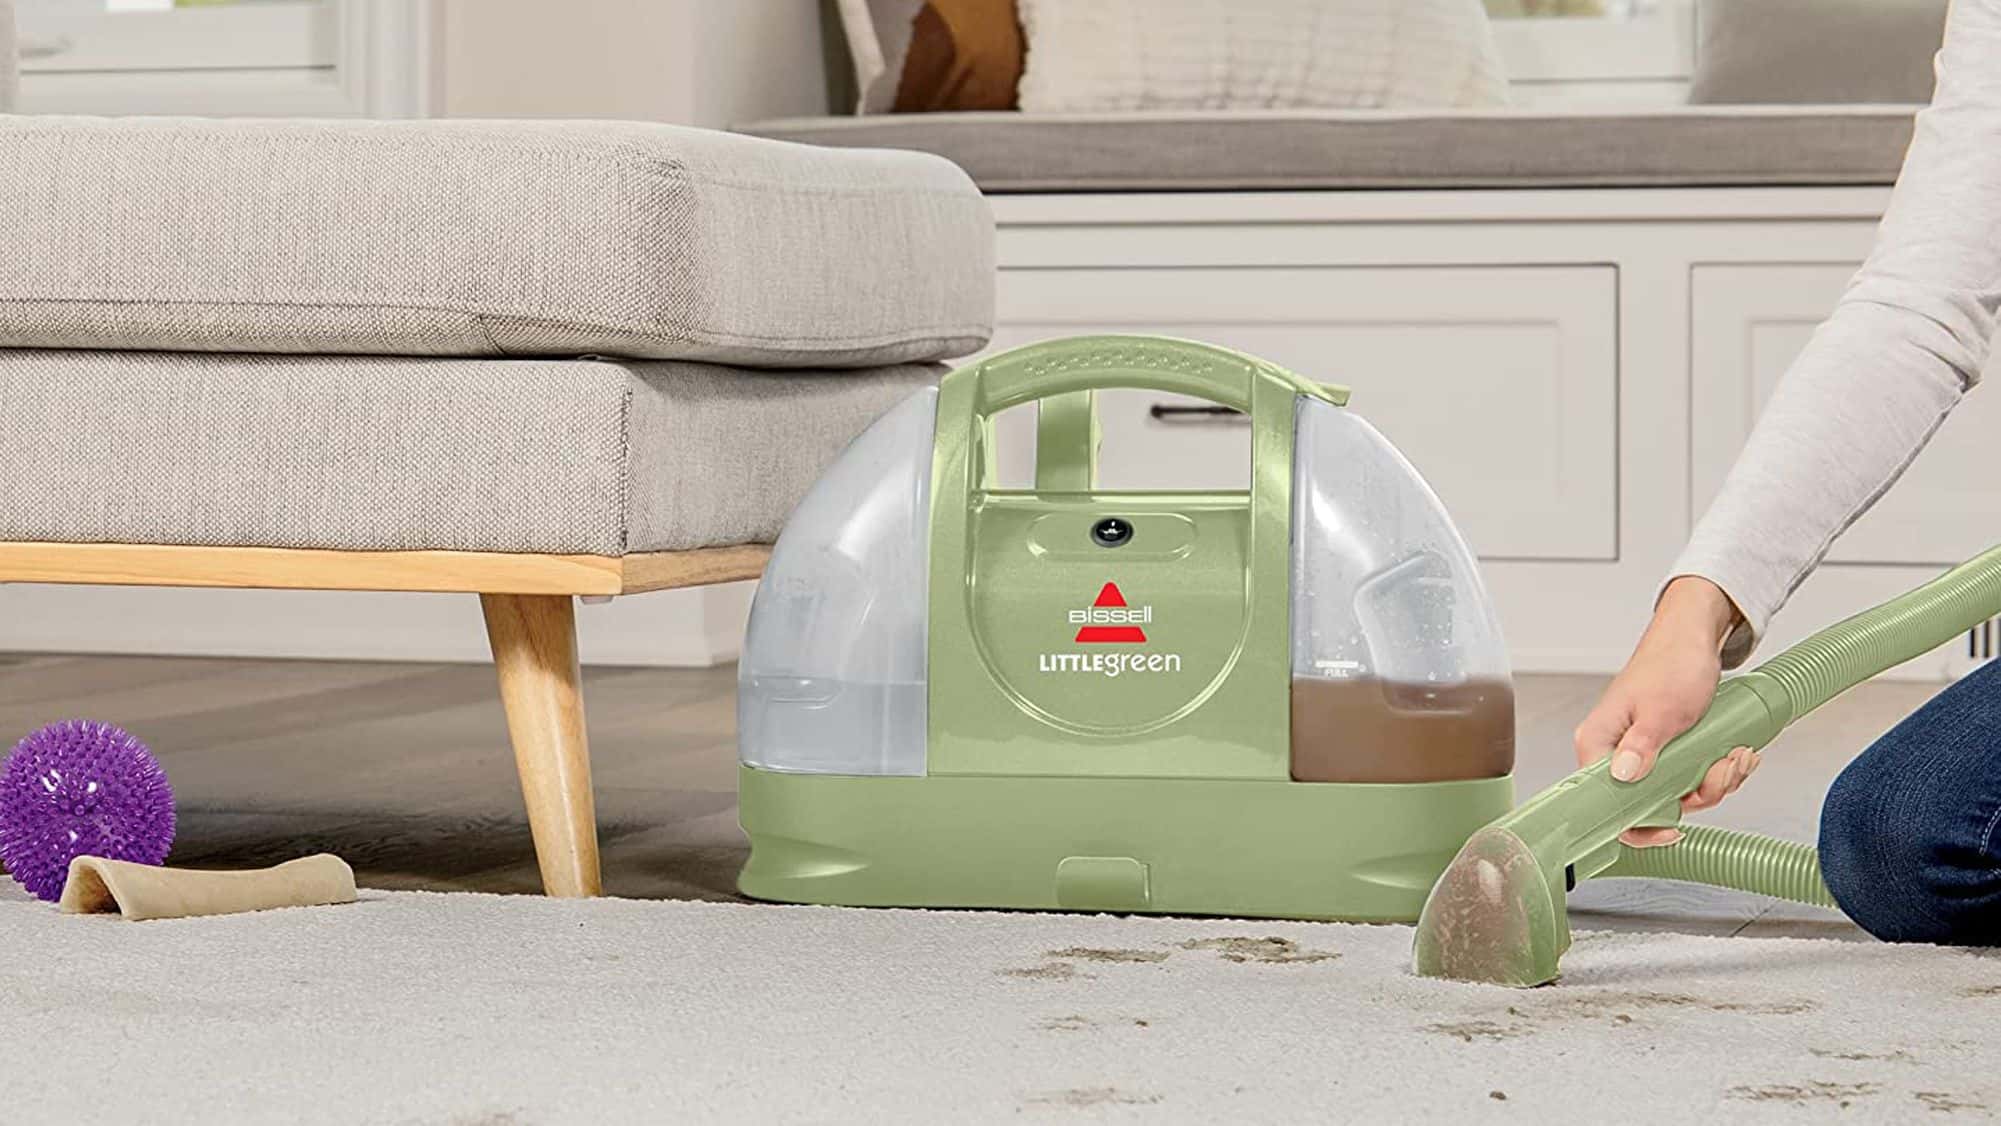
The Bissell steam cleaner hand tools are incredibly handy when it comes to spot cleaning specific stains or spills on carpets, rugs, or upholstery. Follow these steps to effectively use the hand tools for spot cleaning:
- Select the appropriate hand tool: Choose a hand tool that is specifically designed for spot cleaning. Look for one with a specialized brush or nozzle that can target and treat the stain effectively.
- Apply the appropriate cleaning solution: Check the instructions provided with your steam cleaner to determine if any specific cleaning solution should be used for spot cleaning. Apply a small amount of the solution directly onto the stained area.
- Activate the steam cleaner: Turn on your Bissell steam cleaner and wait for it to reach the appropriate temperature. Some steam cleaners may have specific settings for spot cleaning, so consult the user manual if necessary.
- Position the hand tool: Hold the steam cleaner in one hand and position the hand tool directly over the stained area. Make sure the brush or nozzle is in contact with the surface.
- Activate the steam and brush: Engage the steam flow using the controls on the steam cleaner, and gently scrub the stained area using the hand tool. Move the tool in a back-and-forth or circular motion to agitate and lift the stain.
- Repeat if necessary: For stubborn stains, you may need to repeat the process a few times, applying more cleaning solution and using the hand tool to thoroughly clean the area.
- Blot the area: After treating the stain, use a clean, dry cloth to blot the area and remove any excess moisture. This will help prevent further spreading of the stain.
Spot cleaning with the Bissell steam cleaner hand tools allows you to target specific areas and remove stains effectively. Remember to always refer to the user manual or manufacturer’s instructions for any specific guidance related to spot cleaning.
Next, let’s move on to using the hand tools for upholstery cleaning.
Step 5: Using Hand Tools for Upholstery Cleaning
The Bissell steam cleaner hand tools are also perfect for giving your upholstered furniture a thorough and refreshing cleaning. Follow these steps to effectively use the hand tools for upholstery cleaning:
- Select the appropriate hand tool: Choose a hand tool specifically designed for upholstery cleaning. Look for a wider cleaning head and soft bristles that are gentle on fabric.
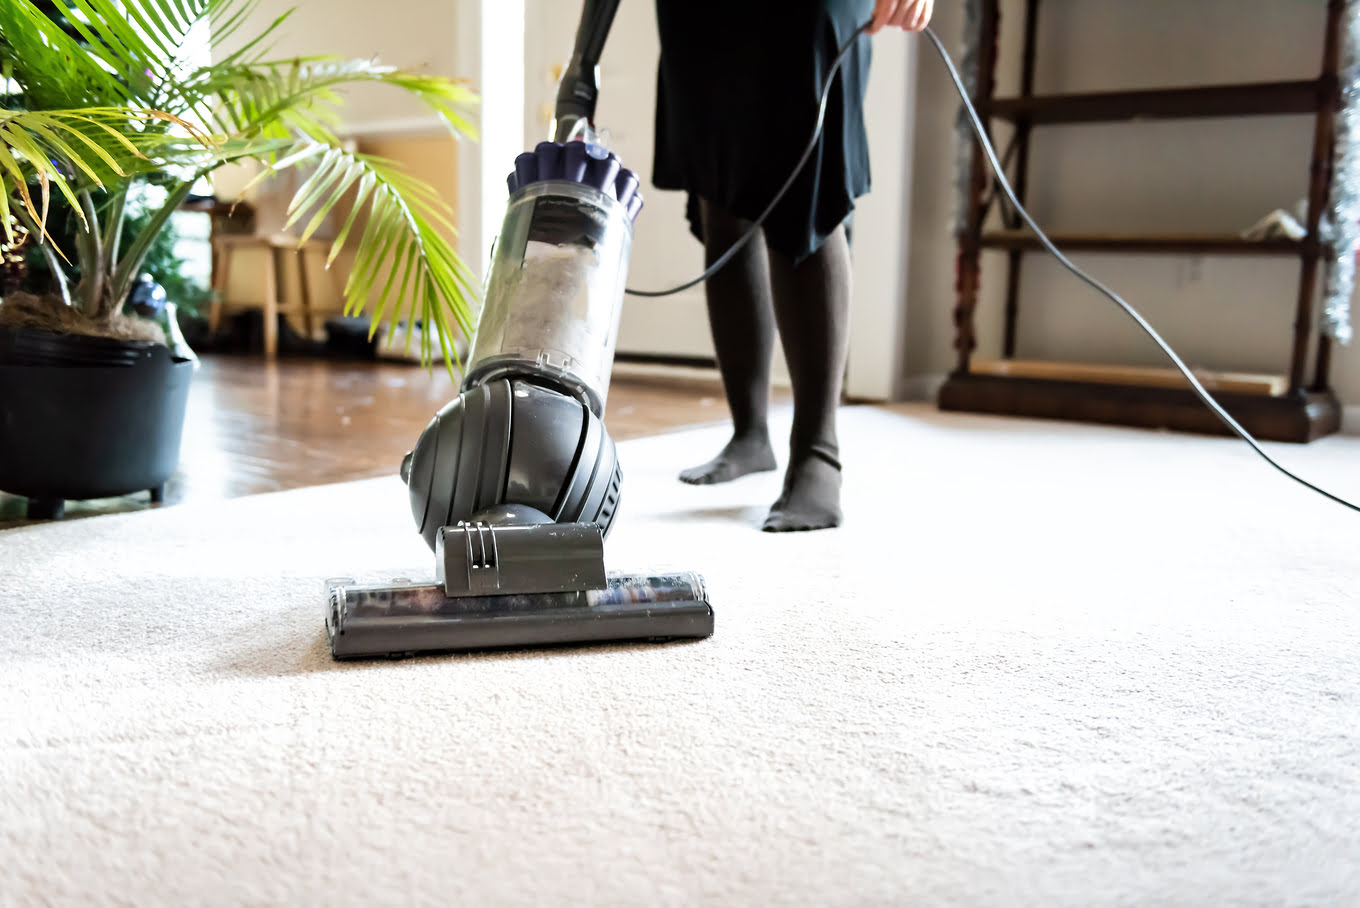
- Prepare the upholstery: Before you begin, remove any loose debris or crumbs from the upholstery by using a vacuum cleaner or brushing them away manually.
- Attach the hand tool: Connect the upholstery cleaning hand tool to the steam cleaner following the instructions provided earlier in this guide.
- Position the hand tool: Hold the steam cleaner in one hand and position the upholstery hand tool over the desired area of the furniture. Ensure that the bristles or cleaning head are in contact with the upholstery.
- Activate the steam and brush: Turn on the steam cleaner and engage the steam flow. Using gentle strokes, move the hand tool across the upholstery surface, allowing the steam and brush to lift dirt and stains.
- Work in sections: Divide larger upholstery surfaces into manageable sections and clean them one at a time. This ensures thorough cleaning and prevents the upholstery from becoming overly wet.
- Wipe away excess moisture: After cleaning each section, use a clean, dry cloth to blot away any excess moisture. This will help the upholstery dry more quickly and prevent watermarks.
- Allow the upholstery to dry: Give the upholstery plenty of time to dry before using or sitting on it. Open windows or use fans to enhance air circulation and speed up the drying process if necessary.
Using the Bissell steam cleaner hand tools for upholstery cleaning will help revive your furniture and remove dirt, dust, and allergens. Remember to always test the hand tool on a small, inconspicuous area first to ensure that it is suitable for your upholstery fabric.
Now, let’s move on to using the hand tools for cleaning hard-to-reach areas.
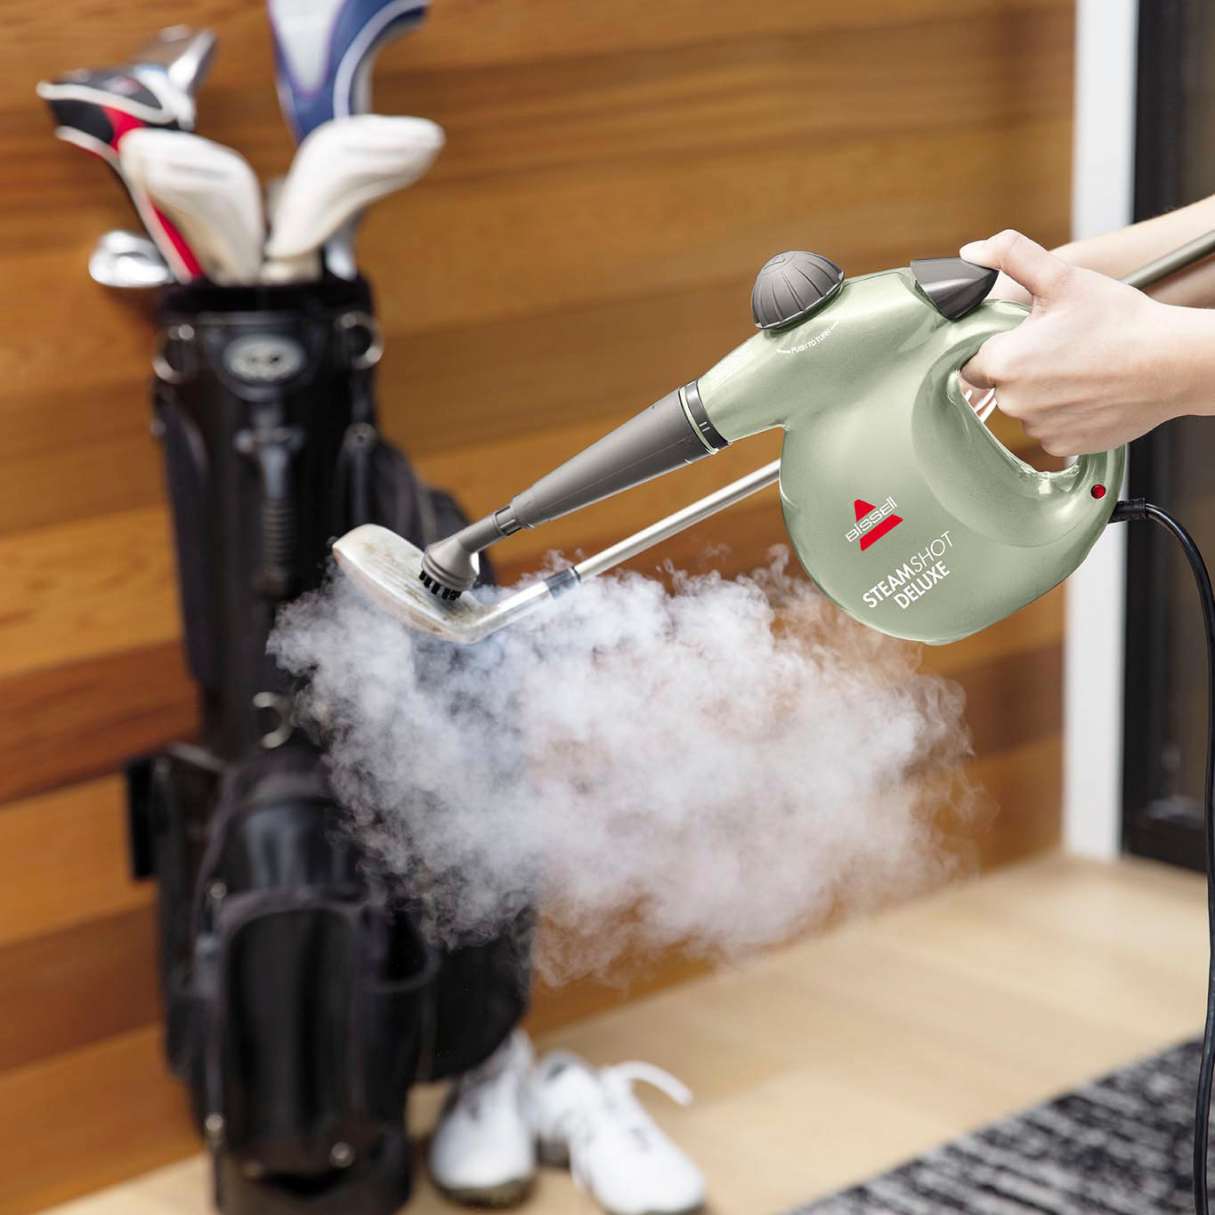
Step 6: Cleaning Hard-to-Reach Areas with Hand Tools
One of the major benefits of the Bissell steam cleaner hand tools is their ability to clean those hard-to-reach areas that are typically challenging to clean with standard cleaning tools. Follow these steps to effectively use the hand tools for cleaning those tight and difficult-to-access spaces:
- Choose the appropriate hand tool: Select a hand tool that is suitable for the specific hard-to-reach area you want to clean. Crevice tools or extension tools with narrow nozzles are particularly useful for reaching tight corners or gaps.
- Attach the hand tool: Connect the chosen hand tool to the steam cleaner by following the attachment guidelines discussed earlier in this guide.
- Position the hand tool: Hold the steam cleaner in one hand and position the hand tool’s nozzle or attachment at the targeted area. Ensure that it reaches deep into the hard-to-reach space.
- Activate the steam: Turn on the steam cleaner and engage the steam flow, allowing the steam to reach the targeted area with the help of the hand tool. The steam will help loosen and dissolve dirt and grime.
- Scrub or agitate: Depending on the nature of the surface or area you’re cleaning, gently scrub or agitate the dirt using the hand tool’s brush or nozzle. This will help dislodge any stubborn dirt particles or debris.
- Extract the dirt: As you loosen the dirt, simultaneously use a clean cloth or paper towel to absorb and remove the dislodged dirt and moisture. Regularly clean or replace the cloth to prevent spreading the dirt.
- Repeat if necessary: Hard-to-reach areas may require multiple passes or repeated cleaning attempts, especially if the dirt is deeply embedded. Be patient and persistent in order to achieve the best results.
By utilizing the Bissell steam cleaner hand tools for cleaning hard-to-reach areas, you can ensure a thorough cleaning of your home, reaching places that are often overlooked. Just remember to exercise caution and avoid forcing the hand tools into spaces that are too tight, as this may damage the tool or the surface being cleaned.
Now that you’ve tackled those difficult areas, let’s move on to the final step: maintaining and storing the hand tools properly.
Step 7: Maintaining and Storing the Hand Tools
Proper maintenance and storage of the Bissell steam cleaner hand tools are important for their longevity and optimal performance. Follow these steps to ensure that your hand tools are well-maintained and ready for future use:
- Clean the hand tools after each use: After you’ve finished using the hand tools, detach them from the steam cleaner and clean them thoroughly. Remove any dirt, debris, or residue that may have accumulated during the cleaning process.
- Use warm, soapy water: For general cleaning, wash the hand tools with warm, soapy water using a mild detergent. Use a soft cloth or brush to gently scrub the bristles or nozzles, ensuring all dirt and cleaning solution are fully removed.
- Rinse and dry the hand tools: Rinse the hand tools with clean water to remove any remaining soap or detergent. Shake off excess water and allow the tools to air dry completely before storing them. This prevents the growth of mold or mildew.
- Inspect for damage: Regularly inspect the hand tools for any signs of wear or damage, such as broken bristles or cracked nozzles. If you notice any issues, contact Bissell customer support or refer to the warranty information for further assistance.
- Store the hand tools properly: Store the hand tools in a clean and dry area, away from direct sunlight or extreme temperatures. If your steam cleaner comes with a storage bag or compartment for the hand tools, utilize it for added protection.
- Keep the hand tools organized: To prevent misplacement or damage, consider using a designated container or organizer to keep the hand tools organized and easily accessible. This will ensure that they are ready for use whenever you need them.
By following these maintenance and storage practices, you can prolong the lifespan of your Bissell steam cleaner hand tools and maintain their effectiveness for future cleaning tasks.
Congratulations! You have now successfully learned how to use, clean, and store the Bissell steam cleaner hand tools. Implement these steps into your cleaning routine, and enjoy a sparkling clean home with the help of these versatile tools!
Happy cleaning!
Read more: How To Use Hoover Steam Vac Hand Tools
Conclusion
Using the Bissell steam cleaner hand tools can revolutionize your cleaning routine, making it more efficient, effective, and enjoyable. Whether you’re tackling spot stains, refreshing upholstery, or reaching those hard-to-access areas, these versatile tools have got you covered.
Throughout this guide, we’ve provided you with a comprehensive step-by-step process to help you familiarize yourself with the hand tools, prepare your steam cleaner for use, attach and detach the tools securely, and effectively use them for various cleaning tasks.
Remember to choose the appropriate hand tool for each specific cleaning task, whether it’s a stain tool, upholstery tool, crevice tool, extension tool, or detail brush. Take the time to understand the functionality of each tool and the recommended usage to achieve the best results.
Maintaining and storing the hand tools properly is key to their longevity. Regular cleaning, inspection for damage, and appropriate storage will ensure that the tools are ready for future use whenever you need them.
We hope that this guide has provided you with the knowledge and confidence to utilize the Bissell steam cleaner hand tools effectively. Incorporate these steps into your cleaning routine, and enjoy the convenience and effectiveness of these versatile tools as you maintain a clean and fresh home.
Now, armed with your newfound knowledge, it’s time to get cleaning!
Frequently Asked Questions about How To Use Bissell Steam Cleaner Hand Tools
Was this page helpful?
At Storables.com, we guarantee accurate and reliable information. Our content, validated by Expert Board Contributors, is crafted following stringent Editorial Policies. We're committed to providing you with well-researched, expert-backed insights for all your informational needs.

0 thoughts on “How To Use Bissell Steam Cleaner Hand Tools”