Home>Home Appliances>Cleaning Appliances>How To Fix My Bissell Vacuum Cleaner
Cleaning Appliances
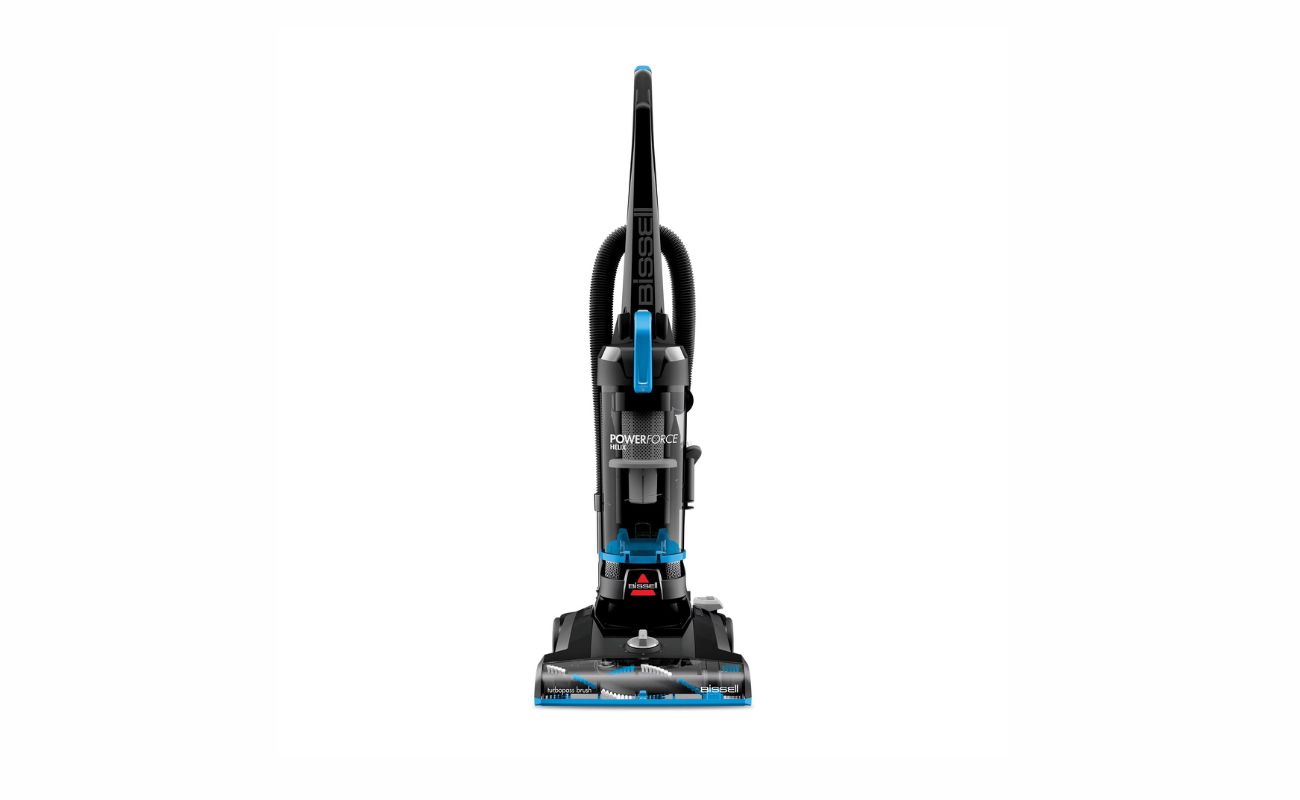
How To Fix My Bissell Vacuum Cleaner
Modified: August 23, 2024
Learn how to fix your Bissell vacuum cleaner with our expert cleaning appliances tips. Keep your vacuum running smoothly with our step-by-step guide.
(Many of the links in this article redirect to a specific reviewed product. Your purchase of these products through affiliate links helps to generate commission for Storables.com, at no extra cost. Learn more)
Introduction
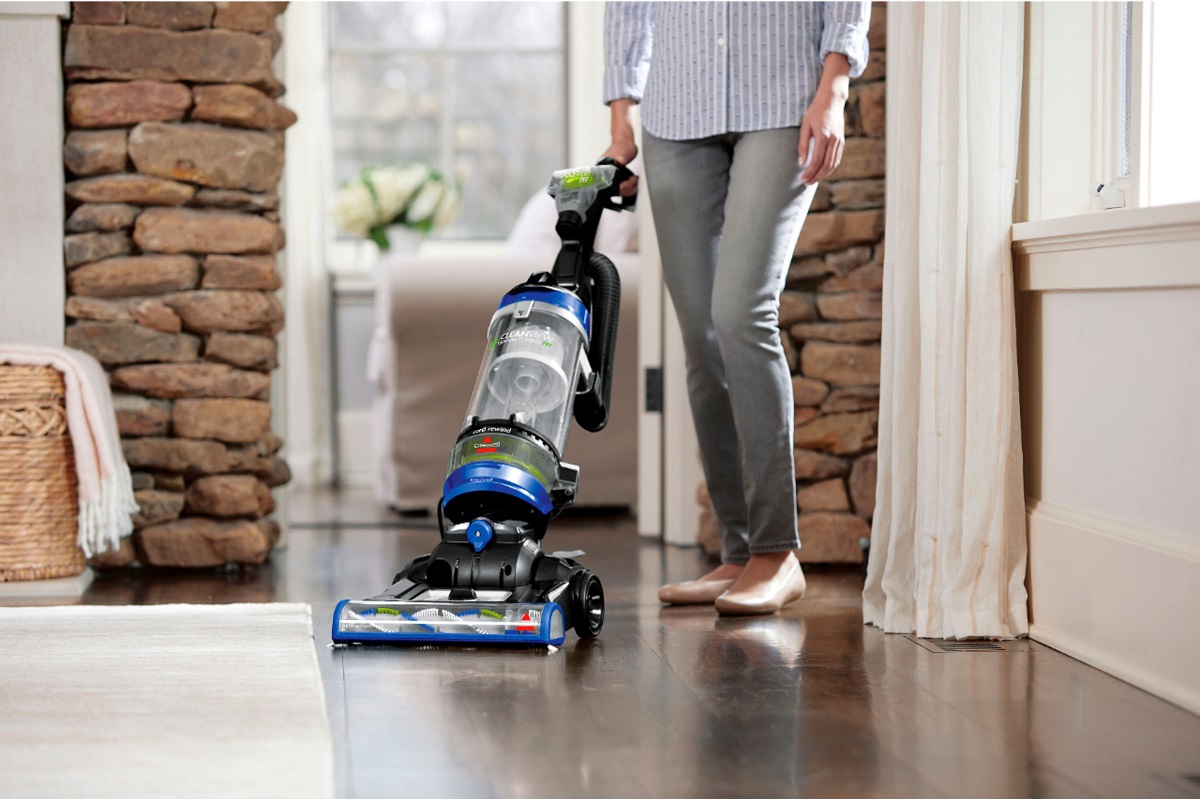
Welcome to the comprehensive guide on fixing your Bissell vacuum cleaner! Whether your vacuum is losing suction, making strange noises, or not picking up dirt as efficiently as it used to, this article will walk you through the troubleshooting process. Bissell vacuum cleaners are renowned for their powerful suction and reliability, but like any appliance, they may encounter issues over time. The good news is that many common problems can be resolved with a few simple steps, saving you time and money on professional repairs.
In this guide, we will cover a range of troubleshooting techniques to help you identify and resolve issues with your Bissell vacuum cleaner. From cleaning the filters and checking for blockages to replacing the belt and maintaining the brush roll, we’ve got you covered. By following the step-by-step instructions in this article, you’ll be able to keep your Bissell vacuum cleaner in top working condition, ensuring it continues to deliver exceptional cleaning performance for years to come.
So, if you’re ready to tackle those pesky vacuum cleaner problems and restore your Bissell to its former glory, let’s dive in and get started!
Key Takeaways:
- Regular maintenance, such as cleaning filters and checking for blockages, can keep your Bissell vacuum cleaner running smoothly and ensure powerful suction for effective cleaning.
- Replacing worn-out belts and maintaining the brush roll are simple tasks that can prolong the life of your Bissell vacuum cleaner and maintain its exceptional cleaning performance.
Read more: How To Clean Bissell Vacuum Cleaner
Troubleshooting Common Issues
Is your Bissell vacuum cleaner acting up? Before you start to worry, let’s troubleshoot some common issues that may be affecting its performance. By identifying the symptoms and following these simple steps, you can often resolve the problem without the need for professional assistance.
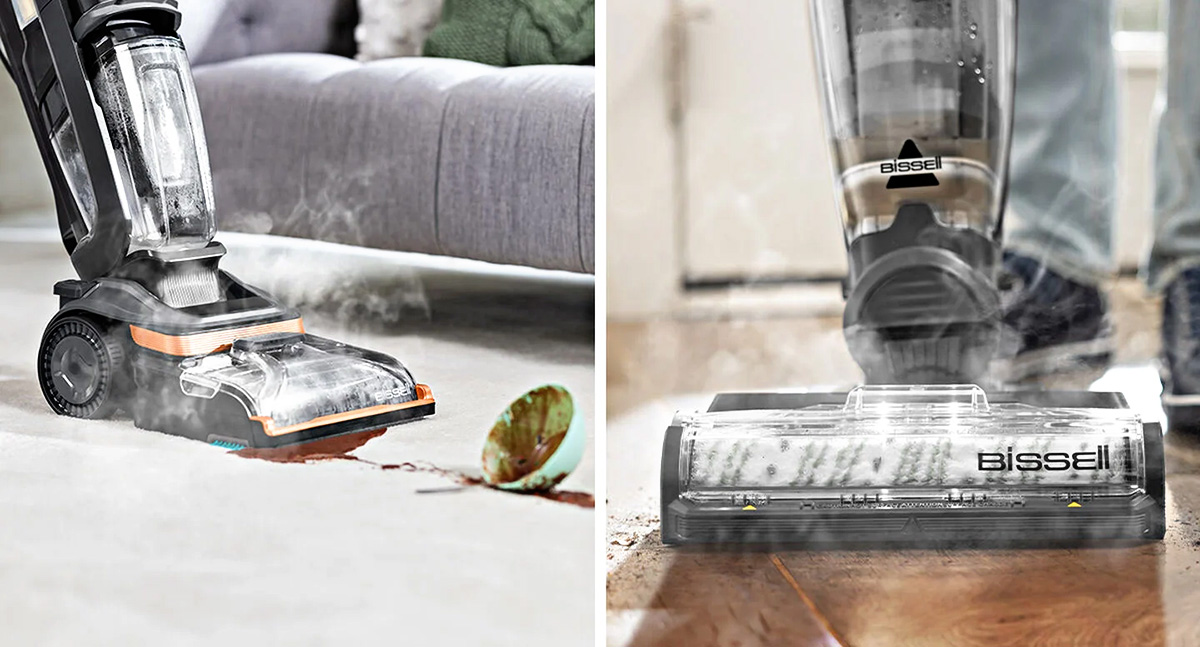
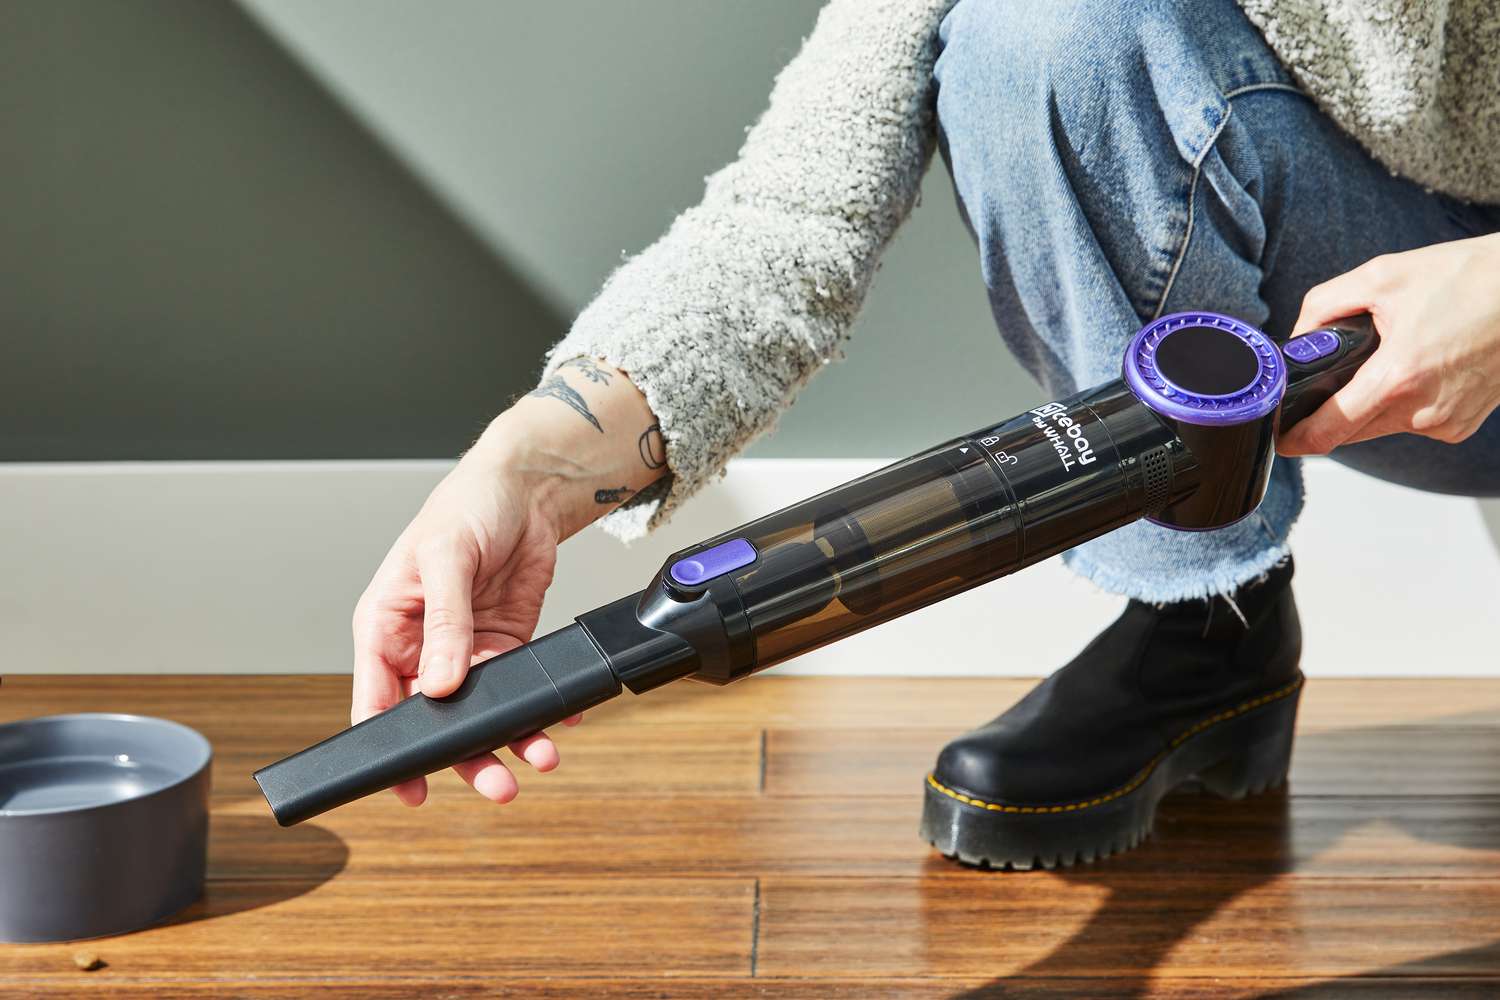
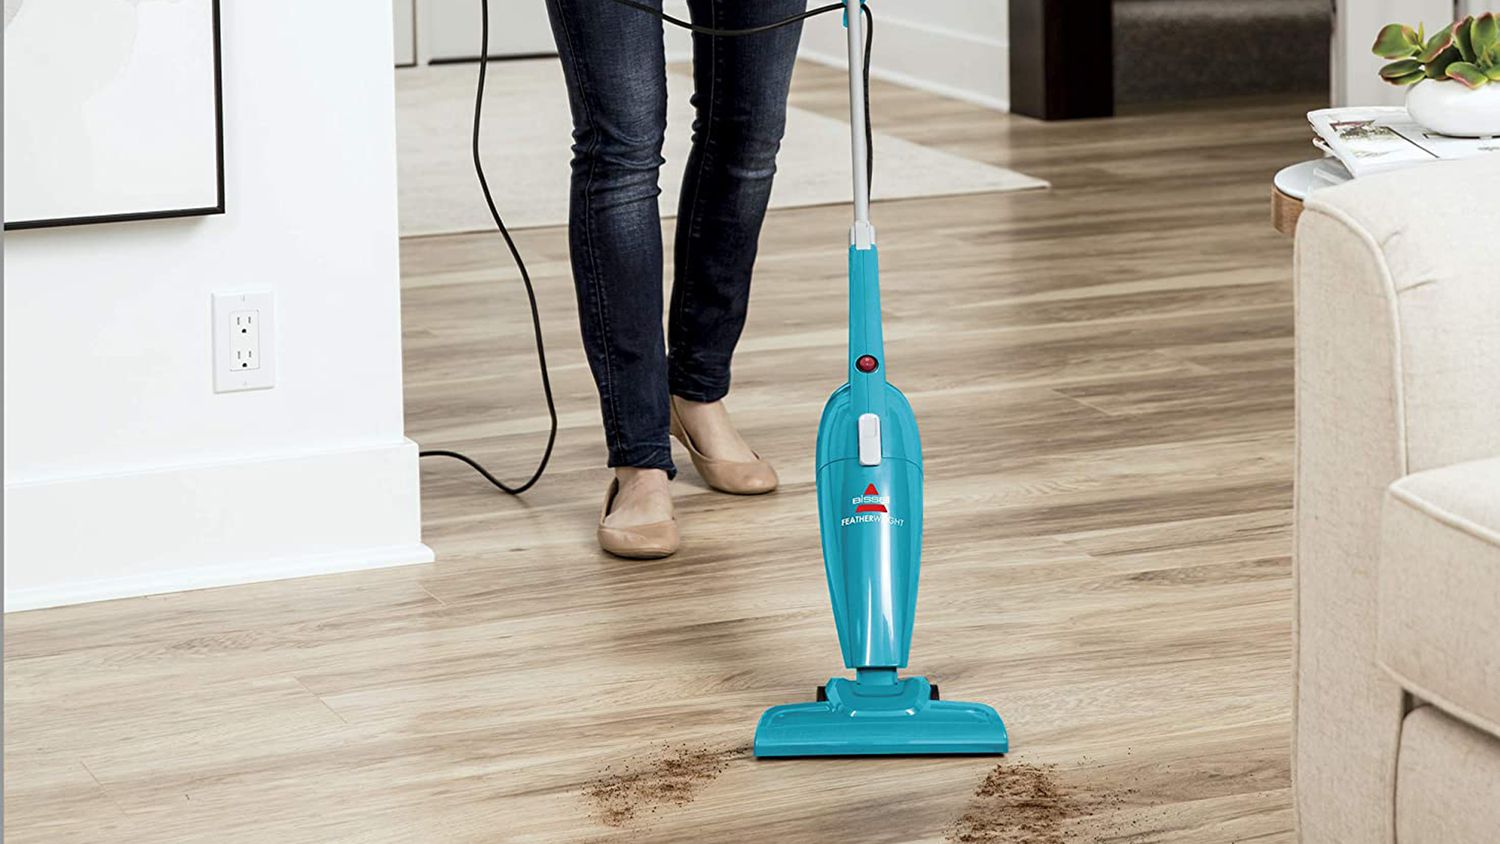
1. Loss of Suction: If your Bissell vacuum isn’t picking up dirt as effectively as it used to, the first thing to check is the dirt tank. Ensure that it’s not full and that the filters are clean. Clogged filters can significantly reduce suction power, so regular cleaning is essential to maintain optimal performance.
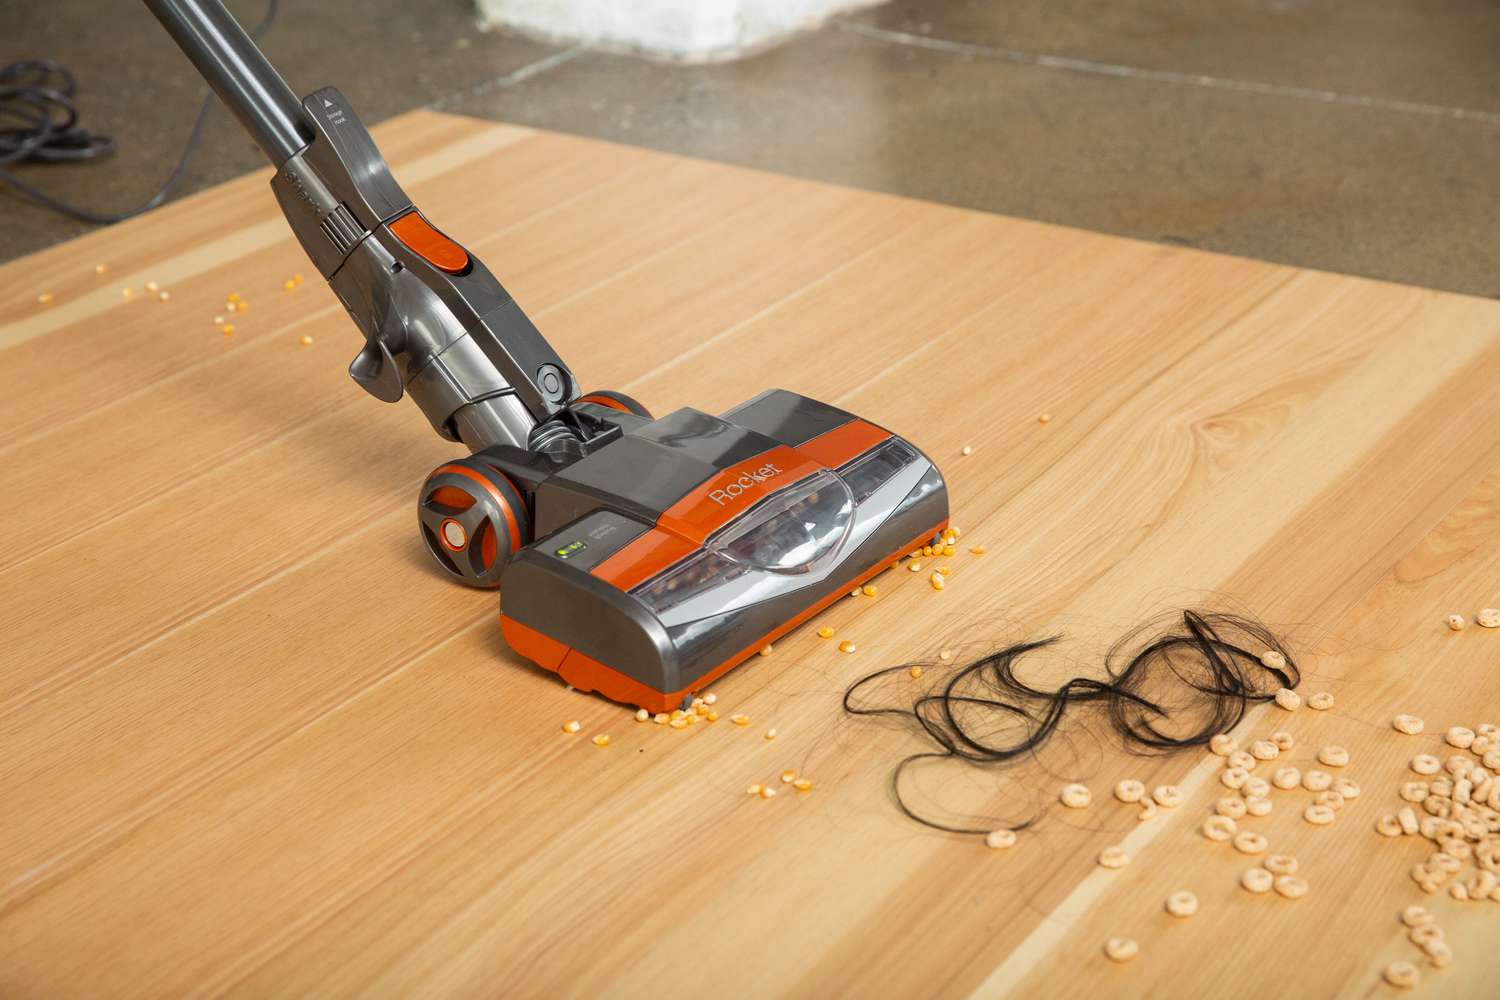
2. Strange Noises: Unusual noises, such as rattling or grinding, can be a cause for concern. Check for any obstructions in the brush roll or the vacuum’s air path. Objects like hair, threads, or debris can get tangled in the brush roll, causing it to make strange noises. Clearing any blockages can often resolve this issue.
3. Brush Roll Not Spinning: If the brush roll isn’t spinning, it may be due to a blockage or a worn-out belt. We’ll cover how to address these issues in the following sections.
4. Overheating: If your Bissell vacuum shuts off unexpectedly, it may be overheating. Check for blockages in the filters and air path, and ensure that the dirt tank is empty. Overheating can also occur if the brush roll is clogged or if the filters are overdue for cleaning.
By addressing these common issues, you can often restore your Bissell vacuum cleaner’s performance without the need for professional repairs. In the following sections, we’ll delve into specific maintenance tasks to help you address these problems and keep your vacuum running smoothly.
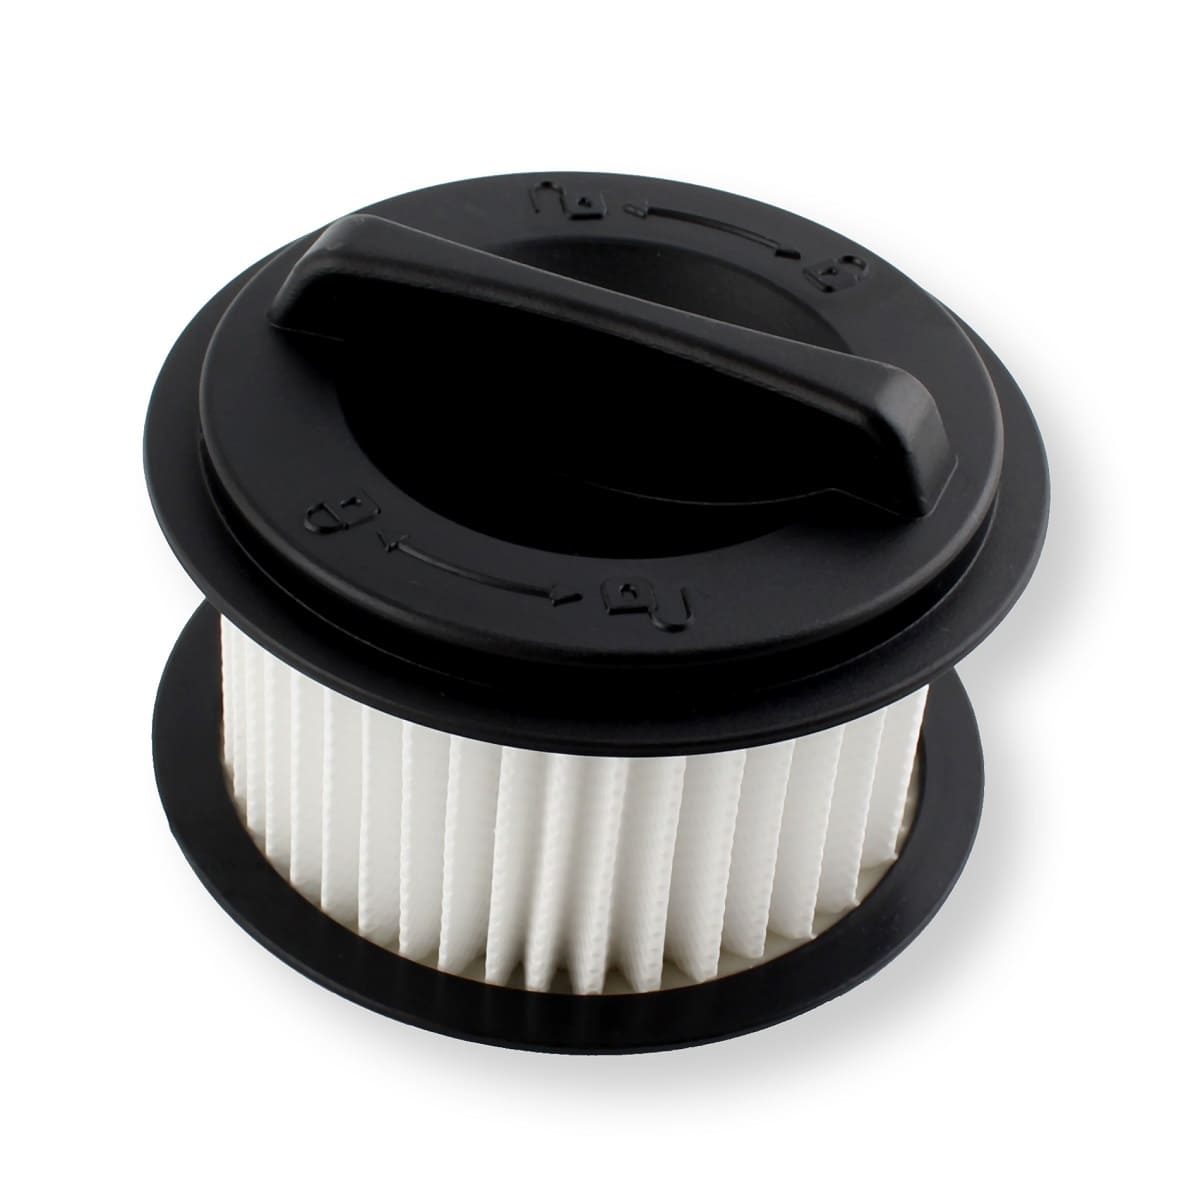
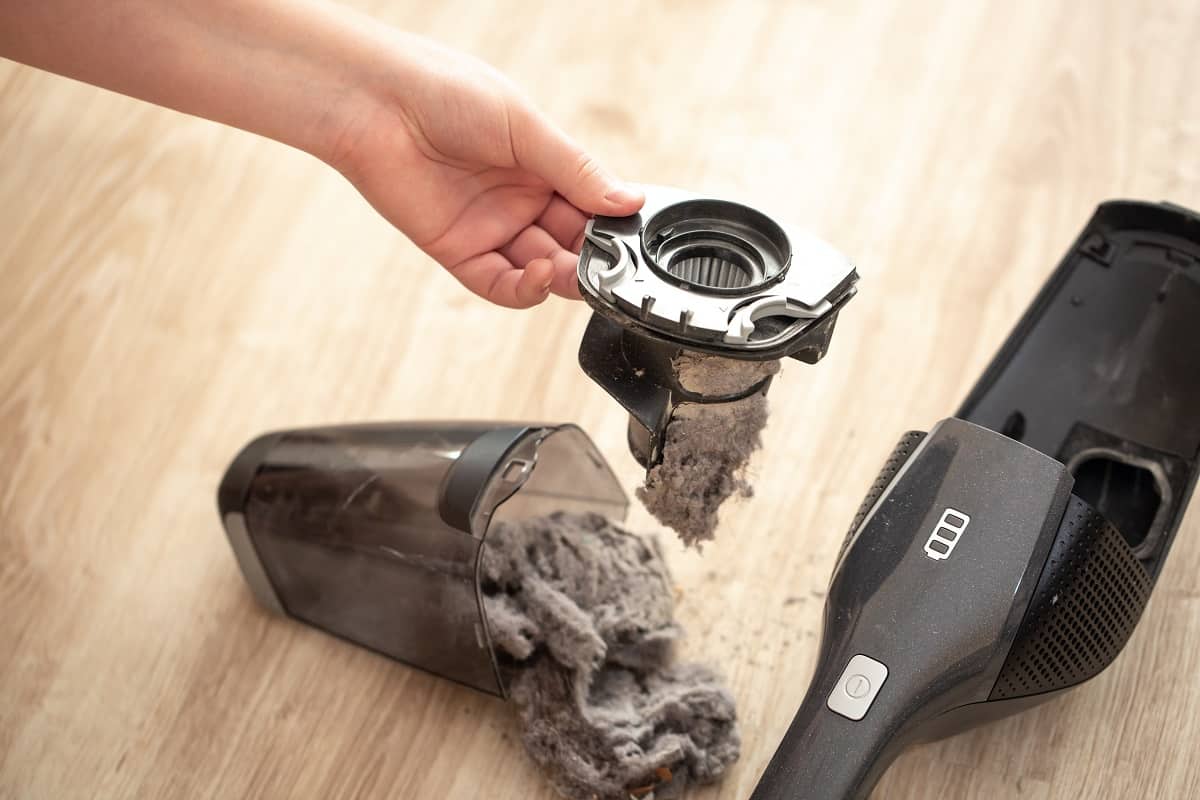
Cleaning the Filters
Regularly cleaning the filters is essential for maintaining the suction power and overall performance of your Bissell vacuum cleaner. Over time, the filters can become clogged with dust, dirt, and debris, hindering the vacuum’s ability to pick up dirt effectively. Here’s a step-by-step guide to cleaning the filters:
- Check the User Manual: Before cleaning the filters, refer to your Bissell vacuum cleaner’s user manual for specific instructions and guidelines. Different models may have varying filter types and cleaning methods.
- Remove the Filters: Depending on your Bissell model, you may have one or more filters. Carefully remove the filters from the vacuum cleaner, following the instructions provided in the user manual.
- Tap or Brush Away Debris: Take the filters outside or hold them over a trash bin, then gently tap or brush them to dislodge the accumulated dust and debris. This initial step helps remove the surface-level dirt before proceeding to deeper cleaning.
- Wash the Filters: For washable filters, such as foam or fabric filters, rinse them under running water. Use mild detergent if necessary to remove stubborn dirt. Avoid using hot water, as it may cause the filter material to deform.
- Dry Thoroughly: After washing, allow the filters to air-dry completely before reinstalling them in the vacuum cleaner. Ensure they are completely dry to prevent mold or mildew from developing.
- Replace Non-Washable Filters: If your Bissell vacuum has non-washable filters, such as HEPA filters, replace them according to the manufacturer’s recommendations. Regularly replacing non-washable filters is crucial for maintaining optimal filtration and suction performance.
By cleaning the filters on a regular basis, you can help prolong the life of your Bissell vacuum cleaner and ensure that it continues to deliver powerful suction for thorough cleaning. This simple maintenance task can make a significant difference in the performance and longevity of your vacuum.
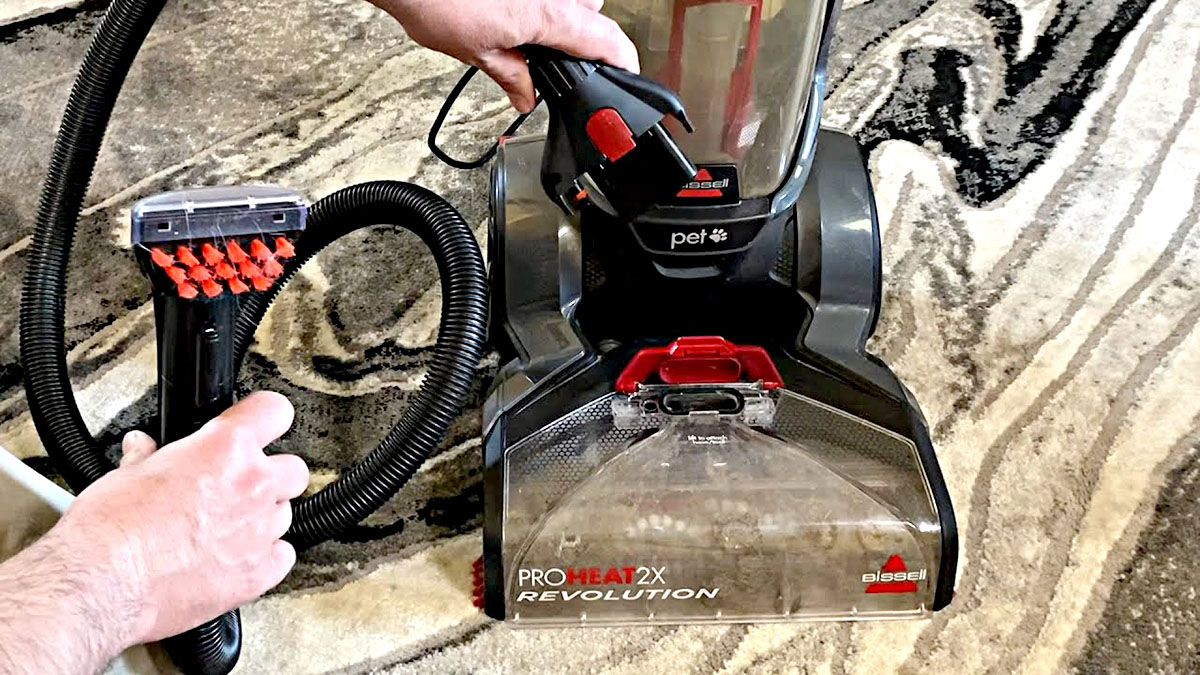
Checking for Blockages
Blockages in your Bissell vacuum cleaner can impede its suction power and lead to various performance issues. By inspecting and clearing any obstructions in the vacuum’s air path, brush roll, and hose, you can restore its efficiency and ensure thorough cleaning. Here’s how to check for and remove blockages:
- Inspect the Air Path: Start by examining the air path of the vacuum cleaner, including the hose, attachments, and entry points. Look for any visible blockages, such as debris, hair, or foreign objects that may be hindering airflow.
- Remove Obstructions: Using a flashlight, carefully remove any obstructions you find by hand or with the help of a long, flexible tool. Be gentle to avoid damaging the internal components of the vacuum.
- Clear the Brush Roll: Turn the vacuum cleaner over and inspect the brush roll for tangled hair, threads, or debris. Use scissors or a seam ripper to carefully cut and remove any entangled material, taking care not to damage the brush roll’s bristles.
- Check the Hose: Detach the hose from the vacuum cleaner and visually inspect it for blockages. Use a broomstick or a long, flexible tool to push out any lodged debris from the hose. Ensure that both ends of the hose are clear before reattaching it to the vacuum.
- Test the Suction: After clearing potential blockages, turn on the vacuum cleaner and test its suction power. If the suction has improved, you have likely resolved the issue. If not, consider checking the filters and other potential causes of reduced suction.
Regularly checking for and removing blockages in your Bissell vacuum cleaner is crucial for maintaining optimal performance and preventing potential damage to the motor and internal components. By incorporating this simple maintenance task into your cleaning routine, you can ensure that your vacuum operates at its best, delivering exceptional cleaning results with every use.
Check the vacuum’s filter and brush roll for clogs or debris. Clean or replace the filter and remove any tangled hair or debris from the brush roll to improve suction and performance.
Replacing the Belt
If your Bissell vacuum cleaner’s brush roll isn’t spinning, a worn-out or broken belt may be the culprit. The belt plays a crucial role in driving the brush roll, allowing it to effectively agitate and lift dirt from carpets and floors. Replacing the belt is a relatively simple task that can restore your vacuum cleaner’s brush roll to optimal functionality. Here’s a step-by-step guide to replacing the belt:
- Identify the Belt Location: Refer to your Bissell vacuum cleaner’s user manual to locate the brush roll and the belt compartment. Different models may have varying belt replacement procedures.
- Unplug the Vacuum: Before performing any maintenance, ensure that the vacuum cleaner is unplugged from the power source to prevent accidents or injury.
- Access the Brush Roll: Depending on your Bissell model, you may need to remove a cover or access panel to reach the brush roll and the belt compartment. Follow the instructions provided in the user manual for your specific model.
- Remove the Old Belt: Carefully remove the old belt from the brush roll and the motor shaft. Take note of the belt’s positioning and orientation to ensure proper installation of the new belt.
- Install the New Belt: Place the new belt onto the motor shaft and stretch it over the brush roll, ensuring that it is properly aligned and seated in the designated grooves or slots. Check for any twists or kinks in the belt to ensure smooth operation.
- Reassemble the Components: Once the new belt is in place, reattach any covers or access panels that were removed to access the brush roll and the belt compartment. Ensure that all components are securely fastened before using the vacuum cleaner.
- Test the Brush Roll: Plug in the vacuum cleaner and turn it on to verify that the brush roll is spinning properly with the new belt. If the brush roll is functioning as expected, you have successfully replaced the belt.
By replacing the belt as needed, you can ensure that your Bissell vacuum cleaner’s brush roll operates efficiently, maintaining its ability to agitate and lift dirt for thorough cleaning. Regular inspection of the belt’s condition and prompt replacement when necessary can help prolong the life of your vacuum cleaner and maintain its cleaning performance.
Read also: 15 Best Vacuum Cleaner Bissell For 2025
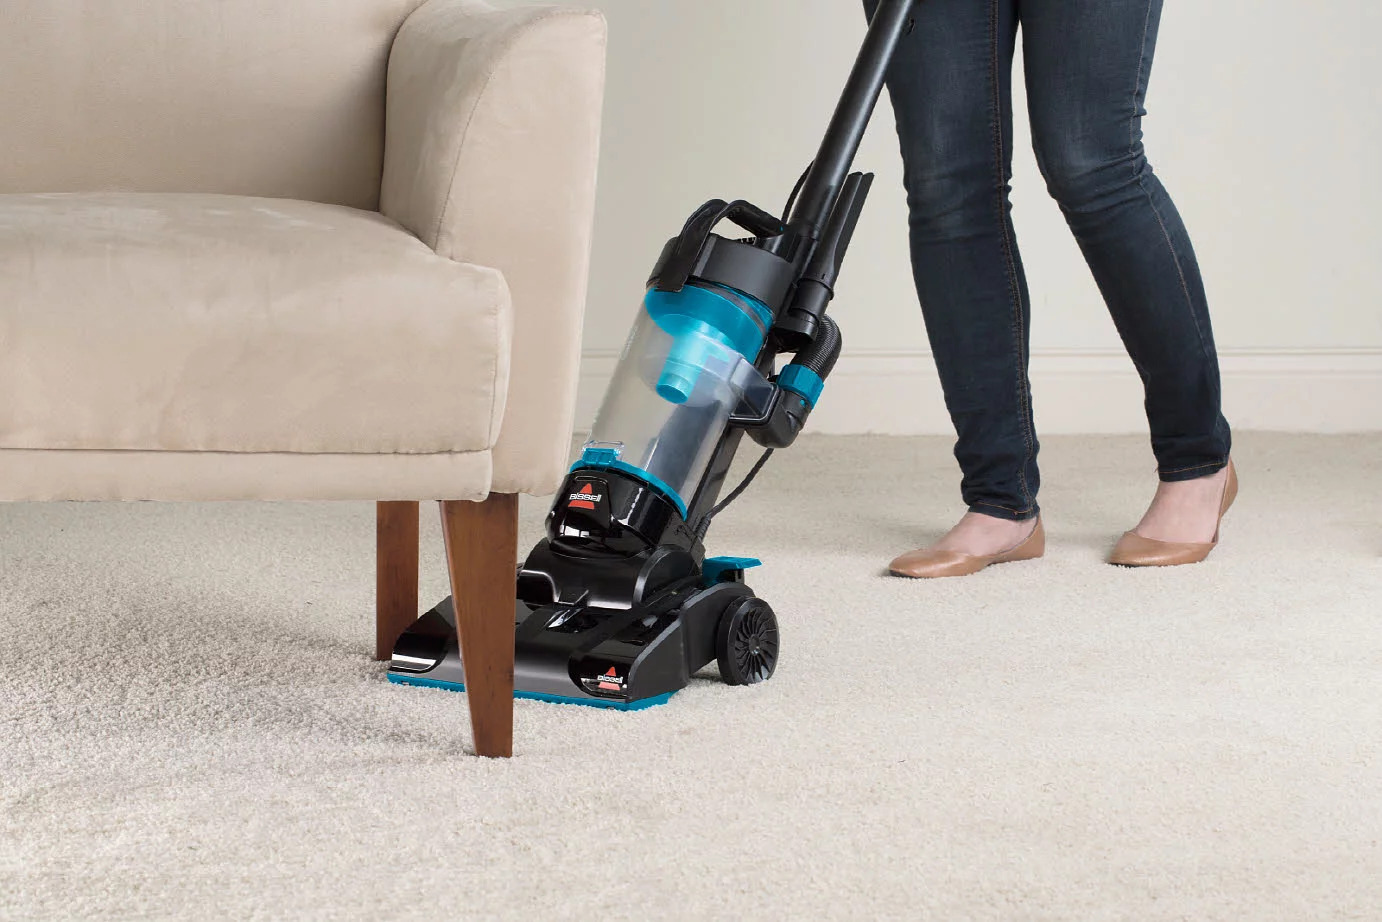
Cleaning the Brush Roll
The brush roll of your Bissell vacuum cleaner plays a vital role in agitating and lifting dirt from carpets and floors, ensuring thorough cleaning. Over time, the brush roll can become tangled with hair, threads, and debris, affecting its performance and potentially causing unusual noises. Regular maintenance, including cleaning the brush roll, is essential to keep your vacuum cleaner operating at its best. Here’s a step-by-step guide to cleaning the brush roll:
- Access the Brush Roll: Depending on your Bissell model, you may need to remove a cover or access panel to reach the brush roll. Refer to the user manual for specific instructions tailored to your vacuum cleaner.
- Remove Tangled Material: Carefully cut and remove any tangled hair, threads, or debris from the brush roll using scissors, a seam ripper, or a pair of pliers. Take care to avoid damaging the bristles or the brush roll’s housing during this process.
- Clean the Brush Roll: Use a damp cloth or a cleaning brush to wipe and scrub the brush roll’s bristles, removing any embedded dirt or residue. Ensure that the brush roll is thoroughly cleaned and free from any remaining debris.
- Inspect the Bearings: While the brush roll is exposed, take the opportunity to inspect the bearings for any signs of wear or damage. If the bearings are worn out or making unusual noises, they may need to be replaced to maintain the brush roll’s smooth operation.
- Reassemble the Components: Once the brush roll is clean and any necessary maintenance has been performed, reattach any covers or access panels that were removed to access the brush roll. Ensure that all components are securely fastened before using the vacuum cleaner.
- Test the Brush Roll: Plug in the vacuum cleaner and turn it on to verify that the brush roll is spinning smoothly and without unusual noises. If the brush roll operates quietly and effectively, you have successfully cleaned and maintained it.
By regularly cleaning and maintaining the brush roll, you can prolong the life of your Bissell vacuum cleaner and ensure that it continues to deliver exceptional cleaning performance. This simple yet crucial maintenance task can help prevent unnecessary wear and tear on the brush roll and contribute to the overall longevity of your vacuum cleaner.
Maintaining the Vacuum Cleaner
Maintaining your Bissell vacuum cleaner is essential for preserving its performance and ensuring its longevity. By incorporating regular maintenance tasks into your cleaning routine, you can address potential issues before they escalate and keep your vacuum cleaner operating at its best. Here are some key maintenance tips to help you maintain your Bissell vacuum cleaner:
- Regular Filter Cleaning: Clean the vacuum cleaner’s filters as recommended in the user manual. Washable filters should be rinsed and thoroughly dried before reinstalling, while non-washable filters may need to be replaced periodically.
- Clearing Blockages: Routinely check for and remove any blockages in the vacuum’s air path, hose, and brush roll to maintain optimal suction power and prevent damage to internal components.
- Inspecting the Belt: Periodically check the condition of the belt that drives the brush roll. Replace the belt if it shows signs of wear, stretching, or damage to ensure the effective operation of the brush roll.
- Cleaning the Brush Roll: Regularly clean the brush roll to remove tangled hair, threads, and debris, preventing performance issues and maintaining effective dirt agitation.
- Emptying the Dirt Tank: After each use, empty the dirt tank to prevent it from becoming overfilled, which can impede suction and airflow. Regularly emptying the dirt tank also helps maintain the vacuum’s overall cleanliness.
- Inspecting and Lubricating Moving Parts: Periodically inspect the vacuum cleaner’s moving parts, such as wheels and hinges, and lubricate them as needed to ensure smooth operation and maneuverability.
- Professional Servicing: If you encounter persistent issues or notice a decline in the vacuum cleaner’s performance, consider having it professionally serviced to address any underlying mechanical or electrical issues.
By incorporating these maintenance tasks into your cleaning routine, you can help prolong the life of your Bissell vacuum cleaner and ensure that it continues to deliver exceptional cleaning performance. Regular maintenance not only prevents potential issues but also contributes to a more efficient and reliable vacuuming experience, allowing you to maintain a clean and healthy home environment with ease.
Conclusion
Congratulations! You’ve now gained a wealth of knowledge on troubleshooting, maintaining, and optimizing the performance of your Bissell vacuum cleaner. By following the comprehensive guide provided in this article, you’ve equipped yourself with the skills and techniques necessary to address common issues and keep your vacuum cleaner running smoothly.
Remember, regular maintenance is key to ensuring that your Bissell vacuum cleaner continues to deliver powerful suction and exceptional cleaning performance. By routinely cleaning the filters, checking for blockages, replacing the belt when necessary, and maintaining the brush roll, you can prevent potential issues and prolong the life of your vacuum cleaner.
Additionally, incorporating simple maintenance tasks into your cleaning routine, such as emptying the dirt tank and inspecting moving parts, can contribute to a more efficient and reliable vacuuming experience, allowing you to maintain a clean and healthy home environment with ease.
Should you encounter persistent issues or notice a decline in your vacuum cleaner’s performance, don’t hesitate to seek professional servicing to address any underlying mechanical or electrical issues. By taking proactive steps to maintain your Bissell vacuum cleaner, you can continue to enjoy its exceptional cleaning capabilities for years to come.
With the knowledge and skills you’ve gained from this guide, you’re well-prepared to tackle any vacuum cleaner challenges that come your way. Here’s to a cleaner, healthier home environment and a well-maintained Bissell vacuum cleaner that continues to exceed your cleaning expectations!
Frequently Asked Questions about How To Fix My Bissell Vacuum Cleaner
Was this page helpful?
At Storables.com, we guarantee accurate and reliable information. Our content, validated by Expert Board Contributors, is crafted following stringent Editorial Policies. We're committed to providing you with well-researched, expert-backed insights for all your informational needs.
0 thoughts on “How To Fix My Bissell Vacuum Cleaner”