Articles
How To Use A Bissell Portable Carpet Cleaner
Modified: September 1, 2024
Learn how to effectively use a Bissell portable carpet cleaner with our informative articles. Discover tips and tricks for deep cleaning your carpets.
(Many of the links in this article redirect to a specific reviewed product. Your purchase of these products through affiliate links helps to generate commission for Storables.com, at no extra cost. Learn more)
Introduction
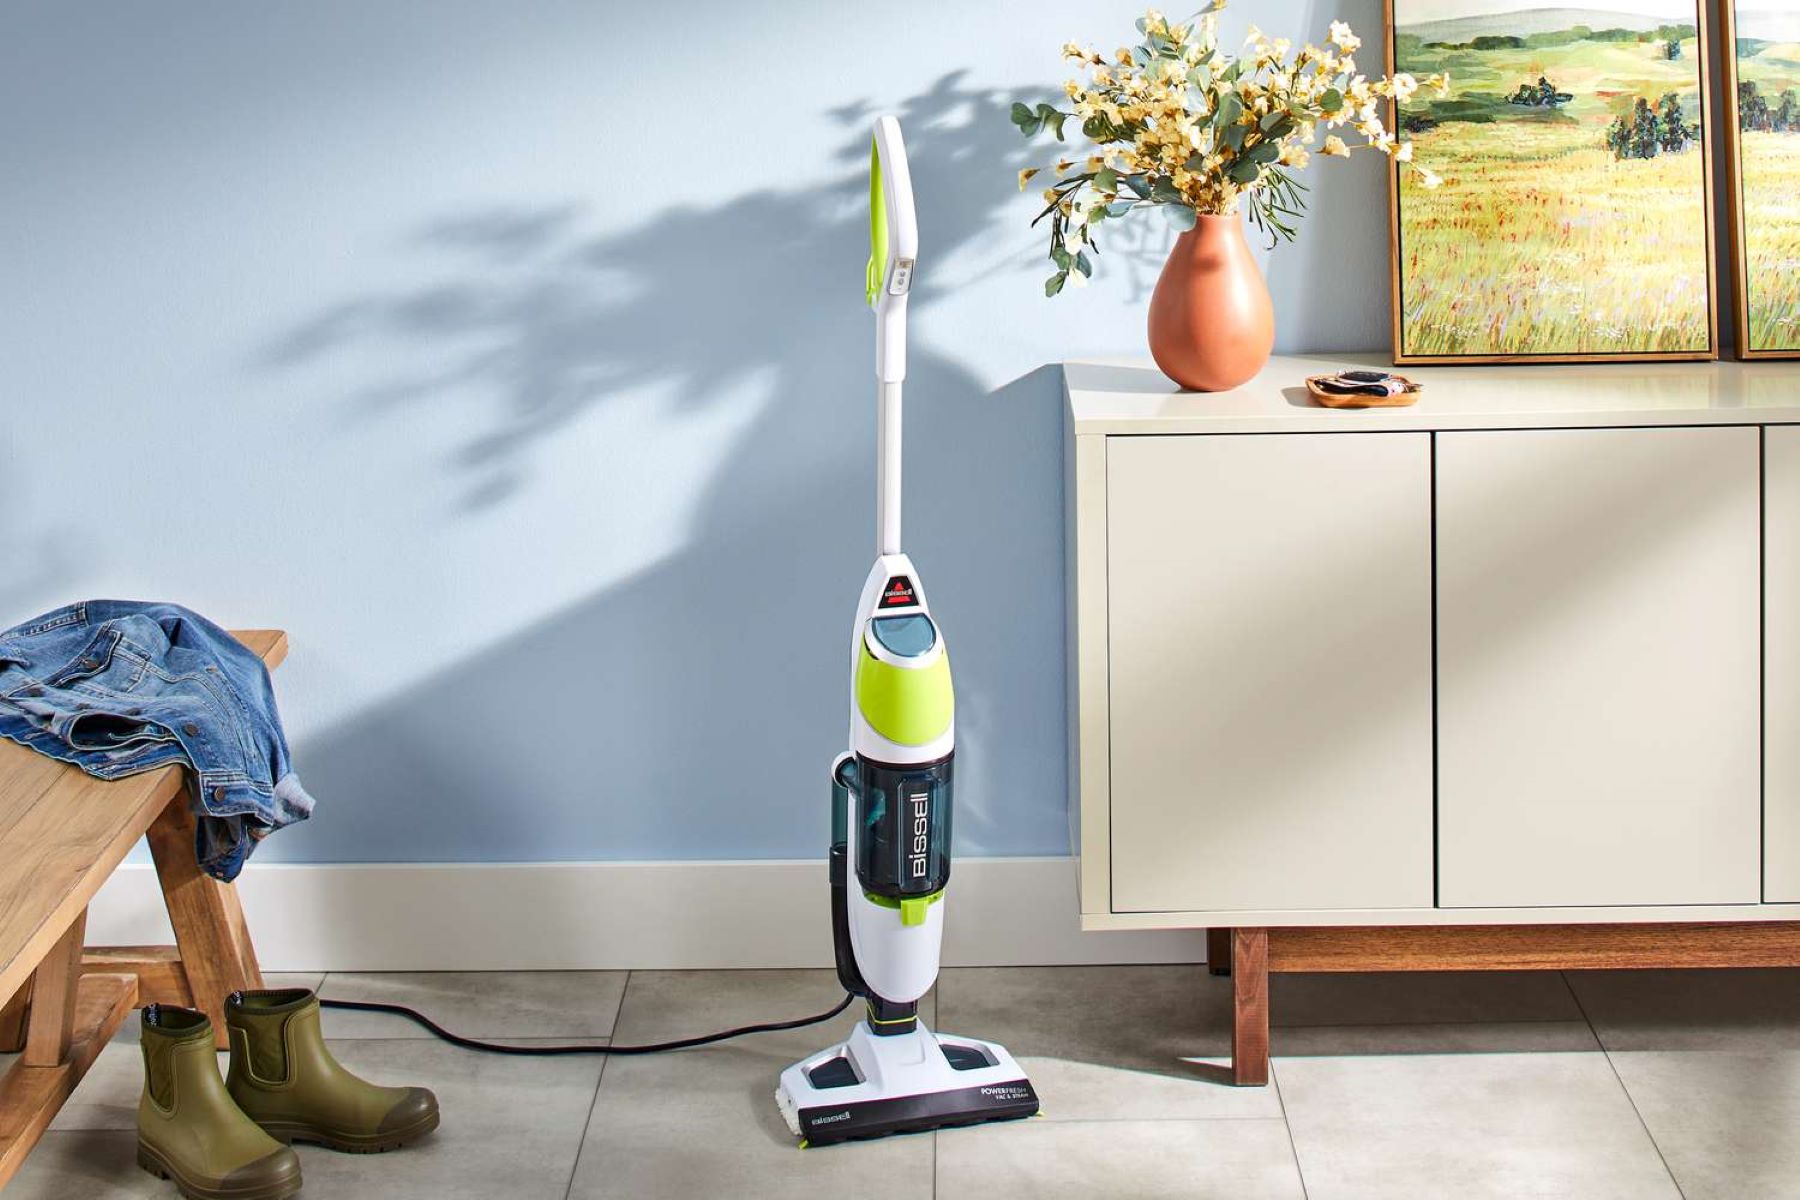
Welcome to our comprehensive guide on how to use a Bissell portable carpet cleaner. Keeping your carpets clean and fresh not only enhances the appearance of your home but also contributes to a healthier environment. Bissell portable carpet cleaners have been designed to make the task of carpet cleaning quick and easy, giving you professional results without the expense of hiring a professional cleaner. In this article, we will provide you with step-by-step instructions on how to effectively use a Bissell portable carpet cleaner.
Using a portable carpet cleaner allows you to tackle stains and dirt in specific areas or on the entire carpet, depending on your needs. Whether you need to clean high-traffic areas, pet stains, or spills, the Bissell portable carpet cleaner is a versatile and powerful tool that can handle it all.
Before we dive into the steps, it’s important to note that Bissell portable carpet cleaners come in different models, so be sure to consult the user manual specific to your machine. This guide provides general instructions that apply to most Bissell portable carpet cleaners.
Now, let’s get started on how to effectively use your Bissell portable carpet cleaner and bring new life to your carpets.
Key Takeaways:
- Keep your Bissell portable carpet cleaner in top condition by regularly emptying and cleaning the dirty water tank, rinsing the machine, and drying the carpets thoroughly after each use. This maintenance ensures reliable performance and prolongs the machine’s lifespan.
- Pre-treating stubborn stains before using your Bissell portable carpet cleaner can significantly enhance its effectiveness in removing tough stains, ensuring a thorough and efficient cleaning process. Choose the appropriate carpet stain remover or pre-treat spray for best results.
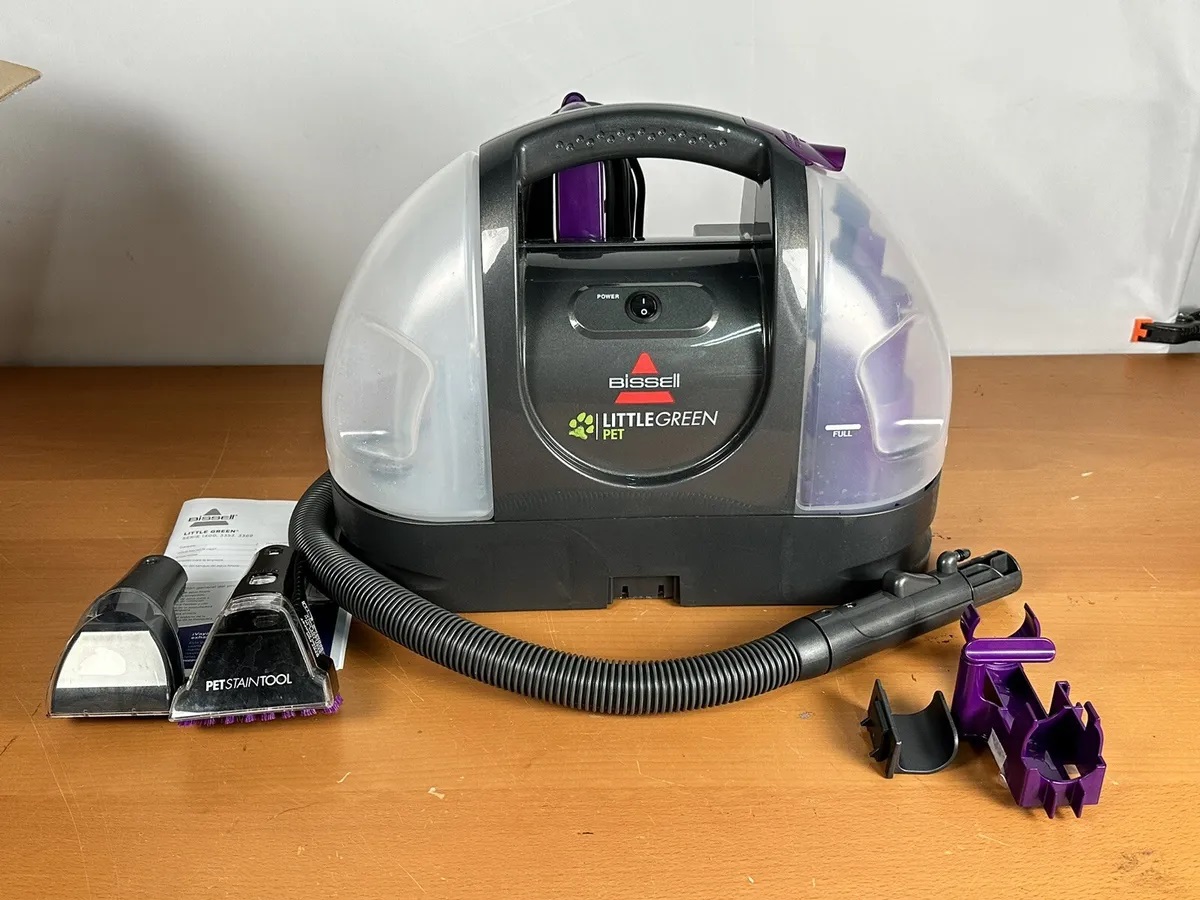
Step 1: Gather Necessary Tools and Materials
Before you begin using your Bissell portable carpet cleaner, it’s important to gather all the necessary tools and materials to ensure a smooth cleaning process. Here’s a list of what you’ll need:
- Bissell portable carpet cleaner
- Clean water
- Bissell carpet cleaning solution
- Measuring cup
- Bucket or sink
- Soft-bristle brush or cloth
- Clean towels or rags
- Vacuum cleaner
- Protective gloves (optional)
Having these tools and materials ready beforehand will save you time and ensure a seamless cleaning experience.
Start by ensuring that your Bissell portable carpet cleaner is clean and in good working condition. If it has been a while since you last used the machine, give it a quick once-over to make sure there is no debris or residue from previous cleaning sessions.
Next, gather clean water for filling the clean water tank of your Bissell portable carpet cleaner. It’s recommended to use hot tap water for optimal cleaning results. However, make sure the temperature is not too hot to avoid damaging the machine.
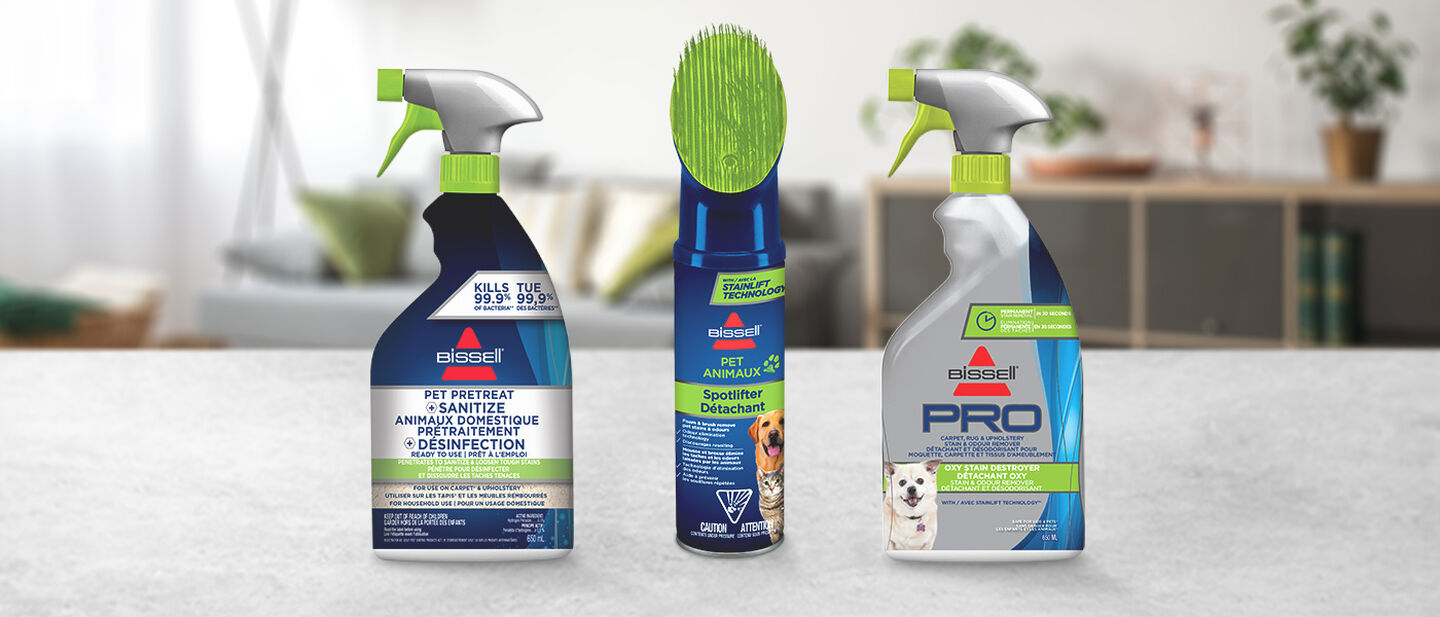
In addition to water, you will also need a suitable Bissell carpet cleaning solution. Bissell offers a variety of carpet cleaning solutions designed to tackle different types of stains and odors. Choose one that best suits your needs and follow the instructions on the bottle for proper dilution.
Having a measuring cup handy will help ensure you use the correct amount of cleaning solution. Too little may not effectively clean the carpets, while using too much can leave behind a soapy residue that attracts dirt.
Lastly, keep a bucket or sink nearby for emptying the dirty water tank during and after the cleaning process. It’s also a good idea to have a soft-bristle brush or cloth for spot cleaning stubborn stains, as well as clean towels or rags for drying the carpets once you’re done.
With all the necessary tools and materials ready, you’re now set to move on to the next step: preparing the carpet cleaner.
Step 2: Prepare the Carpet Cleaner
Now that you have gathered all the necessary tools and materials, it’s time to prepare your Bissell portable carpet cleaner for use. Follow these steps to ensure proper preparation:
- First, ensure that the clean water tank of your Bissell carpet cleaner is empty. Remove the tank by lifting it up and out of the machine. Set it aside for now.
- Next, locate the dirty water tank, which is usually located below or behind the clean water tank. Check if it has any remaining dirty water or debris from previous use. If so, empty and rinse the tank before reattaching it securely to the machine.
- If your Bissell carpet cleaner has a nozzle or brush attachment, inspect it for any clogs or obstructions. Clean it if necessary to ensure smooth water flow during the cleaning process.
- Now, it’s time to fill the clean water tank. Take the tank to a sink or bucket and remove the cap. Fill the tank with hot tap water up to the recommended fill line, which is typically indicated on the tank.
- Once the tank is filled with water, it’s time to add the Bissell carpet cleaning solution. Refer to the instructions on the cleaning solution bottle for the recommended amount to add. Typically, you will need to pour a specific amount into the tank, often indicated by measuring lines on the tank itself.
- Securely put the cap back on the clean water tank and reattach the tank to the carpet cleaner. Make sure it is properly seated and latched to prevent any leaks during the cleaning process.
With the carpet cleaner prepared and the clean water tank filled with water and cleaning solution, you’re now ready to move on to the next step: pre-treating stains if necessary.
Step 3: Pre-treat Stains (Optional)
If you have stubborn stains on your carpet, it’s a good idea to pre-treat them before using your Bissell portable carpet cleaner. Pre-treating helps to break down and loosen tough stains, making them easier to remove during the cleaning process. Follow these steps to pre-treat stains:
- Identify the specific stains on your carpet that require pre-treatment. Common stains include pet stains, food or beverage spills, and high-traffic areas.
- Choose an appropriate carpet stain remover or pre-treat spray that is compatible with your carpet type. Avoid using bleach or strong chemicals that may damage the carpet fibers.
- Apply the stain remover directly to the stained area. Follow the instructions on the product label for the appropriate amount to use and the recommended time to let it sit on the stain.
- Gently agitate the stain remover into the carpet fibers using a soft-bristle brush or cloth. Be careful not to scrub too vigorously, as it may cause damage to the carpet.
- Allow the stain remover to penetrate the stain for the recommended duration specified on the product label. This typically ranges from a few minutes to several hours.
- After the recommended time has passed, blot the treated area with a clean towel or cloth to remove excess moisture and dissolved stains. Avoid rubbing the stain, as this may spread it further.
Pre-treating stains is an optional step, but it can greatly improve the effectiveness of your carpet cleaning. By breaking down and loosening the stains beforehand, the Bissell portable carpet cleaner will have an easier time lifting and removing the stains during the cleaning process. However, if you don’t have any stubborn stains, you can skip this step and move on to the next one.
With any pre-treated stains addressed, we can now move on to the next step: filling the clean water tank of your Bissell portable carpet cleaner.
Step 4: Fill the Clean Water Tank
Now that you have prepared your Bissell portable carpet cleaner and pre-treated any stubborn stains, it’s time to fill the clean water tank. The clean water tank holds the water and cleaning solution mixture that will be sprayed onto your carpets during the cleaning process. Follow these steps to properly fill the clean water tank:
- Make sure the Bissell portable carpet cleaner is turned off and unplugged from the power source.
- Locate the clean water tank, which is usually detachable and located towards the front or top of the machine.
- Remove the clean water tank by lifting it up and out of the carpet cleaner. Place it on a stable surface, such as a counter or table.
- Locate the fill line on the clean water tank. This is usually indicated by a horizontal line or other markings. It’s important not to exceed this line to avoid overfilling the tank.
- Take the pre-mixed solution of water and Bissell carpet cleaning solution that you prepared earlier and slowly pour it into the clean water tank. Pour the solution up to the recommended fill line.
- Be careful not to overfill the tank, as this can cause leaking or issues with the machine’s performance. Use a measuring cup to ensure accurate measurements if needed.
- Once the tank is filled to the appropriate level, securely place the cap back on the tank, ensuring it is tightly sealed to prevent any leakage.
- Reattach the clean water tank to the Bissell portable carpet cleaner, ensuring it is properly seated and latched.
With the clean water tank filled, you’re ready to move on to the next step: attaching the cleaning solution to your Bissell portable carpet cleaner.
Read more: How To Use A Bissell Proheat Carpet Cleaner
Step 5: Attach the Cleaning Solution
Now that you have filled the clean water tank of your Bissell portable carpet cleaner, it’s time to attach the cleaning solution. The cleaning solution works in conjunction with the water to effectively clean and remove dirt and stains from your carpets. Follow these steps to properly attach the cleaning solution:
- Ensure that the Bissell portable carpet cleaner is turned off and unplugged.
- Locate the cleaning solution compartment on the carpet cleaner. This is typically a separate container or area where the cleaning solution is stored.
- Remove the cleaning solution compartment or container from the carpet cleaner. This may involve twisting or sliding it out, depending on the model.
- Take the Bissell carpet cleaning solution bottle and remove the cap.
- Slowly pour the cleaning solution into the designated compartment or container. Be sure to follow the manufacturer’s instructions for the specific amount to use.
- Once the cleaning solution is added, securely place the cleaning solution compartment or container back into the carpet cleaner, making sure it is properly positioned and locked.
- Check that there are no leaks or spills from the cleaning solution compartment before proceeding.
By attaching the cleaning solution, you ensure that the Bissell portable carpet cleaner dispenses the proper mixture of cleaner and water onto your carpets. This combination helps to break down stains and dirt, leaving your carpets fresh and clean.
With the cleaning solution securely attached, you’re ready to move on to the next step: starting the cleaning process with your Bissell portable carpet cleaner.
When using a Bissell portable carpet cleaner, make sure to thoroughly vacuum the area first to remove any loose dirt and debris. This will ensure a more effective and efficient cleaning process.
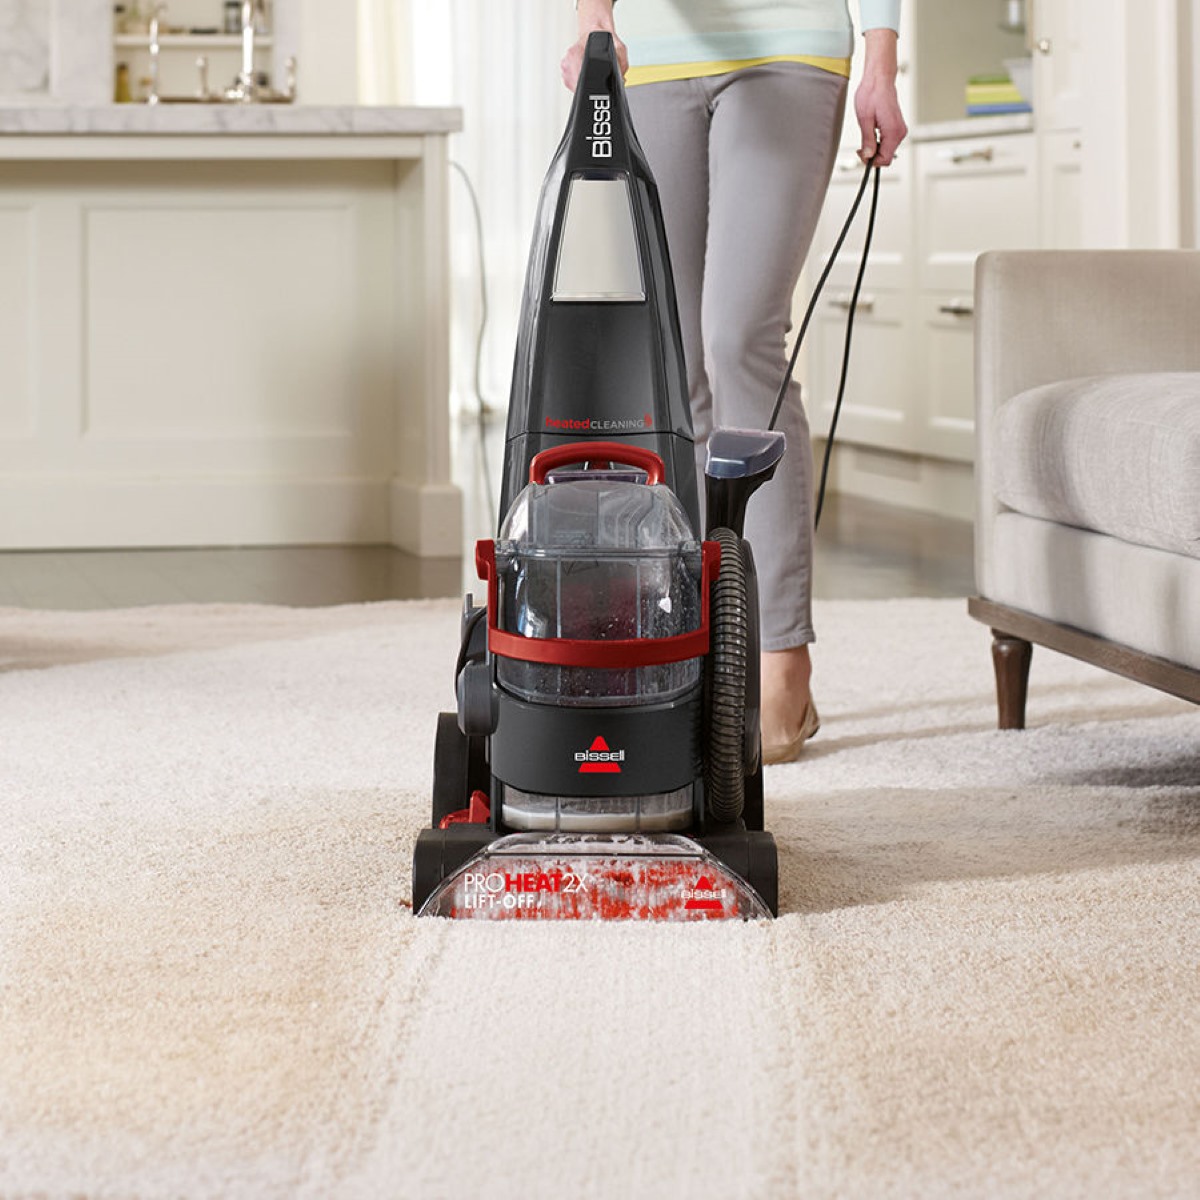
Step 6: Start Cleaning
With your Bissell portable carpet cleaner prepared and the cleaning solution attached, it’s time to start cleaning your carpets. Follow these steps to effectively use the carpet cleaner and achieve optimal results:
- Ensure that the Bissell portable carpet cleaner is plugged into a power source.
- Turn on the carpet cleaner by pressing the power button, typically located on the unit.
- Hold the carpet cleaner’s handle firmly and extend the cleaning wand or attachment, if applicable. This allows you to reach different areas and angles of your carpets.
- Start by positioning the carpet cleaner at a corner of the room, preferably the farthest from the exit. This allows you to clean your way towards the exit, avoiding stepping on freshly cleaned areas.
- Press the trigger or lever located on the handle to release a spray of the water and cleaning solution mixture onto the carpet.
- While holding down the trigger or lever, move the carpet cleaner in a slow and steady back-and-forth motion across the carpet. This ensures that the cleaning solution adequately saturates the carpet fibers.
- Continue cleaning in overlapping sections, ensuring that each section receives sufficient cleaning solution coverage.
- If you encounter particularly dirty or stained areas, you can go over them multiple times or use the spray-only function, if available, to concentrate the cleaning solution on those areas.
- As you clean, you will notice the dirty water being suctioned into the machine’s dirty water tank. This is a sign that the carpet cleaner is effectively lifting dirt and stains from your carpets.
- Continue cleaning until you have covered the entire carpeted area. Be sure to work your way towards the exit, making sure to clean all areas evenly.
Remember to work in small sections to ensure that the cleaning solution doesn’t dry out before you have a chance to clean it up. Additionally, avoid over-wetting your carpets, as this can prolong the drying process and potentially damage the carpet fibers.
Once you have finished cleaning the entire carpeted area, you can move on to the next step: emptying the dirty water tank of your Bissell portable carpet cleaner.
Step 7: Empty the Dirty Water Tank
After completing the cleaning process with your Bissell portable carpet cleaner, it’s important to empty the dirty water tank to maintain its effectiveness and prevent any unpleasant odors. Follow these steps to properly empty the dirty water tank:
- Ensure that the Bissell portable carpet cleaner is turned off and unplugged from the power source.
- Locate the dirty water tank, which is typically located below or behind the clean water tank.
- Remove the dirty water tank by lifting it up and out of the carpet cleaner. Be cautious as it may be heavy and require some force to detach.
- Take the dirty water tank to a sink or toilet and carefully empty the contents.
- Rinse the dirty water tank thoroughly with clean water to remove any remaining dirt or residue.
- Wipe down the outside of the dirty water tank with a damp cloth to remove any spills or stains.
- Once the tank is clean and dry, reattach it securely to the carpet cleaner, making sure it is properly seated and latched.
Emptying the dirty water tank is a crucial step to maintain the performance of your Bissell portable carpet cleaner. Failure to regularly empty the tank can lead to reduced suction power and can even damage the machine over time. Regularly cleaning and emptying the dirty water tank will ensure that your carpets are left fresh and free of any dirt or debris.
With the dirty water tank emptied and reattached, you’re ready to move on to the next step: rinsing and cleaning the machine itself.
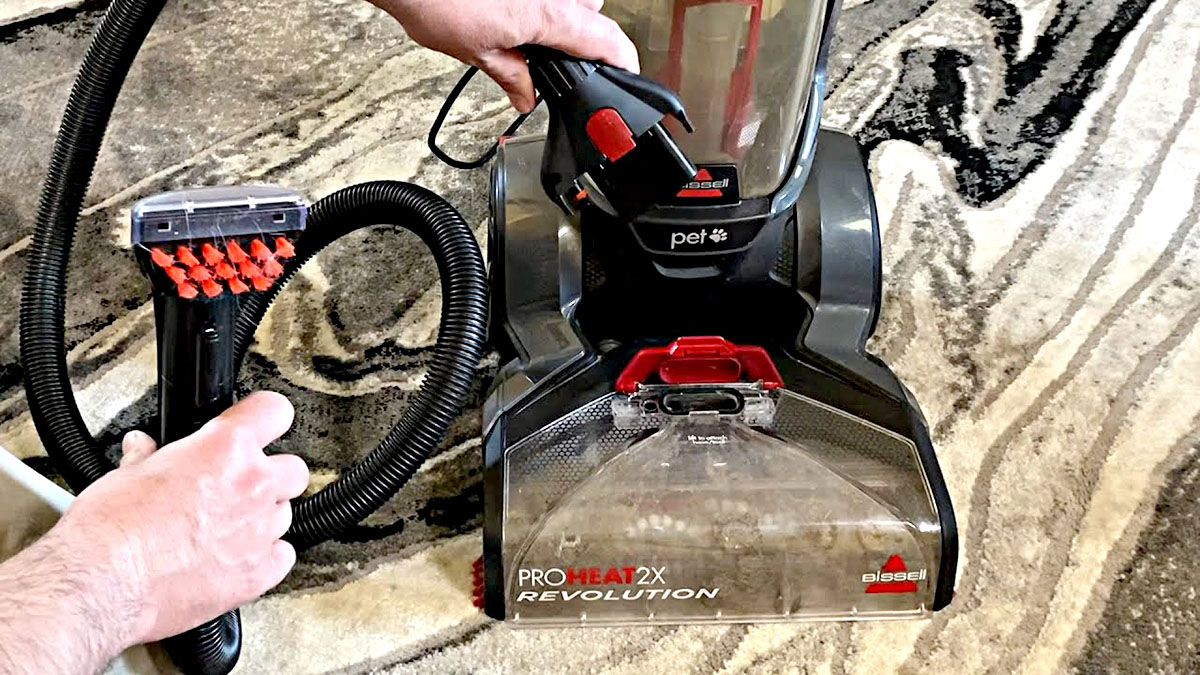
Step 8: Rinse and Clean the Machine
Properly rinsing and cleaning your Bissell portable carpet cleaner after each use is essential to maintain its performance and extend its lifespan. Here’s how you can effectively rinse and clean the machine:
- Ensure that the Bissell portable carpet cleaner is turned off and unplugged from the power source.
- Remove the clean water tank and the dirty water tank from the carpet cleaner and set them aside.
- Inspect the brushes, nozzles, and attachments for any debris or clogs. Use a soft-bristle brush or cloth to remove any dirt or debris that may have accumulated.
- Fill a sink or bucket with warm water and add a small amount of mild detergent.
- Submerge the brushes, nozzles, and attachments into the soapy water solution and gently scrub them with a brush or sponge.
- Rinse the brushes, nozzles, and attachments thoroughly with clean water to remove any soap residue.
- Wipe down the exterior of the machine, including the handle and body, with a damp cloth or sponge.
- Check the filter, if applicable, and clean or replace it according to the manufacturer’s instructions. This helps maintain optimal suction power and prevents debris from entering the machine.
- Once all the components are clean and dry, reassemble the machine by attaching the clean water tank and the dirty water tank securely.
- Store your Bissell portable carpet cleaner in a clean and dry area, ready for the next use.
Rinsing and cleaning your Bissell portable carpet cleaner not only ensures its longevity but also helps prevent dirt and debris from being reintroduced into your carpets during the next cleaning session. Regular maintenance of the machine will keep it in top condition and ready to tackle your carpet cleaning needs.
With the machine rinsed and cleaned, you’re ready to move on to the final step: drying the carpets.
Read more: How To Use A Bissell Pet Pro Carpet Cleaner
Step 9: Dry the Carpet
After cleaning your carpets with a Bissell portable carpet cleaner, it’s important to properly dry the carpets to prevent mildew and ensure a clean and fresh result. Follow these steps to effectively dry your carpets:
- Before starting the drying process, ensure that the carpet cleaner is turned off and unplugged.
- Use a clean towel or cloth to gently blot any excess moisture from the carpet surface. This helps to remove any remaining cleaning solution and speeds up the drying process.
- Open windows or turn on fans to improve air circulation in the room. This will aid in the evaporation of moisture in the carpets.
- If possible, use a dehumidifier in the room to reduce humidity levels and speed up the drying process.
- Avoid walking on the damp carpets while they are drying to prevent transferring dirt or causing impressions in the fibers.
- If you have access to natural sunlight, try to position the carpets in a way that allows sunlight to reach and aid in the drying process. Sunlight can help kill any remaining bacteria or odors.
- Oscillating fans or portable carpet dryers can also be used to expedite the drying process. Point them toward the damp carpets and let the airflow circulate to help dry the fibers.
- Depending on the humidity levels and airflow in the room, the carpets may take several hours to dry completely. Be patient and avoid using the carpets until they are fully dry.
- Once the carpets are dry, run a vacuum cleaner over them using the appropriate attachment to fluff up and restore the carpet fibers.
- Inspect the carpets for any spots or stains that may require additional cleaning or treatment. Address them promptly to avoid permanent staining.
Properly drying the carpets after cleaning is crucial to prevent mold and mildew growth. It also helps to maintain the cleanliness and freshness of your carpets. By following these steps to dry your carpets thoroughly, you can ensure that they are ready for use and enjoy the newly cleaned look and feel.
Congratulations! You have successfully completed all the steps to use a Bissell portable carpet cleaner and achieve clean and fresh carpets for your home. Regular cleaning and maintenance will help prolong the life of your carpets and keep them looking their best for years to come.
Thank you for choosing Bissell and happy cleaning!
Conclusion
Cleaning your carpets is now easier and more convenient with the use of a Bissell portable carpet cleaner. By following the step-by-step guide outlined in this article, you can effectively and efficiently clean your carpets, removing dirt, stains, and odors to bring new life to your home.
We began by gathering all the necessary tools and materials, ensuring that you have everything you need for a successful cleaning session. Preparing the carpet cleaner and filling the clean water tank with the appropriate mixture of water and Bissell carpet cleaning solution was the next step.
If you encountered any stubborn stains, we discussed the option of pre-treating them before proceeding with the cleaning process. This step can significantly enhance the effectiveness of the carpet cleaner in removing tough stains.
Once everything was prepared, you were guided on how to start cleaning your carpets with the Bissell portable carpet cleaner. The careful and thorough movement of the cleaner ensured optimal cleaning results.
After completing the cleaning process, it was crucial to empty and clean the dirty water tank and rinse the machine components to maintain its performance. Properly drying the carpets using various methods was the last step to ensure a fresh and clean outcome.
Regular maintenance and cleaning of your Bissell portable carpet cleaner will help prolong its lifespan, ensuring reliable performance for future cleaning tasks. By following these steps, you can enjoy clean, fresh, and revitalized carpets in your home.
Thank you for choosing Bissell as your go-to carpet cleaning solution. We hope that this comprehensive guide has provided you with the knowledge and confidence to effectively use your Bissell portable carpet cleaner. Enjoy the satisfaction of having cleaner and healthier carpets, making your home a more inviting and comfortable space for you and your family.
Frequently Asked Questions about How To Use A Bissell Portable Carpet Cleaner
Was this page helpful?
At Storables.com, we guarantee accurate and reliable information. Our content, validated by Expert Board Contributors, is crafted following stringent Editorial Policies. We're committed to providing you with well-researched, expert-backed insights for all your informational needs.