Home>Home Appliances>Kitchen Appliances>How Long To Dry Jerky In Nesco Dehydrator
Kitchen Appliances
How Long To Dry Jerky In Nesco Dehydrator
Modified: January 18, 2024
Discover the perfect jerky drying time with your Nesco dehydrator. Get expert tips and tricks for using kitchen appliances to make delicious homemade jerky.
(Many of the links in this article redirect to a specific reviewed product. Your purchase of these products through affiliate links helps to generate commission for Storables.com, at no extra cost. Learn more)
Introduction
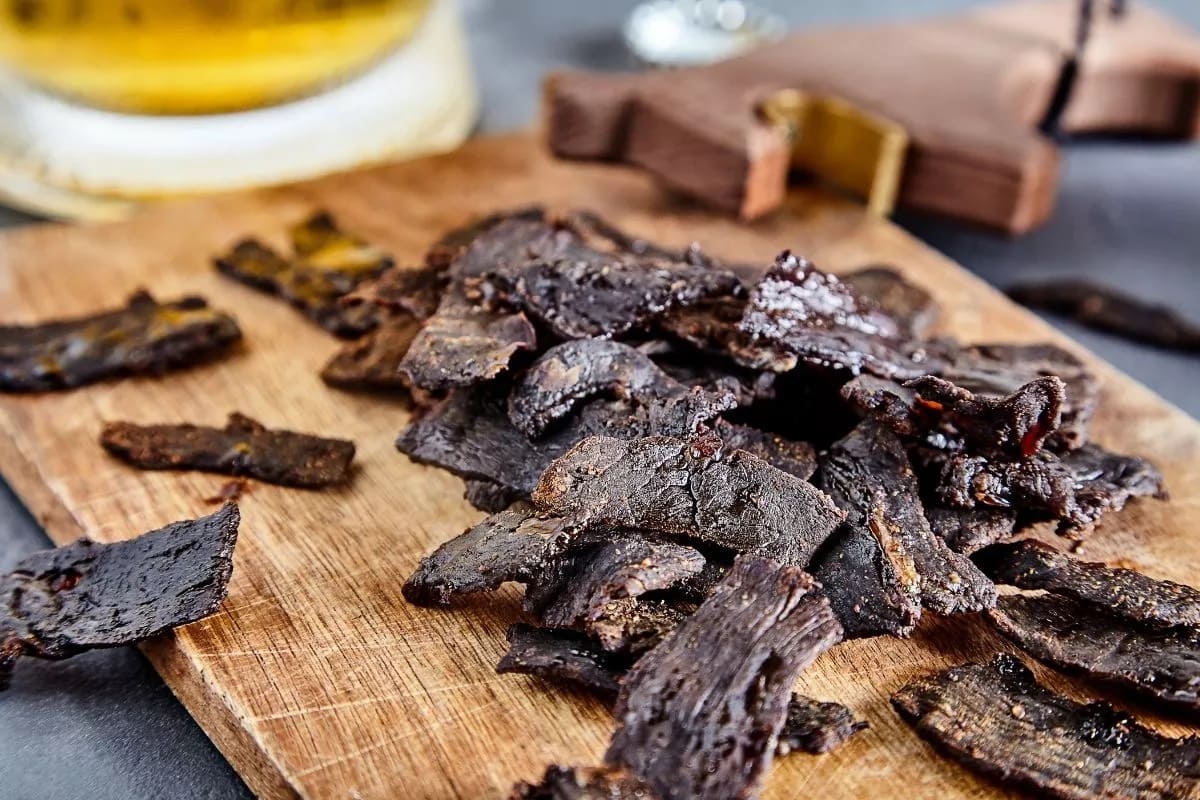
Welcome to the world of homemade jerky! If you're a fan of this delicious, protein-packed snack, then you're in for a treat. Using a Nesco dehydrator to make jerky is not only a fun and rewarding experience, but it also allows you to customize the flavor and texture to your liking. In this comprehensive guide, we'll walk you through the process of drying jerky in a Nesco dehydrator, from choosing the right meat to storing the finished product.
Whether you're a seasoned jerky enthusiast or a newcomer to the art of homemade snacks, this article will provide you with the knowledge and confidence to create mouthwatering jerky in your own kitchen. So, roll up your sleeves, sharpen your knives, and get ready to embark on a jerky-making adventure that will leave your taste buds tingling with delight.
Key Takeaways:
- Homemade jerky in a Nesco dehydrator is a fun and rewarding adventure. Choose lean meat, season to taste, and dry at 145°F to 160°F for 4 to 6 hours for delicious, safe-to-eat jerky.
- Store homemade jerky in airtight containers at room temperature, or refrigerate or freeze for longer shelf life. Portioning into individual servings enhances convenience and reduces exposure to air and moisture.
Read more: How Long To Dry Thyme In A Dehydrator
Choosing the Right Meat
When it comes to making jerky, selecting the right type of meat is crucial to achieving the best flavor and texture. While beef is the most popular choice for jerky, you can also use other meats such as turkey, chicken, venison, or even fish. The key is to choose lean cuts with minimal fat content, as fat can become rancid during the drying process and shorten the jerky’s shelf life.
For beef jerky, cuts like top round, bottom round, or eye of round are excellent choices due to their low fat content and rich flavor. When using poultry, opt for boneless, skinless cuts to ensure a lean and tender finished product. If you prefer a gamey flavor, venison or other wild game meats can be used, but keep in mind that they may require additional marinating to tenderize the meat.
Before slicing the meat, it’s essential to partially freeze it to make the cutting process easier and more precise. Aim for uniform slices that are approximately 1/8 to 1/4 inch thick, as this consistency will ensure even drying and a consistent texture across the entire batch of jerky.
Ultimately, the choice of meat will influence the overall flavor and texture of your jerky, so don’t be afraid to experiment with different options to find your perfect combination. Whether you prefer the robust taste of beef or the subtle sweetness of turkey, the right meat will lay the foundation for a delectable batch of homemade jerky.
Preparing the Meat
Once you’ve selected the perfect cut of meat for your jerky, it’s time to prepare it for the drying process. Start by trimming away any visible fat and connective tissue, as these can hinder the drying process and lead to spoilage. A sharp knife is essential for this step, as it allows you to remove the unwanted portions with precision, leaving behind only the lean, flavorful meat.
Next, it’s important to consider the grain of the meat when slicing it. For the most tender and chewable jerky, slice the meat against the grain. This technique creates shorter muscle fibers in the finished jerky, resulting in a more tender texture that’s easier to bite and enjoy. Take your time with this step, as the direction in which you slice the meat can significantly impact the quality of the final product.
After trimming and slicing the meat, it’s time to address any potential bacteria or pathogens that may be present. While the drying process will eliminate most of these concerns, an additional safety step is to pre-treat the meat with a solution of vinegar, lemon juice, or food-grade hydrogen peroxide. This pre-treatment not only helps to kill surface bacteria but also adds a layer of flavor to the meat, enhancing the overall taste of the jerky.
Finally, consider marinating the meat to infuse it with your desired flavors. A marinade can consist of various ingredients such as soy sauce, Worcestershire sauce, liquid smoke, honey, garlic, and spices, allowing you to customize the taste of the jerky to your preference. Marinating the meat for at least a few hours, or ideally overnight, will ensure that the flavors penetrate deeply, resulting in a rich and savory jerky that tantalizes the taste buds with every bite.
By meticulously preparing the meat for dehydration, you’ll set the stage for a batch of jerky that’s not only delicious but also safe to consume. With the right techniques and attention to detail, you’ll soon be on your way to savoring your homemade jerky creation.
Seasoning the Jerky
Once the meat is prepared and sliced, it’s time to infuse it with delectable flavors that will elevate your jerky to new heights. The seasoning process is where you can get creative, experimenting with a variety of herbs, spices, and sauces to craft a personalized flavor profile that suits your palate.
One of the simplest yet most effective ways to season jerky is by using a dry rub. This mixture typically includes salt, pepper, garlic powder, onion powder, and other spices of your choice. The dry rub adheres to the surface of the meat, creating a flavorful crust as the jerky dries. For a more intense flavor, consider adding ingredients such as smoked paprika, cayenne pepper, or cumin to the dry rub, imparting a smoky, spicy, or earthy essence to the jerky.
If you prefer a saucier approach, marinating the meat in a liquid seasoning blend can yield mouthwatering results. Common marinade ingredients include soy sauce, Worcestershire sauce, teriyaki sauce, honey, maple syrup, and various vinegars. The acidic components in the marinade not only tenderize the meat but also help the flavors penetrate deeply, resulting in a well-seasoned and succulent jerky.
For those who crave a hint of smokiness in their jerky, liquid smoke can be a game-changer. This concentrated seasoning imparts a rich, smoky flavor to the meat, mimicking the essence of traditional smoked jerky without the need for a smoker. A small amount of liquid smoke goes a long way, so exercise caution when adding it to your marinade or seasoning blend.
When it comes to seasoning jerky, the possibilities are endless. Whether you prefer a classic, savory flavor profile or a bold, spicy kick, the seasoning stage allows you to tailor your jerky to your exact preferences. By embracing your culinary creativity and experimenting with different combinations of seasonings, you’ll be well on your way to producing jerky that’s bursting with irresistible flavor.
For Nesco dehydrators, dry jerky for 4-6 hours at 160°F. Check for doneness by bending a piece – it should crack but not break. Rotate trays for even drying.
Loading the Dehydrator
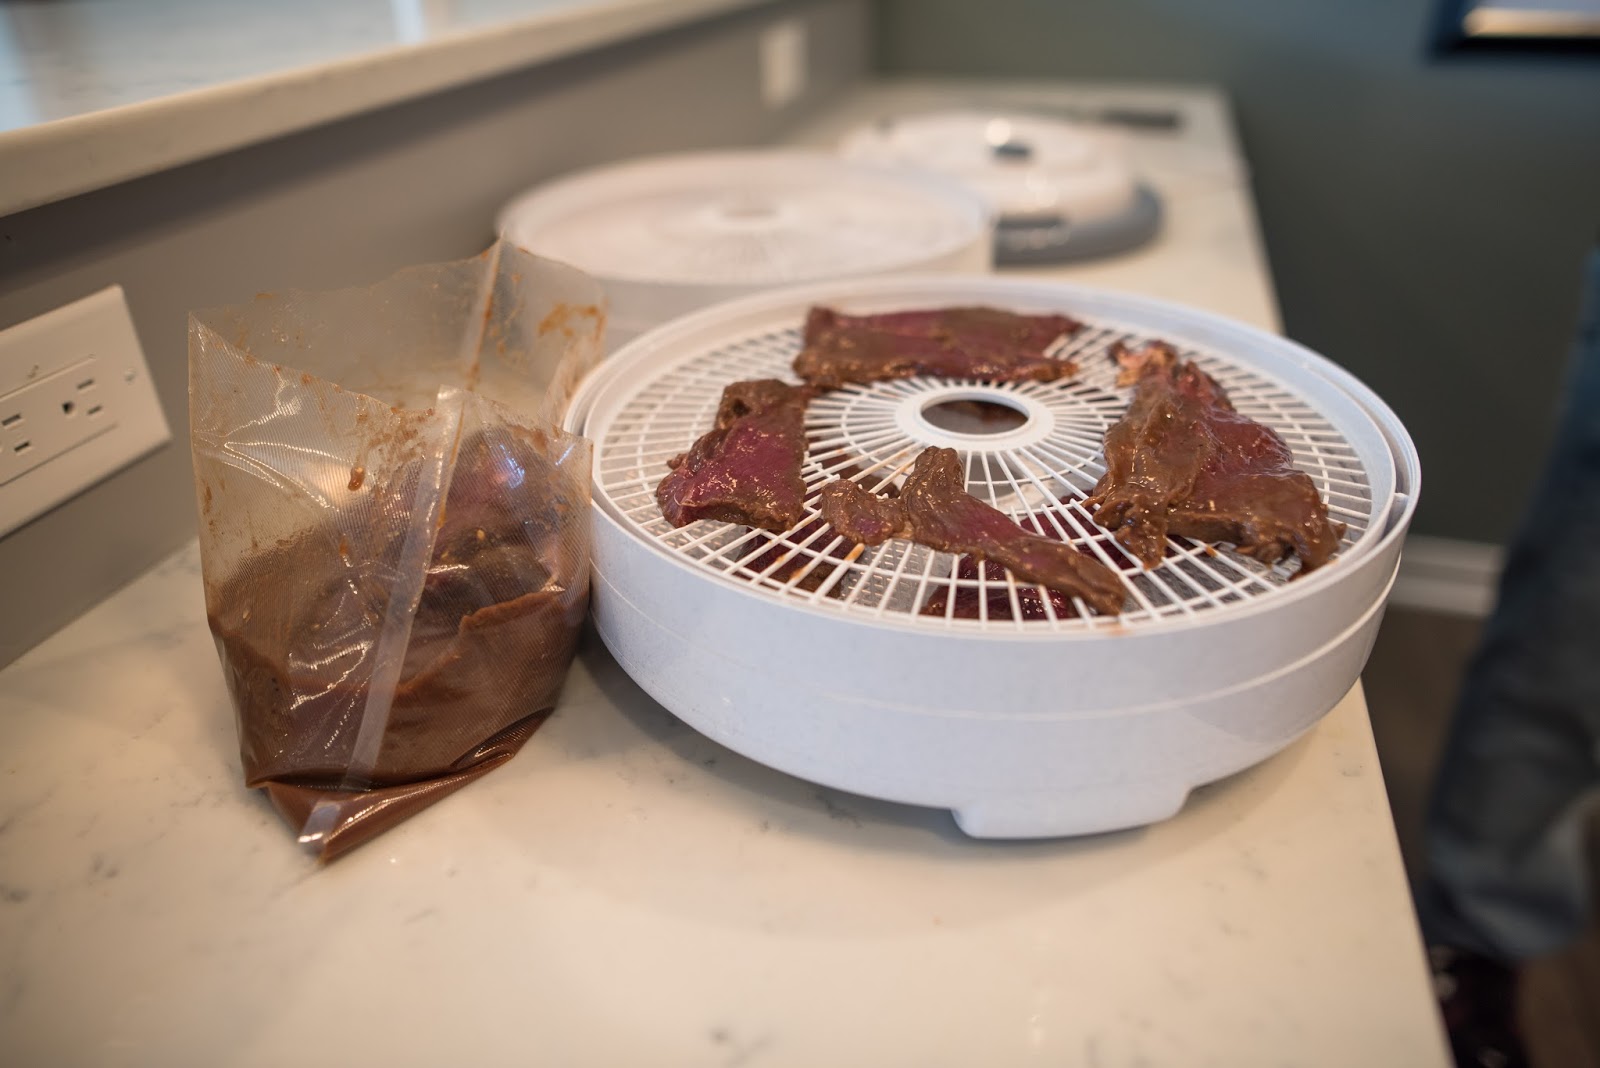
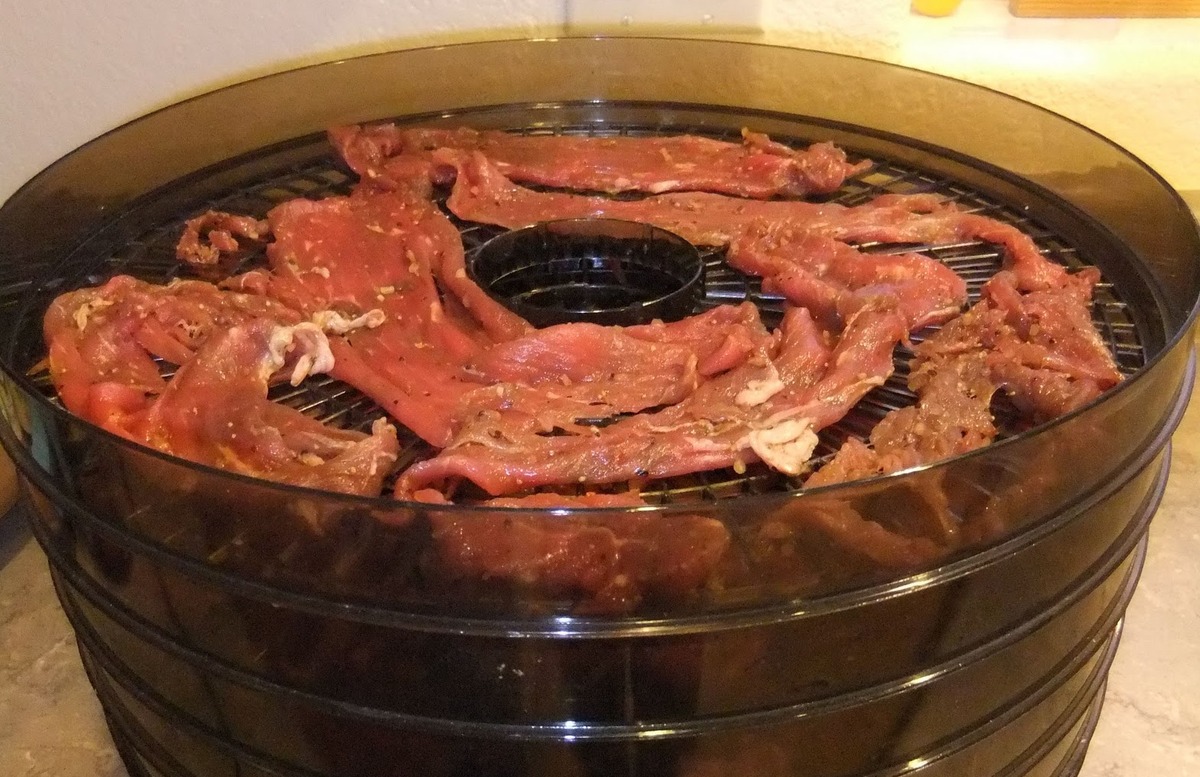
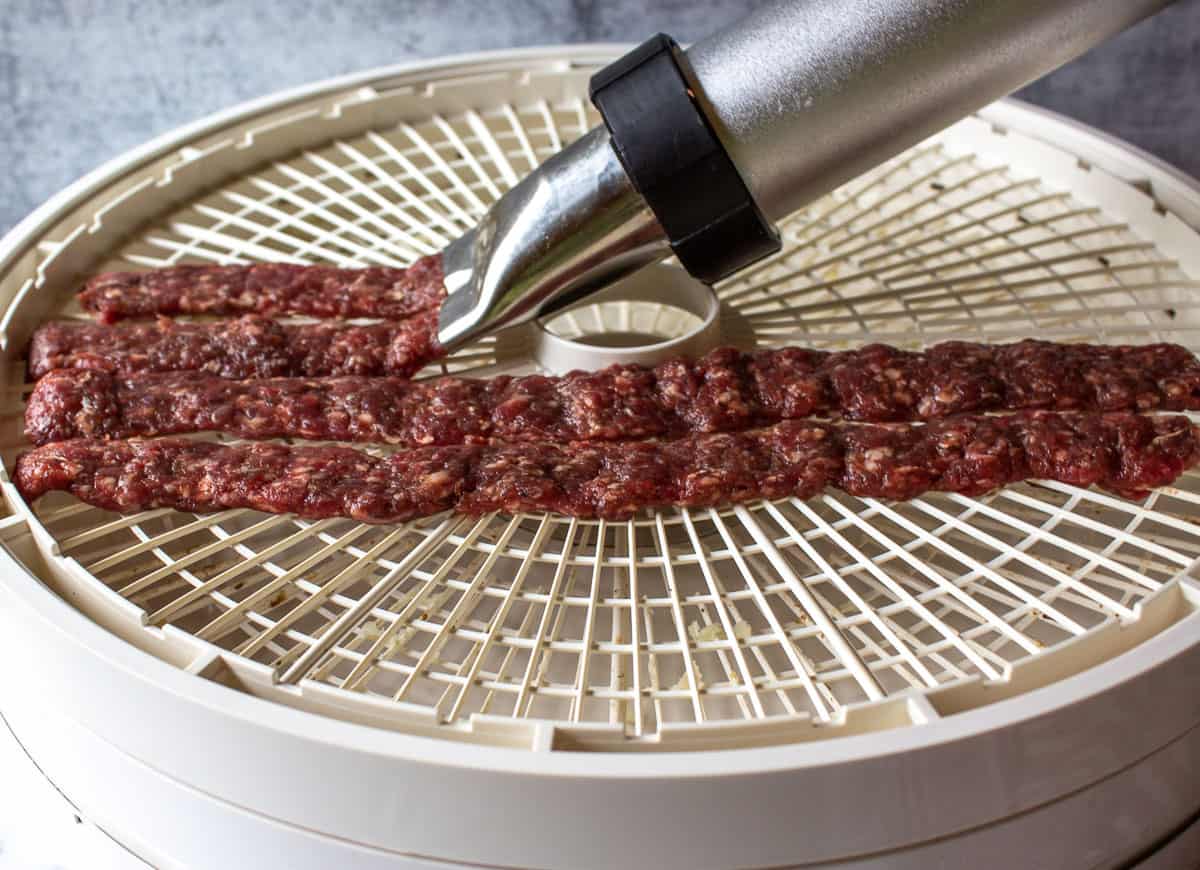
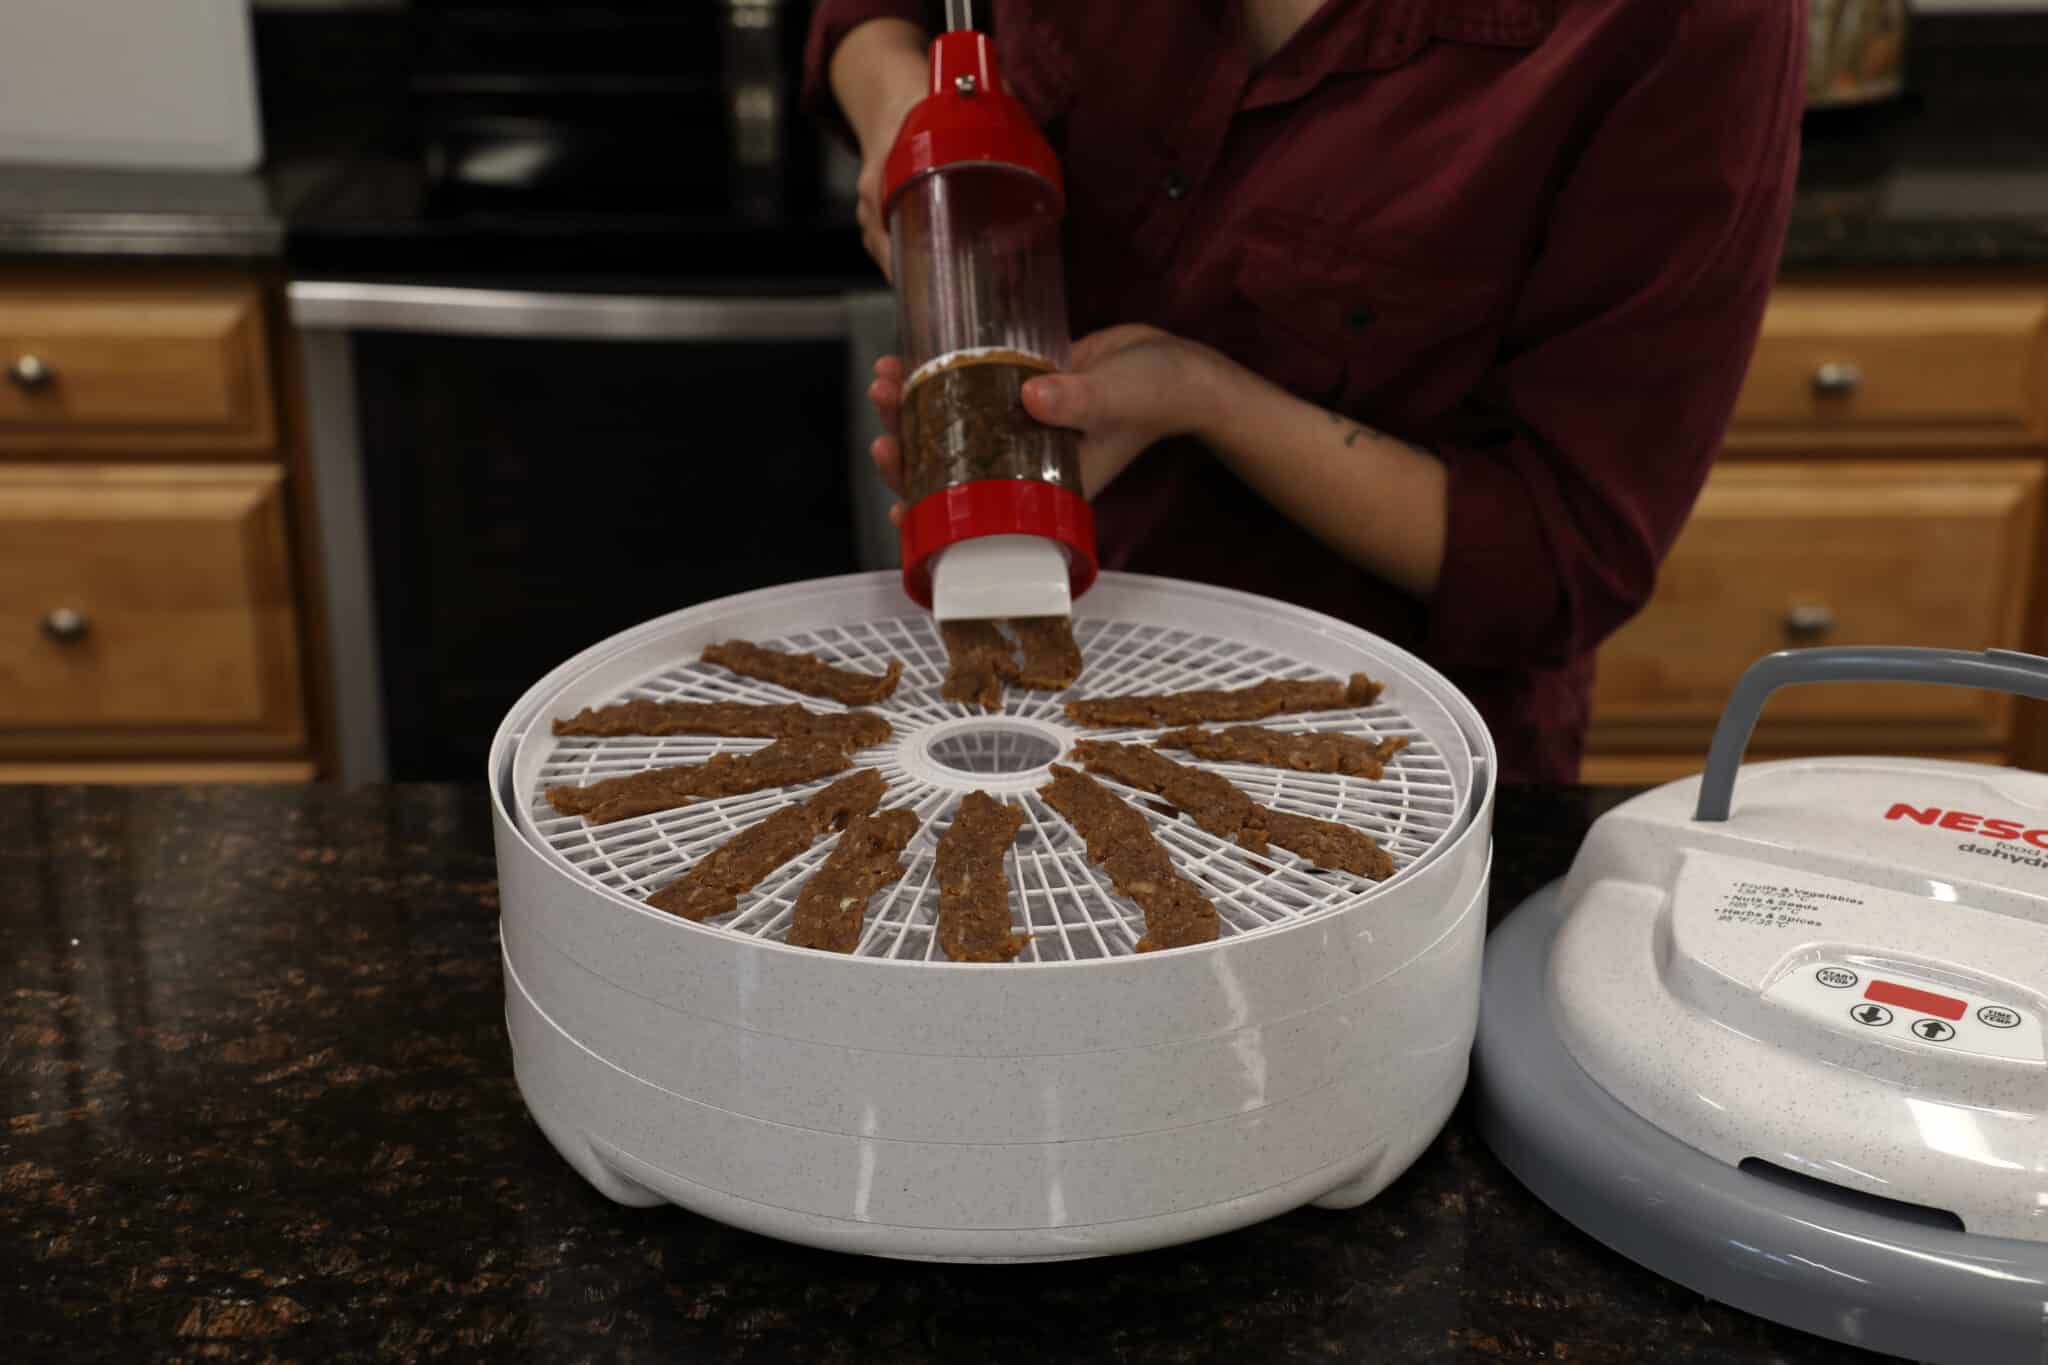
With the meat prepared and seasoned to perfection, it’s time to arrange the slices in the Nesco dehydrator for the drying process. Properly loading the dehydrator ensures that each piece of jerky receives adequate airflow and heat distribution, resulting in uniformly dried and flavorful strips of meat.
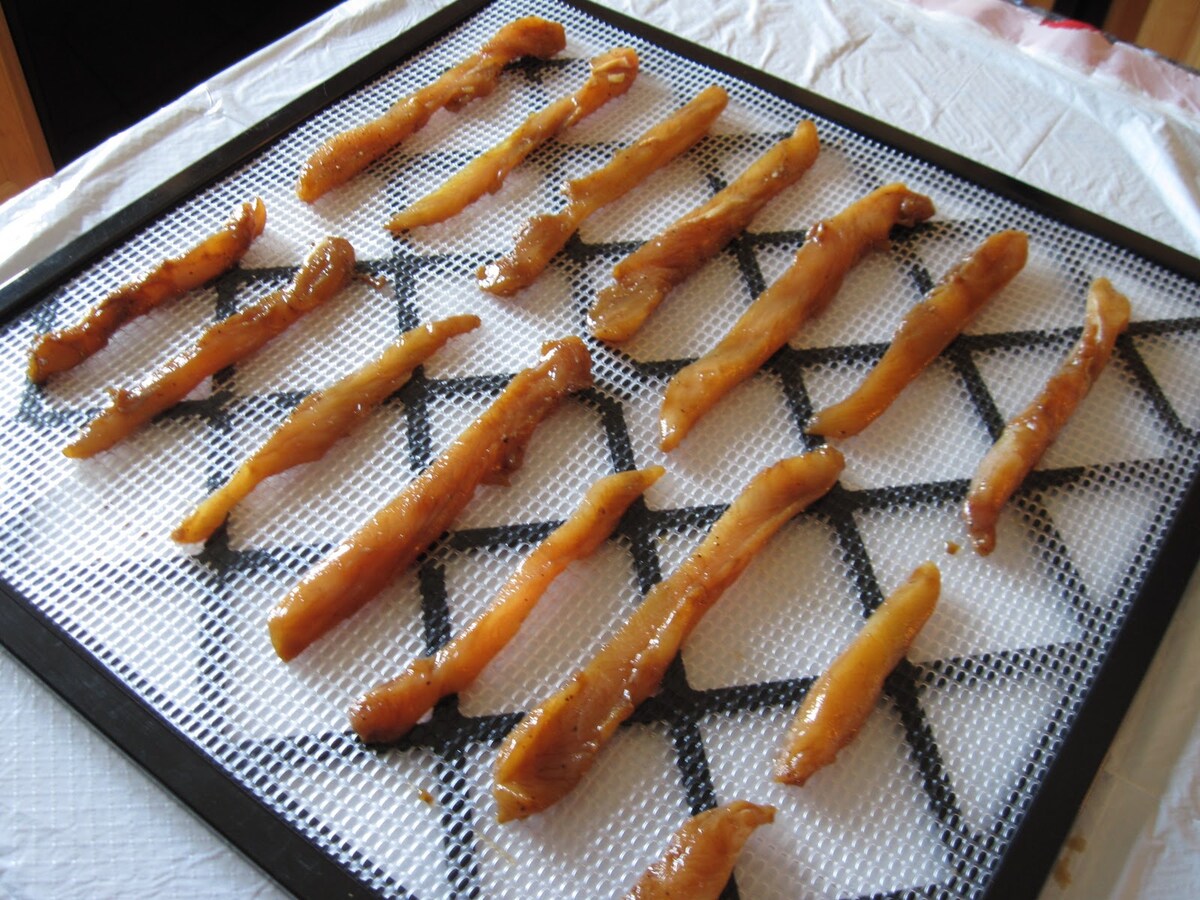
Begin by laying the seasoned meat strips on the dehydrator trays, making sure to leave space between each piece. This spacing allows air to circulate around the jerky, facilitating the drying process. Avoid overcrowding the trays, as this can lead to uneven drying and potential spoilage in areas where airflow is restricted.
When loading the trays, consider rotating them during the drying process to promote uniform results. If your dehydrator has multiple trays, rotate their positions within the appliance every few hours. This simple step ensures that each tray receives equal exposure to the dehydrating airflow and heat, preventing some pieces from becoming overly dry while others remain underdone.
For added convenience and efficiency, consider using non-stick dehydrator sheets or silicone mats to line the trays. These liners not only prevent the jerky from sticking to the trays but also make cleanup a breeze once the drying process is complete.
As you load the dehydrator, take note of the temperature and time settings recommended for the specific type of meat you’re drying. Different meats and thicknesses require varying drying times and temperatures, so refer to your dehydrator’s instruction manual or trusted recipes for guidance. By adhering to the recommended settings, you’ll achieve jerky that’s perfectly dried and safe for consumption.
By thoughtfully arranging the seasoned meat in the dehydrator, you’ll set the stage for a successful drying process that yields delectable jerky. With attention to spacing, rotation, and temperature settings, you’ll soon be on your way to savoring your homemade jerky creation.
Read more: How To Use Nesco Dehydrator
Setting the Temperature and Time
Once the Nesco dehydrator is loaded with the seasoned meat, it’s time to set the temperature and time for the drying process. Achieving the perfect balance of heat and duration is crucial to producing jerky that’s safe to consume, flavorful, and shelf-stable.
For most types of jerky, a temperature range of 145°F to 160°F (63°C to 71°C) is recommended to ensure that harmful bacteria are destroyed during the drying process. This temperature range is known to be effective in killing bacteria while preserving the quality of the meat. However, it’s essential to consult reliable sources for specific temperature guidelines based on the type of meat being used, as different meats may require slightly different temperature settings.
The duration of the drying process can vary depending on factors such as the thickness of the meat slices, the humidity of the environment, and the specific model of the dehydrator being used. As a general rule of thumb, plan for the jerky to dry for approximately 4 to 6 hours, but be prepared to adjust the time based on visual and tactile cues. The jerky should be firm and dry to the touch, with no signs of moisture when bent, indicating that it is ready for consumption.
During the drying process, periodically check the jerky for signs of doneness and rotate the trays to ensure even drying. This step is crucial for achieving consistent results and preventing any pieces from becoming overly dry or underdone. Additionally, be mindful of any specific instructions provided in your dehydrator’s manual or reputable jerky recipes, as these guidelines can offer valuable insights into achieving optimal drying outcomes.
By carefully setting the temperature and time for the drying process, you’ll pave the way for producing safe, flavorful, and perfectly dried jerky. With attention to detail and a keen eye for doneness, you’ll soon be enjoying the fruits of your jerky-making endeavors.
Checking for Doneness
As the jerky undergoes the drying process in the Nesco dehydrator, it’s important to monitor its progress and assess its readiness for consumption. Checking for doneness involves evaluating the texture, appearance, and moisture content of the jerky to ensure that it has been properly dried and is safe to eat.
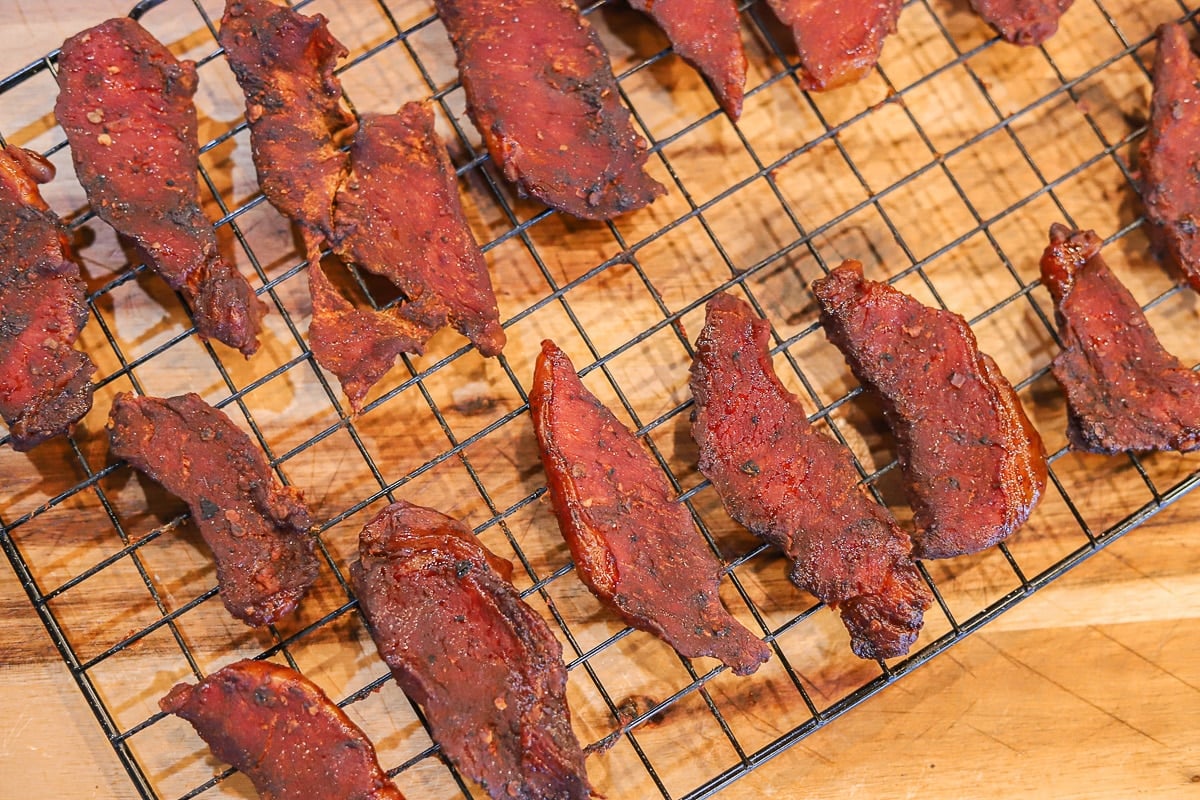
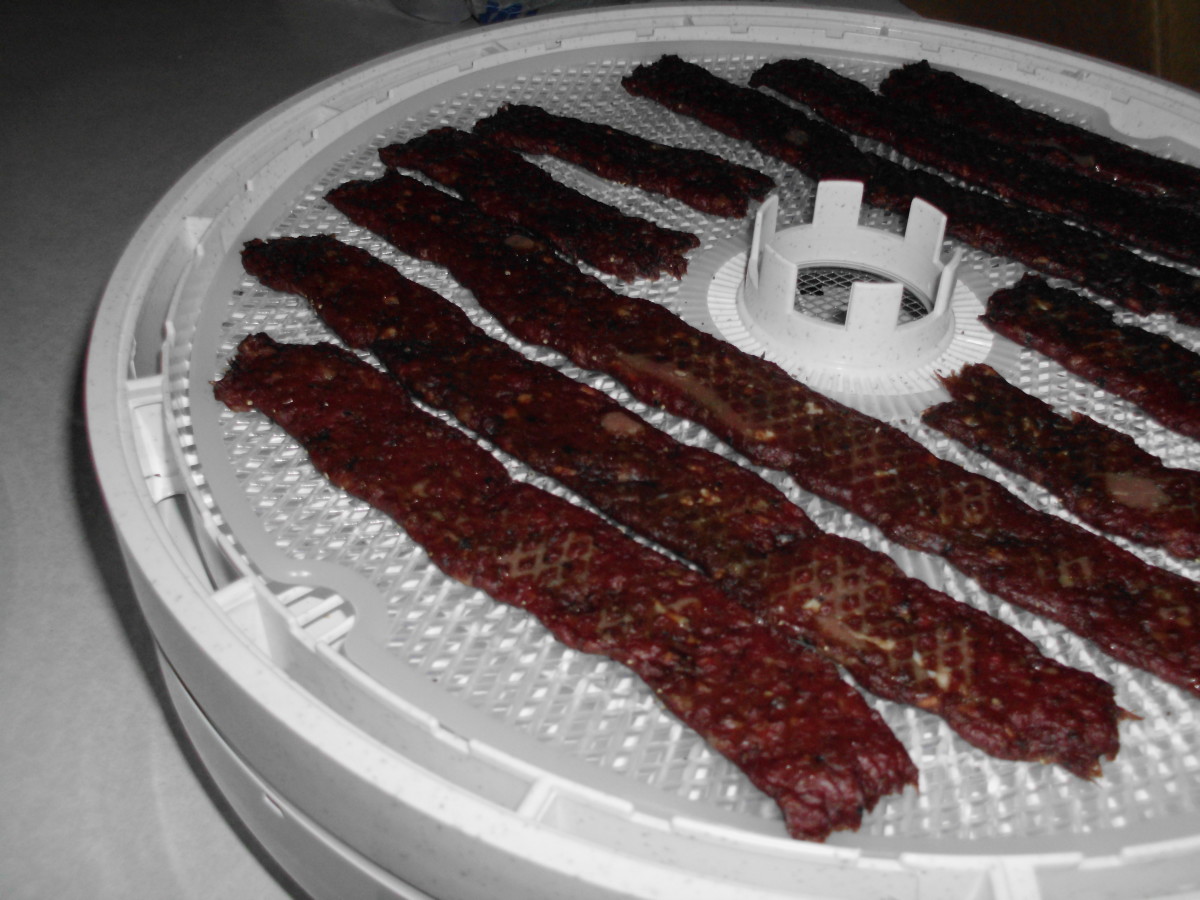
One of the key indicators of doneness is the texture of the jerky. When gently bent, properly dried jerky should crack but not break, indicating that it has achieved the ideal balance between tenderness and firmness. Additionally, the jerky should feel dry to the touch, with no signs of moisture or stickiness on its surface. These tactile cues provide valuable insights into the readiness of the jerky for consumption.
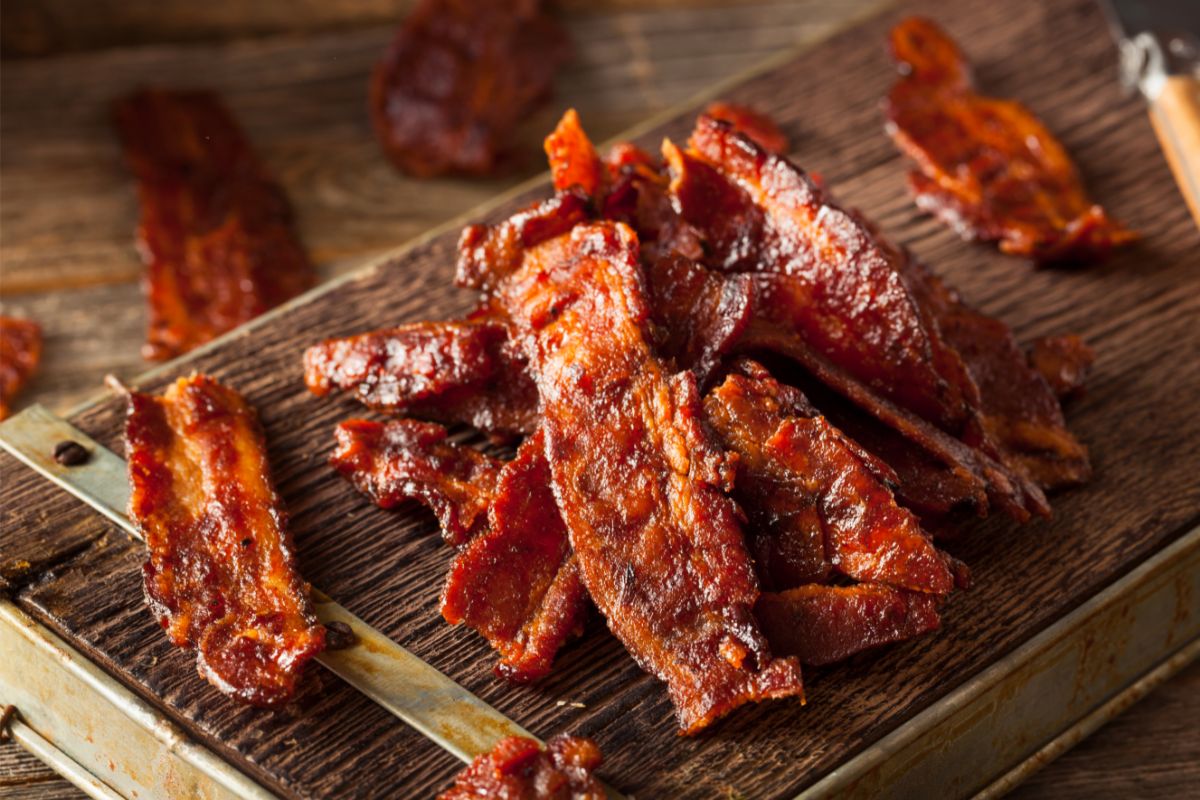
Visual cues also play a crucial role in determining the doneness of the jerky. Inspect the meat slices for uniform dryness, noting that they should appear darkened and slightly shriveled as a result of the dehydration process. Any remaining moisture or soft spots on the jerky indicate that further drying is necessary to ensure its safety and shelf stability.
Another method for checking the doneness of jerky involves performing a “bend test.” Simply take a piece of jerky and attempt to bend it. Properly dried jerky will bend and crack but should not break. If the jerky snaps in half or exhibits excessive brittleness, it may have been over-dried, resulting in a tough and unpalatable texture.
For added reassurance, consider using a food thermometer to verify that the internal temperature of the jerky has reached at least 160°F (71°C), ensuring that any harmful bacteria have been eliminated during the drying process. This step is particularly important for ensuring the safety of homemade jerky, as it provides an additional layer of protection against foodborne pathogens.
By attentively assessing the texture, appearance, and moisture content of the jerky, you’ll be equipped to determine its doneness with confidence. With a keen eye for visual and tactile cues, you’ll soon be savoring your perfectly dried and safe-to-eat homemade jerky.
Storing the Jerky
Once the jerky has been successfully dried to perfection in the Nesco dehydrator, proper storage is essential for maintaining its quality, flavor, and shelf life. By following recommended storage practices, you can ensure that your homemade jerky remains safe to eat and retains its delectable taste for an extended period.
Before storing the jerky, allow it to cool completely at room temperature to prevent condensation from forming in the storage container. Any residual warmth in the jerky can lead to moisture buildup, potentially compromising its texture and inviting the growth of mold or bacteria.
For short-term storage, place the cooled jerky in airtight containers such as resealable plastic bags or vacuum-sealed pouches. Squeeze out as much air as possible before sealing the containers, as oxygen can contribute to the degradation of the jerky over time. Stored in a cool, dry place, such as a pantry or cupboard, properly sealed jerky can remain fresh for several weeks, ready to be enjoyed as a convenient and protein-packed snack.
If you anticipate storing the jerky for an extended period, consider refrigerating or freezing it to prolong its shelf life. When refrigerated in airtight packaging, jerky can retain its quality for up to three months, while freezing can preserve it for six months or longer. Before consuming refrigerated or frozen jerky, allow it to come to room temperature for optimal texture and flavor.
When storing jerky, it’s important to monitor it periodically for any signs of spoilage, such as off odors, unusual discoloration, or the presence of mold. If any of these indicators are observed, discard the jerky immediately to prevent the risk of foodborne illness.
To enhance the convenience and portability of your jerky, consider portioning it into individual servings before storing. This approach not only makes it easier to grab a quick snack on the go but also minimizes the frequency of opening and resealing the storage container, reducing the risk of exposure to air and moisture.
By employing proper storage methods, you can savor the fruits of your jerky-making efforts for an extended period, ensuring that each bite delivers the same irresistible flavor and satisfying texture. With attention to detail and a commitment to quality, your homemade jerky will continue to delight your taste buds long after it has been dried and stored.
Frequently Asked Questions about How Long To Dry Jerky In Nesco Dehydrator
Was this page helpful?
At Storables.com, we guarantee accurate and reliable information. Our content, validated by Expert Board Contributors, is crafted following stringent Editorial Policies. We're committed to providing you with well-researched, expert-backed insights for all your informational needs.


0 thoughts on “How Long To Dry Jerky In Nesco Dehydrator”