Home>Home Appliances>Kitchen Appliances>How To Dry Cherries In A Dehydrator

Kitchen Appliances
How To Dry Cherries In A Dehydrator
Published: January 7, 2024
Learn how to dry cherries in a dehydrator with our easy step-by-step guide. Discover the best kitchen appliances for preserving your favorite fruits. Start drying cherries today!
(Many of the links in this article redirect to a specific reviewed product. Your purchase of these products through affiliate links helps to generate commission for Storables.com, at no extra cost. Learn more)
Introduction
Welcome to the delightful world of homemade dried cherries! Drying cherries in a dehydrator is a fantastic way to preserve the sweet, tangy flavor of this beloved fruit while creating a versatile ingredient for a wide array of culinary creations. Whether you crave a convenient, nutritious snack, want to add a burst of flavor to your morning oatmeal, or seek to elevate your baking and cooking endeavors, dried cherries are a must-have pantry staple.
In this comprehensive guide, we will explore the step-by-step process of drying cherries in a dehydrator, ensuring that you achieve optimal results with every batch. From selecting the finest cherries to mastering the art of proper dehydration and storage, you will gain the knowledge and confidence needed to embark on your cherry-drying journey with ease.
Prepare to embark on a flavorful adventure as we delve into the intricacies of drying cherries, unlocking the secrets to preserving their natural goodness and enhancing their culinary potential. Let’s dive in and discover the art of transforming fresh cherries into delectable, shelf-stable treats!
Key Takeaways:
- Master the art of drying cherries in a dehydrator to preserve their natural sweetness and elevate your culinary creations with chewy, intensely flavored treats.
- From selecting the finest cherries to perfecting the drying process, embrace the flavorful adventure of transforming fresh cherries into delightful, shelf-stable treasures.
Read more: How To Store Dried Cherries
Choosing and Preparing Cherries
When it comes to drying cherries in a dehydrator, selecting the right cherries is crucial to achieving superior results. Opt for fresh, ripe cherries that are firm, plump, and free from blemishes. Whether you choose sweet cherries, such as Bing or Rainier varieties, or tart cherries, like Montmorency or Morello, ensure that they are at the peak of ripeness for the best flavor and texture.
Before diving into the drying process, it’s essential to prepare the cherries properly. Start by washing the cherries thoroughly under cool running water and then patting them dry with a clean kitchen towel. Next, remove the stems and pits from the cherries. You can accomplish this task with a cherry pitter or a simple paperclip, gently pushing it through the stem end to dislodge the pit. This step is crucial as it allows the cherries to dehydrate evenly and prevents any bitter flavors that the pits may impart during the drying process.
Once the cherries are pitted, consider slicing them in half to expedite the drying time and ensure uniform dehydration. While this step is optional, halved cherries tend to dry more evenly and consistently, resulting in a superior end product. If you prefer to retain the cherries whole, simply make a small slit in each cherry to facilitate the release of moisture during drying.
By carefully selecting and preparing your cherries, you set the stage for a successful drying process, ultimately yielding delicious, chewy, and intensely flavored dried cherries that will elevate your culinary creations. With your cherries prepped and ready, it’s time to move on to the next crucial step: preparing the dehydrator for the drying process.
Preparing the Dehydrator
Before you begin the cherry-drying process, it’s essential to ensure that your dehydrator is clean and in optimal working condition. Start by thoroughly washing the trays or racks, as well as the dehydrator’s interior, with warm, soapy water. Rinse them well and allow them to air-dry completely before use. This simple yet crucial step helps prevent any potential contamination and ensures that your dried cherries remain safe for consumption.
Once the dehydrator components are clean and dry, assemble the trays or racks and position them within the dehydrator. If your dehydrator offers an adjustable thermostat, set it to the recommended temperature for drying cherries, typically around 135°F (57°C). This temperature range is ideal for gently removing moisture from the cherries while preserving their vibrant color and flavor.
If your dehydrator features a built-in timer, take this opportunity to set the desired drying time based on the manufacturer’s recommendations. While the drying duration may vary depending on factors such as cherry size, moisture content, and dehydrator model, a typical drying period for cherries ranges from 12 to 24 hours.
Before loading the cherries onto the trays, consider lining them with non-stick dehydrator sheets or parchment paper to prevent the cherries from sticking and simplify the removal process once they are dried. This step is particularly beneficial when working with smaller, halved cherries.
With the dehydrator prepared and ready for action, it’s time to move on to the exciting phase of drying the cherries, where the magic of transformation unfolds. Let’s explore the art of dehydrating cherries to perfection in the next segment.
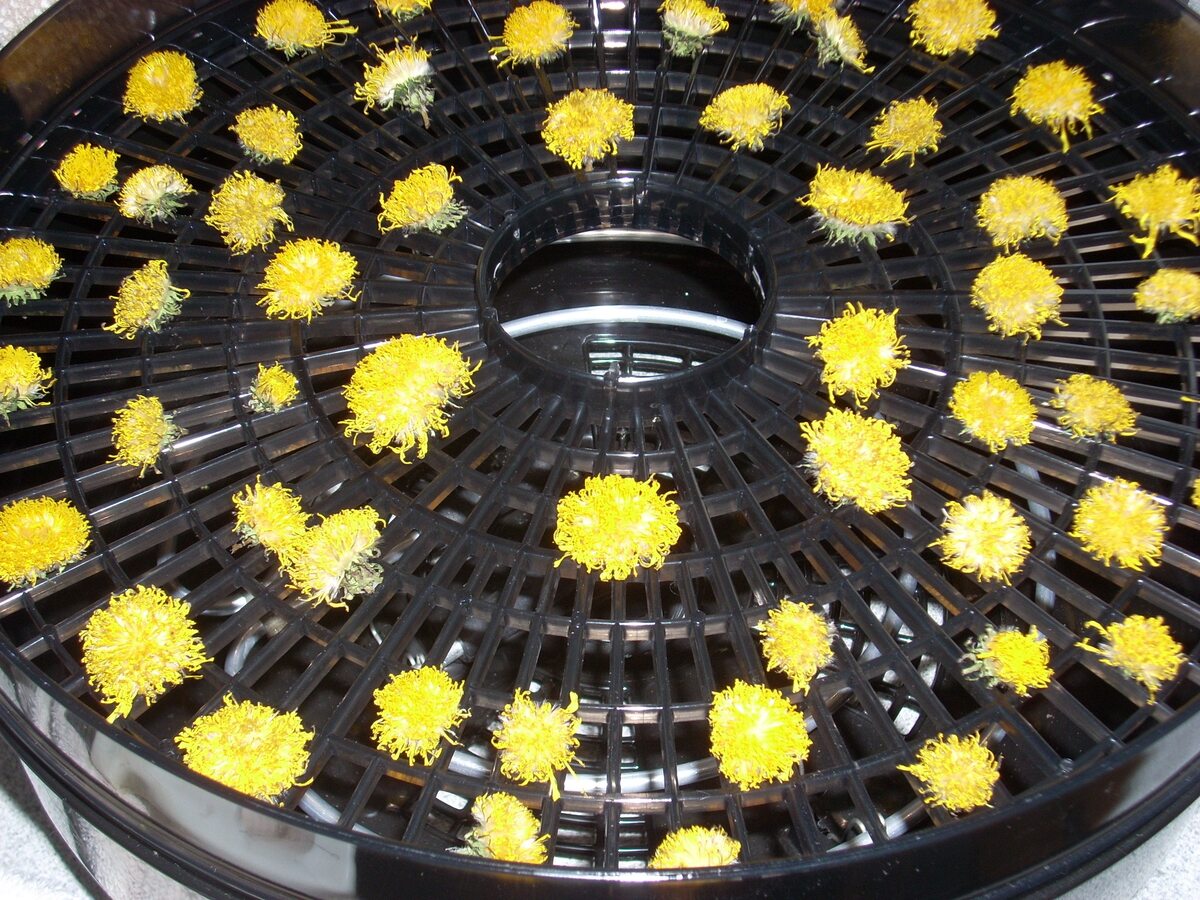
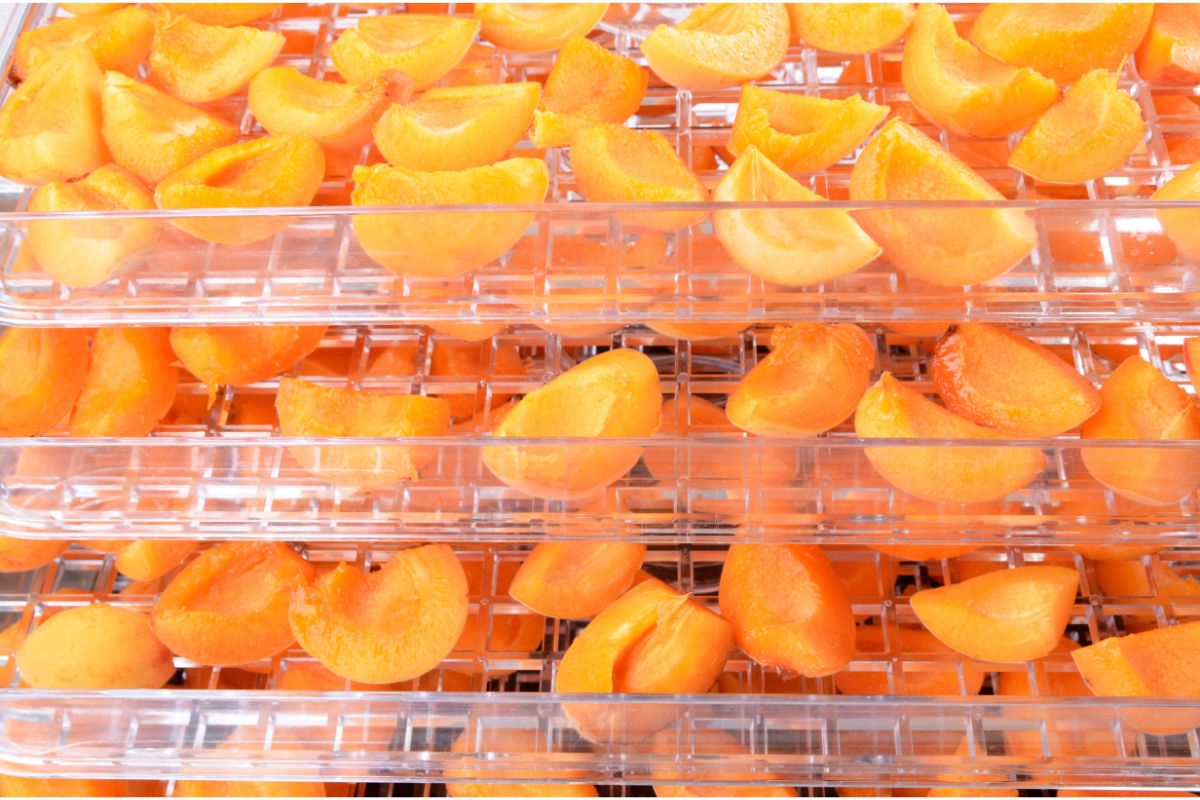
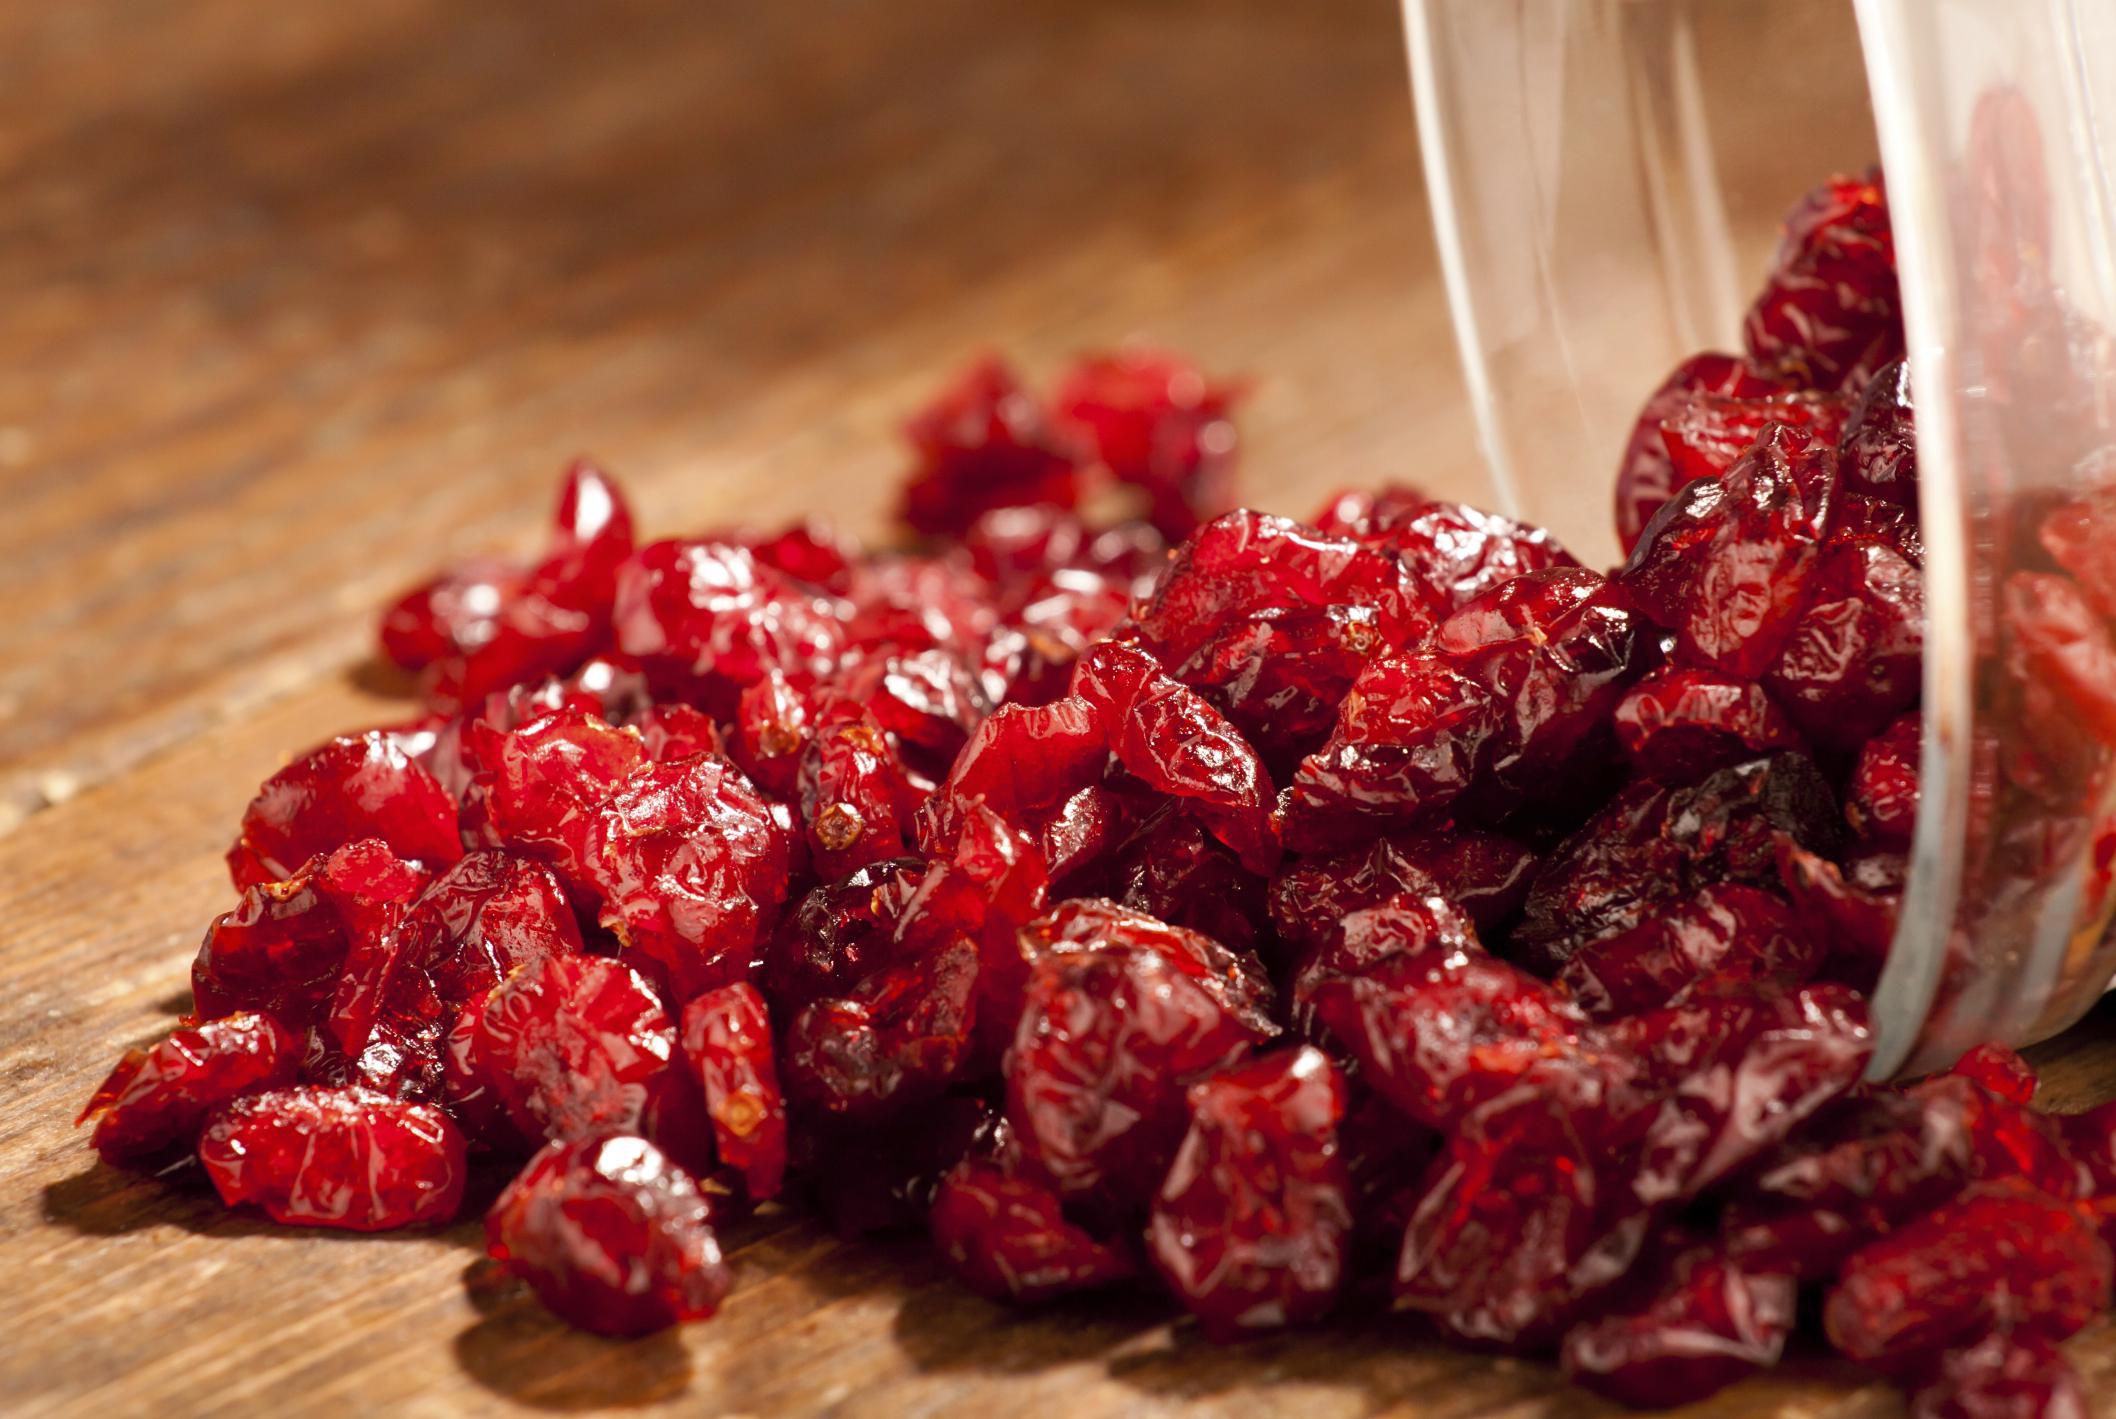
Drying the Cherries
With the dehydrator primed and the cherries meticulously prepared, it’s time to commence the drying process. Arrange the prepared cherries in a single layer on the dehydrator trays, ensuring that they are evenly spaced and not touching each other. This arrangement allows for proper air circulation, facilitating uniform dehydration and preventing the cherries from sticking together during the drying process.
As the cherries begin their transformation, you will notice the gradual evaporation of moisture, resulting in slightly shrunken, intensely flavored fruits. Throughout the drying period, periodically check the cherries for dryness, particularly as you approach the latter stages of the process. The cherries are ready when they are pliable, slightly tacky to the touch, and free from visible moisture. Keep in mind that the drying time may vary based on factors such as cherry size, moisture content, and the dehydrator’s performance.
During the drying process, it’s advisable to rotate the trays periodically to promote even drying, especially if your dehydrator does not feature a built-in fan for consistent air circulation. This simple step helps ensure that all the cherries dry uniformly, resulting in a cohesive batch of dried cherries with consistent texture and flavor.
As the cherries undergo dehydration, the enticing aroma of sweet and tangy fruit fills the air, offering a tantalizing preview of the flavorful treats to come. Embrace the sensory experience and revel in the anticipation of savoring your homemade dried cherries, which are destined to add a burst of natural sweetness to an array of culinary delights.
Once the cherries have reached the desired level of dryness, turn off the dehydrator and allow the cherries to cool completely before proceeding to the next crucial step: storing the dried cherries to preserve their quality and flavor for the long term.
When drying cherries in a dehydrator, make sure to pit the cherries first to ensure even drying. Spread them out in a single layer on the dehydrator trays and set the temperature to 135°F. Check them periodically until they are dried to your desired consistency.
Storing Dried Cherries
After the cherries have completed the drying process and cooled to room temperature, it’s time to focus on proper storage to maintain their exceptional flavor and texture. Storing dried cherries correctly is essential for preserving their quality and extending their shelf life, allowing you to enjoy their delightful flavor in various culinary applications for an extended period.
Begin by transferring the cooled dried cherries to airtight containers, such as glass jars or resealable plastic bags. Opt for containers that are appropriately sized to minimize excess air exposure, as oxygen can compromise the cherries’ freshness over time. If using plastic bags, squeeze out as much air as possible before sealing them to create a vacuum-like environment within the bag.
For added protection against moisture and air, consider placing a small food-grade desiccant packet in each container before sealing it. These packets help absorb any residual moisture, further safeguarding the dried cherries from potential moisture-related issues that could compromise their quality during storage.
Store the containers of dried cherries in a cool, dark, and dry location to shield them from light, heat, and humidity, which can degrade their flavor and texture. A pantry or cupboard away from direct sunlight and heat sources is an ideal storage spot for preserving the dried cherries’ exceptional qualities.
When stored under optimal conditions, dried cherries can maintain their quality for up to 6 to 12 months, retaining their delightful chewy texture and intense, sweet-tart flavor. However, with their irresistible taste and versatility, it’s likely that you’ll incorporate them into your culinary creations well before their shelf life expires.
Now that you’ve mastered the art of drying and storing cherries, let’s explore some valuable tips and tricks to enhance your cherry-drying endeavors and ensure consistently outstanding results. By incorporating these insights into your process, you can elevate your cherry-drying skills and savor the exceptional flavor of homemade dried cherries in a myriad of delightful dishes.
Read more: How To Dry Figs In A Dehydrator
Tips and Tricks for Drying Cherries
As you embark on your cherry-drying journey, consider these valuable tips and tricks to enhance your drying process and achieve exceptional results:
- Selecting the Best Cherries: Choose cherries at the peak of ripeness for optimal flavor and sweetness. Whether you opt for sweet or tart cherries, ensure that they are fresh, firm, and free from blemishes.
- Efficient Pitting: Invest in a quality cherry pitter to streamline the pitting process, or utilize a simple paperclip to remove the pits efficiently. This step is essential for ensuring uniform drying and preventing any bitter flavors from the pits.
- Halving the Cherries: Consider halving the cherries before drying to expedite the drying process and achieve more consistent results. Halved cherries tend to dry more evenly, resulting in a superior end product.
- Uniform Slicing: If you choose to slice the cherries, aim for consistent thickness to ensure that they dry uniformly. This attention to detail contributes to a cohesive batch of dried cherries with consistent texture and flavor.
- Optimal Drying Conditions: Maintain a consistent drying temperature of around 135°F (57°C) to gently remove moisture from the cherries while preserving their vibrant color and flavor. Periodically rotate the trays for even drying, especially if your dehydrator lacks a built-in fan for consistent air circulation.
- Quality Storage: Transfer the cooled dried cherries to airtight containers, minimizing excess air exposure to preserve their freshness. Consider adding a food-grade desiccant packet to each container to absorb residual moisture and safeguard the cherries during storage.
- Long-Term Enjoyment: Store the dried cherries in a cool, dark, and dry location to maintain their exceptional flavor and texture for up to 6 to 12 months. With proper storage, you can savor the delightful flavor of homemade dried cherries in an array of culinary applications for an extended period.
By incorporating these tips and tricks into your cherry-drying process, you can elevate your skills and consistently produce outstanding batches of dried cherries that enhance your culinary creations with their natural sweetness and intense flavor. With these insights in mind, you are well-equipped to embark on your cherry-drying endeavors with confidence and creativity.
Conclusion
Congratulations on mastering the art of drying cherries in a dehydrator! By delving into the intricacies of selecting, preparing, and dehydrating cherries, you have unlocked the potential to create a delightful and versatile ingredient that will elevate your culinary repertoire. The journey of transforming fresh, ripe cherries into chewy, intensely flavored dried treasures has equipped you with the knowledge and skills to embark on a flavorful adventure in your kitchen.
As you savor the sweet success of your dried cherries, remember that the possibilities for their use are as abundant as their natural sweetness. Whether you incorporate them into granola, trail mix, or baked goods, or use them to add a burst of flavor to savory dishes and salads, your homemade dried cherries are sure to infuse every creation with a touch of natural goodness.
With a keen eye for selecting the finest cherries, a meticulous approach to preparation, and a thoughtful dedication to the drying process, you have embraced the art of preserving cherries in their most delectable form. The rewards of your efforts extend beyond the delightful flavor and chewy texture of the dried cherries; they encompass the satisfaction of mastering a time-honored technique that enriches your culinary endeavors.
As you continue to explore the culinary landscape, may the knowledge and skills you’ve gained in drying cherries inspire you to embark on new culinary adventures, experiment with innovative recipes, and share the joy of homemade delights with friends and family. Your newfound expertise in drying cherries serves as a testament to your commitment to embracing the art of preserving and enhancing the natural goodness of fresh produce.
With each batch of dried cherries, you perpetuate a tradition of culinary craftsmanship, infusing every dish with the essence of your dedication and creativity. As you savor the fruits of your labor, may the sweet, tangy flavor of your homemade dried cherries serve as a reminder of the boundless possibilities that unfold when you blend the art of preservation with the joy of culinary exploration.
So, savor the delightful results of your cherry-drying endeavors, and let the sweet, tangy flavor of homemade dried cherries inspire your culinary creations with each delightful bite.
Frequently Asked Questions about How To Dry Cherries In A Dehydrator
Was this page helpful?
At Storables.com, we guarantee accurate and reliable information. Our content, validated by Expert Board Contributors, is crafted following stringent Editorial Policies. We're committed to providing you with well-researched, expert-backed insights for all your informational needs.


0 thoughts on “How To Dry Cherries In A Dehydrator”