Home>Home Appliances>Kitchen Appliances>How Long Do You Cook Beef Jerky In A Dehydrator
Kitchen Appliances
How Long Do You Cook Beef Jerky In A Dehydrator
Modified: October 21, 2024
Learn the perfect cooking time for beef jerky in a dehydrator and elevate your kitchen experience with our expert tips. Discover the ideal process for creating delicious jerky at home. Unlock the potential of your kitchen appliances today!
(Many of the links in this article redirect to a specific reviewed product. Your purchase of these products through affiliate links helps to generate commission for Storables.com, at no extra cost. Learn more)
Introduction
Welcome to the world of homemade beef jerky! If you're a fan of this delicious, protein-packed snack, you may have considered making your own at home. Using a dehydrator to make beef jerky is a fantastic way to create a flavorful and nutritious treat that is free from the preservatives and additives often found in store-bought options. In this comprehensive guide, we'll walk you through the process of making beef jerky in a dehydrator, covering everything from choosing the right cut of meat to testing for doneness and storing the finished product.
Making beef jerky at home allows you to customize the flavor, texture, and seasoning to your personal preference. It's a rewarding and cost-effective endeavor that can result in a supply of delicious, homemade snacks for you and your family. Whether you're an experienced home cook or a beginner looking to expand your culinary skills, learning to make beef jerky in a dehydrator is a fun and satisfying project.
Throughout this guide, we'll explore the various steps involved in creating mouthwatering beef jerky, from selecting the perfect cut of meat to mastering the art of seasoning and marinating. We'll also delve into the specifics of using a dehydrator to efficiently dry and preserve the meat, ensuring that your homemade beef jerky is safe to consume and bursting with flavor.
So, if you're ready to embark on a culinary adventure and fill your kitchen with the irresistible aroma of seasoned beef, let's dive into the world of homemade beef jerky. Get ready to unleash your creativity, experiment with flavors, and savor the satisfaction of creating a wholesome and delicious snack from scratch.
Key Takeaways:
- Homemade beef jerky is a flavorful and nutritious snack made from lean cuts of meat, such as flank steak or sirloin, and can be customized with various seasonings and marinades for a delicious and satisfying treat.
- Properly dehydrating and storing homemade beef jerky is essential for creating a shelf-stable snack that can be enjoyed for weeks or even months, making it a convenient and protein-packed addition to your pantry.
Choosing the Right Cut of Meat
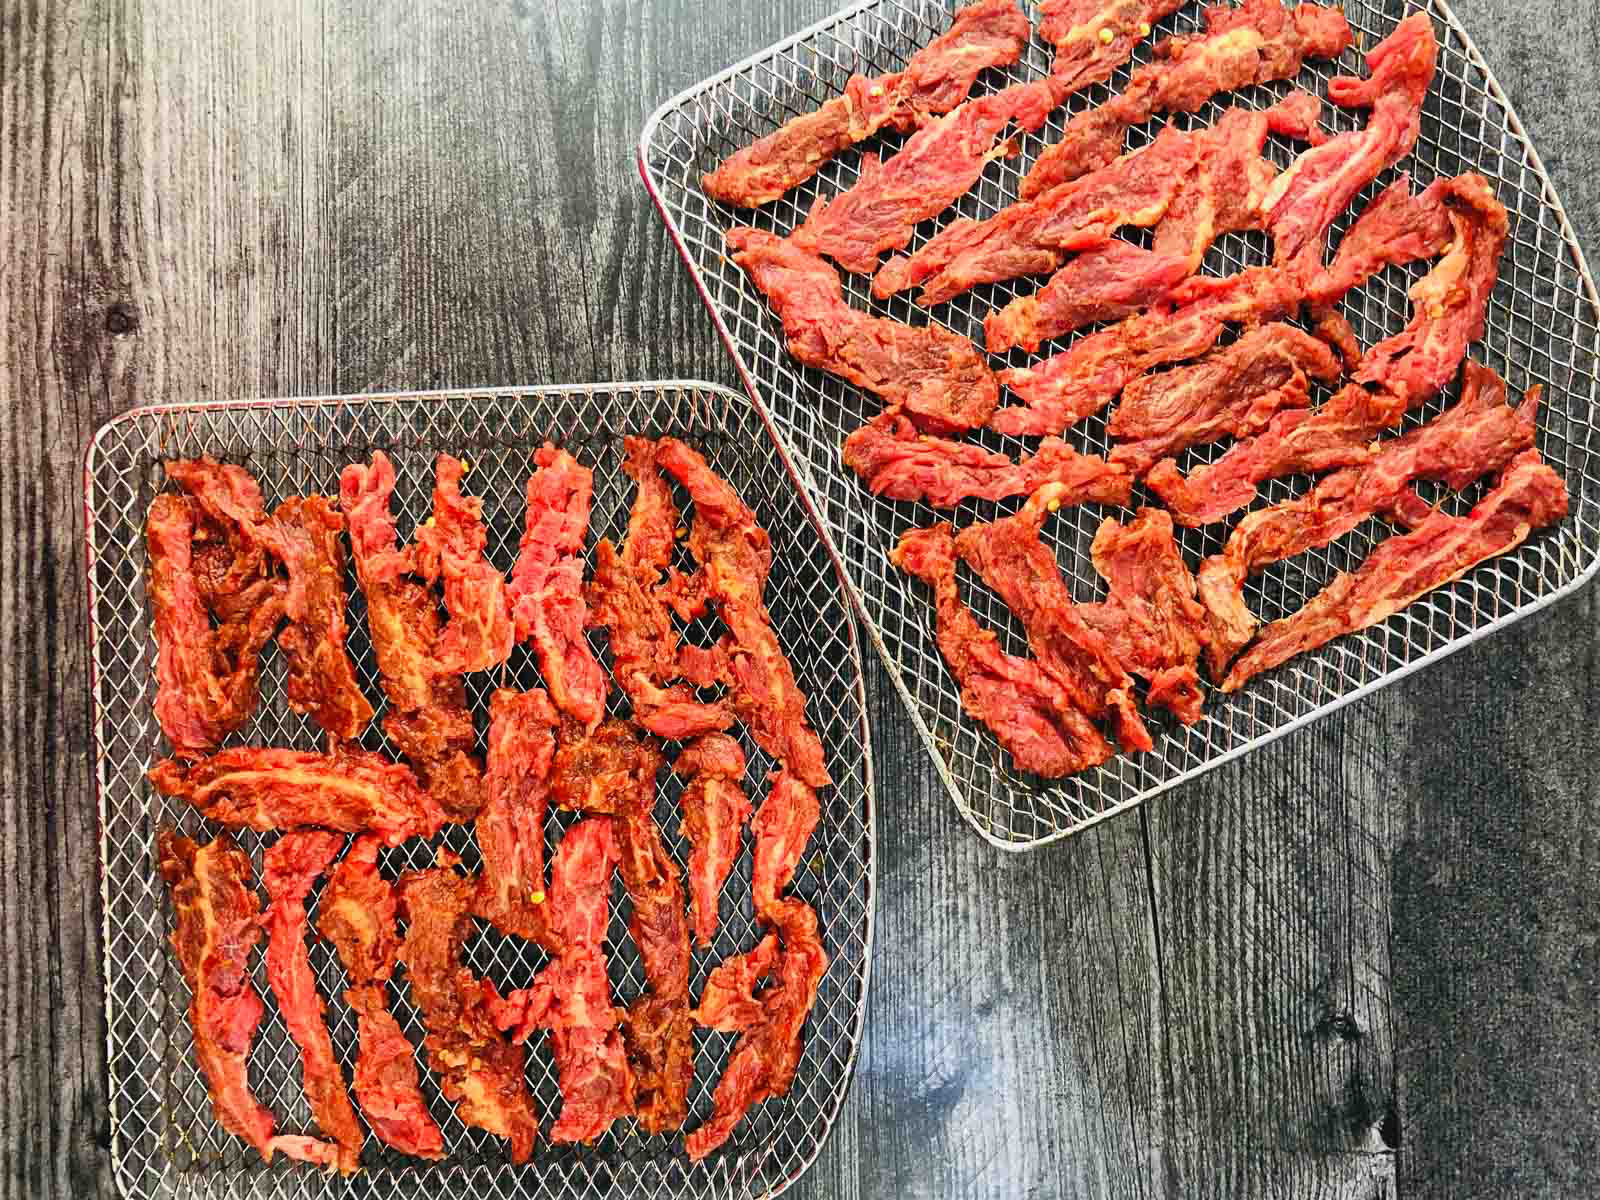
When it comes to making beef jerky, selecting the right cut of meat is crucial to achieving the perfect texture and flavor. Lean cuts of beef work best for jerky, as they contain less fat, which can lead to spoilage during the drying process. Popular choices for beef jerky include flank steak, sirloin, and round steak. These cuts are relatively lean and can be easily sliced into thin strips, making them ideal for dehydrating.
Before purchasing the meat, it’s important to consider the level of marbling, which refers to the distribution of fat within the muscle tissue. Look for cuts with minimal marbling, as excessive fat can negatively impact the jerky’s shelf life and texture. Additionally, choosing a cut that is uniform in thickness will ensure that the jerky dries evenly, resulting in a consistent end product.
Some individuals prefer to partially freeze the meat before slicing it into thin strips. This technique can make the slicing process easier and more precise, resulting in uniformly sized pieces that will dehydrate evenly. Once the meat is sliced, it’s essential to trim away any visible fat, sinew, or connective tissue, as these can contribute to spoilage and affect the texture of the jerky.
While beef is the traditional choice for jerky, other meats, such as venison, elk, or bison, can also be used to create delicious jerky. When selecting these alternative meats, it’s important to consider their leanness and suitability for dehydration. Regardless of the type of meat chosen, ensuring that it is fresh and of high quality is paramount to producing flavorful and safe-to-eat jerky.
By carefully selecting the right cut of meat and preparing it for the dehydration process, you can set the stage for creating mouthwatering beef jerky that is sure to delight your taste buds and impress your friends and family.
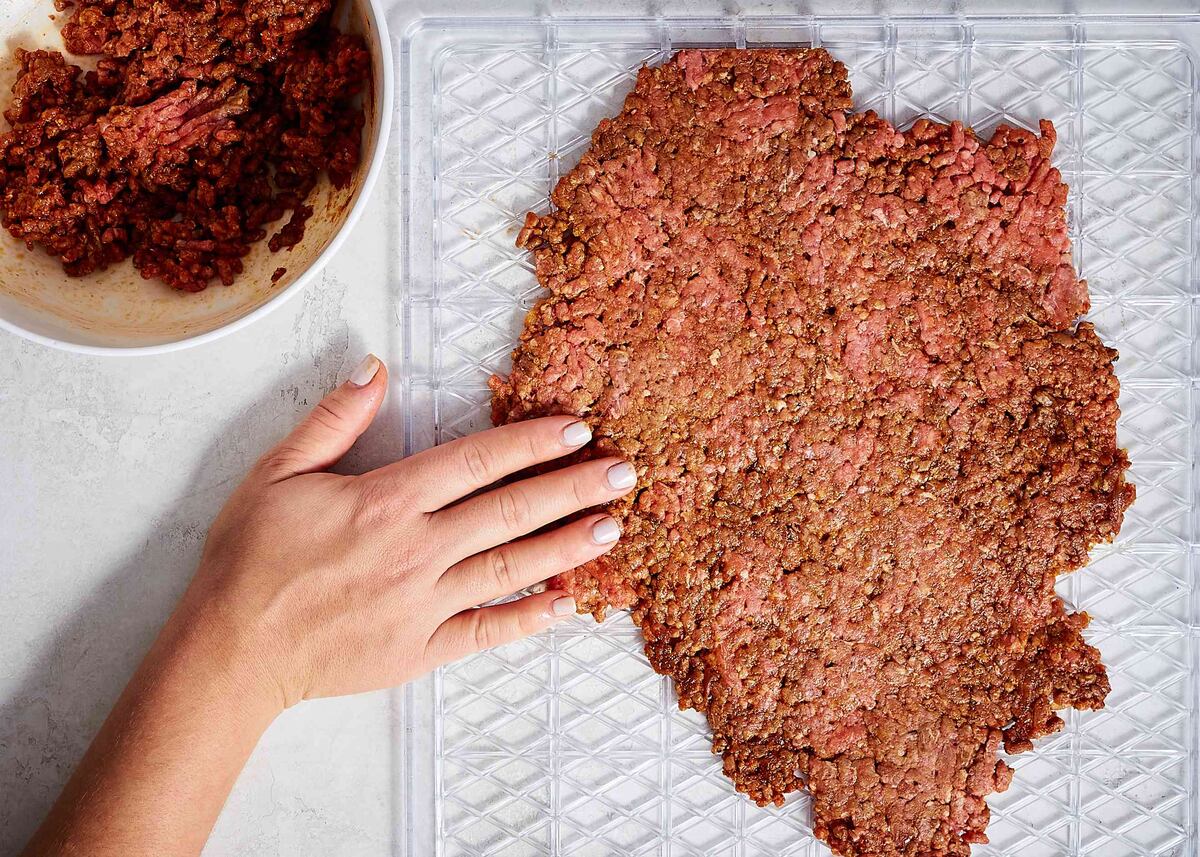
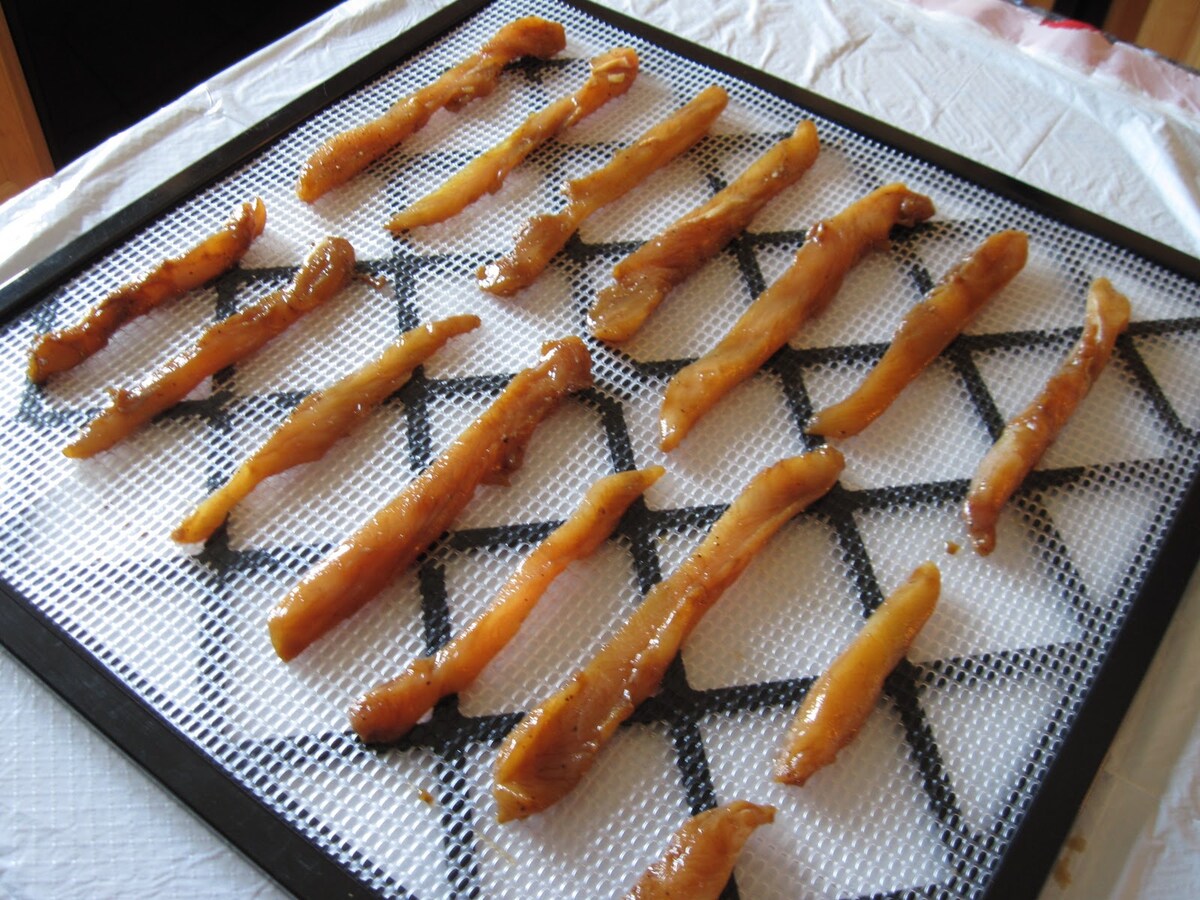
Preparing the Meat
Before diving into the process of dehydrating the meat, it’s essential to properly prepare it to ensure the best possible results. Once you’ve chosen the ideal cut of meat for your beef jerky, it’s time to embark on the preparation phase.
Start by placing the meat in the freezer for a short period to allow it to firm up. This makes it easier to slice the meat into thin, uniform strips, a crucial step in ensuring that the jerky dehydrates evenly. Slicing the meat against the grain will result in a more tender finished product, as it shortens the muscle fibers and reduces chewiness.
Using a sharp knife, cut the partially frozen meat into strips approximately 1/4 to 1/8 inch thick. It’s important to strive for consistency in the thickness of the slices to promote even drying. If you prefer a chewier texture, slice the meat with the grain rather than against it.
Once the meat is sliced, take care to trim off any excess fat, sinew, or connective tissue. These unwanted components can compromise the quality and shelf life of the jerky. Removing visible fat is particularly important, as it can become rancid during the dehydration process, leading to spoilage and off-flavors in the finished product.
After the meat has been sliced and trimmed, it’s time to consider any additional steps to enhance the flavor and texture of the jerky. Some enthusiasts prefer to tenderize the meat by using a meat mallet to lightly pound the strips, which can help break down tough fibers and result in a more tender jerky. Others may opt to score the meat by making shallow cuts across the surface, allowing the marinade to penetrate more effectively.
By taking the time to properly prepare the meat before dehydrating, you can lay the foundation for creating delectable beef jerky that is both flavorful and safe to consume. This crucial step sets the stage for the subsequent seasoning and marinating process, where the meat will absorb a symphony of flavors before being transformed into a satisfying and protein-packed snack.
Seasoning and Marinating
Seasoning and marinating the meat is where the magic truly begins in the process of making beef jerky. This step allows you to infuse the meat with a tantalizing blend of flavors, creating a snack that is as delicious as it is nutritious. Whether you prefer a simple, classic seasoning or a bold, adventurous marinade, this is your opportunity to customize the jerky to your personal taste.
When it comes to seasoning, a basic mixture of salt, pepper, and garlic powder can serve as a solid foundation for your jerky. From there, you can experiment with additional spices and seasonings to create a flavor profile that excites your palate. Common additions include onion powder, smoked paprika, cayenne pepper, and various herbs and spices. For a touch of sweetness, some recipes incorporate brown sugar, honey, or maple syrup.
Marinades offer an excellent way to impart complex flavors and tenderize the meat. A typical jerky marinade consists of a combination of soy sauce, Worcestershire sauce, and a hint of acidity from ingredients such as vinegar or citrus juice. To enhance the depth of flavor, you can introduce elements like liquid smoke, hot sauce, or teriyaki sauce. For those who enjoy a kick of heat, the addition of crushed red pepper flakes or hot sauce can provide a spicy punch.
Once you’ve assembled your desired seasonings and marinade components, it’s time to immerse the sliced meat in the flavorful mixture. Allow the meat to marinate for at least several hours, or ideally overnight, in the refrigerator. This extended marinating time allows the meat to absorb the full spectrum of flavors, resulting in a rich and robust taste experience.
As you experiment with different seasonings and marinades, don’t be afraid to get creative and tailor the flavors to your preferences. Whether you crave a zesty, tangy jerky or a smoky, savory delight, the seasoning and marinating process is your chance to craft a snack that reflects your unique culinary sensibilities.
By taking the time to season and marinate the meat thoughtfully, you can elevate your homemade beef jerky to new heights of flavor and complexity, ensuring that each bite is a tantalizing treat for your taste buds.
For beef jerky, it typically takes 4-6 hours to cook in a dehydrator at 160°F. The exact time will depend on the thickness of the meat slices and your personal preference for texture.
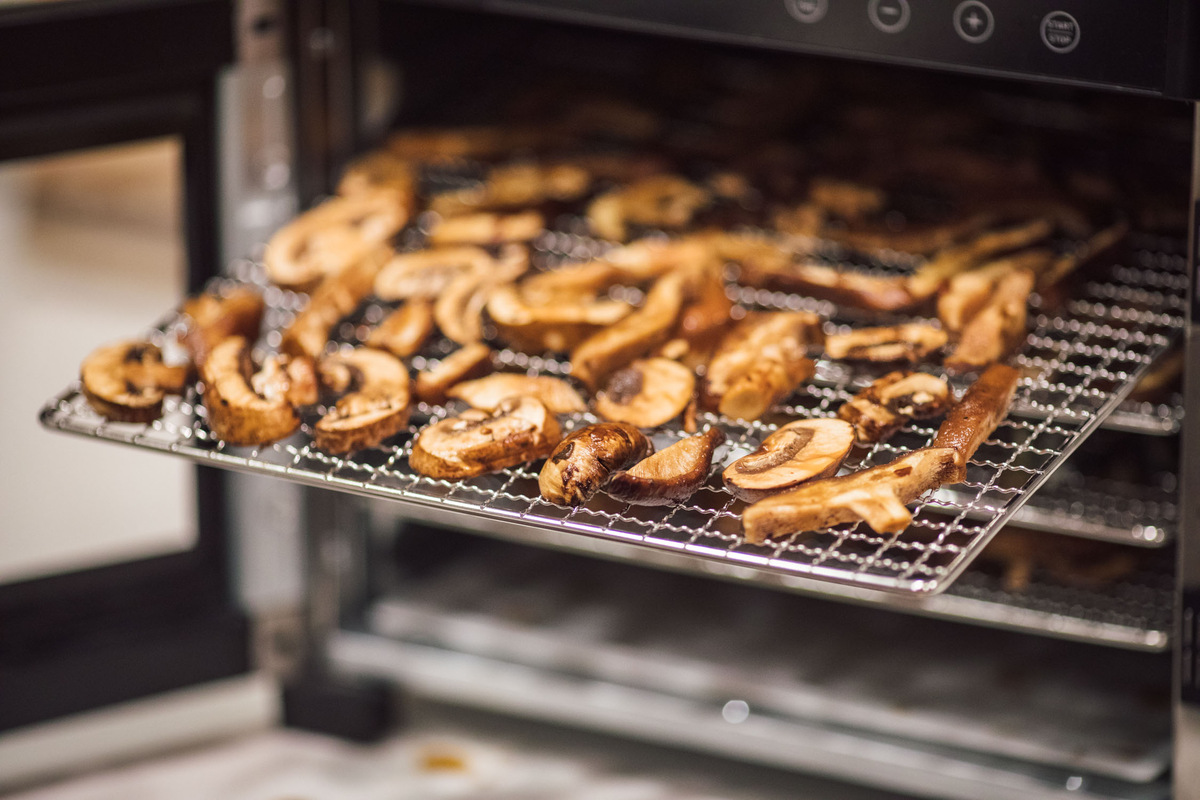
Loading the Dehydrator
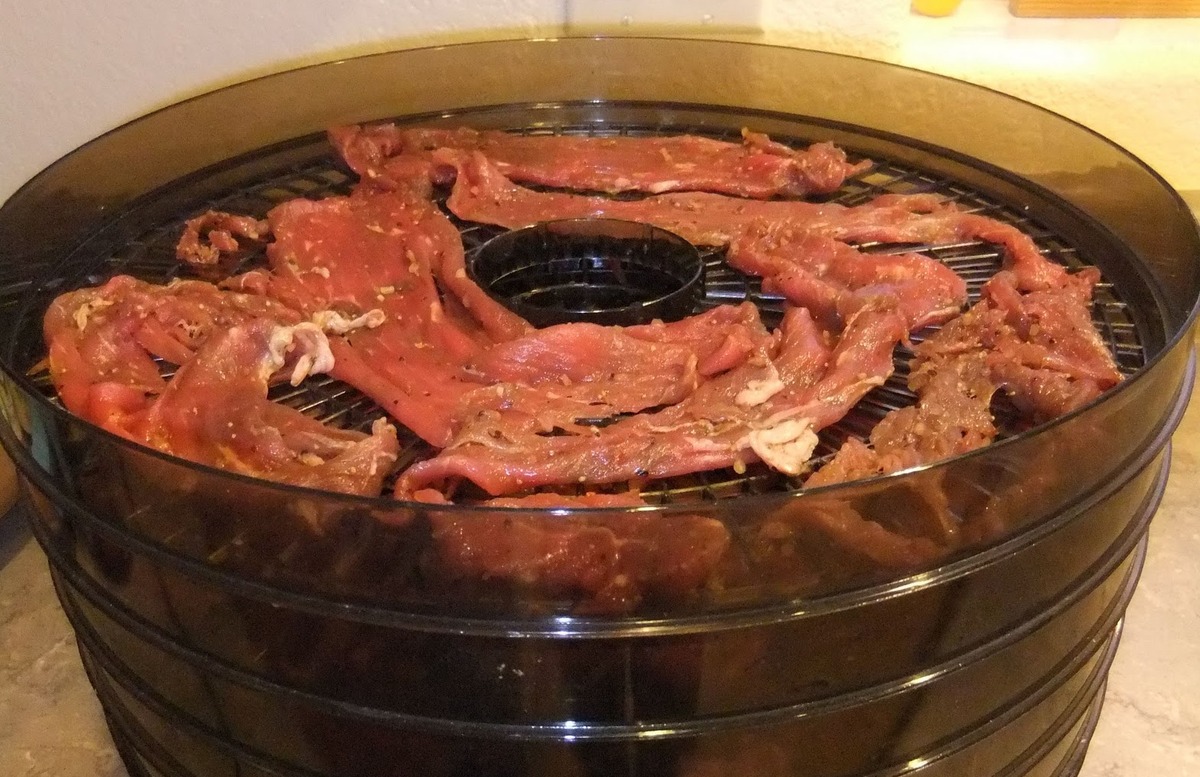
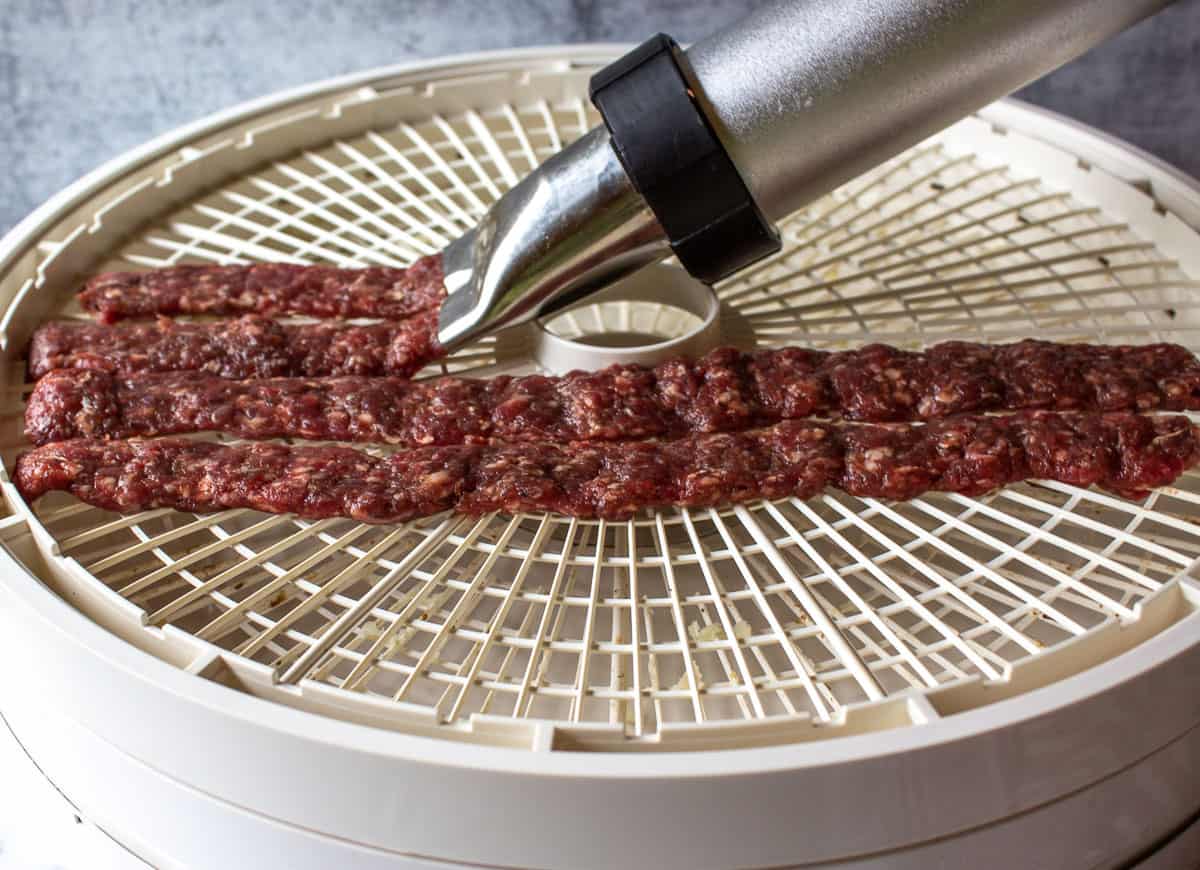
After the meat has been sliced, seasoned, and marinated to perfection, it’s time to prepare the dehydrator for the drying process. Loading the dehydrator efficiently is crucial to ensuring that the meat dehydrates evenly and thoroughly, resulting in a batch of delicious, shelf-stable beef jerky.
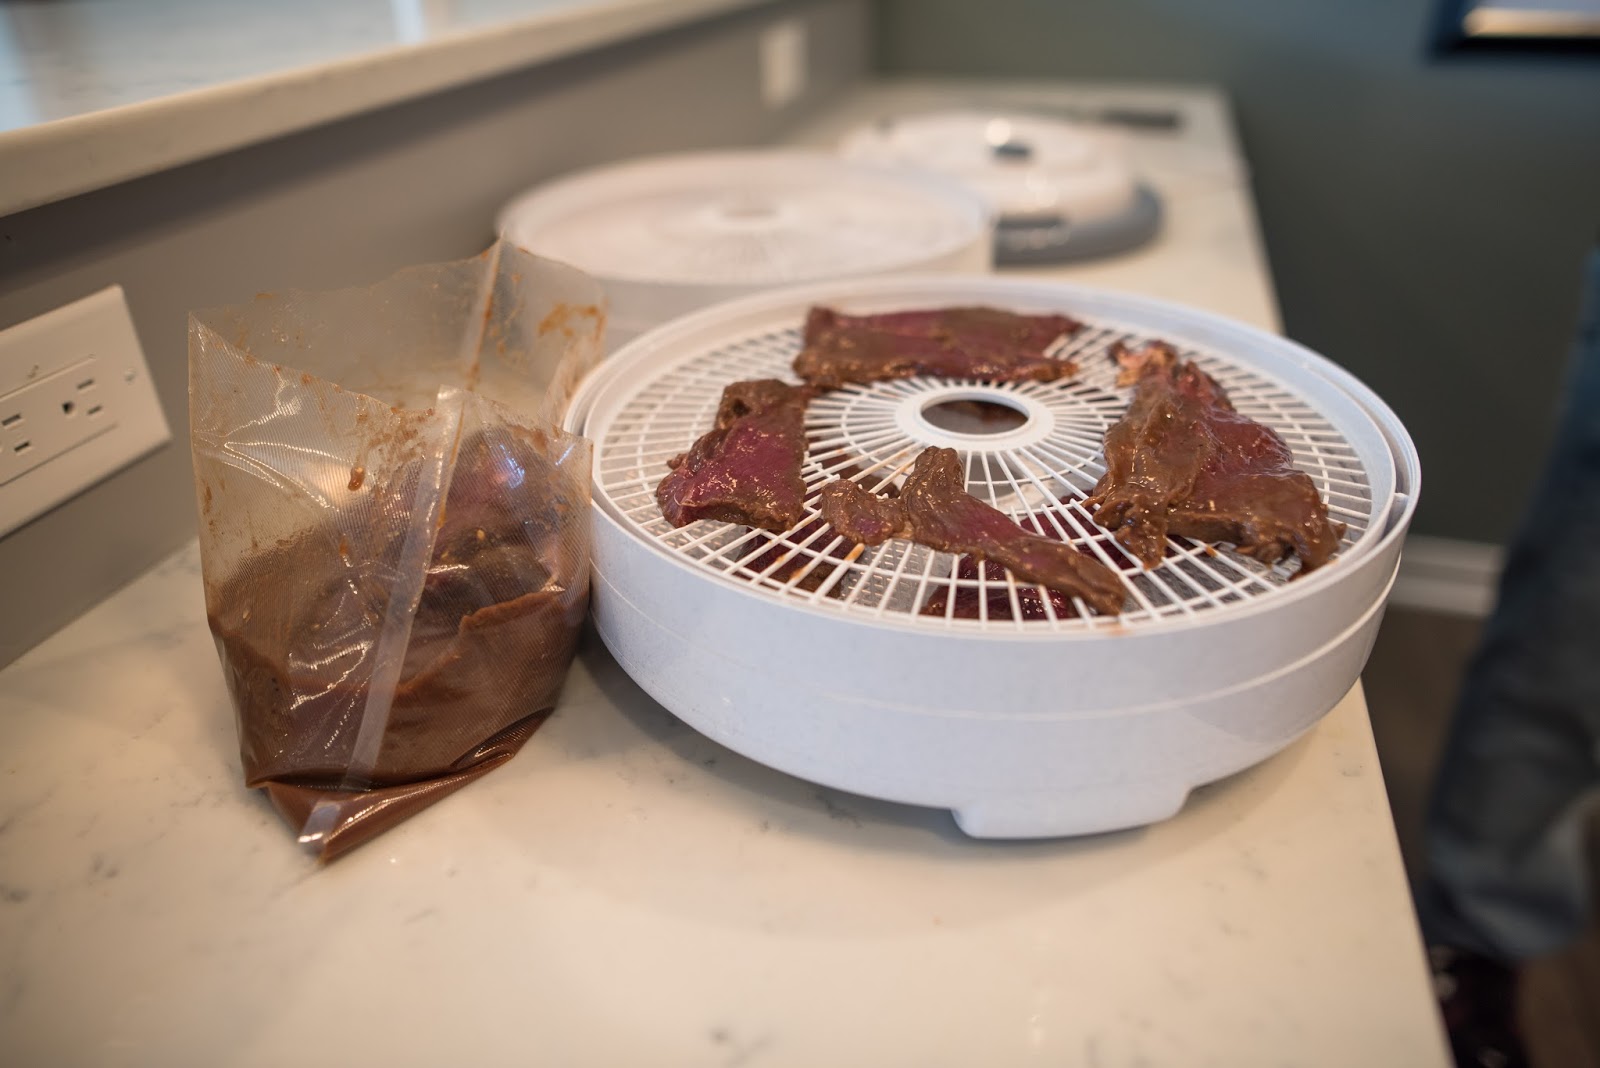
Before loading the dehydrator trays, it’s important to pat the marinated meat strips dry with paper towels to remove excess moisture and marinade. This step helps promote efficient dehydration and prevents the meat from dripping onto lower trays during the drying process. Additionally, removing surface moisture can aid in the formation of a desirable jerky texture, as the meat will dehydrate more effectively when it’s not overly wet.
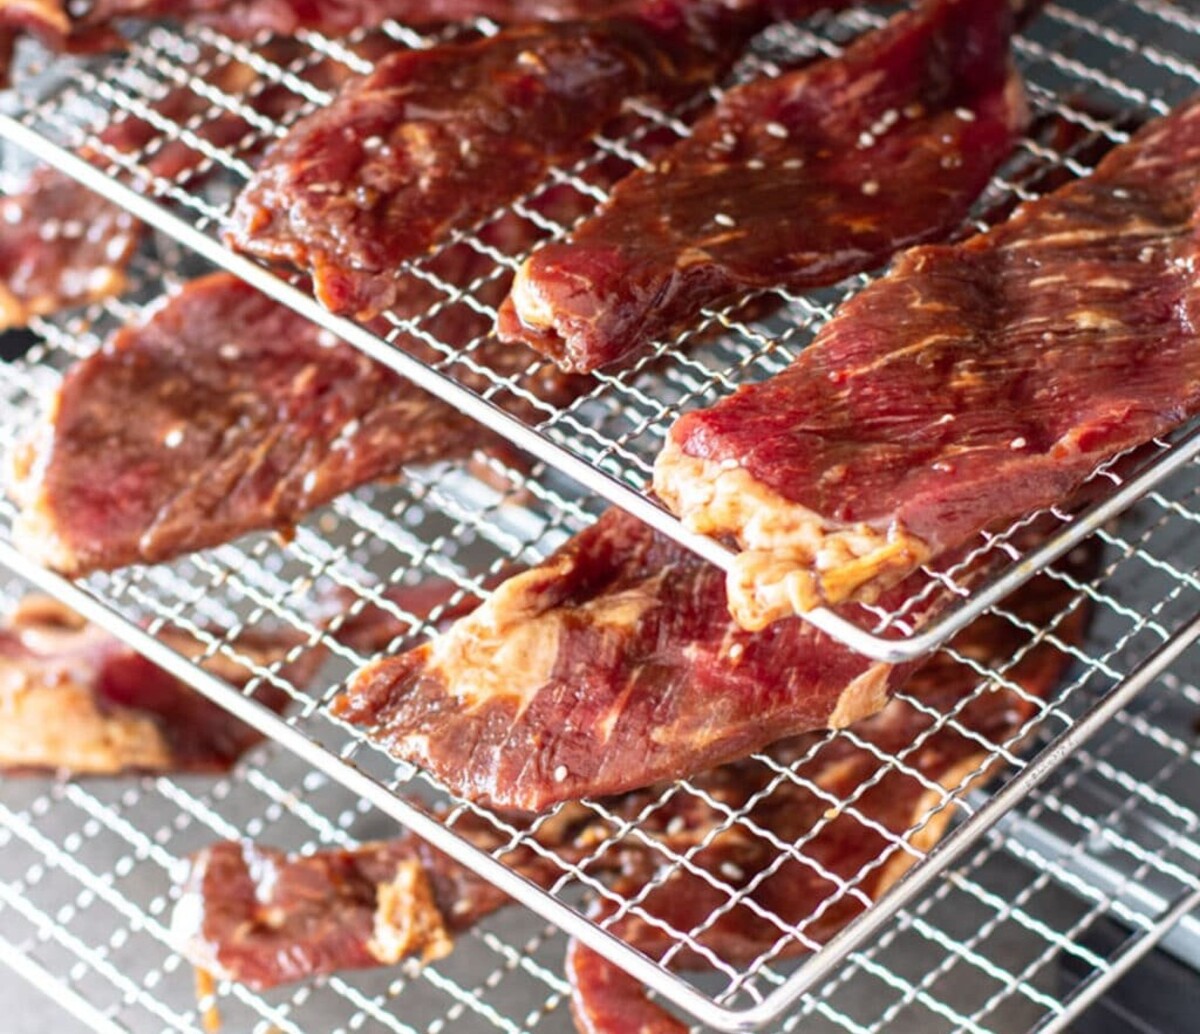
When arranging the meat on the dehydrator trays, take care to leave space between the strips to allow for adequate air circulation. Proper air circulation is essential for the dehydration process, as it ensures that moisture is effectively drawn away from the meat, resulting in a uniformly dried product. Avoid overcrowding the trays, as this can impede airflow and lead to uneven drying.
As you load the trays, consider rotating them during the dehydration process to promote uniform drying. Some dehydrators feature adjustable trays, allowing for easy repositioning to ensure that all the meat receives consistent airflow. If your dehydrator does not offer this feature, you can manually rotate the trays at regular intervals to promote even drying.
It’s important to monitor the dehydrator throughout the drying process, checking the progress of the jerky and making any necessary adjustments to the trays. Depending on the size and design of your dehydrator, you may need to rotate the trays from top to bottom and front to back to ensure that all the meat dehydrates evenly.
By loading the dehydrator thoughtfully and attending to the arrangement of the meat, you can set the stage for a successful dehydration process, resulting in a bounty of flavorful and shelf-stable beef jerky. With proper loading and attentive monitoring, you can look forward to a satisfying yield of homemade jerky that is sure to impress your friends and family.
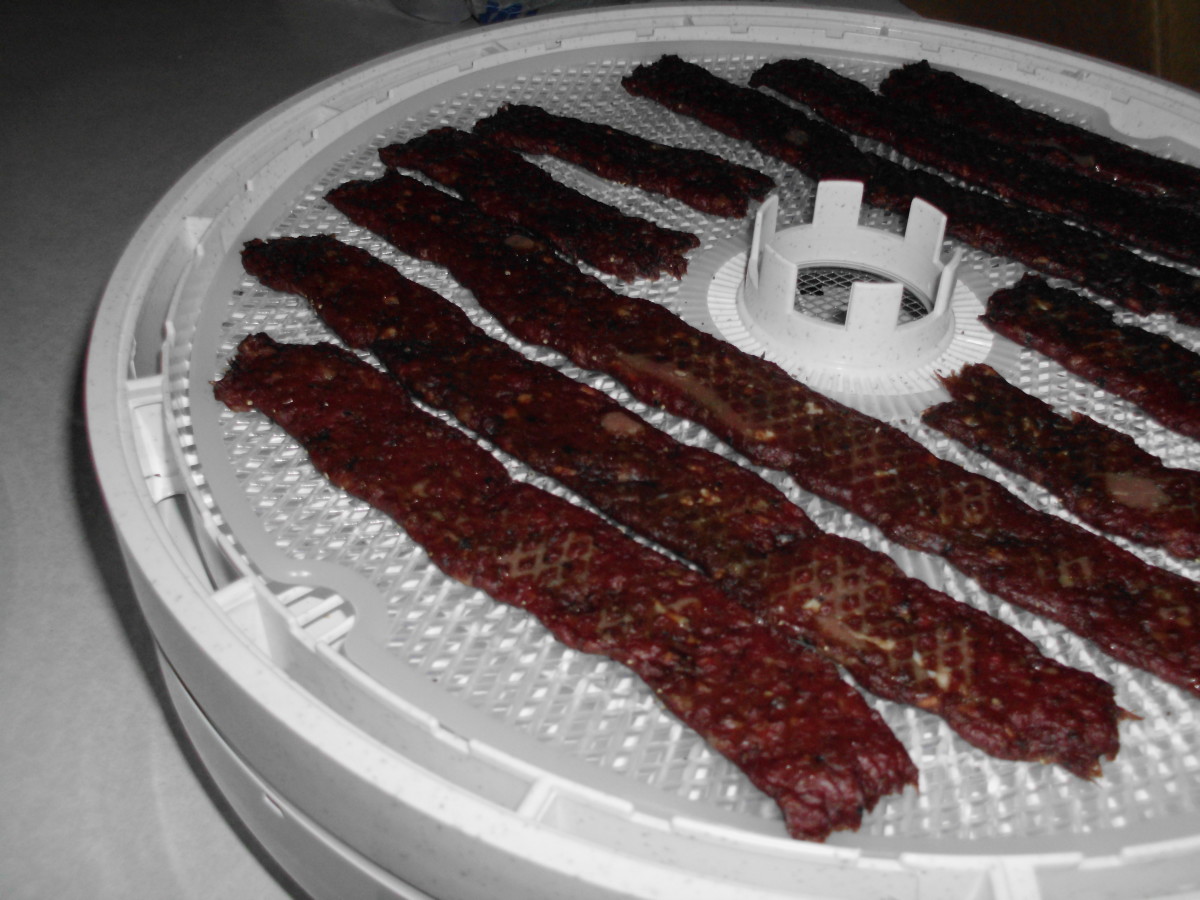
Dehydrating the Beef Jerky
With the dehydrator loaded and ready to go, it’s time to embark on the transformative process of drying the marinated meat into delectable beef jerky. Dehydrating the meat is a critical step that requires patience and attentiveness to achieve the desired texture and flavor in the finished product.
Set the dehydrator to the recommended temperature for making beef jerky, typically around 160°F (71°C). This temperature range is ideal for safely dehydrating the meat while preserving its flavor and texture. The low and consistent heat of the dehydrator effectively removes moisture from the meat without cooking it, resulting in a tender yet chewy jerky.
The duration of the dehydration process can vary depending on factors such as the thickness of the meat slices, the humidity in the environment, and the specific model of the dehydrator. On average, beef jerky can take anywhere from 4 to 12 hours to fully dehydrate. It’s essential to monitor the progress of the jerky regularly, as the drying time can fluctuate based on these variables.
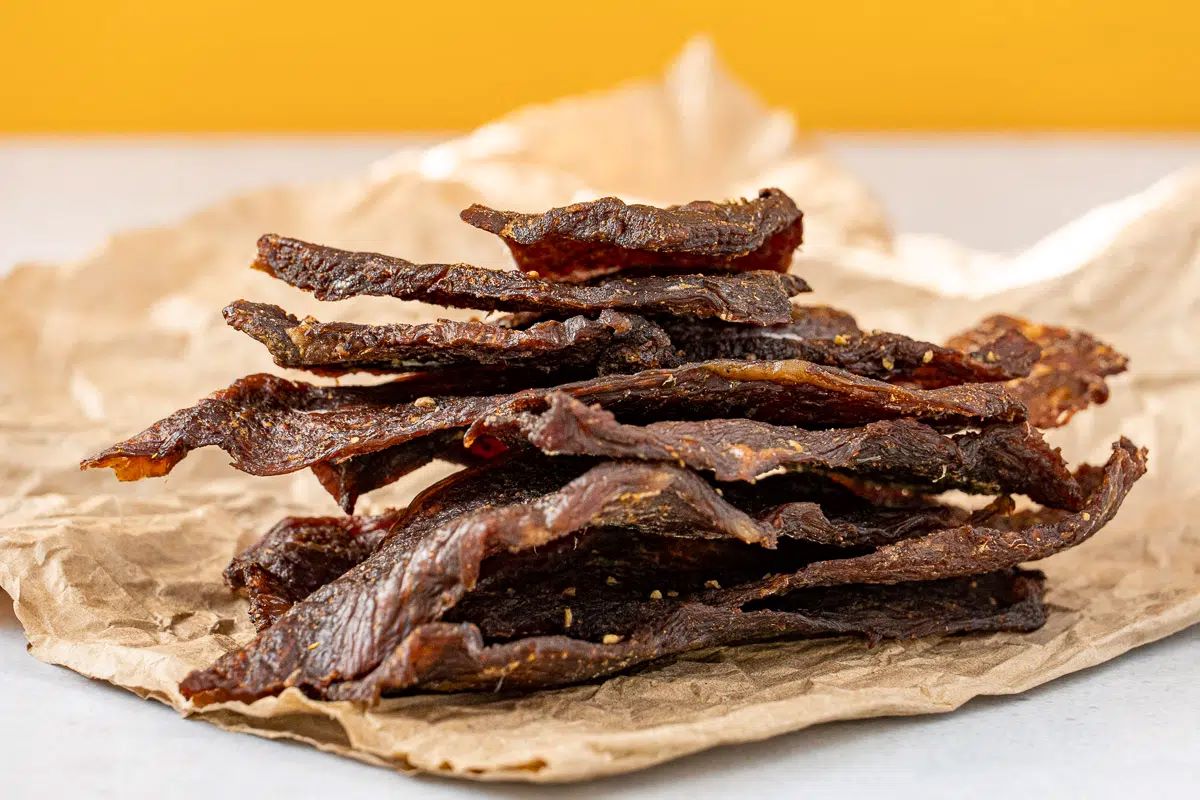
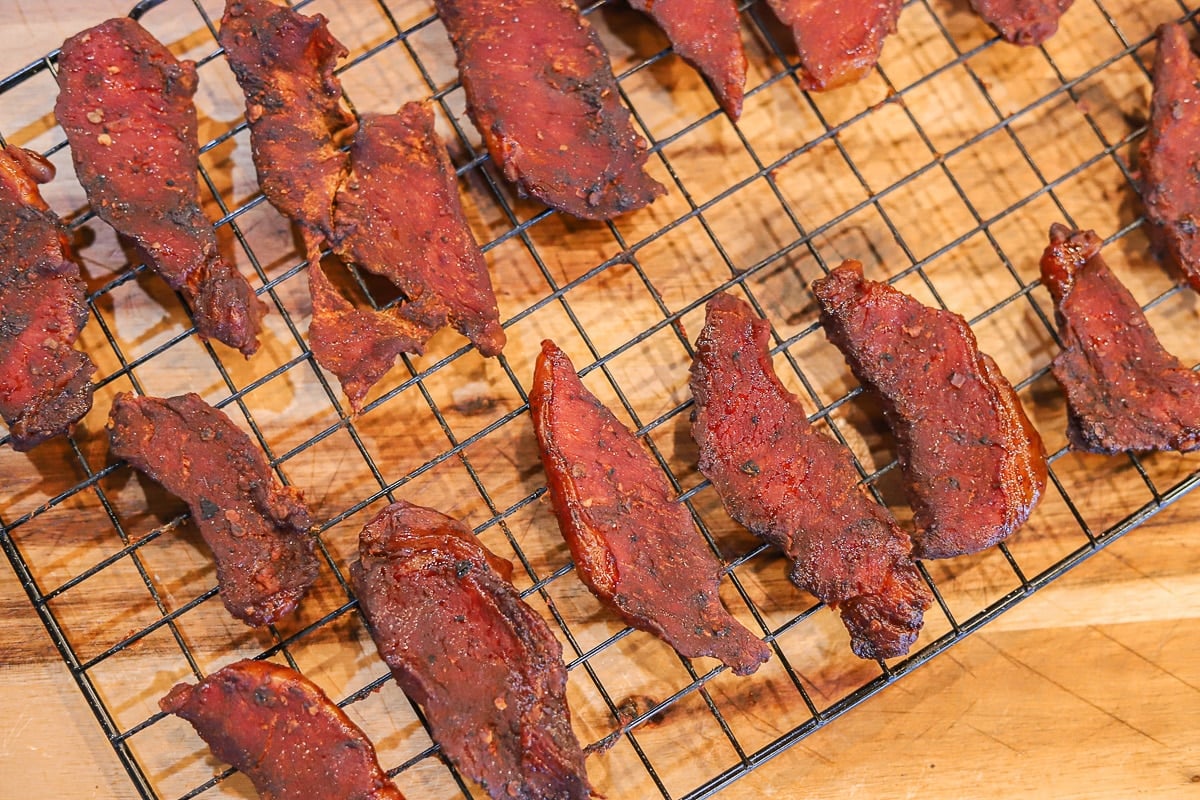
As the meat dehydrates, you may notice that the surface develops a dry, slightly tacky texture. This is a sign that the dehydration process is progressing as intended. To test for doneness, remove a piece of jerky from the dehydrator and allow it to cool to room temperature. The jerky should bend and crack but not break when bent, indicating that it is fully dehydrated and ready to be enjoyed.
Throughout the dehydration process, it’s important to exercise caution and adhere to food safety guidelines. Ensuring that the meat reaches a safe internal temperature and moisture content is essential for preventing bacterial growth and spoilage. Properly dehydrated beef jerky should have a moisture content of around 15% or lower, making it shelf-stable and safe for consumption.
By patiently dehydrating the marinated meat at the appropriate temperature and monitoring its progress diligently, you can look forward to a rewarding yield of flavorful and protein-packed beef jerky. With each tender and savory bite, you’ll savor the satisfaction of having transformed simple ingredients into a wholesome and delicious snack.
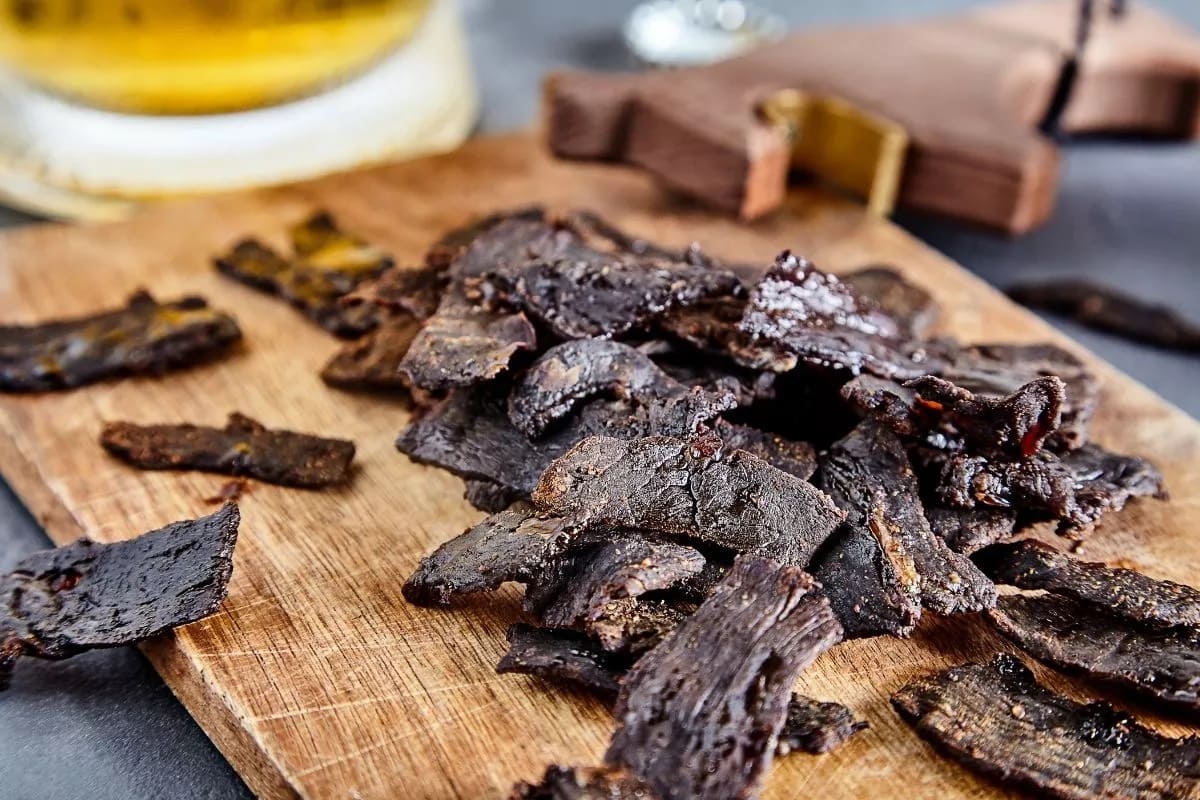
Testing for Doneness
Testing for doneness is a crucial step in the beef jerky-making process, ensuring that the meat has been dehydrated to the ideal texture and moisture content for safe consumption and long-term storage. While the visual and tactile indicators of doneness provide valuable guidance, it’s essential to complement these observations with thorough testing to confirm that the jerky is ready to be enjoyed.
One of the primary methods for testing the doneness of beef jerky is the bend test. To perform this test, remove a piece of jerky from the dehydrator and allow it to cool to room temperature. Gently bend the jerky; it should bend and crack but not break. If the jerky snaps in half or splinters, it is likely over-dried and may be too tough to enjoy. Conversely, if the jerky bends without cracking, it may require further dehydration to achieve the desired texture.
In addition to the bend test, you can assess the doneness of the jerky by evaluating its appearance and texture. Properly dehydrated beef jerky should have a dry, slightly chewy consistency, with no visible signs of moisture or softness. The surface of the jerky should appear slightly textured and dry to the touch, indicating that the moisture has been effectively removed from the meat.
Another method for testing the doneness of beef jerky involves assessing its moisture content. While professional equipment is typically used to measure moisture content accurately, home cooks can employ a simple yet effective technique. After the jerky has cooled to room temperature, place several pieces in a resealable plastic bag and allow them to sit for 20-30 minutes. If any condensation forms inside the bag, the jerky likely contains excess moisture and requires further dehydration.
It’s important to exercise caution and precision when testing for doneness, as under-dried jerky can pose a food safety risk due to insufficient moisture removal. Properly dehydrated beef jerky should have a moisture content of around 15% or lower, making it shelf-stable and safe for consumption. By conducting thorough testing and ensuring that the jerky meets these criteria, you can confidently enjoy your homemade snack without concerns about spoilage or quality.
By combining the bend test, visual assessment, and moisture content evaluation, you can verify the doneness of your beef jerky and savor the satisfaction of having successfully transformed raw meat into a flavorful, shelf-stable snack that is perfect for on-the-go energy or as a satisfying addition to your culinary repertoire.
Storing the Beef Jerky
Once your homemade beef jerky has been expertly dehydrated and tested for doneness, it’s time to focus on storing it properly to maintain its freshness and flavor over an extended period. Proper storage is essential for preserving the quality of the jerky and ensuring that it remains safe for consumption, allowing you to enjoy your delicious creation whenever the craving strikes.
One of the most effective methods for storing beef jerky is vacuum-sealing. Vacuum-sealed bags or containers remove excess air, minimizing the risk of moisture and oxygen exposure that can lead to spoilage. By vacuum-sealing the jerky in portion-sized packages, you can extend its shelf life and maintain its flavor and texture for an extended period, making it an ideal choice for long-term storage.
If vacuum-sealing equipment is not readily available, you can store the jerky in airtight containers or resealable plastic bags, ensuring that all excess air is removed before sealing. It’s important to press out as much air as possible to prevent moisture absorption and maintain the jerky’s desirable texture. Additionally, storing the jerky in smaller portions can minimize the frequency of opening and closing the container, reducing exposure to air and moisture.
When selecting a storage location for your beef jerky, opt for a cool, dry, and dark environment. Excessive heat, humidity, and exposure to light can compromise the quality and shelf life of the jerky, leading to changes in texture, flavor, and safety. A pantry, cupboard, or other cool, dark space is ideal for preserving the jerky’s freshness and ensuring that it remains a satisfying snack for weeks or even months to come.
It’s important to monitor the jerky periodically during storage to ensure that it maintains its quality and safety. Check for any signs of moisture, mold, or off-odors, and discard any jerky that exhibits these indicators. Properly stored beef jerky can remain flavorful and safe to consume for several weeks when stored at room temperature, and even longer when refrigerated or frozen.
By taking the time to store your homemade beef jerky carefully and attentively, you can look forward to enjoying a convenient and protein-packed snack that is always at the ready. With proper storage, your flavorful and satisfying jerky will be a welcome addition to your pantry, providing a wholesome and delicious treat whenever hunger strikes.
Frequently Asked Questions about How Long Do You Cook Beef Jerky In A Dehydrator
Was this page helpful?
At Storables.com, we guarantee accurate and reliable information. Our content, validated by Expert Board Contributors, is crafted following stringent Editorial Policies. We're committed to providing you with well-researched, expert-backed insights for all your informational needs.

0 thoughts on “How Long Do You Cook Beef Jerky In A Dehydrator”