Home>Home Appliances>Kitchen Appliances>How To Make Prunes In A Dehydrator
Kitchen Appliances
How To Make Prunes In A Dehydrator
Modified: February 18, 2024
Learn how to make delicious prunes in a dehydrator at home with our easy-to-follow guide. Discover the best kitchen appliances for perfect results. Start dehydrating today!
(Many of the links in this article redirect to a specific reviewed product. Your purchase of these products through affiliate links helps to generate commission for Storables.com, at no extra cost. Learn more)
Introduction
Welcome to the world of homemade prunes! If you're a fan of this sweet and chewy fruit, you'll be delighted to learn how to make prunes in a dehydrator right in your own kitchen. Not only is the process simple and rewarding, but it also allows you to enjoy the natural sweetness and nutritional benefits of prunes without any additives or preservatives. In this guide, we'll walk you through the entire process, from choosing the right prunes to storing and using your homemade delights. So, grab your dehydrator and let's embark on a delightful culinary adventure!
Key Takeaways:
- Enjoy the natural sweetness and nutritional benefits of homemade prunes by selecting ripe, dark-skinned plums and dehydrating them in a simple process. Experiment with seasonings for extra flavor and store them for up to a year.
- Transform fresh plums into tender, sweet prunes in a dehydrator, and savor them as a wholesome snack or use them in various recipes. Store them in airtight containers for up to six months, and refrigerate for a year for lasting freshness.
Read more: How To Store Prunes
Choosing the Right Prunes
When it comes to making prunes in a dehydrator, the first step is selecting the perfect fruit. Look for plump, ripe plums with a deep purple or blue-black hue. These dark-skinned varieties, such as Italian plums, are ideal for drying due to their high sugar content and rich flavor. Avoid green or underripe plums, as they won’t yield the sweet and tender results you’re aiming for.
Organic plums are preferable if you have access to them, as they are free from synthetic pesticides and chemicals. However, if organic options are limited, thoroughly wash and dry conventionally grown plums to remove any residue before proceeding with the dehydration process.
Another important consideration is the firmness of the plums. While they should be fully ripe, they should still have some firmness to them, as overly soft plums may result in overly sticky or mushy prunes after dehydration. When gently pressed, the plums should yield slightly without being too squishy.
Whether you harvest plums from your own tree, purchase them from a local orchard, or buy them at a grocery store or farmer’s market, ensure that the fruit is fresh and free from blemishes or signs of spoilage. By starting with high-quality plums, you set the stage for delicious, homemade prunes that will exceed your expectations.
Preparing the Prunes
Before diving into the dehydration process, it’s essential to properly prepare the plums to ensure optimal results. Start by gently rinsing the plums under cool water to remove any dirt or debris. Once clean, pat them dry with a kitchen towel or paper towel.
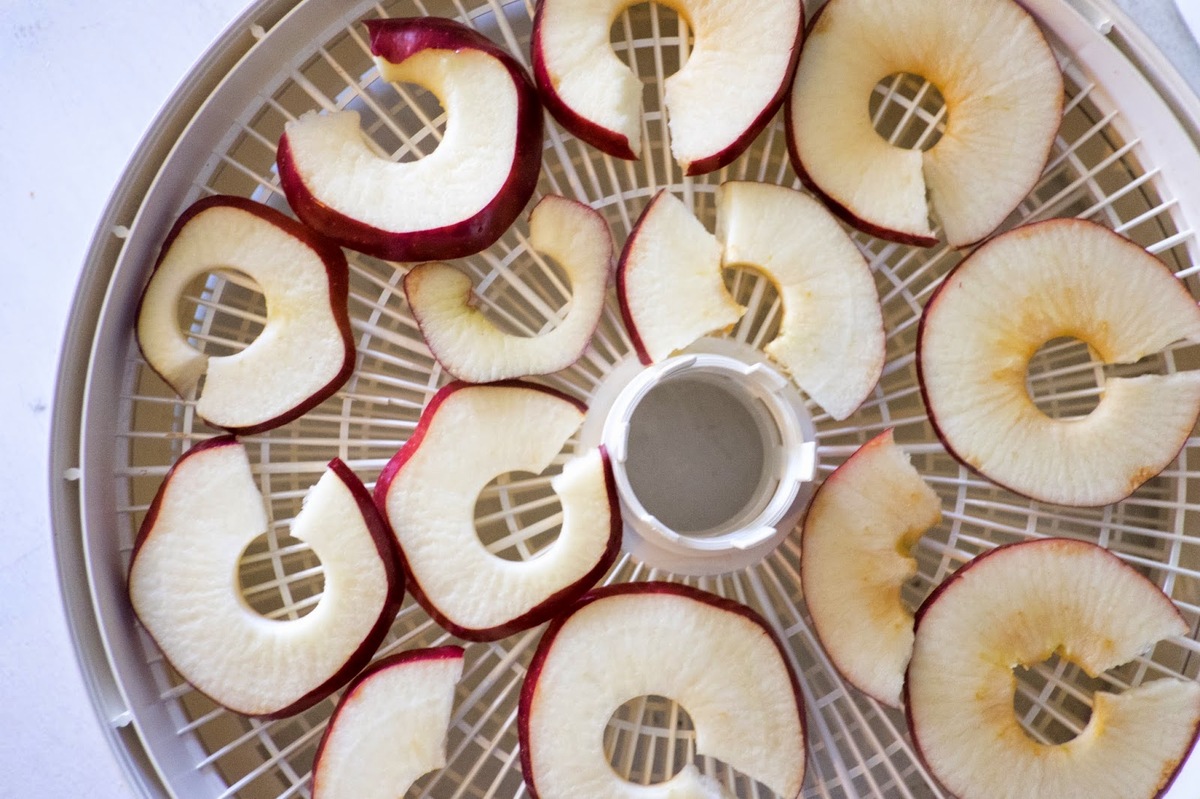
Next, using a sharp knife, carefully slice each plum in half, following the natural indentation where the stem was attached. Twist the two halves in opposite directions to separate them, revealing the pit nestled inside. With the tip of the knife or your fingers, pry out the pits and discard them. If you prefer, you can leave the pits intact for a more rustic appearance, but removing them allows the prunes to lay flat during dehydration, promoting even drying.
At this stage, you have the option to further enhance the flavor of your prunes by incorporating various seasonings or sweeteners. For a classic touch, consider sprinkling the cut sides of the plums with a light dusting of cinnamon or a drizzle of honey. Alternatively, you can experiment with other complementary flavors, such as vanilla extract, almond extract, or a sprinkle of nutmeg. These additions infuse the prunes with an extra layer of complexity, making them even more irresistible.
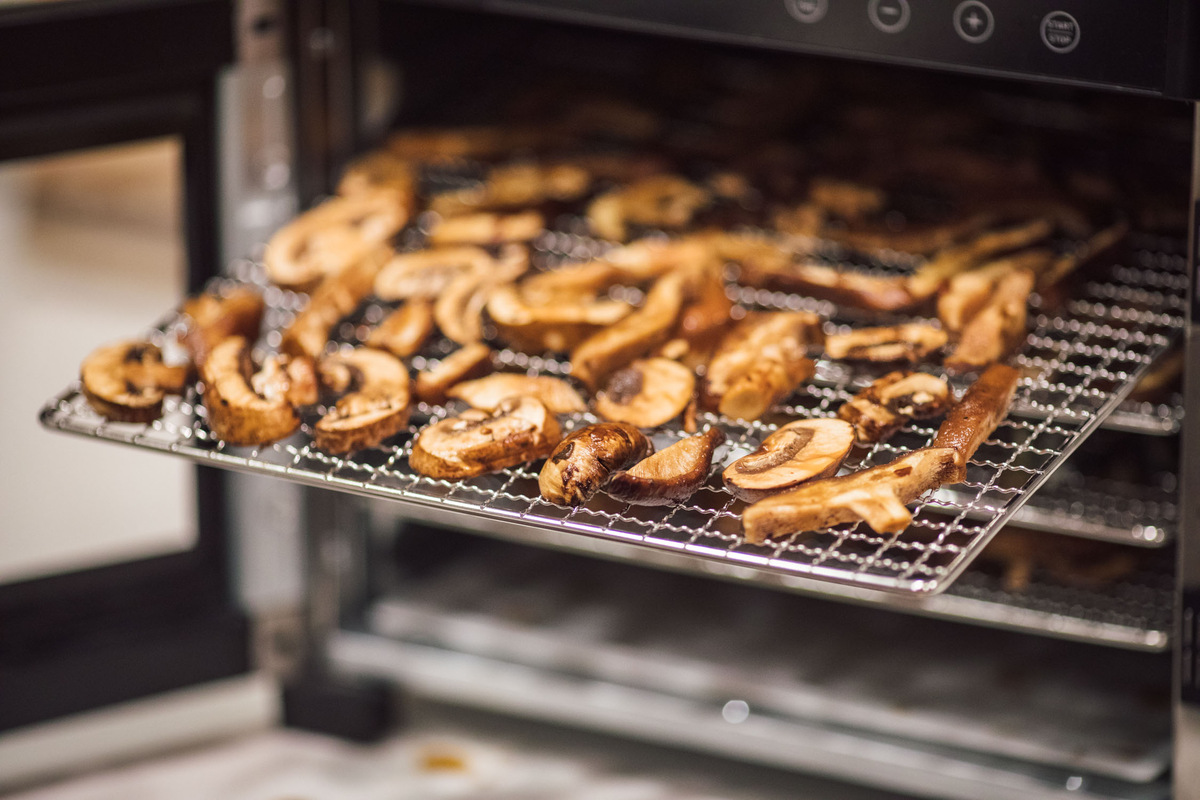
Once seasoned, arrange the prepared plums in a single layer on the dehydrator trays, ensuring that there is ample space between each piece for proper air circulation. This setup allows the hot air to evenly reach all surfaces of the fruit, facilitating consistent drying. With the plums neatly arranged, you’re now ready to start the dehydration process and transform these humble fruits into delightful, chewy prunes.
To make prunes in a dehydrator, start by pitting the plums and cutting them in half. Place the halves on the dehydrator trays, making sure they are not touching. Set the dehydrator to 135°F and let the prunes dry for about 24 hours, or until they are soft and leathery. Enjoy your homemade prunes as a healthy snack or addition to your favorite recipes!
Dehydrating the Prunes
With the plums neatly arranged on the dehydrator trays, it’s time to set the stage for their transformation into delectable prunes. Place the loaded trays into the dehydrator, ensuring that there is sufficient space between each tray to allow for proper airflow. This arrangement promotes uniform drying and prevents the fruits from sticking together during the process.
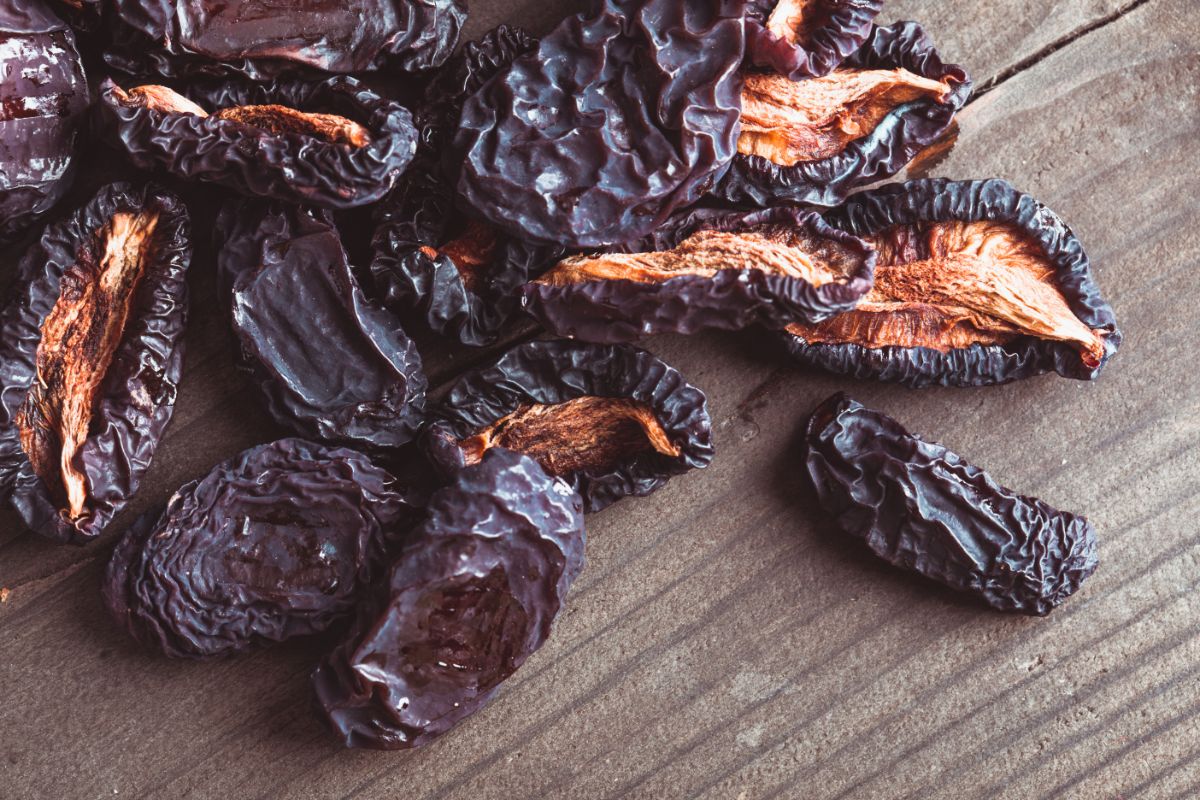
Set the dehydrator to a temperature range of 135°F to 140°F (57°C to 60°C) for optimal results. The low and consistent heat gently removes the moisture from the plums, gradually transforming them into tender, chewy prunes while preserving their natural sweetness and flavor. Depending on the dehydrator model and the moisture content of the plums, the drying process typically takes 24 to 36 hours.
Throughout the dehydration process, periodically check the plums for dryness and rotate the trays as needed to ensure even drying. The prunes are ready when they are slightly tacky to the touch but no longer wet or sticky. To assess their readiness, remove a few prunes from different areas of the trays and allow them to cool to room temperature. If they retain their moisture, continue dehydrating and recheck at regular intervals until they reach the desired consistency.
Once the prunes have achieved the perfect texture, remove the trays from the dehydrator and allow the prunes to cool completely before handling. This cooling period allows the prunes to firm up and attain their characteristic chewy texture. As they cool, they will also develop a rich, concentrated flavor that intensifies with time, making them a delightful treat on their own or a versatile ingredient in various culinary creations.
With the dehydration process complete, you can revel in the satisfaction of transforming fresh plums into tender, sweet prunes that are free from additives and bursting with natural goodness. Now, let’s explore the best practices for storing and using your homemade prunes to ensure their long-lasting quality and irresistible appeal.
Storing and Using the Prunes
After the prunes have cooled to room temperature, it’s time to focus on preserving their delectable qualities for future enjoyment. Proper storage is key to maintaining the prunes’ flavor, texture, and nutritional value over an extended period. Start by transferring the completely cooled prunes to airtight containers, such as glass jars or food-grade plastic containers with secure lids. This shields the prunes from moisture and air, safeguarding them against spoilage and retaining their chewy texture.
For added protection, consider placing a small food-grade desiccant packet or a piece of parchment paper in the containers to absorb any residual moisture and help preserve the prunes’ quality. Store the containers in a cool, dark pantry or cupboard away from direct sunlight and heat, as these elements can compromise the prunes’ flavor and lead to undesirable texture changes over time.
When stored under optimal conditions, homemade prunes can maintain their quality for up to six months. However, for the best flavor and texture, aim to consume them within three to four months. To prolong their shelf life, you can also store the airtight containers of prunes in the refrigerator, where they can remain fresh and delicious for up to a year.
Now that your homemade prunes are securely stored, it’s time to explore the myriad ways to incorporate these delightful treats into your culinary repertoire. Enjoy them straight out of the container as a wholesome snack, or chop them and sprinkle over oatmeal, yogurt, or cereal for a burst of natural sweetness and fiber.
For a touch of indulgence, consider rehydrating the prunes by soaking them in warm water or fruit juice until they plump up, and then using them in baked goods, such as muffins, breads, and cakes. Their natural sweetness and rich flavor add depth to both sweet and savory dishes, making them a versatile ingredient in various recipes.
Whether you’re savoring them on their own, incorporating them into your favorite recipes, or sharing them with friends and family, your homemade prunes are a testament to your culinary prowess and dedication to wholesome, preservative-free living. By mastering the art of making prunes in a dehydrator, you’ve unlocked a world of culinary possibilities and nourishing delights that will leave a lasting impression on all who have the pleasure of savoring them.
Frequently Asked Questions about How To Make Prunes In A Dehydrator
Was this page helpful?
At Storables.com, we guarantee accurate and reliable information. Our content, validated by Expert Board Contributors, is crafted following stringent Editorial Policies. We're committed to providing you with well-researched, expert-backed insights for all your informational needs.


0 thoughts on “How To Make Prunes In A Dehydrator”