Home>Home Appliances>Kitchen Appliances>How To Make Tomato Powder At Home Without A Dehydrator
Kitchen Appliances
How To Make Tomato Powder At Home Without A Dehydrator
Modified: August 27, 2024
Learn how to make tomato powder at home without a dehydrator using basic kitchen appliances. Enjoy the convenience of homemade tomato powder for your cooking needs.
(Many of the links in this article redirect to a specific reviewed product. Your purchase of these products through affiliate links helps to generate commission for Storables.com, at no extra cost. Learn more)
Introduction
Are you a fan of tomatoes and interested in preserving their rich flavor for future use? If so, you're in for a treat! In this article, we'll explore a simple and rewarding method for creating your own tomato powder at home, even if you don't have a dehydrator. This versatile ingredient can be used to enhance the taste of soups, sauces, and stews, or as a base for a delightful homemade seasoning blend.
By following these easy steps, you'll be able to savor the essence of ripe tomatoes all year round. Whether you have an abundant harvest from your garden or simply wish to take advantage of a great deal on fresh tomatoes at the market, making tomato powder is an excellent way to minimize waste and elevate your culinary creations.
So, gather your tomatoes and let's embark on a journey to transform them into a concentrated powder bursting with vibrant flavor!
Key Takeaways:
- Enjoy the vibrant flavor of ripe tomatoes year-round by making your own tomato powder at home. With just a few simple steps, you can elevate your dishes with this versatile and convenient ingredient.
- Transforming fresh tomatoes into a concentrated powder is easy and rewarding, even without a dehydrator. By following the steps outlined in this guide, you can savor the essence of ripe tomatoes in a delightful and innovative manner.
Read more: How To Make Beet Powder Without A Dehydrator
What You’ll Need
Before diving into the process of making tomato powder, it’s important to gather the necessary tools and ingredients. Fortunately, you won’t require any specialized equipment such as a dehydrator. Here’s what you’ll need:
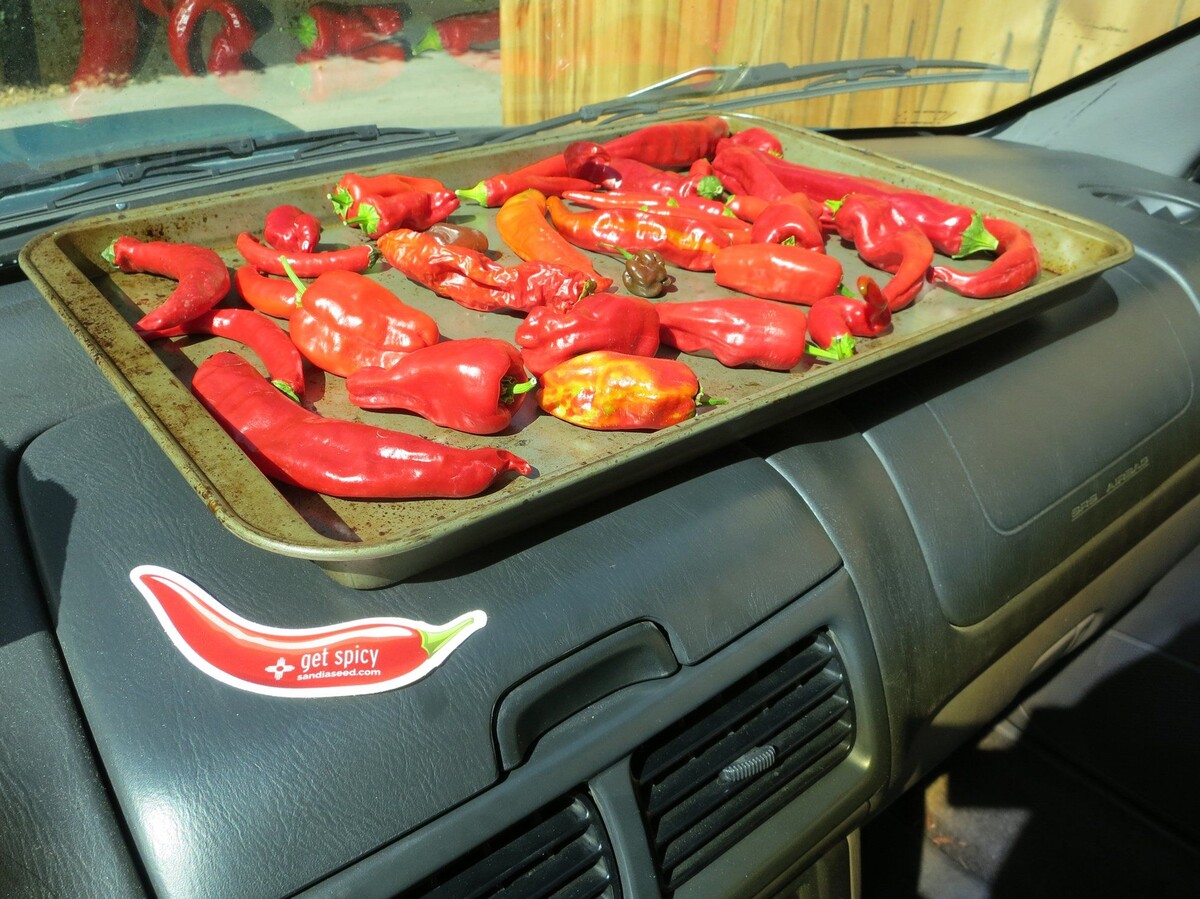
- Fresh, ripe tomatoes: Look for high-quality tomatoes that are at the peak of ripeness. Whether you grow them in your garden or purchase them from a local market, selecting the best tomatoes will contribute to the exceptional flavor of your homemade tomato powder.
- Baking sheets: These will be used to spread out the tomato slices for drying in the oven.
- Parchment paper or silicone baking mats: These will prevent the tomato slices from sticking to the baking sheets during the drying process.
- Sharp knife: A reliable knife will be essential for slicing the tomatoes into thin, even pieces.
- Oven: You’ll be using your oven to gently dry the tomato slices, so ensure that it’s clean and in good working condition.
- Blender or coffee grinder: Once the tomatoes are thoroughly dried, you’ll need a blender or coffee grinder to pulverize them into a fine powder.
- Airtight containers: To store your flavorful tomato powder, you’ll need airtight containers that will keep it fresh for an extended period.
With these basic supplies at your disposal, you’re well-equipped to embark on the delightful journey of creating your own tomato powder at home. Now that you’re ready, let’s move on to the next step: preparing the tomatoes for drying.
Preparing the Tomatoes
Before you can begin the process of transforming fresh tomatoes into a concentrated powder, it’s essential to prepare them properly. Follow these steps to ensure that your tomatoes are ready for the drying phase:
- Wash and Dry: Thoroughly rinse the tomatoes under cool running water to remove any dirt or debris. Pat them dry with a clean kitchen towel or paper towels.
- Remove the Stem: Using a sharp knife, carefully remove the stem from each tomato. This step ensures that the slices will be uniform and free of any tough or fibrous portions.
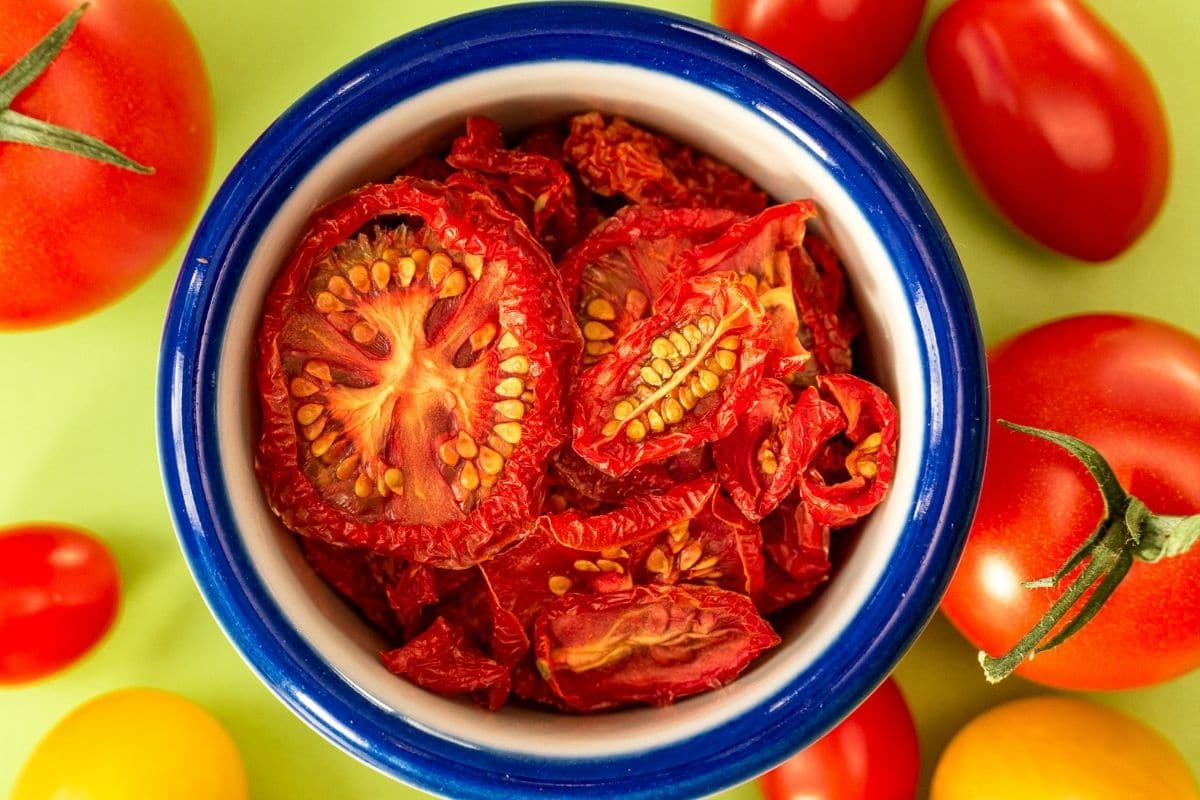
- Slice the Tomatoes: With a sharp knife, slice the tomatoes into thin, even pieces. Aim for a consistent thickness to promote even drying. If you prefer, you can also remove the seeds before slicing, although this is optional.
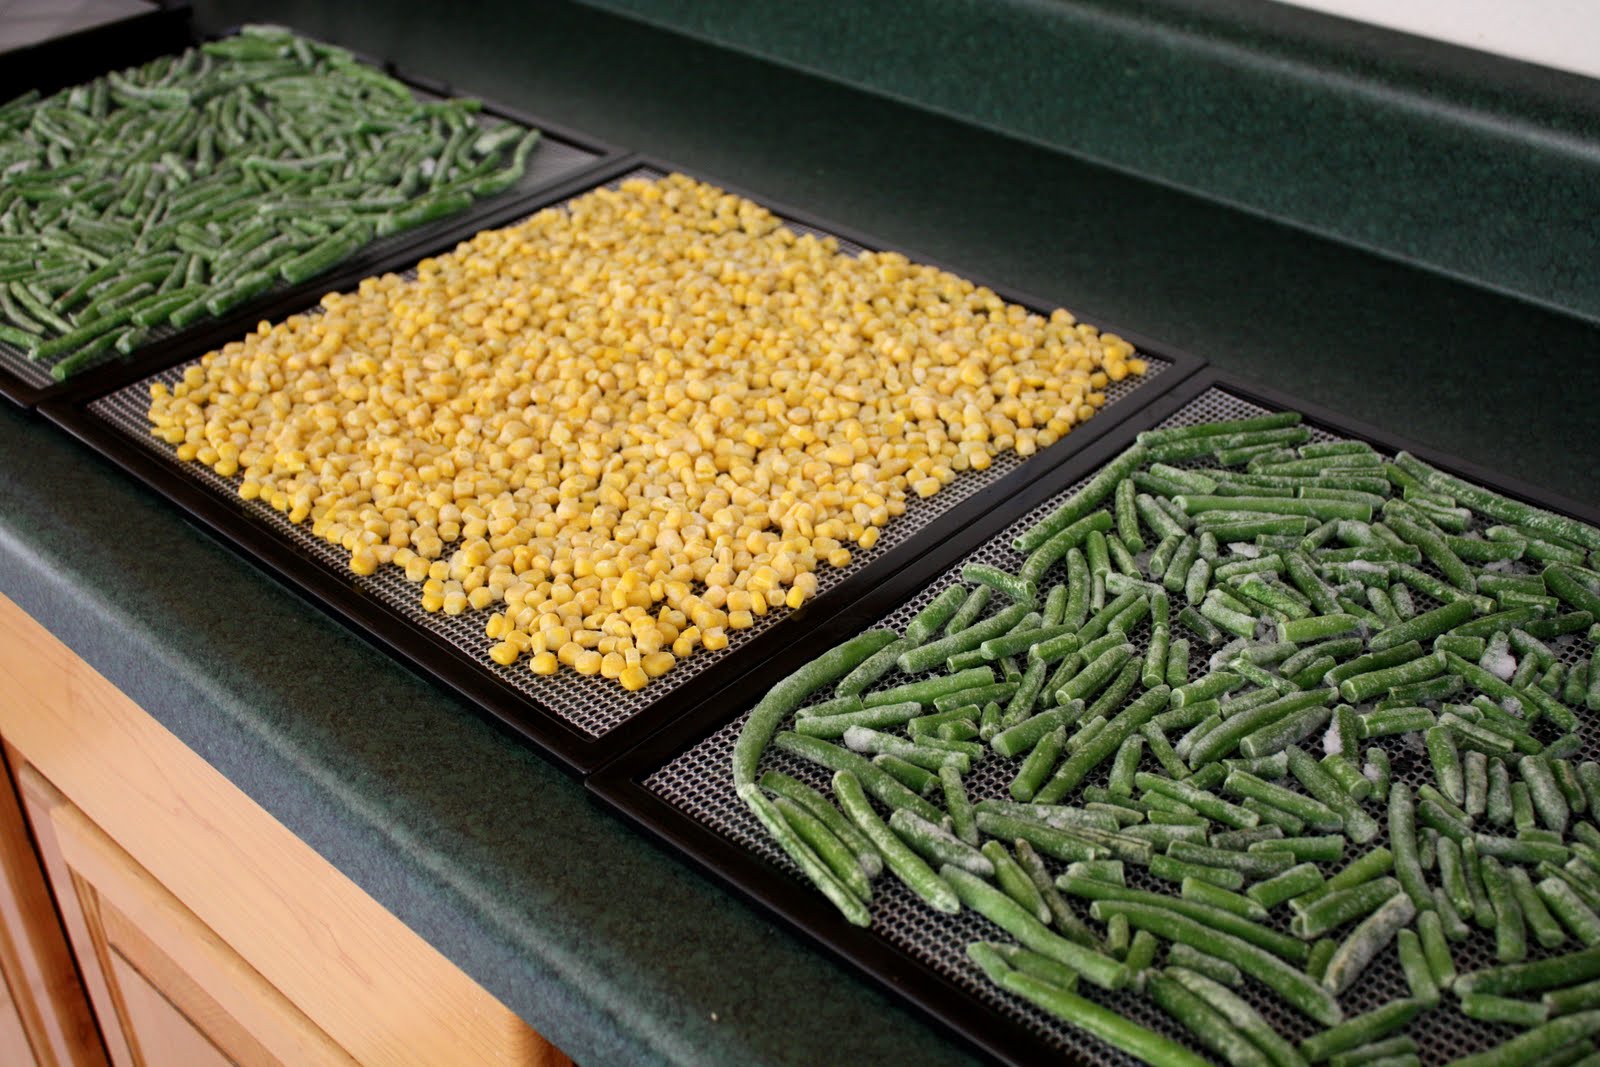
- Arrange on Baking Sheets: Line your baking sheets with parchment paper or silicone baking mats. Arrange the tomato slices in a single layer, ensuring that they are not touching or overlapping. This will facilitate optimal airflow during the drying process.
By taking the time to properly prepare your tomatoes, you’re setting the stage for successful drying and the subsequent creation of flavorful tomato powder. With your tomatoes neatly sliced and ready for the next step, it’s time to move on to the crucial phase of drying them to perfection.
Drying the Tomatoes
Now that your tomatoes are meticulously prepared, it’s time to initiate the drying process. While a dehydrator is commonly used for this purpose, we’ll be utilizing an oven to achieve the same results. Follow these steps to gently dry the tomato slices to perfection:
- Preheat the Oven: Begin by preheating your oven to the lowest setting, typically around 170°F (75°C). This low temperature will gradually remove the moisture from the tomatoes without causing them to brown or cook.
- Place the Tomato Slices in the Oven: Carefully position the baking sheets in the preheated oven. Allow the tomato slices to dry out slowly over the course of several hours. The exact duration will depend on the thickness of the slices and the moisture content of the tomatoes, but it typically ranges from 6 to 10 hours.
- Rotate and Monitor: Periodically rotate the baking sheets and monitor the progress of the drying tomatoes. This will ensure even drying and prevent any pieces from becoming overly crisp or burnt.
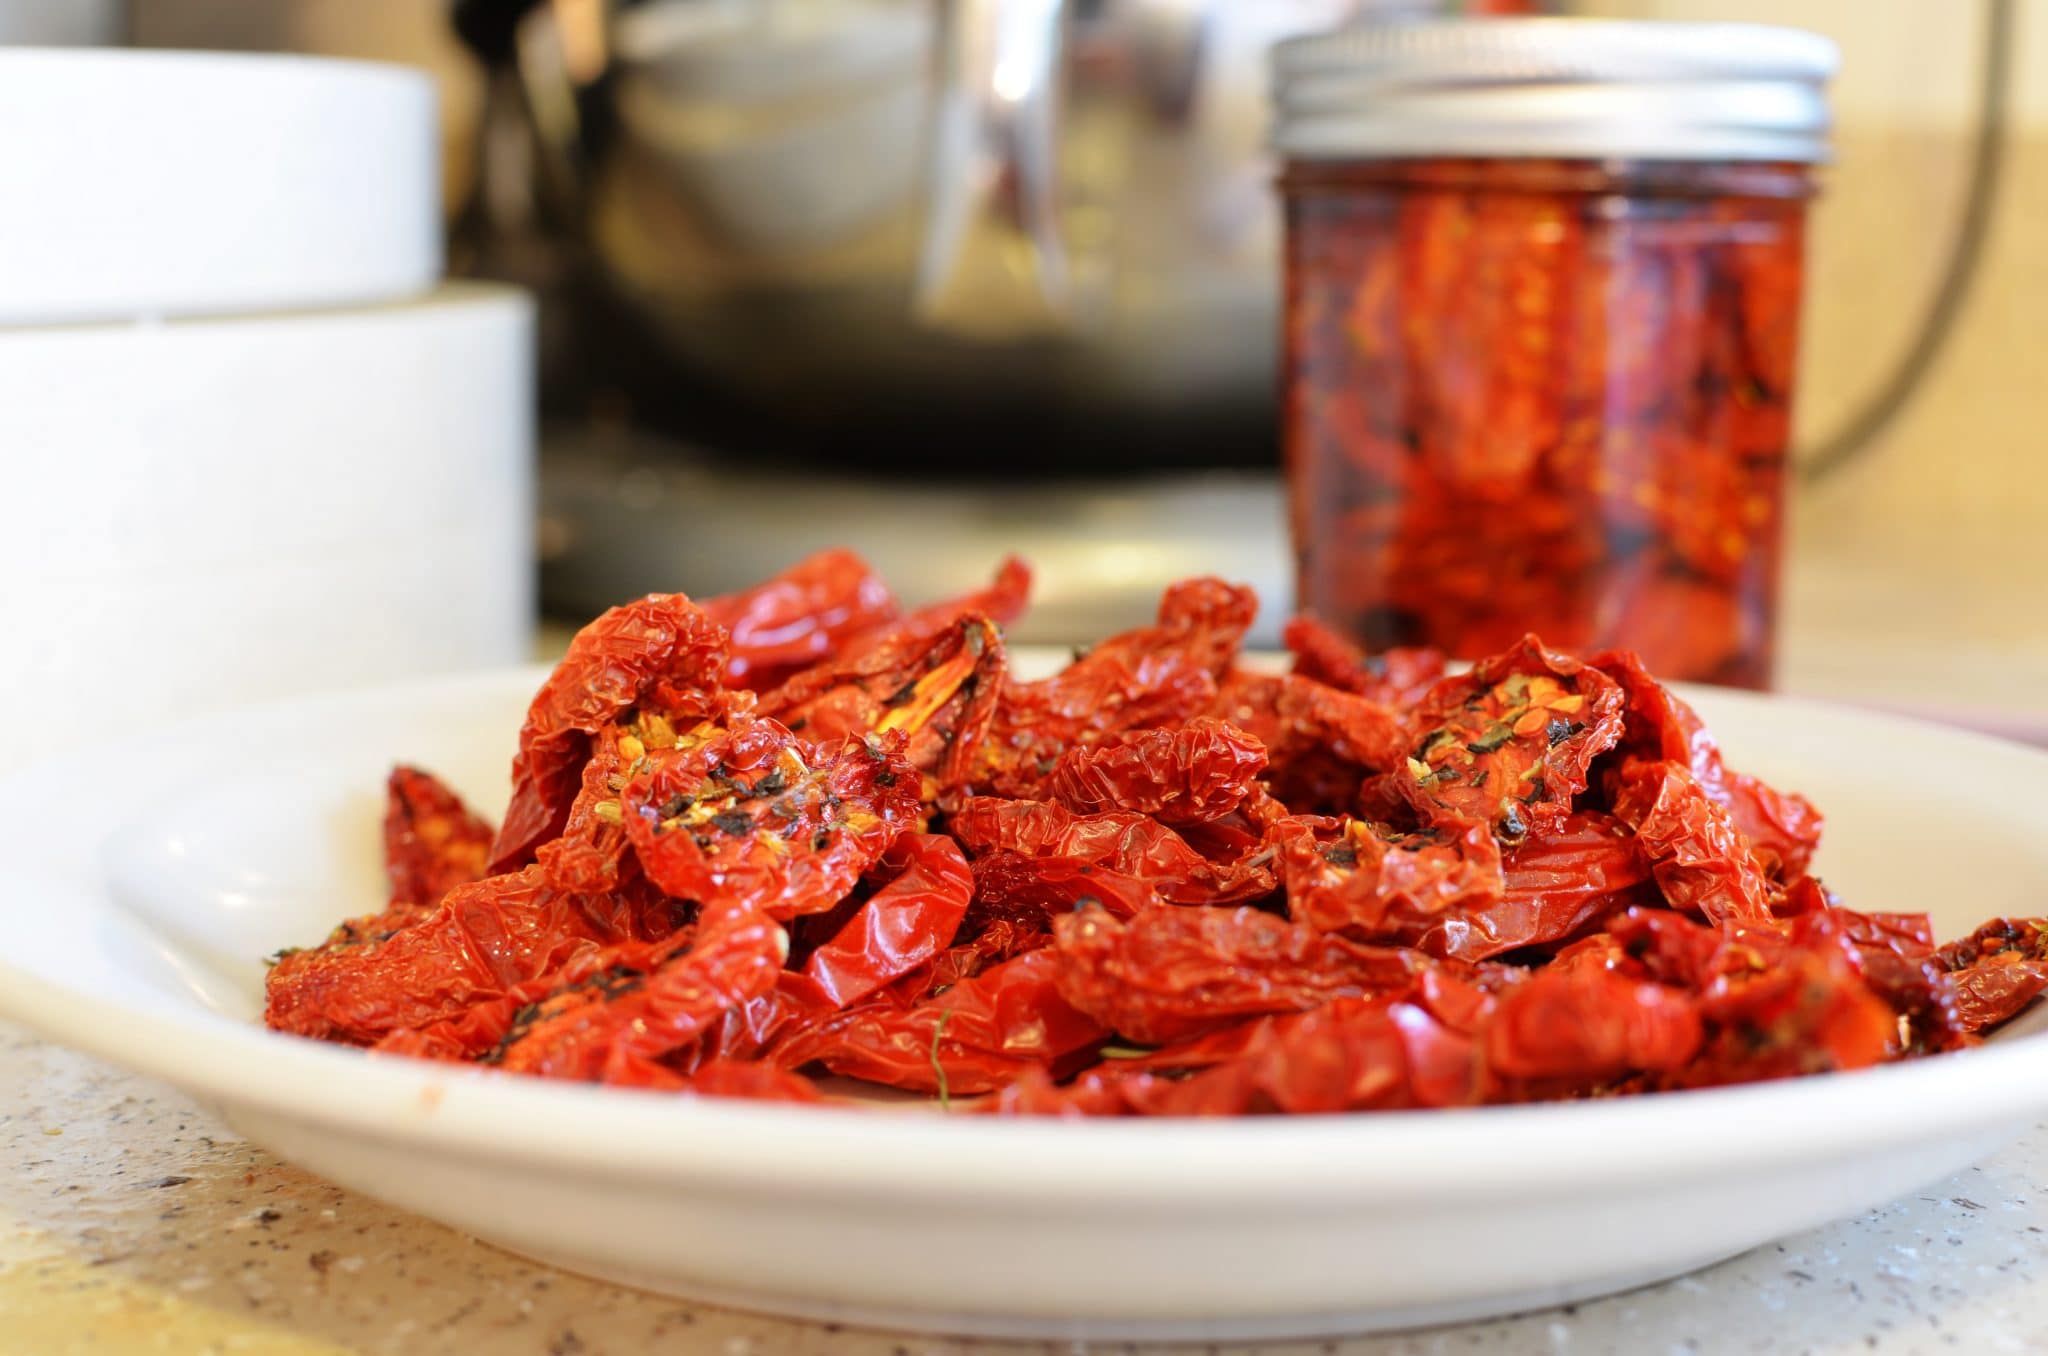
- Check for Dryness: The tomato slices are ready when they are completely dry to the touch and have a leathery texture. They should not feel moist or soft in any areas.
By utilizing your oven as a makeshift dehydrator, you can effectively dry the tomato slices to perfection, resulting in concentrated flavor and a prolonged shelf life. With the drying phase successfully completed, the next step involves transforming the dried tomato slices into a fine, aromatic powder.
Spread the tomato puree thinly on a baking sheet and place it in the oven at the lowest temperature. Leave the oven door slightly ajar to allow moisture to escape. Check and stir every hour until it’s dry and brittle.
Grinding the Dried Tomatoes
With the dried tomato slices in hand, the next pivotal step is to transform them into a fine powder that encapsulates the concentrated essence of ripe tomatoes. This process requires the use of a blender or coffee grinder to achieve the desired texture. Follow these steps to grind the dried tomatoes into a delightful powder:
- Cool the Dried Tomato Slices: Allow the dried tomato slices to cool completely before proceeding with the grinding process. This will prevent condensation from forming in the blender or grinder, ensuring that the powder remains dry and free-flowing.
- Transfer to the Blender or Grinder: Working in small batches, transfer the cooled tomato slices to the blender or coffee grinder. Avoid overloading the appliance, as this can impede the grinding process.
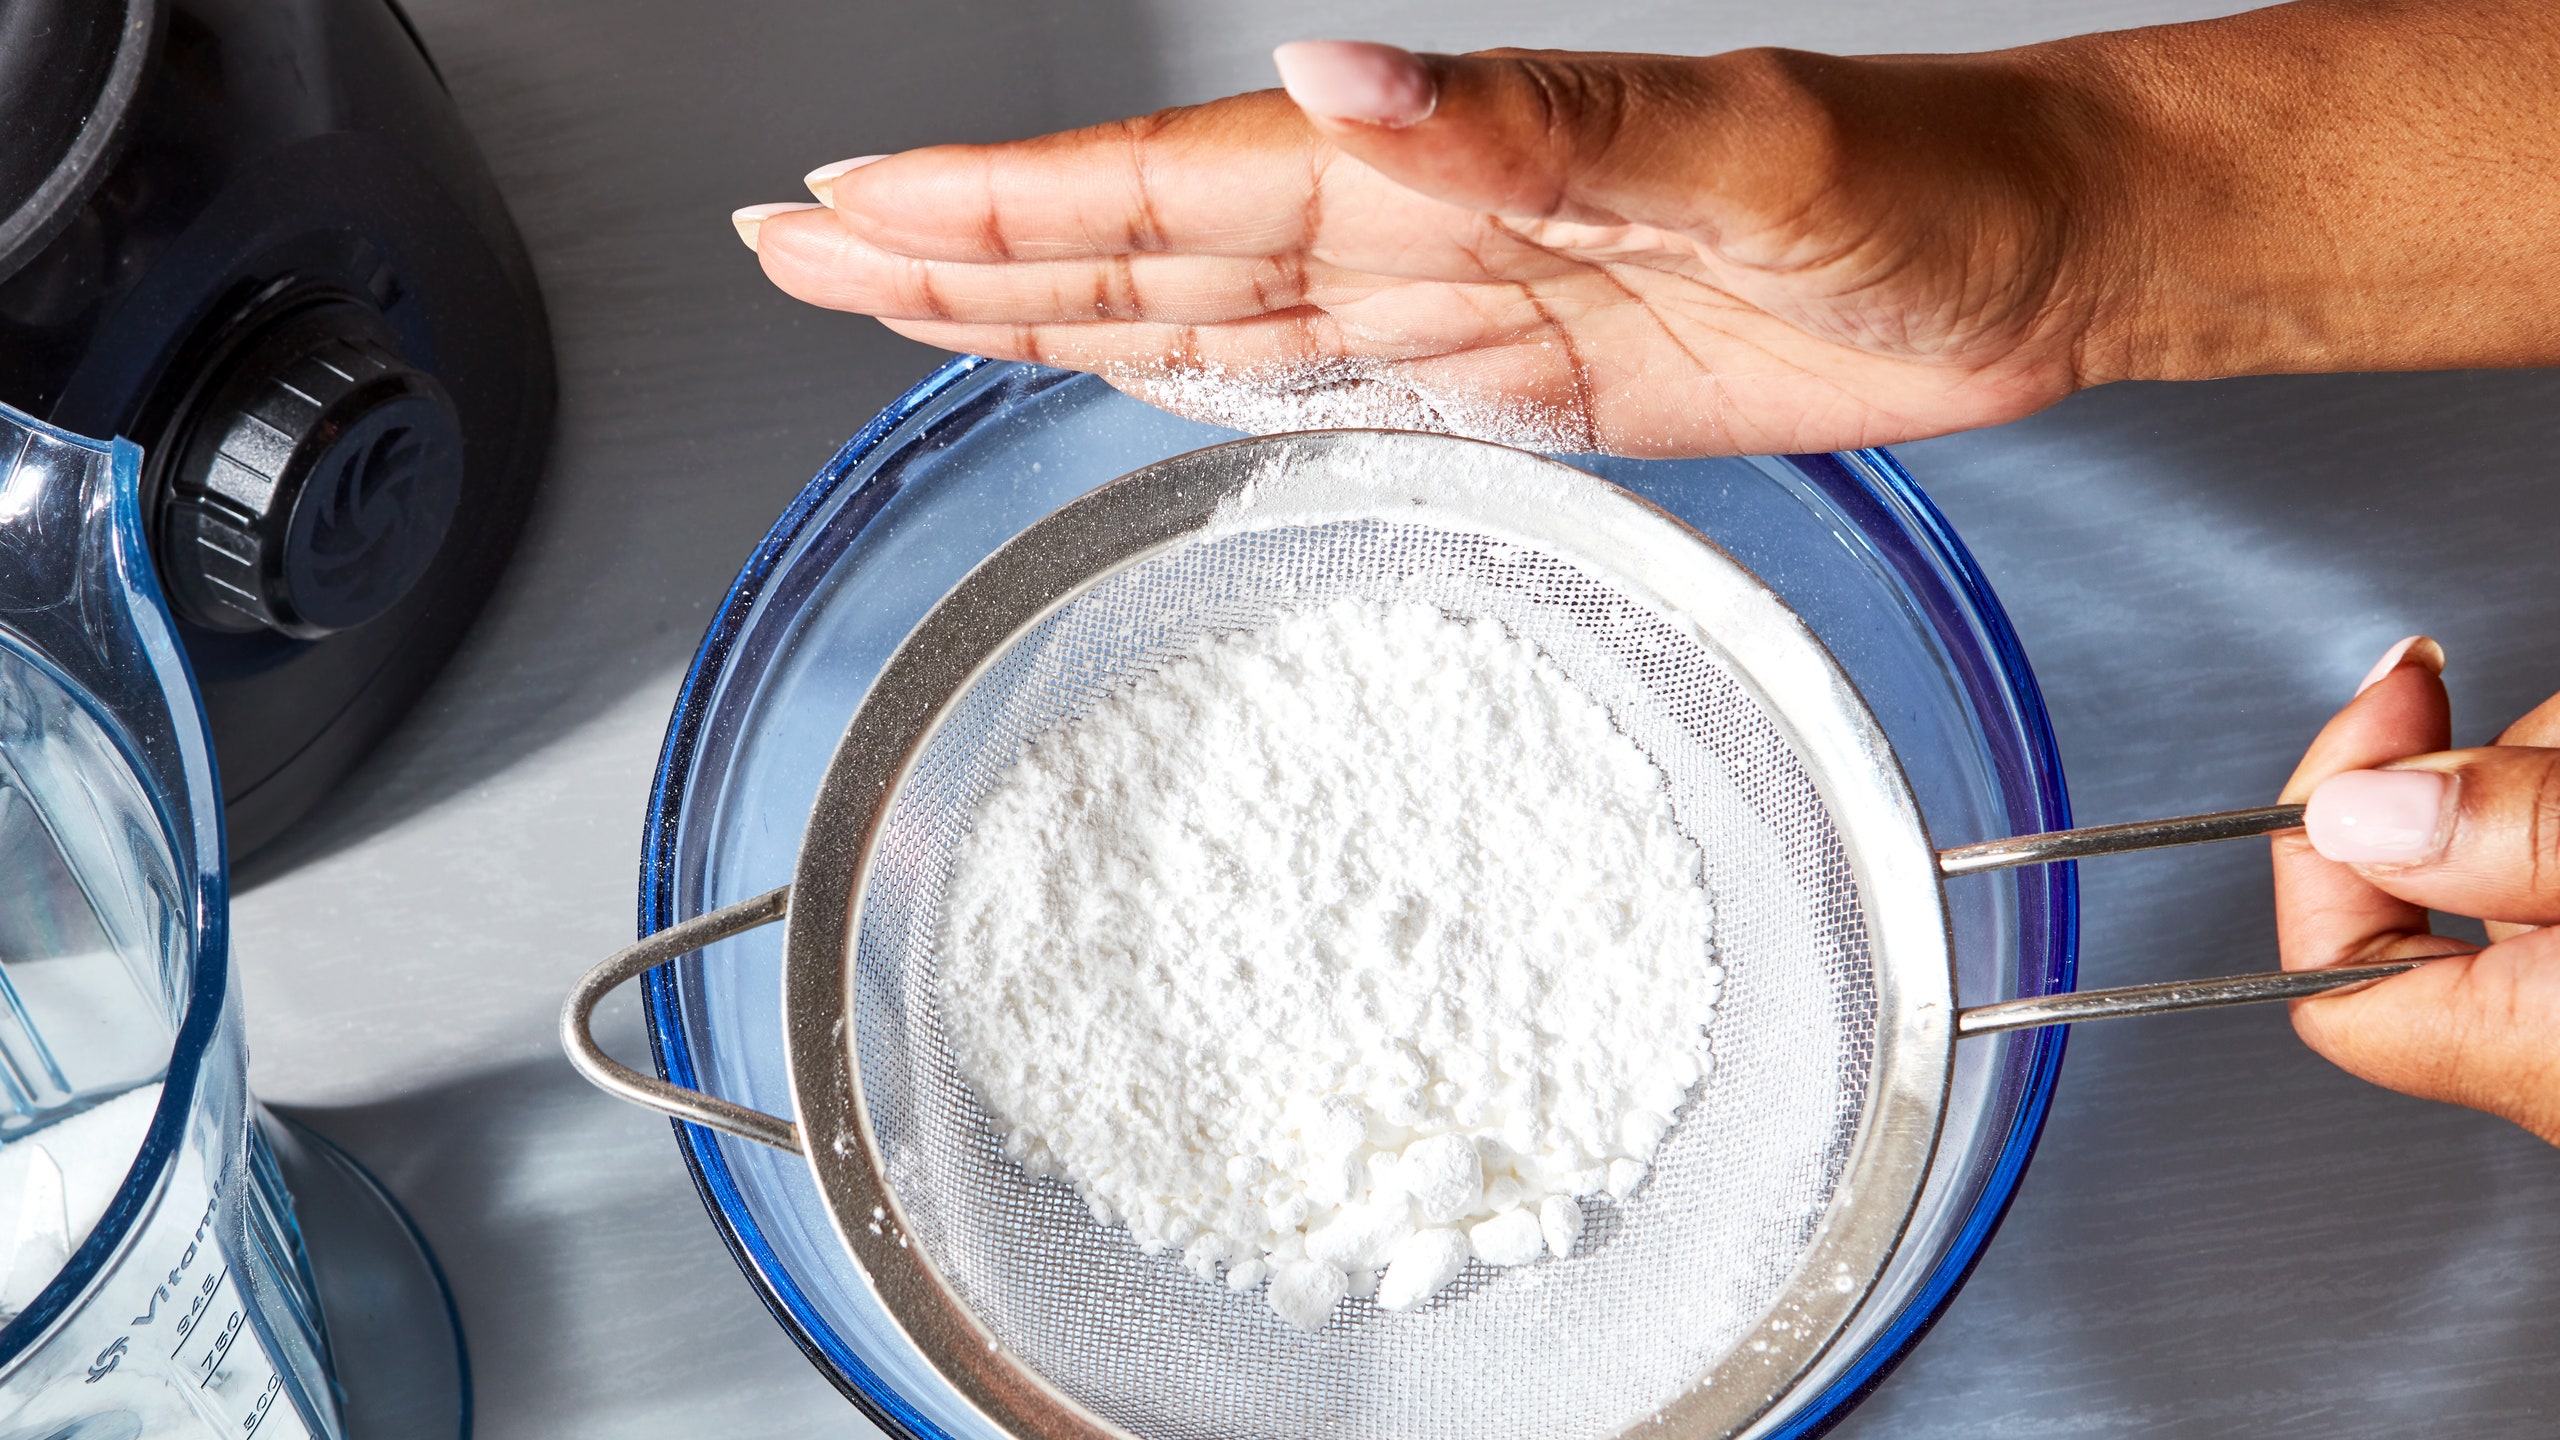
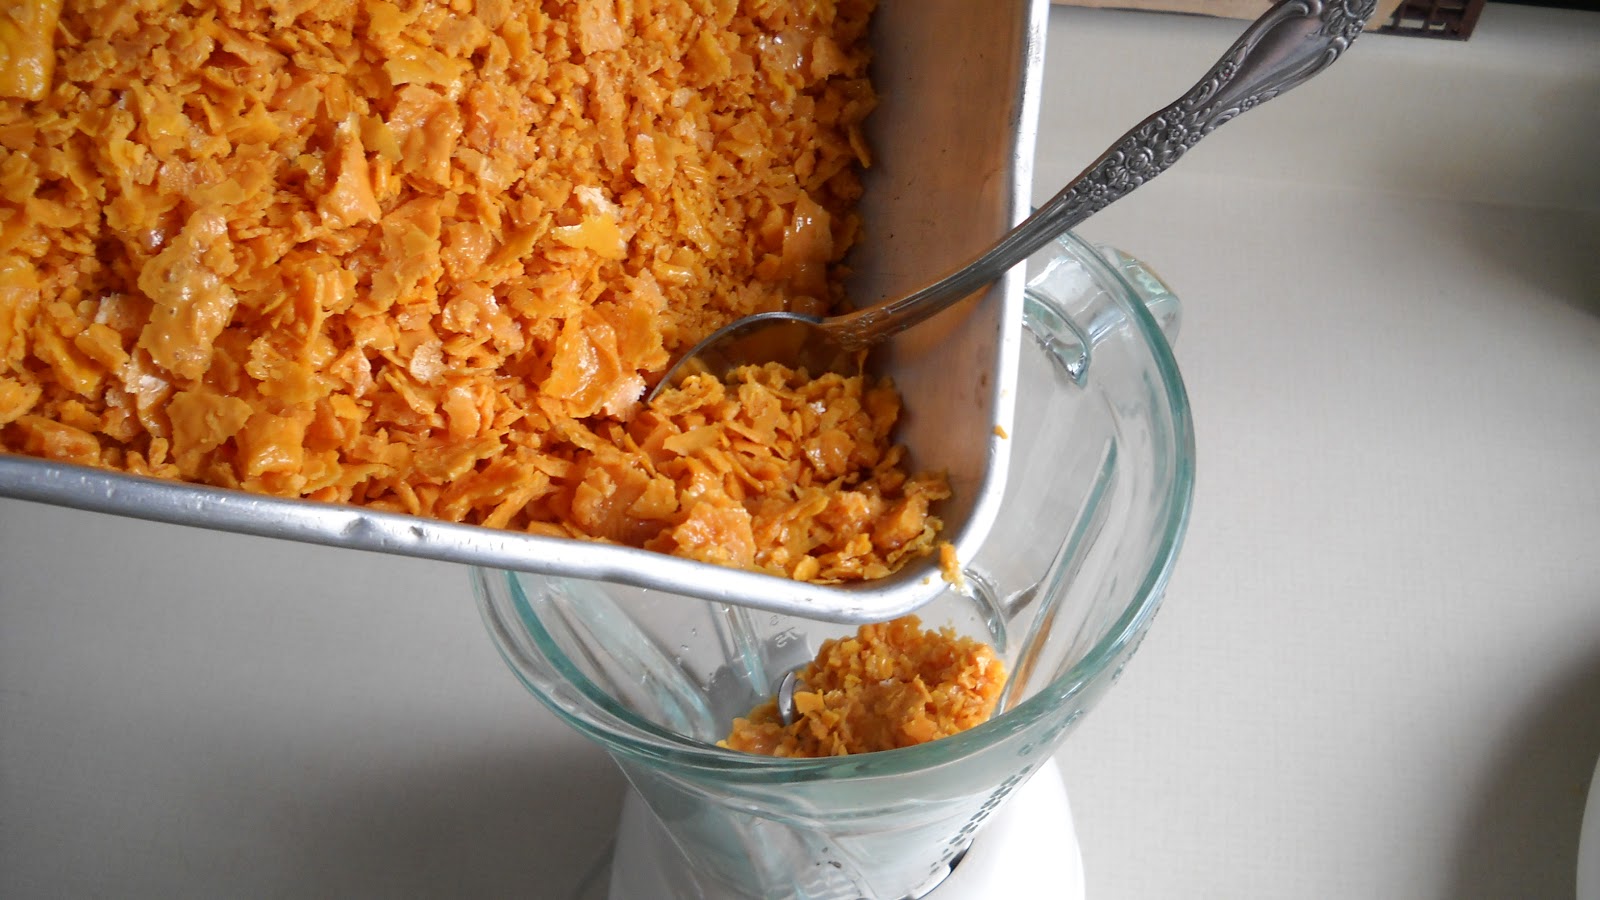
- Pulverize to a Fine Powder: Secure the lid of the blender or grinder and pulverize the dried tomato slices until they reach a fine, powdery consistency. Depending on the capacity and power of your appliance, this may require several short bursts of blending or grinding.
- Sift the Powder (Optional): For an exceptionally smooth texture, consider sifting the freshly ground tomato powder through a fine mesh sieve to remove any larger particles. This step is optional but can result in a more refined end product.
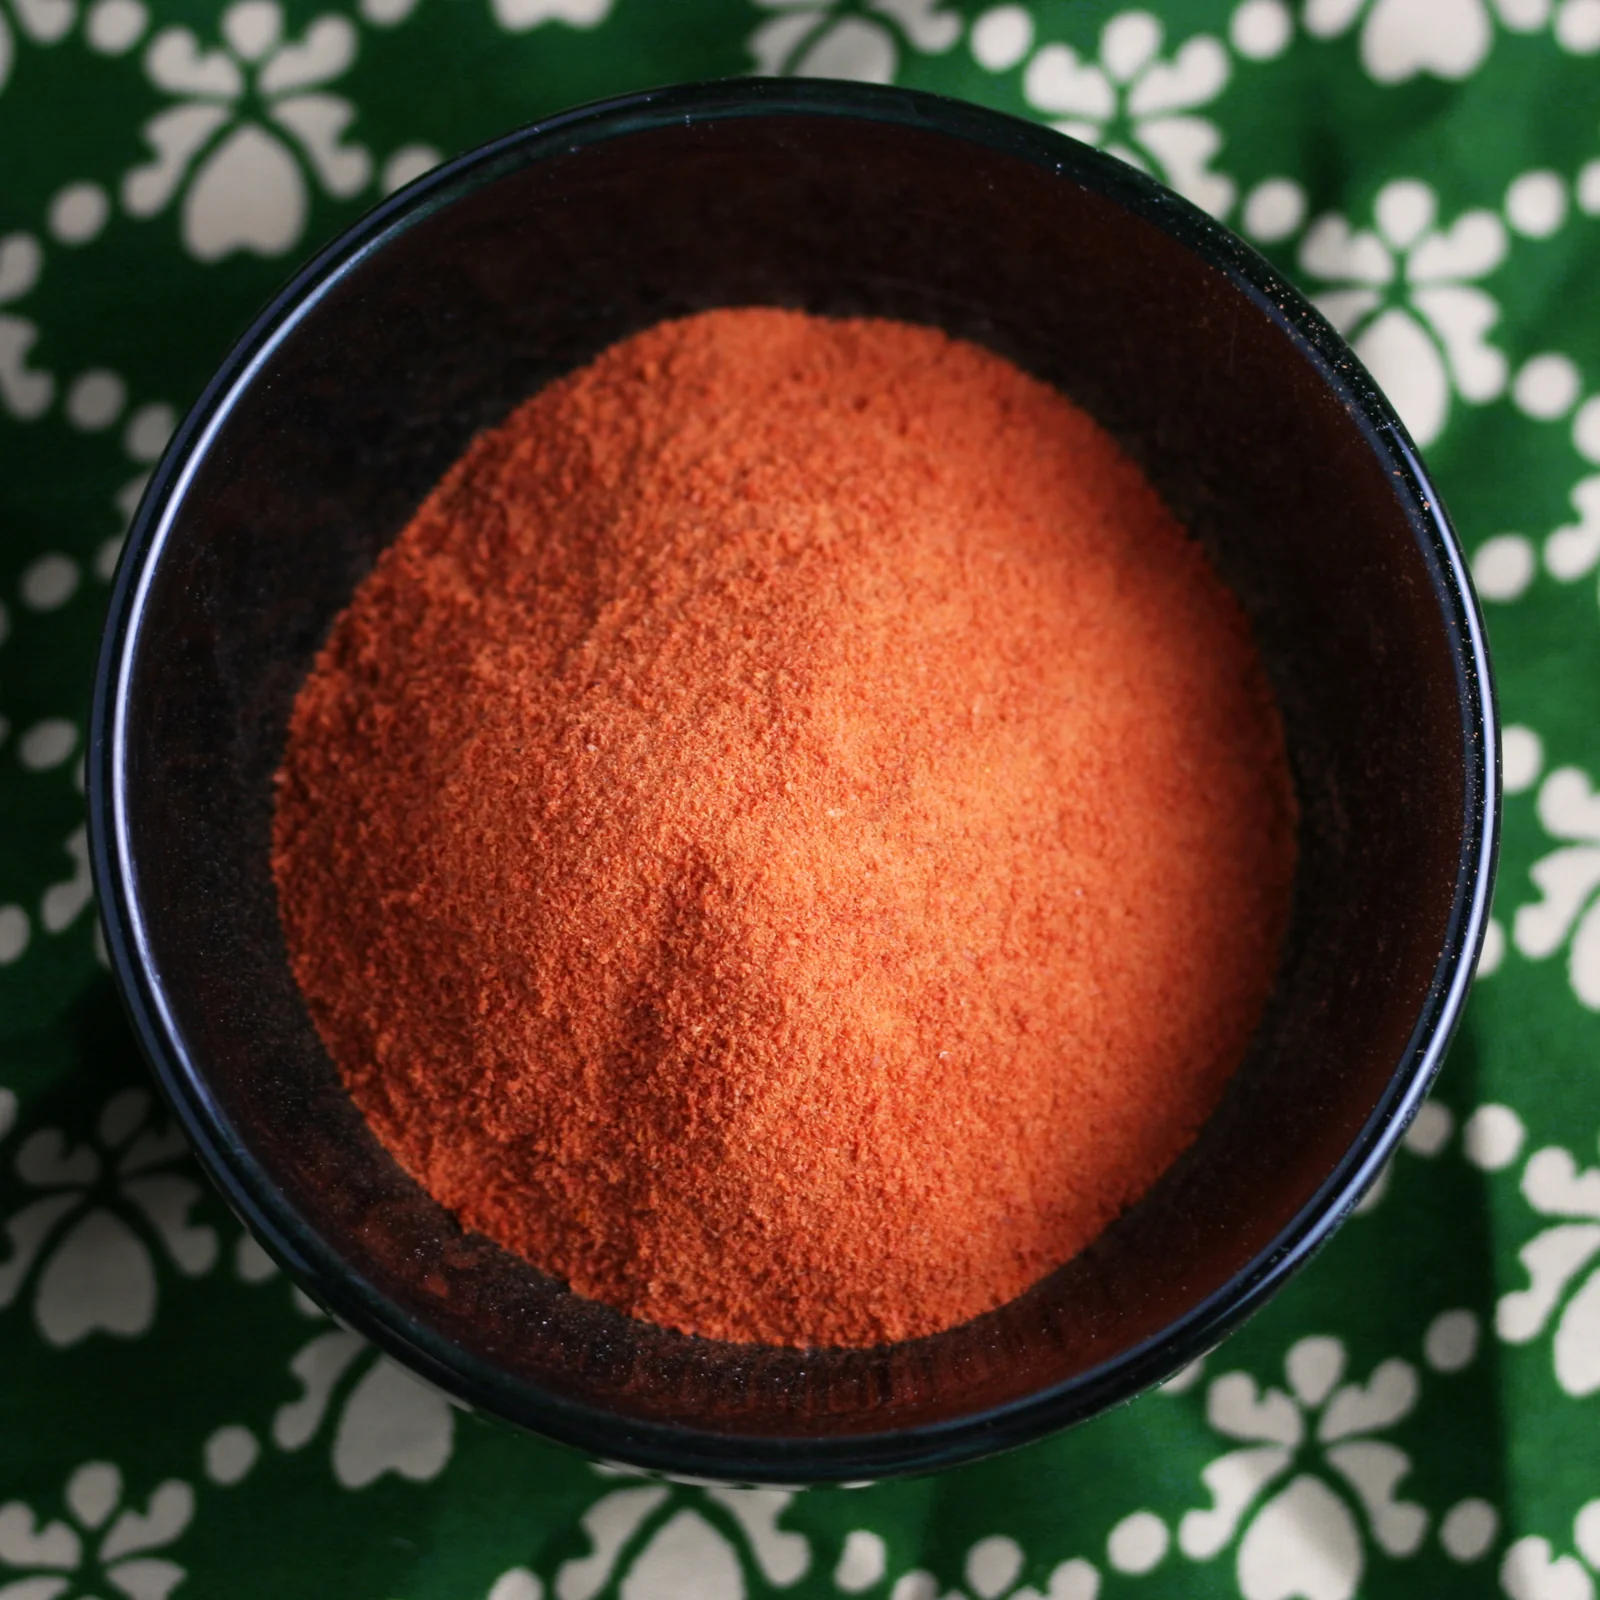
As you progress through the grinding process, you’ll witness the remarkable transformation of dried tomato slices into a vibrant, aromatic powder that embodies the essence of ripe tomatoes. Once the grinding is complete, the final step involves storing your exquisite tomato powder for future culinary adventures.
Read more: How To Dehydrate Tomatoes In A Dehydrator
Storing Your Tomato Powder
After investing time and effort into creating your own flavorful tomato powder, it’s essential to store it properly to maintain its quality and freshness. Follow these guidelines to ensure that your homemade tomato powder remains vibrant and aromatic for an extended period:
- Cool the Powder: If the freshly ground tomato powder feels warm due to the grinding process, allow it to cool to room temperature before proceeding with storage.
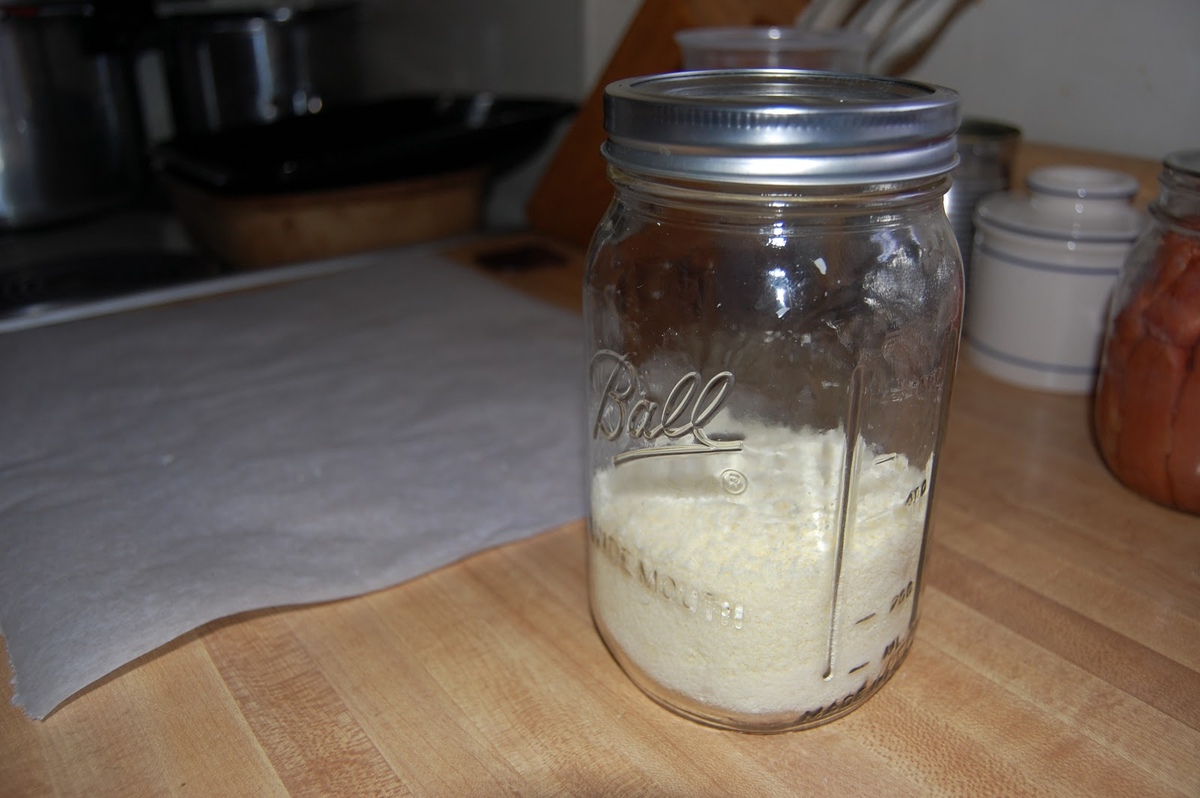
- Select Airtight Containers: Choose clean, dry, airtight containers for storing the tomato powder. Mason jars, food-grade plastic containers, or metal tins with tight-sealing lids are excellent choices for preserving the powder’s flavor and preventing moisture from compromising its quality.
- Fill the Containers: Carefully transfer the tomato powder to the selected containers, ensuring that they are filled to within an inch of the top to minimize air exposure. This will help preserve the powder’s vibrant color and aromatic properties.
- Label and Date: Clearly label each container with the contents and date of preparation. This simple step will help you keep track of the powder’s freshness and usage, ensuring that you always reach for the freshest batch.
- Store in a Cool, Dark Place: To prolong the shelf life of your tomato powder, store the containers in a cool, dark pantry or cupboard. Exposure to light, heat, and humidity can compromise the powder’s flavor and color, so it’s essential to shield it from these elements.
By following these storage guidelines, you can safeguard the exquisite flavor and aroma of your homemade tomato powder, allowing you to savor the essence of ripe tomatoes in your culinary creations throughout the year.
With your tomato powder expertly prepared and safely stored, you’re now equipped to elevate a wide array of dishes with the rich, concentrated flavor of tomatoes. Whether you sprinkle it into soups, sauces, or marinades or use it as a base for a custom seasoning blend, your homemade tomato powder is sure to enhance your culinary endeavors with its vibrant, tangy essence.
Conclusion
Congratulations on embarking on the rewarding journey of creating your own tomato powder at home! By following the simple yet impactful steps outlined in this guide, you’ve unlocked the potential to preserve the vibrant flavor of ripe tomatoes in a convenient, shelf-stable form. Whether you harvested an abundant crop from your garden or seized the opportunity to utilize an abundance of fresh tomatoes, your homemade tomato powder is a testament to resourcefulness and culinary ingenuity.
Through meticulous preparation, gentle drying, and skillful grinding, you’ve harnessed the essence of ripe tomatoes and transformed it into a versatile ingredient that can elevate an array of dishes. From enhancing the depth of flavor in soups and stews to infusing sauces and marinades with a burst of tangy sweetness, your homemade tomato powder is poised to become a cherished staple in your culinary repertoire.
As you savor the fruits of your labor, remember that the journey doesn’t end with the creation of the powder. Experiment with incorporating it into your favorite recipes, and don’t hesitate to explore new culinary horizons by introducing this delightful ingredient into unexpected dishes. Whether you’re crafting a custom seasoning blend or seeking to add an extra layer of complexity to a beloved recipe, your homemade tomato powder is a versatile ally in the kitchen.
As you revel in the convenience and flavor-enhancing potential of your homemade tomato powder, take pride in the fact that you’ve minimized waste, maximized flavor, and embraced the art of preserving the essence of ripe tomatoes in a delightful and innovative manner.
So, the next time you reach for a jar of your homemade tomato powder, let it serve as a reminder of the creativity and resourcefulness that fuel your culinary endeavors. With each sprinkle and dash, you’re infusing your dishes with the vibrant essence of ripe tomatoes, elevating your creations to new heights of flavor and delight.
Here’s to the joy of homemade culinary creations and the boundless possibilities that await in your kitchen!
Frequently Asked Questions about How To Make Tomato Powder At Home Without A Dehydrator
Was this page helpful?
At Storables.com, we guarantee accurate and reliable information. Our content, validated by Expert Board Contributors, is crafted following stringent Editorial Policies. We're committed to providing you with well-researched, expert-backed insights for all your informational needs.


0 thoughts on “How To Make Tomato Powder At Home Without A Dehydrator”