Home>Home Appliances>Kitchen Appliances>How To Dehydrate Marshmallows Without A Dehydrator

Kitchen Appliances
How To Dehydrate Marshmallows Without A Dehydrator
Modified: February 18, 2024
Learn how to dehydrate marshmallows without a dehydrator using simple kitchen appliances. Enjoy crispy and delicious marshmallows at home!
(Many of the links in this article redirect to a specific reviewed product. Your purchase of these products through affiliate links helps to generate commission for Storables.com, at no extra cost. Learn more)
Introduction
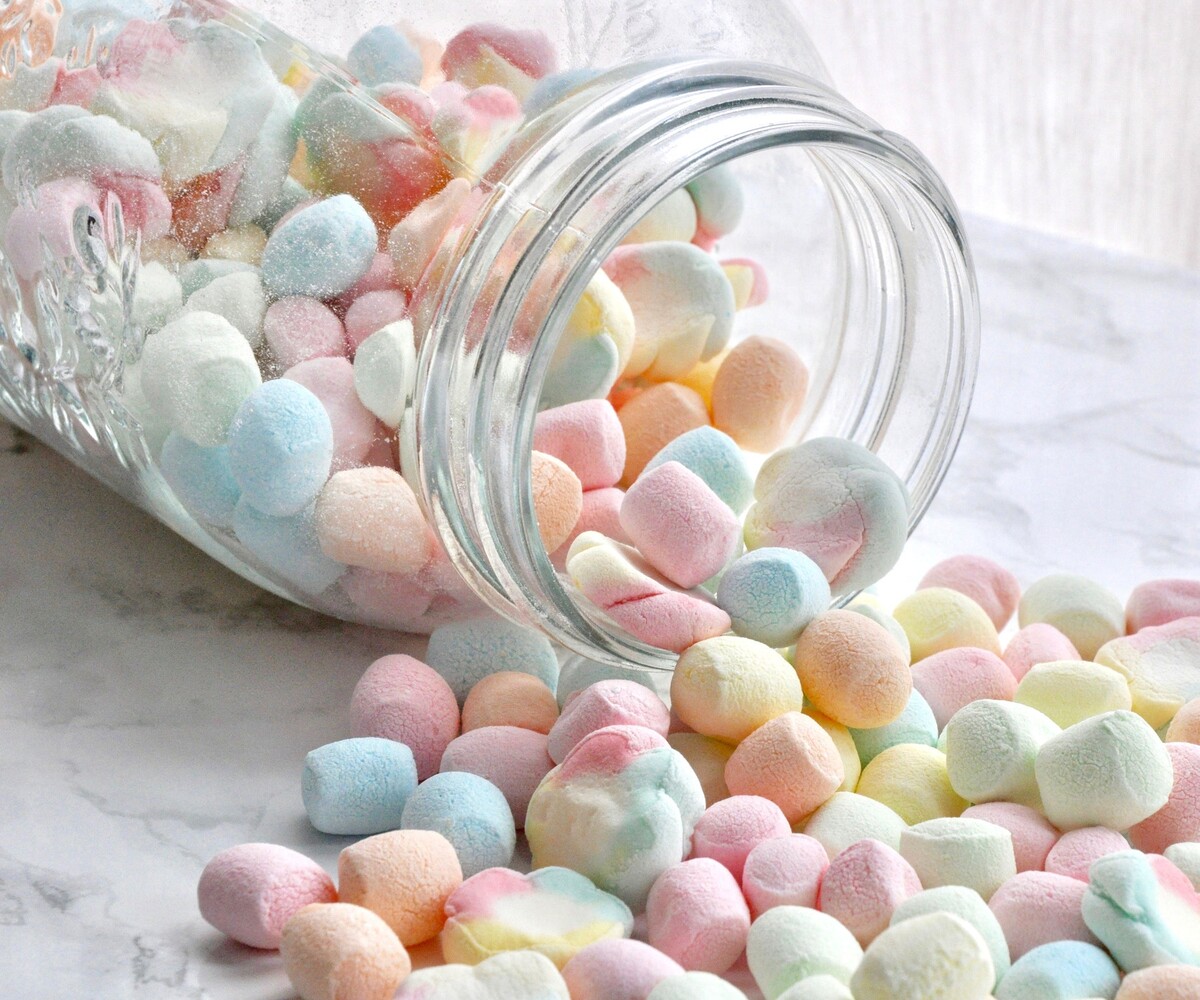
Dehydrated marshmallows, also known as mallow bits, are a delightful addition to various treats, such as hot chocolate, cereal bars, and ice cream. Their crunchy texture and concentrated sweetness make them a popular choice for both snacking and baking. While a food dehydrator is commonly used for this purpose, not everyone has this appliance at their disposal. Fortunately, you can easily dehydrate marshmallows using a conventional oven, making this delightful treat accessible to all.
In this article, we will explore the step-by-step process of dehydrating marshmallows without a dehydrator. By following these simple instructions, you can transform regular marshmallows into crunchy, shelf-stable morsels that can be enjoyed in a multitude of ways. With just a few supplies and a bit of patience, you can create your own dehydrated marshmallows to elevate your culinary creations and satisfy your sweet tooth. Let's dive into the process and uncover the magic of transforming fluffy marshmallows into delightful, crispy morsels.
Key Takeaways:
- Transform soft marshmallows into crispy delights using your oven and simple supplies. Enjoy the crunchy, sweet morsels in treats or as a standalone snack.
- With patience and creativity, you can easily make your own dehydrated marshmallows for a delightful textural contrast and concentrated sweetness in your culinary creations.
Read more: How To Dehydrate Corn Without A Dehydrator
Supplies Needed
Before embarking on the dehydrating process, gather the following supplies:
- Marshmallows: Use regular-sized marshmallows for optimal results. You can choose classic white marshmallows or colorful ones for a playful twist.
- Baking Sheet: Ensure you have a clean, rimmed baking sheet to contain the marshmallows during the dehydrating process.
- Parchment Paper: This will prevent the marshmallows from sticking to the baking sheet and facilitate easy removal once they are dehydrated.
- Oven: A standard kitchen oven will serve as the primary tool for dehydrating the marshmallows in the absence of a dedicated dehydrator.
- Oven Mitts: These are essential for handling the baking sheet and hot marshmallows during the dehydrating process.
- Airtight Container: Once the marshmallows are dehydrated, you will need a container to store them in, ensuring they remain fresh and crunchy.
With these basic supplies in hand, you are ready to embark on the journey of transforming soft, pillowy marshmallows into crispy, shelf-stable delights.
Step 1: Preparing the Marshmallows
Before you begin the dehydrating process, it’s crucial to prepare the marshmallows properly to ensure even dehydration and optimal results. Follow these simple steps to get the marshmallows ready for their transformation:
- Cut the Marshmallows: Start by cutting the marshmallows into uniform pieces. You can use kitchen shears or a sharp knife to create small, bite-sized cubes. This step helps to ensure that the marshmallows dehydrate evenly and consistently.
- Arrange on Parchment Paper: Place a sheet of parchment paper on the baking sheet to prevent the marshmallows from sticking. Arrange the cut marshmallows in a single layer on the parchment paper, ensuring that they are not touching each other. This spacing allows for proper airflow during the dehydration process.
- Optional: Shape Variation: If you want to add a creative touch to your dehydrated marshmallows, consider using cookie cutters to shape them into fun designs before arranging them on the parchment paper. This step adds a playful element to the process and results in uniquely shaped mallow bits.
Once the marshmallows are neatly arranged and prepared for dehydration, you are ready to move on to the next step: dehydrating them in the oven. Properly preparing the marshmallows sets the stage for successful dehydration and ensures that you achieve the desired crispy texture.
Step 2: Dehydrating in the Oven
Dehydrating marshmallows in a conventional oven is a straightforward process that requires gentle heat and patience. Follow these simple guidelines to ensure successful dehydration:
- Preheat the Oven: Begin by preheating your oven to the lowest possible temperature setting. Most ovens have a minimum temperature of around 170°F (77°C). This gentle heat will slowly dehydrate the marshmallows without causing them to brown or melt.
- Place the Marshmallows in the Oven: Once the oven reaches the desired temperature, carefully place the baking sheet with the prepared marshmallows inside. Position the sheet in the center of the oven to ensure even heat distribution.
- Keep the Oven Door Ajar: To facilitate proper airflow and moisture release, prop the oven door open slightly using a wooden spoon or a heat-safe object. This allows the moisture from the marshmallows to escape, aiding in the dehydration process.
- Monitor the Dehydration Process: The time required for dehydration can vary based on factors such as the size of the marshmallow pieces and the specific oven temperature. Typically, the process takes around 2-3 hours. Check the marshmallows periodically to gauge their progress.
During the dehydration process, the marshmallows will shrink in size and gradually develop a crispy texture. It’s essential to exercise patience and avoid the temptation to increase the oven temperature, as higher heat can lead to uneven dehydration and potential burning.
Once the marshmallows have achieved the desired level of crispness, it’s time to move on to the next step: checking for dryness to ensure that they are ready for storage and consumption.
Spread marshmallows in a single layer on a baking sheet lined with parchment paper. Place in a 170°F oven for 2-3 hours, or until they are dry and firm to the touch. Let them cool before storing.
Step 3: Checking for Dryness
After the marshmallows have been in the oven for the recommended duration, it’s crucial to assess their dryness to ensure that they are ready for storage and consumption. Follow these steps to determine if the marshmallows have achieved the desired level of dehydration:
- Visual Inspection: Carefully observe the dehydrated marshmallows. They should appear noticeably smaller in size and have a firm, crispy texture. If there are any remaining soft or squishy areas, the marshmallows require additional time in the oven for thorough dehydration.
- Tactile Assessment: Gently touch the dehydrated marshmallows to assess their texture. They should feel firm and dry to the touch, indicating that the moisture has been successfully removed. If any marshmallows still feel soft or pliable, they need more time in the oven to achieve the desired level of crispness.
- Cooling and Final Assessment: Once you are satisfied with the visual and tactile indicators of dryness, remove the baking sheet from the oven and allow the dehydrated marshmallows to cool completely. As they cool, their texture should remain crispy and firm, confirming that they have undergone successful dehydration.
By carefully assessing the visual and tactile cues, you can ensure that the marshmallows have been thoroughly dehydrated, resulting in a delightful crunchiness that enhances their flavor and versatility. Once the dehydrated marshmallows have passed the dryness assessment, it’s time to proceed to the final step: storing them for future use.
Read more: How To Dehydrate Milk Without A Dehydrator
Step 4: Storing Dehydrated Marshmallows
Once the marshmallows have been successfully dehydrated, proper storage is essential to maintain their crispy texture and extend their shelf life. Follow these steps to store your dehydrated marshmallows for future use:
- Cooling Period: Allow the dehydrated marshmallows to cool completely on the baking sheet before proceeding with the storage process. This ensures that any residual heat dissipates and prevents moisture buildup in the storage container.
- Transfer to an Airtight Container: Once cooled, carefully transfer the dehydrated marshmallows to an airtight container. Choose a container that provides a tight seal to prevent moisture from re-entering and compromising the marshmallows’ crispiness.
- Add Desiccant Packet (Optional): For prolonged storage, consider including a desiccant packet in the container to absorb any residual moisture. This extra precaution helps preserve the texture and quality of the dehydrated marshmallows over time.
- Store in a Cool, Dark Place: Place the sealed container of dehydrated marshmallows in a cool, dark pantry or cupboard. Exposure to heat, light, and humidity can compromise the crispy texture, so it’s essential to store them in a dry environment away from direct sunlight.
- Label and Date the Container: To keep track of the storage duration, label the container with the date of storage. This simple step ensures that you can monitor the freshness of the dehydrated marshmallows and use them within a reasonable timeframe.
By following these storage guidelines, you can preserve the delightful crunchiness of the dehydrated marshmallows, allowing you to enjoy them in various culinary creations and snacks for an extended period.
With the dehydrated marshmallows successfully prepared and stored, you are now equipped to add a delightful crunch to your favorite treats and elevate your culinary endeavors with these versatile morsels.
Conclusion
Dehydrating marshmallows without a dehydrator opens up a world of culinary possibilities, allowing you to transform ordinary marshmallows into delightful, crispy morsels that add texture and sweetness to a wide array of dishes and treats. By following the simple steps outlined in this guide, you can embark on a rewarding journey of creating your own dehydrated marshmallows with ease and confidence.
From preparing the marshmallows and dehydrating them in the oven to assessing their dryness and storing them for future use, each step contributes to the overall success of the process. The transformation of fluffy marshmallows into crunchy, shelf-stable delights is a testament to the magic of culinary experimentation and creativity.
Whether you sprinkle them over hot chocolate, incorporate them into cereal bars, or simply enjoy them as a standalone snack, dehydrated marshmallows offer a delightful textural contrast and concentrated sweetness that elevate every bite. Their versatility extends to baking, where they can be used to add a playful touch to cookies, brownies, and other confections.
By mastering the art of dehydrating marshmallows without a dehydrator, you unlock a world of culinary inspiration and elevate your creations with a delightful crunch. The process is not only practical but also rewarding, allowing you to savor the fruits of your labor as you indulge in treats enhanced by your homemade dehydrated marshmallows.
So, roll up your sleeves, gather your supplies, and embark on the dehydrating adventure. With a bit of patience and a touch of creativity, you can savor the joy of transforming marshmallows into irresistible, crispy delights that bring a smile to every indulgence.
Frequently Asked Questions about How To Dehydrate Marshmallows Without A Dehydrator
Was this page helpful?
At Storables.com, we guarantee accurate and reliable information. Our content, validated by Expert Board Contributors, is crafted following stringent Editorial Policies. We're committed to providing you with well-researched, expert-backed insights for all your informational needs.


0 thoughts on “How To Dehydrate Marshmallows Without A Dehydrator”