Home>Home Appliances>Kitchen Appliances>How To Plumb In An Espresso Machine
Kitchen Appliances
How To Plumb In An Espresso Machine
Modified: August 28, 2024
Learn how to plumb in your espresso machine with our comprehensive guide. Get the best tips for installing kitchen appliances. Start brewing your favorite coffee today!
(Many of the links in this article redirect to a specific reviewed product. Your purchase of these products through affiliate links helps to generate commission for Storables.com, at no extra cost. Learn more)
Introduction
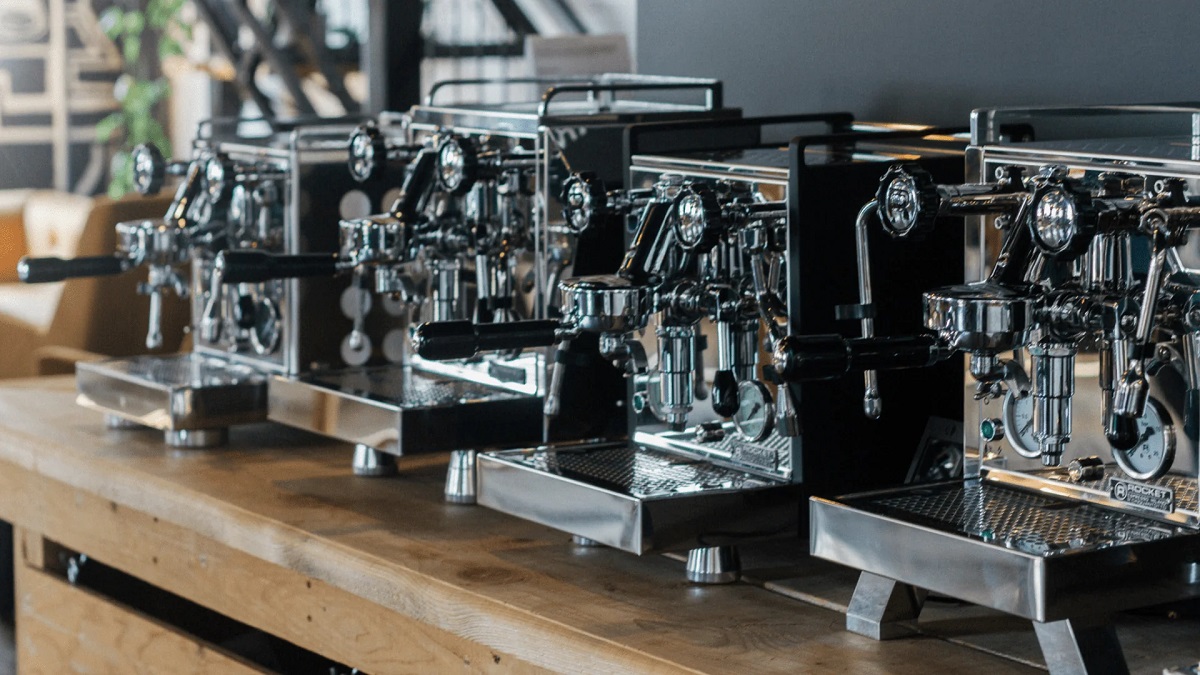
Bringing the irresistible aroma and rich flavor of freshly brewed espresso into your home or business is a delightful experience. To achieve this, you’ll need to ensure your espresso machine is properly plumbed in. This process involves connecting the machine to the necessary water supply, drainage, and electrical source. While it may seem daunting, with the right guidance and a few essential tools, you can successfully complete this task and savor the delicious results.
In this comprehensive guide, we’ll walk you through the step-by-step process of plumbing in an espresso machine. From selecting the ideal location to testing and adjusting the setup, we’ve got you covered. So, grab your favorite mug and let’s dive into the world of espresso machine installation!
Key Takeaways:
- Plumbing in an espresso machine requires careful consideration of location, water supply, drainage, and electrical connection. Attention to detail and adherence to manufacturer’s guidelines are crucial for a successful installation.
- Testing and adjusting the espresso machine’s functionality after installation ensures consistently exceptional espresso and steam-based beverages. Keep detailed records of adjustments made for future maintenance and troubleshooting.
Read more: How To Calibrate An Espresso Machine
Tools and Materials Needed
Before embarking on the journey of plumbing in your espresso machine, it’s essential to gather the necessary tools and materials. Here’s a list of items you’ll need to ensure a smooth installation process:
- Adjustable wrench
- Teflon tape
- Drill and bits
- Screwdrivers
- Tubing cutter
- Level
- Measuring tape
- Bucket
- Plumber’s putty
- Electrical tester
- Espresso machine manual
- Water filter (if required)
- Appropriate plumbing fittings
- Electrical wiring and connectors
- Drain hose
- Water supply line
Additionally, you’ll need to ensure that the location where you plan to install the machine has access to the necessary utilities, including a nearby electrical outlet, water supply, and drainage. If any of these are not readily available, you may need to consult with a professional to make the required connections.
By having these tools and materials on hand, you’ll be well-prepared to tackle the installation process with confidence and precision.
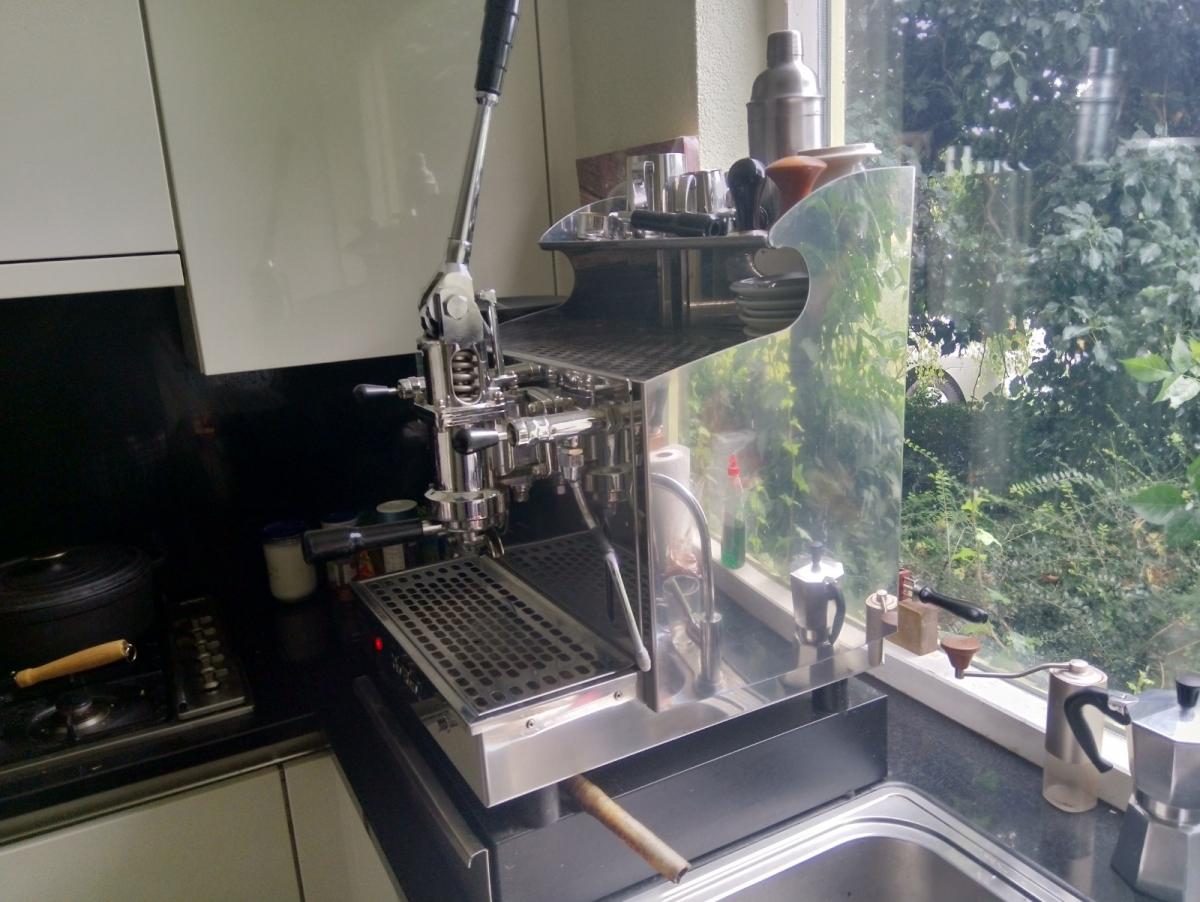
Choosing the Right Location
Selecting the ideal location for your espresso machine is a crucial first step in the installation process. The chosen spot should not only accommodate the machine’s physical dimensions but also provide convenient access to essential utilities such as water, drainage, and electricity. Here are some key considerations to keep in mind when choosing the right location:
- Accessibility: Ensure that the location allows for easy access to the machine for routine maintenance, cleaning, and repairs.
- Water Source: Ideally, the chosen location should be in close proximity to a reliable water supply. This could be a nearby faucet or a dedicated water line, depending on the machine’s requirements.
- Drainage: The location should have access to a suitable drainage system for disposing of wastewater generated during the machine’s operation.
- Electrical Outlet: Verify that there is a nearby electrical outlet to power the machine. It’s important to ensure that the outlet meets the electrical requirements specified by the machine’s manufacturer.
- Space and Ventilation: Consider the spatial requirements of the machine and ensure that there is adequate ventilation to dissipate heat generated during operation.
- Stability: Choose a location with a stable and level surface to place the machine, minimizing the risk of any imbalance or movement during use.
Additionally, take into account the surrounding environment to ensure that the location is conducive to creating an inviting and comfortable coffee-making space. Once you’ve identified the optimal location, you’ll be ready to proceed with the next steps of the installation process.
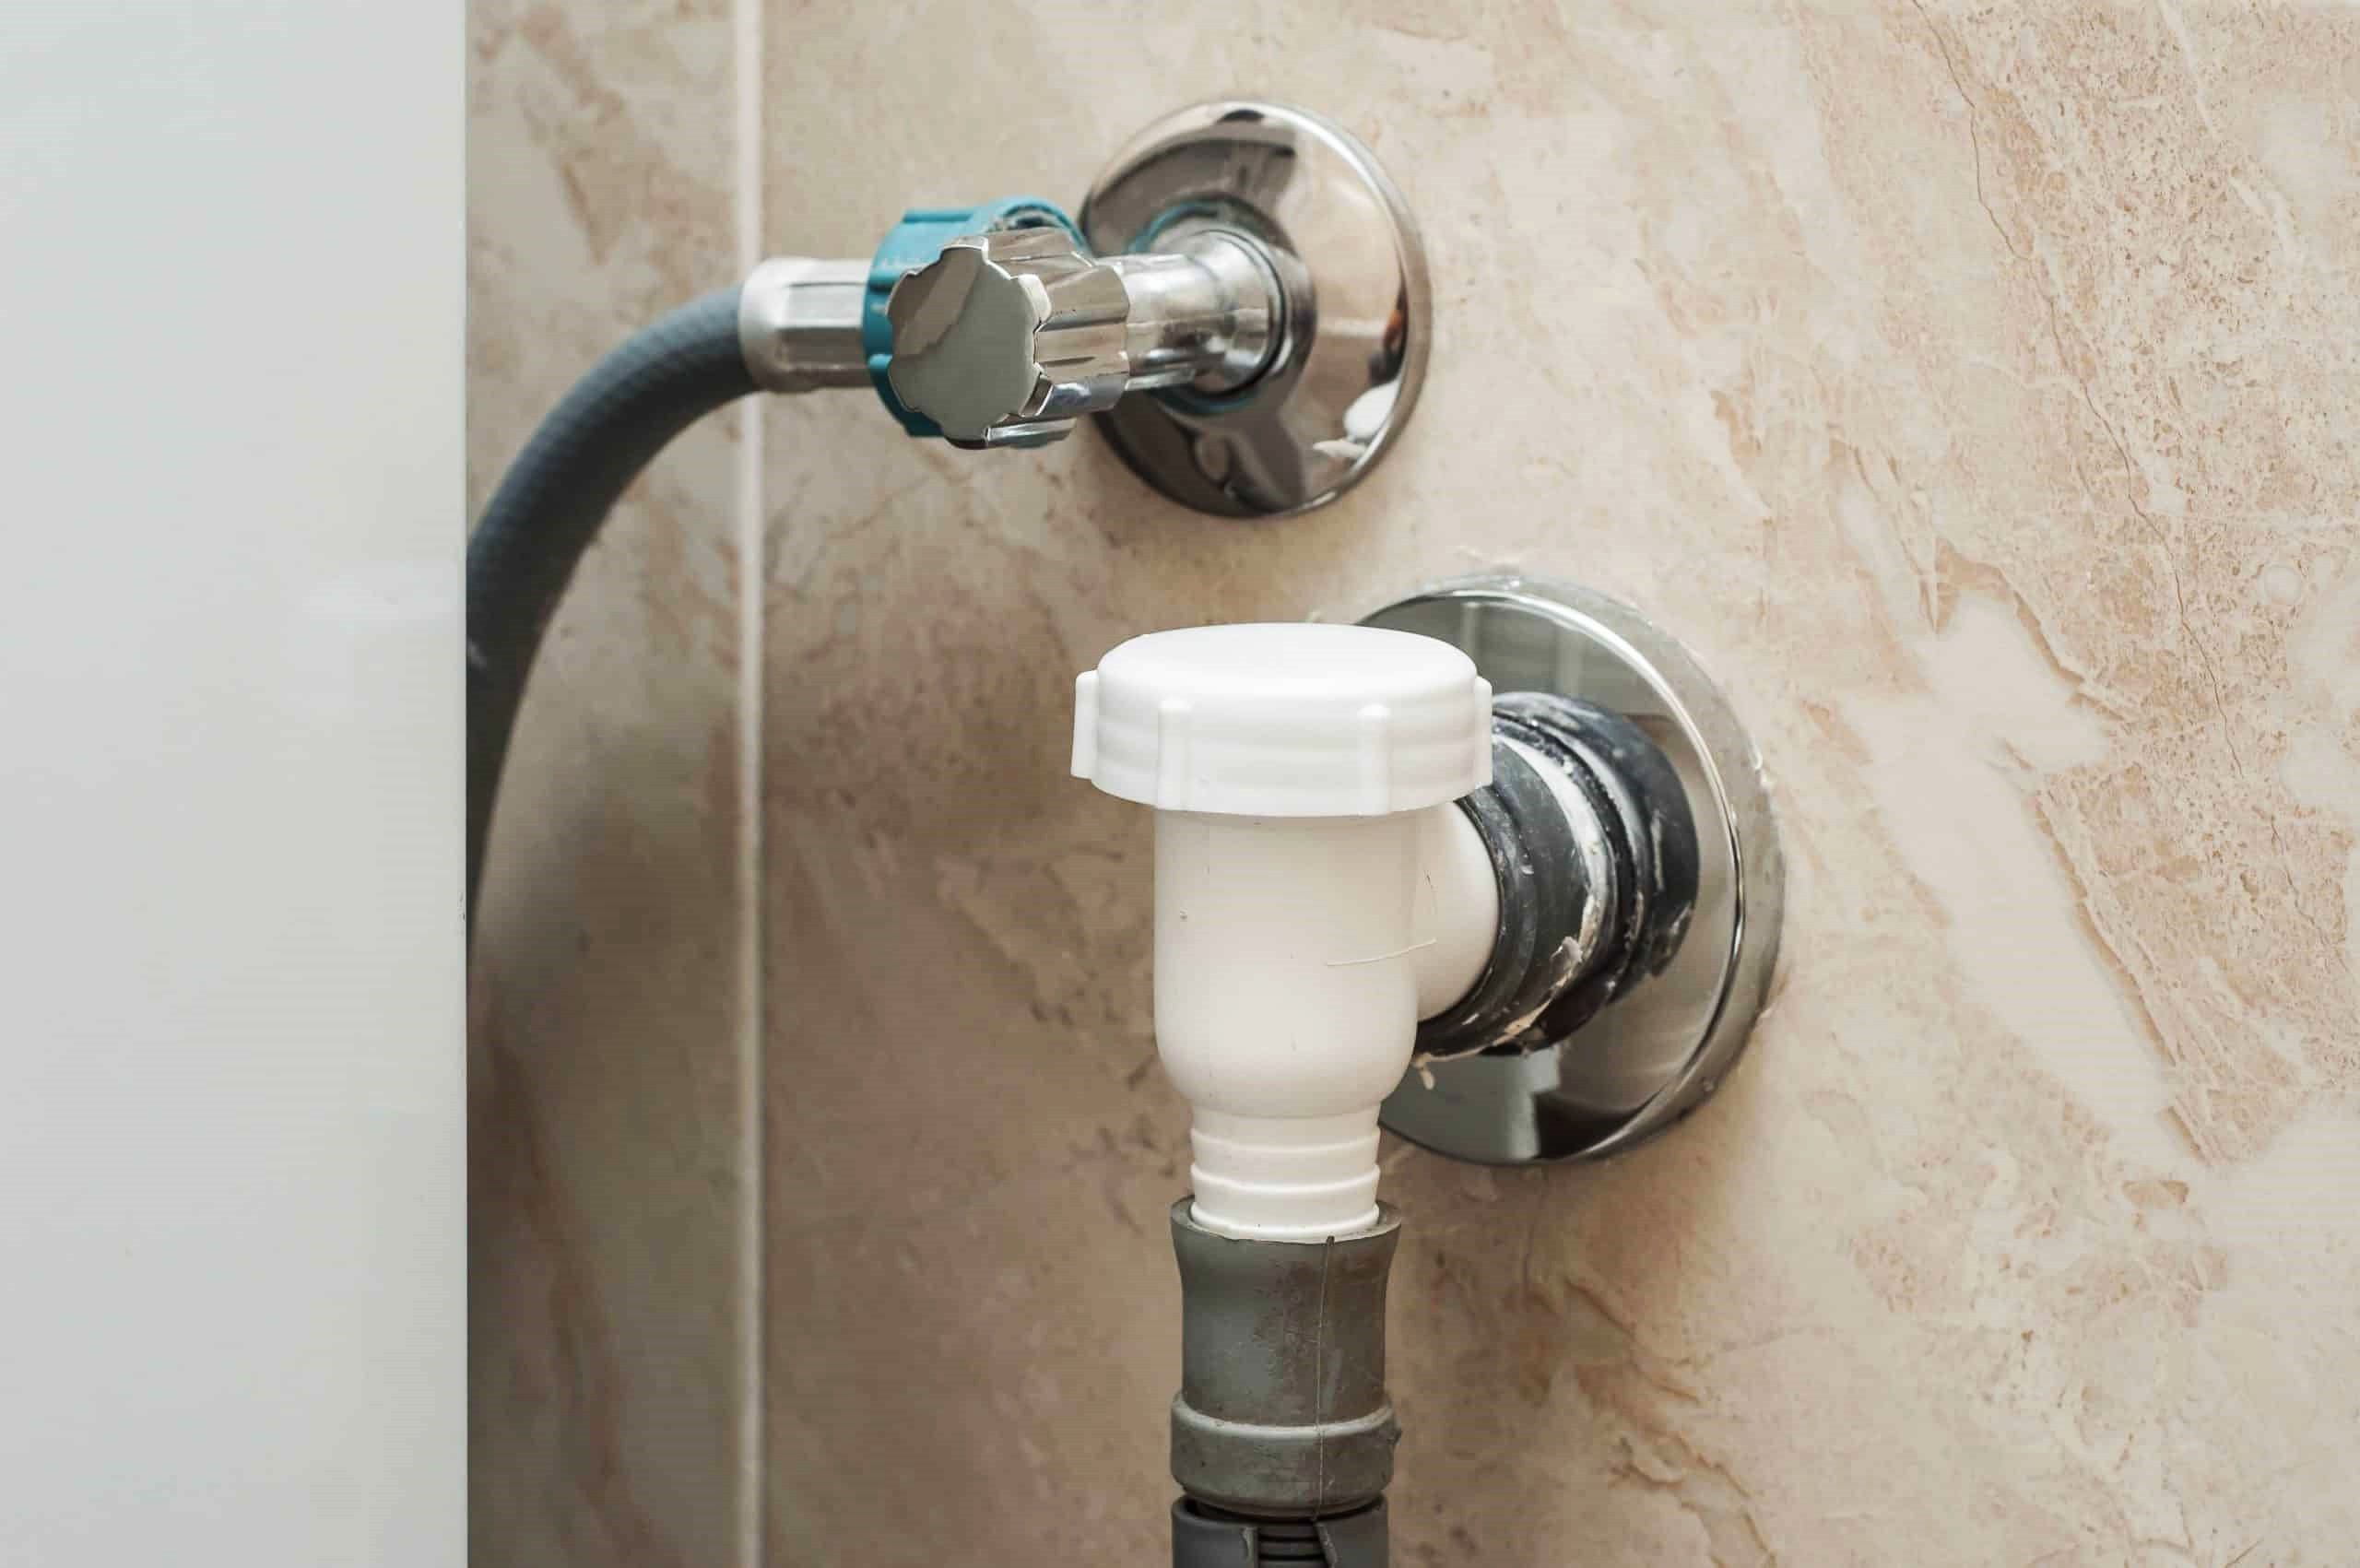
Water Supply
Establishing a reliable water supply for your espresso machine is essential for its proper functioning. Depending on the specific requirements of your machine, there are several options for connecting it to a water source:
- Direct Plumbing: Some espresso machines are designed to be directly connected to a water line, providing a continuous supply of water. This setup eliminates the need to manually refill a water reservoir, making it ideal for high-volume use in commercial settings.
- Water Reservoir: If your machine utilizes a water reservoir, ensure that it is easily accessible for refilling. Regularly monitoring and refilling the reservoir will help maintain consistent water levels for brewing espresso.
- Water Filtration: Consider installing a water filtration system to ensure that the water supplied to the machine is free from impurities and scale-forming minerals. This can prolong the life of the machine and enhance the quality of the espresso it produces.
When connecting the machine to a water line, it’s important to use appropriate plumbing fittings and tubing to create a secure and leak-free connection. Additionally, consider incorporating a shut-off valve in the water line to facilitate maintenance and servicing of the machine.
Before making any connections, carefully review the manufacturer’s guidelines and specifications regarding water supply requirements. This will ensure that the machine is properly configured to receive water in a manner that aligns with its design and performance expectations.
By establishing a reliable and suitable water supply for your espresso machine, you’ll lay the foundation for consistently brewing delicious espresso with ease and convenience.
Drainage
Efficient drainage is a crucial aspect of plumbing in an espresso machine, as it facilitates the proper disposal of wastewater generated during the machine’s operation. Depending on the design of your machine and the volume of espresso production, there are several drainage options to consider:
- Direct Drain Connection: Some espresso machines are equipped with a drainage system that allows for direct connection to a floor drain or a dedicated drainage line. This setup is particularly beneficial for high-capacity machines, as it eliminates the need to manually empty drip trays or collection containers.
- Drip Tray and Collection Container: For machines that do not have a direct drain option, a drip tray or collection container serves as a temporary reservoir for wastewater. Regularly emptying and cleaning the drip tray or container is essential to prevent overflow and maintain hygiene.
When configuring the drainage system, it’s important to ensure that the wastewater is effectively directed away from the machine and safely disposed of. Additionally, incorporating a drain trap or similar device can help prevent odors and blockages in the drainage system.
Before finalizing the drainage setup, carefully review the manufacturer’s guidelines and recommendations to ensure compliance with the machine’s specifications. Proper drainage not only contributes to the efficient operation of the espresso machine but also promotes a clean and organized workspace.
By addressing the drainage requirements of your espresso machine, you’ll create a seamless and hygienic setup that supports the machine’s performance and longevity.
When plumbing in an espresso machine, make sure to use a water filter to prevent scale buildup and maintain the machine’s performance.
Read more: How To Fix An Espresso Machine
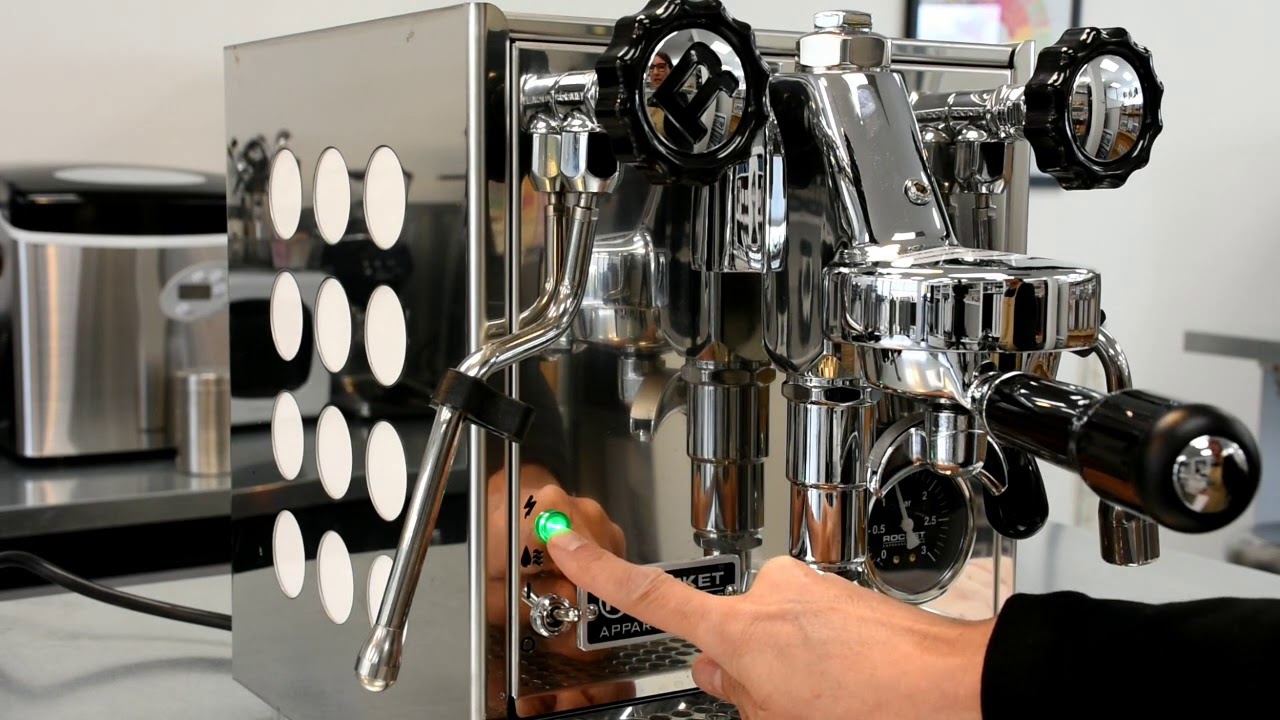
Electrical Connection
Establishing a safe and reliable electrical connection is essential for powering your espresso machine and ensuring its proper operation. Before proceeding with the electrical setup, it’s crucial to prioritize safety and compliance with electrical codes and regulations. Here are the key steps to consider when connecting your espresso machine to an electrical source:
- Power Requirements: Review the manufacturer’s specifications to determine the electrical requirements of the machine, including voltage, current, and any specific wiring recommendations. Adhering to these requirements is essential for preventing electrical issues and maintaining the machine’s warranty.
- Grounding: Ensure that the electrical outlet where the machine will be connected is properly grounded. This is a critical safety measure that helps protect against electrical hazards and equipment damage.
- Outlet Location: Position the machine in close proximity to a designated electrical outlet that meets the voltage and current requirements specified by the manufacturer. Avoid using extension cords whenever possible, as they can compromise the stability of the electrical connection.
- Professional Assistance: If you are uncertain about the electrical requirements or encounter any complexities during the setup process, consider seeking assistance from a qualified electrician to ensure a safe and compliant installation.
Prior to connecting the machine to the electrical supply, perform a thorough inspection of the power cord and plug to verify their integrity and suitability for the intended electrical outlet. Any signs of damage or wear should be addressed promptly to prevent potential hazards.
Once the machine is connected to the electrical supply, conduct a preliminary test to ensure that it powers on and operates as expected. This will help identify any electrical issues that may require attention before proceeding with the complete installation.
By prioritizing safety and adherence to electrical standards, you’ll establish a secure and reliable electrical connection for your espresso machine, setting the stage for seamless and worry-free operation.
Installing the Machine
With the essential preparations in place, it’s time to proceed with the installation of your espresso machine. This phase involves positioning the machine in its designated location and making the necessary connections to ensure its functionality. Here’s a step-by-step guide to installing the machine:
- Positioning: Carefully place the machine in the chosen location, ensuring that it is on a stable and level surface. Use a level to confirm that the machine is properly aligned to prevent any imbalance during operation.
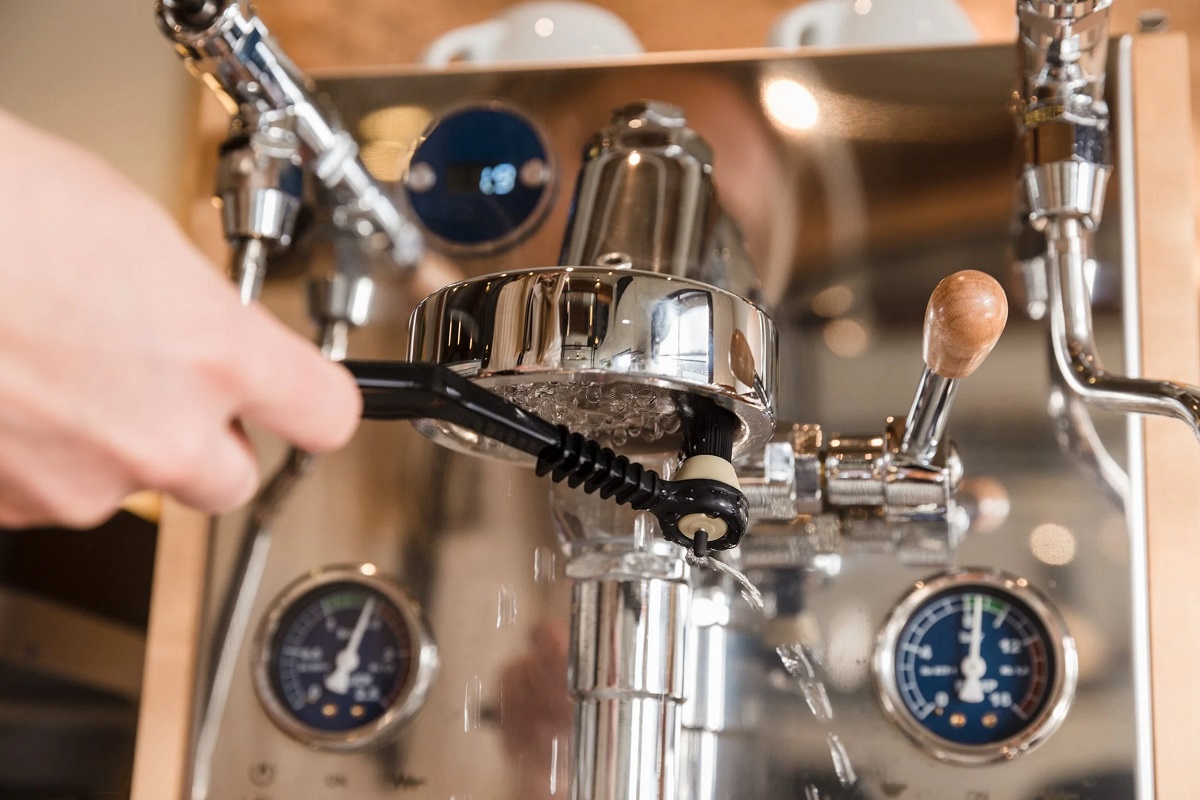
- Water Connection: If the machine requires a direct water supply connection, carefully attach the water line to the designated inlet on the machine. Use appropriate fittings and Teflon tape to create a secure and leak-free connection.
- Drainage Setup: Connect the machine’s drainage system according to the chosen drainage option, ensuring that wastewater is effectively directed away from the machine and safely disposed of. Verify that the drainage setup aligns with the manufacturer’s recommendations.
- Electrical Connection: Connect the machine to the designated electrical outlet, ensuring that the power cord is securely plugged in and that the outlet meets the machine’s electrical requirements. Avoid overcrowding the outlet with other devices to prevent electrical overload.
- Testing: Once the machine is positioned and all connections are made, perform a preliminary test to ensure that it powers on and functions as expected. Check for any leaks, unusual noises, or operational issues that may require adjustment.
Throughout the installation process, refer to the machine’s manual and the manufacturer’s guidelines to ensure that each step is executed in accordance with the specified requirements. If you encounter any uncertainties or complexities, consider reaching out to the manufacturer or a qualified technician for assistance.
By methodically completing each installation step with precision and care, you’ll establish a reliable and fully functional setup for your espresso machine, setting the stage for delightful coffee experiences.
Testing and Adjusting
With the espresso machine installed and connected, the final phase involves testing its functionality and making any necessary adjustments to ensure optimal performance. This critical step sets the stage for consistently brewing delicious espresso with precision and reliability. Here’s a comprehensive guide to testing and adjusting your espresso machine:
- Initial Startup: Power on the machine and allow it to reach the appropriate operating temperature. This initial startup period allows the machine to stabilize and prepares it for brewing espresso.
- Water Flow and Pressure: Verify that the water supply is reaching the machine and that the water pressure is within the recommended range. Adjust the water pressure regulator if necessary to achieve the optimal brewing conditions.
- Brewing Test: Prepare a test shot of espresso to assess the machine’s brewing performance. Pay attention to factors such as extraction time, crema quality, and flavor profile to gauge the machine’s brewing consistency.
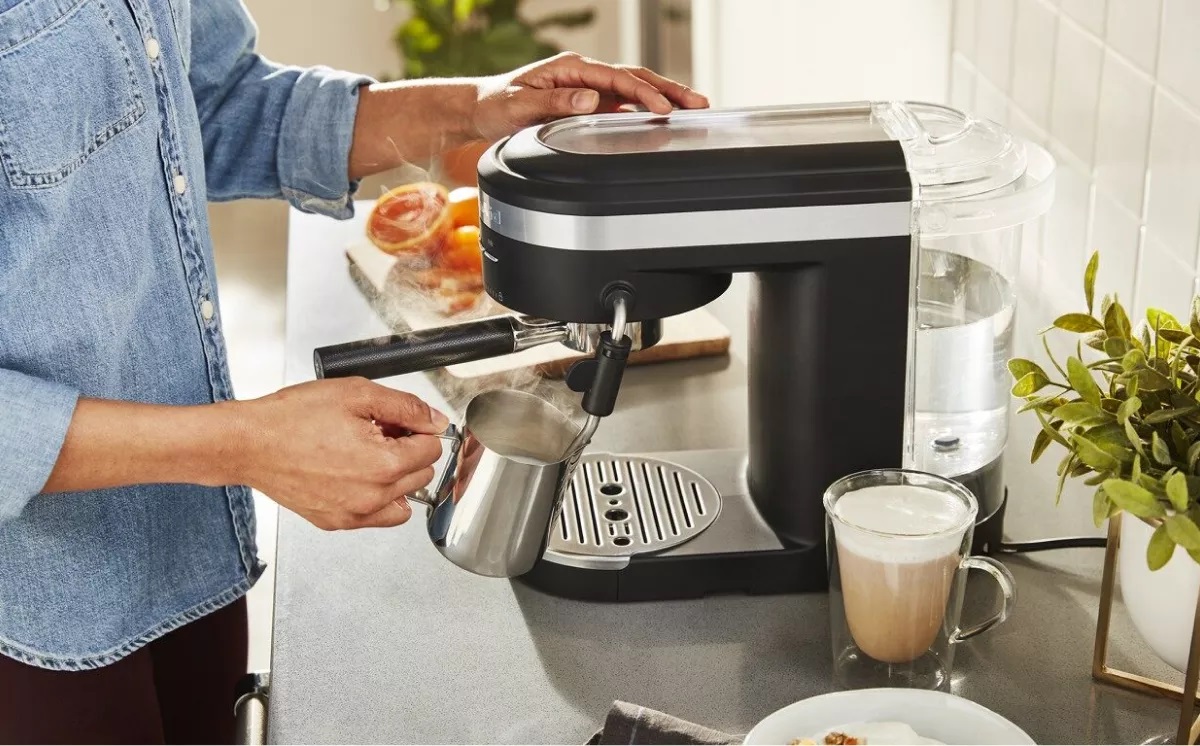
- Steam Wand Functionality: If the machine is equipped with a steam wand for frothing milk, test its functionality to ensure that it produces steam at the appropriate pressure and temperature for creating creamy microfoam.
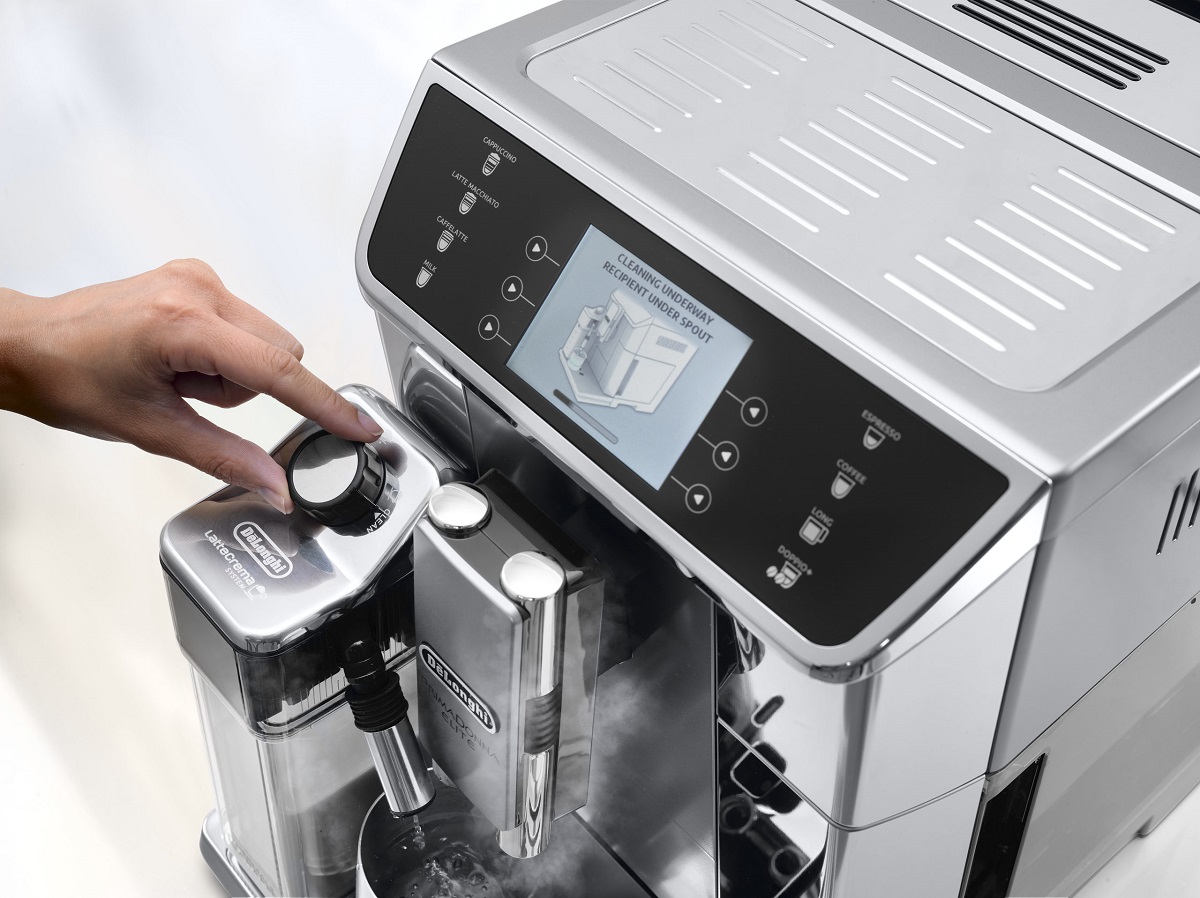
- Temperature Calibration: Use a thermometer to verify the accuracy of the machine’s temperature settings during brewing and steaming. Make adjustments as needed to achieve the desired temperature for extracting espresso and texturing milk.
- Water Softening and Filtration: If a water filtration system is integrated with the machine, monitor its performance and replace filter cartridges as recommended by the manufacturer to maintain water quality and protect the machine from scale buildup.
Throughout the testing process, keep detailed records of any adjustments made and the corresponding impact on the machine’s performance. This information will be valuable for future maintenance and troubleshooting efforts.
By systematically testing and adjusting your espresso machine, you’ll fine-tune its operation to deliver consistently exceptional espresso and steam-based beverages, elevating the coffee experience for yourself and those you serve.
Conclusion
Plumbing in an espresso machine is a rewarding endeavor that culminates in the ability to savor the rich and aromatic delights of freshly brewed espresso. By following the comprehensive steps outlined in this guide, you’ve equipped yourself with the knowledge and guidance needed to successfully install and connect your espresso machine to essential utilities.
From choosing the perfect location to ensuring a reliable water supply, efficient drainage, and a secure electrical connection, each phase of the installation process plays a vital role in creating an optimal environment for your espresso machine to thrive. By carefully testing and adjusting the machine’s functionality, you’ll fine-tune its performance to consistently deliver exceptional espresso and steam-based beverages.
As you embark on this journey, remember that attention to detail, adherence to manufacturer’s guidelines, and a commitment to safety are paramount. Should you encounter any complexities or uncertainties during the installation process, don’t hesitate to seek assistance from professionals or the manufacturer to ensure a successful outcome.
With your espresso machine seamlessly integrated into its designated space, you’re poised to embark on a delightful coffee-making journey, crafting exquisite beverages that delight the senses and create memorable experiences for yourself and those you share them with.
Embrace the artistry of espresso-making, and may each aromatic cup brewed from your meticulously plumbed machine bring joy and satisfaction, elevating your coffee moments to new heights.
Frequently Asked Questions about How To Plumb In An Espresso Machine
Was this page helpful?
At Storables.com, we guarantee accurate and reliable information. Our content, validated by Expert Board Contributors, is crafted following stringent Editorial Policies. We're committed to providing you with well-researched, expert-backed insights for all your informational needs.


0 thoughts on “How To Plumb In An Espresso Machine”