Home>Home Appliances>Laundry Appliances>How To Plumb A Washing Machine
Laundry Appliances
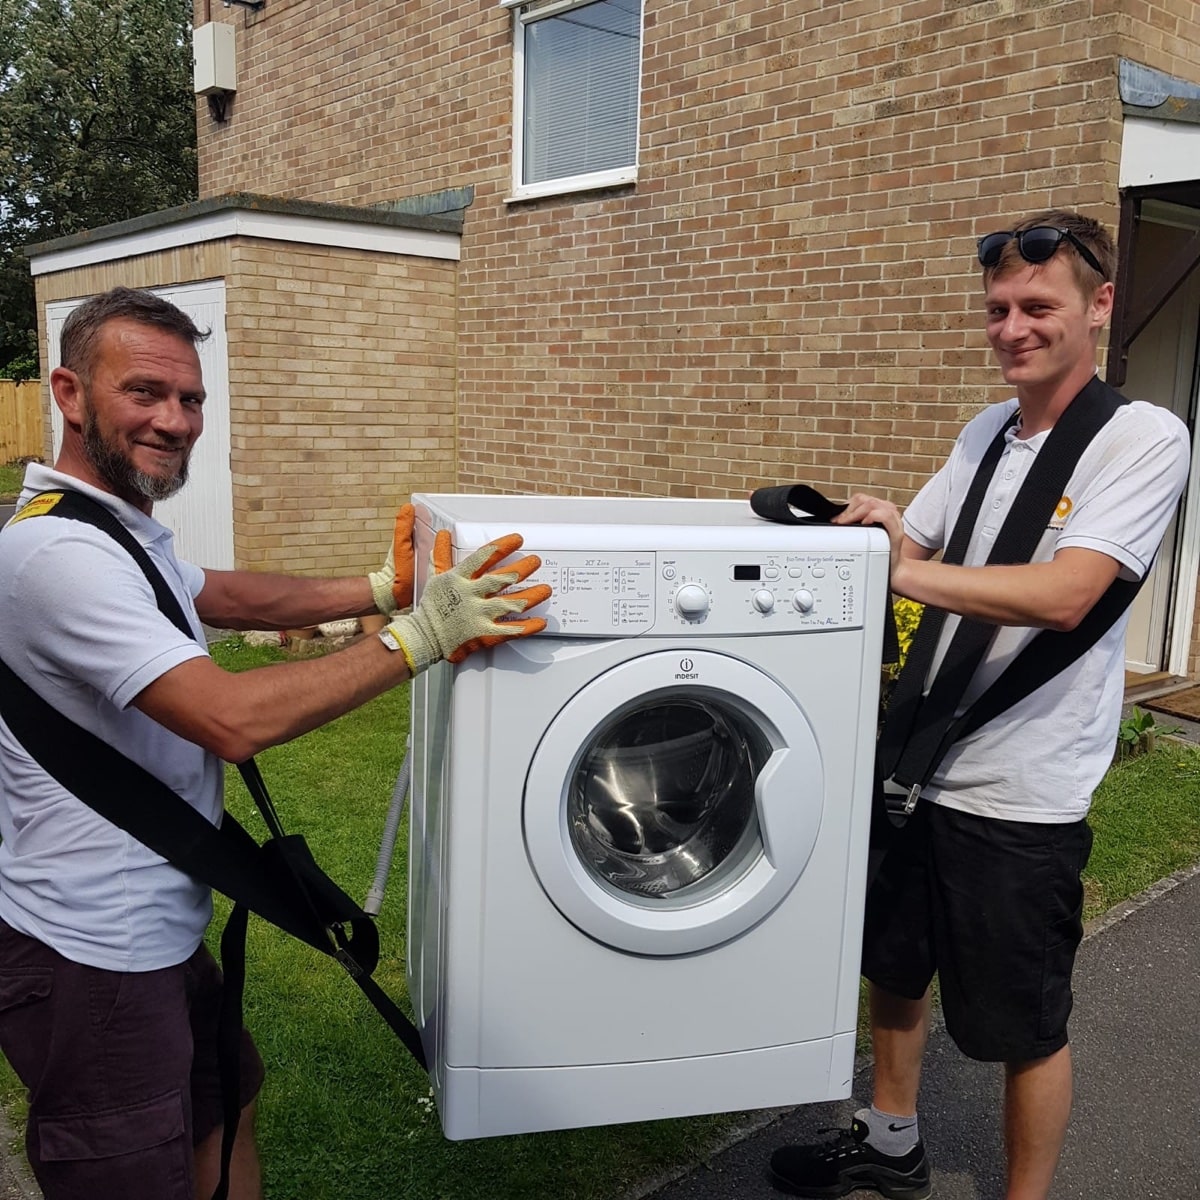
How To Plumb A Washing Machine
Modified: October 20, 2024
Learn how to plumb a washing machine with our step-by-step guide. Get expert tips for installing laundry appliances hassle-free. Perfect for DIY enthusiasts!
(Many of the links in this article redirect to a specific reviewed product. Your purchase of these products through affiliate links helps to generate commission for Storables.com, at no extra cost. Learn more)
Introduction
Plumbing a washing machine may seem like a daunting task, but with the right guidance and tools, it can be a manageable and rewarding project. Whether you're setting up a new laundry area or replacing an old machine, understanding the process of plumbing a washing machine is essential for ensuring its proper functionality and longevity.
Properly plumbing a washing machine involves connecting it to the water supply, installing the drain hose, and connecting the power supply. Each of these steps requires attention to detail and a methodical approach to ensure that the machine operates efficiently and safely.
In this comprehensive guide, we will walk you through the step-by-step process of plumbing a washing machine, from gathering the necessary tools and materials to testing the machine's functionality. By following these instructions, you can confidently tackle this project and enjoy the convenience of a properly installed washing machine in your home.
Let's dive into the details of plumbing a washing machine, starting with the essential tools and materials needed for the job.
Key Takeaways:
- Properly plumbing a washing machine involves connecting water supply, installing the drain hose, and connecting the power supply. Attention to detail and methodical approach are essential for efficient and safe operation.
- Before plumbing a washing machine, gather essential tools and materials such as adjustable wrench, water supply hoses, and plumber’s tape. Selecting the right location and testing the machine are crucial for successful installation.
Read more: How To Plumb In An Espresso Machine
Tools and Materials Needed
Before embarking on the task of plumbing a washing machine, it's crucial to gather the necessary tools and materials to ensure a smooth and efficient installation process. Here's a comprehensive list of what you'll need:
Tools:
- Adjustable Wrench: This versatile tool will be essential for tightening and securing various connections during the installation process.
- Screwdriver Set: A set of screwdrivers, including both flathead and Phillips head varieties, will be needed for removing panels and securing components.
- Pipe Wrench: This specialized wrench is crucial for tightening and connecting the water supply lines.
- Tape Measure: Accurately measuring the space and distances for the installation is vital for ensuring a proper fit.
- Level: To ensure that the washing machine is installed on a level surface, a spirit or bubble level will be indispensable.
- Bucket and Towels: These items will come in handy for containing any water that may spill during the installation process.
Materials:
- Water Supply Hoses: High-quality, durable hoses designed for washing machine use are essential for connecting the machine to the water supply.
- Y-Fitting and Valves: These components are necessary for splitting the water supply to accommodate both the washing machine and the utility sink, if applicable.
- Drain Hose: A proper drain hose is crucial for effectively removing wastewater from the washing machine. Ensure it is the correct length and diameter for your setup.
- Electrical Cord: If your washing machine does not come with a built-in power cord, you will need to purchase one that is compatible with your electrical outlet.
- Plumber's Tape: Also known as Teflon tape, this material is used to create a tight seal on threaded connections, preventing leaks.
- Washer and Dryer Pedestal (Optional): If you prefer to elevate your washing machine for easier access, a compatible pedestal can be a convenient addition.
By ensuring that you have all the necessary tools and materials on hand, you can streamline the installation process and minimize the likelihood of interruptions or delays. With these items at your disposal, you'll be well-prepared to proceed to the next steps of finding the right location and connecting the washing machine to the water supply.
Finding the Right Location
Selecting the ideal location for your washing machine is a crucial first step in the plumbing process. The chosen space should not only accommodate the dimensions of the machine but also provide convenient access to necessary utilities. Here's a detailed guide to help you find the right location for your washing machine:
Read more: How To Reset A Washer
Consider the Space Requirements
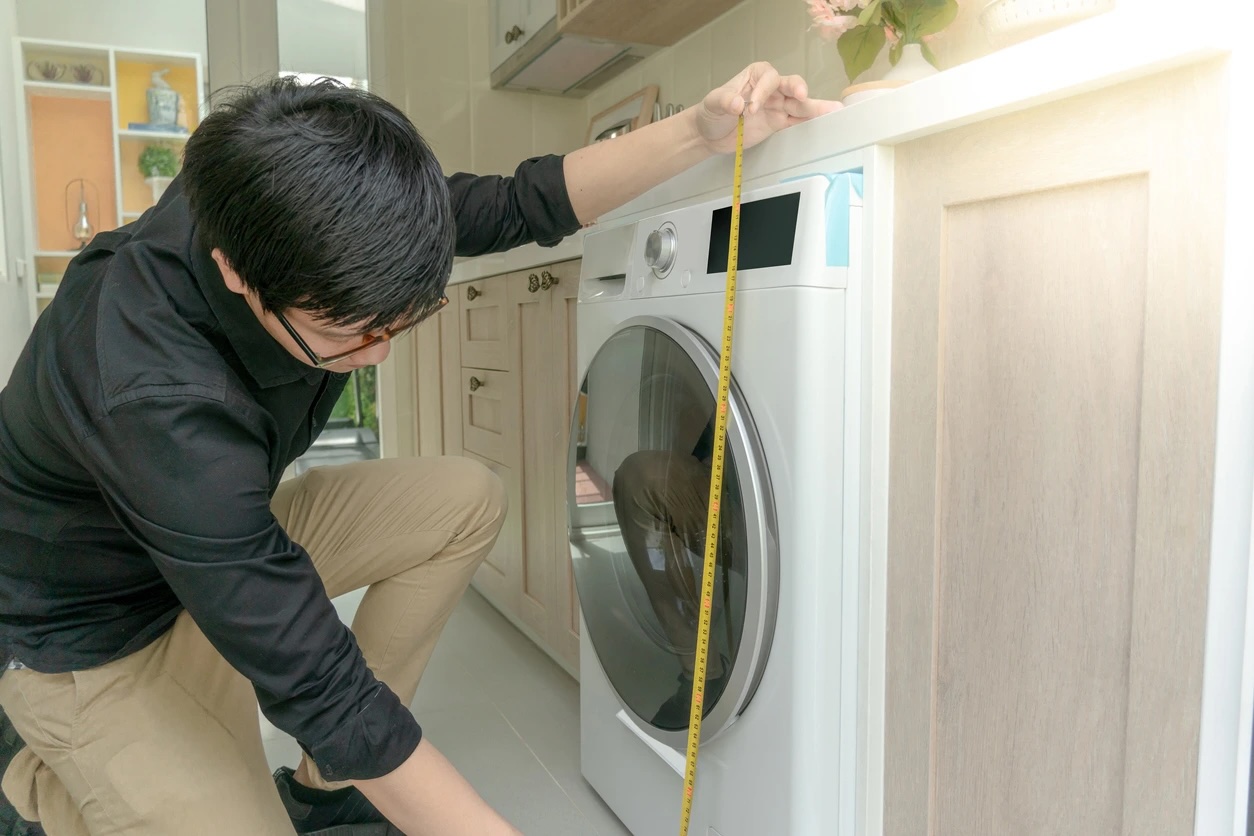
Before settling on a location, carefully measure the dimensions of your washing machine to ensure that the chosen space can accommodate it comfortably. Take into account the width, depth, and height of the machine, as well as any additional space needed for opening doors or accessing control panels. It's essential to allow for sufficient clearance around the machine to facilitate easy loading and unloading of laundry.
Access to Water Supply and Drainage
Ideally, the chosen location should be in close proximity to both a water supply and a drainage outlet. This proximity minimizes the need for extensive plumbing modifications and ensures efficient operation. If possible, position the washing machine near existing water supply lines and a floor drain or standpipe to simplify the installation process.
Level Flooring
A level surface is essential for the proper functioning of a washing machine. Ensure that the chosen location features a level floor to prevent the machine from vibrating excessively during operation. If the floor is uneven, consider using shims to stabilize the machine and minimize potential movement.
Adequate Ventilation
Proper ventilation is important to prevent moisture buildup and ensure the longevity of the washing machine. Avoid placing the machine in a confined or poorly ventilated space, as this can lead to mold and mildew issues. Instead, opt for a location with adequate airflow to promote drying and prevent musty odors.
Read more: How To Clean Washer And Dryer
Accessibility
Consider the accessibility of the chosen location. Ensure that there is ample space around the machine for maneuvering and performing maintenance tasks. Additionally, choose a location that allows for easy access to power outlets, as the washing machine will require a reliable electrical connection.
By carefully considering these factors, you can identify the optimal location for your washing machine. Once you've selected the ideal spot, you can proceed with confidence to the next steps of connecting the water supply and installing the drain hose, knowing that your machine is positioned for efficient and trouble-free operation.
Connecting the Water Supply
Connecting the water supply to your washing machine is a critical step in the installation process. It involves establishing a secure and reliable connection between the machine and the water source to ensure proper functionality. Here's a detailed guide to help you navigate this essential aspect of plumbing your washing machine.
Shut Off the Water
Before beginning the installation, it's crucial to shut off the water supply to the area where the washing machine will be installed. Locate the shut-off valve for the water line and turn it clockwise to stop the flow of water. This precautionary measure prevents any potential leaks or spills during the installation process.
Position the Washing Machine
Carefully position the washing machine in close proximity to the water supply lines. Ensure that there is ample space to access the back of the machine for the installation process. It's important to position the machine in a way that allows for easy access to the water inlet valves and hoses.
Read more: How To Hide Washer Hookups
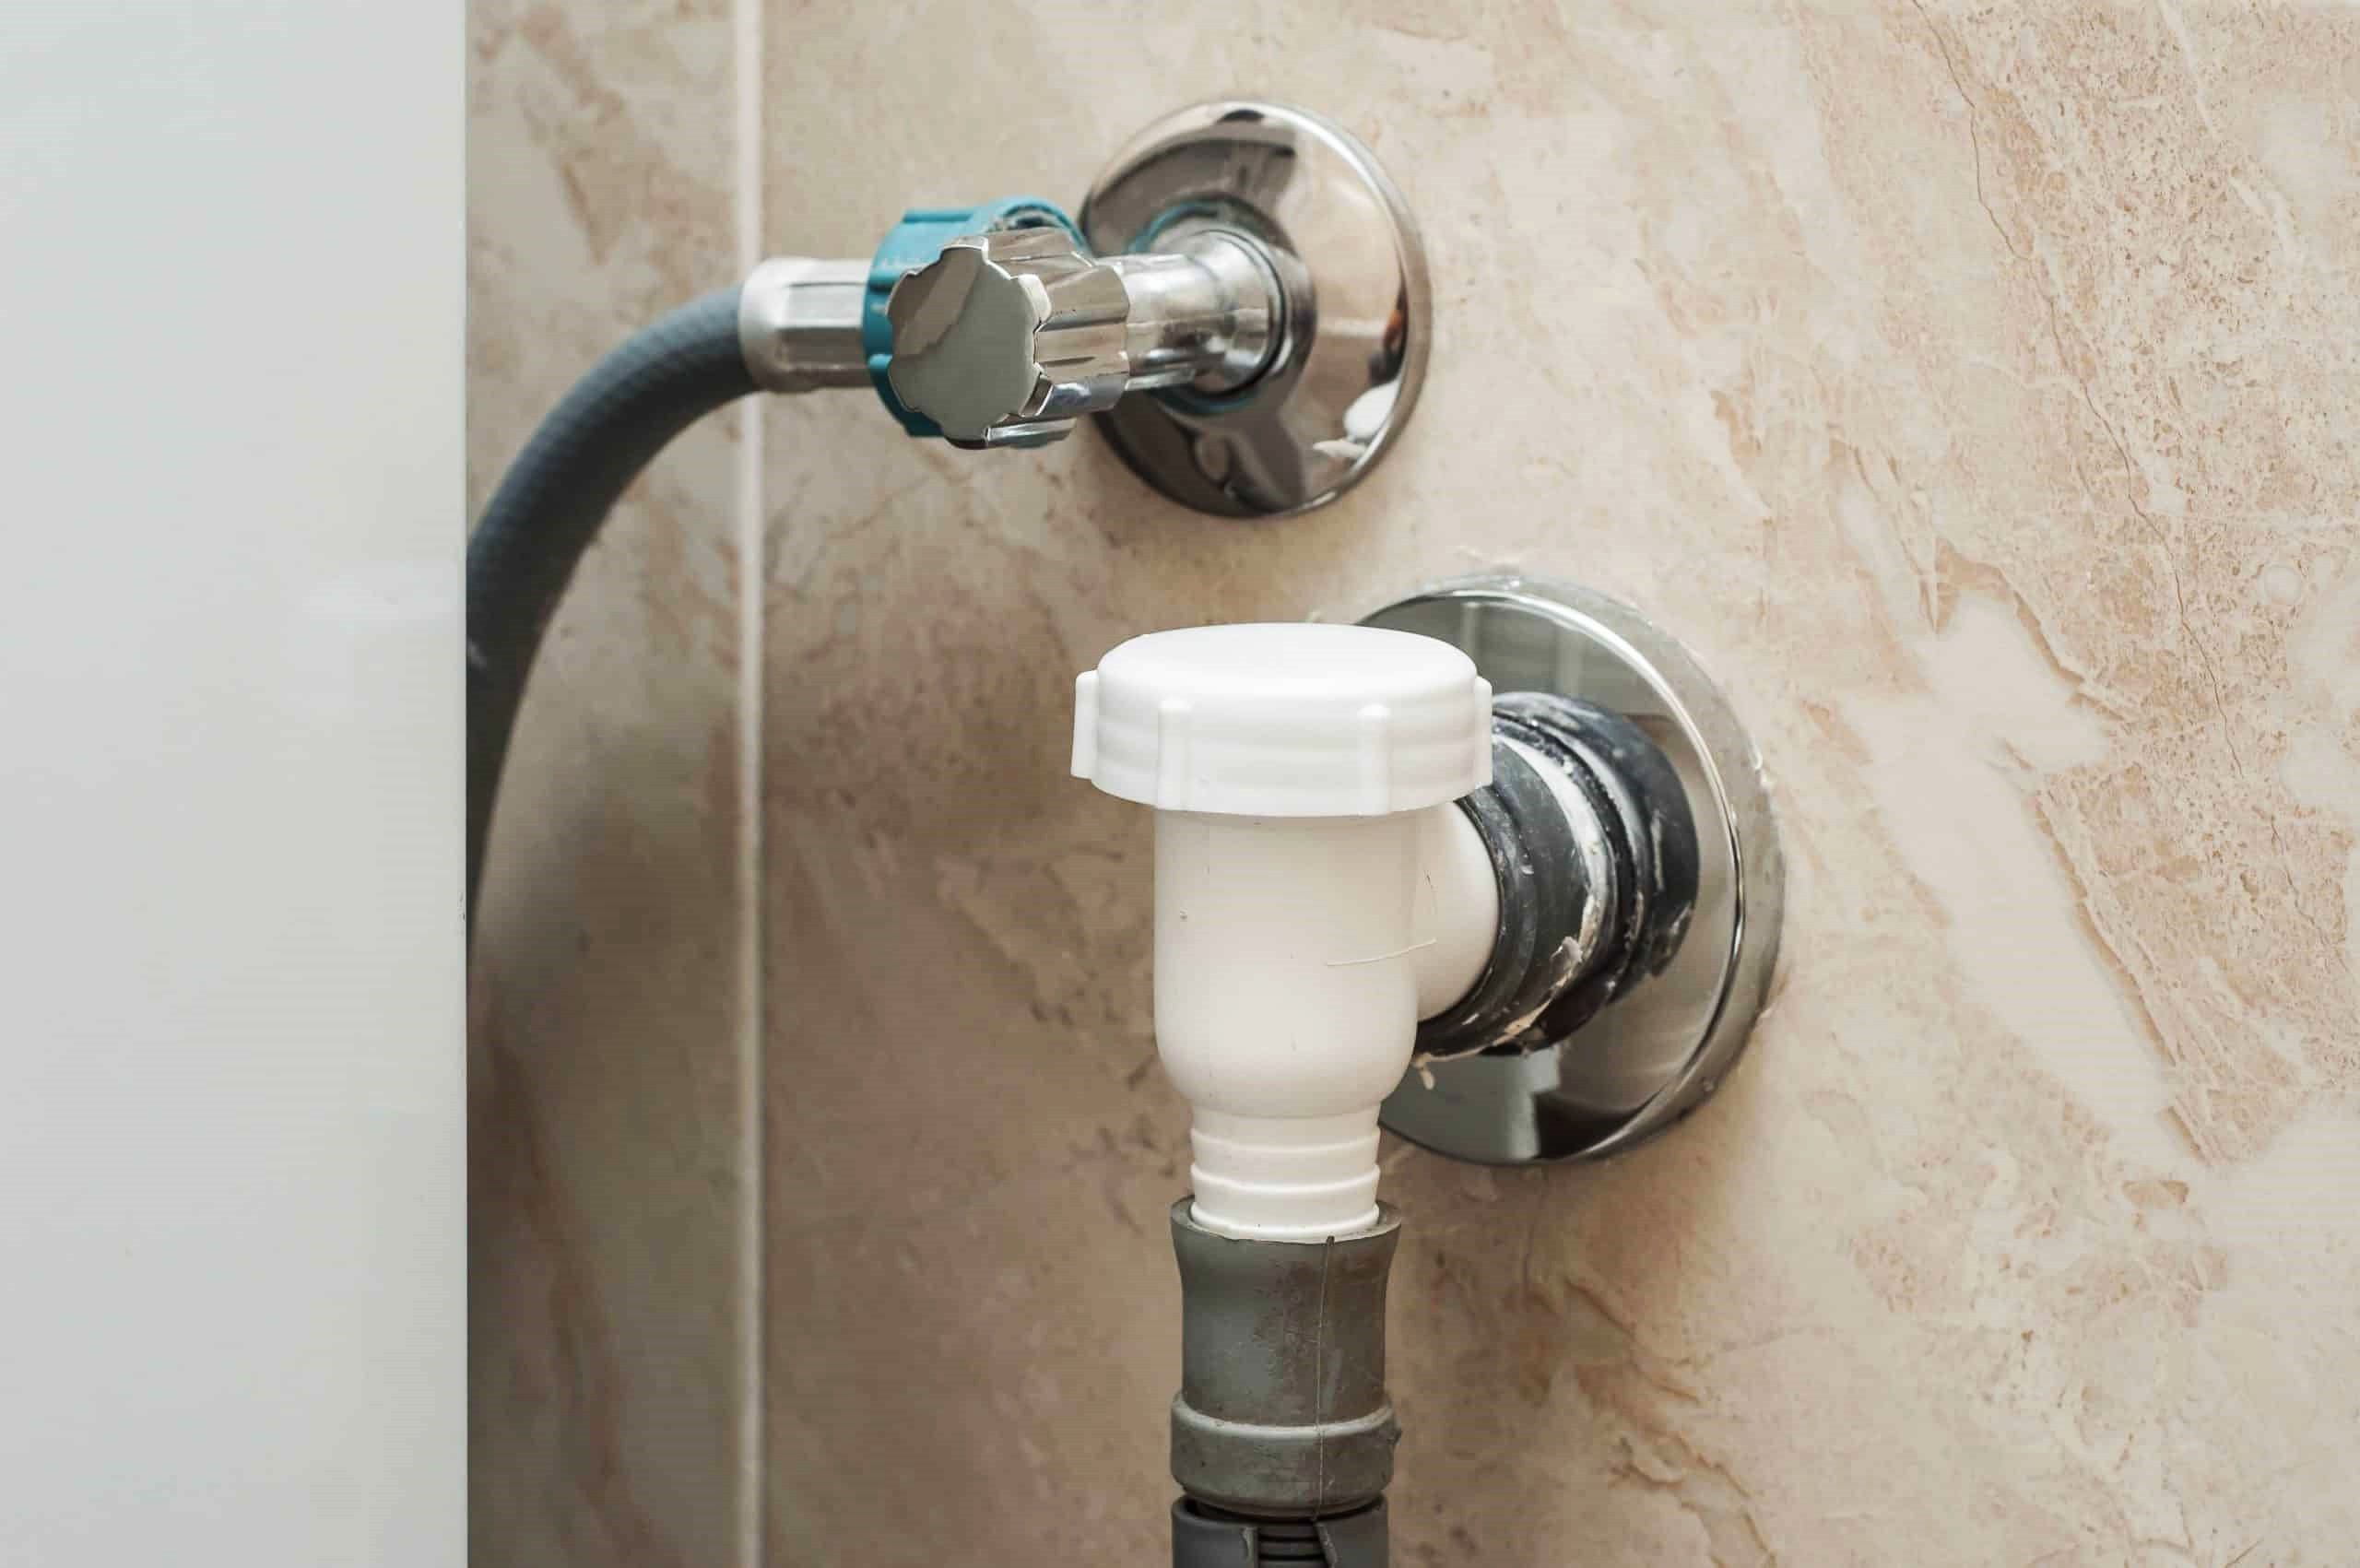
Attach the Water Supply Hoses
The next step involves attaching the water supply hoses to the washing machine. Typically, washing machines have two inlet valves – one for hot water and one for cold water. Connect the corresponding hoses to the appropriate inlet valves, ensuring a secure fit. Use an adjustable wrench to tighten the connections, but be cautious not to overtighten, as this can lead to damage or leaks.
Connect to the Water Source
Once the hoses are securely attached to the washing machine, it's time to connect the other ends to the water source. If you're using a standard faucet, you can simply screw the hoses onto the faucet's threaded outlets. For a more permanent installation, consider using a Y-fitting and valves to split the water supply between the washing machine and a utility sink, if applicable. This configuration allows for independent control of the water supply to each appliance.
Turn On the Water and Check for Leaks
With the hoses securely connected, turn the water supply back on and check for any leaks at the connections. It's important to inspect the fittings and connections thoroughly to ensure that there are no signs of water seepage. If any leaks are detected, promptly tighten the connections or replace the hoses to prevent potential water damage.
By following these steps, you can effectively connect the water supply to your washing machine, setting the stage for the next crucial aspect of the installation process – installing the drain hose. With the water supply securely established, you're one step closer to completing the plumbing of your washing machine and enjoying its efficient performance.
Installing the Drain Hose
Installing the drain hose is a vital component of plumbing a washing machine, as it facilitates the effective removal of wastewater during the laundry cycle. Proper installation of the drain hose is essential to prevent water leaks, ensure efficient drainage, and maintain the overall functionality of the washing machine. Here's a detailed guide to help you navigate the process of installing the drain hose with precision and confidence.
-
Locate the Drain Outlet: Begin by identifying the drain outlet in the vicinity of the washing machine. This outlet is typically a standpipe, floor drain, or utility sink. Position the washing machine in close proximity to the drain outlet, ensuring that the drain hose can reach it without excessive tension or kinks.
-
Secure the Hose: Once the washing machine is positioned appropriately, locate the drain hose at the rear of the machine. Ensure that the hose is free from any kinks or twists that could impede the flow of wastewater. Secure the end of the drain hose to the drain outlet, ensuring a snug and watertight connection.
-
Prevent Backflow: To prevent backflow of water during the laundry cycle, it's essential to secure the drain hose in place. Use cable ties or hose clamps to affix the hose to a stable support, such as a nearby pipe or the back of the washing machine. This prevents the hose from dislodging or shifting during operation, minimizing the risk of water spillage.
-
Maintain Proper Alignment: Ensure that the drain hose maintains a downward slope from the washing machine to the drain outlet. This slope allows gravity to assist in the smooth flow of wastewater, preventing the accumulation of standing water in the hose. Avoid creating sharp bends or loops in the hose, as these can impede drainage and lead to potential blockages.
-
Inspect for Leaks: Once the drain hose is securely installed, turn on the washing machine and initiate a brief wash cycle. While the machine is in operation, carefully inspect the connections and the length of the drain hose for any signs of leakage. Address any leaks promptly by tightening connections or replacing damaged sections of the hose.
By following these steps, you can effectively install the drain hose for your washing machine, ensuring proper drainage and minimizing the risk of water-related issues. With the drain hose securely in place, you're one step closer to completing the plumbing of your washing machine and preparing it for the next phase – connecting the power supply.
Read more: How To Clean Amana Washer
Connecting the Power Supply
Connecting the power supply to your washing machine is a crucial step that requires careful attention to electrical safety and proper installation. Here's a detailed guide to help you navigate this essential aspect of plumbing your washing machine.
-
Select the Power Cord: If your washing machine does not come with a built-in power cord, you will need to select a compatible cord that matches the electrical requirements of your machine and the power outlet. It's essential to choose a cord that is designed for washing machine use and is equipped with the appropriate plug for your electrical outlet.
-
Position the Machine: Before connecting the power supply, ensure that the washing machine is positioned close to a grounded electrical outlet. The machine should be easily accessible from the back to facilitate the power cord connection. Avoid using extension cords or adapters, as these can compromise the safety and performance of the machine.
-
Grounding the Machine: Washing machines require a reliable ground connection to ensure safe operation. Before connecting the power cord, verify that the electrical outlet is properly grounded. This can be confirmed by consulting a qualified electrician or using a ground fault circuit interrupter (GFCI) tester to check for proper grounding.
-
Connect the Power Cord: With the washing machine in position and the electrical outlet verified for proper grounding, proceed to connect the power cord to the machine. Ensure that the cord is securely inserted into the machine's power inlet, and that any retaining clips or strain relief mechanisms are engaged to prevent the cord from being accidentally pulled out.
-
Test the Connection: Once the power cord is connected, plug it into the electrical outlet. Before powering on the machine, double-check that the outlet's voltage and amperage ratings match the requirements specified by the washing machine manufacturer. It's crucial to avoid overloading the electrical circuit or using an incompatible outlet.
-
Power On and Test: After confirming the proper voltage and amperage compatibility, power on the washing machine and initiate a brief test cycle. Observe the machine for any unusual sounds, vibrations, or electrical issues. If everything operates smoothly, you have successfully connected the power supply to your washing machine.
By following these steps, you can effectively connect the power supply to your washing machine, ensuring safe and reliable operation. With the power supply securely established, you've completed the essential components of plumbing your washing machine and are ready to proceed to the final phase – testing the machine's functionality.
Testing the Machine
After completing the intricate steps of plumbing your washing machine, it's crucial to conduct a comprehensive test to ensure that all components are functioning as intended. Testing the machine not only validates the successful installation but also provides an opportunity to address any potential issues before regular use. Here's a detailed guide to effectively test your washing machine:
-
Initial Power-Up: Begin by powering on the washing machine and allowing it to initialize. Check the control panel for any error codes or abnormal indicators. If the machine displays any error messages, refer to the manufacturer's manual for troubleshooting guidance.
-
Water Supply Check: Once the machine is powered on, verify that the water supply hoses are free from leaks and securely connected. Inspect the inlet valves for any signs of water seepage and ensure that they open and close properly during the test.
-
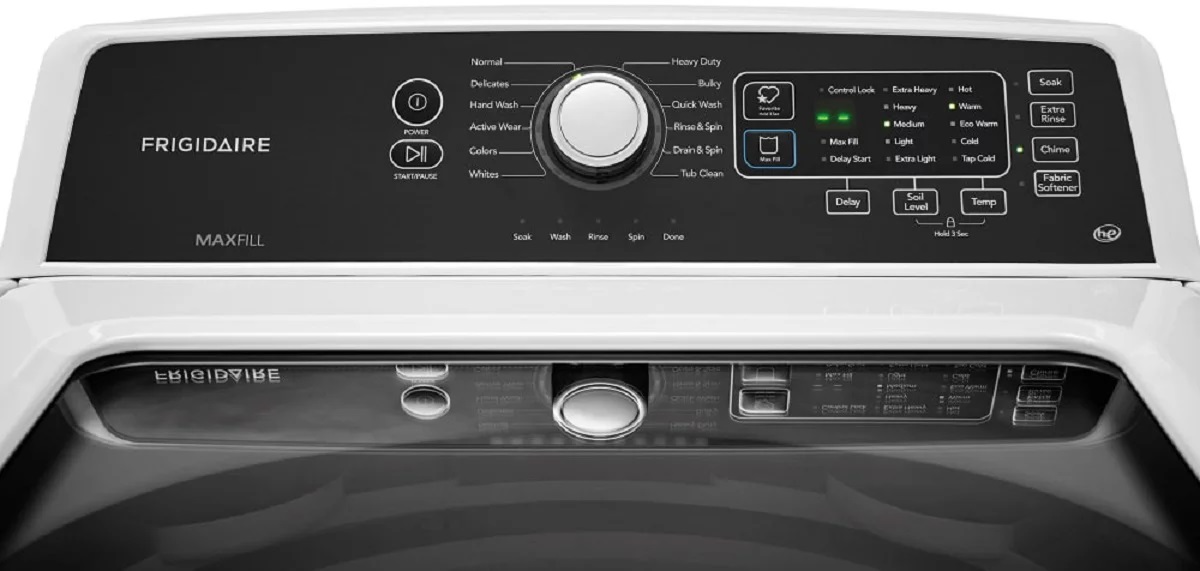
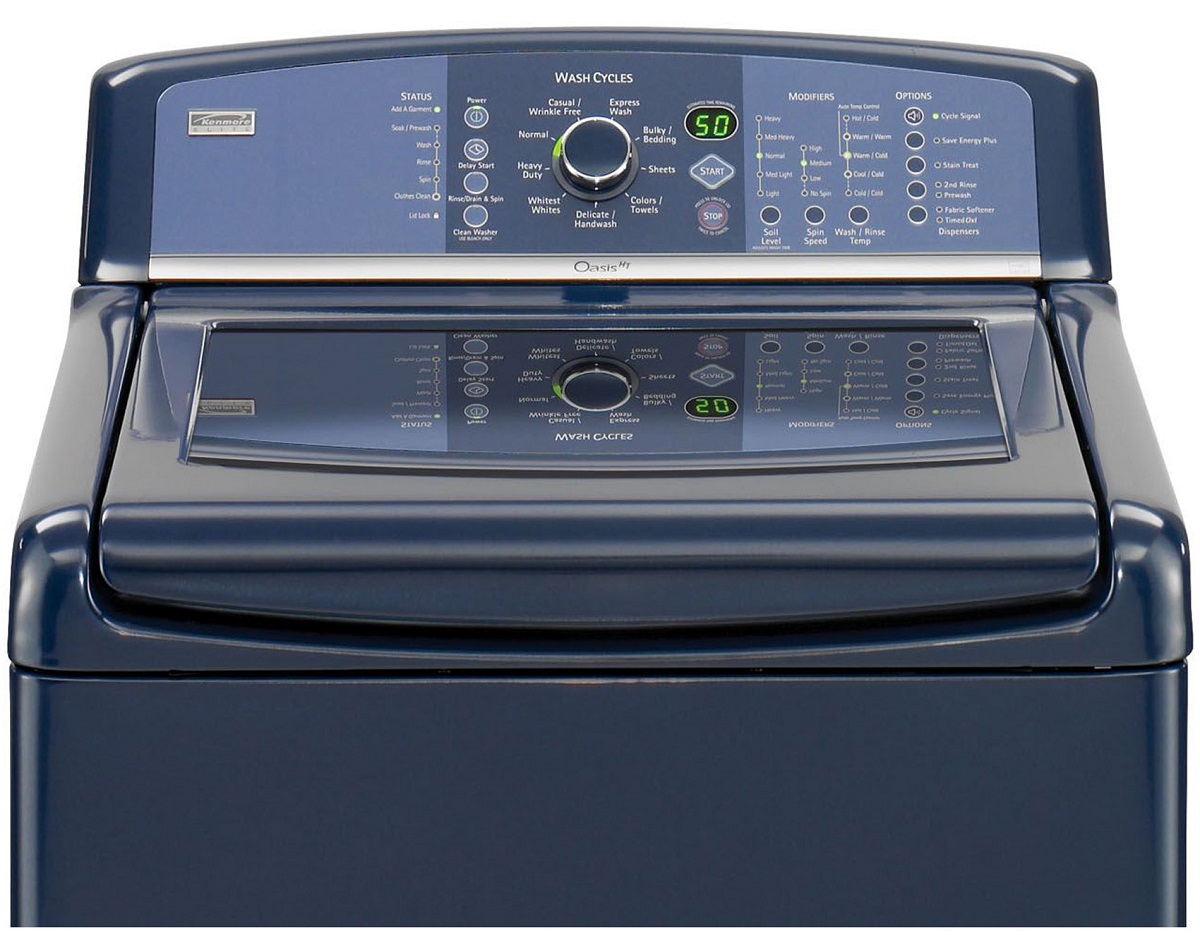
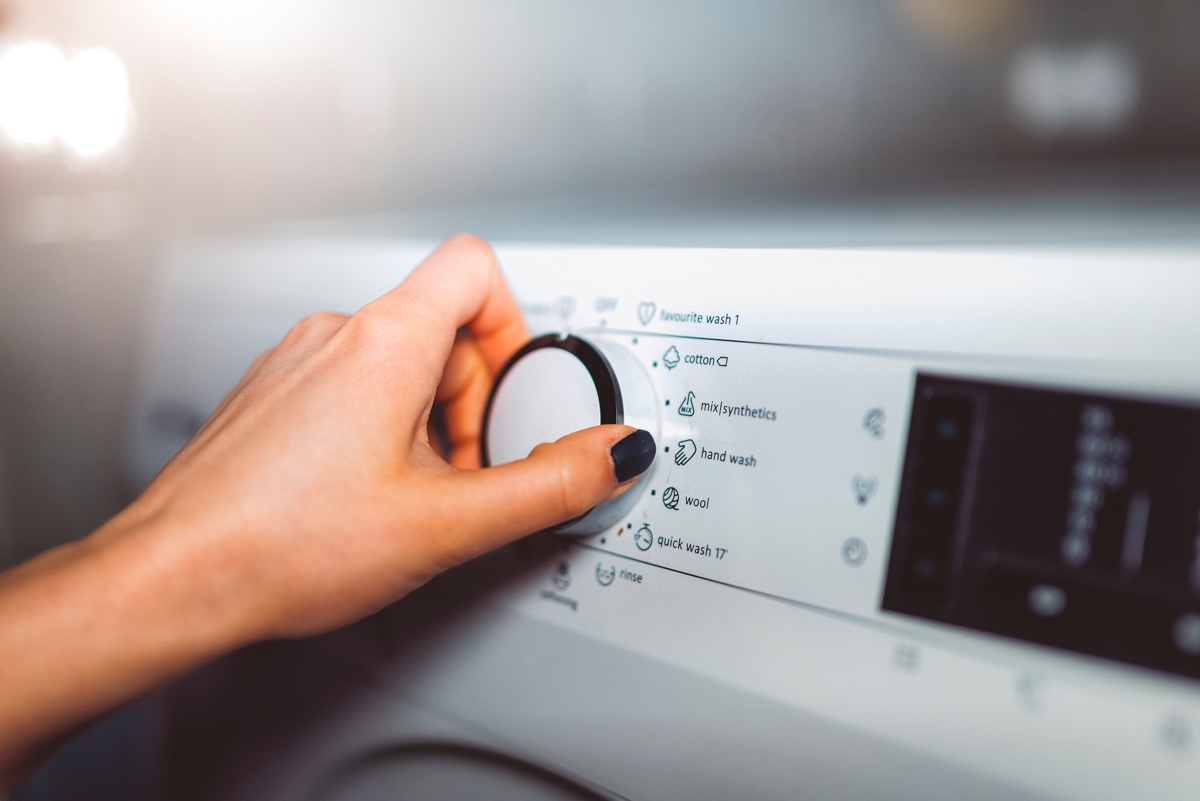
Functional Settings: Familiarize yourself with the various wash cycles and settings available on the machine. Test each setting to confirm that the machine responds appropriately to the selected options. This includes assessing the water temperature selection, spin speed, and any additional features such as pre-soak or extra rinse.
-
Drainage Evaluation: During the test, monitor the drainage process to ensure that the wastewater is effectively expelled from the machine. Observe the drain hose for any leaks or blockages, and confirm that the water flows freely into the designated drain outlet without backup or overflow.
-
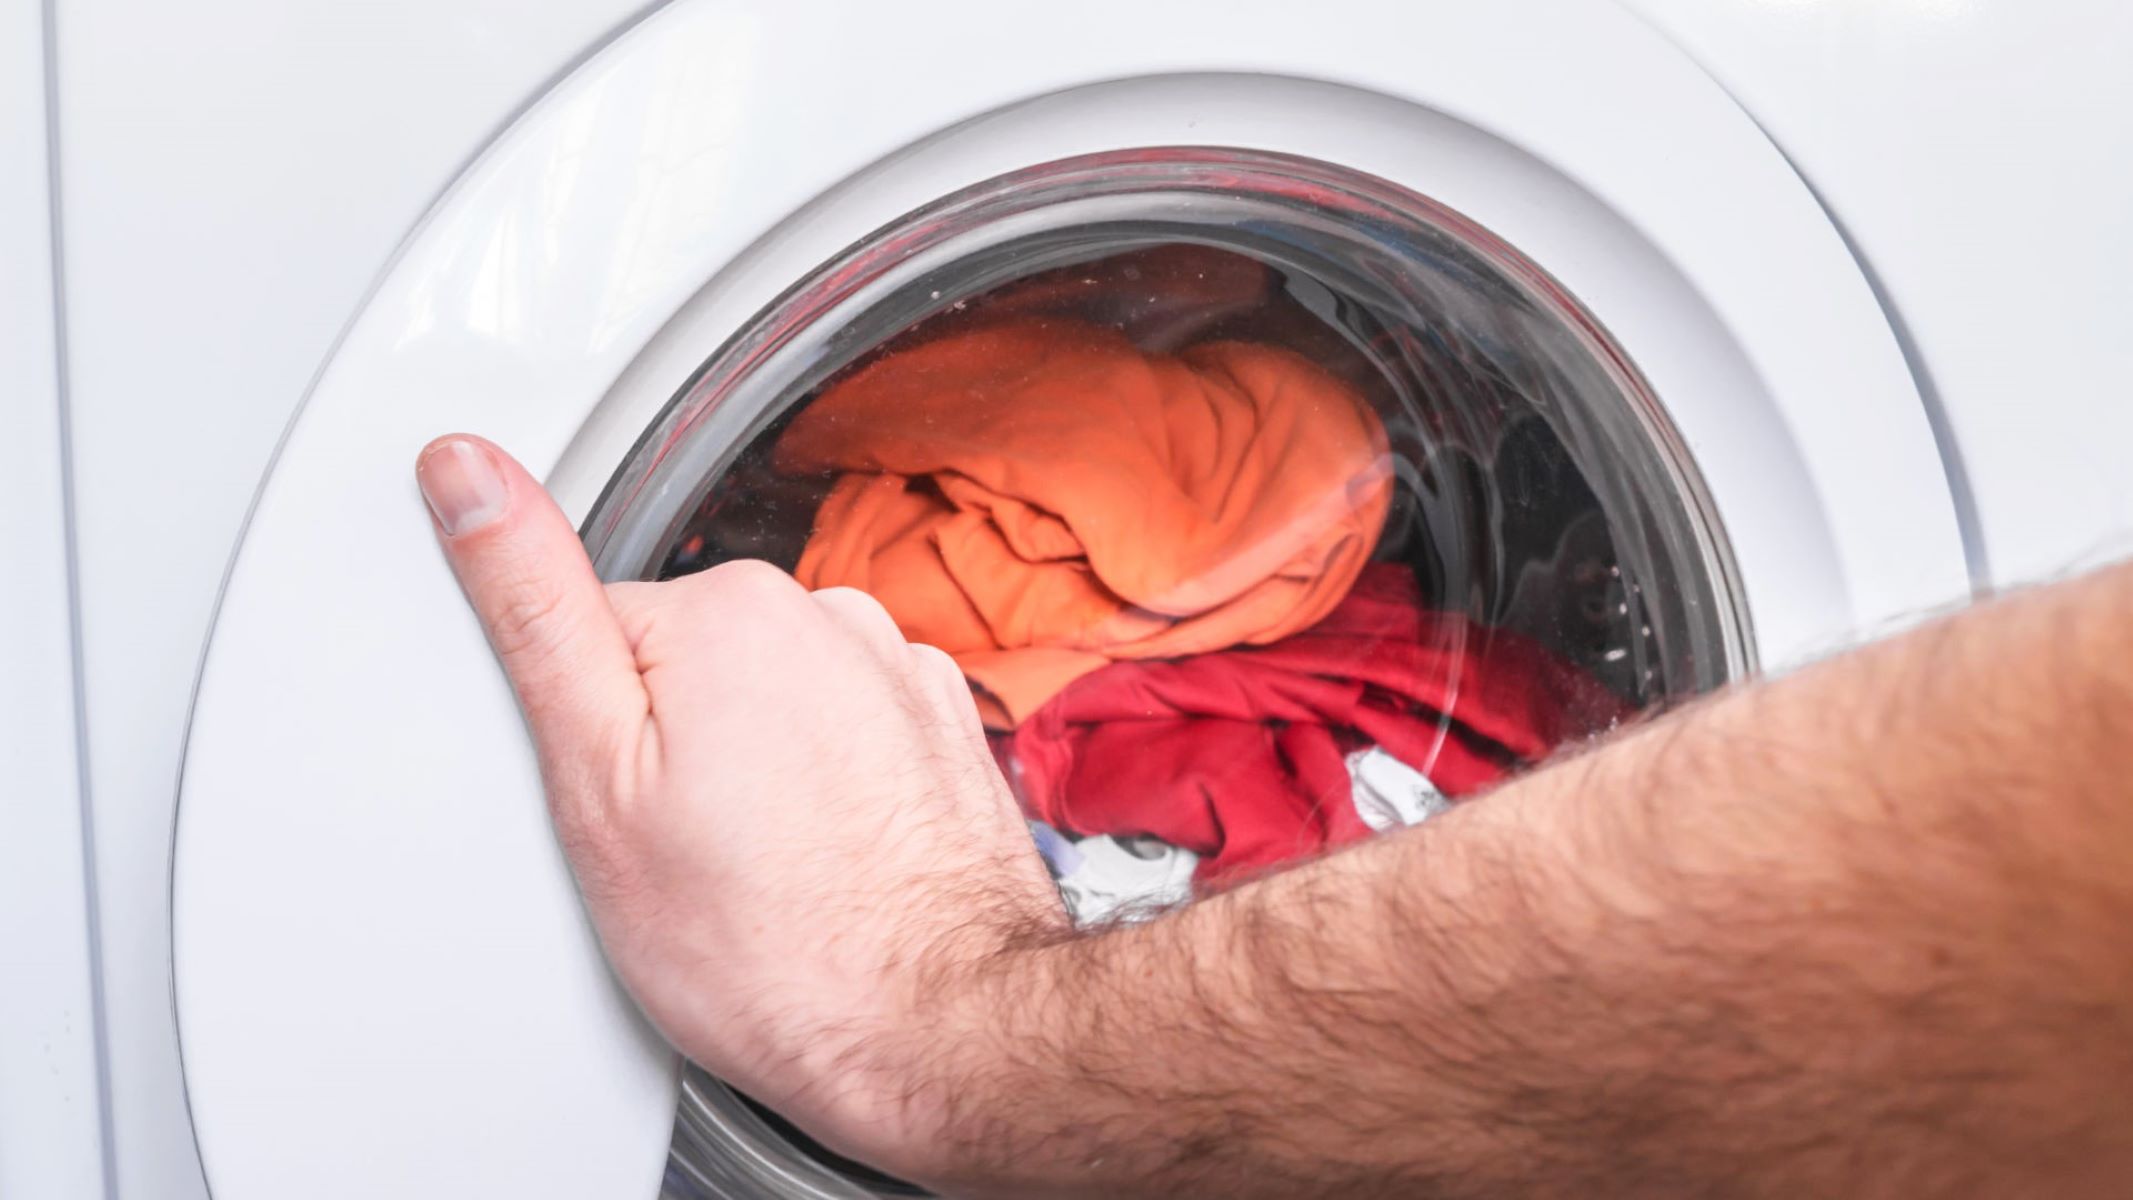
Load Test: To simulate real-world usage, consider running a small load of laundry through a standard wash cycle. This allows you to observe the machine's performance under typical operating conditions, including water intake, agitation, draining, and spin cycles.
-
Vibration and Noise Assessment: While the machine is in operation, pay attention to any excessive vibrations or unusual noises. Minor vibrations are normal, but excessive shaking or loud, irregular sounds may indicate an imbalance or mechanical issue that requires attention.
-
Electrical Safety Check: Throughout the testing process, ensure that the power cord remains securely connected to the electrical outlet and that there are no signs of overheating or electrical malfunctions. Verify that the machine's electrical components operate within safe parameters.
-
Final Inspection: Once the test cycle is complete, conduct a final visual inspection of the machine and its surroundings. Check for any water accumulation, leaks, or irregularities in the machine's behavior. Address any identified issues promptly to prevent potential damage or safety hazards.
By meticulously testing your washing machine after the plumbing process, you can identify and resolve any installation-related issues, ensuring that the machine operates efficiently and reliably. This thorough testing process provides peace of mind and sets the stage for seamless and trouble-free laundry experiences in your home.
Frequently Asked Questions about How To Plumb A Washing Machine
Was this page helpful?
At Storables.com, we guarantee accurate and reliable information. Our content, validated by Expert Board Contributors, is crafted following stringent Editorial Policies. We're committed to providing you with well-researched, expert-backed insights for all your informational needs.


0 thoughts on “How To Plumb A Washing Machine”