Home>Home Maintenance>How To Freshen The Air Ventilation System
Home Maintenance
How To Freshen The Air Ventilation System
Modified: March 6, 2024
Improve the air quality in your home with our expert tips on freshening your ventilation system. Discover effective home maintenance techniques for cleaner, healthier air.
(Many of the links in this article redirect to a specific reviewed product. Your purchase of these products through affiliate links helps to generate commission for Storables.com, at no extra cost. Learn more)
Introduction
Welcome to the ultimate guide on how to freshen the air ventilation system in your home. Having proper air ventilation is essential for maintaining a healthy and comfortable living environment. A well-functioning ventilation system not only helps to circulate fresh air throughout your home but also filters out impurities, such as dust, allergens, and odors.
Over time, however, air ventilation systems can become clogged with dirt, debris, and even mold. This can compromise the quality of the air in your home and lead to various health issues, including allergies, respiratory problems, and unwanted odors. That’s why it’s crucial to regularly clean and maintain your ventilation system to keep the air fresh and clean.
In this article, you will learn how to identify signs of a poorly functioning ventilation system and discover effective steps to freshen and improve its performance. Whether you’re a homeowner or a DIY enthusiast, these tips will help you enhance the air quality in your living space and promote a healthier living environment.
Before we dive into the steps, let’s explore why ensuring fresh air in your ventilation system is so important.
Key Takeaways:
- Regularly cleaning and maintaining your home’s ventilation system is crucial for fresh, healthy air. Follow simple steps like cleaning filters and ducts to ensure a comfortable living environment.
- Installing a ventilation system air purifier can further improve air quality by removing allergens and odors. Enjoy cleaner and fresher air in your home with these maintenance tips.
Read more: How To Make Air Freshener
Importance of Fresh Air in Ventilation Systems
A well-designed and properly functioning ventilation system plays a vital role in maintaining a healthy indoor environment. It helps to remove stale air, moisture, and pollutants from your home while replacing them with fresh air from the outside. Here are a few key reasons why ensuring fresh air in your ventilation system is crucial:
- Improved Indoor Air Quality: Fresh air is essential for maintaining a high level of indoor air quality. Without proper ventilation, indoor air can become stagnant and filled with pollutants such as dust, pet dander, allergens, and volatile organic compounds (VOCs) released by household products and materials. These pollutants can trigger allergies, asthma, and other respiratory issues. By regularly refreshing the air in your home through a well-functioning ventilation system, you can significantly improve the indoor air quality.
- Removal of Excess Moisture: Moisture buildup in your home can lead to mold and mildew growth, which can pose serious health risks. A well-designed ventilation system helps to remove excess moisture from bathrooms, kitchens, and other areas prone to humidity. By reducing humidity levels, you prevent the growth of mold and protect your home and family from potential health hazards.
- Elimination of Unpleasant Odors: A poorly ventilated home can trap unpleasant odors from cooking, pets, or household activities. These odors can linger and make your living spaces less pleasant. Fresh air circulation through proper ventilation helps to remove these odors and maintain a cleaner and more enjoyable living environment.
- Energy Efficiency: Properly designed ventilation systems can also contribute to energy efficiency in your home. By effectively removing stale air and introducing fresh outdoor air, you can reduce the workload on heating and cooling systems. This can result in lower energy consumption and decreased utility bills.
Now that you understand the importance of fresh air in your ventilation system, let’s explore common signs that indicate your system might not be functioning correctly.
Signs of a Poorly Functioning Ventilation System
It’s essential to be aware of the signs that indicate your ventilation system is not operating at its best. Ignoring these signs can lead to reduced air quality and potential health problems. Here are some common indicators of a poorly functioning ventilation system:
- Poor Airflow: If you notice weak or restricted airflow coming from your vents, it could be a sign of blockages or clogged air ducts. Restricted airflow can lead to uneven distribution of air, making certain areas of your home feel stuffy and uncomfortable.
- Increased Dust and Allergens: If you find an excessive amount of dust accumulating in your home, even shortly after cleaning, it may indicate that your ventilation system is not effectively filtering the air. This can exacerbate allergies and cause respiratory issues for you and your family.
- Persistent Odors: A properly functioning ventilation system helps to remove odors from your home, but if you notice persistent or unpleasant odors lingering even after cleaning and airing out your space, it could mean that your vents are not adequately circulating fresh air.
- Mold Growth: If you notice mold growth around your vents or detect a musty odor, it could indicate excess moisture buildup in your ventilation system. Mold spores can spread through the air and pose health risks. Prompt action is crucial to prevent further mold growth and to address any underlying issues with your ventilation system.
- Higher Energy Bills: A poorly functioning ventilation system can result in increased energy consumption and higher utility bills. If you notice a significant increase in your energy costs without any changes in usage, it may be a sign that your ventilation system is not operating efficiently.
If you have noticed any of these signs, it’s time to take action to freshen and improve your ventilation system. In the next few steps, we will explore effective techniques to restore your ventilation system’s performance and enhance the air quality in your home.
Step 1: Clean the Air Filters
One of the most important maintenance tasks for your ventilation system is cleaning the air filters. Air filters act as the first line of defense by capturing dust, dirt, and other particles before they circulate throughout your home. Over time, these filters can become clogged and obstruct airflow, leading to reduced efficiency and poor air quality. Follow these steps to clean your air filters:
- Locate the air filters: Depending on your ventilation system, the filters may be located in different places, such as the air return grille or the air handler unit. Consult your system’s manual or contact a professional if you are unsure where to find the filters.
- Turn off the system: Before removing the air filters, it’s crucial to turn off the ventilation system to prevent any debris from being circulated in the process.
- Remove the filters: Carefully remove the filters from their housing. Take note of how they are positioned, as you will need to reinstall them correctly later.
- Clean the filters: Depending on the type of filters you have, the cleaning process may vary. Disposable filters can typically be replaced, while permanent filters can be cleaned with water and mild soap. Gently wash the filters and rinse thoroughly to remove any trapped dirt and debris. Allow the filters to dry completely before reinstallation.
- Inspect the filters: While cleaning the filters, take the opportunity to inspect them for damage or signs of wear. If they are damaged, it’s best to replace them with new filters.
- Reinstall the filters: Once the filters are completely dry, carefully reposition them in the correct orientation and secure them back into their housing. Make sure they are properly aligned and securely in place.
It is recommended to clean or replace your air filters every 1-3 months, depending on the level of dust and pollutants in your home. Regular filter maintenance will help to improve the airflow, prolong the lifespan of your ventilation system, and maintain better air quality throughout your home.
With clean air filters, you’re ready to move on to the next step – clearing the air ducts of debris.
Step 2: Clear Air Ducts of Debris
In addition to cleaning the air filters, it’s important to ensure that the air ducts in your ventilation system are free from any debris or blockages. Over time, dust, pet hair, and other particles can accumulate in the air ducts, restricting airflow and reducing the efficiency of your system. Follow these steps to clear the air ducts of debris:
- Gather the necessary tools: You will need a screwdriver, a vacuum cleaner with a hose attachment, and a soft brush or cloth.
- Turn off the ventilation system: As a safety precaution, turn off the ventilation system before starting any work on the air ducts.
- Access the air ducts: Locate the access points to your air ducts. They are typically found on walls, floors, or ceilings. Some may have removable grilles or panels, while others may require a screwdriver to access.
- Remove debris: Carefully remove any visible debris from the accessible parts of the air ducts. You can use a soft brush or cloth to dislodge dust and dirt, or use a vacuum cleaner with a hose attachment to suction out the debris.
- Clean the registers and grilles: Remove the registers and grilles from the air duct openings. These are the visible covers that allow air to flow into the ducts. Clean them thoroughly using a brush or cloth to remove any accumulated dust or dirt.
- Vacuum the air ducts: Use a vacuum cleaner with a long hose attachment to clean the inside of the air ducts. Start at one end and slowly work your way through the ducts, using the suction to remove dust and debris. Pay special attention to corners, bends, and areas where debris tends to accumulate.
- Inspect for mold or moisture: While cleaning the air ducts, keep an eye out for any signs of mold growth or moisture. If you notice mold or damp areas, it’s important to address the issue promptly to prevent further damage to your ventilation system and ensure a healthy indoor environment.
- Replace grilles and registers: Once the air ducts are clean, reattach the grilles and registers securely in their respective openings.
Cleaning the air ducts should be done every 2-3 years, or more frequently if you notice a significant buildup of debris. This will help to optimize the performance of your ventilation system and maintain a cleaner and healthier living environment.
Now that you have cleared the air ducts of debris, let’s move on to the next step – removing and cleaning vent covers.
Regularly change the air filters in your ventilation system to improve air quality and circulation. This can help reduce dust, allergens, and odors in your home.
Read more: How To Use Room Freshener
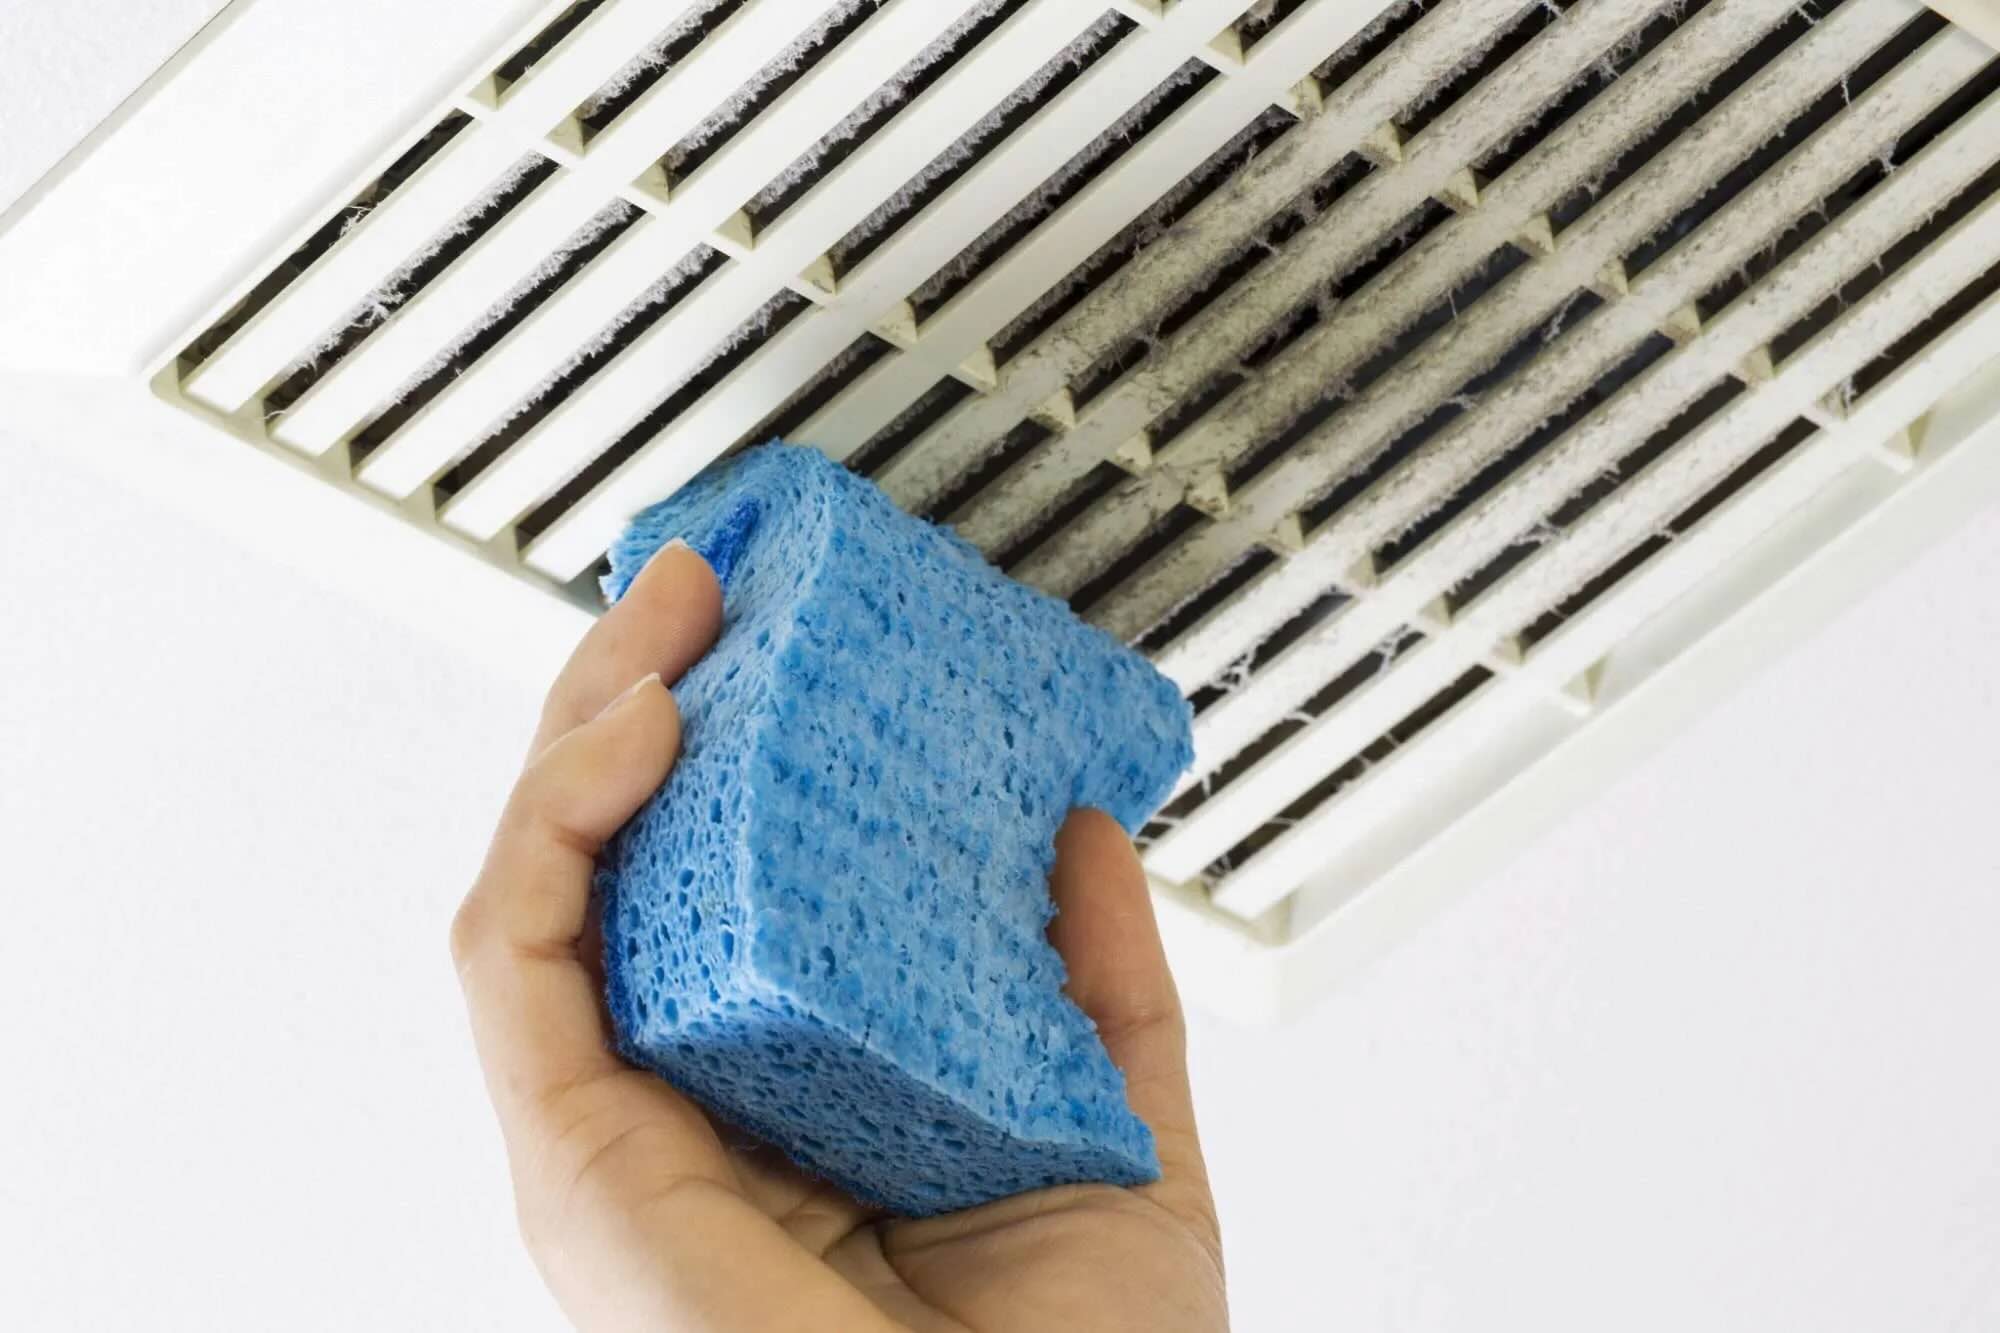
Step 3: Remove and Clean Vent Covers
In order to maintain a fresh and clean air ventilation system, it’s important to regularly remove and clean the vent covers. Vent covers can accumulate dust, pet hair, and other particles over time, which can obstruct airflow and affect the overall performance of your ventilation system. Cleaning the vent covers is a simple yet effective way to improve the air quality in your home. Follow these steps to remove and clean vent covers:
- Gather the necessary tools: You will need a screwdriver, a soft brush or cloth, mild soap, and warm water.
- Turn off the ventilation system: As always, make sure to turn off the ventilation system before starting any work on the vent covers.
- Identify and remove the vent covers: Take a close look at your vents and locate the screws or clips that hold the vent covers in place. Use a screwdriver or simply undo the clips to remove the covers.
- Clean the vent covers: Once the vent covers are removed, use a soft brush or cloth to gently wipe away any loose dust or debris. Fill a bucket with warm water and add a small amount of mild soap. Dip the brush or cloth into the soapy water and gently scrub the vent covers to remove any embedded dirt or grime. Be careful not to use excessive force or abrasive cleaners that could damage the covers.
- Rinse and dry: After cleaning, rinse the vent covers thoroughly with clean water to remove any soap residue. Allow them to air dry completely before reinstallation.
- Inspect and replace: While cleaning the vent covers, take the opportunity to inspect them for any damage or wear. If you notice any cracks or broken parts, it may be necessary to replace the covers to ensure optimal performance.
- Reinstall the vent covers: Once the vent covers are fully dry, position them back in their original place and secure them using the screws or clips. Make sure they are attached securely and aligned correctly to prevent any gaps or air leakage.
Cleaning the vent covers should be done periodically, at least every few months, to prevent the buildup of dust and maintain proper airflow. This simple maintenance task will contribute to a cleaner and healthier air ventilation system.
Now that you have cleaned the vent covers, let’s move on to the next step – disinfecting and deodorizing the air vents.
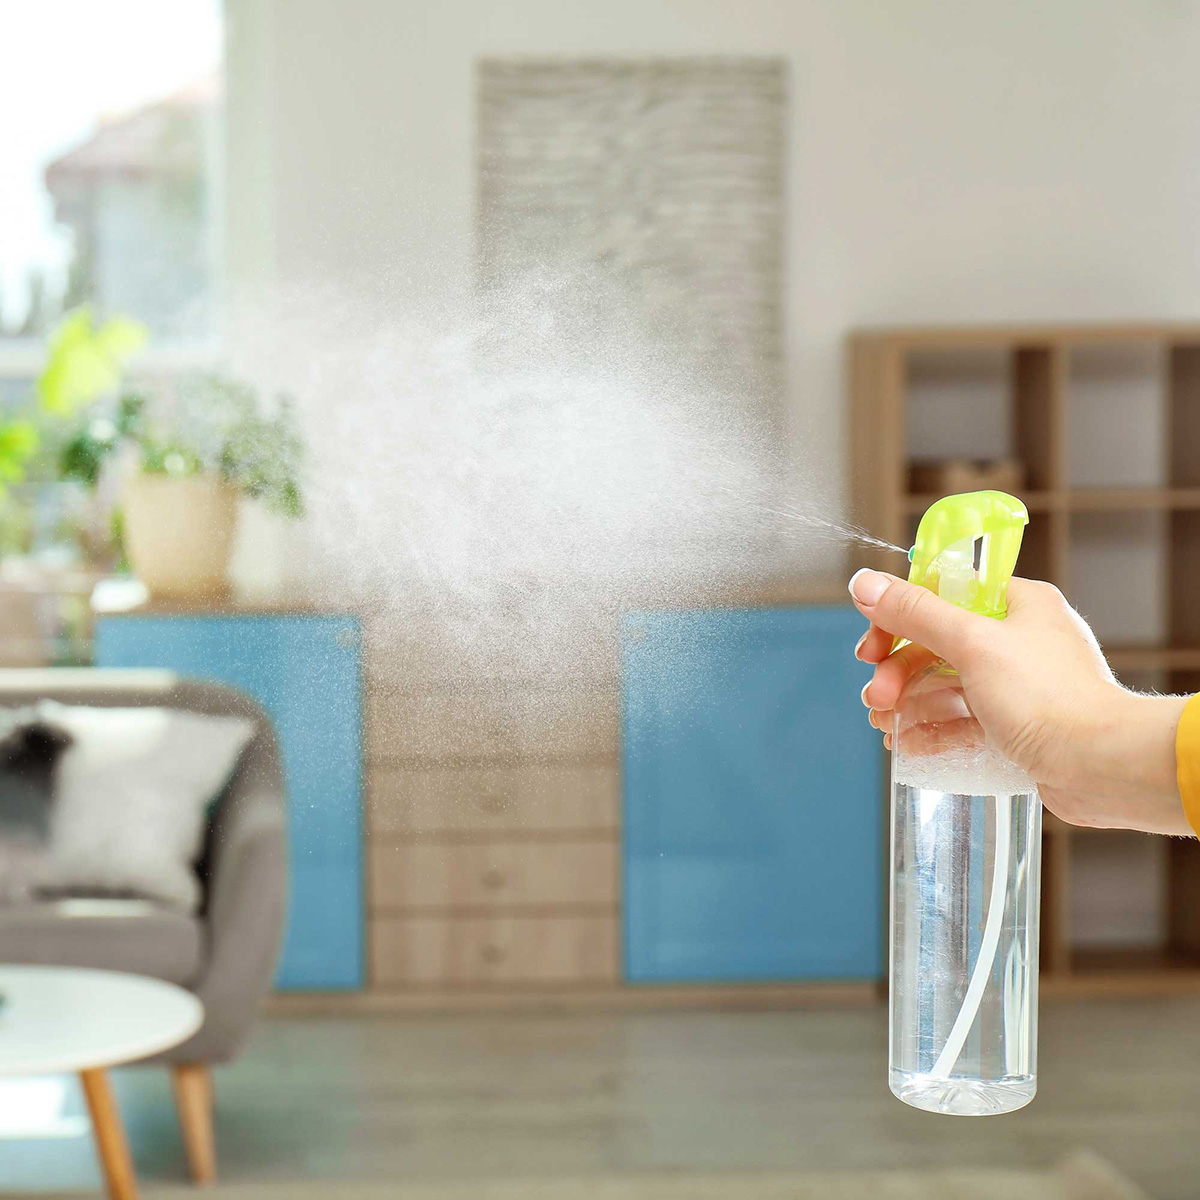
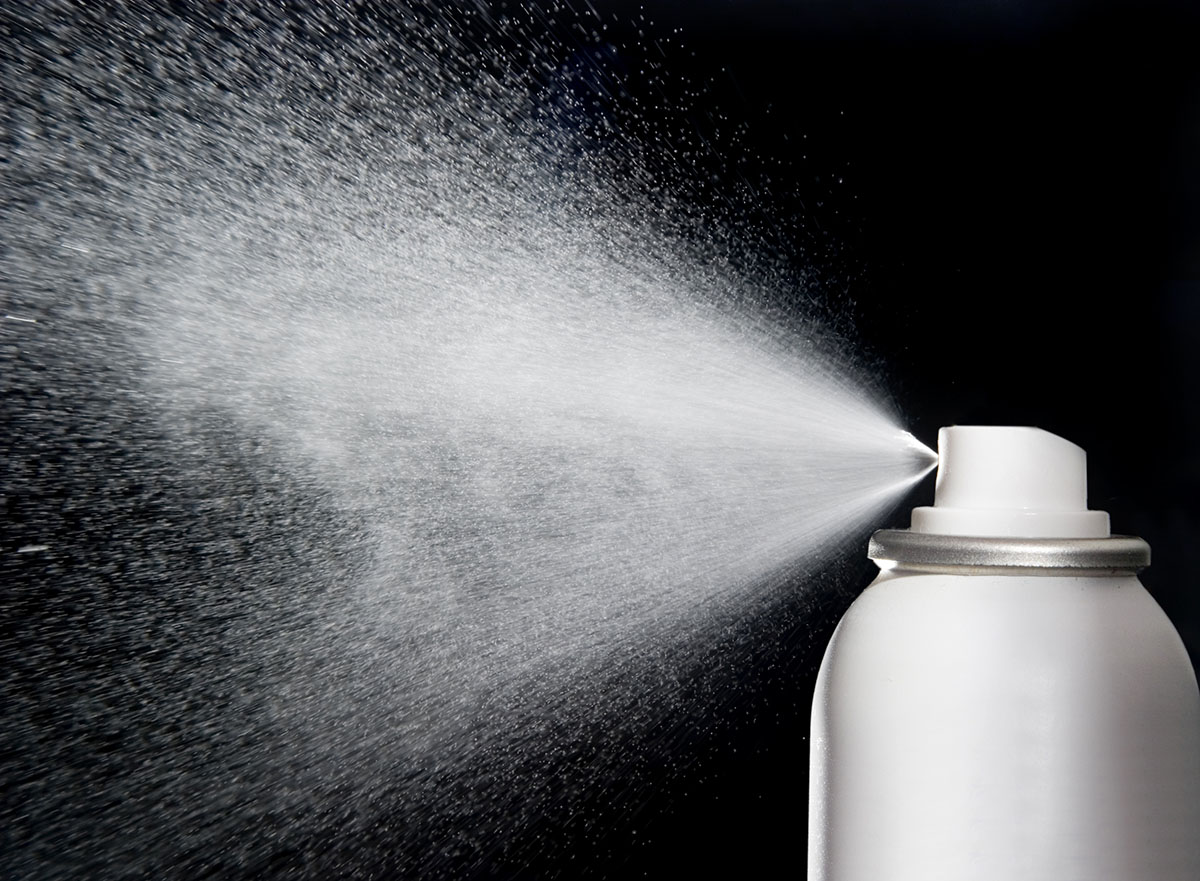
Step 4: Disinfect and Deodorize the Air Vents
To ensure a fresh and hygienic air ventilation system, it’s important to regularly disinfect and deodorize the air vents. Over time, bacteria, mold, and other microorganisms can accumulate in the vents, leading to unpleasant odors and potential health risks. Cleaning and sanitizing the vents will help eliminate these issues and promote a healthier indoor environment. Follow these steps to disinfect and deodorize your air vents:
- Gather the necessary supplies: You will need a disinfectant spray or solution, a soft brush, a cloth, and a vacuum cleaner with a hose attachment.
- Turn off the ventilation system: Ensure that the ventilation system is turned off before you begin the cleaning process. This will prevent any contaminants from being circulated while you work.
- Prepare the disinfectant solution: Dilute the disinfectant spray or solution according to the manufacturer’s instructions. Make sure to choose a disinfectant that is safe for use on ventilation systems.
- Remove the vent covers: Carefully remove the vent covers by unscrewing or unclipping them, following the same steps from the previous step.
- Spray disinfectant: Thoroughly spray the disinfectant solution onto the inside of the vents. Pay special attention to areas where mold or bacteria growth is visible or suspected.
- Scrub and wipe: Use a soft brush or cloth to scrub the interior walls of the vents, removing any dirt, grime, or microbial growth. Make sure to reach as far into the vents as possible without causing any damage.
- Vacuum the vents: Attach a hose attachment to your vacuum cleaner and carefully vacuum the vents to remove any loose debris or excess disinfectant solution.
- Allow to dry: After cleaning, allow the vents to fully air dry before reattaching the vent covers. This will prevent any moisture buildup that could lead to mold growth.
- Reinstall vent covers: Once the vents are dry, securely reattach the vent covers using screws or clips, ensuring they are aligned correctly.
Disinfecting and deodorizing the air vents should be done every few months, or as needed, to maintain a clean and fresh-smelling environment. This step will help to eliminate any lingering odors and ensure that the air circulating through your ventilation system is clean and healthy.
Now that you have disinfected and deodorized the air vents, let’s move on to the final step – installing a ventilation system air purifier.
Step 5: Install a Ventilation System Air Purifier
To further enhance the air quality in your home and maintain a fresh and clean ventilation system, consider installing an air purifier specifically designed for ventilation systems. Air purifiers help to remove contaminants, allergens, and odors from the air, ensuring that the air circulating throughout your home is purified and healthy. Follow these steps to install a ventilation system air purifier:
- Choose the right air purifier: Look for an air purifier specifically designed for ventilation systems. Consider factors such as the size of your space, the filtration technology used, and the specific contaminants you wish to remove.
- Read the manufacturer’s instructions: Before installation, carefully read and follow the instructions provided by the air purifier manufacturer. Each model may have specific installation requirements.
- Select the installation location: Determine the ideal location to install the air purifier within your ventilation system. This is typically in the main duct, near the air handler unit or close to the air intake point.
- Prepare the installation area: Ensure that the chosen location is clear of any obstructions and that there is sufficient space for the air purifier to be securely installed.
- Install the air purifier: Follow the manufacturer’s instructions to properly install the air purifier in the chosen location. Secure it in place using the provided brackets or mounting hardware.
- Connect the power supply: Depending on the model, you may need to connect the air purifier to a power source. Follow the provided instructions for wiring and connecting the power supply, ensuring that all connections are secure and properly grounded.
- Test the air purifier: After installation, turn on the ventilation system and test the air purifier to ensure that it is functioning correctly. Follow any additional setup or calibration steps as instructed by the manufacturer.
- Maintain and replace filters: Regularly check and clean or replace the filters in your ventilation system air purifier according to the manufacturer’s recommendations. This will ensure optimal performance and continued purification of the air.
An air purifier integrated into your ventilation system will help to further improve the air quality in your home by removing allergens, pollutants, and odors. It complements the cleaning and maintenance steps outlined in the previous sections, providing an additional layer of purification for the air circulated throughout your living spaces.
With the installation of a ventilation system air purifier, you have completed the final step in freshening your air ventilation system. These steps, when performed regularly, will help you create a healthier living environment with cleaner and fresher air.
Remember to consult with professionals or follow the specific instructions provided by manufacturers when performing any maintenance or installation tasks related to your ventilation system.
Now, take a deep breath and enjoy the clean and fresh air in your home!
Conclusion
Having a well-maintained and fresh air ventilation system is essential for creating a healthy and comfortable living environment. Regular cleaning and maintenance of your ventilation system will ensure optimal performance and improve the overall air quality in your home.
In this comprehensive guide, we have explored the importance of fresh air in ventilation systems and discussed the signs of a poorly functioning system. We then walked through five essential steps to freshen your air ventilation system:
- Cleaning the air filters
- Clearing air ducts of debris
- Removing and cleaning vent covers
- Disinfecting and deodorizing the air vents
- Installing a ventilation system air purifier
By following these steps and incorporating regular maintenance into your home care routine, you can ensure that your ventilation system operates efficiently and effectively filters the air, creating a healthier and more pleasant living environment for you and your family.
Remember to consult the manufacturer’s instructions and seek professional help if needed, especially when dealing with complex tasks or if you are unsure about any aspects of your ventilation system.
So go ahead, take control of your indoor air quality, and enjoy the benefits of a well-functioning and fresh air ventilation system. Breathe easy and live in comfort!
Frequently Asked Questions about How To Freshen The Air Ventilation System
Was this page helpful?
At Storables.com, we guarantee accurate and reliable information. Our content, validated by Expert Board Contributors, is crafted following stringent Editorial Policies. We're committed to providing you with well-researched, expert-backed insights for all your informational needs.


0 thoughts on “How To Freshen The Air Ventilation System”