Home>Home Maintenance>How To Clean The Ventilation System In A Travel Trailer

Home Maintenance
How To Clean The Ventilation System In A Travel Trailer
Modified: March 24, 2024
Learn how to properly clean and maintain your travel trailer's ventilation system with our expert home maintenance tips. Ensure clean and fresh air in your home on the road.
(Many of the links in this article redirect to a specific reviewed product. Your purchase of these products through affiliate links helps to generate commission for Storables.com, at no extra cost. Learn more)
Introduction
Welcome to the world of travel trailers, where adventure awaits at every turn. Whether you’re embarking on a cross-country road trip or heading to a peaceful campground, your travel trailer is your home away from home. It houses all the comforts and amenities you need to make your journey enjoyable and comfortable.
One crucial aspect of maintaining your travel trailer is cleaning the ventilation system. The ventilation system ensures proper airflow, eliminates odors, and keeps the air inside fresh and healthy. Over time, dust, allergens, and debris can accumulate within the system, hindering its performance. Cleaning the ventilation system regularly is essential to maintain its efficiency and ensure a pleasant indoor environment during your travels.
In this guide, we’ll walk you through step-by-step instructions on how to clean the ventilation system in your travel trailer. From gathering the necessary supplies to reinstalling the vent covers, we’ll cover every aspect to help you achieve a spotless and well-functioning system. So, let’s dive in and get started!
Key Takeaways:
- Regularly cleaning and maintaining the ventilation system in your travel trailer is essential for ensuring clean, fresh, and healthy air during your adventures.
- By following the step-by-step guide, you can gather supplies, safely clean the system, and test it to ensure efficient airflow, creating a comfortable living space for your travels.
Read more: How To Store A Travel Trailer Outside
Step 1: Gather Necessary Supplies
Before you begin cleaning the ventilation system in your travel trailer, it’s important to gather all the necessary supplies. Having these items on hand will make the process much smoother and more efficient. Here’s a list of the supplies you’ll need:
- Protective gear: To ensure your safety, wear gloves, safety goggles, and a dust mask.
- Flashlight: A flashlight will come in handy to help you see in dark and hard-to-reach areas.
- Cleaning solution: Look for a mild detergent or a specific cleaner designed for ventilation systems. Avoid harsh chemicals that may cause damage.
- Soft-bristled brush: A soft-bristled brush is ideal for gently scrubbing the vent covers and removing any built-up dust.
- Vacuum cleaner: A vacuum cleaner with a brush attachment will help you remove dust and debris from the interior vents.
- Clean cloth: Keep a clean cloth or microfiber cloth nearby to wipe down surfaces as needed.
- Screwdriver: Depending on the type of vent covers in your travel trailer, you may need a screwdriver to remove them.
By gathering these supplies in advance, you’ll be well-prepared to tackle the cleaning process efficiently.
Step 2: Turn Off the Power
Before you begin cleaning the ventilation system in your travel trailer, it’s crucial to turn off the power. This step will ensure your safety and prevent any accidents or damage to the system.
Start by locating the power source for your ventilation system. It is usually a switch or breaker located in the main electrical panel of your travel trailer. Flip the switch or turn off the breaker to cut off the power supply to the system.
Double-check to ensure that the power is indeed deactivated by trying to turn on the ventilation system. If there is no response, then you can proceed with confidence, knowing that the power is completely off.
Why is it important to turn off the power? Cleaning the ventilation system involves removing vent covers, accessing the interior vents, and handling electrical components. By turning off the power, you minimize the risk of electric shock and protect yourself from any mishaps.
Remember, safety should always be your top priority when working with any electrical system, including the ventilation system in your travel trailer. So, take a moment to ensure that the power is turned off before moving on to the next step.
Step 3: Remove Vent Covers
With the power turned off, it’s time to remove the vent covers in your travel trailer. The vent covers provide access to the interior vents and allow for proper maintenance and cleaning.
Take a close look at the vent covers and determine the type of mechanism holding them in place. In most cases, you’ll find screws or clips securing the covers. Use a screwdriver or your fingers to loosen the screws or release the clips, depending on the type of vent covers.
Once the fasteners are loose, gently remove the vent covers from their positions. Be careful not to damage the surrounding walls or any electric wires that may be connected to the covers.
If you have multiple vent covers in your travel trailer, it’s a good idea to label them as you remove them. This way, you can easily remember their locations and reinstall them correctly later on.
As you remove the vent covers, you may notice that they have accumulated dust or debris on the surface. You can use a soft-bristled brush to remove any loose particles before proceeding with the cleaning process. This will help ensure a thorough cleaning of both the vent covers and the interior vents.
By removing the vent covers, you gain access to the interior of the ventilation system, allowing you to clean it more effectively. With this step completed, you’re ready to move on to the next step and clean the vent covers themselves.
Step 4: Clean Vent Covers
Now that you have the vent covers removed from your travel trailer, it’s time to clean them. Over time, vent covers can accumulate dust, dirt, and other debris, diminishing the efficiency of the ventilation system. Cleaning the vent covers will help restore their functionality and ensure proper airflow.
Start by filling a sink or basin with warm water and a mild detergent. Gently place the vent covers into the soapy water, ensuring that they are fully submerged. Let them soak for a few minutes to loosen any dirt or grime.
Next, take a soft-bristled brush and scrub the vent covers gently. Pay attention to any crevices or hard-to-reach areas. For stubborn stains or buildup, you can use a toothbrush or a small scrub brush to remove the dirt. Be careful not to apply too much pressure, as it may damage the vent covers.
Once you’ve thoroughly cleaned the vent covers, rinse them with clean water to remove any soap residue. Inspect them carefully to ensure that all the dirt and grime have been removed.
After rinsing, gently pat the vent covers dry with a clean cloth or allow them to air-dry. Make sure they’re completely dry before reinstalling them to avoid any moisture-related issues.
Cleaning the vent covers not only enhances the appearance of your travel trailer but also helps maintain the cleanliness and efficiency of the ventilation system. With the vent covers looking fresh and clean, you’re ready to move on to the next step and tackle the interior vents.
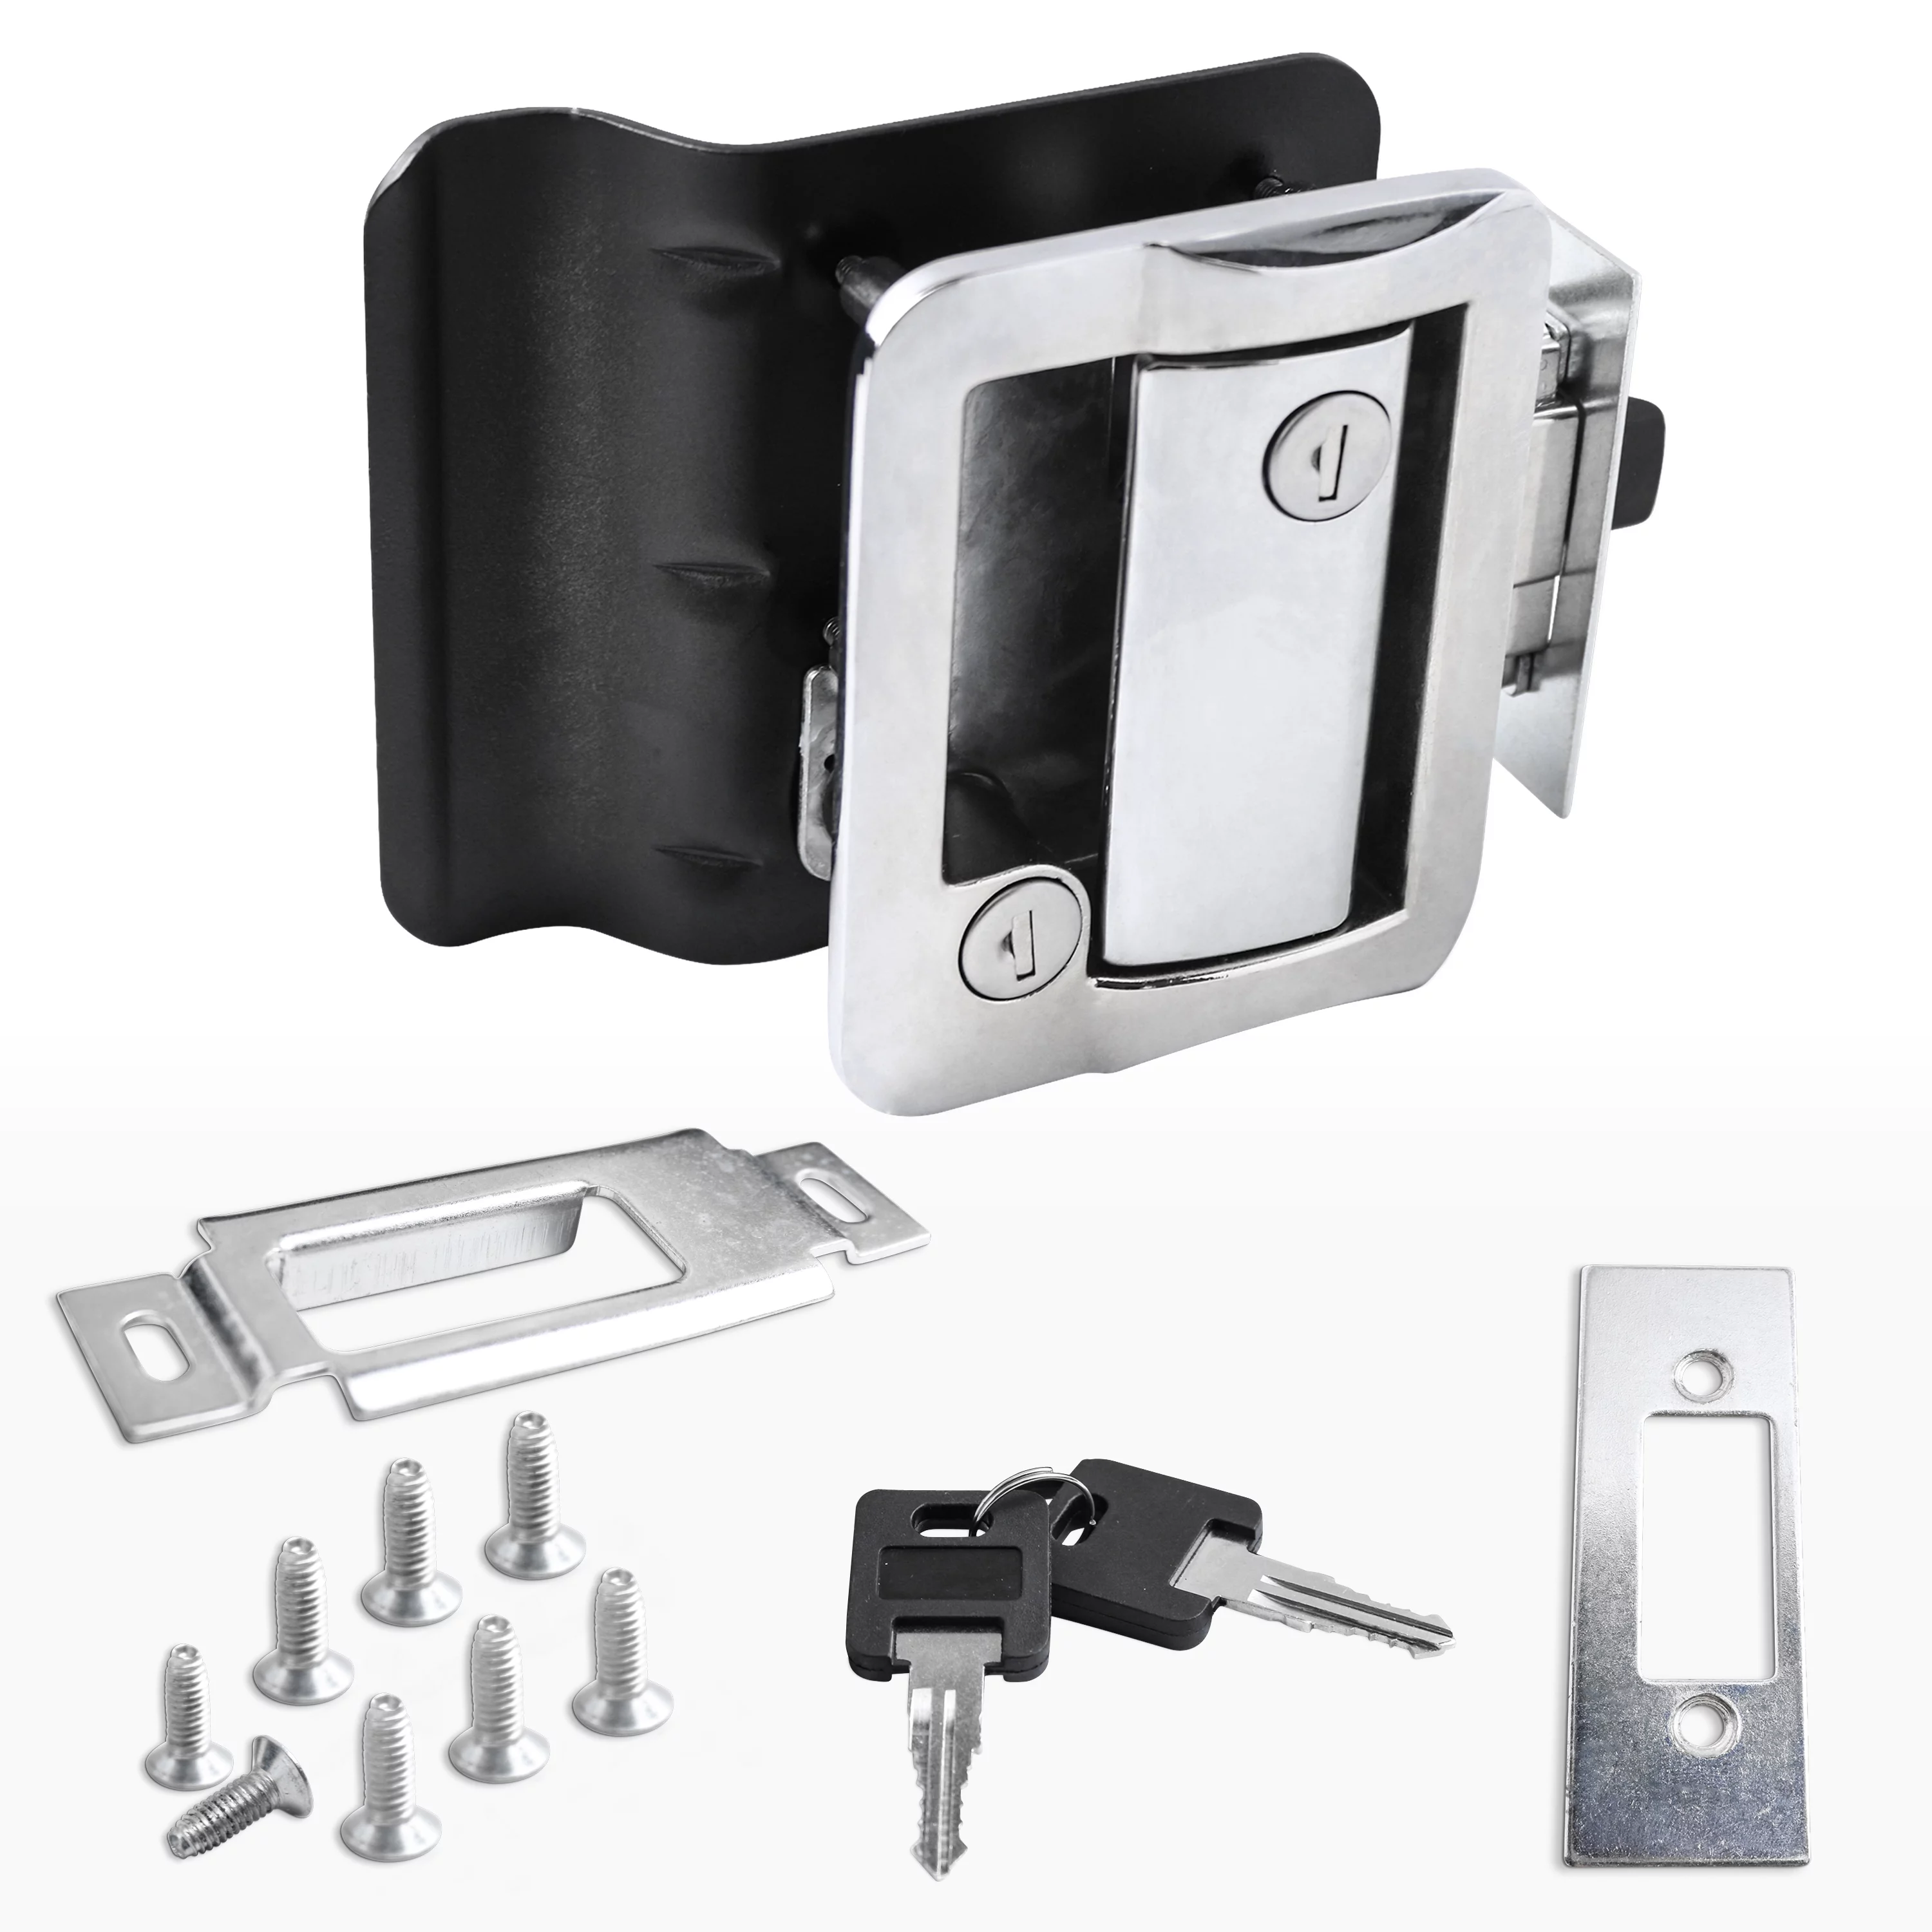
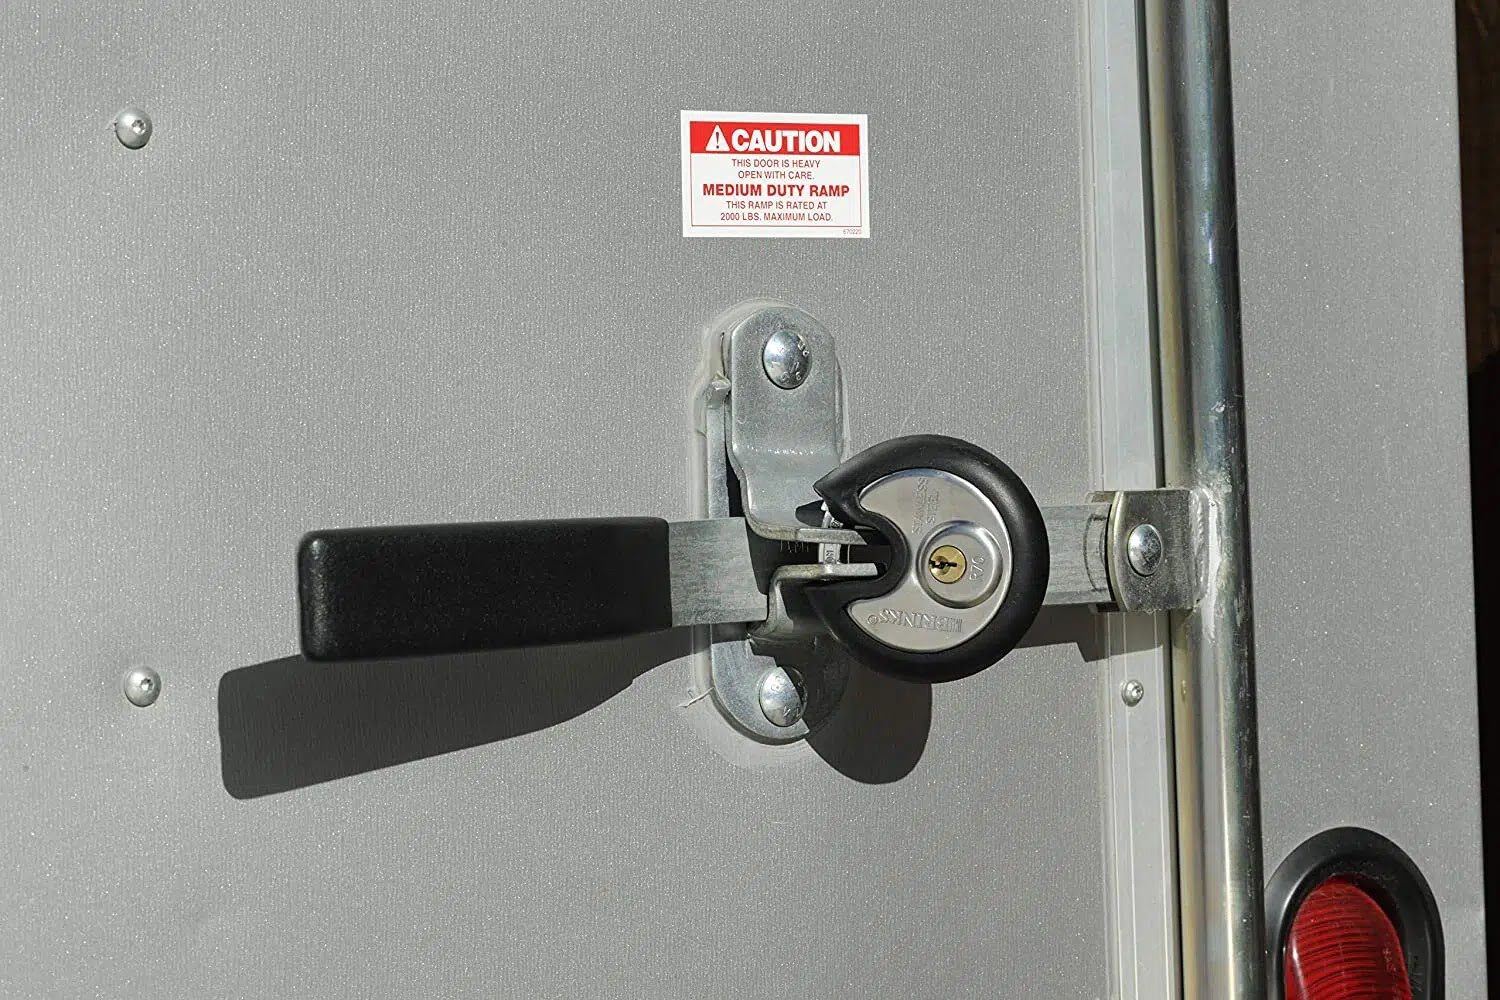
Read also: 14 Best Travel Trailer Door Lock For 2024
Step 5: Vacuum Interior Vents
Now that the vent covers are clean, it’s time to turn your attention to the interior vents in your travel trailer. These vents play a crucial role in circulating the air throughout your living space, so it’s essential to keep them free from dust and debris.
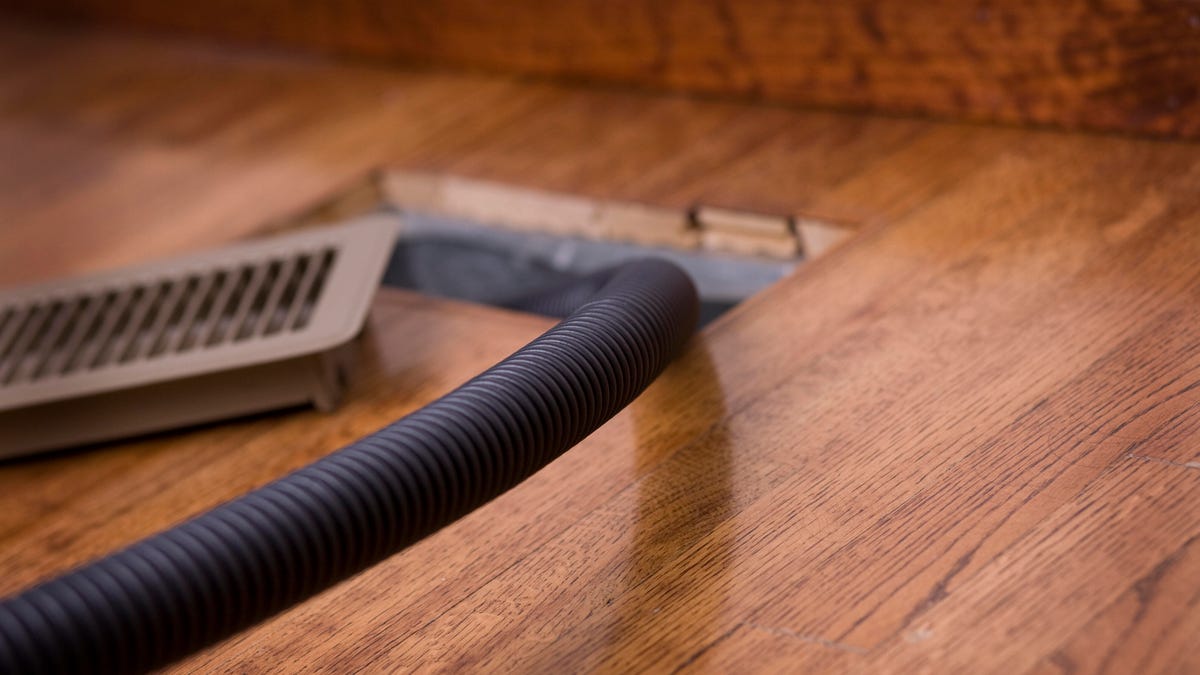
Grab your vacuum cleaner with a brush attachment and begin by carefully inserting the brush into each interior vent. Move the brush around in a gentle and circular motion to dislodge any dust or debris that may have accumulated.
Pay special attention to the areas around the vents where dust tends to settle. Move the brush back and forth to ensure a thorough cleaning. If you come across any stubborn dirt or debris, you can use the suction power of the vacuum cleaner to remove it.
Work your way through all the interior vents in your travel trailer, including the ones in the living area, bedroom, bathroom, and kitchen. Take your time and be thorough in your cleaning efforts to ensure that every vent is clean and free from blockages.
If you notice any heavily clogged vents that the vacuum cleaner can’t clear, you may need to use a compressed air canister or a long-handled brush to dislodge the debris. Be cautious when using these tools in order to avoid damaging the vents or pushing debris further into the system.
By vacuuming the interior vents, you remove the dust and debris that can hinder the proper airflow and reduce the efficacy of the system. With this step complete, you’re now ready to move on to the next crucial task of cleaning the ventilation ducts.
Regularly clean or replace the air filters in your travel trailer’s ventilation system to ensure proper airflow and prevent buildup of dust and debris.
Step 6: Clean Ventilation Ducts
Now that you’ve cleaned the vent covers and vacuumed the interior vents, it’s time to focus on cleaning the ventilation ducts in your travel trailer. The ducts are responsible for carrying the air from the vents to different areas of your living space, so it’s crucial to keep them clean to ensure optimal airflow and air quality.
Start by inspecting the ventilation ducts for any visible signs of dirt or debris. Using a flashlight, check for any obstructions or blockages within the ducts. If you notice significant buildup or clogs, it may be necessary to hire a professional duct cleaning service to ensure a thorough cleaning.
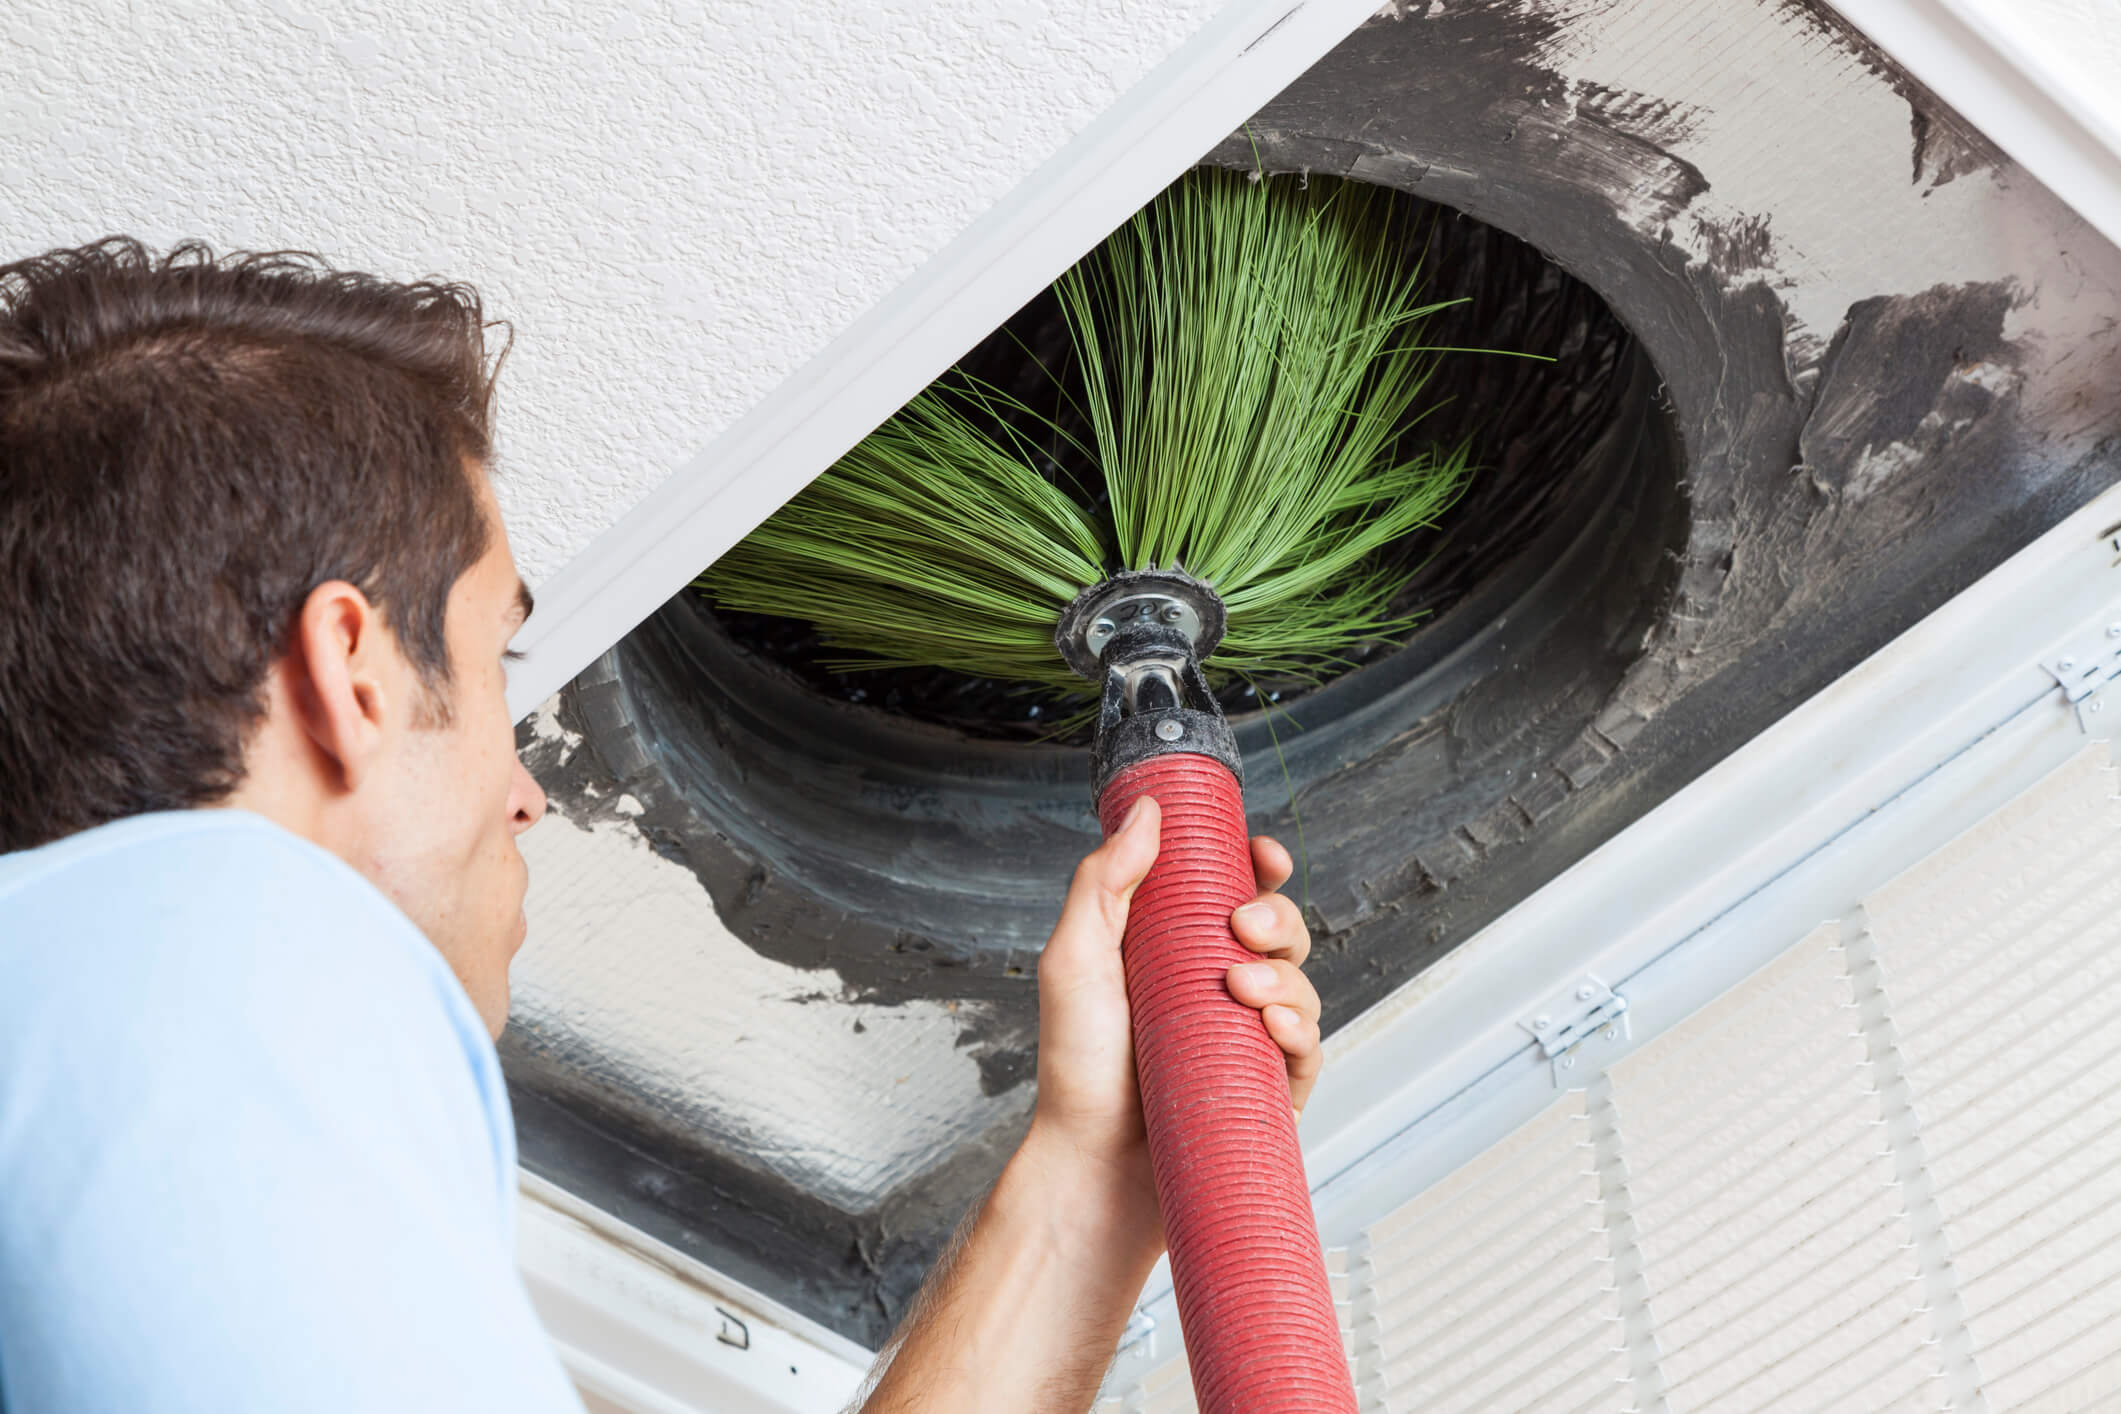
If the ducts are relatively clean, you can perform a DIY cleaning using a vacuum cleaner with a long attachment or a specialized duct cleaning brush. Attach the tool to the vacuum cleaner hose or brush handle and carefully insert it into each vent opening, reaching as far into the ducts as possible.
Move the vacuum cleaner or brush handle back and forth while rotating it to dislodge any debris clinging to the duct walls. Be gentle yet thorough to ensure a complete cleaning. Repeat this process for all the ventilation ducts in your travel trailer, including those in the living area, bedroom, bathroom, and kitchen.
In some cases, you may find it helpful to have a second person assist you by shining the flashlight into the vents, allowing you to better see and reach inside the ducts.
While cleaning the ventilation ducts, be mindful of any fragile or delicate parts. Avoid using excessive force that could damage the ducts or dislodge any connections.
By cleaning the ventilation ducts, you remove accumulated dust, allergens, and other debris that can hinder the proper airflow and affect the overall air quality in your travel trailer. With this step complete, you’re now ready to move on to inspecting and replacing the filters.
Step 7: Inspect and Replace Filters
Inspecting and replacing the filters in your travel trailer’s ventilation system is a crucial step in maintaining clean and efficient airflow. Filters help trap dust, allergens, and other particles, preventing them from circulating throughout your living space. Over time, these filters can become dirty and clogged, hindering the system’s performance.
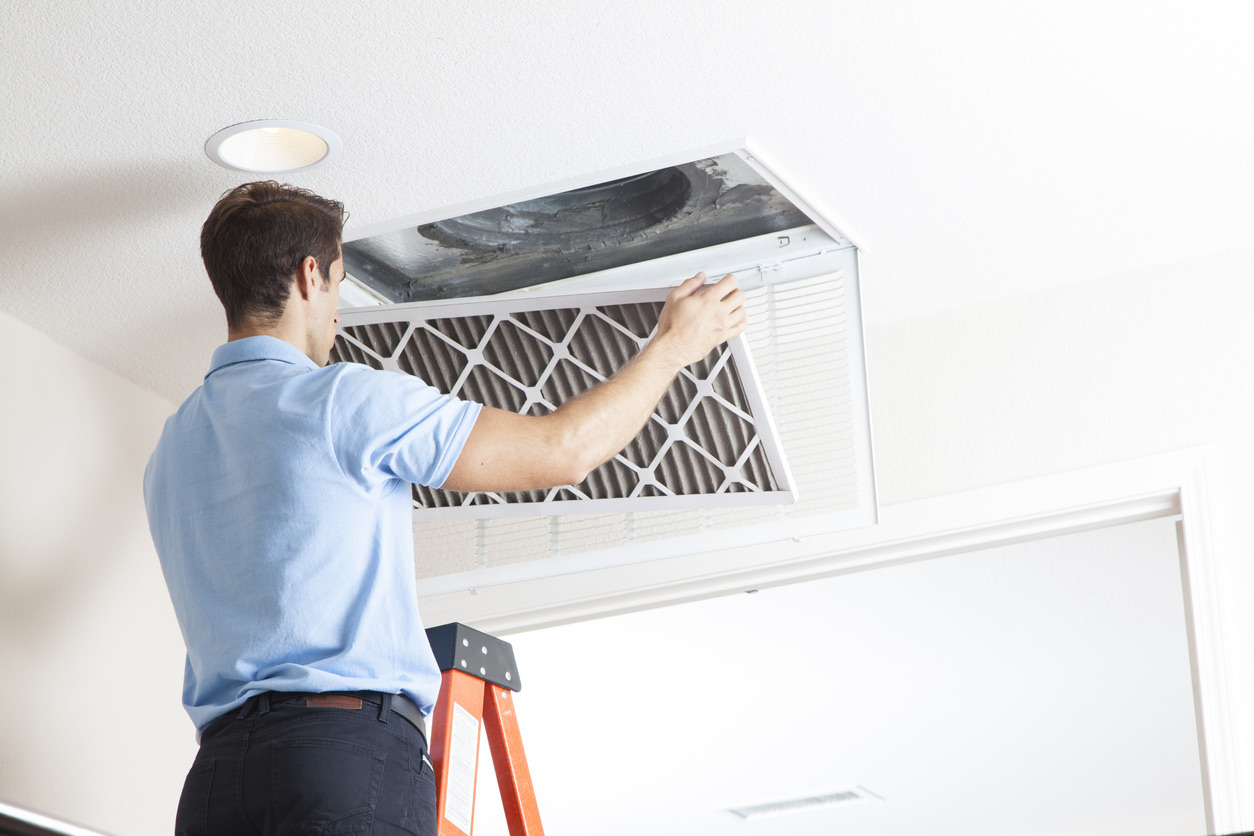
Start by locating the air filters in your travel trailer’s ventilation system. Typically, they are located behind the vent covers or in a central unit. Depending on the system, you may have multiple filters to inspect and replace.
Remove each filter and visually inspect it for excessive dirt or damage. If the filter appears dirty or clogged, it’s time to replace it. Even if the filter seems relatively clean, it’s still a good idea to replace it according to the manufacturer’s recommendations, which is usually every 3-6 months.
When purchasing replacement filters, make sure to select ones that are compatible with your specific ventilation system. Look for filters that have a high MERV (Minimum Efficiency Reporting Value) rating, as this indicates their effectiveness in trapping airborne particles.
Installing the new filters is a simple process. Follow the manufacturer’s instructions, making sure to align them properly and secure them in place. Ensure that the filters fit snugly and that there are no gaps around the edges.
Regularly inspecting and replacing the filters in your travel trailer’s ventilation system helps maintain clean air quality and ensures the efficient operation of the system. It’s a small but crucial step in preserving a healthy and comfortable living environment during your travels.
With the filters inspected and replaced as needed, you’re now ready to move on to cleaning the fan blades.
Step 8: Clean Fan Blades
Cleaning the fan blades in your travel trailer’s ventilation system is essential to maintain proper airflow and prevent the buildup of dust and debris. Over time, these blades can accumulate dirt, which can affect the efficiency and performance of the system. It’s important to keep them clean to ensure optimal airflow and prevent any issues.
Start by accessing the fan blades, usually located within the central unit of your ventilation system. Depending on your travel trailer, you may need to remove a cover or access panel to reach the blades.
Once you have access to the fan blades, use a soft, damp cloth or a brush to gently wipe away any dust or dirt that has accumulated. Be careful not to apply excessive pressure that could damage the blades. If the buildup is stubborn, you may need to use a mild detergent solution on the cloth for a more thorough cleaning.
Paying attention to both sides of the fan blades, clean each surface thoroughly, removing any debris that may have accumulated. Take your time and be thorough to ensure a complete cleaning.
If the fan blades are removable, you may choose to remove them for a more comprehensive cleaning. Follow the manufacturer’s instructions for removing and reattaching the blades to ensure proper handling and alignment.
It’s important to note that if the fan blades are located in an area that is difficult to access or if you’re unsure about handling them, it’s recommended to seek professional assistance to ensure a safe and effective cleaning process.
By cleaning the fan blades, you promote efficient airflow and maintain the optimal performance of your travel trailer’s ventilation system. With this step complete, it’s time to move on to the next step: reinstalling the vent covers.
Step 9: Reinstall Vent Covers
After cleaning the various components of your travel trailer’s ventilation system, it’s time to reinstall the vent covers. These covers not only add a finishing touch to the aesthetics of your trailer but also help direct the airflow and protect the interior vents from dust and debris.
Start by taking the cleaned vent covers and align them with their respective openings. Ensure that they fit securely and flush against the walls or ceiling of your travel trailer. If the vent covers have screw holes, use a screwdriver to secure them in place. If they use clips, gently snap them back into position.
Pay attention to the labels you made earlier during the removal process to ensure that each vent cover is placed in its correct location. This will help maintain the proper airflow throughout your travel trailer.
Take a moment to inspect each vent cover to ensure that it’s clean, free from any remaining dirt or debris, and securely attached. If you notice any loose vent covers or ones that don’t fit properly, make any necessary adjustments to ensure a snug fit.
Once you have reinstalled all the vent covers, give them a final wipe with a clean cloth to remove any fingerprints or smudges. This step adds a finishing touch and ensures the cleanliness of the vent covers.
With the vent covers back in place, your travel trailer’s ventilation system is now fully reassembled and ready for the final step: testing the system to ensure everything is working properly.
Step 10: Test the System
After completing the cleaning and reinstallation of the ventilation system in your travel trailer, it’s important to test the system to ensure that everything is working properly. This final step allows you to verify the effectiveness of your cleaning efforts and make any necessary adjustments before hitting the road.
Start by turning the power back on for the ventilation system. Return to the main electrical panel of your travel trailer and flip the switch or turn on the breaker that controls the system. Give it a few moments to power up.
Once the system is activated, stand near one of the vents and listen for the sound of the fan operating. You should feel the air flowing from the vent. Ensure that the airflow is consistent across multiple vents throughout your travel trailer.
If you notice any weak or uneven airflow, it may indicate a blockage or an issue with the ventilation system. Double-check that all the vent covers are properly installed and that no obstructions are blocking the vents or the airflow.
While the system is running, pay attention to any unusual sounds or odors. Unusual noises or foul odors may indicate a mechanical issue or the need for further cleaning or maintenance. If you encounter any concerns, it’s recommended to consult a professional for a more in-depth assessment
Once you’ve ensured that the system is functioning properly and providing consistent, clean airflow, you’ve successfully completed the cleaning and maintenance of your travel trailer’s ventilation system.
Regularly Testing the system and addressing any issues promptly will ensure that your travel trailer’s ventilation system continues to operate efficiently, providing you with clean and refreshing air during your travels.
Congratulations on completing the steps to clean and maintain your travel trailer’s ventilation system. With proper care and regular maintenance, your system will continue to provide you with a comfortable and enjoyable living space as you embark on your adventures.
Safe travels!
Conclusion
Cleaning and maintaining the ventilation system in your travel trailer is an important task that ensures the comfort and wellbeing of everyone inside. By following the steps outlined in this guide, you can keep your ventilation system in optimal condition, providing clean and fresh air throughout your travels.
We began by gathering the necessary supplies, including protective gear, cleaning solutions, and tools. We then emphasized the importance of turning off the power to ensure safety before moving on to removing the vent covers.
Cleaning the vent covers and vacuuming the interior vents helps remove dust and debris that can accumulate over time. We then proceeded to clean the ventilation ducts, ensuring clear and unobstructed airflow. Inspecting and replacing the filters is a crucial step to maintain air quality and system efficiency.
Cleaning the fan blades helps prevent the buildup of dust and maintain proper airflow. Finally, we guided you through the process of reinstalling the vent covers and testing the system to ensure everything is working correctly.
Regular maintenance of your travel trailer’s ventilation system will enhance your overall indoor experience and ensure a healthy and pleasant environment during your adventures. Remember to schedule routine cleanings and address any issues promptly to prevent any significant problems down the line.
By taking the time to clean and maintain your ventilation system, you’re ensuring that the air inside your travel trailer remains fresh, allergen-free, and comfortable for you and your fellow travelers. So, breathe easy and enjoy the journey as you explore new horizons in your well-maintained travel trailer.
Frequently Asked Questions about How To Clean The Ventilation System In A Travel Trailer
Was this page helpful?
At Storables.com, we guarantee accurate and reliable information. Our content, validated by Expert Board Contributors, is crafted following stringent Editorial Policies. We're committed to providing you with well-researched, expert-backed insights for all your informational needs.

0 thoughts on “How To Clean The Ventilation System In A Travel Trailer”