Home>Home Maintenance>How To Clean Crankcase Ventilation System
Home Maintenance
How To Clean Crankcase Ventilation System
Modified: March 6, 2024
Learn how to properly clean and maintain your home's crankcase ventilation system with our helpful step-by-step guide. Ensure optimal performance and prevent potential issues.
(Many of the links in this article redirect to a specific reviewed product. Your purchase of these products through affiliate links helps to generate commission for Storables.com, at no extra cost. Learn more)
Introduction
Maintaining a clean crankcase ventilation system is essential for the proper functioning and longevity of your vehicle’s engine. The crankcase ventilation system plays a crucial role in removing harmful gases and excess pressure from the engine, ensuring optimal performance and reducing the risk of damage.
In this article, we will explore the importance of cleaning the crankcase ventilation system, signs that indicate the need for cleaning, and provide you with a step-by-step guide on how to clean the system effectively.
The crankcase ventilation system, also known as the PCV (Positive Crankcase Ventilation) system, consists of a series of components that work together to remove harmful gases, oil vapors, and moisture from the engine’s crankcase. These gases are then redirected back into the engine’s intake system to be burnt and expelled through the exhaust.
Over time, the crankcase ventilation system can get clogged with carbon deposits, oil sludge, and other impurities. This build-up restricts the flow of gases and compromises the system’s efficiency, leading to various engine problems.
Regularly cleaning the crankcase ventilation system is crucial for several reasons. Firstly, it helps prevent the accumulation of harmful gases and excess pressure within the crankcase, which can lead to oil leaks, seals and gasket failures, and even engine damage. A clean system ensures that the engine is properly ventilated and reduces the risk of oil contamination, which can negatively impact lubrication and result in premature wear and tear.
Secondly, a clean crankcase ventilation system promotes better fuel combustion and reduces pollution. When the system is clogged, it affects the air-to-fuel ratio, resulting in inefficient combustion. This, in turn, leads to increased emissions of harmful pollutants, affecting both the environment and the performance of your vehicle.
Knowing the signs that indicate the need for cleaning the crankcase ventilation system is essential for proactive maintenance. Common signs include increased oil consumption, excessive smoke from the exhaust, a rough idle, loss of power, and a strong odor of burnt oil. If you notice any of these symptoms, it is crucial to address them promptly and clean the crankcase ventilation system.
In the next sections of this article, we will delve into the tools and materials you will need for cleaning the crankcase ventilation system and provide you with a step-by-step guide to ensure a thorough and effective cleaning. Additionally, we will share some valuable tips for maintaining a clean and healthy crankcase ventilation system.
Now that we understand the importance of cleaning the crankcase ventilation system let’s move on to the next section, where we will discuss the tools and materials required for the task.
Key Takeaways:
- Regularly cleaning the crankcase ventilation system prevents engine damage, oil leaks, and reduced performance, ensuring a smoother and longer-lasting vehicle operation.
- Signs such as increased oil consumption, rough idle, and smoke from the exhaust indicate the need for cleaning the crankcase ventilation system, promoting a healthier engine.
Read more: How To Clean A Zephyr Range Hood
What is the crankcase ventilation system?
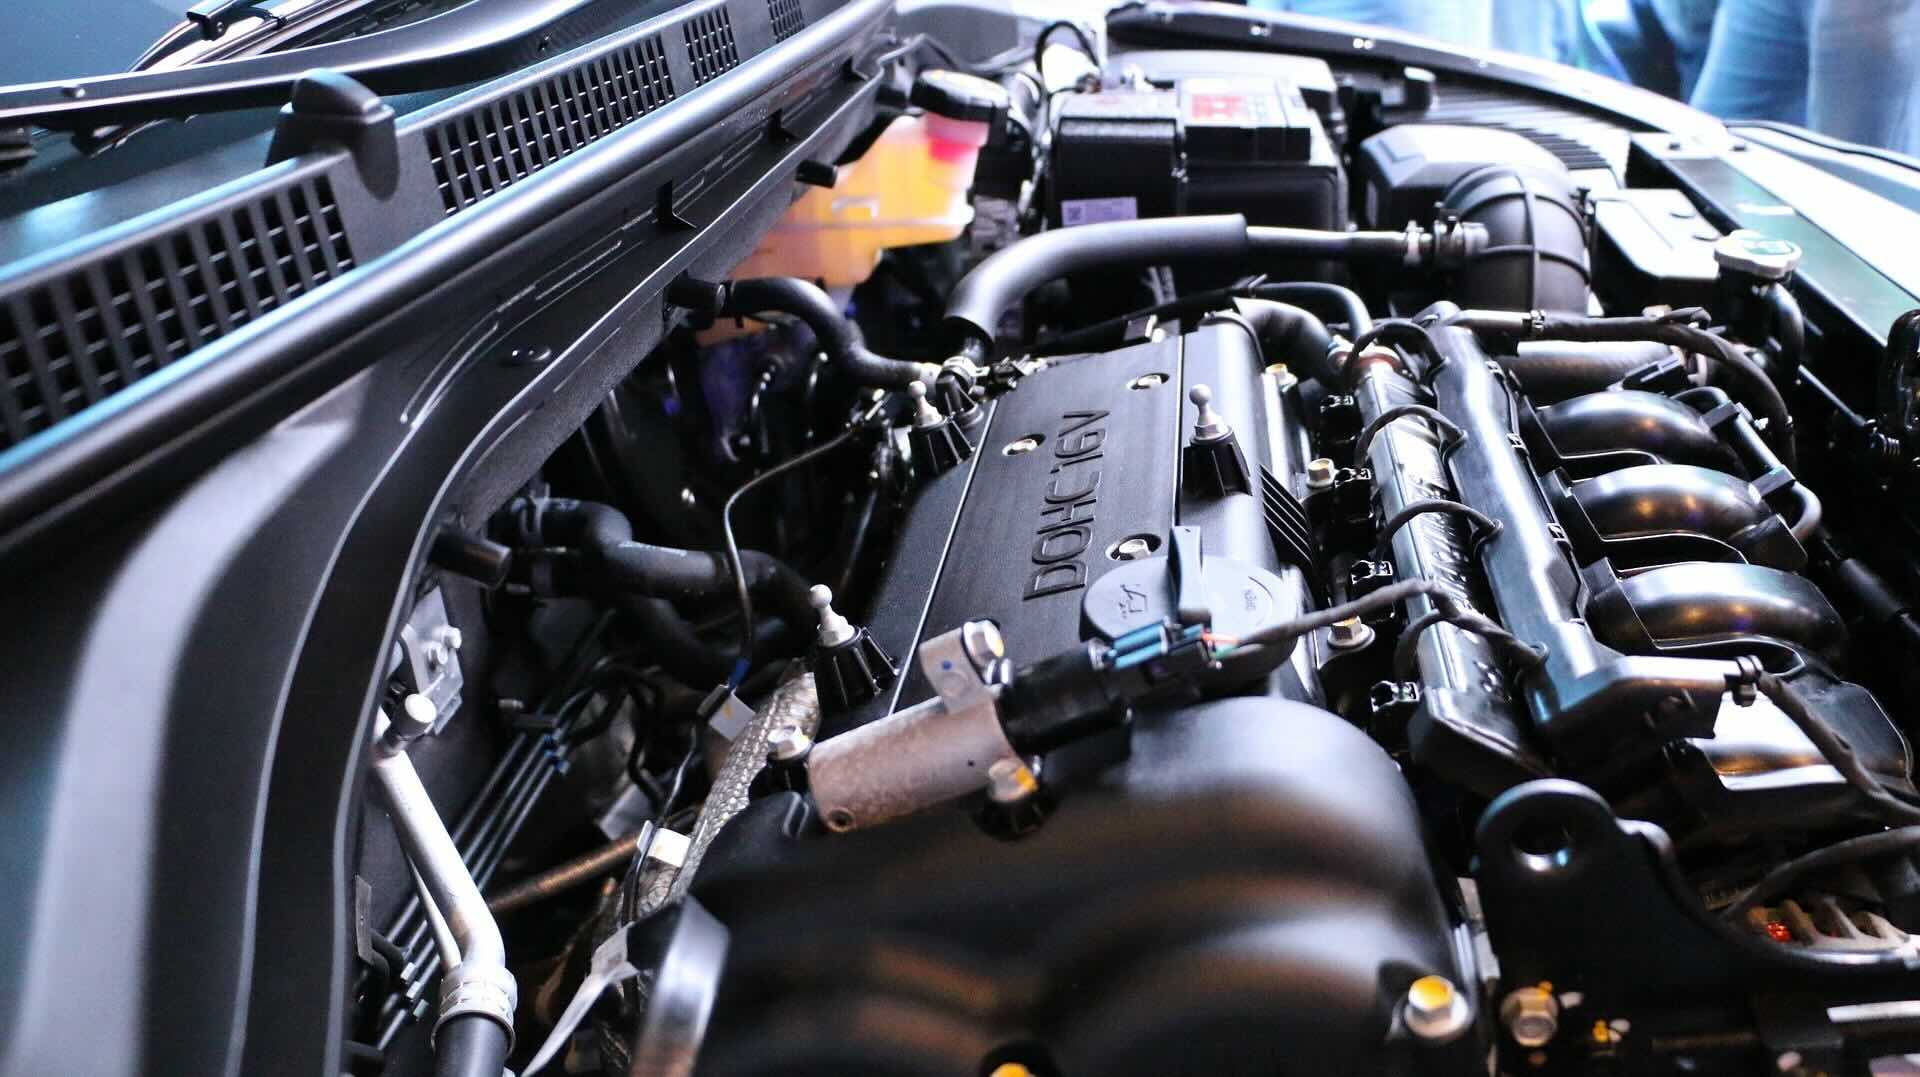
The crankcase ventilation system, also known as the PCV (Positive Crankcase Ventilation) system, plays a crucial role in maintaining the overall health and performance of your vehicle’s engine. It is designed to remove harmful gases, oil vapors, and excess pressure from the engine’s crankcase, ensuring efficient operation and reducing the risk of damage.
The crankcase is the lower part of the engine where the crankshaft is housed. It contains oil that lubricates and cools various moving parts, reducing friction and preventing wear. However, during the combustion process, gases that bypass the piston rings, as well as oil vapors, can accumulate in the crankcase. If not properly removed, these gases can cause a buildup of pressure, leading to various issues such as oil leaks, seal failures, and decreased engine performance.
The crankcase ventilation system consists of several components, including the PCV valve, breather hose, and air intake manifold. The PCV valve is located on the valve cover and acts as a one-way valve, allowing the flow of gases from the crankcase to the intake manifold. The breather hose routes excess gases, oil vapors, and moisture to the air intake system, where they are burned and expelled through the exhaust.
The operation of the crankcase ventilation system works in conjunction with the engine’s intake and exhaust systems. When the engine is running, a partial vacuum is created in the intake manifold. This vacuum, along with the pressure generated by the piston movement, helps draw the gases from the crankcase through the PCV valve and into the intake manifold. Once in the intake manifold, the gases are mixed with the incoming air and fuel, then combusted in the cylinders.
By effectively removing these gases from the crankcase, the system prevents the buildup of pressure, reduces the risk of oil contamination, and ensures that the engine operates at its optimal efficiency. It also helps regulate the air-to-fuel ratio, contributing to better fuel combustion and reducing emissions of harmful pollutants.
Over time, however, the crankcase ventilation system can become clogged or malfunction due to the accumulation of carbon deposits, oil sludge, and other contaminants. This can restrict the flow of gases and impede the system’s effectiveness. Regular maintenance, including cleaning the components of the crankcase ventilation system, is crucial to ensure proper functioning and prevent potential issues.
In the next section, we will discuss why cleaning the crankcase ventilation system is important and how neglecting this maintenance task can lead to engine problems and reduced performance.
Why is cleaning the crankcase ventilation system important?
Cleaning the crankcase ventilation system is a vital maintenance task that should not be overlooked. A clean and properly functioning system is essential for several reasons, including the overall health and performance of your vehicle’s engine.
One of the primary reasons why cleaning the crankcase ventilation system is important is to prevent the accumulation of harmful gases and excess pressure within the crankcase. When the system becomes clogged or obstructed, gases generated during the combustion process, as well as oil vapors, can build up in the crankcase. This can lead to increased pressure, which can cause various issues such as oil leaks, seal failures, and even engine damage.
Excessive pressure in the crankcase can cause seals and gaskets to deteriorate, leading to oil leaks. These leaks not only result in the loss of oil, but they can also contaminate other engine components, such as belts and hoses, causing them to deteriorate prematurely. Furthermore, oil leaks can create a fire hazard and negatively impact the overall performance of the engine.
Another reason why cleaning the crankcase ventilation system is important is to ensure proper lubrication. The accumulation of oil sludge in the system can restrict the flow of oil throughout the engine, leading to inadequate lubrication. Insufficient lubrication can cause increased friction and wear on critical engine components, ultimately shortening the lifespan of the engine.
A clean crankcase ventilation system also promotes better fuel combustion and reduces pollution. When the system is clogged, it affects the air-to-fuel ratio, resulting in inefficient combustion. This can lead to decreased fuel economy and increased emissions of harmful pollutants such as carbon monoxide, nitrogen oxides, and hydrocarbons. Regularly cleaning the system helps maintain optimal air-to-fuel ratios, leading to better fuel efficiency and reduced environmental impact.
Furthermore, a properly functioning crankcase ventilation system aids in maintaining the overall performance and efficiency of the engine. By removing harmful gases and excess pressure from the crankcase, the system ensures that the engine can operate at its optimal level. When the system is clogged, the engine may experience symptoms such as a rough idle, loss of power, increased oil consumption, and emissions issues. Cleaning the system helps alleviate these problems and restores the engine’s performance.
In summary, cleaning the crankcase ventilation system is crucial for maintaining a healthy and efficient engine. By preventing the accumulation of harmful gases, excess pressure, and oil sludge, you can extend the lifespan of your engine, improve fuel economy, reduce emissions, and ensure smooth operation. Neglecting this maintenance task can lead to costly repairs, decreased performance, and potential engine damage. It is recommended to include cleaning the crankcase ventilation system as part of your regular vehicle maintenance routine.
Signs that the crankcase ventilation system needs cleaning
Regularly cleaning the crankcase ventilation system is essential for maintaining the health and performance of your vehicle’s engine. Over time, the system can become clogged or obstructed with carbon deposits, oil sludge, and other contaminants. It is important to be aware of the signs that indicate the need for cleaning the crankcase ventilation system to address any issues promptly.
Here are some common signs that your crankcase ventilation system may need cleaning:
1. Increased oil consumption: If you notice that your vehicle is consuming more oil than usual, it could indicate a problem with the crankcase ventilation system. A clogged system can disrupt the proper ventilation and lead to increased oil consumption as the engine burns more oil.
2. Excessive smoke from the exhaust: A malfunctioning or clogged crankcase ventilation system can result in excessive smoke coming from the exhaust, particularly when the engine is idling or during acceleration. This smoke is often bluish or grayish in color and is caused by the burning of oil in the combustion chambers.
3. Rough idle: A clean crankcase ventilation system helps maintain a stable idle for your engine. If you notice that your engine is running rough or experiencing a fluctuating idle, it could be a sign of a clogged system. The restricted airflow can disrupt the engine’s balance and affect its idle performance.
4. Loss of power: A clogged crankcase ventilation system can ultimately lead to a loss of engine power. The decreased airflow and disrupted air-to-fuel ratio can result in reduced performance and responsiveness, making acceleration and overall driving experience sluggish.
5. Strong odor of burnt oil: If you detect a strong smell of burnt oil inside or outside your vehicle, it could be an indication of a problem with the crankcase ventilation system. A clogged system can cause oil to leak or be forced out through seals and gaskets, leading to the smell of burnt oil.
6. Increased engine pressure: An obstructed crankcase ventilation system can cause excessive pressure to build up in the engine’s crankcase. This increased pressure can manifest in various ways, such as oil leaks, oil blowing out of the dipstick tube, or even blown seals and gaskets. It is crucial to address this issue promptly to prevent further damage to the engine.
7. Poor fuel economy: A clogged crankcase ventilation system can affect the air-to-fuel ratio, resulting in inefficient combustion. This can lead to decreased fuel economy, causing more frequent trips to the gas station.
If you notice any of these signs, it is essential to have your crankcase ventilation system inspected and cleaned if necessary. Regular maintenance and cleaning of the system can help prevent more significant issues and ensure that your engine operates at its optimal level. In the next section, we will discuss the tools and materials you will need for cleaning the crankcase ventilation system.
Regularly check and clean the crankcase ventilation system to prevent oil sludge buildup and maintain engine performance. Use a solvent or degreaser to clean the system thoroughly.
Tools and materials needed for cleaning the crankcase ventilation system
Cleaning the crankcase ventilation system is a straightforward task that can be done with a few basic tools and materials. Before you begin, it’s essential to gather everything you’ll need to ensure a thorough and effective cleaning process. Here are the tools and materials you’ll need:
1. Screwdriver set: A set of screwdrivers, including flathead and Phillips head screwdrivers, will be needed to remove any screws or fasteners holding the components of the crankcase ventilation system in place.
2. Pliers: Pliers may be necessary to detach and manipulate small clamps or hoses within the system.
3. Cleaning solvent: A good-quality cleaning solvent specifically designed for automotive purposes is crucial for effectively removing carbon deposits, oil sludge, and other contaminants from the components of the crankcase ventilation system. Look for a solvent that is safe for use on rubber, plastic, and metal.
4. Compressed air: Compressed air can be used to blow out any loose debris or stubborn particles from the system. A can of compressed air or an air compressor with a nozzle attachment will be useful in this process.
5. Cleaning brushes: Small, gentle-bristled brushes, such as toothbrushes or specialty cleaning brushes, can assist in removing stubborn deposits and debris from the various components of the system.
6. Safety gloves and goggles: It’s important to protect your hands and eyes during the cleaning process. Wear a pair of disposable gloves to prevent direct contact with the cleaning solvent and any contaminants. Safety goggles will shield your eyes from any splashes or debris.
7. Disposable rags or paper towels: Having a supply of disposable rags or paper towels on hand will help you clean up any spills or wipe down components during the cleaning process.
8. Drain pan: Depending on the specific cleaning method you choose, you may need a drain pan or container to catch any fluids or residue that you remove from the system.
9. Replacement parts (if necessary): Assess the condition of the components within the crankcase ventilation system during the cleaning process. If you notice any damaged or degraded parts, such as cracked hoses or a defective PCV valve, it’s recommended to have replacement parts on hand to ensure a complete and effective cleaning.
These tools and materials will enable you to carry out an efficient and thorough cleaning of the crankcase ventilation system. Remember to follow proper safety precautions, such as working in a well-ventilated area and using the appropriate protective gear, throughout the cleaning process. In the next section, we will provide you with a step-by-step guide on how to clean the crankcase ventilation system effectively.
Read more: How To Clean HVAC Drain Line
Step-by-step guide to cleaning the crankcase ventilation system
Regularly cleaning the crankcase ventilation system is important for maintaining the health and performance of your vehicle’s engine. Cleaning the system can help remove carbon deposits, oil sludge, and other contaminants that can cause issues if left unchecked. Follow this step-by-step guide to effectively clean the crankcase ventilation system:
Step 1: Preparation
Before you begin, ensure that you have all the necessary tools and materials mentioned earlier. Park your vehicle on a level surface and engage the parking brake to prevent any movement during the cleaning process. Allow the engine to cool down completely.
Step 2: Locate the components
Identify the components of the crankcase ventilation system, including the PCV valve, breather hose, and air intake manifold. They are often located on or near the engine block and valve covers. Refer to your vehicle’s service manual if needed.
Step 3: Remove the components
Using the appropriate screwdriver or pliers, carefully remove any fasteners, clamps, or connectors to detach the components of the crankcase ventilation system. Take note of the position and orientation of each component for proper reassembly.
Step 4: Clean the components
Using a cleaning solvent and a small brush, gently scrub the components to remove carbon deposits, oil sludge, and other contaminants. Pay special attention to any passages or openings where debris might accumulate. Use compressed air to blow out any loose debris or particles.
Step 5: Inspect and replace damaged parts
While cleaning the components, carefully inspect them for any signs of damage or degradation. Cracked hoses, brittle gaskets, or a faulty PCV valve should be replaced with new parts to ensure proper functioning of the system. It’s crucial to use replacement parts that are compatible with your vehicle’s make and model.
Step 6: Clean the hoses
Examine the hoses connected to the crankcase ventilation system for any clogs or obstructions. If necessary, use a cleaning solvent and a brush to remove any buildup or debris. Ensure that the hose connections are secure and free from leaks.
Step 7: Reassemble the components
Once all the components and hoses are clean and in good condition, reassemble them in the reverse order of removal. Make sure all connections are tight, and any clamps or fasteners are securely in place. Refer to your vehicle’s service manual for proper installation procedures if needed.
Step 8: Test and check for leaks
Start the engine and let it run for a few minutes to ensure that the crankcase ventilation system is functioning properly. Check for any signs of leaks or abnormal engine behavior. Monitor the system in the following days to confirm that it is working effectively.
Congratulations! You have successfully cleaned the crankcase ventilation system of your vehicle. By performing this maintenance task regularly, you can help prevent potential issues and ensure that your engine operates at its best. In the next section, we will provide you with some valuable tips for maintaining a clean crankcase ventilation system.
Tips for maintaining a clean crankcase ventilation system
Maintaining a clean crankcase ventilation system is essential for the optimal performance and longevity of your vehicle’s engine. Here are some valuable tips to help you keep the system clean and functioning properly:
1. Follow the manufacturer’s maintenance schedule: Refer to your vehicle’s owner’s manual to determine the recommended maintenance schedule for the crankcase ventilation system. Adhering to the manufacturer’s guidelines ensures that you clean the system at appropriate intervals.
2. Use high-quality oil and filters: Using high-quality engine oil and filters can help reduce the formation of oil sludge and carbon deposits, which can clog the system. Change the oil and filter according to the recommended intervals specified by the manufacturer.
3. Regularly inspect the system: Routinely inspect the crankcase ventilation system for any signs of leaks, damage, or clogs. Look for cracked hoses, loose connections, or excessive oil buildup. Address any issues promptly to prevent further damage.
4. Use the correct PCV valve: Ensure that the PCV valve being used is the correct one for your engine. Using a replacement valve that is compatible with your vehicle’s make and model will ensure proper operation and prevent issues caused by an ill-fitting valve.
5. Avoid overfilling the crankcase: Overfilling the crankcase with oil can lead to increased pressure and oil leaks within the ventilation system. Follow the recommended oil capacity guidelines provided by the manufacturer to prevent overfilling.
6. Regularly clean or replace the air filter: A dirty or clogged air filter can contribute to the buildup of contaminants in the crankcase ventilation system. Clean or replace the air filter according to the manufacturer’s recommendations to maintain proper airflow.
7. Drive your vehicle regularly: Regular driving helps to promote better air circulation within the engine, preventing the buildup of moisture and contaminants that can affect the crankcase ventilation system. If your vehicle sits unused for extended periods, consider taking it out for short trips to keep the system functioning optimally.
8. Avoid using engine oil additives: While it may be tempting to use oil additives that claim to clean the engine, they can often lead to the formation of harmful deposits and sludge. Stick to using high-quality engine oil recommended by the manufacturer.
9. Maintain a clean engine bay: Keeping the engine bay clean helps prevent debris, dirt, and contaminants from entering the crankcase ventilation system. Regularly clean the engine bay and ensure that the area around the ventilation system components is clear of any obstructions.
10. Stay on top of routine maintenance: In addition to cleaning the crankcase ventilation system, don’t neglect other routine maintenance tasks such as oil changes, filter replacements, and spark plug inspections. A well-maintained engine overall contributes to a cleaner and more efficient crankcase ventilation system.
By implementing these tips, you can maintain a clean crankcase ventilation system, ensuring that your engine runs smoothly and efficiently. Regular maintenance and attention to the system will help prevent potential issues and prolong the life of your vehicle’s engine.
Conclusion
Keeping your vehicle’s crankcase ventilation system clean is crucial for maintaining the overall health and performance of your engine. Regularly cleaning and maintaining the system helps prevent the buildup of harmful gases, excess pressure, oil sludge, and carbon deposits that can lead to various engine issues.
In this comprehensive guide, we have discussed the importance of cleaning the crankcase ventilation system and the signs that indicate the need for cleaning. We have also provided you with a step-by-step guide on how to effectively clean the system and shared valuable tips for maintaining its cleanliness.
By regularly cleaning the crankcase ventilation system, you can prevent oil leaks, seal failures, and other engine problems. A clean system ensures that the engine is properly ventilated and reduces the risk of oil contamination, leading to smoother operation and increased longevity.
Remember to follow recommended maintenance schedules, use high-quality oil and filters, and inspect the system regularly for any signs of damage or clogs. Taking these proactive steps will help you avoid costly repairs and ensure that your vehicle performs at its best.
Maintaining a clean crankcase ventilation system not only benefits your vehicle but also the environment. By promoting better fuel combustion and reducing emissions, you contribute to a healthier and more sustainable driving experience.
In conclusion, regular cleaning and maintenance of the crankcase ventilation system are essential for the longevity and optimal performance of your engine. Follow the steps outlined in this guide, employ the recommended tools and materials, and incorporate the provided tips to create a comprehensive maintenance routine. By doing so, you can ensure that your vehicle’s engine remains clean, efficient, and reliable for years to come.
Frequently Asked Questions about How To Clean Crankcase Ventilation System
Was this page helpful?
At Storables.com, we guarantee accurate and reliable information. Our content, validated by Expert Board Contributors, is crafted following stringent Editorial Policies. We're committed to providing you with well-researched, expert-backed insights for all your informational needs.


0 thoughts on “How To Clean Crankcase Ventilation System”