Home>Home Maintenance>How To Hide A Portable Air Conditioner

Home Maintenance
How To Hide A Portable Air Conditioner
Modified: October 27, 2024
Learn how to hide a portable air conditioner in your home with these simple home maintenance tips. Keep your space cool without sacrificing style!
(Many of the links in this article redirect to a specific reviewed product. Your purchase of these products through affiliate links helps to generate commission for Storables.com, at no extra cost. Learn more)
Introduction
Welcome to this guide on how to hide a portable air conditioner. While portable air conditioners are a convenient cooling solution, they can be an eyesore in your home. Fortunately, there are several effective methods to conceal your portable AC unit and maintain a visually appealing living space. In this article, we will walk you through a step-by-step process to hide your portable air conditioner and provide some creative suggestions to blend it seamlessly into your home decor.
Before we dive into the methods, it’s important to note that proper installation and ventilation of the portable air conditioner are crucial for its efficient operation. Make sure to follow the manufacturer’s instructions for placement and airflow requirements. With that said, let’s get started with the first step!
Key Takeaways:
- Choose a suitable location and hide your portable air conditioner by using window covers, curtains, or furniture placement. This helps maintain a visually appealing living space while ensuring efficient cooling.
- Conceal the power cord and incorporate decorative solutions like artwork or decorative screens to further enhance the visual appeal of your portable air conditioner. Enjoy a cool and stylish home!
Step 1: Choose a Suitable Location
The first step in hiding a portable air conditioner is selecting an appropriate location for it. Ideally, you should place the unit near a window as it requires access to an outside area for venting hot air. Ensure that the chosen location is near an electrical outlet to power the unit.
Consider the layout of the room and the availability of space when deciding on a location. It’s important to choose an area where the air conditioner won’t obstruct walkways or furniture placement. Look for a spot that can accommodate the size of your portable AC unit comfortably.
If possible, try to position the air conditioner in a corner or against a wall to minimize its visibility from different angles in the room. This will help create a sleeker and more cohesive look.
Additionally, keep in mind the noise factor. While portable air conditioners are generally quieter than their window-mounted counterparts, they can still produce some noise. Try to position the unit away from areas where you spend the most time, such as seating areas or beds.
Once you have chosen the location, measure the dimensions of the available space. This information will be helpful when selecting window kits, room dividers, or decorative solutions later in the process. Having precise measurements will ensure a proper fit and a more seamless hiding of your portable air conditioner.
With Step 1 complete, you are now ready to move on to Step 2, which involves installing a window kit for your portable air conditioner. Read on to learn more!
Step 2: Install Window Kit
Once you have chosen a suitable location for your portable air conditioner, the next step is to install a window kit. Most portable air conditioners come with a window kit that includes a ventilation panel and a window adapter.
Start by measuring the width of your window and adjusting the window adapter to fit snugly. The window adapter is designed to fill the gap between the window frame and the panel, allowing the exhaust hose to be connected to it.
Next, open your window and place the window adapter in the gap, ensuring that it is centered and level. Secure the adapter in place by closing the window onto it or using the provided brackets or adhesive strips.
If your window opens vertically, you may need to use a support bracket to hold the window partially open while the exhaust hose is connected. This will allow for proper airflow and prevent any strain on the hose.
Once the window kit is securely installed, you can move on to the next step: securing the window kit to prevent air leaks and ensure a proper seal.
By completing Step 2, you have successfully installed the window kit for your portable air conditioner. The next step, Step 3, will guide you through securing the window kit to prevent any air leaks and ensure the efficient operation of your portable AC unit. Let’s continue!
Step 3: Secure the Window Kit
Securing the window kit is an essential step to ensure that your portable air conditioner operates efficiently and prevents any air leaks. Properly securing the window kit also helps maintain the seal between the indoor and outdoor environment, maximizing the cooling effectiveness of your portable AC unit.
Start by inspecting the window kit and ensuring that it is properly aligned and fitted in the window opening. Check for any gaps or spaces where air could potentially leak through. If you notice any gaps, use weatherstripping or foam insulation tape to seal them. This will prevent warm air from entering the room and cool air from escaping, leading to better energy efficiency.
Next, use a screwdriver or a drill to secure the window kit hardware. Many window kits come with brackets or screws that should be attached to the window frame or wall for added stability. Follow the manufacturer’s instructions for proper installation and make sure the window kit is tightly secured.
If your window kit includes adhesive strips, make sure they are firmly attached to the window frame or wall. Apply pressure and hold them in place for a few seconds to ensure a strong bond.
For sliding windows, you may need to use a sliding window lock or bar to secure the window onto the window kit. This will prevent the window from accidentally opening and compromising the seal.
Lastly, check for any gaps or leaks around the edges of the window kit. If you notice any, use caulk or weatherstripping to seal them. This will help maintain the integrity of the seal and prevent any unwanted air leakage.
With Step 3 complete, you have successfully secured the window kit for your portable air conditioner. The next step, Step 4, will guide you through connecting the exhaust hose to the window kit for effective ventilation. Let’s proceed!
Step 4: Connect Exhaust Hose
Connecting the exhaust hose is a crucial step in setting up your portable air conditioner. The exhaust hose allows hot air from the AC unit to be vented outside, ensuring proper cooling and preventing the build-up of heat indoors.
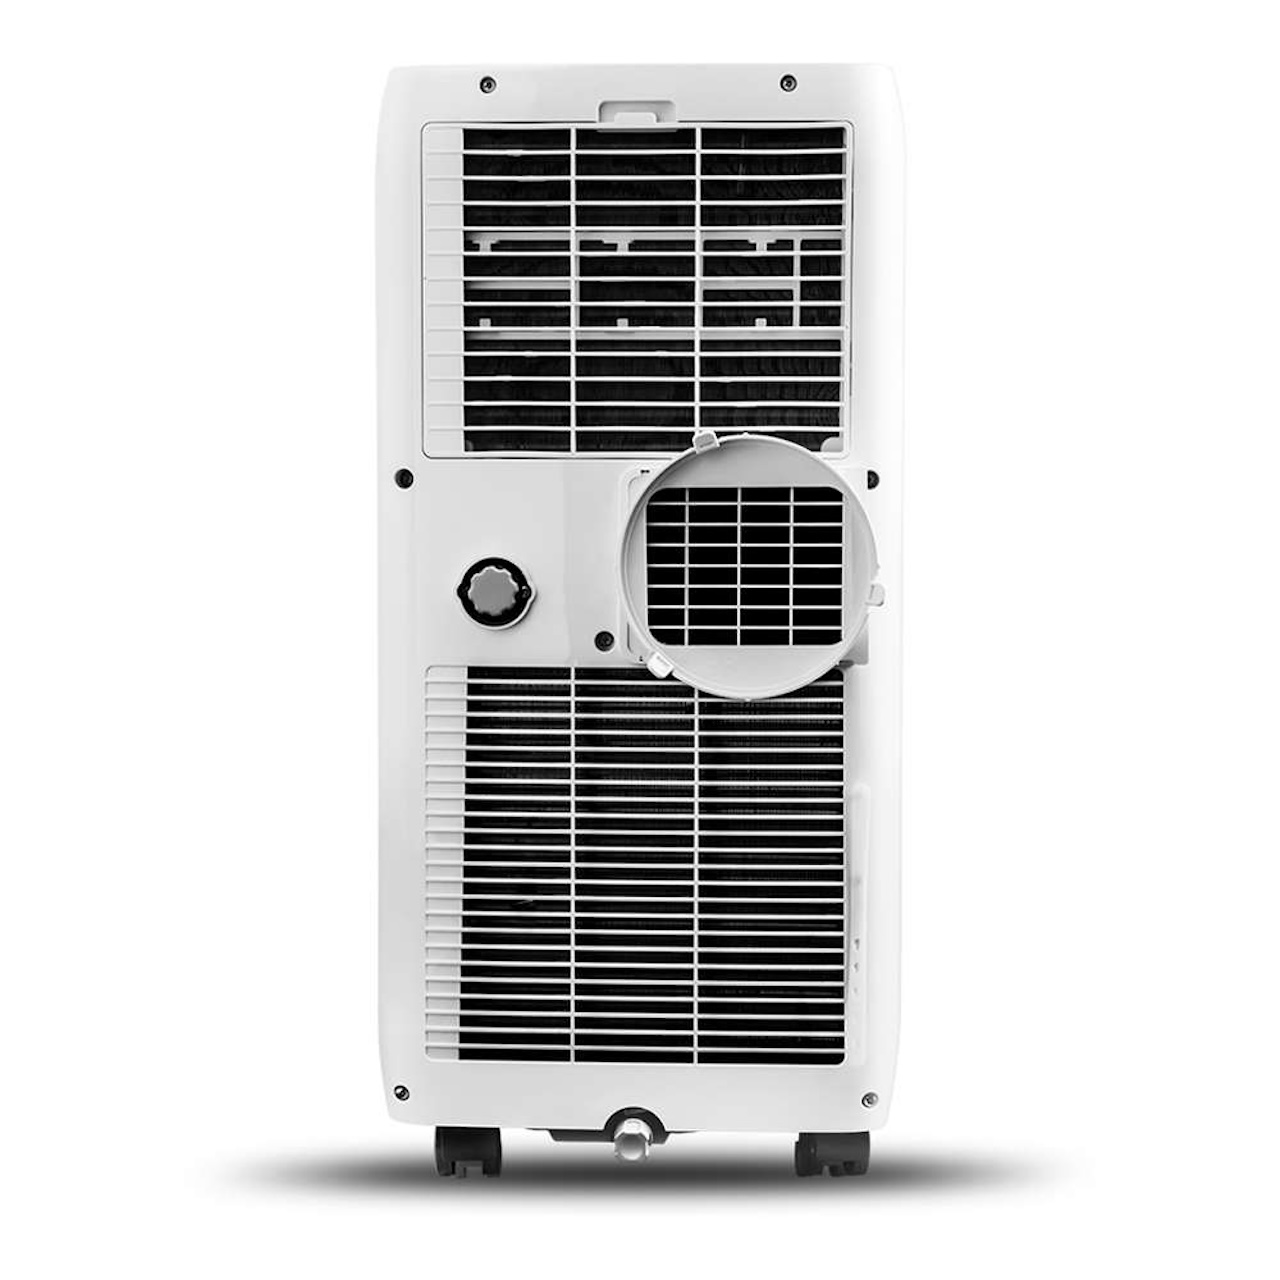
Start by locating the exhaust outlet on your portable air conditioner. It is usually located at the back or side of the unit. Remove any covers or caps from the outlet to expose the opening.
Next, take the exhaust hose that came with your portable air conditioner and attach one end to the exhaust outlet. Ensure a secure connection by twisting the hose clockwise until it is tightly fastened.
Now, position the other end of the exhaust hose towards the window kit. Insert it into the designated opening or slot on the window adapter. Again, make sure to create a tight seal to prevent any air leakage.
If the exhaust hose is not long enough to reach the window kit, you can use an extension hose to bridge the gap. Be sure to select a compatible extension hose that matches the dimensions of your existing exhaust hose.
Once the exhaust hose is securely connected to both the portable air conditioner and the window kit, adjust the hose length as needed. Avoid bending or kinking the hose, as this can restrict airflow and reduce the efficiency of your portable AC unit.
It’s important to note that it’s best to keep the exhaust hose as straight and horizontal as possible. This allows for smooth airflow and efficient cooling. If you need to make any bends or turns in the exhaust hose, use gentle, gradual angles rather than sharp bends.
With Step 4 complete, you have successfully connected the exhaust hose to your portable air conditioner. The next step, Step 5, will guide you through hiding the exhaust hose to maintain a neat and aesthetically pleasing appearance. Let’s continue!
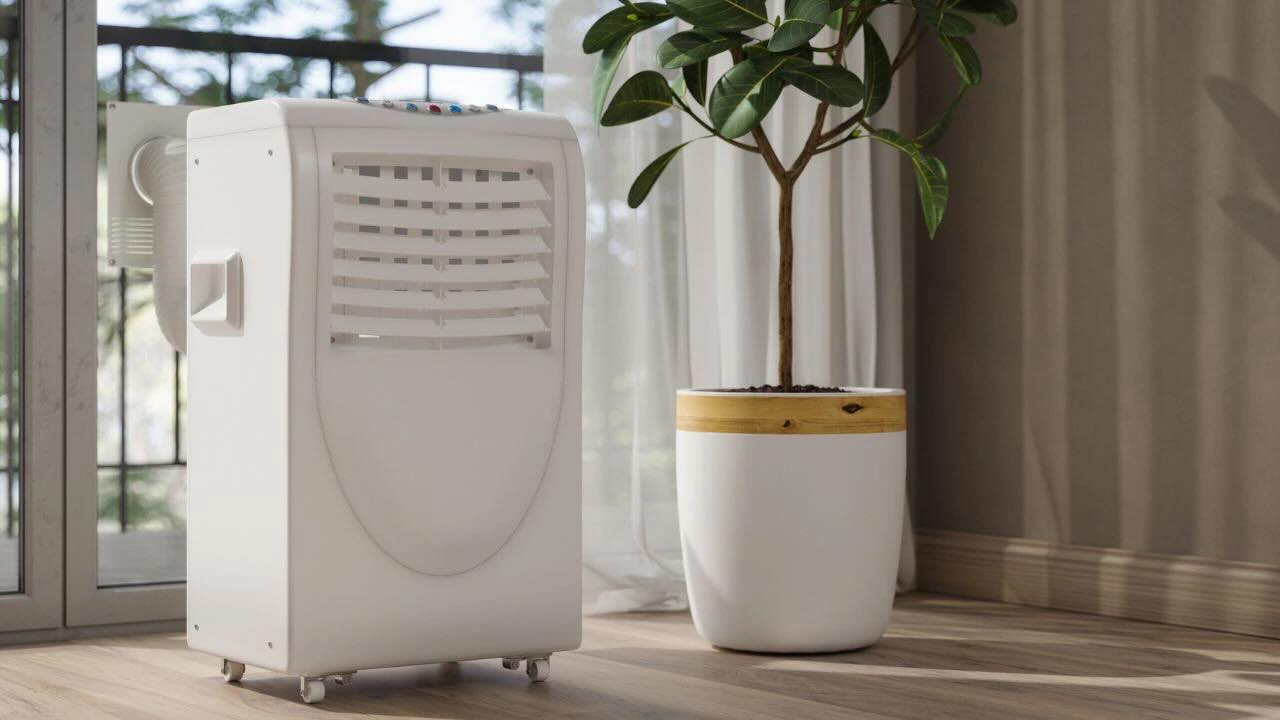
Consider using a decorative room divider or tall plant to conceal the portable air conditioner. This will help it blend in with the room’s decor while still allowing for proper air circulation.
Read more: How To Hide A Wall Air Conditioner
Step 5: Hide the Exhaust Hose
Now that the exhaust hose is properly connected, it’s time to hide it and create a seamless look for your portable air conditioner. Hiding the exhaust hose not only enhances the aesthetic appeal of your space but also prevents it from becoming a tripping hazard or obstructing your movement.
There are several methods you can use to hide the exhaust hose:
- Window Covers: One straightforward approach is to use window covers specifically designed for portable air conditioners. These covers are designed to conceal the exhaust hose from the outside while still allowing it to vent hot air. They often feature a decorative design that can blend seamlessly with your home’s exterior.
- Curtains or Drapes: Another option is to hang curtains or drapes near the window kit area. Choose curtains that are long enough to cover the space below the window and extend down to the floor. This will effectively hide the exhaust hose while adding a decorative touch to your room.
- PVC Piping: For a more permanent solution, you can install PVC piping to create a custom duct for your portable air conditioner. The pipe can be painted or wrapped in a material that matches your existing decor. This method requires more effort but offers a completely hidden and professional-looking result.
- Furniture Placement: Strategic furniture placement can also help conceal the exhaust hose. Consider placing a bookshelf, console table, or tall plant near the window kit area. These items not only hide the hose but also add functionality and style to your space.
- Tape or Clips: If you prefer a simpler and temporary solution, you can use tape or clips to secure the exhaust hose to the wall or ceiling, keeping it hidden along the perimeter of the room. Ensure that the tape or clips are strong enough to hold the weight of the hose and that they don’t damage the surface.
Whichever method you choose, ensure that the exhaust hose still has adequate airflow and is not constricted or blocked. This will help maintain the efficiency of your portable air conditioner.
With Step 5 complete, you have successfully hidden the exhaust hose of your portable air conditioner. The next step, Step 6, will guide you through concealing the power cord to further enhance the appearance of your setup. Let’s proceed!
Step 6: Conceal the Power Cord
In addition to hiding the exhaust hose, concealing the power cord of your portable air conditioner is another important step to achieve a clean and organized look in your living space. Exposed cords can be unsightly and pose a safety hazard, especially if they are within reach of children or pets.
Here are some effective ways to conceal the power cord:
- Cord Covers: Cord covers are an easy and practical solution to hide the power cord. These covers are typically made of plastic or fabric and are designed to enclose and protect cords. They come in various lengths and colors, allowing you to choose the one that best matches your decor. Cord covers can be easily attached to the wall or floor using adhesive or mounting clips, providing a neat and organized appearance.
- Tape or Clips: Similar to hiding the exhaust hose, you can use tape or clips to secure the power cord along the wall or furniture. This method keeps the cord out of sight and reduces the risk of tripping. Ensure that the tape or clips are strong enough to hold the cord securely and that they don’t damage the surface.
- Furniture Placement: Another option is to strategically position furniture to cover the power cord. Consider placing a sofa, cabinet, or floor lamp near the outlet where the cord is plugged in. These items not only hide the cord but also add functionality and style to your space.
- Power Cord Extension: If the power cord is not long enough to reach an outlet that’s farther away, you can use a power cord extension. This allows you to place the portable air conditioner in your desired location without compromising on the cord’s visibility. Make sure to choose a high-quality extension cord that is suitable for the power requirements of your portable AC unit.
Regardless of which method you choose, it’s essential to ensure that the power cord is safely routed and not tangled or pinched. This helps maintain the longevity and functionality of the cord.
With Step 6 complete, you have successfully concealed the power cord of your portable air conditioner. The next step, Step 7, will guide you through using room dividers or furniture to further camouflage your AC unit. Let’s move on!
Step 7: Use Room Dividers or Furniture
To further hide your portable air conditioner and create a more cohesive look in your space, consider using room dividers or strategically placing furniture around the unit. This step not only helps conceal the AC unit but also adds a touch of style and functionality to your room.
Here are some suggestions on using room dividers or furniture to camouflage your portable air conditioner:
- Room Dividers: Room dividers are versatile pieces of furniture that can be used to create separate zones within a room. Look for a room divider that complements your decor and has a design that incorporates shelves or cubbies. You can position the portable air conditioner behind the divider and use the shelves or cubbies to display decorative items or store necessities, helping to distract attention from the AC unit.
- Bookshelves or Cabinets: Place a bookshelf, cabinet, or storage unit near the portable air conditioner to provide visual coverage. This not only hides the unit but also offers additional storage space. You can adorn the shelves with books, plants, or decorative items, turning them into an attractive feature in your room.
- Tall Plants or Screens: Another way to disguise your portable air conditioner is by strategically placing tall plants or decorative screens around it. These items help create visual barriers and add a touch of natural beauty to your space. Choose plants that thrive indoors and require minimal maintenance to ensure they enhance the ambiance without becoming a hassle.
- Strategically Positioned Furniture: Arrange your existing furniture in a way that partially or fully blocks the view of the portable air conditioner. For example, you can position a sofa, armchair, or console table to conceal the unit from certain angles. This method not only hides the AC unit but also improves the overall layout and flow of your room.
Experiment with different furniture arrangements and room dividers to find the best solution that suits your space and personal style. Remember to leave enough space around the portable air conditioner for proper airflow and maintenance access.
With Step 7 complete, you have successfully utilized room dividers or furniture to camouflage your portable air conditioner. The final step, Step 8, will provide some decorative solutions to further enhance the visual appeal of your setup. Let’s wrap up!
Step 8: Decorative Solutions
Now that you have hidden your portable air conditioner and ensured its functionality, it’s time to add some decorative touches to further enhance your space. Incorporating decorative elements can transform your AC unit from an eyesore to a seamless part of your home decor.
Here are some decorative solutions to consider:
- Curtains or Valances: Install curtains or valances around the window kit area to create a visually appealing frame. Choose fabrics and colors that complement your existing decor, and consider using blackout or thermal curtains to further improve energy efficiency.
- Artwork or Mirrors: Hang artwork or mirrors near the portable air conditioner to divert attention from the unit. These decorative pieces will draw the eye and add visual interest to the room. Opt for larger pieces to create a focal point and distract from the AC unit.
- Wall Decals or Stickers: Decorate the area around the portable air conditioner with wall decals or stickers. These can range from nature-inspired designs to abstract patterns or even customized options. They are a fun and easy way to add a unique touch to your space and blend the AC unit into the overall aesthetic.
- Decorative Screens or Panels: Use decorative screens or panels to conceal the portable air conditioner while adding a stylish element to your room. These can be freestanding screens or ones that attach directly to the wall. Look for designs that complement your decor, such as wooden panels or intricately patterned screens.
- Tabletop Decor: Place decorative items on top of the portable air conditioner (when it is turned off) to make it appear as a purposeful piece of furniture. Consider using candles, vases with fresh flowers, or small sculptures to add personality and style.
Remember to select decor items that are suitable for the room’s aesthetic and your personal taste. Experiment with different combinations to find the perfect balance between functionality and visual appeal.
Congratulations! You have successfully hidden and enhanced the visual appeal of your portable air conditioner. By following these steps and incorporating decorative solutions, you can enjoy a cool and stylish home without compromising on comfort or design.
With Step 8 complete, you have reached the end of our guide on how to hide a portable air conditioner. We hope you found this article helpful and that it has provided you with valuable insights on concealing your AC unit. Enjoy your cool and aesthetically pleasing space!
Read more: How To Hide An Air Conditioning Unit
Conclusion
In conclusion, hiding a portable air conditioner is a practical and effective way to maintain a visually appealing living space while enjoying the benefits of cooling comfort. By following the eight steps outlined in this guide, you can seamlessly blend your portable AC unit into your home decor.
Starting with choosing a suitable location and installing a window kit, you ensure proper ventilation and create a solid foundation for hiding the unit. Securing the window kit and connecting the exhaust hose are essential for efficient operation and preventing air leaks. Hiding the exhaust hose and concealing the power cord further enhance the aesthetics of the setup.
Utilizing room dividers, furniture placement, or decorative screens helps camouflage the portable air conditioner, while incorporating decorative elements such as curtains, artwork, or decals adds a personal touch to your space. By following these steps and considering creative solutions, you can create a cool and visually appealing environment.
Remember to maintain proper airflow and accessibility to the portable air conditioner to ensure its efficient operation and prevent any safety hazards. Regular maintenance, such as cleaning the filters and checking for any obstructions, is also important for the longevity and optimal performance of your AC unit.
We hope this guide has provided you with valuable insights and inspiration for hiding your portable air conditioner. With careful planning and attention to detail, you can enjoy a cool and stylish home without compromising on comfort or design.
Thank you for reading, and we wish you a pleasant journey in creating the perfect hidden oasis for your portable air conditioner!
Frequently Asked Questions about How To Hide A Portable Air Conditioner
Was this page helpful?
At Storables.com, we guarantee accurate and reliable information. Our content, validated by Expert Board Contributors, is crafted following stringent Editorial Policies. We're committed to providing you with well-researched, expert-backed insights for all your informational needs.
