Home>Home Maintenance>How To Seal A Through-The-Wall Air Conditioner
Home Maintenance
How To Seal A Through-The-Wall Air Conditioner
Modified: March 7, 2024
Learn how to seal a through-the-wall air conditioner for effective home maintenance. Step-by-step guide and tips to ensure energy efficiency and prevent air leaks.
(Many of the links in this article redirect to a specific reviewed product. Your purchase of these products through affiliate links helps to generate commission for Storables.com, at no extra cost. Learn more)
Introduction
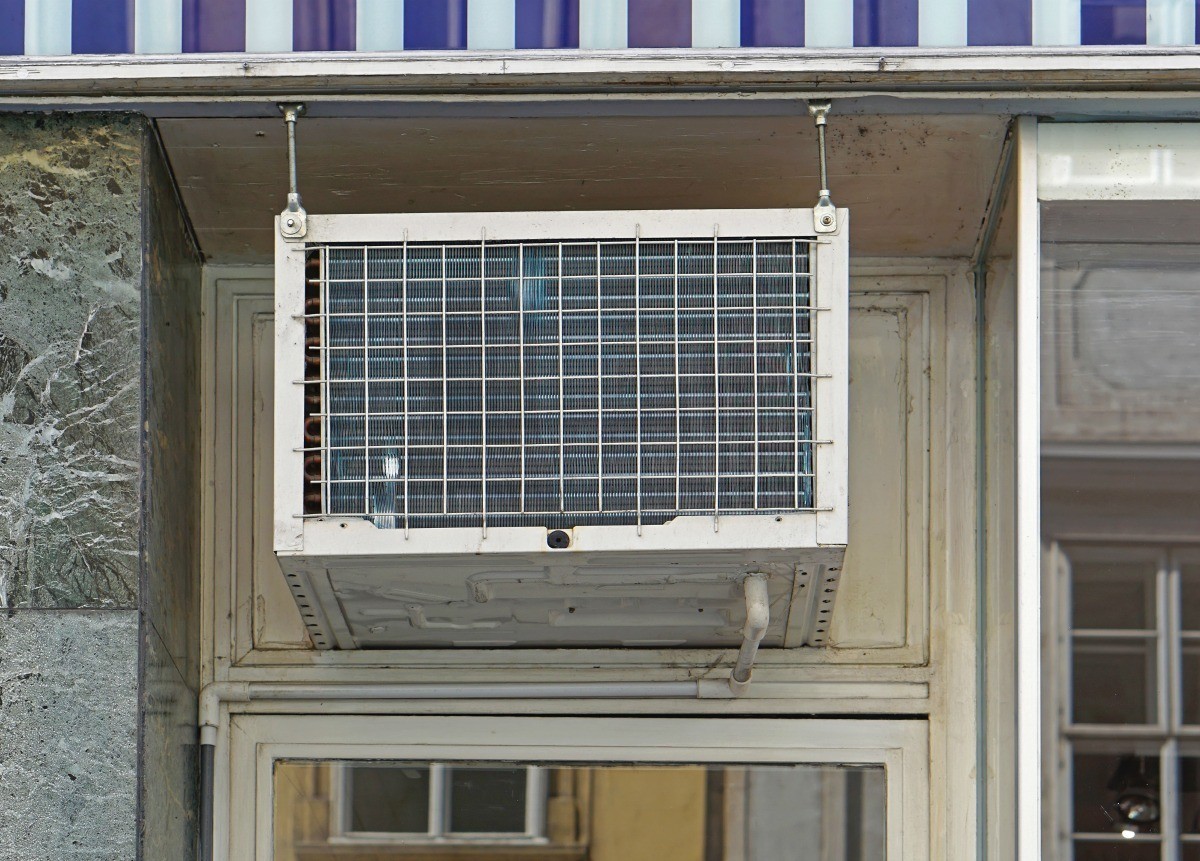
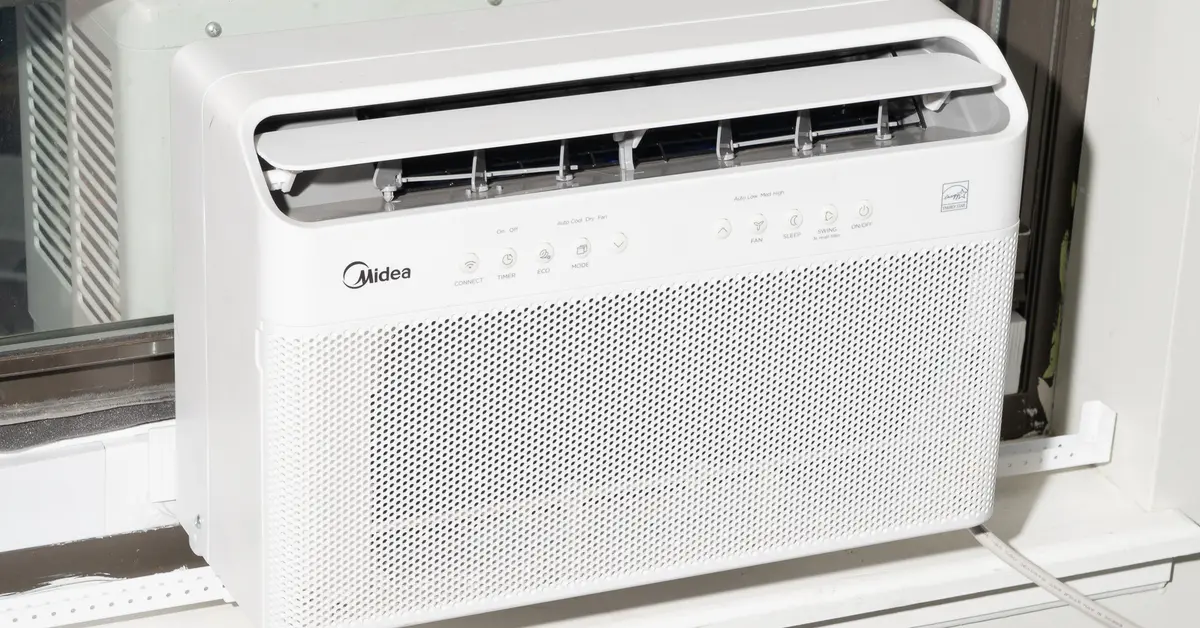
Welcome to our ultimate guide on how to seal a through-the-wall air conditioner! With hot and humid summers becoming the norm in many parts of the world, having a reliable cooling system is essential for a comfortable home. While central air conditioning is a popular option, through-the-wall air conditioners are a cost-effective and convenient alternative. These units are designed to be installed directly into the wall, providing efficient cooling for individual rooms or smaller spaces.
However, proper installation and sealing are crucial to ensure optimal performance, energy efficiency, and to keep your home free from drafts, pests, and moisture damage. In this guide, we will walk you through the step-by-step process of sealing a through-the-wall air conditioner, highlighting important tips and techniques to ensure a successful installation.
Before we dive into the installation process, let’s review the tools and materials you will need for this project. Gathering all the necessary supplies ahead of time will make the installation process smoother and more efficient.
Key Takeaways:
- Properly sealing and installing a through-the-wall air conditioner is essential for efficient cooling, preventing drafts, pests, and moisture from entering your home. It involves selecting the right location, preparing the wall opening, insulating gaps, and connecting the drainage system.
- Regular maintenance and cleaning of your air conditioner are important to keep it running efficiently. Follow the manufacturer’s guidelines for specific maintenance recommendations and schedules to prolong the life of your unit and enjoy a cool and comfortable living space.
Read more: How To Seal A Window Air Conditioner
Tools and Materials Needed
Before you start the installation process, it’s important to have the right tools and materials on hand. Here is a list of things you will need:
- Through-the-wall air conditioner unit
- Air conditioner sleeve
- Wall opening template
- Measuring tape
- Level
- Screwdriver
- Drill
- Utility knife
- Caulking gun
- Weatherstripping
- Insulation foam
- Duct tape
- Safety goggles
- Gloves
It’s important to select the right size and capacity of through-the-wall air conditioner unit to meet the cooling needs of your space. Additionally, make sure you have the correct sleeve size that fits the dimensions of the unit and matches the thickness of your wall.
Having a wall opening template will ensure accuracy during the installation process. You can typically find templates provided by the manufacturer or create a custom template based on your specific unit.
A measuring tape and level are essential for precise measurements and to ensure that the unit is properly aligned and level during installation. A screwdriver and drill will be needed to attach the unit to the sleeve and secure it to the wall.
A utility knife will come in handy for cutting weatherstripping and insulation foam to the appropriate sizes. A caulking gun will be used to apply caulk around the sleeve and seal any gaps, while duct tape can be used for temporary sealing during the installation process.
Lastly, safety goggles and gloves are recommended to protect your eyes and hands during the installation process.
By having all these tools and materials ready, you will be well-prepared to confidently proceed with the installation of your through-the-wall air conditioner.
Step 1: Selecting the Right Location for the Through-The-Wall Air Conditioner
The first step in sealing a through-the-wall air conditioner is to carefully select the right location for installation. Choosing the correct spot is crucial for efficient cooling and optimal performance. Here are some factors to consider when selecting the location:
- Cooling Efficiency: Identify the areas in your room where the cooling is most needed. Consider factors such as sunlight exposure, insulation, and airflow to determine the optimal location. Avoid placing the unit near heat sources or areas with poor insulation.
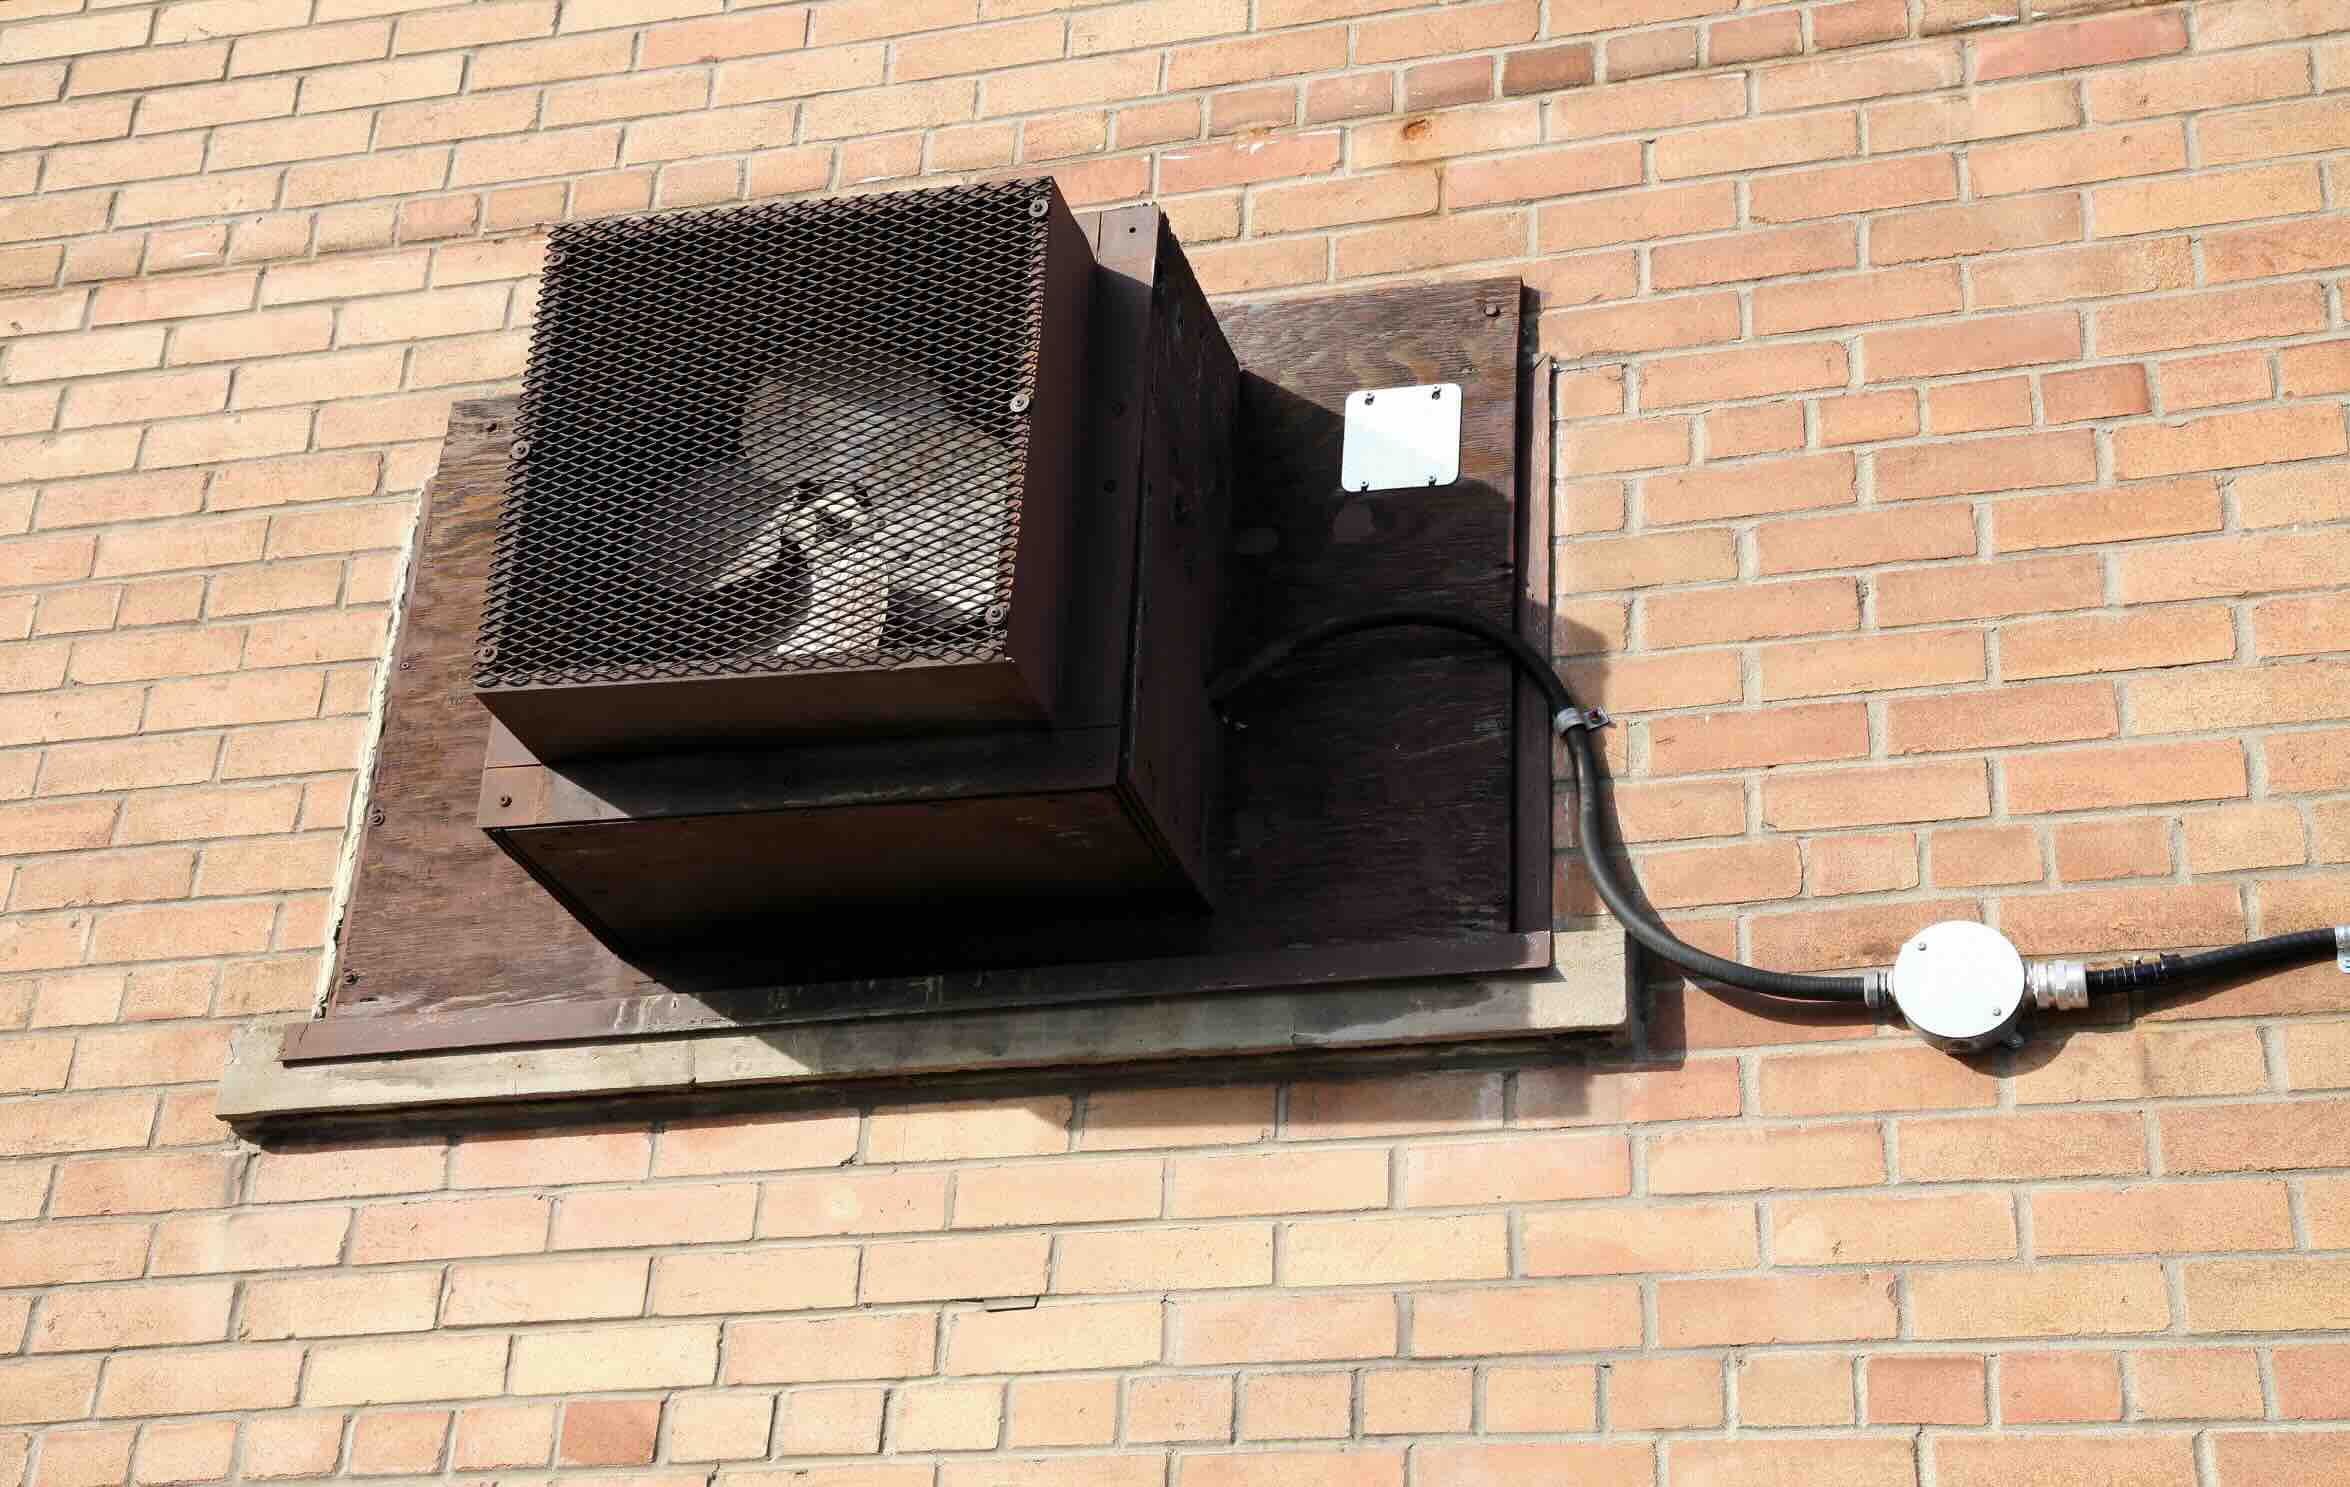
- Structural Integrity: Assess the structural integrity of the wall. Ensure that the wall can support the weight of the air conditioner unit and the sleeve without causing any damage or compromising its stability.
- Accessibility: Choose a location that allows easy access for installation, maintenance, and repairs. Avoid placing the unit too high or in areas that are difficult to reach.
- Clearance: Make sure there is ample clearance around the unit for proper airflow and ventilation. Check the manufacturer’s specifications for the recommended clearance distance on all sides of the unit.
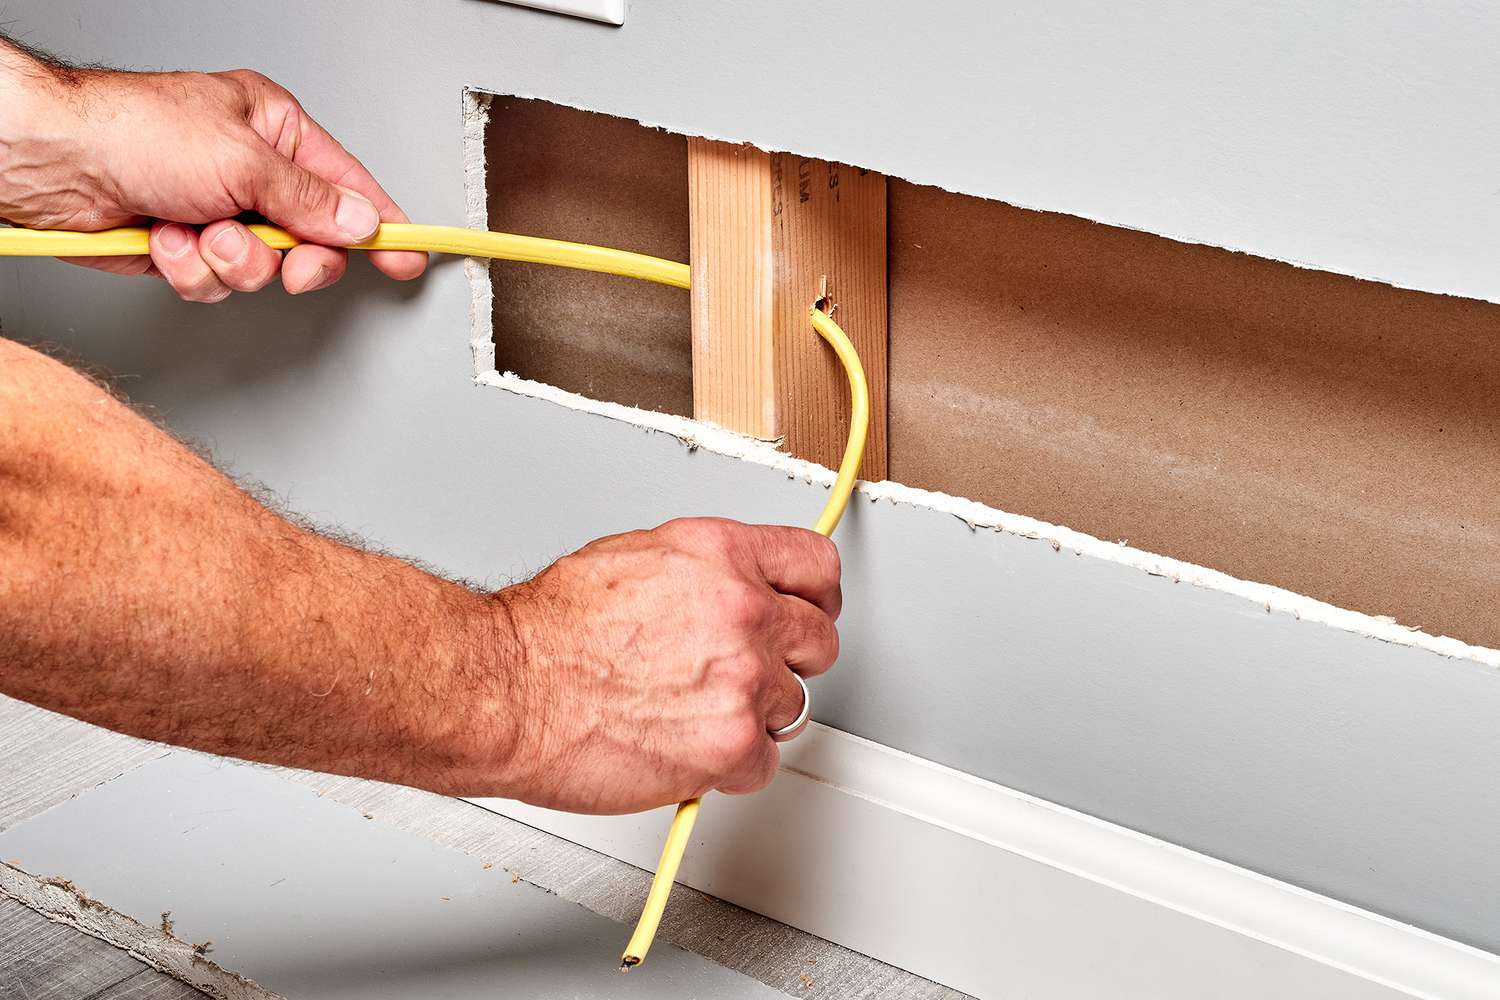
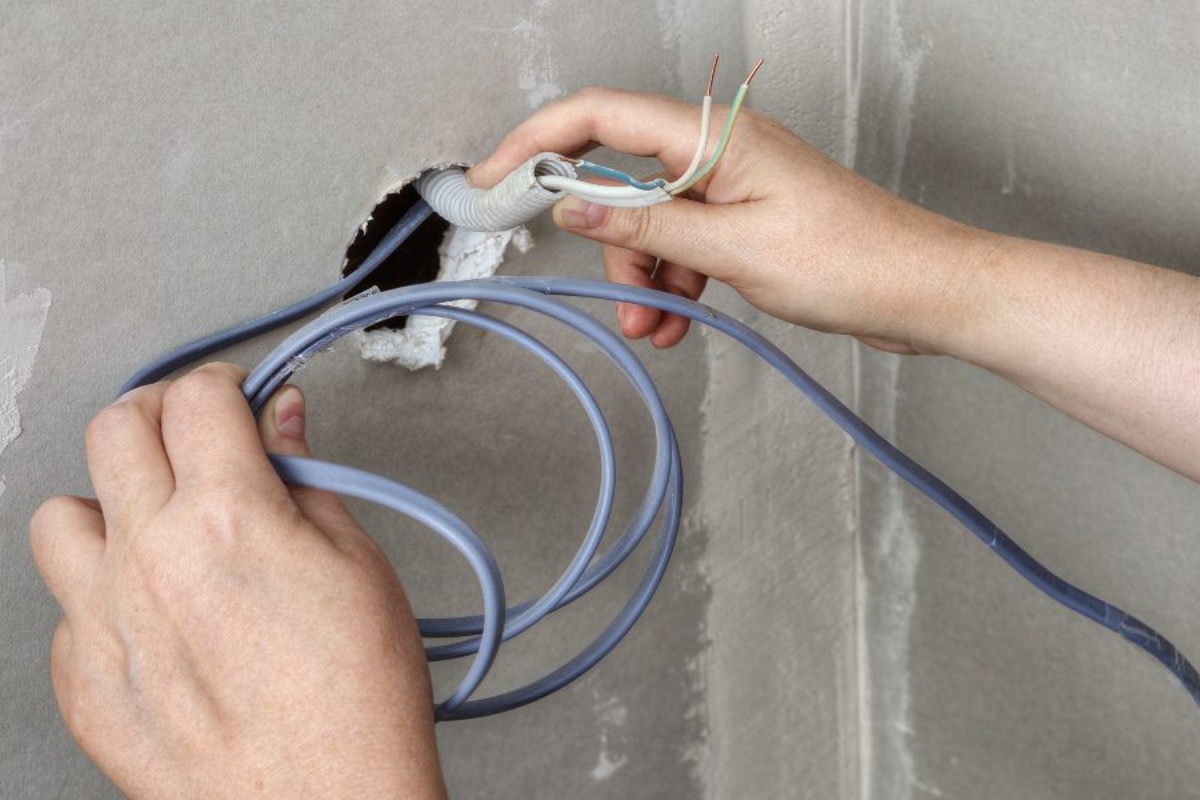
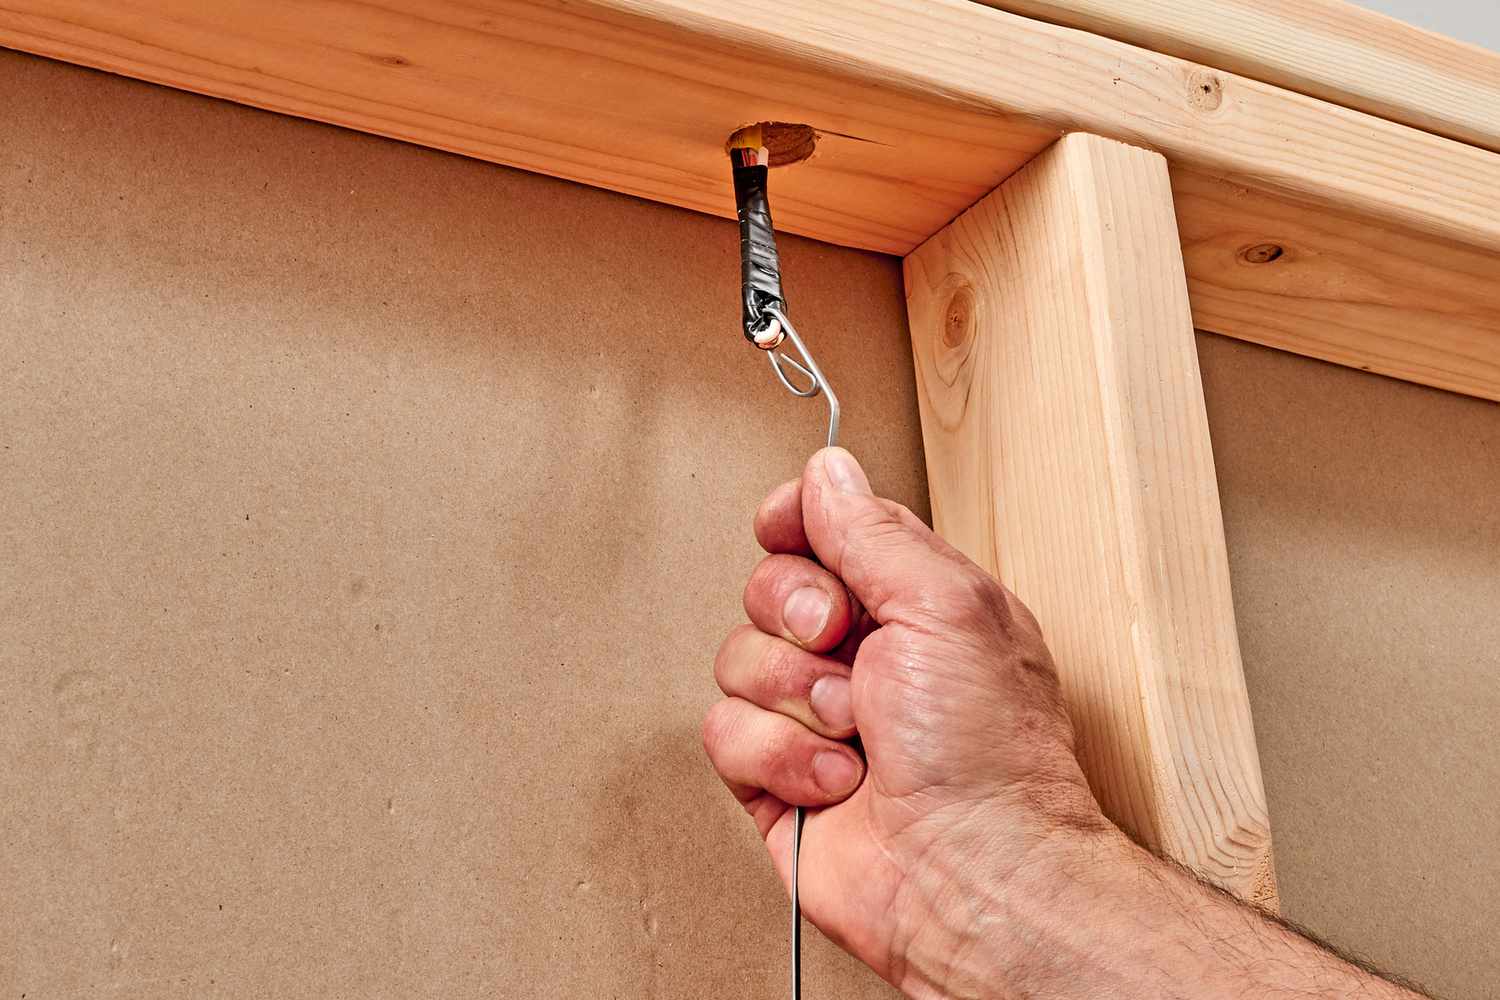
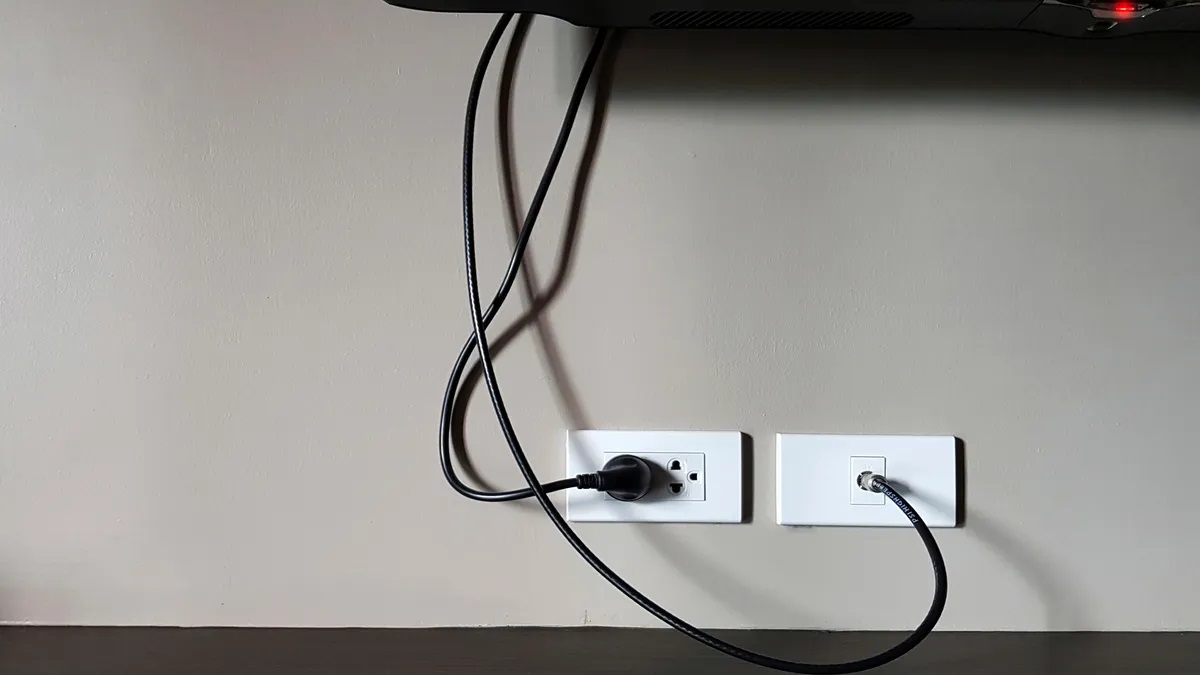
- Ductwork and Wiring: Consider the location of ductwork, electrical outlets, and wiring. Place the air conditioner where it can be easily connected to the existing ductwork and power source without the need for extensive modifications.
Once you have considered these factors, use the provided wall opening template to mark the outline of the opening on the wall. Ensure that the template is level and centered. Double-check the measurements to avoid any mistakes that could lead to an improper fit.
It’s important to note that the installation of a through-the-wall air conditioner may require a permit or professional assistance in some jurisdictions. Be sure to check with local building codes and regulations before proceeding.
With the location selected and the outline marked on the wall, you are ready to move on to the next step: preparing the wall opening for the installation of the air conditioner unit and sleeve.
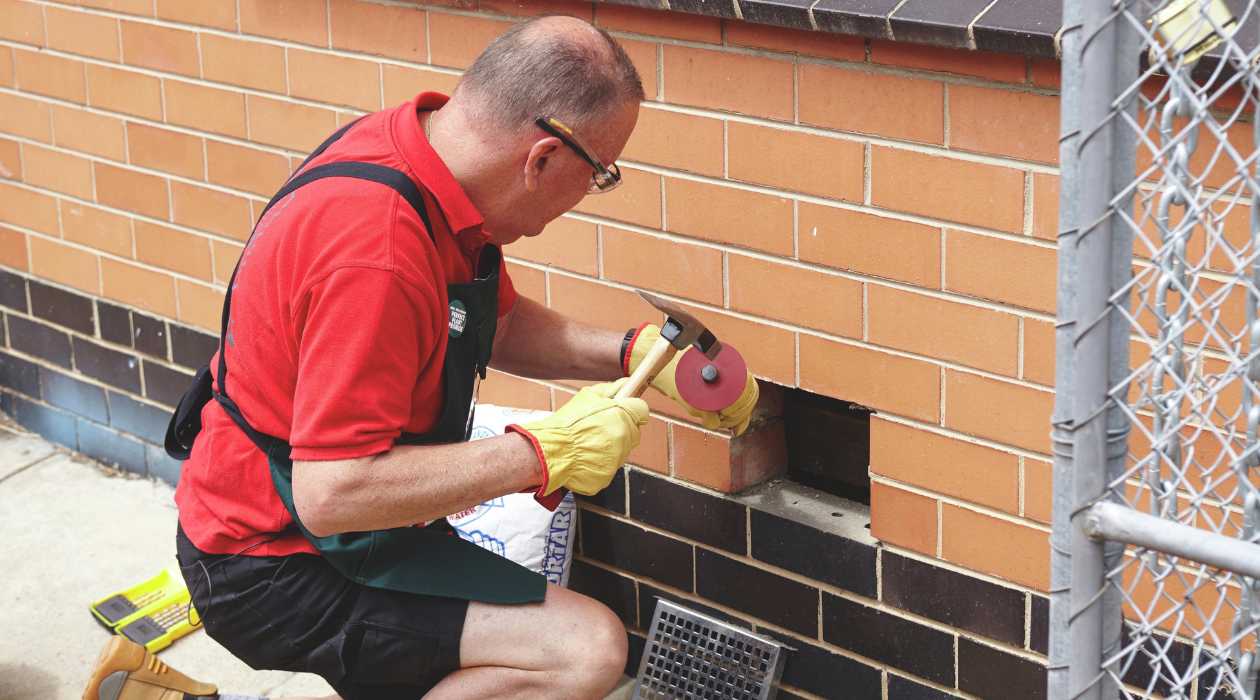
Step 2: Preparing the Wall Opening
Now that you have selected the right location for your through-the-wall air conditioner, it’s time to prepare the wall opening. This step ensures that the unit and sleeve will fit properly and securely in the wall. Follow these steps for a successful preparation:
- Clear the Area: Remove any furniture, decorations, or obstacles near the selected location. This will provide you with ample space to work and prevent any damage to your belongings.
- Turn Off Power: Before proceeding, it’s crucial to turn off the power to the area where you will be working. Locate the circuit breaker or fuse box and switch off the power to the room or area where the air conditioner will be installed.
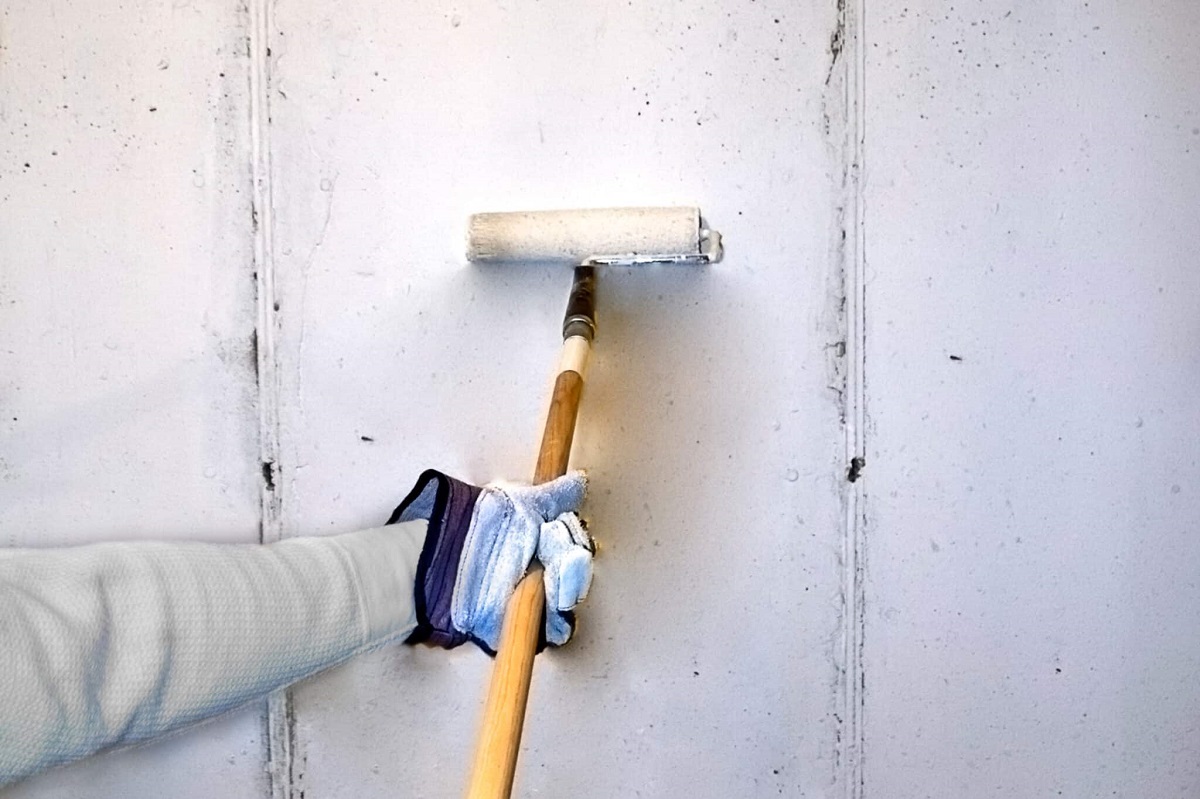
- Remove Wall Covering: Use a utility knife to carefully cut away any wallpaper, paint, or other wall coverings within the marked outline. Extend the cuts slightly beyond the outline to ensure a clean and precise fit for the sleeve.
- Cut the Opening: Next, use a saw to cut along the marked outline. Take your time and make straight and accurate cuts to create a clean opening. Be cautious of any electrical wiring or plumbing that may be behind the wall. If you are unsure, consult a professional to avoid any accidents or damage.
- Smooth the Edges: Once the opening is cut, use sandpaper or a file to smooth any rough edges or burrs. This will prevent any damage to the sleeve or the air conditioner unit during the installation process.
- Clean the Area: Remove any dust, debris, or loose particles from the opening and surrounding area. A clean and clear space will ensure a proper fit and airtight seal.
By following these steps, you will have a well-prepared wall opening that is ready for the installation of the air conditioner sleeve. The next step will guide you through the process of installing the sleeve securely in the wall, creating a stable foundation for the air conditioner unit.
Step 3: Installing the Air Conditioner Sleeve
Now that the wall opening is prepared, it’s time to install the air conditioner sleeve. The sleeve serves as a protective housing for the air conditioner unit and provides a secure fit in the wall. Follow these steps for a successful installation:
- Check Sleeve Fit: Ensure that the sleeve fits snugly in the wall opening. It should be level and centered with the opening, providing enough space for the air conditioner unit to slide into.
- Secure the Sleeve: Once the sleeve is properly positioned, use screws or nails to secure it to the wall. Make sure to use the appropriate fasteners for your wall type, such as wood screws for wooden walls or masonry screws for concrete walls. Secure the sleeve at regular intervals to ensure stability.
- Level the Sleeve: Use a level to ensure that the sleeve is perfectly straight and level. Adjust it as necessary before securing it in place.
- Seal Gaps: Inspect the gaps between the sleeve and the wall opening. Apply caulk or weatherstripping to seal any gaps and prevent air leakage and water intrusion. This will enhance the insulation and keep out pests and drafts.
- Follow Manufacturer’s Instructions: It’s important to refer to the manufacturer’s instructions for specific installation guidelines. Different air conditioner models and sleeves may have unique installation requirements, so be sure to follow the provided guidelines.
Properly installing the air conditioner sleeve is essential for a secure and stable foundation for the air conditioner unit. It ensures a proper fit and prevents air leakage, which can impact the unit’s performance and energy efficiency. With the sleeve securely in place, you are now ready to proceed to the next step: sealing the gap between the sleeve and the wall.
Read more: How To Clean A Wall Air Conditioner
Step 4: Sealing the Gap between the Sleeve and Wall
After installing the air conditioner sleeve, it’s important to seal the gap between the sleeve and the wall. This step ensures proper insulation, prevents air leakage, and helps maintain the integrity of the installation. Follow these steps to effectively seal the gap:
- Clean the Area: Before applying any sealant, make sure the area is clean and free from debris. Use a damp cloth or sponge to remove any dirt or dust.
- Select the Appropriate Sealant: Choose a high-quality weatherproof sealant that is appropriate for your wall type, such as silicone caulk or polyurethane foam. Make sure it is designed to withstand outdoor conditions and is compatible with the materials used in your wall.
- Apply the Sealant: Starting from one corner, carefully apply the sealant along the gap between the sleeve and the wall. Use a caulking gun for precise and controlled application. Ensure that the sealant fills the entire gap and creates a continuous barrier.
- Smooth the Sealant: After applying the sealant, use a putty knife or your finger to smooth it out. This will help create a neat and even finish while ensuring a proper seal.
- Wipe off Excess Sealant: Use a damp cloth or sponge to remove any excess sealant from the sleeve, wall, or surrounding area. This will give your installation a clean and professional appearance.
- Allow the Sealant to Cure: Follow the manufacturer’s instructions regarding the curing time for the sealant. It is essential to allow sufficient time for the sealant to dry and cure properly before proceeding with the next steps.
By sealing the gap between the sleeve and the wall, you create an airtight and weatherproof barrier, preventing drafts, moisture, and pests from entering your home. This step significantly improves the energy efficiency and performance of your through-the-wall air conditioner. Now that the gap is sealed, it’s time to move on to the next step: mounting and securing the air conditioner unit.
Make sure to use weatherstripping or foam insulation to seal any gaps around the air conditioner. This will help prevent air leaks and improve energy efficiency.
Step 5: Mounting and Securing the Air Conditioner Unit
With the air conditioner sleeve properly installed and the gap sealed, it’s time to mount and secure the air conditioner unit. This step is essential for ensuring that the unit is stable and securely attached to the sleeve. Follow these steps for a successful installation:
- Prepare the Unit: Ensure that the air conditioner unit is ready for installation. Remove any packaging materials, protective covers, or labels.
- Slide the Unit into the Sleeve: Carefully lift the air conditioner unit and slide it into the sleeve. Make sure it is inserted all the way and rests securely on the supporting flanges inside the sleeve.
- Secure the Unit: Depending on the manufacturer’s instructions, secure the air conditioner unit to the sleeve using the provided screws or brackets. Follow the recommended tightening sequence and torque specifications to ensure a secure fit.
- Check for Proper Alignment: Use a level to ensure that the unit is properly aligned and positioned. It should be level and straight to promote optimal airflow and performance.
- Double-Check the Security: Verify that the unit is securely attached to the sleeve and does not wobble or move. This will prevent any hazards and ensure a long-lasting installation.
It’s important to follow the manufacturer’s instructions for mounting and securing the air conditioner unit. Each model may have specific requirements and recommendations for installation. Pay close attention to these instructions to ensure a proper and safe installation.
Once the air conditioner unit is mounted and secured, congratulations! You are one step closer to enjoying a cool and comfortable space. The next step will guide you through the process of insulating the gaps around the unit to enhance its efficiency and performance.
Step 6: Insulating the Gaps around the Unit
After mounting the air conditioner unit, it’s important to insulate the gaps around it to improve energy efficiency and prevent air leakage. Insulating these gaps will help maintain a consistent temperature inside your home and reduce the workload on the air conditioner. Follow these steps to effectively insulate the gaps:
- Identify the Gaps: Take a close look at the gaps between the air conditioner unit and the wall sleeve. These gaps are typically present on the sides and top of the unit.
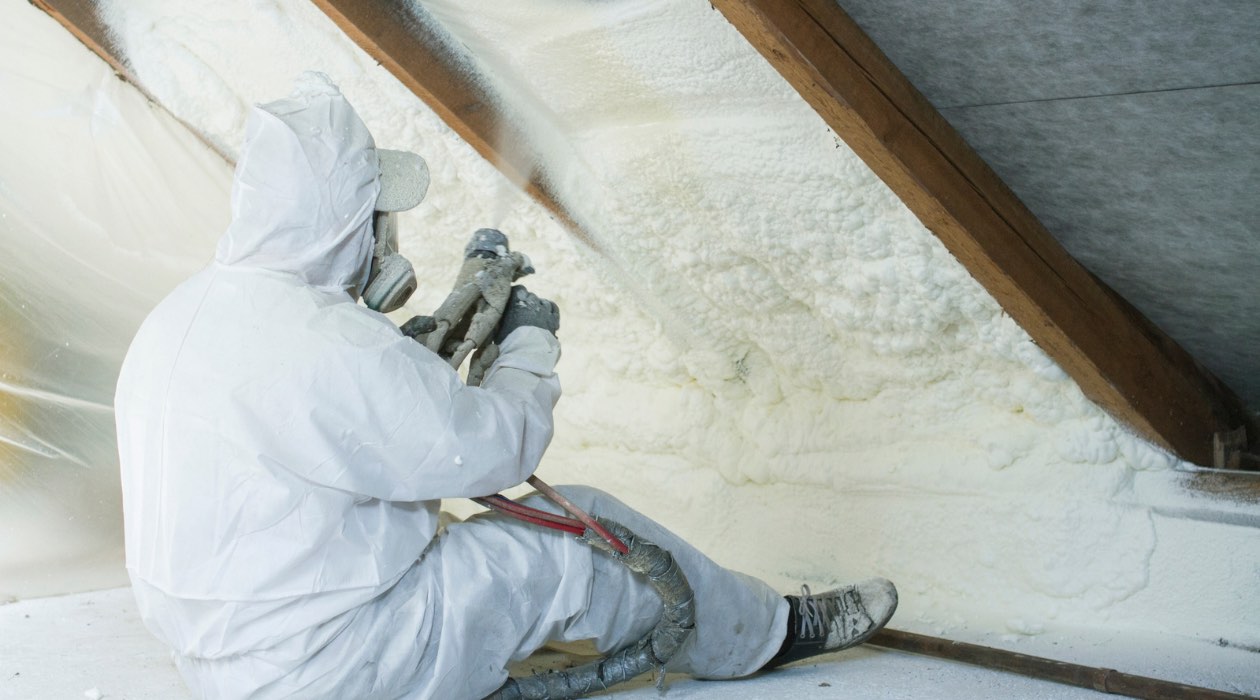
- Select the Insulation Material: Choose an appropriate insulation material that is suitable for your climate and provides good thermal insulation properties. Examples include foam insulation strips, foam tape, or weatherstripping.
- Measure and Cut: Measure the length of each gap, and cut the insulation material to fit the measurements. Make sure to account for any corners or bends in the gap.
- Apply the Insulation: Peel off the backing if using adhesive foam insulation strips or tape, and carefully apply the insulation to the edges of the air conditioner unit. Press firmly to ensure a secure adhesion.
- Seal any Remaining Gaps: If there are any small gaps or areas that the insulation strips or tape cannot cover, use caulk or expanding foam insulation to seal these remaining gaps. Apply the caulk or foam carefully, following the manufacturer’s instructions.
- Clean Excess Insulation: Wipe off any excess insulation material or adhesive residue from the air conditioner unit or surrounding area using a clean cloth or sponge.
By properly insulating the gaps around the air conditioner unit, you can minimize air leaks, improve energy efficiency, and enhance the cooling performance of the unit. It will also help keep out dust, insects, and other unwanted elements from entering your living space.
Now that the gaps are insulated, you are one step closer to completing the installation of your through-the-wall air conditioner. The next step will guide you through the process of connecting the drainage system for proper moisture management.
Step 7: Connecting the Drainage System
Connecting the drainage system is an important step in the installation of a through-the-wall air conditioner. Proper drainage ensures that the condensation produced by the unit is effectively removed, preventing water damage and promoting efficient operation. Follow these steps to connect the drainage system:
- Locate the Drain Hole: Locate the drain hole on the back or bottom of the air conditioner unit. This hole is designed to allow the condensate to drain out.
- Prepare the Drainage Channel: Determine the best method for draining the condensate. This could involve using a plastic tube or hose to guide the water away from the unit, or connecting it to an existing drainage system in your home.
- Cut the Tube or Hose: If using a tube or hose, measure the appropriate length needed to reach the drainage location. Cut it to size using a sharp knife or tubing cutter.
- Connect the Tube or Hose: Attach one end of the tube or hose to the drain hole on the air conditioner unit. Use a clamp or secure it with duct tape to ensure a tight connection.
- Direct the Drainage: Direct the end of the tube or hose towards the desired drainage location. This could be a floor drain, a sink, or a designated outdoor drainage area.
- Secure the Tube or Hose: Secure the other end of the tube or hose at the drainage location. You can use a clamp, zip tie, or other appropriate fastening method.
- Check for Proper Drainage: Ensure that the condensate flows freely through the tube or hose without any obstructions. If there are any blockages, use a small brush or wire to clear them.
- Test the Drainage: Once everything is connected, pour a small amount of water into the air conditioner’s condensate pan to test the drainage system. Verify that the water drains properly and does not overflow or leak.
Connecting the drainage system is crucial to prevent water accumulation and potential water damage. By effectively channeling the condensate away from the unit, you can ensure a hassle-free and efficient operation of your through-the-wall air conditioner.
With the drainage system connected, you are almost finished with the installation process. The final step will guide you through testing the air conditioner for proper operation.
Step 8: Testing the Air Conditioner for Proper Operation
Now that your through-the-wall air conditioner is installed and all the necessary components are connected, it’s time to test the unit for proper operation. This final step ensures that everything is functioning as it should and allows you to make any necessary adjustments or repairs. Follow these steps to test the air conditioner:
- Restore Power to the Unit: Turn the power back on to the air conditioner at the circuit breaker or fuse box. Make sure the unit is receiving power before proceeding.
- Set the Desired Temperature: Use the controls on the air conditioner unit or the remote control to set your desired temperature. Start with a moderate setting to prevent any sudden temperature changes.
- Listen for Proper Operation: As the air conditioner starts running, listen for any unusual sounds or vibrations. The unit should operate quietly and smoothly without any excessive noise or shaking.
- Feel for Cool Air: Place your hand in front of the air conditioner’s vents. You should feel a steady stream of cool air being released. If the air feels warm or weak, there may be an issue with the refrigerant or airflow that needs to be addressed.
- Check for Proper Airflow: Observe the airflow coming out of the unit. It should be strong and evenly distributed. If you notice weak airflow or uneven cooling, you may need to clean or replace the air filters.
- Monitor Temperature: Allow the air conditioner to run for some time and monitor the temperature in the room. The unit should effectively cool the space and maintain the desired temperature.
- Inspect for Leaks: Look for any signs of water leaks around the air conditioner unit or the drainage system. If you notice any leaks, promptly address the issue to prevent further damage.
- Adjust Settings if Necessary: Use the controls on the air conditioner unit or the remote control to adjust settings such as fan speed or mode based on your preferences. Experiment with different settings to find the most comfortable and efficient operation.
By thoroughly testing the air conditioner unit, you can ensure that it is operating as expected and providing the desired cooling effect. If you encounter any issues or notice any abnormalities during the testing, consult the manufacturer’s manual or seek professional assistance to troubleshoot and resolve the problem.
Congratulations on completing the installation process and successfully sealing your through-the-wall air conditioner! You can now enjoy a cool and comfortable environment in your home during those hot summer days.
Note: It’s important to perform regular maintenance and cleaning of your air conditioner to keep it running smoothly and efficiently. Refer to the manufacturer’s guidelines for maintenance recommendations and schedules.
Thank you for using our comprehensive guide. We hope it has been helpful in assisting you with sealing your through-the-wall air conditioner!
Conclusion
Congratulations on successfully sealing your through-the-wall air conditioner! By following the step-by-step instructions outlined in this guide, you have ensured optimal performance, energy efficiency, and a comfortable living space. Proper sealing and installation of the air conditioner unit are essential for effective cooling, preventing air leakage, and maintaining a well-insulated home.
Throughout the installation process, we covered important steps, including selecting the right location, preparing the wall opening, installing the air conditioner sleeve, sealing the gap between the sleeve and wall, mounting and securing the unit, insulating the gaps, connecting the drainage system, and testing the air conditioner for proper operation.
By carefully selecting the location, preparing the wall opening, and installing the air conditioner sleeve correctly, you provide a stable foundation for the unit. Sealing the gap between the sleeve and wall and insulating the gaps around the unit ensures efficient cooling and prevents drafts, pests, and moisture from entering your home.
Connecting the drainage system enables effective removal of condensation, preventing water damage and maintaining the longevity of your air conditioner. Finally, testing the air conditioner ensures that it is functioning as it should, providing cool and comfortable air.
Remember to perform regular maintenance and cleaning of your air conditioner to keep it running efficiently. It’s important to refer to the manufacturer’s guidelines for specific maintenance recommendations and schedules to prolong the life of your unit.
We hope this comprehensive guide has been beneficial in assisting you with sealing your through-the-wall air conditioner. Stay cool and enjoy the comfort of your well-sealed and efficiently operating cooling system!
Frequently Asked Questions about How To Seal A Through-The-Wall Air Conditioner
Was this page helpful?
At Storables.com, we guarantee accurate and reliable information. Our content, validated by Expert Board Contributors, is crafted following stringent Editorial Policies. We're committed to providing you with well-researched, expert-backed insights for all your informational needs.