Home>Home Maintenance>How To Lift Up An Air Conditioning Unit
Home Maintenance
How To Lift Up An Air Conditioning Unit
Modified: April 28, 2024
Learn the proper technique for lifting up an air conditioning unit with this step-by-step guide. Keep your home cool and perform essential home-maintenance tasks.
(Many of the links in this article redirect to a specific reviewed product. Your purchase of these products through affiliate links helps to generate commission for Storables.com, at no extra cost. Learn more)
Introduction
Welcome to our comprehensive guide on how to lift up an air conditioning unit. Whether you are a DIY enthusiast or a homeowner looking to tackle some home maintenance tasks, knowing how to properly lift and position an air conditioning unit is crucial. This not only ensures the safety of both you and the unit but also helps maintain its efficiency and longevity.
An air conditioning unit is a heavy and delicate piece of equipment that requires careful handling. Improper lifting and installation can lead to damage, inefficiency, and even injuries. In this guide, we will walk you through the step-by-step process of lifting up an air conditioning unit safely and efficiently.
Beyond just lifting the unit, we will also cover important safety precautions, the necessary tools and materials, and tips for proper positioning and securing. By following these guidelines, you can confidently tackle this home maintenance task and ensure your air conditioning unit is installed correctly.
Whether you are installing a new unit, relocating an existing one, or simply need to elevate it for maintenance or repairs, this guide will provide you with the knowledge and skills necessary to perform the task with ease.
Before we dive into the practical steps, let’s first establish the essential safety precautions that you should keep in mind throughout the process to minimize the risk of accidents or injuries. Safety should always be a top priority when dealing with heavy equipment like air conditioning units.
Key Takeaways:
- Safety first! Before lifting an air conditioning unit, wear protective gear, get assistance, and clear the area to prevent accidents and injuries. Following manufacturer’s guidelines is crucial for a safe lift.
- Properly position and secure the unit after lifting to ensure optimal performance. Test the unit for cool air, proper cycling, and address any abnormalities promptly for efficient operation.
Safety Precautions
When lifting and maneuvering an air conditioning unit, it is crucial to prioritize safety to prevent accidents, injuries, and damage to the unit or the surrounding area. Here are some important safety precautions to follow:
- Wear protective gear: Before starting the lifting process, make sure to wear appropriate protective gear, such as gloves and sturdy shoes, to protect your hands and feet from any potential hazards.
- Get assistance: Air conditioning units can be heavy and cumbersome to lift on your own. It is advisable to have at least one other person assist you during the lifting process to evenly distribute the weight and avoid strain or accidents.
- Inspect the unit: Before lifting the unit, carefully inspect it for any signs of damage or wear. Check for loose or broken parts, leaks, or any other issues that may affect its stability or performance. If you notice any problems, it is important to address them before attempting to lift the unit.
- Clear the area: Ensure the area around the air conditioning unit is clear of any obstacles, debris, or loose items that could pose a tripping or slipping hazard. This includes removing furniture, plants, or any other objects that may obstruct the lifting process.
- Secure electrical connections: Prior to lifting the unit, ensure that the electrical connections are safely disconnected and secured. This will minimize the risk of electrical shocks and eliminate any potential damage to the unit or wiring.
- Use proper lifting techniques: When lifting the air conditioning unit, remember to use proper lifting techniques to avoid strain on your back and muscles. Bend your knees, keep your back straight, and lift with your legs rather than relying on your back alone.
- Take breaks: Lifting a heavy unit can be physically demanding. Take regular breaks to rest and prevent fatigue, especially if you are lifting for an extended period of time. Pushing yourself beyond your limits can lead to accidents and injuries.
- Follow manufacturer’s guidelines: Always refer to the manufacturer’s instructions and guidelines specific to your air conditioning unit. Different units may have specific lifting requirements or precautions, so make sure to follow the recommended procedures outlined in the manual.
By following these safety precautions, you can ensure a safe lifting process and minimize the risk of accidents or damage. Remember, it is better to take your time and prioritize safety rather than rushing through the task and risking potential harm.
Tools and Materials Needed
Before you begin lifting an air conditioning unit, it’s important to gather the necessary tools and materials to ensure a smooth and efficient process. Here are the tools and materials you will need:
- Lifting straps or harness: These are used to securely lift and support the weight of the air conditioning unit. Lifting straps or harnesses are designed specifically for heavy lifting and provide stability and control during the process.
- Work gloves: Wearing sturdy work gloves will protect your hands from any sharp or rough edges on the air conditioning unit and prevent slippage during the lifting process.
- Moving dolly or hand truck: A moving dolly or hand truck is a useful tool for transporting the air conditioning unit from one location to another. It provides support and makes it easier to maneuver the unit on flat surfaces.
- Measuring tape: A measuring tape will come in handy when determining the clearance and dimensions of the space where the air conditioning unit will be installed.
- Level: A level is essential for ensuring the air conditioning unit is properly positioned and balanced. This will prevent any unnecessary strain on the unit and help maintain its optimal functionality.
- Socket wrench or screwdriver: These tools are necessary for removing any screws or bolts that may be securing the air conditioning unit in place. Additionally, a socket wrench can be used to tighten any fasteners during the installation process.
- Sealing materials: Depending on the specific installation requirements, you may need sealing materials such as weatherstripping, foam tape, or caulk. These materials will help create an airtight seal around the unit to prevent drafts and improve energy efficiency.
- Protective covers or tarps: If you are working outdoors or in a dusty environment, it’s a good idea to have protective covers or tarps on hand to cover and shield the air conditioning unit during the lifting process.
- Assistance: While not a physical tool or material, having someone to assist you is crucial. Make sure to have at least one other person to help with the lifting and positioning of the air conditioning unit.
By gathering these tools and materials before you begin the lifting process, you’ll have everything you need to safely and effectively lift and install your air conditioning unit.
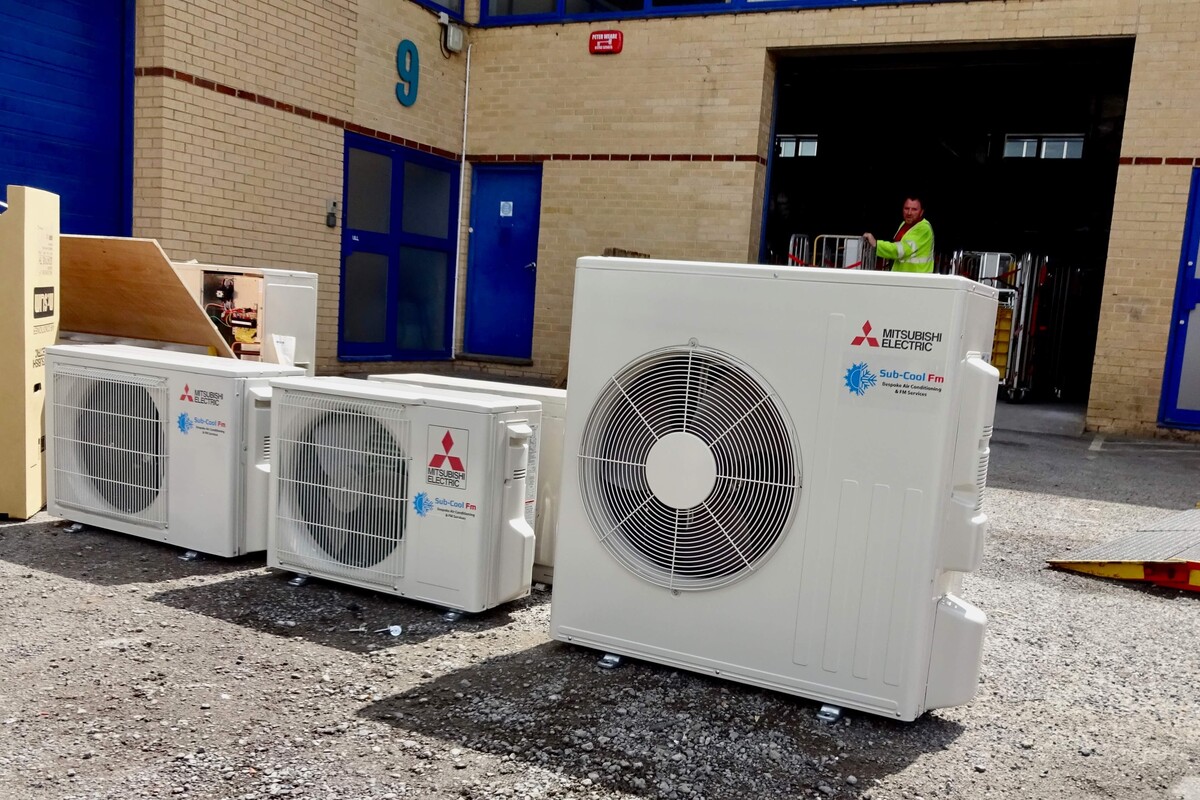
Step 1: Assess the Unit and Determine Proper Lifting Technique
Before lifting the air conditioning unit, it is important to assess its weight, size, and structure. This will help determine the appropriate lifting technique and ensure a safe and successful lifting process. Here’s how to assess the unit and determine the proper lifting technique:
- Check the unit’s weight: Most air conditioning units are heavy and require multiple individuals to lift safely. Refer to the unit’s specifications or consult the manufacturer’s guidelines to determine the exact weight of the unit. This information will help you understand the level of lifting assistance you may need.
- Measure the unit’s dimensions: Use a measuring tape to measure the dimensions of the air conditioning unit, including its height, width, and depth. This will help you choose the appropriate lifting straps or harnesses that can accommodate the size of the unit.
- Inspect the access points: Identify the points on the air conditioning unit where the lifting straps or harnesses can be securely attached. Look for strong and stable areas, such as metal braces or designated attachment points, to ensure a stable and secure lift.
- Consider any obstructions: Take note of any obstacles or architectural features that may hinder the lifting process, such as low ceilings, doorways, or narrow hallways. Assess the surroundings and plan accordingly to maneuver the unit safely without causing damage.
- Determine the lifting technique: Based on the weight and dimensions of the unit, as well as the number of individuals available for lifting assistance, determine the most suitable lifting technique. This can include using lifting straps, a harness, or a combination of lifting equipment to evenly distribute the weight and minimize the risk of strain or injury.
By thoroughly assessing the unit and determining the proper lifting technique, you will have a clear plan of action and ensure a safer lifting process. This understanding of the unit’s weight and dimensions will also help you choose appropriate lifting equipment and minimize the risk of accidents or damages during the lifting and positioning stages. Now that you’ve assessed the unit, it’s time to prepare the area around the unit for the lifting process.
Step 2: Clear the Area Around the Unit
Clearing the area around the air conditioning unit is an essential step to ensure a safe and efficient lifting process. By removing any obstacles or hazards, you minimize the risk of accidents, injuries, and damage to the unit or the surrounding area. Follow these steps to clear the area around the unit:
- Remove furniture and objects: Start by removing any furniture, plants, or objects that are in close proximity to the air conditioning unit. These items can obstruct the lifting process and make it more challenging to maneuver the unit safely.
- Clean the immediate area: Clear away any debris, dirt, or obstructions from around the unit. Sweep or mop the area to remove any loose materials that could cause slipping or tripping hazards during the lifting process.
- Secure loose wires or cables: If there are any loose wires or cables near the unit, secure them properly to prevent tripping hazards. Use zip ties or clips to tidy up and organize any electrical or communication cables that may be in the vicinity.
- Cover sensitive areas or fragile objects: If there are any delicate or fragile objects nearby, consider covering them with protective materials such as blankets or tarps. This will protect them from dust, debris, or accidental damage during the lifting and installation process.
- Ensure proper lighting: Adequate lighting is important when lifting and maneuvering heavy equipment. Make sure the area is well-lit to provide clear visibility and avoid potential accidents or mishaps due to poor lighting conditions.
- Secure access routes: Check the path that will be used to transport the air conditioning unit and ensure it is clear and safe. Remove any tripping hazards, secure loose mats or rugs, and ensure there are no slippery surfaces along the way.
Clearing the area around the air conditioning unit creates a safe and unobstructed space for the lifting process. Taking the time to prepare the surrounding area reduces the risk of accidents, improves maneuverability, and allows for a smoother and more efficient lifting experience. Once the area is cleared, it’s time to move on to the next step: preparing the lifting equipment.
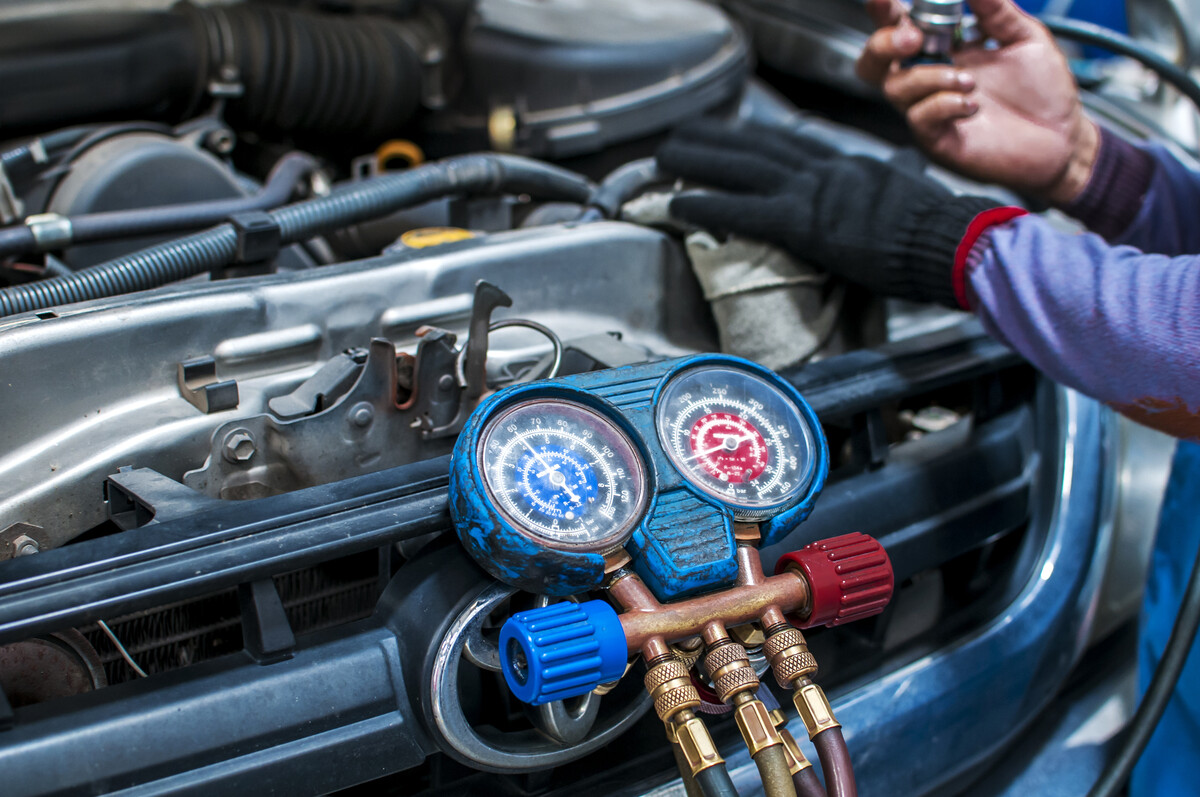
When lifting up an air conditioning unit, make sure to use proper lifting techniques to avoid injury. Bend your knees, keep your back straight, and lift with your legs, not your back. If the unit is too heavy, ask for help or use a lifting aid.
Read more: What Is Air Conditioning Tune Up
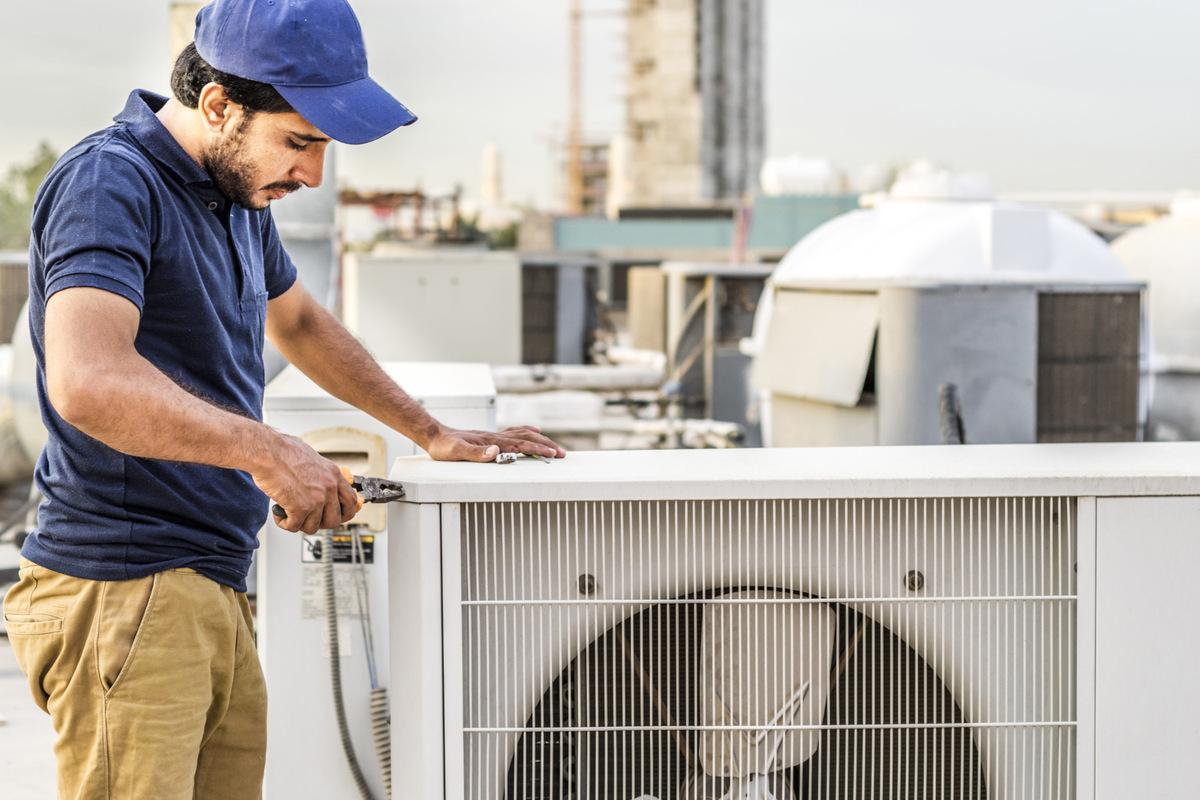
Step 3: Prepare Lifting Equipment
Preparing the lifting equipment is a crucial step in ensuring a safe and successful lifting process for your air conditioning unit. By properly setting up and inspecting the lifting equipment, you minimize the risk of accidents, injuries, and damage to the unit. Follow these steps to prepare the lifting equipment:
- Choose the right lifting straps or harnesses: Select lifting straps or harnesses that are suitable for the weight and dimensions of your air conditioning unit. Ensure they are in good condition, without any signs of wear or damage.
- Inspect the lifting equipment: Thoroughly examine the lifting equipment for any frayed straps, loose stitching, or weak points. Replace any damaged or worn-out parts before proceeding with the lifting process.
- Securely attach the lifting straps or harnesses: Follow the manufacturer’s instructions to securely attach the lifting straps or harnesses to the designated access points on the air conditioning unit. Double-check the attachments to ensure they are secure and won’t come loose during the lift.
- Test the lifting equipment: Before lifting the air conditioning unit, perform a test lift, applying a small amount of force to check the stability of the lifting equipment. Make any necessary adjustments or reinforcements to ensure the equipment is secure and can handle the weight of the unit.
- Coordinate with your lifting team: If you have a team assisting you in the lifting process, ensure that everyone is familiar with their roles and responsibilities. Communicate effectively and establish clear signals or commands to maintain coordination and prevent any mishaps.
- Refresher on proper lifting techniques: Take a moment to remind yourself and your lifting team about proper lifting techniques. Remember to bend your knees, keep your back straight, and lift with your legs rather than your back to minimize the risk of strain or injury.
- Prepare additional support equipment: Depending on the size and weight of the unit, you may need additional support equipment such as moving dollies or hand trucks. Ensure these tools are in good working condition and ready to assist in transporting the unit if necessary.
By properly preparing the lifting equipment, you set the stage for a safe and efficient lifting process. Regular inspections, secure attachments, and thorough testing of the equipment help minimize the risk of accidents and ensure the unit is lifted and maneuvered with stability and control. With the lifting equipment ready, you are now prepared to lift the air conditioning unit in the following step.
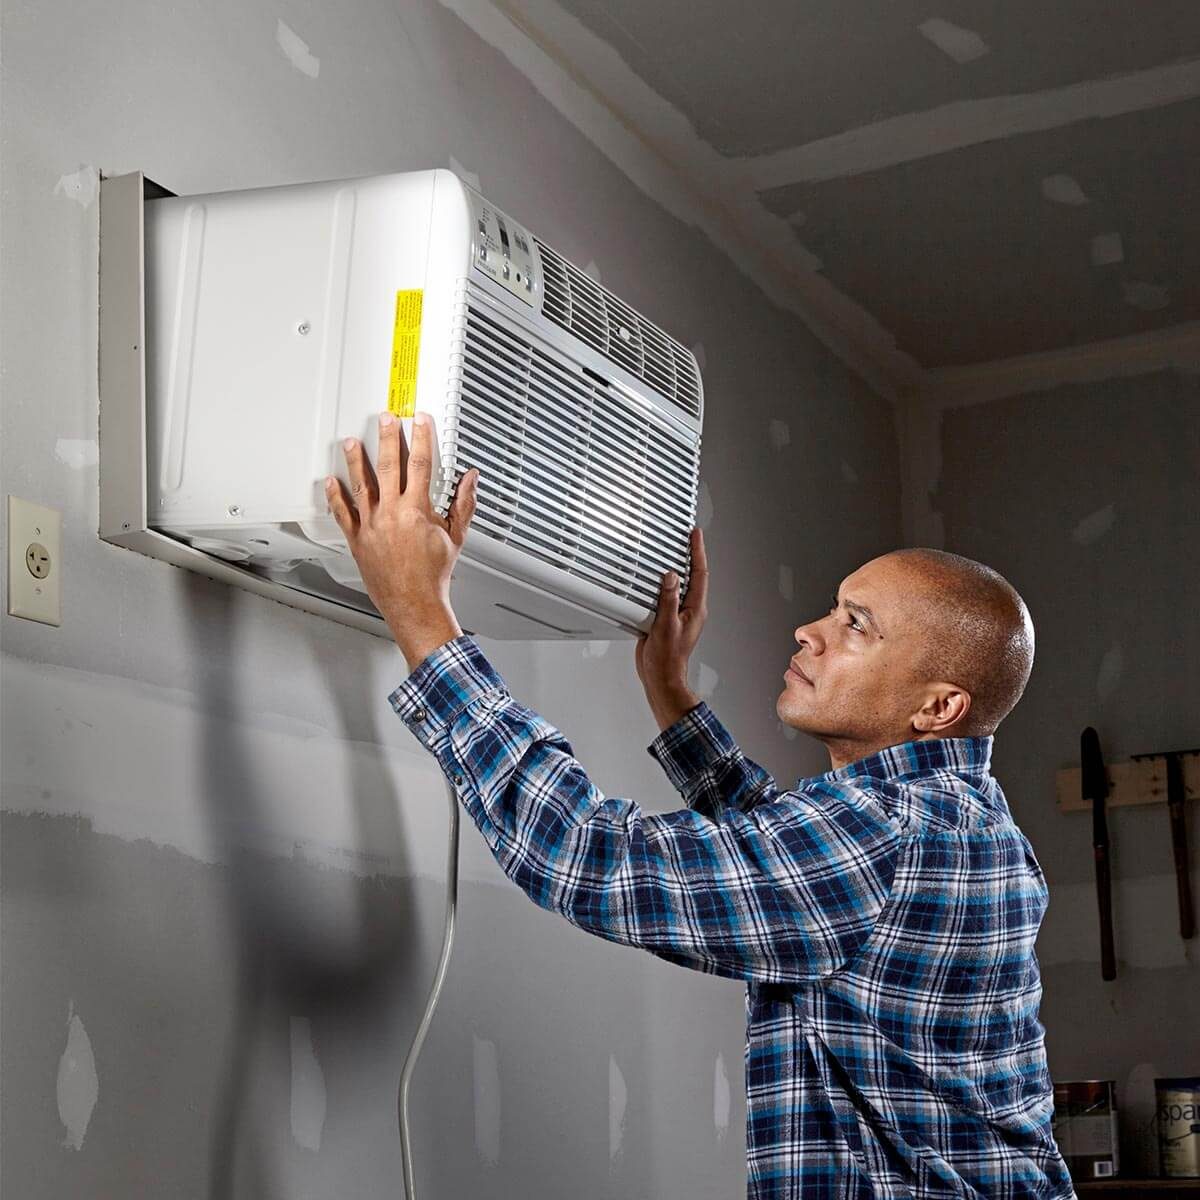
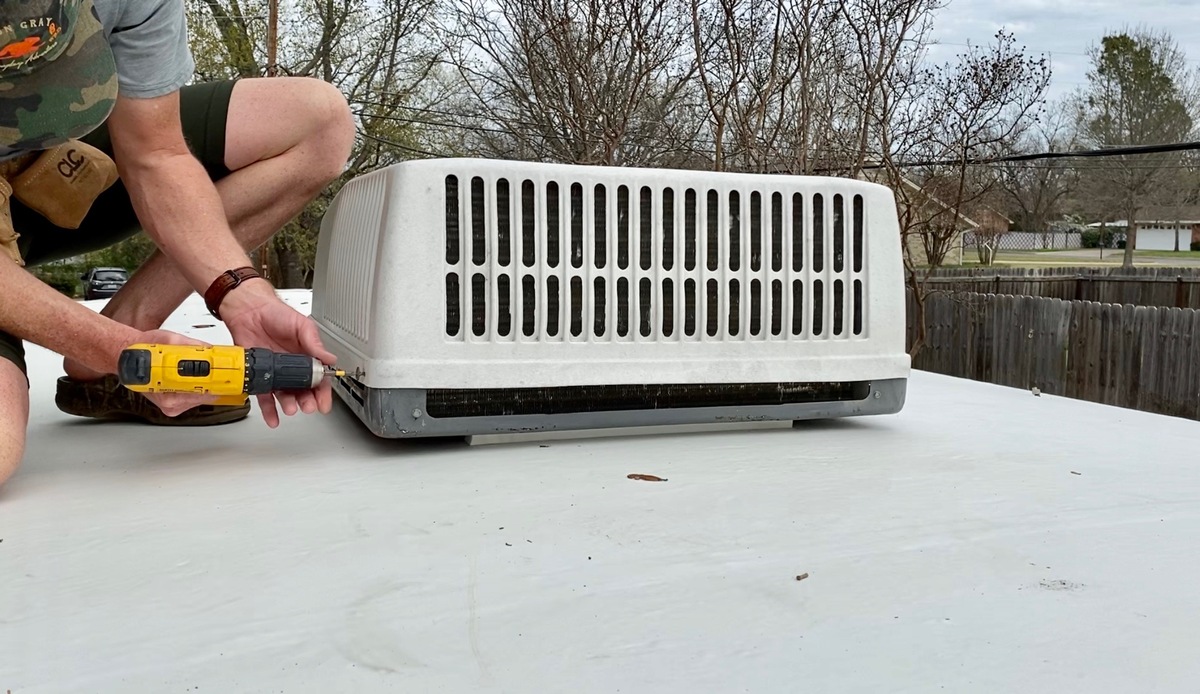
Step 4: Lift the Air Conditioning Unit
Now that you have assessed the unit, cleared the surrounding area, and prepared the lifting equipment, it’s time to lift the air conditioning unit. Follow these steps to safely and effectively lift the unit:
- Position the lifting team: Gather your lifting team in their designated positions around the air conditioning unit. Ensure everyone is ready and aware of their roles and responsibilities during the lift.
- Communicate and synchronize: Establish clear communication and synchronization among the lifting team. Use simple commands or signals to coordinate the lift to avoid any accidents or miscommunications.
- Apply proper lifting techniques: As the lift begins, remind everyone to bend their knees, keep their backs straight, and lift with their legs rather than their backs. Ensure a firm grip on the lifting straps or harnesses and lift together in a smooth, controlled motion.
- Lift slowly and steadily: Lift the air conditioning unit slowly and steadily, maintaining an equal distribution of weight among the lifting team. Avoid jerky movements or sudden shifts that could destabilize the unit and cause accidents.
- Take breaks if needed: If the lift is prolonged or becomes physically challenging, take short breaks to rest and prevent fatigue. Pushing through exhaustion can lead to mistakes or potential injuries.
- Monitor the unit’s stability: As the unit is being lifted, closely monitor its stability and ensure it remains level. Adjust the lifting straps or harnesses if needed to correct any imbalances or tilts.
- Clear any obstacles: If there are any obstacles or tight spaces during the lift, guide the unit carefully to avoid collisions or damage. Clear the path ahead and communicate with the rest of the team to navigate safely.
- Lower the unit gently: Once the air conditioning unit is in the desired position, lower it gently onto the designated spot. Coordinate the descent among the lifting team to ensure a smooth and controlled landing.
- Release the lifting equipment: Carefully release the lifting straps or harnesses from the air conditioning unit, ensuring that all the attachments are safely disconnected.
- Assess the unit’s stability: After the lift, assess the stability of the unit and make any necessary adjustments to ensure it is securely positioned. Use a level to check for any tilts or unevenness and make corrections if needed.
Remember, the key to a successful lift is proper coordination, communication, and adherence to safe lifting techniques. By working together as a team and maintaining control throughout the process, you can lift and position the air conditioning unit with confidence and minimize the risk of accidents or damage.
Now that the air conditioning unit is lifted and properly positioned, it’s time to move on to the next step: securing the unit in place.
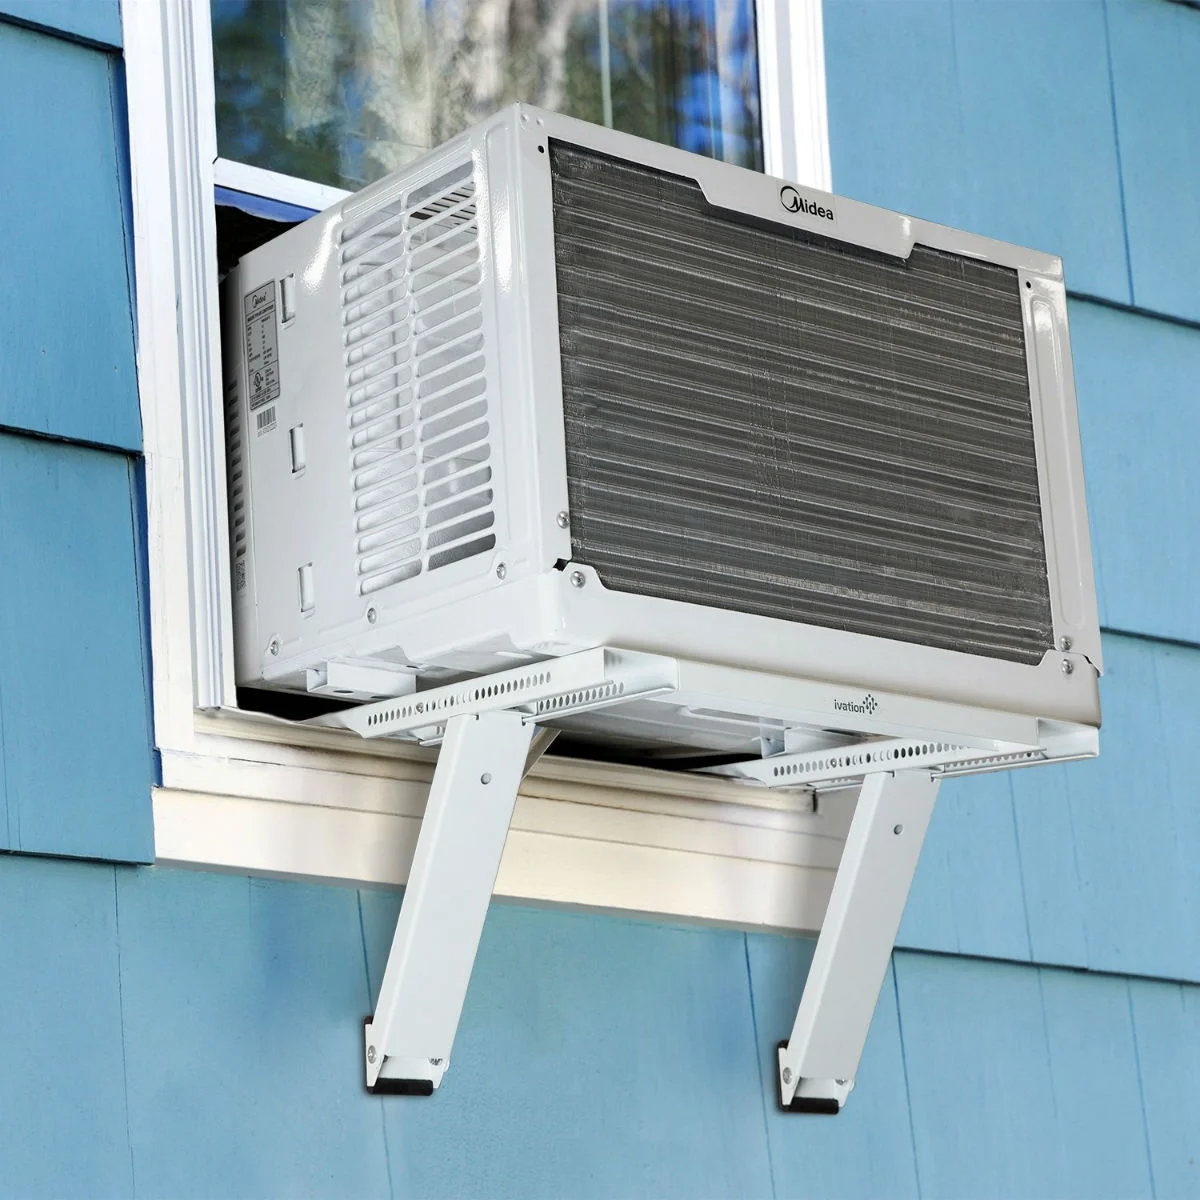
Step 5: Position and Secure the Unit
Once the air conditioning unit is safely lifted into place, the next step is to position and secure it properly. Proper positioning and securing ensures the unit’s stability, efficiency, and longevity. Here’s how to position and secure the unit:
- Align the unit: Ensure the air conditioning unit is aligned with the designated space or mounting brackets. Use a level to check for any tilts or unevenness. Adjust the unit’s position as necessary to achieve a level and balanced installation.
- Check for proper clearance: Make sure the unit has adequate clearance from walls, ceilings, and other objects. Follow the manufacturer’s guidelines regarding clearance requirements to ensure proper airflow and prevent any obstructions.
- Secure the unit: Once the unit is properly positioned, secure it in place using mounting brackets or other hardware provided by the manufacturer. Follow the manufacturer’s instructions carefully for the specific mounting requirements of your air conditioning unit.
- Tighten all fasteners: Double-check and tighten all screws, bolts, or other fasteners that secure the air conditioning unit to its mounting brackets or framework. Ensure that all connections are secure to prevent any movement or vibrations during operation.
- Seal any gaps: Use weatherstripping, foam tape, or caulk to seal any gaps or openings around the unit to prevent air leaks and improve energy efficiency. Pay attention to gaps between the unit and the wall or window frame, as well as any gaps in the ductwork.
- Connect the electrical and drainage components: Reconnect the electrical wires and ensure they are properly secured. If applicable, connect the drainage pipes and ensure they are clear from any obstructions to facilitate proper water drainage.
- Test the unit: Once the unit is securely positioned and all connections are made, test the air conditioning unit to ensure it is functioning properly. Check that the airflow is consistent, and there are no unusual sounds or vibrations.
- Make final adjustments: Make any final adjustments necessary to optimize the unit’s performance and efficiency. This can include adjusting the direction of air vents, setting the thermostat, and fine-tuning any other settings based on your preferences and the manufacturer’s recommendations.
By properly positioning and securing the air conditioning unit, you ensure its stability, effectiveness, and safety. Take the time to carefully follow the manufacturer’s instructions and guidelines to achieve an optimal installation. With the unit securely in place and functioning correctly, it’s time to move on to the final step: testing and ensuring proper installation.
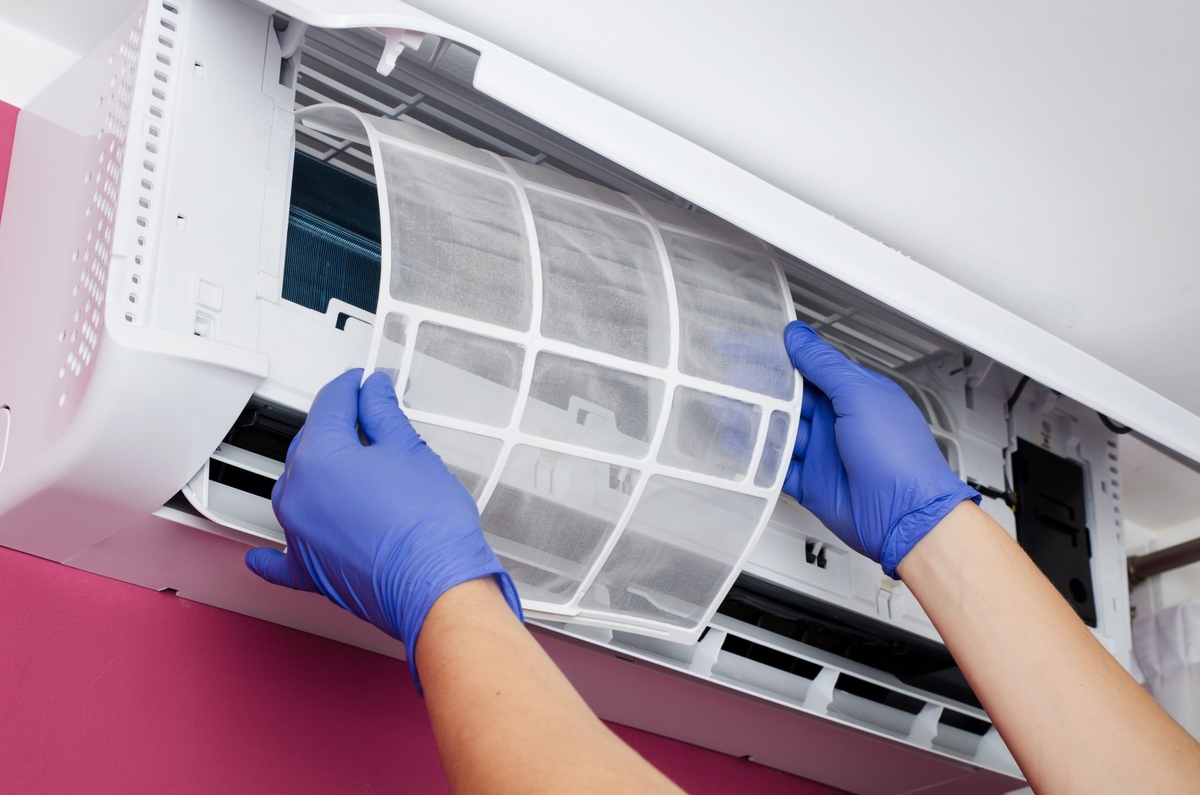
Step 6: Test the Unit and Ensure Proper Installation
After positioning and securing the air conditioning unit, it is crucial to test it and ensure that it is properly installed and functioning as intended. Testing the unit allows you to verify its performance and make any necessary adjustments for optimal operation. Follow these steps to test the unit and ensure proper installation:
- Power on the unit: Switch on the power to the air conditioning unit at the circuit breaker or main power switch. Ensure that the unit receives electricity and is ready to be tested.
- Adjust the thermostat: Set the temperature on the thermostat to the desired level and allow the air conditioning unit to run for a few minutes. Listen for the startup sound and ensure that air is flowing from the vents.
- Check for cool air: Place your hand in front of the air conditioning vents to feel the air coming out. Make sure that the air is cool and that there is consistent airflow. If the air is not cool or the airflow is weak, there may be an issue that needs to be addressed.
- Listen for unusual noises: Pay attention to any unusual sounds, such as rattling, buzzing, or grinding noises coming from the unit. Unusual noises may indicate a problem with the installation or the unit itself, and should be addressed by a professional if necessary.
- Monitor for proper cycling: Observe the air conditioning unit as it cycles on and off. It should cycle on and off at regular intervals to maintain the desired temperature in the room. If the unit is constantly running or frequently turning on and off, there could be an issue that needs attention.
- Check for proper drainage: Monitor the drainage system of the air conditioning unit to ensure that it is functioning correctly. Look for any leaks or abnormal water accumulation around the unit or in the drainage pipes. Address any drainage issues promptly to avoid water damage.
- Make necessary adjustments: Based on your observations during testing, make any necessary adjustments to optimize the unit’s performance and efficiency. This can include adjusting the thermostat settings, balancing the airflow, or addressing any issues that may have been identified.
- Note any abnormalities: If you notice any abnormalities or concerns during the testing process, such as insufficient cooling, uneven airflow, or persistent noises, it is recommended to contact a professional HVAC technician to diagnose and rectify the issues.
Testing the air conditioning unit after installation ensures that it is functioning properly and provides you with the opportunity to address any installation or operational issues. By following these testing steps, you can ensure that your air conditioning unit is ready to provide optimal comfort in your home.
Congratulations! You have successfully completed the process of lifting up an air conditioning unit and ensuring its proper installation. By following these steps and taking the necessary precautions, you can maintain the efficiency and longevity of your air conditioning unit while enjoying a comfortable living space.
Please note that while this guide provides general instructions, it is important to refer to the specific guidelines provided by the manufacturer of your air conditioning unit for the most accurate and detailed instructions tailored to your specific model.
Read more: Why Air Conditioning Unit Freezes Up
Conclusion
Congratulations on successfully lifting up and installing your air conditioning unit! By following the step-by-step guide and taking the necessary safety precautions, you have ensured a safe and efficient process. Properly lifting and positioning the unit is essential for its performance, longevity, and the safety of both you and the equipment.
Throughout the guide, we covered important steps such as assessing the unit and determining the proper lifting technique, clearing the area around the unit, preparing the lifting equipment, lifting the unit with proper techniques, positioning and securing the unit, and finally testing to ensure proper installation.
Remember, safety should always be a top priority when dealing with heavy equipment like air conditioning units. Take the time to gather the necessary tools and materials, wear appropriate protective gear, and seek assistance when needed. By adhering to safety precautions, you can prevent accidents, injuries, and potential damage to the unit or your property.
Properly positioning and securing the air conditioning unit is crucial for optimal performance. Ensure the unit is aligned, has sufficient clearance, and is securely fastened to its mounting brackets. Make any necessary adjustments to achieve a level and stable installation.
After positioning and securing the unit, don’t forget to test it for proper functionality. Check for cool air, monitor for proper cycling, and listen for any unusual noises. Address any issues or abnormalities promptly to ensure the unit operates efficiently and provides adequate cooling for your space.
Remember to consult the manufacturer’s guidelines and instructions specific to your air conditioning unit for the most accurate and detailed information. They will provide valuable insights tailored to your specific model, ensuring a successful installation.
By following these steps and guidelines, you have taken a proactive approach to home maintenance and ensured a comfortable living environment. Regular maintenance, cleaning, and inspections will further contribute to the unit’s longevity and efficient operation.
Thank you for using our comprehensive guide on how to lift up an air conditioning unit. We hope that this information has empowered you to tackle this home maintenance task with confidence and success. Enjoy the benefits of a well-installed air conditioning unit and a cool and comfortable living space!
Frequently Asked Questions about How To Lift Up An Air Conditioning Unit
Was this page helpful?
At Storables.com, we guarantee accurate and reliable information. Our content, validated by Expert Board Contributors, is crafted following stringent Editorial Policies. We're committed to providing you with well-researched, expert-backed insights for all your informational needs.