Home>Home Maintenance>How To Remove Air Conditioning Vents
Home Maintenance
How To Remove Air Conditioning Vents
Modified: August 30, 2024
Learn how to remove air conditioning vents with our step-by-step guide. Our home maintenance tips will help you keep your vents clean and efficient.
(Many of the links in this article redirect to a specific reviewed product. Your purchase of these products through affiliate links helps to generate commission for Storables.com, at no extra cost. Learn more)
Introduction
Welcome to our comprehensive guide on how to remove air conditioning vents. Whether you’re looking to clean your vents, perform maintenance, or make repairs, knowing how to properly remove a vent is essential. By following the steps outlined in this article, you’ll be able to tackle this task with confidence and ensure optimal airflow throughout your home.
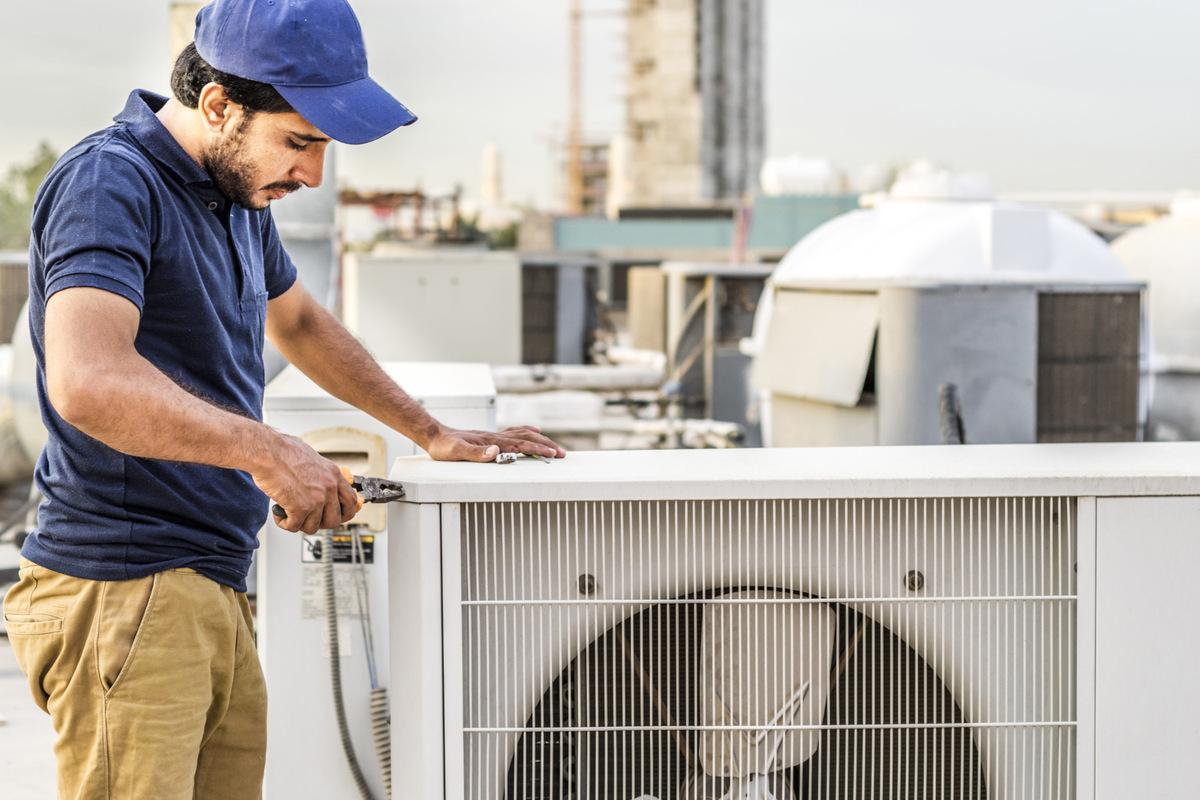
Proper airflow is crucial for maintaining a comfortable indoor environment and maximizing the performance of your air conditioning system. Over time, dust, debris, and even mold can accumulate within the vents, restricting airflow and decreasing the efficiency of your system. That’s why regular cleaning and maintenance of your air conditioning vents are necessary.
Before we dive into the step-by-step process of removing air conditioning vents, let’s go over the tools and materials you’ll need:
Key Takeaways:
- Regularly cleaning air conditioning vents is essential for maintaining optimal airflow and system efficiency, ensuring a comfortable indoor environment and prolonging the lifespan of the unit.
- Prioritize safety by turning off the air conditioning unit before removing the vent cover, and follow the manufacturer’s instructions for specific guidance on cleaning removable grilles or filters.
Read more: How To Close Air Conditioning Vents
Tools and Materials Needed
Before you begin removing your air conditioning vents, it’s important to gather the necessary tools and materials. Having these items on hand will make the process smoother and more efficient. Here’s a list of what you’ll need:
- Screwdriver or drill – This will be used to remove any screws or fasteners that hold the vent cover in place.
- Vacuum cleaner with a brush attachment – A vacuum will help you remove dust and debris from both the vent cover and the vent opening.
- Microfiber cloth or soft brush – This will be used to clean the vent cover and remove any stubborn dirt or grime.
- Mild detergent or cleaning solution – If the vent cover is particularly dirty, you may need to use a cleaning solution to remove the buildup.
- Paper towels or a clean cloth – These will come in handy for wiping and drying the vent cover.
Make sure you have all these tools and materials readily available before starting the process. It’s always better to be prepared!
Step 1: Turn off the Air Conditioning Unit
Before you begin removing the air conditioning vent, it’s crucial to turn off the unit to ensure your safety. Here’s how you can do it:
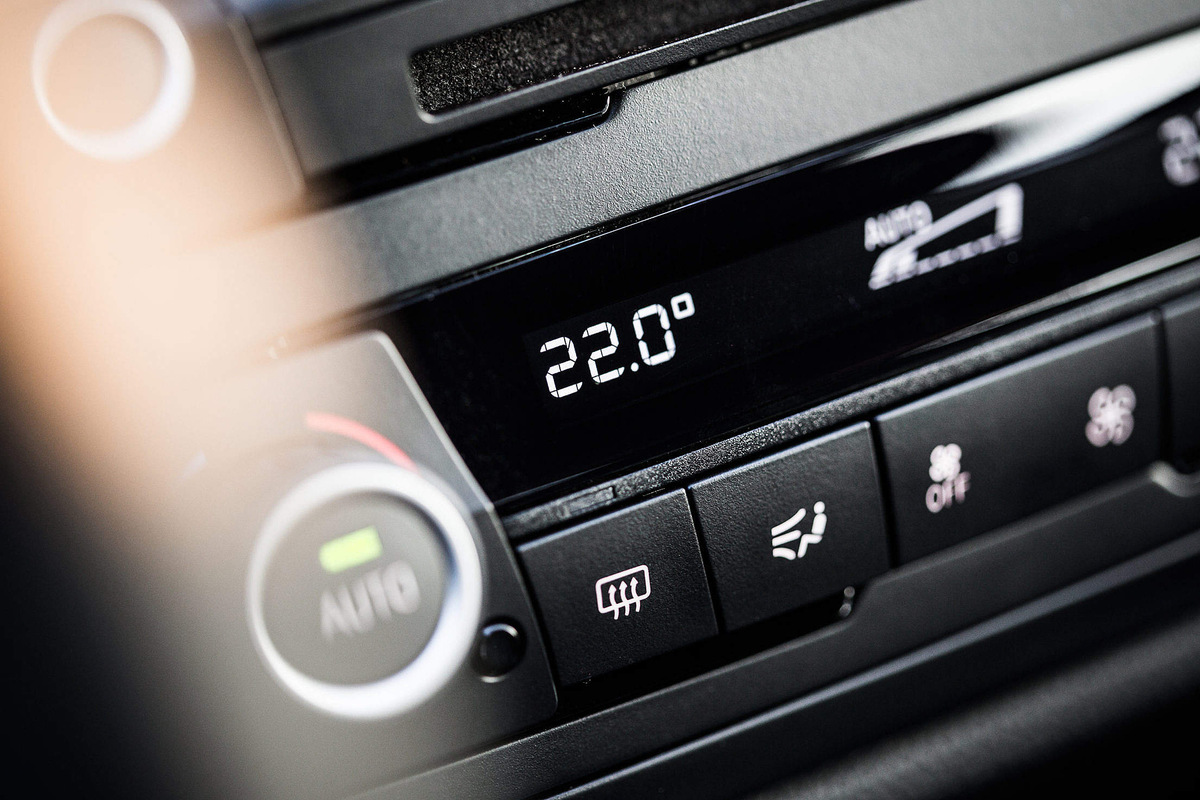
- Locate the thermostat – The thermostat is usually found on a wall inside your home and controls the temperature of your air conditioning system.
- Set the thermostat to the “Off” position – Look for the power switch or button on your thermostat and switch it off. This will effectively shut down the air conditioning unit.
- Check for power indicator lights – Some air conditioning systems have indicator lights that show when the unit is still receiving power. Make sure all lights are off to confirm that the unit is turned off completely.
- Give it a few minutes – Allow a few minutes for the system to completely shut down and the fan to stop running. This will ensure your safety when removing the vent cover.
Turning off the air conditioning unit is an important first step to prevent any accidents or injuries while removing the vent. Always prioritize safety!
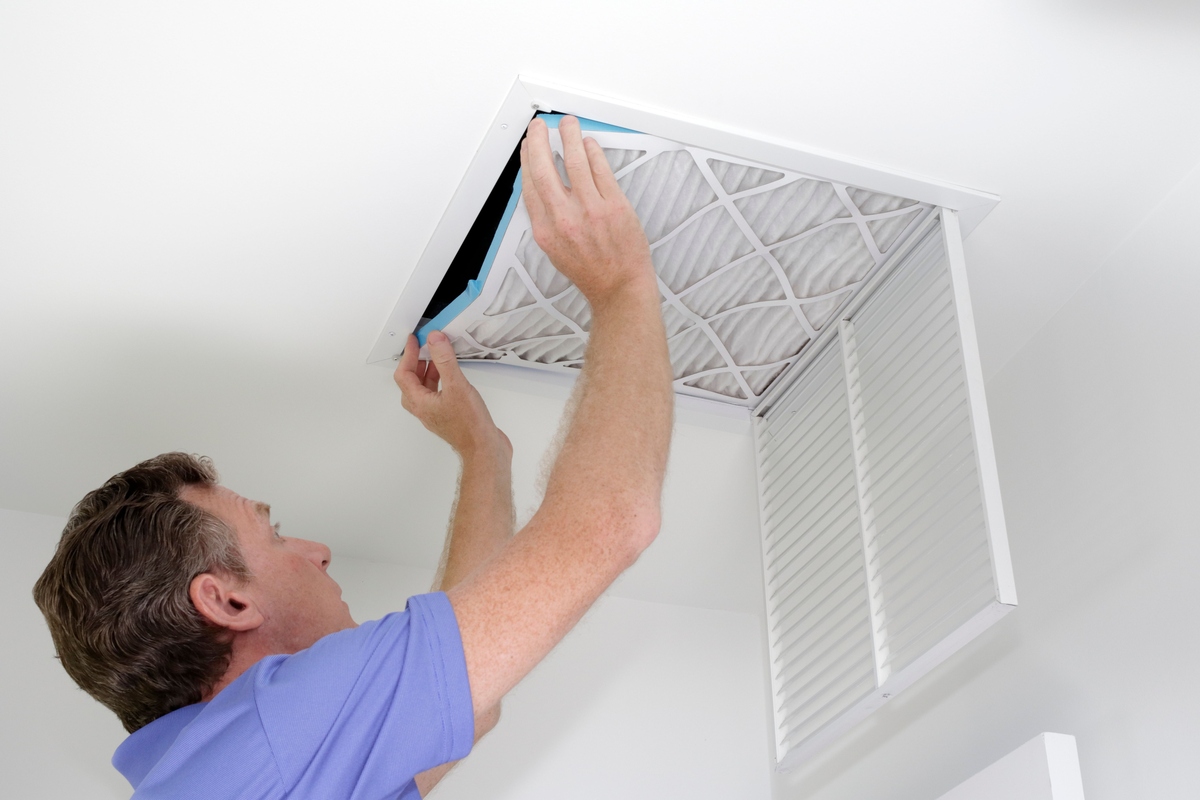
Step 2: Remove the Vent Cover
Now that you’ve turned off the air conditioning unit, it’s time to remove the vent cover. Follow these steps:
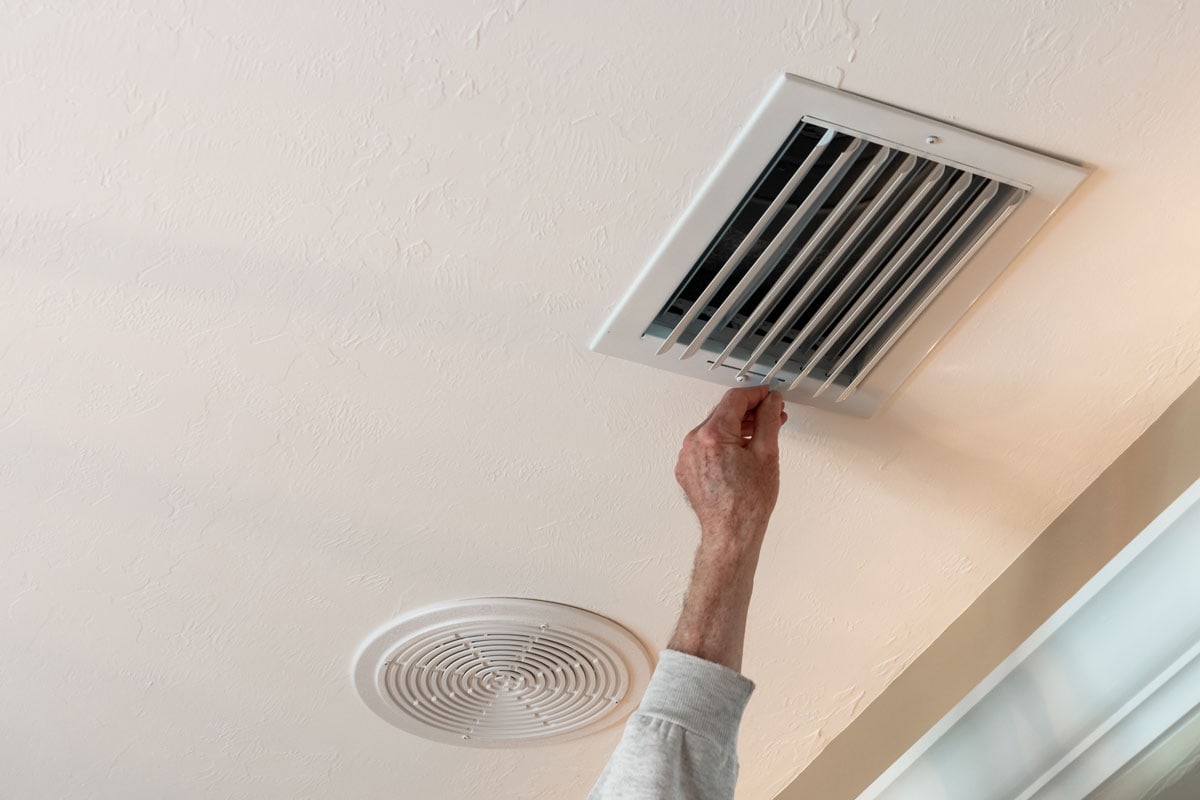
- Inspect the vent cover – Take a moment to examine the vent cover and look for any visible screws or fasteners that are holding it in place. Most vent covers are secured with screws located on the outer edges or corners.
- Use a screwdriver or drill – If there are screws, use a screwdriver or drill with the appropriate bit to remove them. Carefully unscrew each fastener and set them aside in a safe place to avoid misplacing them.
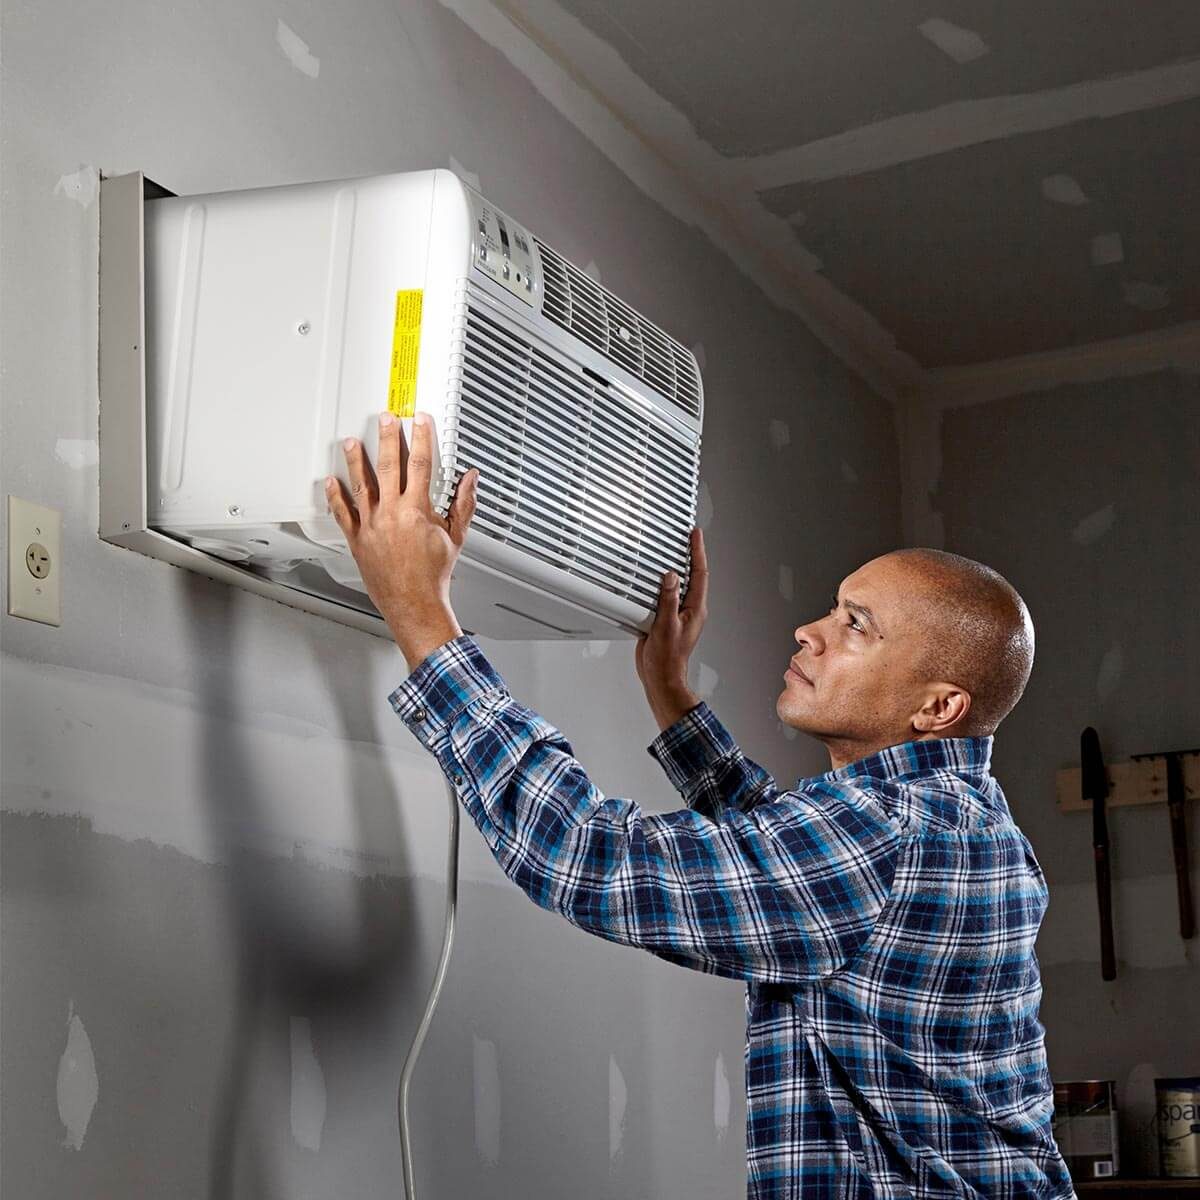
- Gently pull off the vent cover – Once the screws are removed, the vent cover should easily come loose. Using both hands, gently pull it away from the vent opening. If it doesn’t come off easily, there may be additional clips or fasteners holding it in place. In this case, refer to the manufacturer’s instructions for assistance.
Remember to handle the vent cover with care to avoid damaging it. Some covers may be made of fragile materials, such as plastic, and can easily crack or break if mishandled.
By following these steps, you have successfully removed the vent cover, allowing you to gain access to the interior of the vent for cleaning or maintenance purposes.
Step 3: Clean the Vent Cover
Once you have removed the vent cover, it’s time to clean it. Over time, dust, dirt, and other debris can accumulate on the surface, reducing the airflow and overall efficiency of your air conditioning system. Here’s how you can clean the vent cover:
- Inspect the vent cover – Take a close look at the vent cover and identify any visible dirt or grime. Pay attention to the corners and edges where dust tends to accumulate the most.
- Use a microfiber cloth or soft brush – Start by gently wiping down the surface of the vent cover using a microfiber cloth. If the vent cover is particularly dirty, you can use a soft brush to loosen any stubborn dirt or debris.
- Mix mild detergent with water – If the vent cover is still not clean, you can create a cleaning solution by mixing a small amount of mild detergent with water. Dip the microfiber cloth into the soapy mixture and squeeze out any excess liquid.
- Gently clean the vent cover – Use the damp cloth to wipe away any remaining dirt or grime on the vent cover. Be sure to clean both the front and back of the cover thoroughly. If necessary, you can use a toothbrush or cotton swab to reach any tight corners or crevices.
- Dry the vent cover – After cleaning, use a dry microfiber cloth or paper towel to blot and dry the vent cover. Make sure it is completely dry before reinstallation to prevent any potential water damage.
By following these steps, you will have effectively cleaned the vent cover, improving airflow and maintaining the cleanliness and efficiency of your air conditioning system.
Use a flathead screwdriver to carefully pry the vent cover off. Then, use a vacuum with a brush attachment to clean inside the vent before replacing the cover.
Read more: How To Balance Air Conditioning Vents
Step 4: Clean the Vent Opening
Now that you have cleaned the vent cover, it’s time to turn your attention to the vent opening itself. Over time, dust, pet hair, and other debris can accumulate in the vent, obstructing airflow and decreasing the effectiveness of your air conditioning system. Here’s how you can clean the vent opening:
- Prepare your vacuum cleaner – Attach the brush attachment to your vacuum cleaner. This attachment is designed to help you effectively remove dirt and debris from the vent opening.
- Position the vacuum cleaner – Hold the brush attachment close to the vent opening, ensuring a tight seal. This will help prevent any dust or debris from being released into the air while vacuuming.
- Turn on the vacuum cleaner – Switch on the vacuum cleaner and move the brush attachment around the vent opening, using gentle, circular motions. The suction power of the vacuum will dislodge and remove any dirt or debris inside the vent.
- Pay attention to the entire vent opening – Make sure to cover the entire surface area of the vent opening, including the edges and corners. These areas often accumulate the most dust and debris.
- Repeat if necessary – If you notice that there is still dirt or debris remaining in the vent opening, you can repeat the vacuuming process until it is completely clean.
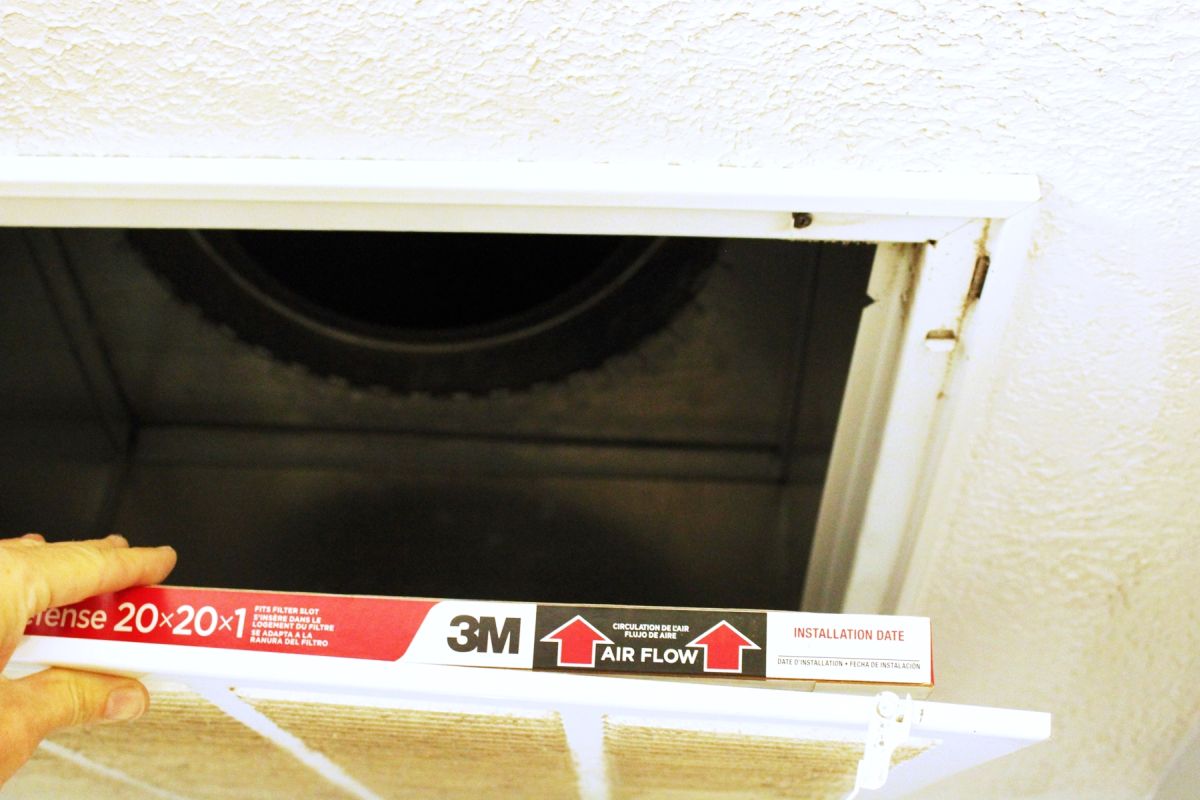
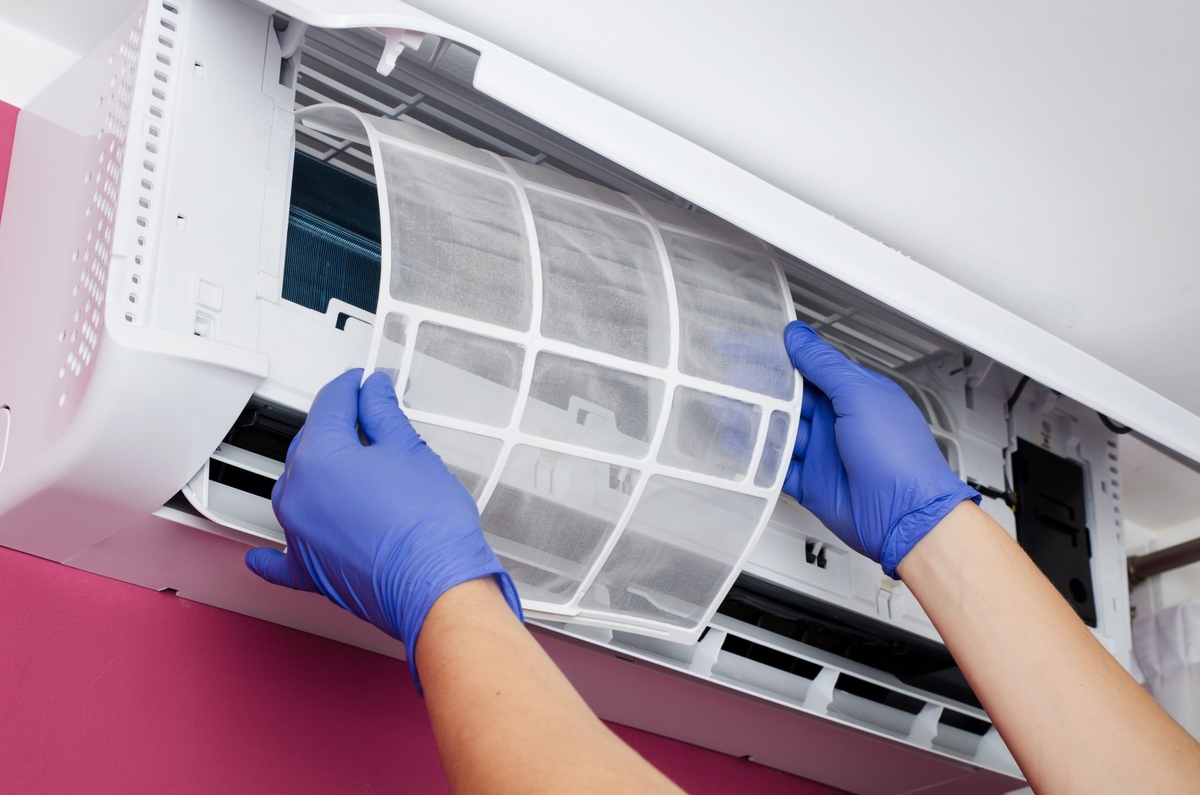
It’s important to note that some vents may have removable grilles or filters that can be cleaned separately. If your vent has these components, refer to the manufacturer’s instructions on how to remove and clean them properly.
By following these steps, you will have successfully cleaned the vent opening, ensuring proper airflow and improving the efficiency of your air conditioning system.
Step 5: Reinstall the Vent Cover
Now that you have cleaned the vent cover and the vent opening, it’s time to reassemble and reinstall the vent cover. Properly securing the vent cover is important to ensure it stays in place and maintains optimal airflow. Follow these steps to reinstall the vent cover:
- Inspect the vent opening – Before reinstallation, check the vent opening to ensure it is clean and free from any remaining dirt or debris.
- Align the vent cover – Position the vent cover over the vent opening, making sure it is correctly aligned. The vent cover should fit snugly into place.
- Insert screws or fasteners – If your vent cover is held in place by screws or fasteners, insert them back into the designated holes. Use a screwdriver or drill to secure the screws tightly, but be careful not to overtighten and damage the vent cover.
- Double-check the vent cover – After securing the vent cover, gently press on it to ensure it is firmly in place. Make sure it doesn’t wobble or move when touched.
It’s important to note that some vent covers may have different installation methods, such as snapping into place or using clips. If your vent cover utilizes a different method, refer to the manufacturer’s instructions for the proper way to reinstall it.
By following these steps, you will have successfully reinstalled the vent cover, restoring proper airflow and completing the maintenance process.
Step 6: Turn on the Air Conditioning Unit
After reinstalling the vent cover, it’s time to turn the air conditioning unit back on. This final step will ensure that your system is up and running, providing you with cool and refreshing air throughout your home. Follow these steps to turn on the air conditioning unit:
- Locate the thermostat – As mentioned earlier, the thermostat controls the operation of your air conditioning system. Find the thermostat in your home.
- Set the desired temperature – Adjust the thermostat knob or set the desired temperature using the digital interface. Choose a comfortable temperature that suits your preferences.
- Switch on the air conditioning unit – Look for the power switch or button on the thermostat and turn it on. You may hear the system powering up or feel a slight breeze indicating that the unit is running.
- Wait for the cool air – It may take a few minutes for the air conditioning system to start producing cool air. Be patient and allow the system to reach the desired temperature.
It’s important to note that each air conditioning unit may have different controls and settings. If you are unsure about how to operate your specific system, refer to the manufacturer’s instructions or consult a professional.
By following these steps, you will have successfully turned on the air conditioning unit, allowing it to cool your home efficiently and effectively.
Conclusion
Congratulations! You have successfully learned how to remove air conditioning vents and perform essential maintenance tasks. By following the step-by-step guide outlined in this article, you can ensure optimal airflow and efficiency in your air conditioning system, ultimately creating a comfortable and healthy indoor environment.
Regularly cleaning your vent covers and vent openings will help prevent dust, dirt, and debris from accumulating and clogging your system. This will not only improve the performance of your air conditioning unit but also prolong its lifespan.
Remember, safety should always be a priority when working with air conditioning systems. Make sure to turn off the unit before removing the vent cover, and exercise caution when handling the cover and cleaning the vents.
Don’t forget to refer to the manufacturer’s instructions for specific guidance on your air conditioning system and any removable grilles or filters that require cleaning.
By incorporating regular vent maintenance into your home maintenance routine, you can ensure that your air conditioning system operates efficiently, providing you with a cool and comfortable environment for years to come.
Thank you for reading, and we hope this guide has been informative and helpful. Happy vent cleaning!
Frequently Asked Questions about How To Remove Air Conditioning Vents
Was this page helpful?
At Storables.com, we guarantee accurate and reliable information. Our content, validated by Expert Board Contributors, is crafted following stringent Editorial Policies. We're committed to providing you with well-researched, expert-backed insights for all your informational needs.