Home>Home Maintenance>How Often Should Air Conditioning Be Serviced
Home Maintenance
How Often Should Air Conditioning Be Serviced
Modified: August 27, 2024
Ensure optimal performance and longevity of your home's air conditioning system with regular maintenance. Learn how often you should schedule servicing for effective home maintenance.
(Many of the links in this article redirect to a specific reviewed product. Your purchase of these products through affiliate links helps to generate commission for Storables.com, at no extra cost. Learn more)
Introduction
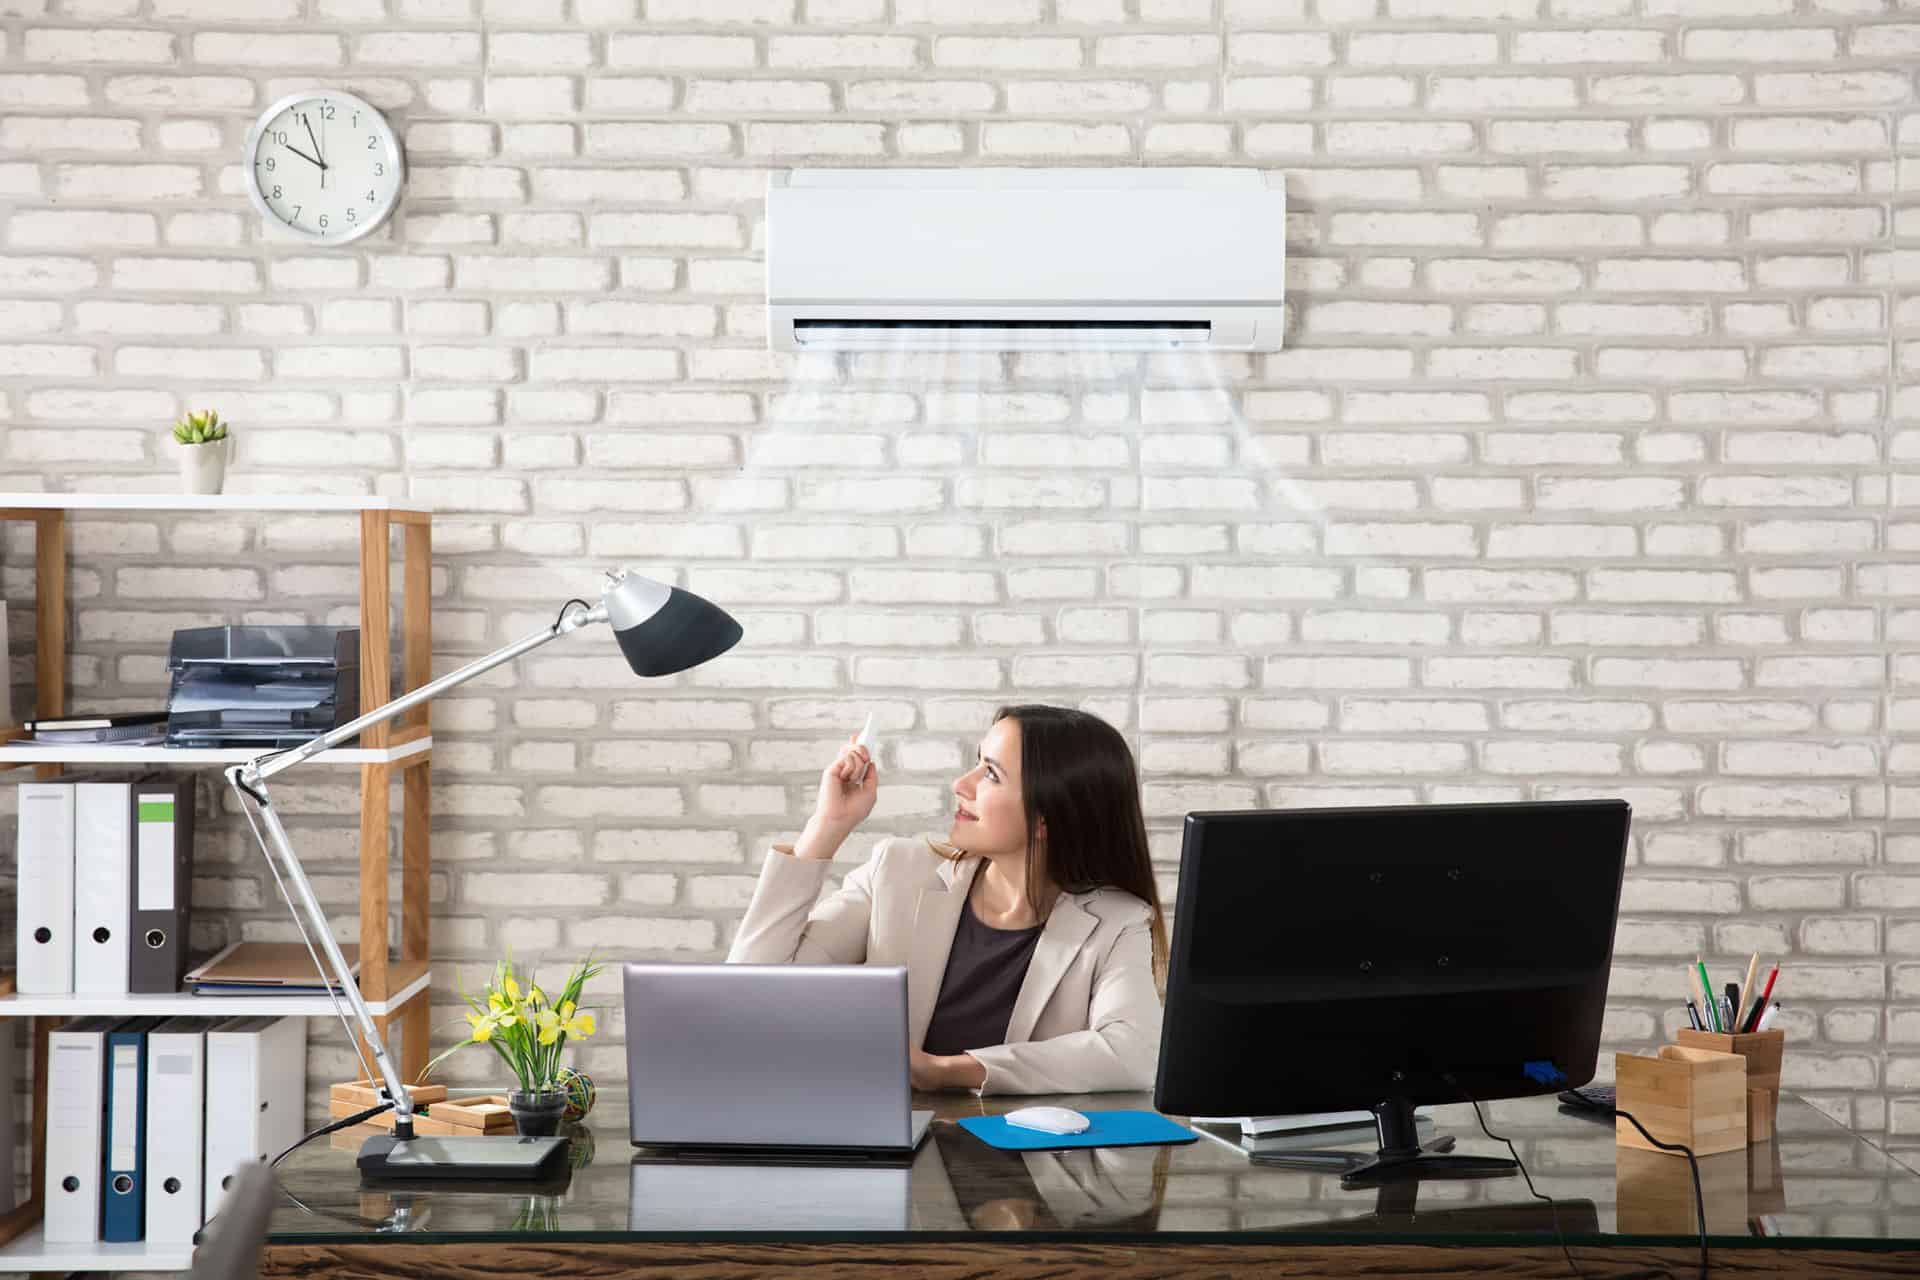
Welcome to our comprehensive guide on air conditioning servicing. As a homeowner, you know how important it is to keep your home comfortable. And one of the key components of maintaining a comfortable indoor environment, especially during hot summer months, is having a well-functioning air conditioning system.
Regular air conditioning servicing is essential to ensure that your system operates efficiently and effectively. In this article, we will explore the importance of regular servicing, factors to consider for servicing frequency, manufacturer’s recommendations, signs that your air conditioning needs servicing, and the benefits of keeping up with regular maintenance. We will also highlight the risks of neglecting air conditioning servicing.
So, whether you are a new homeowner or have been living in your current home for years, this comprehensive guide will provide you with the information you need to keep your air conditioning system in optimal condition. By following the recommendations outlined in this article, you can save money on energy bills, prolong the lifespan of your system, and ensure a comfortable living environment for you and your family.
Key Takeaways:
- Regular air conditioning servicing is crucial for efficiency, indoor air quality, and identifying potential issues early to prevent major breakdowns and costly repairs. It’s an investment in long-term comfort and savings on energy bills.
- Neglecting air conditioning servicing can lead to decreased efficiency, poor indoor air quality, higher repair costs, and safety risks. Regular maintenance ensures optimal performance, extended lifespan, and peace of mind.
Importance of Regular Air Conditioning Servicing
Regular air conditioning servicing is crucial for several reasons. First and foremost, it ensures that your system operates at its peak performance. Over time, dust and debris can accumulate in the air filters, coils, and other components of your air conditioner. This buildup can restrict airflow and cause your system to work harder, leading to decreased efficiency and increased energy consumption.
By scheduling regular servicing, you can have these components cleaned and maintained, allowing for proper airflow and efficient operation. This not only reduces energy costs but also extends the lifespan of your air conditioning system. A well-maintained system will experience fewer breakdowns and require fewer costly repairs.
Another important reason for regular servicing is to maintain good indoor air quality. Your air conditioner plays a crucial role in filtering and circulating the air in your home. Over time, the filters can become clogged with dirt, pollen, allergens, and other pollutants. This can lead to poor indoor air quality, which can cause respiratory issues, allergies, and other health problems.
By regularly cleaning or replacing the air filters and other components, you can ensure that the air circulating in your home is clean and healthy. This is especially important for individuals with respiratory conditions or allergies.
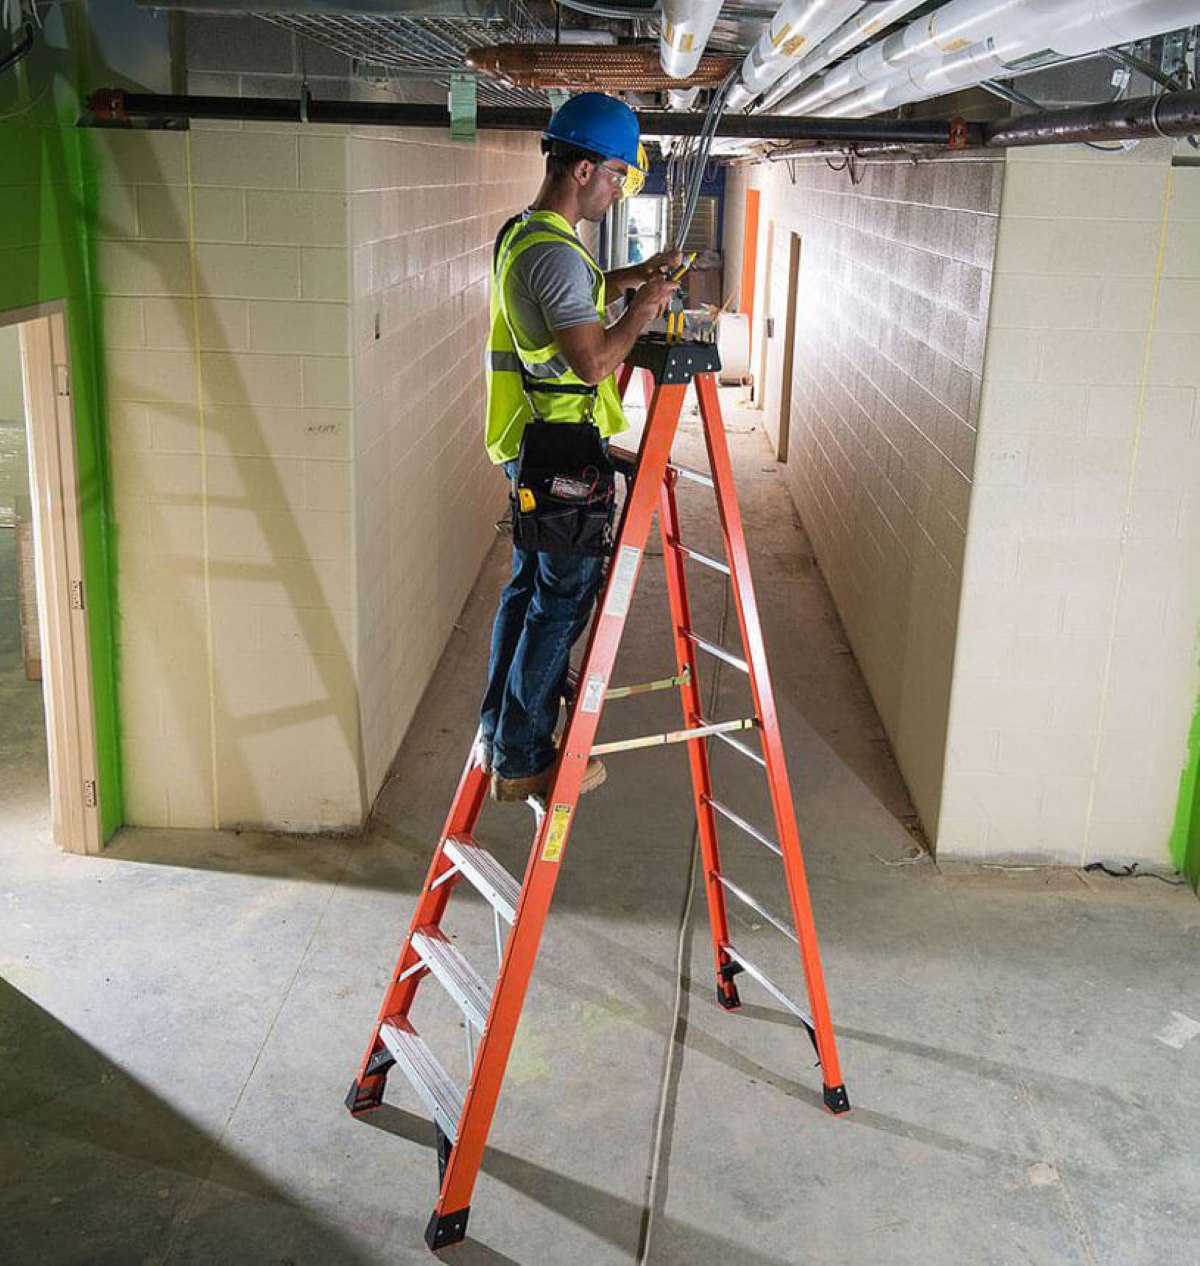
In addition to improving performance and indoor air quality, regular servicing can also help identify and address potential issues before they become major problems. During a service appointment, a trained technician can inspect your system for any signs of wear and tear, damaged components, or malfunctioning parts. By catching these issues early on, you can avoid more significant breakdowns and expensive repairs down the line.
Overall, regular air conditioning servicing is an investment in the long-term performance, efficiency, and lifespan of your system. By keeping up with routine maintenance, you can enjoy the benefits of a comfortable indoor environment, improved energy efficiency, lower utility bills, better indoor air quality, and peace of mind knowing that your system is in good working order.
Factors to Consider for Servicing Frequency
When it comes to determining the frequency of air conditioning servicing, there are several factors to consider. While it is generally recommended to have your system serviced at least once a year, there are certain circumstances that may require more frequent servicing. Let’s take a closer look at these factors:
- Usage: The more often you use your air conditioning system, the more frequently it should be serviced. If you rely heavily on your AC to keep your home cool during hot summer months, it may be beneficial to have it serviced every six months or even quarterly.
- Location: The climate and environment in which you live can impact the frequency of servicing. If you reside in an area with high temperatures, high humidity, or high levels of dust and pollutants, your air conditioning system may require more frequent servicing to combat these factors.
- Age of the System: Older air conditioning systems may require more frequent servicing compared to newer models. As your system ages, wear and tear can accumulate, and components may start to deteriorate. Regular maintenance can help identify and address these issues before they lead to major breakdowns.
- Manufacturer’s Recommendations: Each air conditioning system comes with its own set of manufacturer’s recommendations for servicing frequency. These guidelines are based on the specific design and components of the system. It is essential to consult the manufacturer’s manual or contact a professional technician to determine the recommended servicing schedule for your particular system.
- Warranty Requirements: If your air conditioning system is still under warranty, regular servicing may be required to maintain the warranty coverage. Failing to adhere to the recommended servicing schedule could result in voiding the warranty, leaving you responsible for any repairs or replacements.
It is important to note that these factors are not set in stone, and the frequency of servicing may vary depending on your specific circumstances. Consulting with a qualified HVAC technician can help you determine the ideal servicing frequency for your air conditioning system.
Remember, regular maintenance is key to ensuring the longevity and optimal performance of your air conditioning system. By keeping up with servicing, you can address minor issues before they escalate, maximize energy efficiency, and enjoy the comfort of a well-functioning air conditioning system.
Manufacturer’s Recommendations for Servicing
When it comes to servicing your air conditioning system, it is important to follow the manufacturer’s recommendations. These guidelines are provided to ensure that your system operates at its best and to maintain the warranty coverage, if applicable. Let’s explore some common manufacturer’s recommendations for servicing:
- Servicing Frequency: Manufacturers typically recommend having your air conditioning system serviced at least once a year. This allows for routine maintenance, inspection, and cleaning of the various components. However, some manufacturers may suggest more frequent servicing based on factors such as usage, climate, and system age.
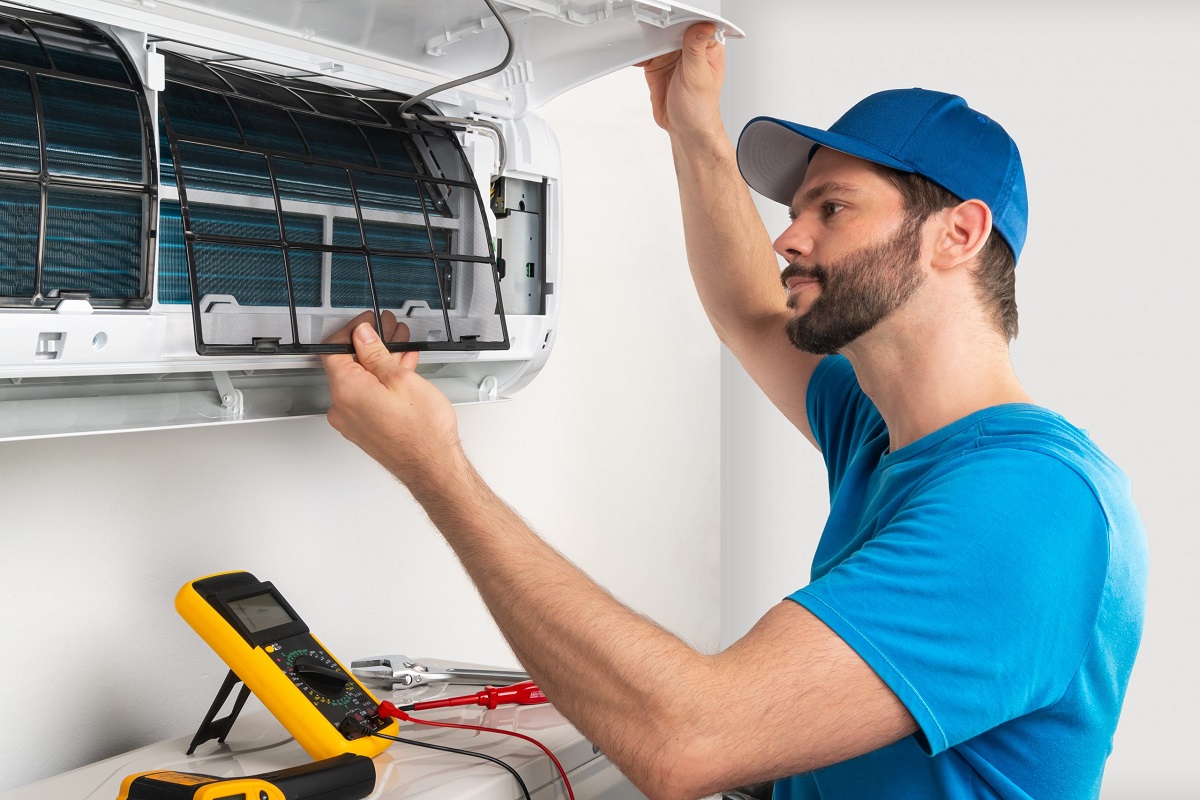
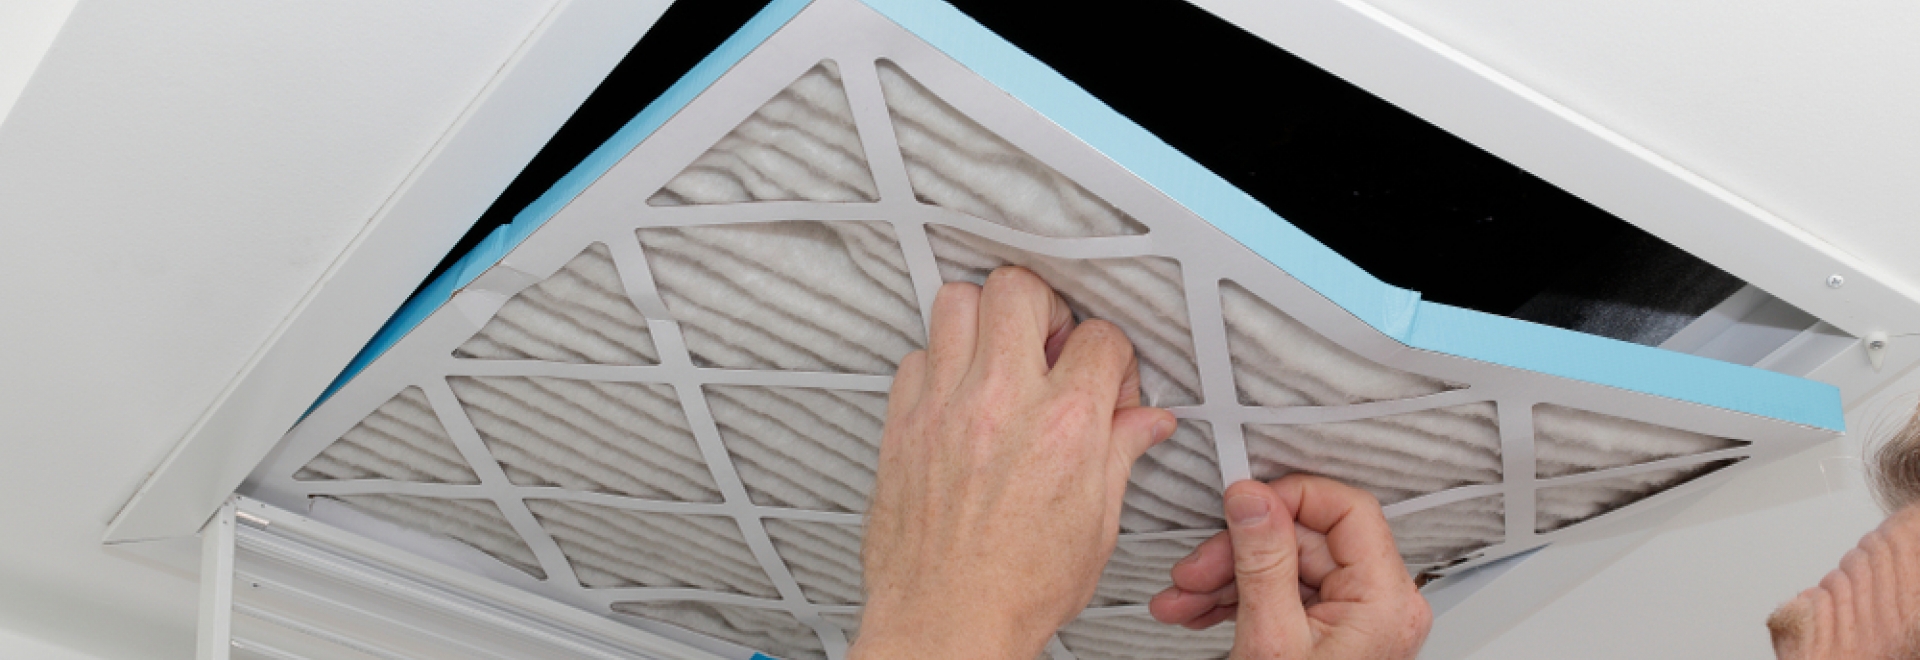
- Filter Cleaning/Replacement: The air filters in your air conditioning system are responsible for capturing dust, pollen, and other airborne particles. Over time, these filters can become clogged, reducing airflow and efficiency. Manufacturers often recommend cleaning or replacing the air filters every 1-3 months, depending on factors like filter type and environmental conditions.
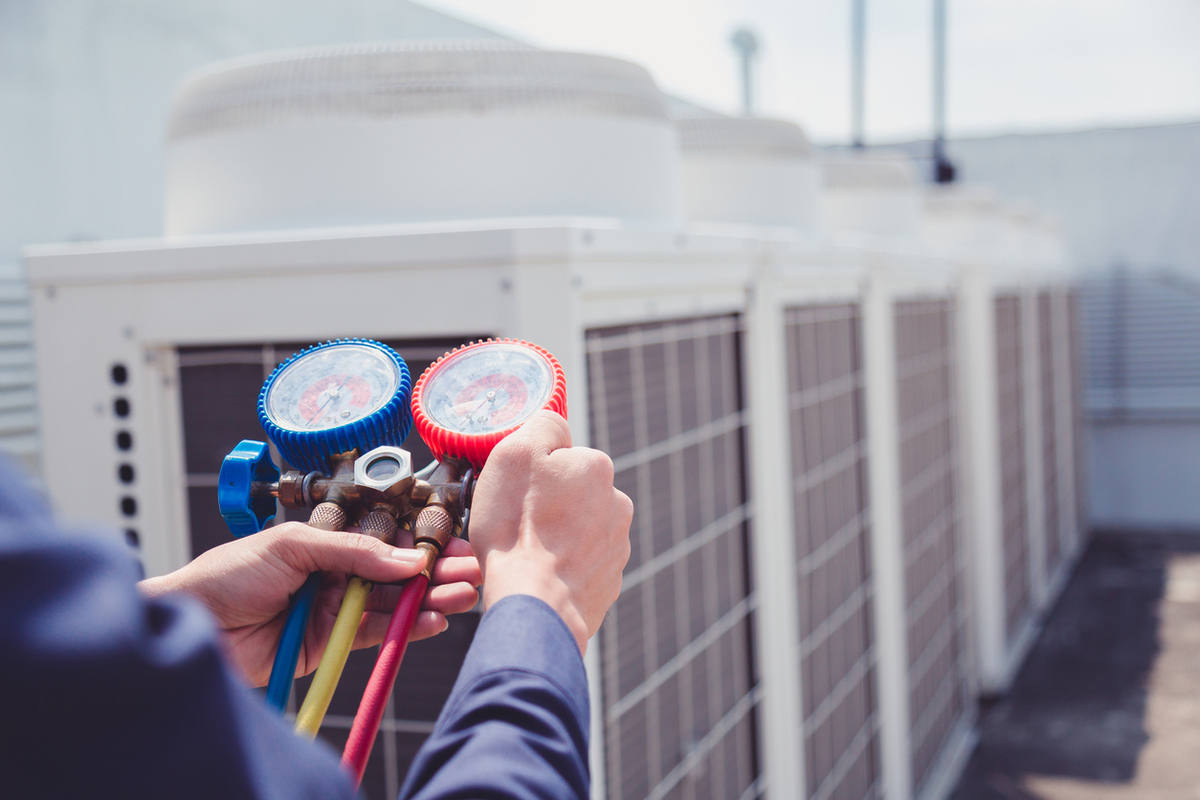
- Coil Cleaning: The evaporator and condenser coils in your air conditioning system are crucial for heat exchange. Over time, these coils can accumulate dirt, debris, and even mold, hindering their ability to cool or heat the air efficiently. Manufacturers may recommend having the coils cleaned annually or as needed, based on factors like location and usage.
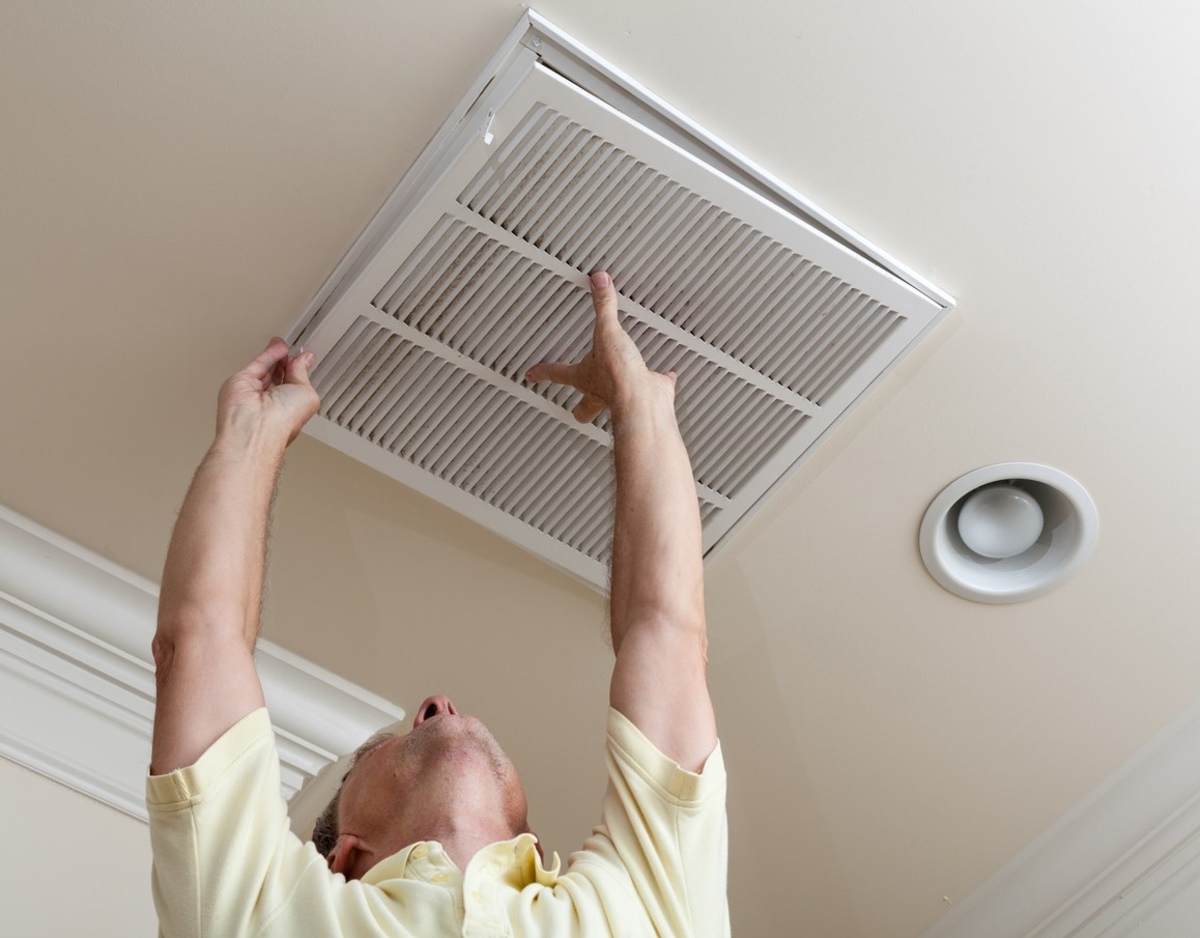
- Duct Cleaning: The ductwork in your home plays a vital role in distributing conditioned air. If your air conditioning system utilizes ducts, manufacturers may suggest having them professionally cleaned every few years to remove dust, allergens, and other contaminants that can compromise indoor air quality and system efficiency.
- Lubrication: Some air conditioning systems have moving parts that require lubrication to reduce friction and ensure smooth operation. Manufacturers may recommend lubricating these parts during routine servicing to prevent wear and improve system longevity.
- Component Inspection: Manufacturers often recommend a thorough inspection of various system components during servicing. This includes checking electrical connections, refrigerant levels, thermostat calibration, and overall system performance. Timely identification and resolution of potential issues can prevent system breakdowns and costly repairs.
It is important to keep in mind that these recommendations may vary depending on the specific make and model of your air conditioning system. Always consult the manufacturer’s manual or contact a qualified HVAC technician to ensure that you are following the correct servicing guidelines for your particular system.
By adhering to the manufacturer’s recommendations for servicing, you can ensure the optimal performance, efficiency, and longevity of your air conditioning system. Regular maintenance will not only keep your system operating at its best but also help you avoid unnecessary repairs and premature replacements.
Signs that Your Air Conditioning Needs Servicing
Just like any other mechanical system, your air conditioning system may exhibit signs that indicate it needs servicing. By being aware of these signs, you can address potential issues before they worsen and ensure that your system continues to operate efficiently. Here are some common signs that your air conditioning needs servicing:
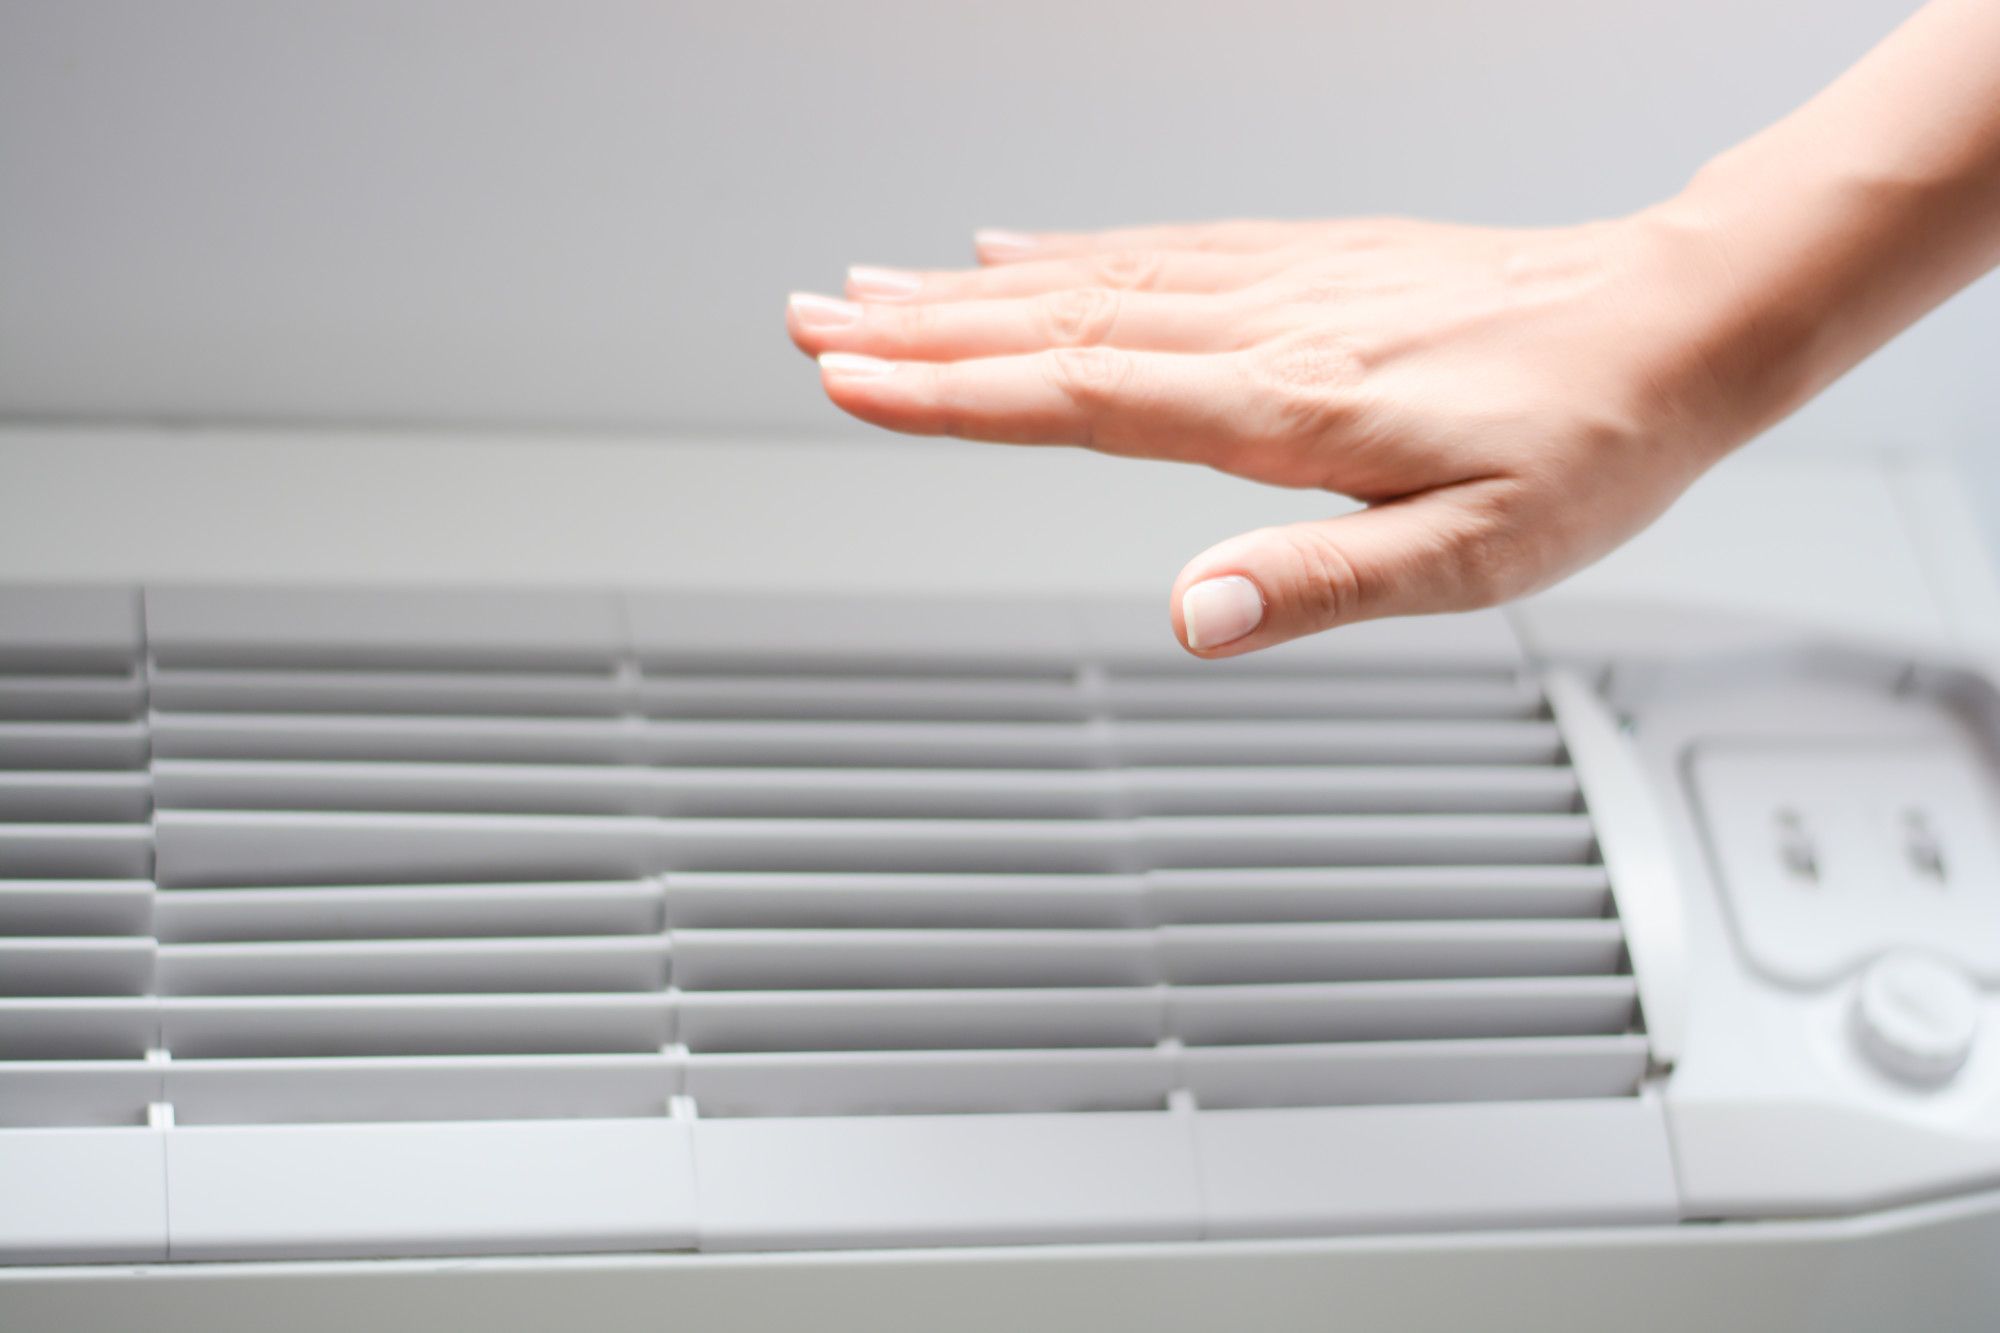
- Insufficient Cooling: If you notice that your air conditioning system is struggling to cool your home as effectively as before, it may be a sign that servicing is needed. This could be due to issues such as a clogged air filter, malfunctioning thermostat, or low refrigerant levels. A professional technician can diagnose the problem and recommend the necessary repairs or maintenance.
- Strange Noises: Unusual noises coming from your air conditioning system, such as grinding, squealing, or banging sounds, can indicate a mechanical problem. These noises may be caused by loose or damaged components, worn-out belts, or malfunctioning motors. It is best to have a technician investigate and address the issue before it leads to further damage.
- Foul Odors: If there is a persistent musty or foul smell coming from your air conditioning system, it could indicate a mold or mildew growth. These odors can be a result of moisture buildup or a clogged condensate drain. Ignoring the issue can lead to poor indoor air quality and potential health problems, so it’s important to have it addressed promptly.
- Poor Airflow: Reduced or weak airflow from your vents can be a sign of a blocked or clogged air filter, ductwork issues, or a malfunctioning blower fan. Restricted airflow not only affects the cooling performance but also puts unnecessary strain on the system.
- Inconsistent Temperatures: If you notice significant temperature variations between different rooms or areas of your home, it could indicate an airflow problem or an issue with the ductwork. Having your system serviced can help identify and resolve the underlying cause, ensuring consistent and even cooling throughout your home.
- Frequent Cycling: An air conditioning system that cycles on and off frequently, known as short cycling, may indicate an issue with the thermostat, refrigerant levels, or airflow. This not only reduces energy efficiency but also puts unnecessary wear and tear on the system. A professional technician can diagnose the problem and recommend the appropriate solution.
It is important to note that these signs may vary depending on the specific system and its condition. If you notice any of these signs or any other changes in your system’s performance, it is advisable to schedule a professional air conditioning service. A qualified technician will conduct a thorough inspection, diagnose any issues, and perform the necessary repairs or maintenance to ensure that your system operates smoothly.
By addressing these signs promptly, you can prevent further damage and extend the lifespan of your air conditioning system. Regular servicing and maintenance are vital to keeping your system in optimal condition, providing you with reliable and efficient cooling for years to come.
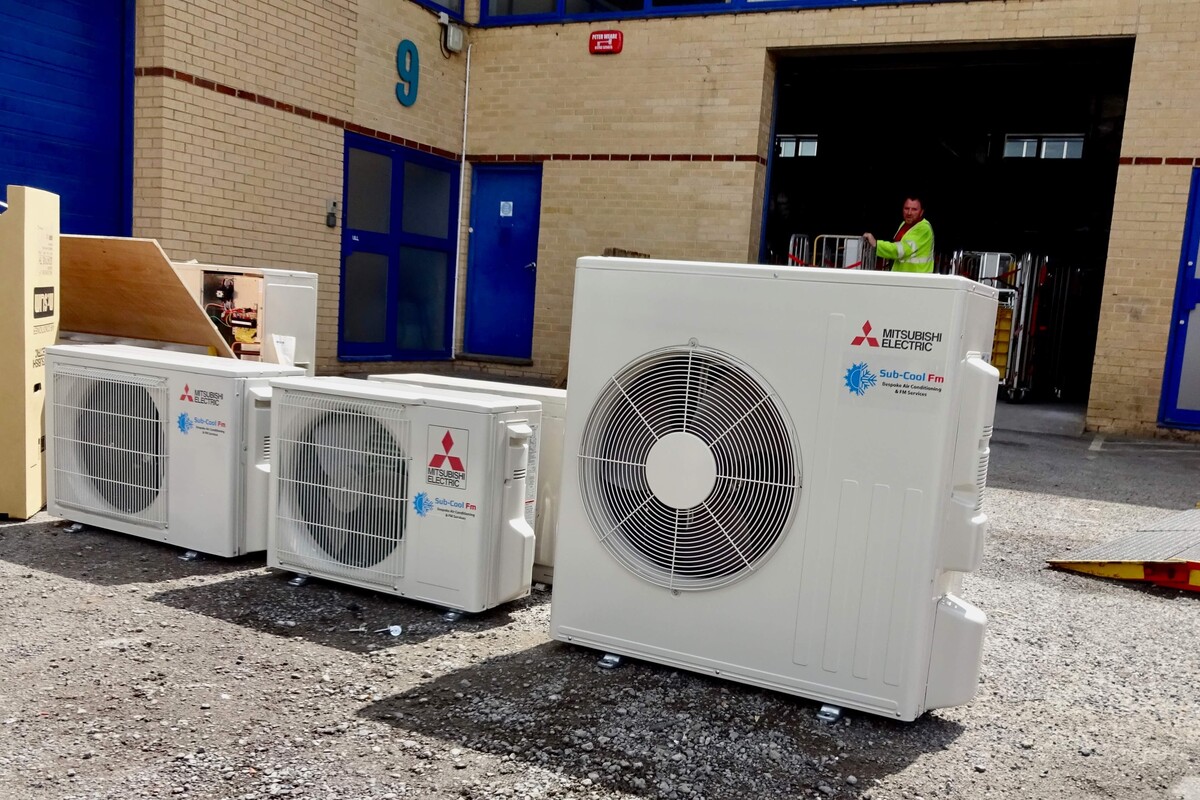
Air conditioning systems should be serviced at least once a year to ensure they are running efficiently and to catch any potential issues before they become major problems. Regular maintenance can also help extend the lifespan of the unit.
Read more: How Often Should You Have HVAC Serviced
Benefits of Regular Air Conditioning Servicing
Regular air conditioning servicing offers a multitude of benefits that contribute to the overall performance, efficiency, and lifespan of your system. Here are some key advantages of keeping up with routine maintenance:
- Improved Energy Efficiency: Over time, dust, dirt, and debris can accumulate in your air conditioning system, particularly in the air filters and coils. This buildup restricts airflow and forces the system to work harder to cool your home. By regularly cleaning or replacing the air filters and ensuring that the coils are clean, your system can operate at optimum efficiency. This reduces energy consumption, leading to lower utility bills.
- Extended Lifespan: Regular servicing helps identify and address minor issues before they escalate into major problems. By promptly addressing any signs of wear and tear, malfunctioning components, or refrigerant leaks, you can prevent further damage to your system. This extends the lifespan of your air conditioning unit, saving you the cost of premature replacement.
- Improved Indoor Air Quality: Your air conditioning system plays a vital role in filtering and circulating the air in your home. Over time, the filters can become clogged with dust, allergens, and pollutants, compromising indoor air quality. Regular servicing includes cleaning or replacing the filters, improving air filtration and ensuring that the air circulating in your home is clean and healthy.
- Enhanced Cooling Performance: A well-maintained air conditioning system operates at its peak performance, providing consistent and efficient cooling throughout your home. By ensuring proper airflow, clean coils, and well-lubricated components, your system can deliver the desired level of comfort, even during the hottest summer days.
- Reduced Repair Costs: Routine maintenance allows for the early detection of potential issues. By addressing these issues promptly, you can prevent them from escalating into major breakdowns or costly repairs. Regular servicing is more cost-effective in the long run compared to dealing with unexpected repairs or system failures.
- Optimal System Performance: Regular servicing includes a comprehensive inspection of various system components, such as electrical connections, thermostats, refrigerant levels, and condensate drain lines. Any issues or inefficiencies can be identified and resolved, ensuring that your air conditioning system operates safely and reliably.
- Peace of Mind: Knowing that your air conditioning system is regularly serviced and well-maintained can provide peace of mind. You can rest assured that your system will perform effectively, keeping your home comfortable throughout the year.
By investing in regular air conditioning servicing, you can enjoy these benefits and ensure the optimal performance and longevity of your system. It is recommended to schedule professional servicing annually or as per the manufacturer’s recommendations. A qualified HVAC technician can provide the necessary maintenance, cleaning, and repairs, keeping your air conditioning system in top shape.
Risks of Neglecting Air Conditioning Servicing
Neglecting air conditioning servicing can result in several negative consequences that can impact the performance, efficiency, and lifespan of your system. Here are some of the risks associated with neglecting regular maintenance:
- Decreased Energy Efficiency: A neglected air conditioning system is more likely to accumulate dust, dirt, and debris in the air filters and coils. This buildup restricts airflow and hampers the system’s ability to cool your home efficiently. As a result, the system has to work harder, consuming more energy and increasing your utility bills.
- Reduced Cooling Performance: Dust and debris buildup not only affects energy efficiency but also inhibits the system’s ability to cool your home effectively. A neglected air conditioning system may struggle to reach and maintain the desired temperature, resulting in uneven cooling or insufficient cooling in certain areas of your home.
- Poor Indoor Air Quality: Clogged air filters and dirty components in your air conditioning system can lead to poor indoor air quality. Allergens, pollen, and other pollutants can circulate throughout your home, causing respiratory issues, allergies, and other health problems. Neglecting maintenance increases the risk of these contaminants being released into the air you breathe.
- Higher Repair Costs: By neglecting regular servicing, minor issues can go unnoticed and worsen over time. What could have been a small and inexpensive repair can turn into a major breakdown, requiring costly repairs or even system replacement. Repairs due to negligence are often more expensive than routine maintenance.
- Increased Risk of System Failure: An air conditioning system that has not been properly maintained is more prone to sudden failures and breakdowns. The accumulation of dirt, lack of lubrication, and worn-out components can cause the system to stop working altogether, leaving you without cooling during hot weather.
- Shortened Lifespan: Regular maintenance helps to identify and address issues that can lead to premature wear and tear on your air conditioning system. Neglecting maintenance allows these issues to persist, putting additional strain on the system and reducing its lifespan. An improperly maintained system may require replacement sooner than expected, resulting in a significant financial burden.
- Safety Concerns: Neglecting air conditioning servicing can pose safety risks. Faulty electrical connections or worn-out components can lead to electrical issues, such as short circuits or even fires. Regular maintenance identifies and resolves these safety hazards, ensuring that your system operates safely.
It is important to note that neglecting air conditioning servicing not only affects the performance and efficiency of your system but also compromises your comfort and well-being. By investing in regular maintenance, you can avoid these risks and enjoy the benefits of a well-functioning and reliable air conditioning system.
Don’t wait until problems arise; schedule regular servicing to ensure your air conditioning system operates effectively and efficiently throughout the year.
Frequently Asked Questions (FAQs)
Here are some commonly asked questions about air conditioning servicing:
- How often should I service my air conditioning system?
It is generally recommended to have your air conditioning system serviced at least once a year. However, factors such as usage, climate, and system age may require more frequent servicing. Consult the manufacturer’s recommendations or a qualified HVAC technician for guidance specific to your system. - What does air conditioning servicing involve?
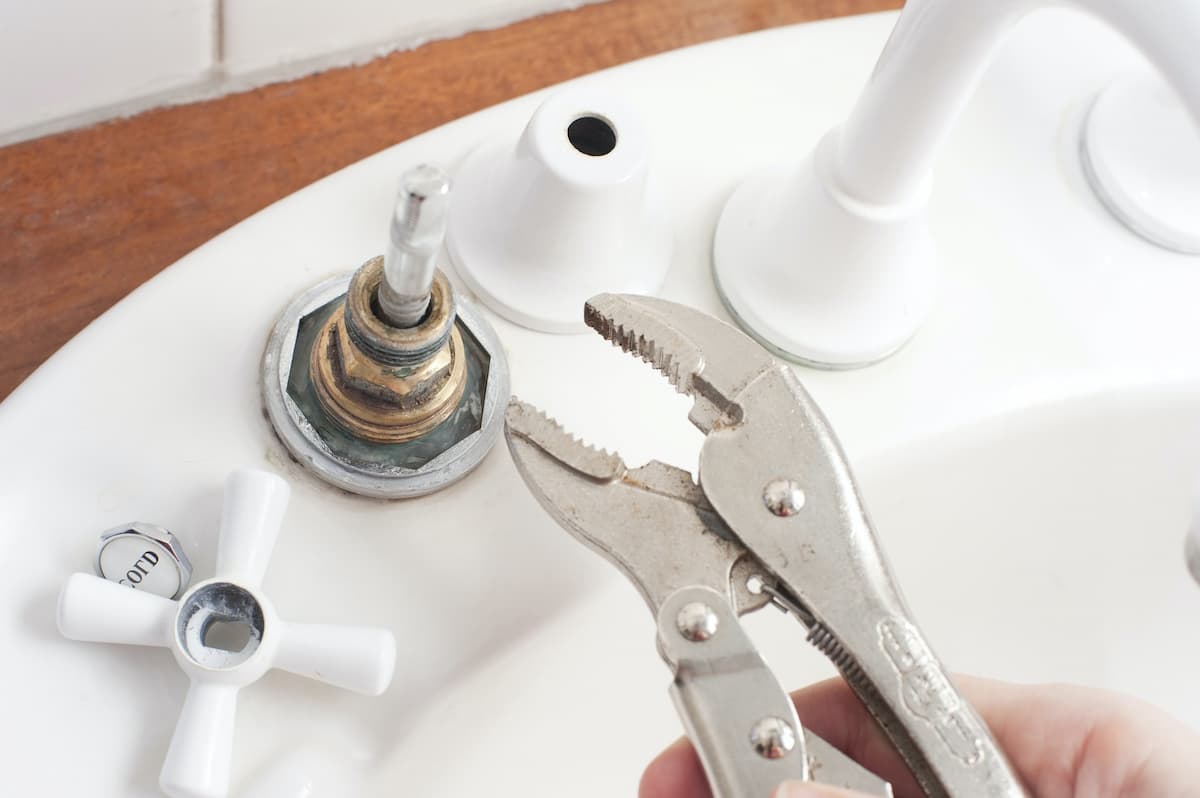
Air conditioning servicing typically includes cleaning or replacing air filters, cleaning coils, inspecting electrical connections, lubricating moving parts, checking refrigerant levels, and overall system performance evaluation. It may also involve duct cleaning and other specialized services if needed. - Can I perform air conditioning servicing myself?
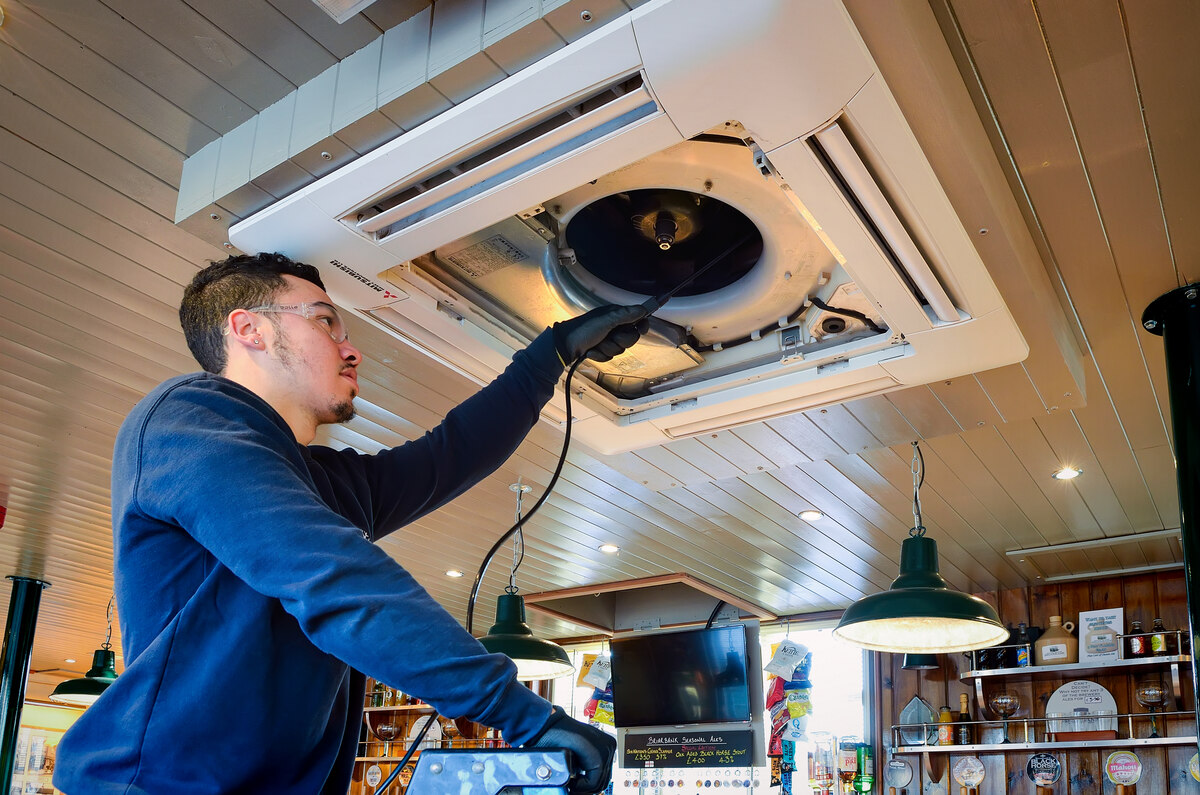
While there are some maintenance tasks you can do yourself, such as regularly cleaning or replacing air filters, it is recommended to hire a professional HVAC technician for comprehensive air conditioning servicing. They have the expertise and specialized tools to thoroughly inspect and maintain your system. - What are the benefits of hiring a professional for air conditioning servicing?
Hiring a professional for air conditioning servicing ensures that your system is inspected and serviced properly. They have the knowledge and experience to identify potential issues, perform necessary repairs, and conduct maintenance tasks that improve efficiency and performance. Additionally, professional servicing helps to maintain warranty coverage and ensures safety. - How can I tell if my air conditioning system needs servicing?
There are several signs that indicate your air conditioning system needs servicing, including reduced cooling performance, strange noises, poor airflow, foul odors, inconsistent temperatures, and frequent cycling. If you notice any of these signs, it is recommended to schedule a service appointment as soon as possible. - How long does air conditioning servicing typically take?
The duration of air conditioning servicing varies depending on the size and complexity of your system and the specific tasks required. On average, a routine servicing appointment can take anywhere from 1 to 2 hours. However, if repairs or additional services are needed, it may take longer. - Is air conditioning servicing expensive?
The cost of air conditioning servicing depends on various factors, such as the extent of the work, the size of the system, and the location. While there is a cost involved, regular servicing is a worthwhile investment as it helps improve energy efficiency, prevent costly repairs, and extend the lifespan of your system.
If you have any specific questions or concerns about air conditioning servicing, it is best to consult a professional HVAC technician. They can provide personalized advice and guidance based on your unique situation.
Conclusion
Regular air conditioning servicing is essential for keeping your system in optimal condition and ensuring a comfortable indoor environment. By following the manufacturer’s recommendations and considering factors such as usage and location, you can determine the appropriate frequency for servicing your system.
There are numerous benefits to regular servicing, including improved energy efficiency, extended system lifespan, enhanced indoor air quality, and reduced repair costs. Neglecting maintenance can lead to decreased performance, higher energy bills, poor air quality, and increased risk of system failure.
Signs that your air conditioning system needs servicing include insufficient cooling, strange noises, foul odors, poor airflow, inconsistent temperatures, and frequent cycling. It is important to address these signs promptly and schedule a service appointment with a qualified HVAC technician.
By investing in regular air conditioning servicing, you can ensure that your system operates efficiently, prolong its lifespan, and enjoy a comfortable living environment. Remember to consult a professional technician for comprehensive servicing and maintenance to keep your system in top shape.
Don’t wait until problems arise; prioritize regular servicing and maintenance to ensure the longevity and optimal performance of your air conditioning system. Stay cool and comfortable all year round with a well-maintained air conditioner.
Frequently Asked Questions about How Often Should Air Conditioning Be Serviced
Was this page helpful?
At Storables.com, we guarantee accurate and reliable information. Our content, validated by Expert Board Contributors, is crafted following stringent Editorial Policies. We're committed to providing you with well-researched, expert-backed insights for all your informational needs.