Home>Home Maintenance>How To Flush Air Conditioning System
Home Maintenance
How To Flush Air Conditioning System
Modified: October 20, 2024
Learn how to flush your air conditioning system at home with our easy step-by-step guide. Keep your home cool and comfortable with proper maintenance.
(Many of the links in this article redirect to a specific reviewed product. Your purchase of these products through affiliate links helps to generate commission for Storables.com, at no extra cost. Learn more)
Introduction
Welcome to our comprehensive guide on how to flush an air conditioning system! When it comes to maintaining the efficiency and performance of your home’s cooling system, regular maintenance is crucial. One important task is flushing the air conditioning system to remove any built-up dirt, debris, and contaminants that can hinder its operation.
In this article, we will walk you through the process of flushing your air conditioning system step by step, ensuring that your unit continues to run smoothly and efficiently. From understanding the components of the system to identifying signs of a dirty or clogged unit, we will cover everything you need to know.
Whether you are a seasoned DIY enthusiast or a homeowner looking to save some money on maintenance costs, this guide is for you. By following the steps outlined here, you can easily flush your air conditioning system and improve its performance, extending its lifespan.
So, let’s dive in and learn how to keep your air conditioning system in top shape!
Key Takeaways:
- Regularly flushing your air conditioning system removes dirt and debris, improving cooling performance and extending the unit’s lifespan. It also leads to lower energy bills and a more comfortable indoor environment.
- Remember to schedule professional maintenance at least once a year to keep your air conditioning system in top condition and address potential issues before they escalate. This ensures a cool and comfortable home while maximizing energy efficiency.
Read more: How To Recharge Your Air Conditioning System
Understanding the Air Conditioning System
Before we delve into the process of flushing your air conditioning system, it’s essential to understand how the system works and the key components involved. Knowing the basics will help you grasp why flushing is necessary and how it contributes to the overall efficiency of your unit.
An air conditioning system consists of four main parts: the evaporator coil, the condenser coil, the compressor, and the refrigerant lines. These components work together to cool and circulate air within your home.
The evaporator coil is located inside your home, typically attached to your furnace or air handler. Its primary function is to absorb heat from the air, allowing the cooled air to be circulated back into your living space.
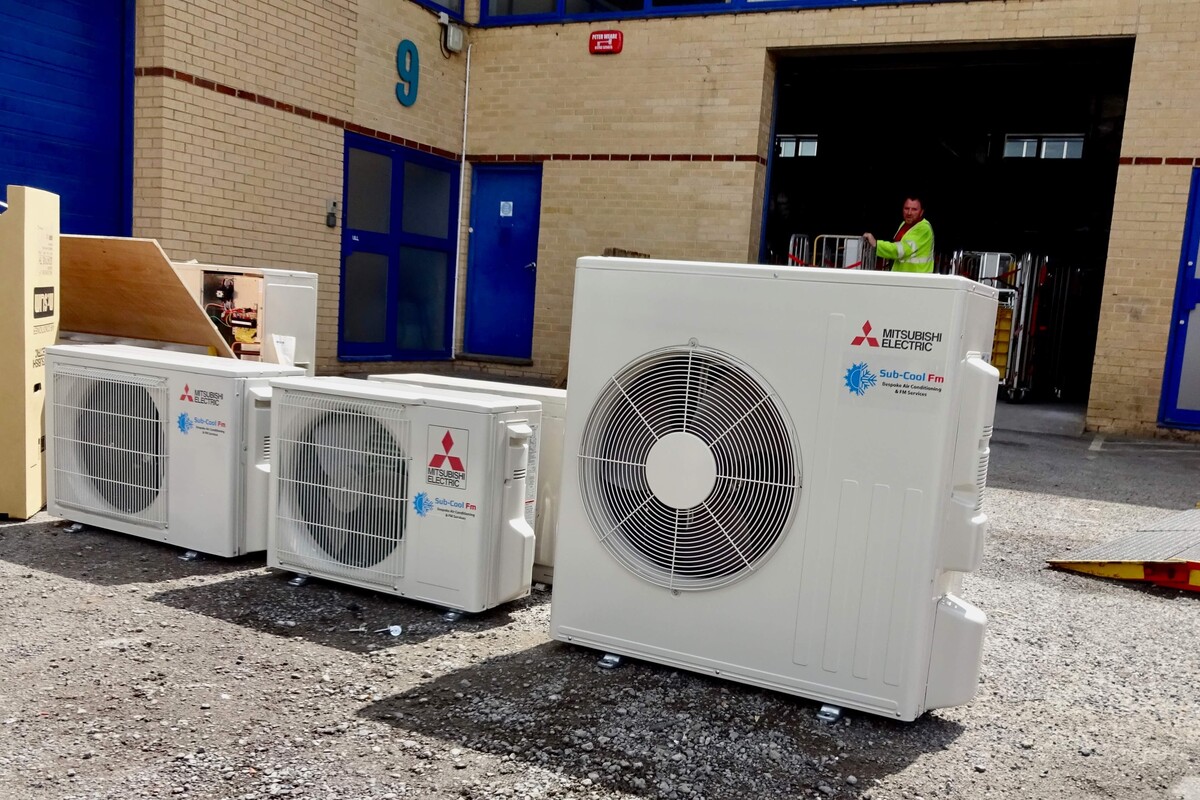
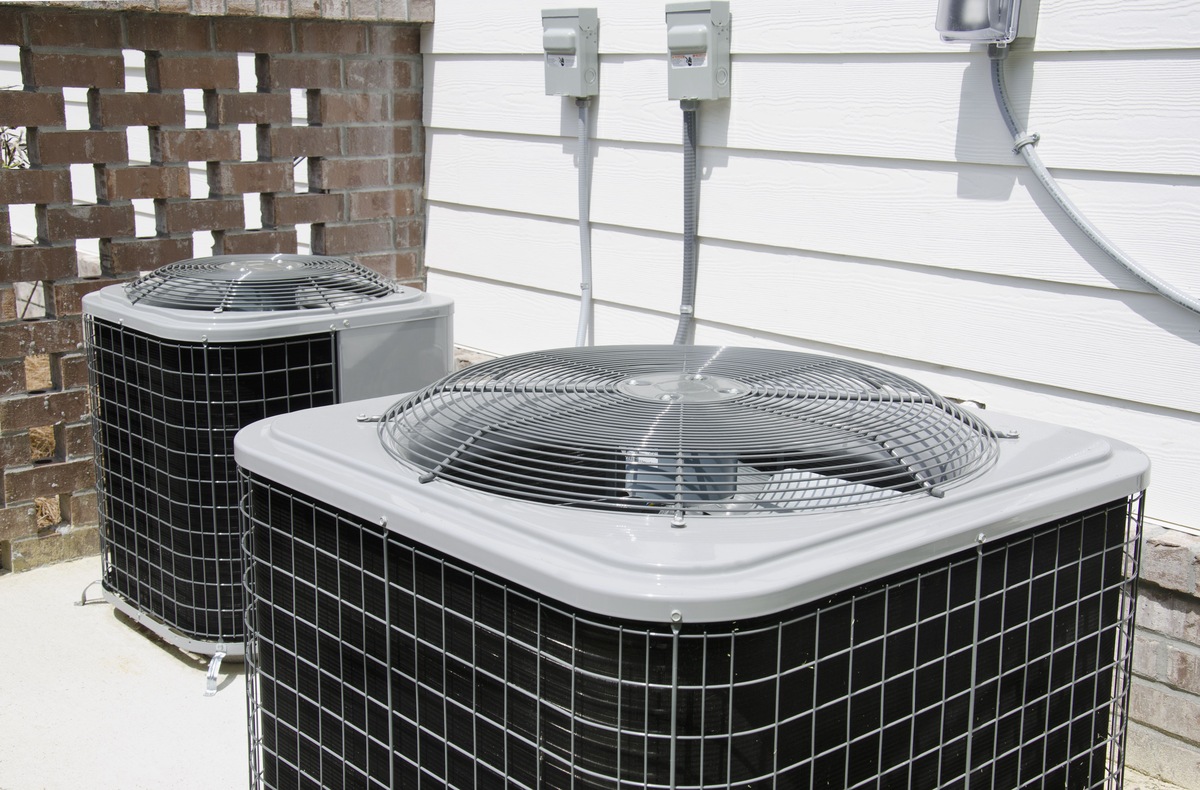
The condenser coil, on the other hand, is located outside your home in the unit’s outdoor condensing unit. It plays a crucial role in releasing heat from the refrigerant to the outside air, completing the cooling cycle.
The compressor is the heart of the air conditioning system. It pumps the refrigerant between the evaporator and condenser coils, allowing for the heat transfer process to occur.
The refrigerant lines connect the evaporator coil to the condenser coil, forming a closed-loop system that carries the refrigerant between the two components.
Now that we have a basic understanding of the air conditioning system and its components, let’s move on to the next section, where we will explore the signs that indicate it’s time to flush your unit.
Signs of a Dirty or Clogged Air Conditioning System
A dirty or clogged air conditioning system can lead to reduced efficiency, poor cooling performance, and increased energy consumption. It’s important to be aware of the signs that indicate your unit may need a flush. Here are some common indicators to look out for:
- Lack of Cooling: If you notice a decrease in the cooling power of your air conditioner, it could be a sign of a dirty or clogged system. As dirt and debris build up on the evaporator coil and condenser coil, they can restrict airflow and inhibit the heat transfer process, resulting in reduced cooling capacity.
- Inadequate Airflow: A clogged air conditioning system may also exhibit reduced airflow. If you notice weak air coming out of your vents, it could be due to debris blocking the airflow pathways. This can make your home feel stuffy and uncomfortable.
- Frequent Cycling: If your air conditioner frequently turns on and off in short cycles, it could indicate a clogged system. When the coils are dirty, the unit has to work harder to cool your home, leading to increased cycling to maintain the desired temperature.
- Higher Energy Bills: A dirty air conditioning system can significantly impact your energy bills. When the system is obstructed with dirt and debris, it requires more energy to operate efficiently. This can lead to increased energy consumption and higher utility costs.
- Unpleasant Odors: A musty or foul odor coming from your vents can be a clear indication of a dirty evaporator coil. Over time, moisture and dirt can accumulate on the coil’s surface, creating an ideal environment for mold and bacteria growth.
If you notice any of these signs, it’s important to take action and flush your air conditioning system. By doing so, you can restore its efficiency, improve cooling performance, and ensure optimal indoor comfort. In the next section, we will guide you through the steps of preparing for the air conditioning system flush.
Preparing for the Air Conditioning System Flush
Before you begin flushing your air conditioning system, it’s crucial to properly prepare and gather the necessary tools and materials. Taking the time to prepare will ensure a smoother and more effective flushing process. Here are the key steps to follow:
- Gather Necessary Tools and Materials: Ensure you have all the tools and materials required for the flush. This typically includes a coil cleaner solution, a coil brush, a hose with a spray nozzle, a vacuum cleaner with a brush attachment, safety goggles, gloves, and a bucket or container to collect runoff.
- Turn Off Power to the System: Safety is paramount when working with any electrical system. Start by turning off the power to your air conditioning system. Locate the electrical disconnect switch near the outdoor condensing unit and switch it off.
- Remove Debris Around the Unit: Clear away any debris, leaves, grass, or branches that may have accumulated around the outdoor condensing unit. This will prevent them from entering the system during the flush and potentially causing damage.
- Protect Indoor Areas: Place a plastic sheet or tarp around the indoor unit to protect the surrounding area from any potential dripping or runoff during the flush. This will make cleanup easier and prevent damage to your floors or furniture.
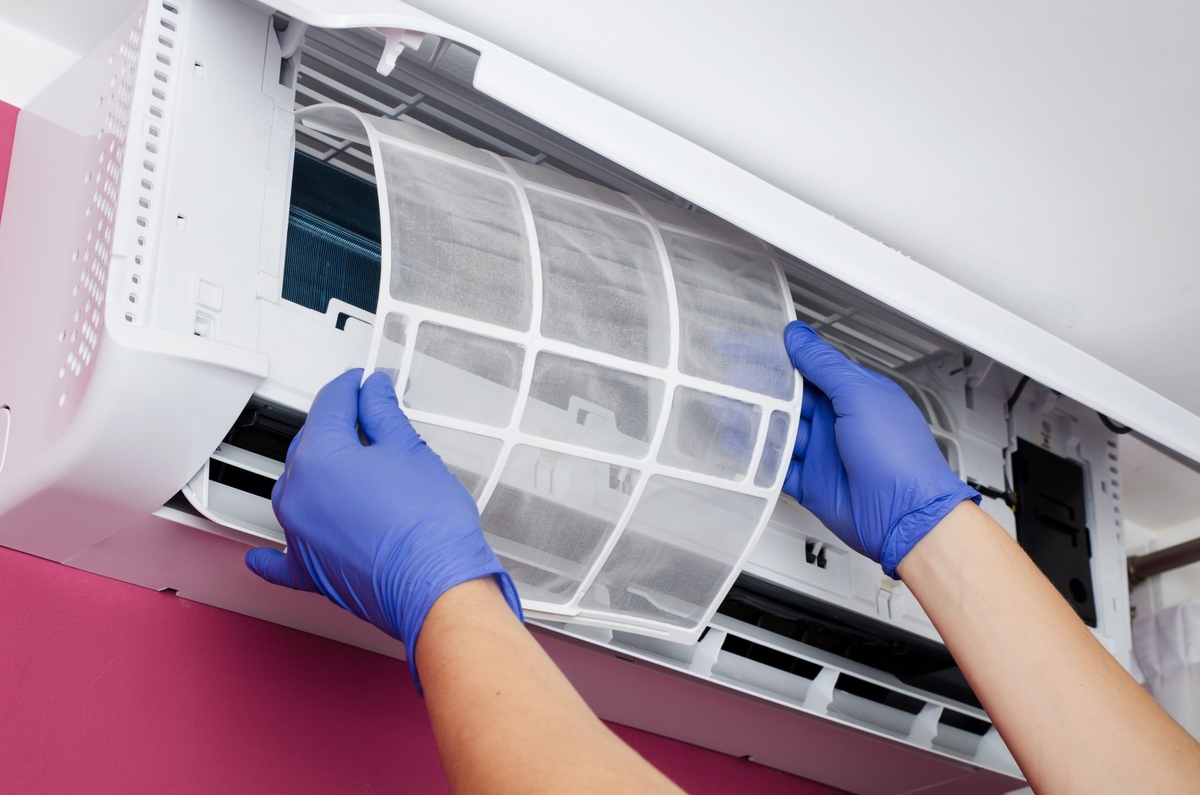
- Inspect and Clean the Air Filters: Remove the air filters from your indoor unit and inspect them for dirt and debris. If they are dirty, clean or replace them as needed. Clean filters help improve airflow and enhance the effectiveness of the flush.
- Read Instructions and Safety Precautions: Familiarize yourself with the instructions and safety precautions mentioned on the coil cleaner solution package. This will ensure you use the product correctly and take necessary precautions to protect yourself.
By following these preparation steps, you will be ready to proceed with flushing your air conditioning system. In the next section, we will outline the step-by-step process for flushing the system, including instructions for flushing the evaporator coil, condenser coil, and refrigerant lines.
Steps to Flush the Air Conditioning System
Now that you are prepared, it’s time to start flushing your air conditioning system. Follow these step-by-step instructions to ensure a thorough and effective flush:
- Disconnect Power: Double-check that the power to your air conditioning system is turned off at the electrical disconnect switch. This is crucial for your safety during the flush process.
- Access the Evaporator Coil: Locate the access panel to the evaporator coil, typically found on the air handler or furnace. Remove the panel to gain access to the coil.
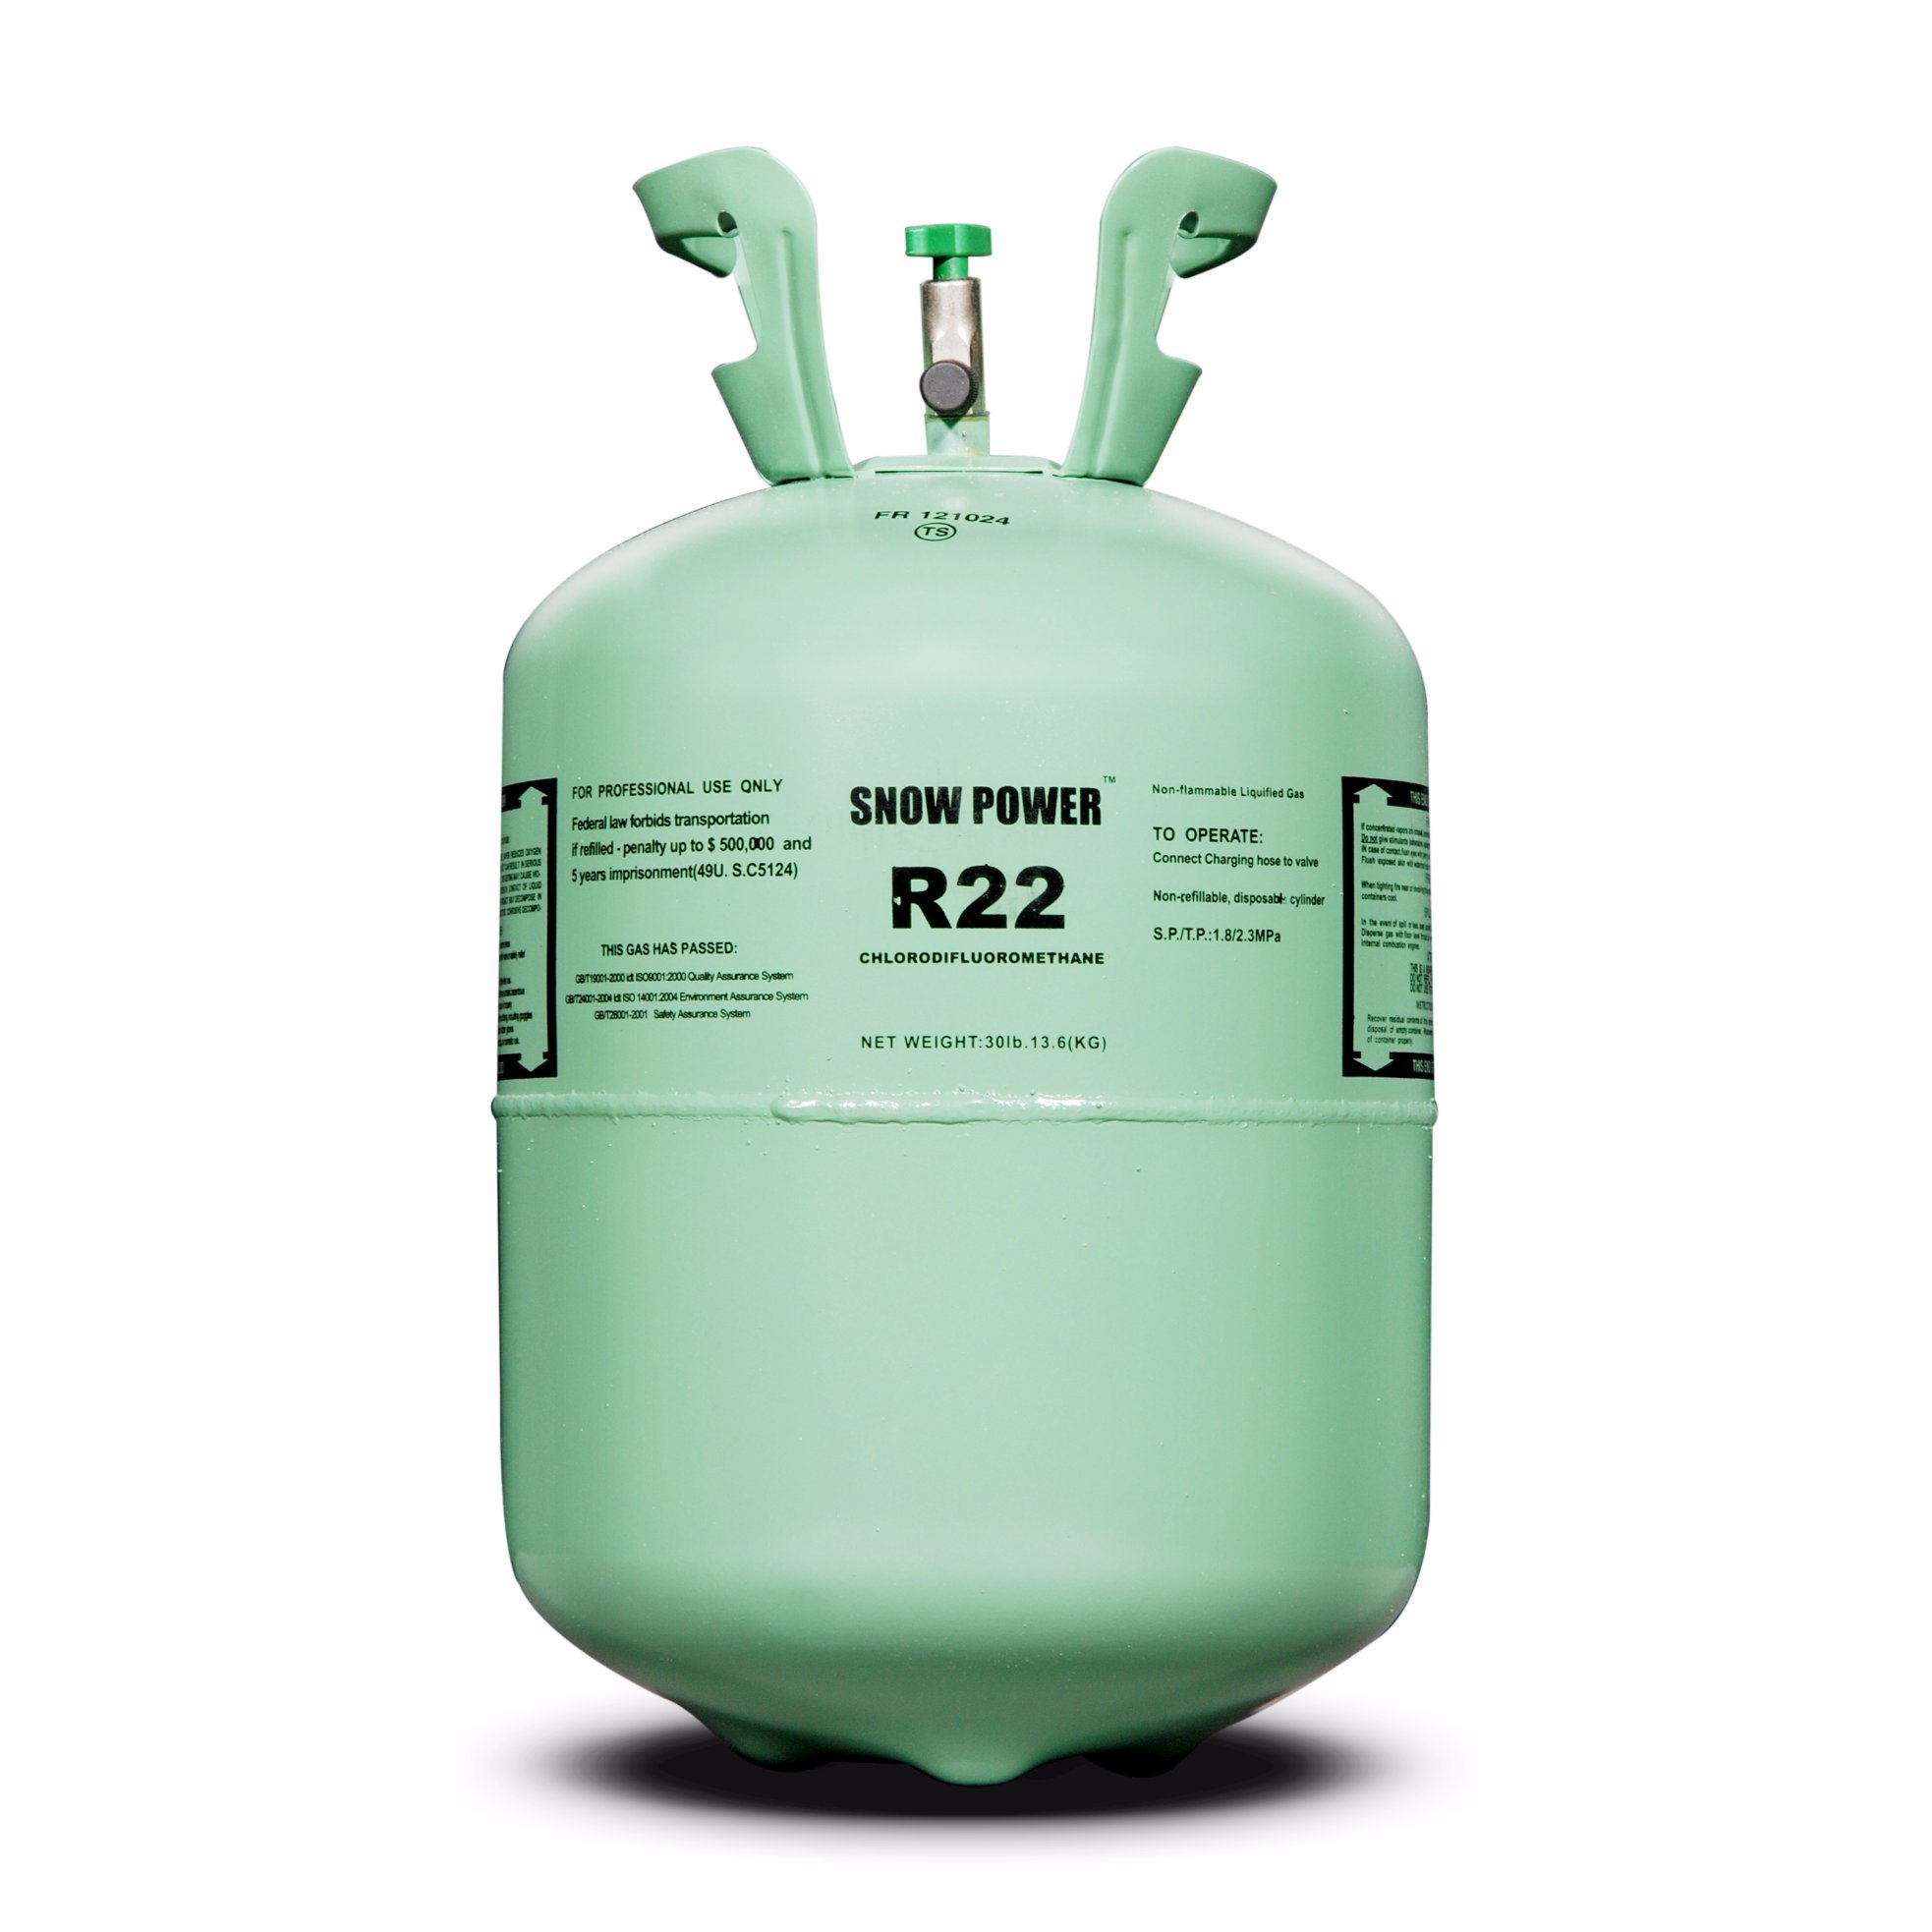
- Mix the Coil Cleaner Solution: Follow the instructions on the coil cleaner solution package to mix the cleaner solution with the appropriate amount of water. This solution will help break down and remove dirt and debris from the coil.
- Apply the Cleaner Solution: Use a spray bottle or a pump sprayer to apply the coil cleaner solution onto the evaporator coil. Ensure that the coil is thoroughly coated with the solution, paying attention to any areas with heavy buildup.
- Gently Brush the Coil: Use a coil brush to gently scrub the evaporator coil, loosening any stubborn dirt or debris. Be careful not to damage the delicate fins of the coil while brushing.
- Rinse the Coil: Use a hose with a spray nozzle to rinse off the coil, starting from the top and working your way down. The water pressure should be gentle to avoid bending the fins. Direct the runoff into a bucket or container.
- Flush the Condenser Coil: Move to the outdoor condensing unit and repeat steps 3 to 6 for the condenser coil. Ensure that the coil is thoroughly cleaned and rinsed.
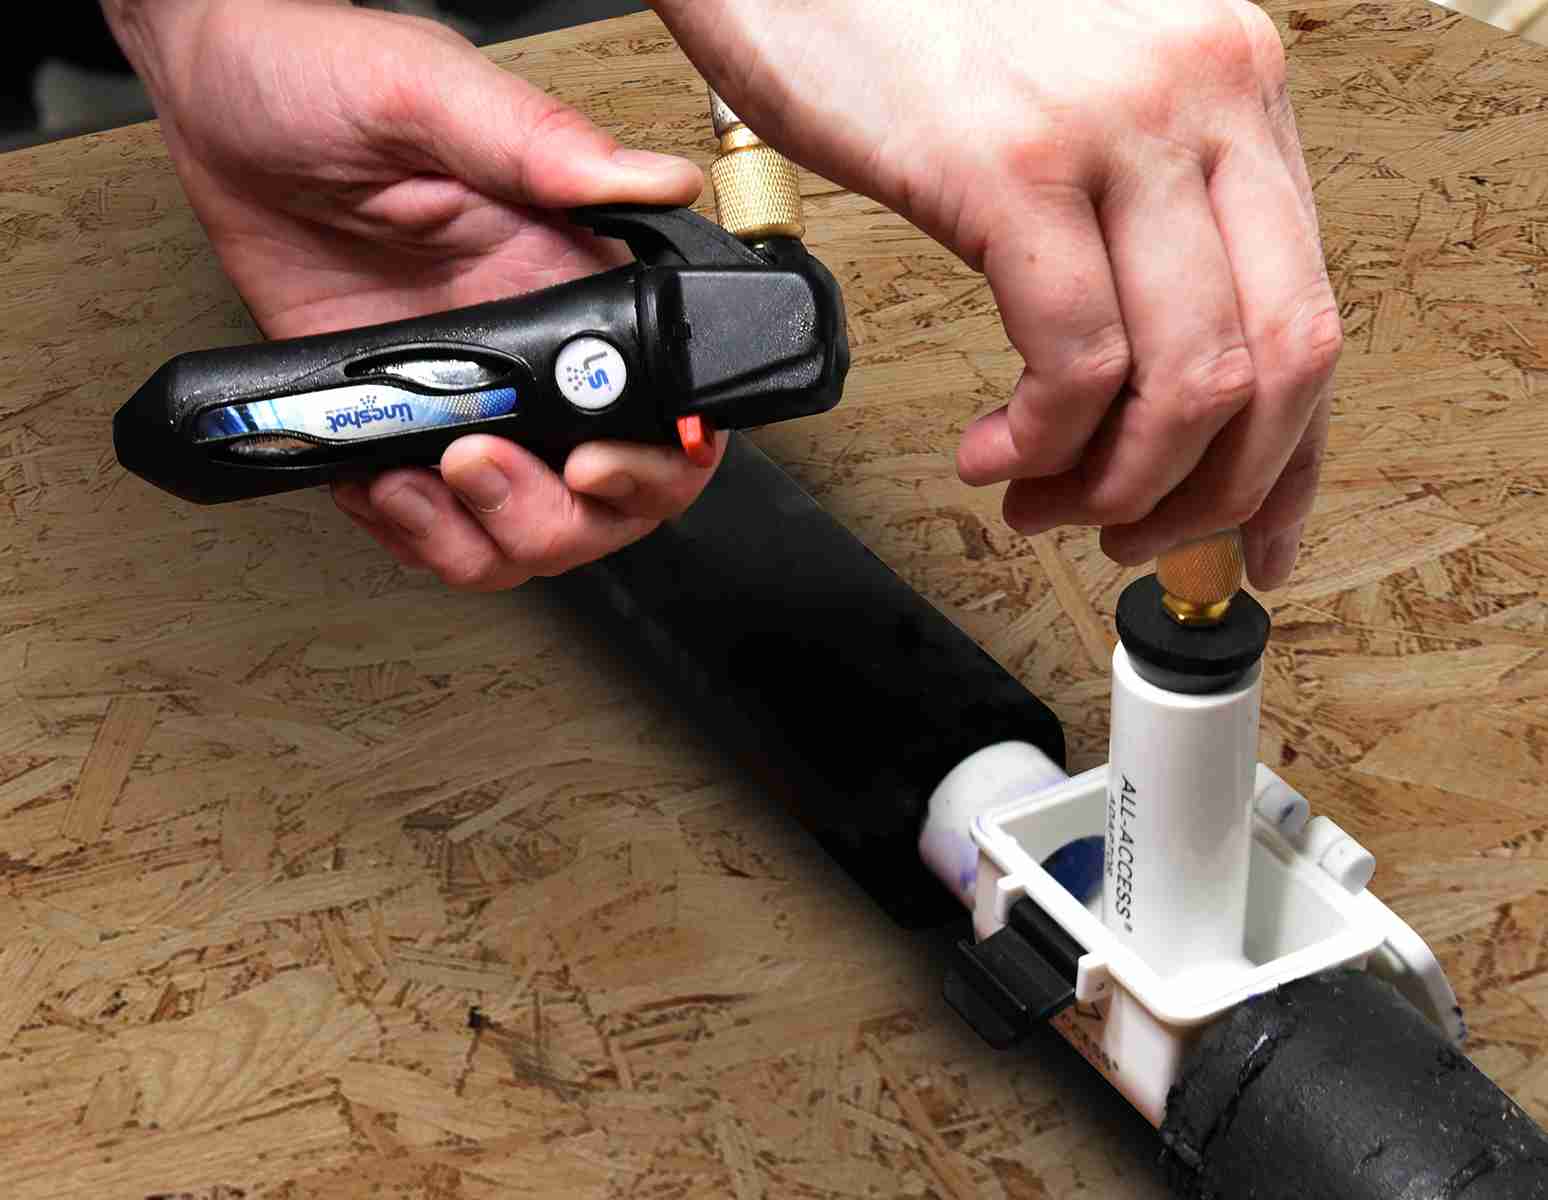
- Flush the Refrigerant Lines: With the coils cleaned, it’s time to flush the refrigerant lines. Attach a hose to one end of the line and direct the water through the line to remove any debris or contaminants.
- Reassemble and Test: Once you have completed the flush, reassemble the access panels for both the evaporator coil and condenser unit. Turn on the power to the air conditioning system and test the unit to ensure it is functioning properly.
Following these steps will help remove dirt, debris, and contaminants from your air conditioning system, restoring its efficiency and performance. In the next sections, we will provide detailed instructions on flushing the evaporator and condenser coils, as well as the refrigerant lines.
To flush an air conditioning system, use a flushing agent to remove any debris or contaminants. Connect the flushing kit to the system and run the flushing agent through the system to clean it out. Be sure to follow the manufacturer’s instructions and wear protective gear.
Flushing the Evaporator Coil
The evaporator coil plays a crucial role in the cooling process of your air conditioning system. Over time, dirt, dust, and other debris can accumulate on the coil, reducing its efficiency. Flushing the evaporator coil will help remove these contaminants, restoring the coil’s performance. Follow these steps to flush the evaporator coil:
- Disconnect Power: Ensure that the power to your air conditioning system is turned off at the electrical disconnect switch. This is essential for your safety during the flushing process.
- Locate the Access Panel: Find the access panel to the evaporator coil, usually located on the air handler or furnace. Remove the panel to expose the coil for cleaning.
- Mix the Cleaning Solution: Follow the instructions on the coil cleaner solution package to mix the cleaner solution with the appropriate amount of water. Ensure that you have the right ratio for effective cleaning.
- Apply the Cleaning Solution: Use a pump sprayer or spray bottle to apply the coil cleaner solution onto the evaporator coil. Make sure to thoroughly coat the coil, paying attention to any areas with heavy dirt or debris buildup.
- Gently Brush the Coil: Use a soft coil brush to carefully scrub the evaporator coil. Start from the top and work your way down, using gentle circular motions. Be mindful to protect the coil’s delicate fins and avoid bending or damaging them.
- Rinse the Coil: Use a hose with a gentle spray nozzle to rinse off the coil. Start from the top and work your way down, ensuring that all the cleaning solution and loosened debris are washed away. Direct the runoff into a bucket or container to collect the water.
Flushing the evaporator coil helps remove dirt, dust, and debris that may have accumulated over time, improving the efficiency and performance of your air conditioning system. Once you have completed the process, you can proceed to flush the condenser coil.
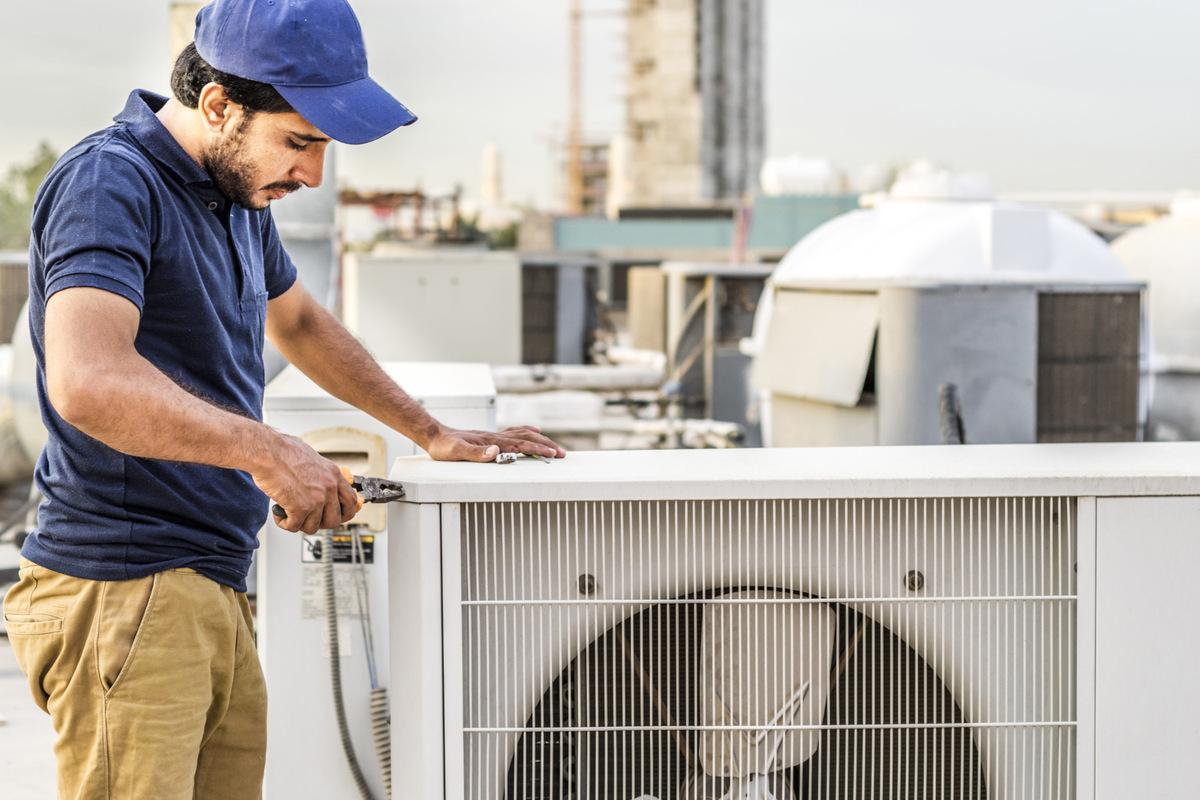
Flushing the Condenser Coil
The condenser coil is an integral part of your air conditioning system, responsible for releasing heat and allowing for efficient cooling. However, due to its outdoor location, the condenser coil is susceptible to dirt, debris, and even vegetation growth. Flushing the condenser coil is crucial to maintain optimal performance. Follow these steps to flush the condenser coil:
- Disconnect Power: Before starting, ensure that the power to your air conditioning system is turned off at the electrical disconnect switch. Safety should always be a priority.
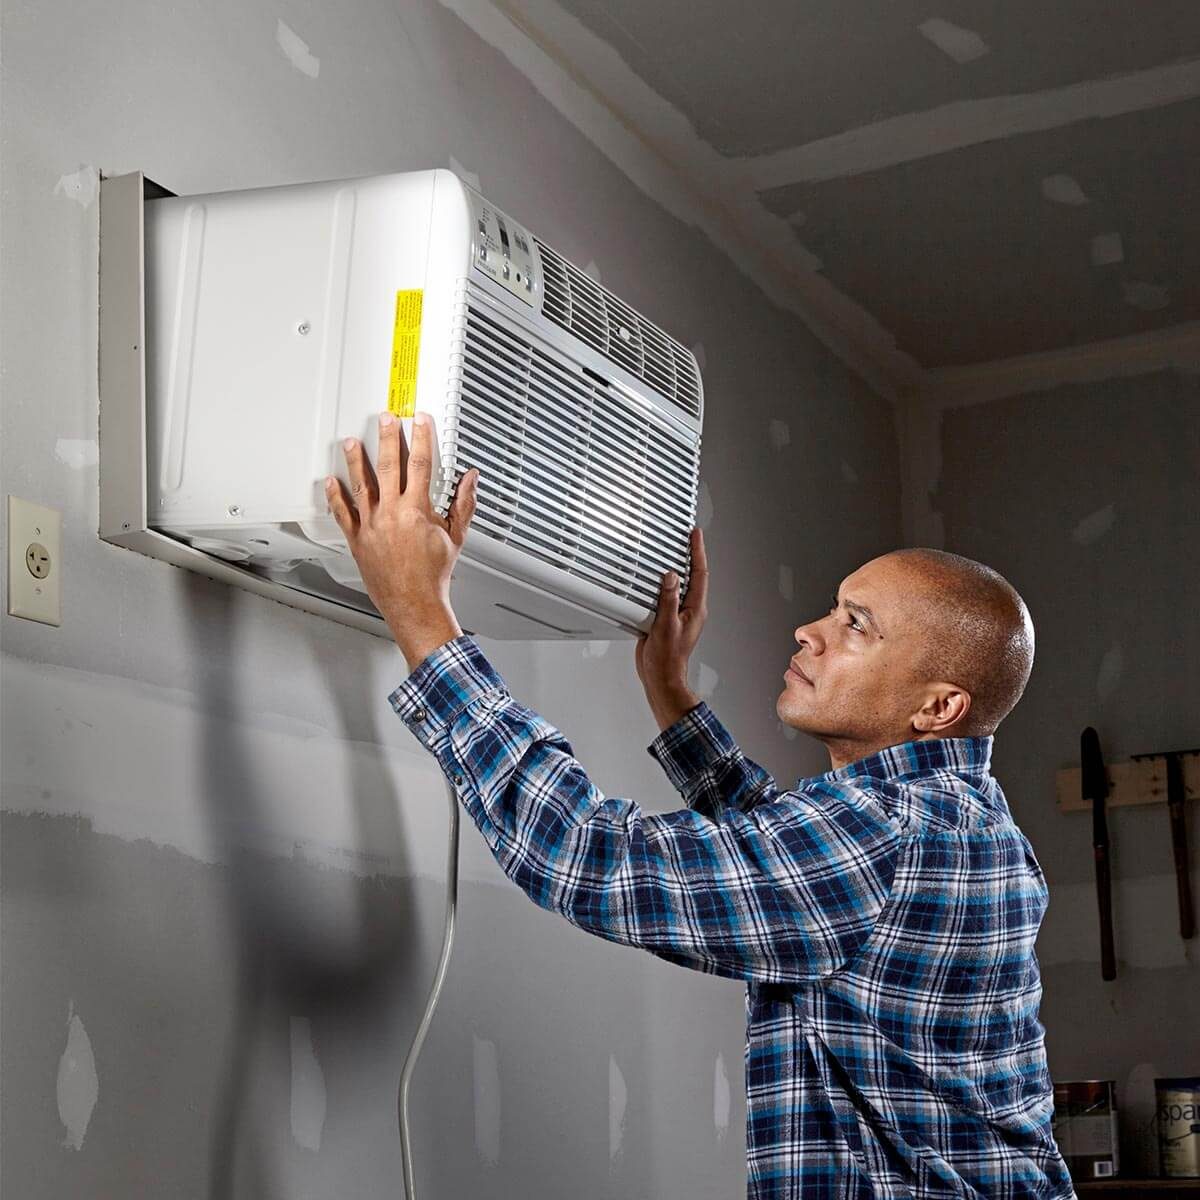
- Access the Condenser Unit: Locate the outdoor condensing unit, which houses the condenser coil. Remove any panels or covers to gain access to the coil for cleaning.
- Mix the Cleaning Solution: Follow the instructions on the coil cleaner solution package to mix the cleaner solution with the appropriate amount of water. Remember to use the recommended ratio for effective cleaning.
- Apply the Cleaning Solution: Use a pump sprayer or spray bottle to apply the coil cleaner solution onto the condenser coil. Ensure that the solution covers the entire surface of the coil, focusing on areas with visible dirt or debris.
- Gently Brush the Coil: Take a soft coil brush and gently scrub the condenser coil. Pay attention to any stubborn dirt or debris, and use gentle circular motions to remove them. Avoid applying excessive pressure to prevent damaging the coil’s delicate fins.
- Rinse the Coil: Use a hose with a gentle spray nozzle to rinse off the condenser coil. Start from the top and work your way down, thoroughly washing away the cleaning solution and loosened debris. Ensure that the runoff is directed into a bucket or container for proper disposal.
Flushing the condenser coil will remove dirt, debris, and other contaminants that can hinder the cooling process. After completing this process, you can proceed to flush the refrigerant lines to ensure a complete and thorough cleaning of your air conditioning system.
Flushing the Refrigerant Lines
The refrigerant lines play a crucial role in the transportation of refrigerant between the evaporator and condenser coils of your air conditioning system. Over time, these lines can accumulate debris and contaminants, affecting the overall performance and efficiency of your unit. Flushing the refrigerant lines will help remove these blockages and ensure smooth operation. Follow these steps to flush the refrigerant lines:
- Disconnect Power: Ensure that the power to your air conditioning system is turned off at the electrical disconnect switch. This is necessary for your safety during the flushing process.
- Locate the Refrigerant Lines: Identify the two refrigerant lines that connect the evaporator and condenser coils. These lines are typically copper tubes covered with insulation.
- Attach a Hose: Take a hose and securely attach it to one of the refrigerant lines. Ensure a tight connection to prevent any leaks during the flushing process.
- Open the Water Flow: Slowly turn on the water flow to the hose. The water pressure should be moderate, allowing for a thorough flush without causing any damage to the lines or system. Be cautious not to use excessive pressure that could lead to line damage.
- Flush One Line at a Time: Start by flushing one refrigerant line at a time. Allow the water to flow through the line for a sufficient amount of time to flush out any debris or contaminants. This process will help clear the line of any blockages or clogs.
- Switch to the Other Line: Once you have flushed the first line, switch the hose to the second refrigerant line and repeat the flushing process. Ensure that both lines are thoroughly flushed and cleaned.
- Inspect for Debris: After flushing, inspect the refrigerant lines for any remaining debris. If you notice any build-up, use a soft brush or cloth to gently remove it. Ensure that the lines are clean and free from obstructions.
- Allow to Dry: Once the flushing is complete, allow the refrigerant lines to dry completely before reassembling the access panels and restoring power to your air conditioning system.
Flushing the refrigerant lines is an essential step to maintain the efficiency and performance of your air conditioning system. By following these steps, you can effectively remove debris and contaminants, ensuring proper refrigerant flow and optimal cooling. After completing the flush, reassemble the access panels and test your unit to ensure it is functioning correctly.
Reassembling and Testing the Air Conditioning System
After completing the flushing process for your air conditioning system, it’s time to reassemble the components and perform a thorough test to ensure everything is functioning properly. Follow these steps to reassemble and test your air conditioning system:
- Allow Components to Dry: Before reassembling the access panels, allow the evaporator coil, condenser coil, and refrigerant lines to dry completely. This will prevent any moisture-related issues and ensure optimal performance.
- Reinstall Access Panels: Carefully reattach the access panels for the evaporator coil, condenser unit, and any other areas that were opened during the flushing process. Ensure that the panels are securely in place.
- Restore Power: Turn the power back on at the electrical disconnect switch. Allow a few minutes for the system to power up and stabilize before proceeding to the next step.
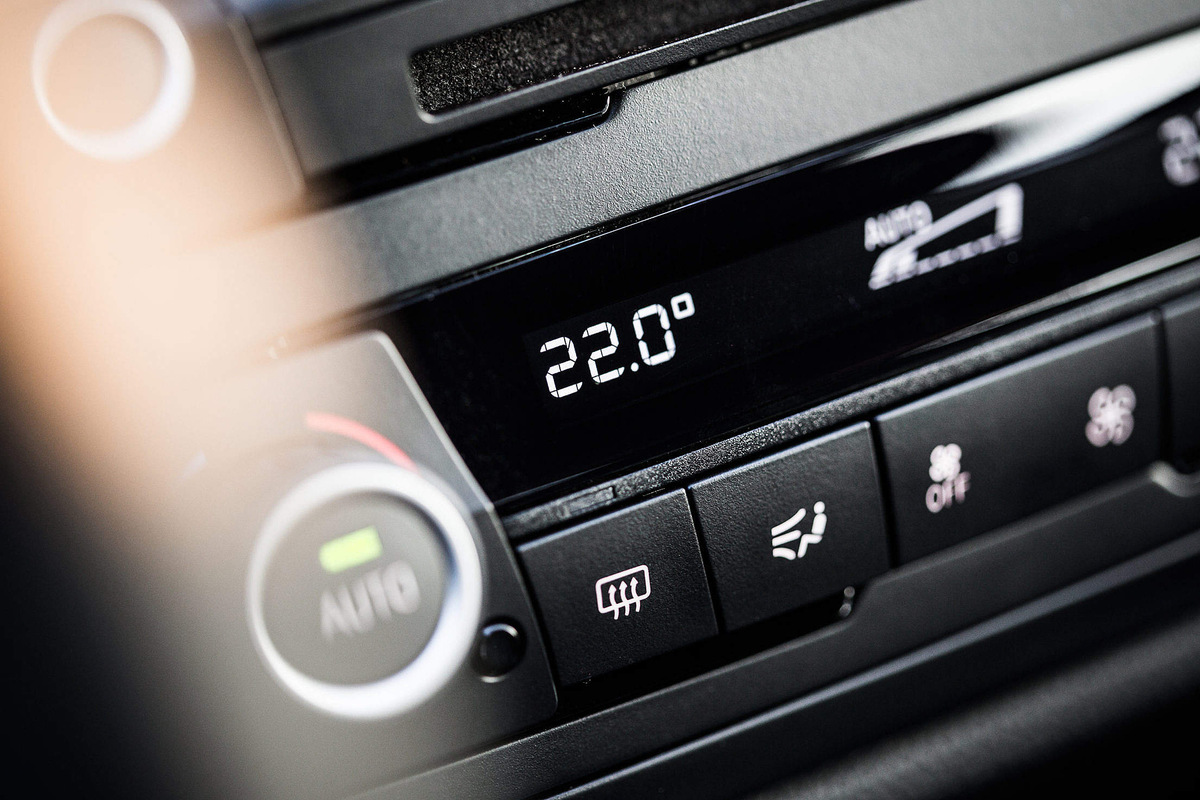
- Check Thermostat Settings: Verify that the thermostat settings are set to your desired temperature and cooling mode. Ensure that the air conditioning system is set to “cool” and the fan is set to “auto” or your preferred setting.
- Monitor Airflow: Stand near the vents in your home and check for adequate airflow. You should feel a steady, cool breeze coming from the vents. If the airflow is weak or inconsistent, it may indicate a problem that requires further inspection.
- Verify Cooling Performance: Allow your air conditioning system to run for a while and verify that it is effectively cooling your home. Pay attention to any unusual noises, odors, or fluctuations in temperature that could indicate a potential issue.
- Monitor Energy Usage: Keep an eye on your energy usage after flushing your system. With a clean and well-maintained air conditioning system, you should notice improved energy efficiency, resulting in lower energy bills.
- Schedule Regular Maintenance: Once you have successfully flushed and tested your air conditioning system, it is essential to schedule regular maintenance. Routine professional maintenance can help prolong the lifespan of your unit, prevent future issues, and ensure optimal performance.
By following these steps, you can reassemble and test your air conditioning system after flushing it. Regular monitoring and maintenance will help keep your system running efficiently and provide you with a comfortable indoor environment.
Read more: How To Flush A Central Heating System
Conclusion
Congratulations! You have successfully learned how to flush an air conditioning system, a crucial maintenance task that helps maintain the efficiency and performance of your unit. By following the steps outlined in this comprehensive guide, you can remove dirt, debris, and contaminants from the evaporator coil, condenser coil, and refrigerant lines, ensuring optimal cooling and energy efficiency.
Regularly flushing your air conditioning system offers several benefits. It helps to improve cooling performance, enhance airflow, and extend the lifespan of your unit. Additionally, it can lead to lower energy bills and a more comfortable indoor environment for you and your family.
Remember to take the necessary precautions and safety measures when working with your air conditioning system. Always disconnect the power before starting any maintenance task and follow the manufacturer’s instructions for any cleaning solutions or products used during the process.
Furthermore, don’t forget the importance of regular maintenance for your air conditioning system. In addition to flushing the system, schedule professional maintenance at least once a year to ensure that your unit is in top condition and to address any potential issues before they escalate.
By taking care of your air conditioning system and performing regular maintenance tasks like flushing, you can enjoy a cool and comfortable home throughout the hot summer months while maximizing energy efficiency and prolonging the life of your unit.
Thank you for reading this guide, and we hope it has been helpful in understanding the process of flushing an air conditioning system. If you have any further questions or need additional assistance, don’t hesitate to reach out to a qualified HVAC professional.
Frequently Asked Questions about How To Flush Air Conditioning System
Was this page helpful?
At Storables.com, we guarantee accurate and reliable information. Our content, validated by Expert Board Contributors, is crafted following stringent Editorial Policies. We're committed to providing you with well-researched, expert-backed insights for all your informational needs.