Home>Home Security and Surveillance>How Can I Improve Night Vision Camera Performance At Night
Home Security and Surveillance
How Can I Improve Night Vision Camera Performance At Night
Modified: March 6, 2024
Looking to enhance your home security and surveillance? Discover effective ways to improve night vision camera performance at night and enjoy better visibility in low-light conditions.
(Many of the links in this article redirect to a specific reviewed product. Your purchase of these products through affiliate links helps to generate commission for Storables.com, at no extra cost. Learn more)
Introduction
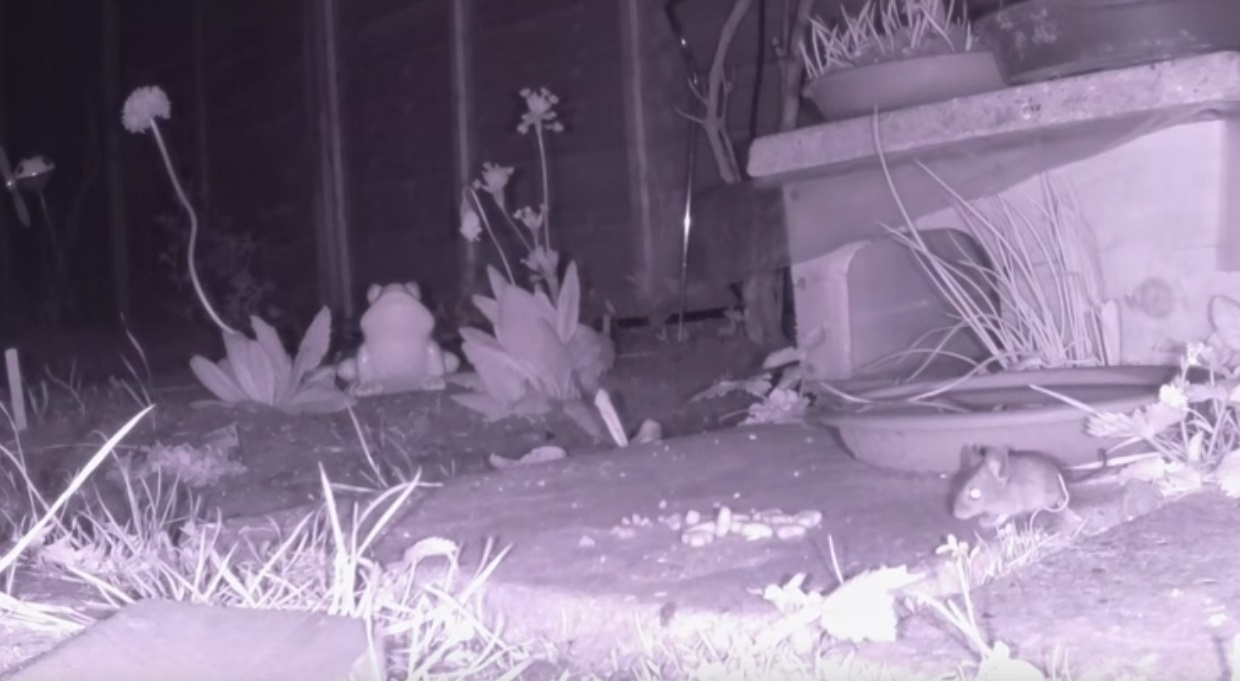
Welcome to the era of advanced home security and surveillance systems. With the rapid advancement in technology, homeowners can now have peace of mind knowing that their homes are protected day and night. One key feature of these systems is the night vision camera, which allows for enhanced monitoring in low-light conditions.
However, there may be instances where the night vision camera might not perform optimally, leading to blurry or grainy images. In this article, we will explore how you can improve the performance of your night vision camera at night, ensuring that you capture clear and crisp footage of any activities in and around your home.
Key Takeaways:
- Optimize night vision camera performance by considering factors like lighting, camera quality, placement, settings, and maintenance. This ensures clear and detailed surveillance footage for enhanced home security.
- Strategic camera placement, sufficient illumination, proper settings adjustment, regular maintenance, and glare avoidance are key to improving night vision camera performance. These measures enhance home security and surveillance capabilities.
Understanding Night Vision Technology
Before delving into tips on improving night vision camera performance, it is crucial to understand how night vision technology works. Night vision cameras are equipped with special sensors that can capture images in low-light or no-light conditions. These sensors are designed to detect and amplify available light, such as moonlight or infrared radiation, and convert it into a visible image.
There are three main types of night vision technologies: infrared (IR) illumination, low-light imaging, and thermal imaging.
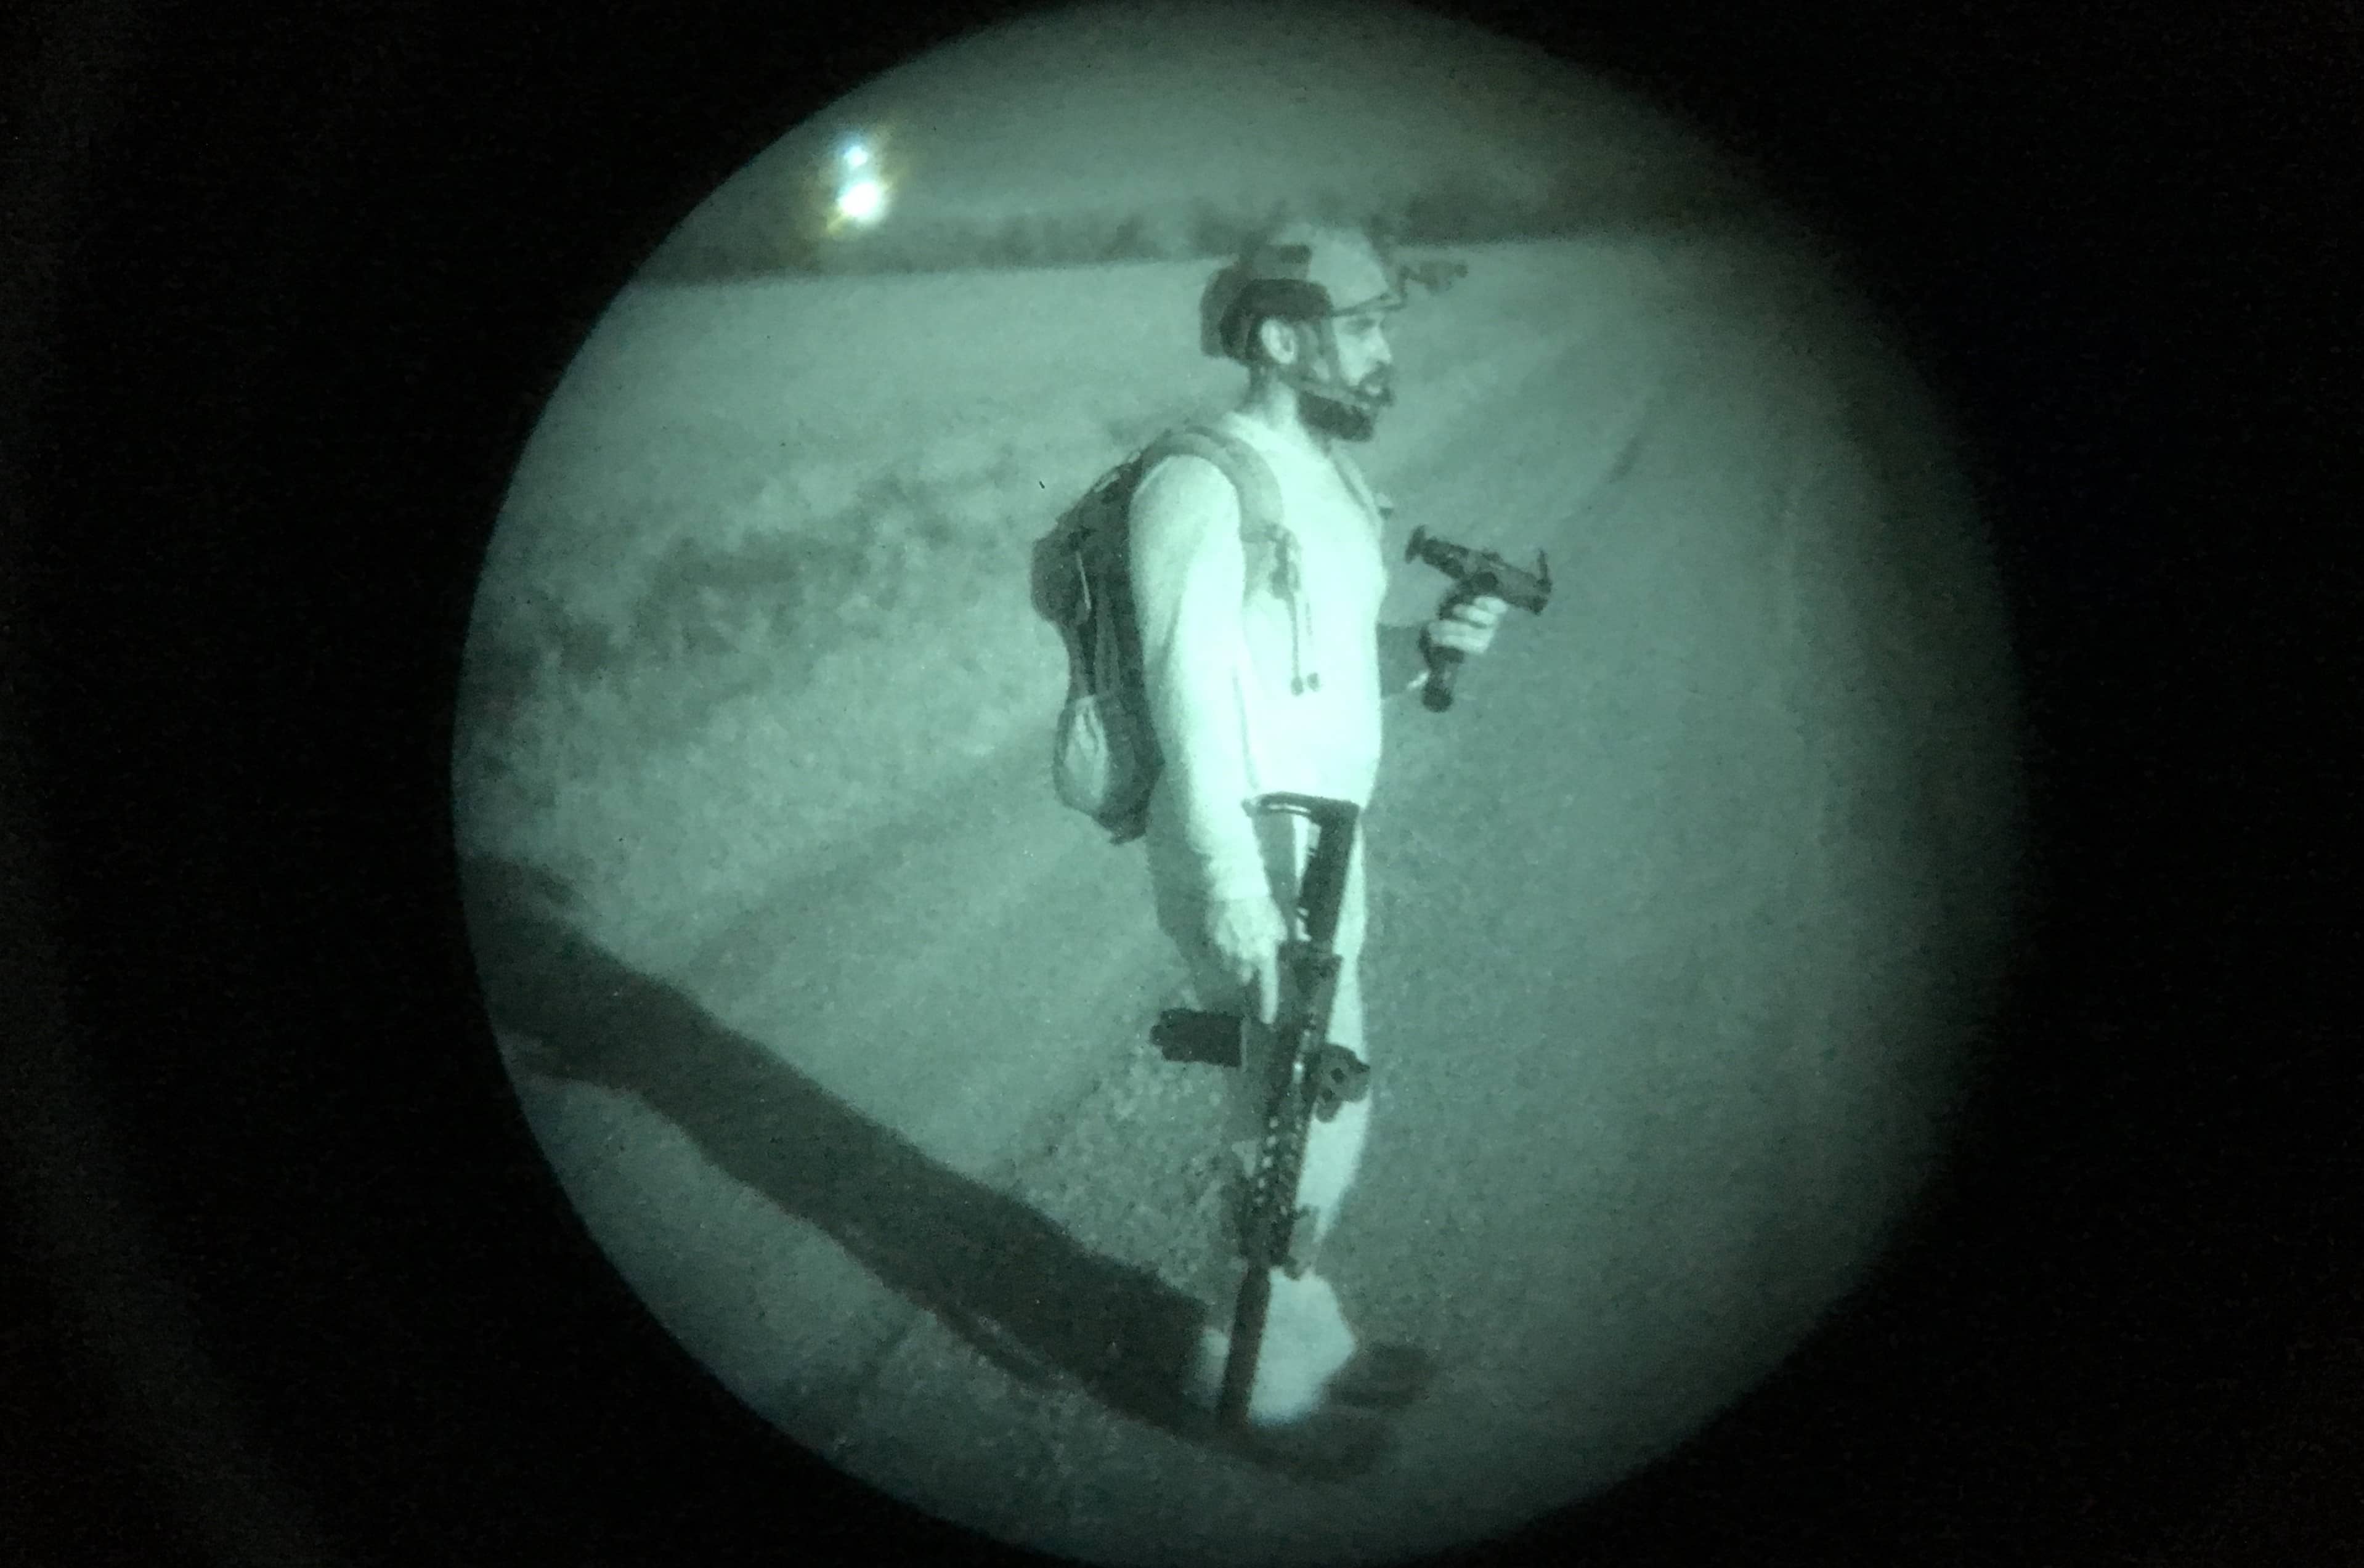
1. Infrared (IR) Illumination: This type of night vision relies on the use of infrared LEDs or lasers to illuminate the area being monitored. These LEDs emit light that is invisible to the human eye but can be detected by the sensor in the camera. The camera then captures the reflected infrared light, producing a visible image.
2. Low-Light Imaging: Low-light imaging technology enhances the sensitivity of the camera sensor to available light. It is particularly effective in situations where there is some ambient light, such as streetlights or starlight. The camera’s sensor amplifies the existing light to produce a visible image, albeit with some level of noise or graininess.
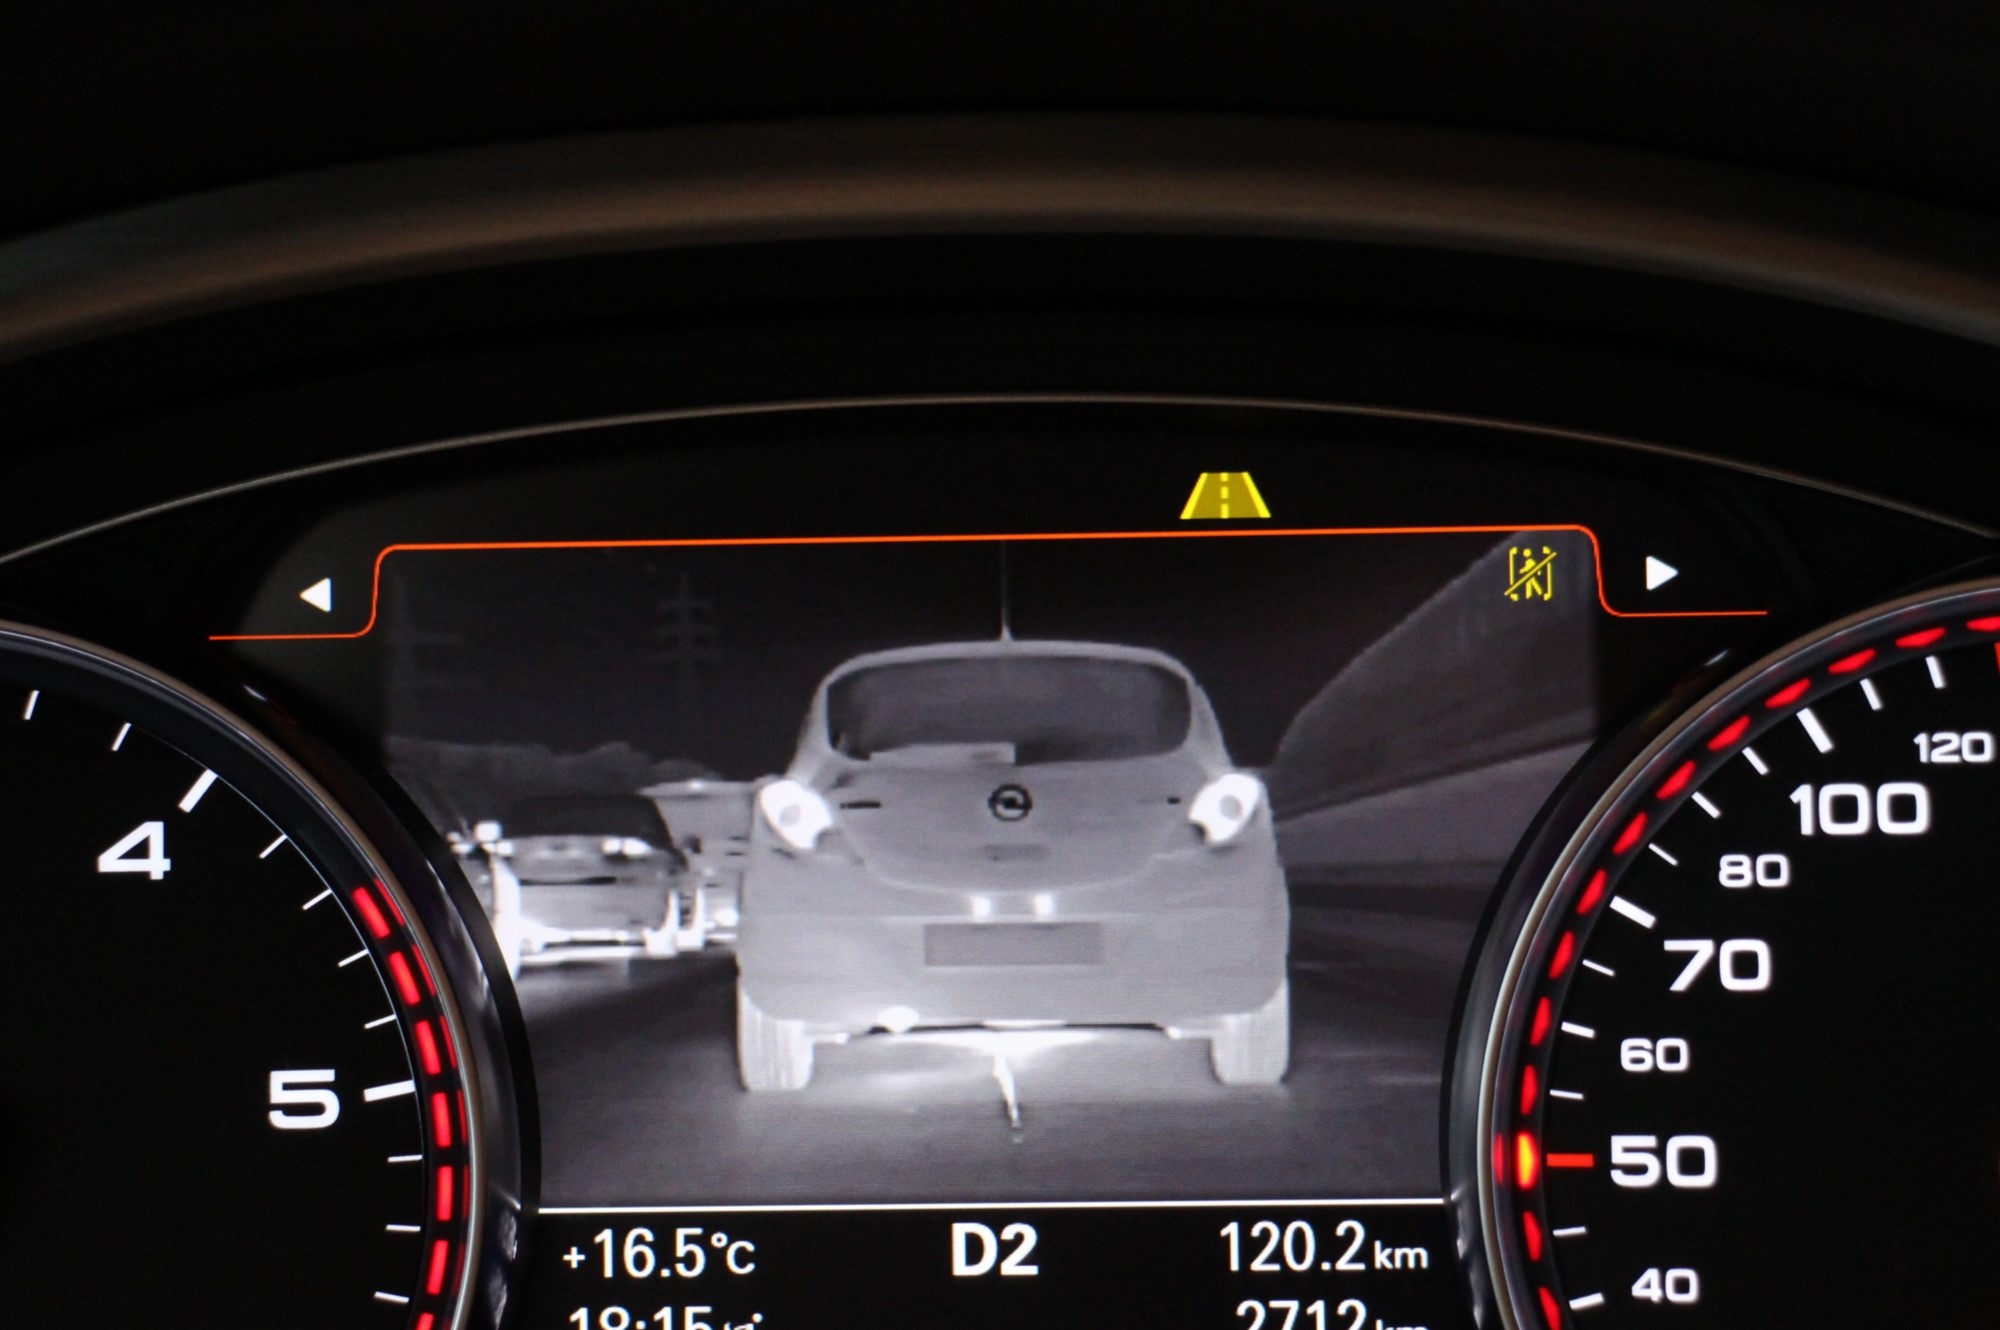
3. Thermal Imaging: Thermal imaging cameras use heat signatures to create images. They do not rely on visible light, making them useful in situations where there is complete darkness. These cameras detect the heat emitted by living beings or objects and generate a heat map of the scene, allowing for easy identification and tracking.
By understanding how night vision technology works, you can better optimize the performance of your night vision camera. Different factors affect the performance of each technology, and knowing these factors will help you make the necessary adjustments for improved results.
Factors Affecting Night Vision Camera Performance
Several factors can influence the performance of your night vision camera. By understanding and addressing these factors, you can significantly improve the quality of the images or footage captured by your camera. Here are some key factors to consider:
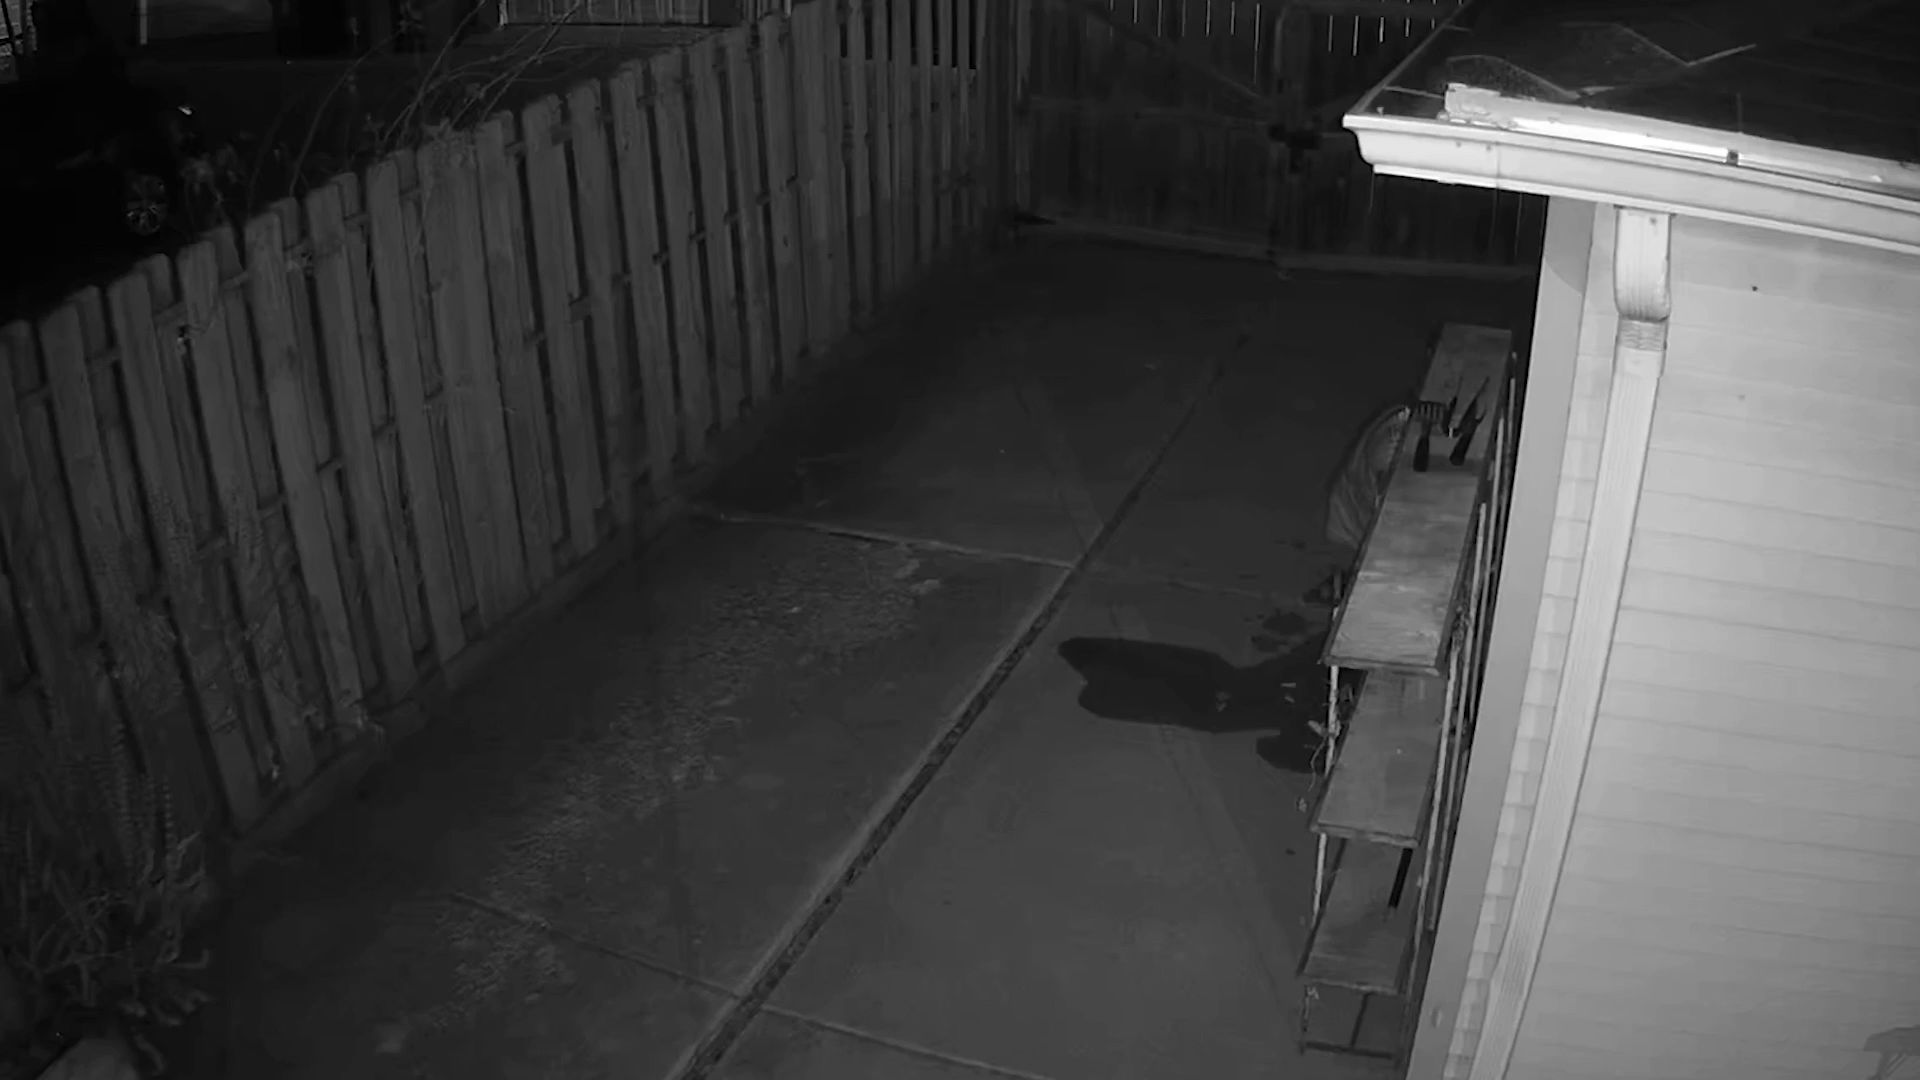
1. Lighting Conditions: The amount and quality of available light play a crucial role in night vision camera performance. If the area being monitored is completely dark, the camera may struggle to capture clear images. On the other hand, excessive light, such as bright streetlights or car headlights, can wash out the image or cause glare. Properly adjusting the camera settings and ensuring appropriate lighting conditions will help optimize performance.
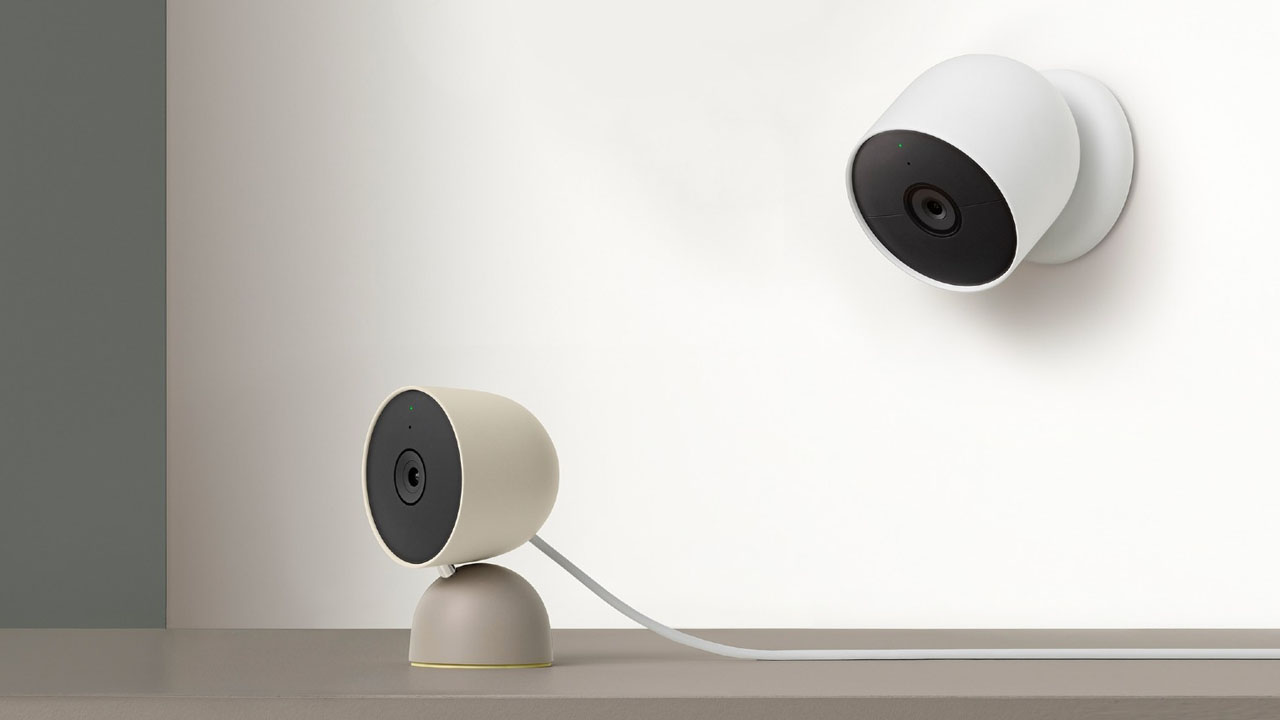
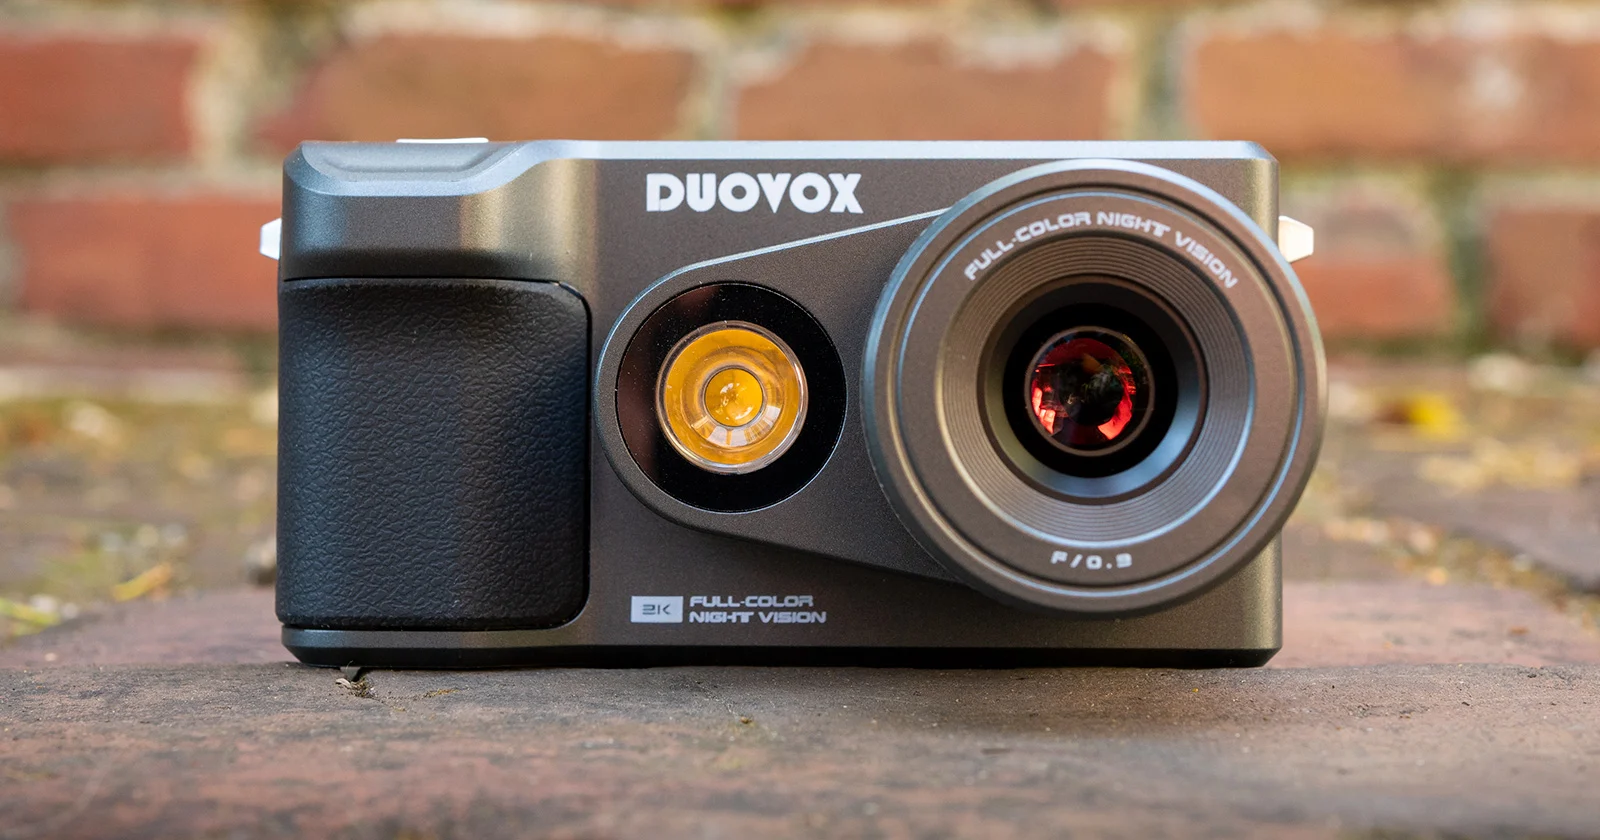
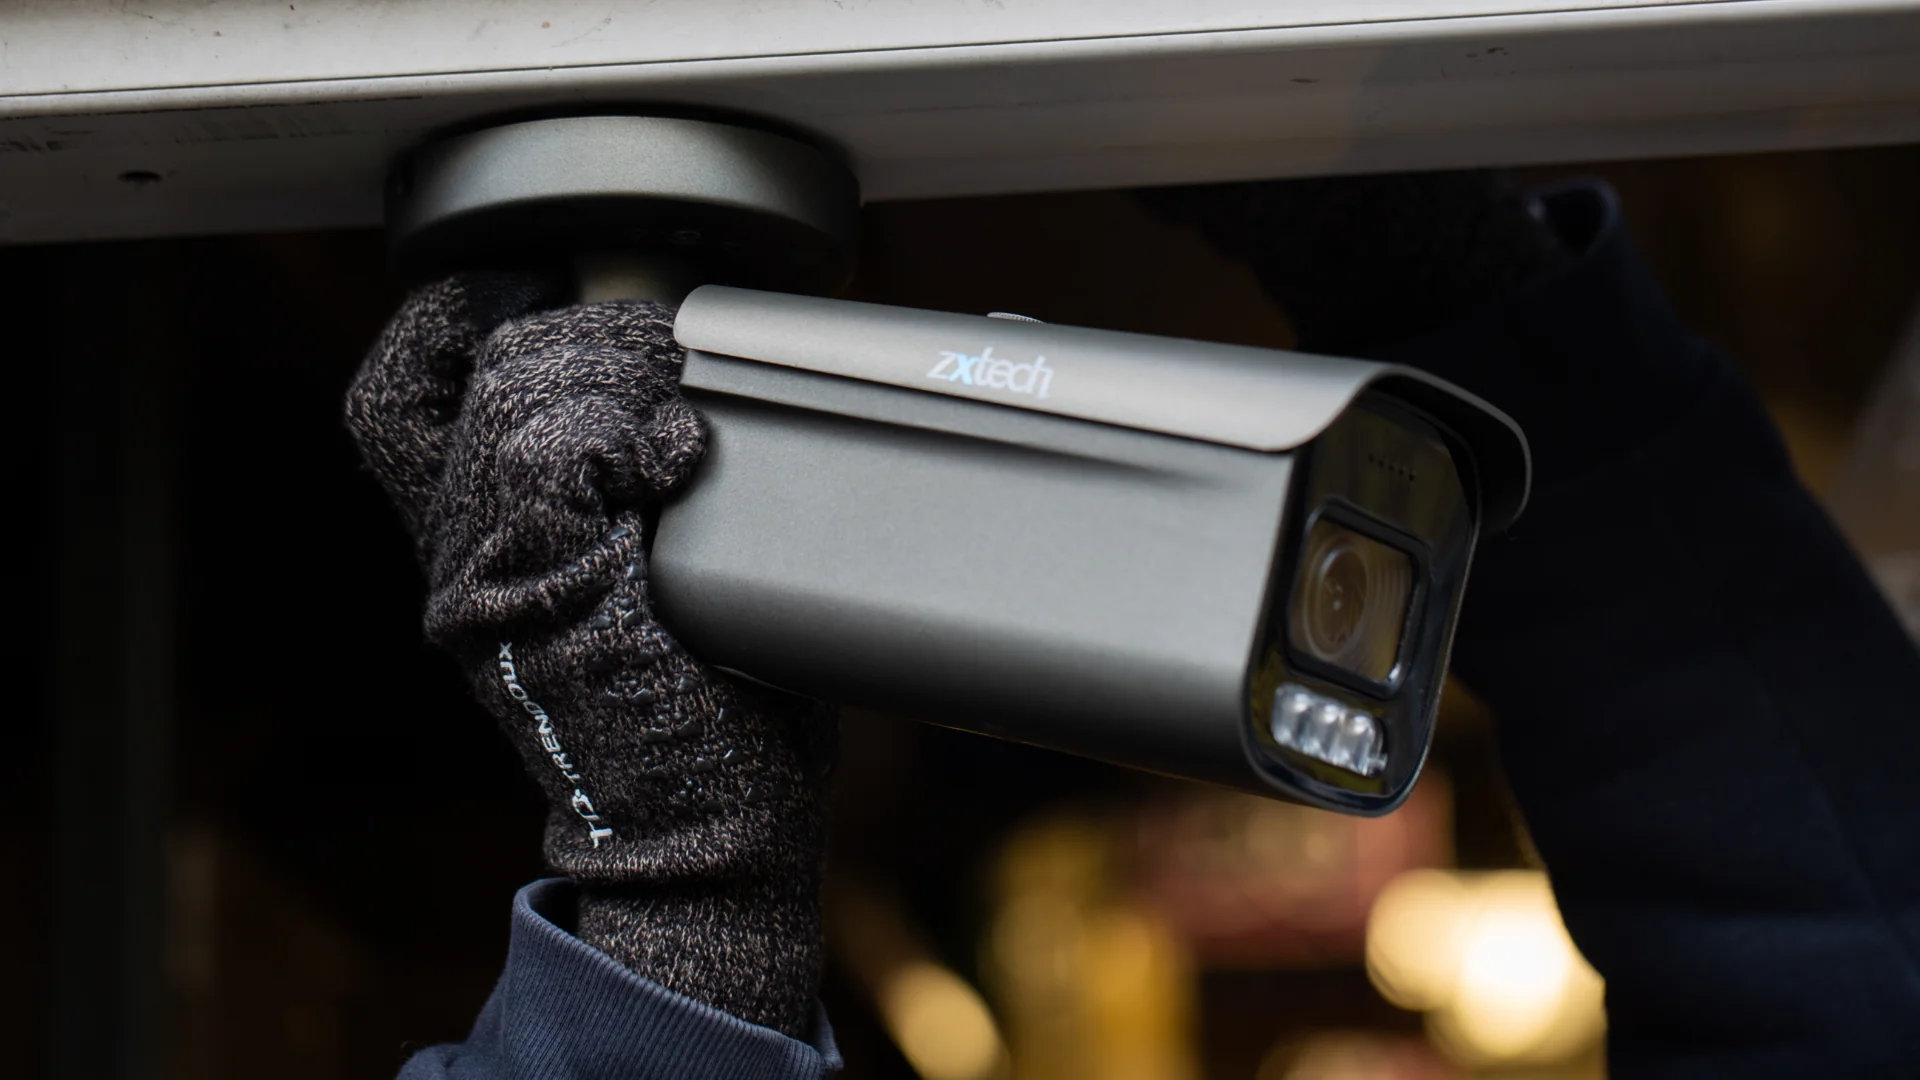
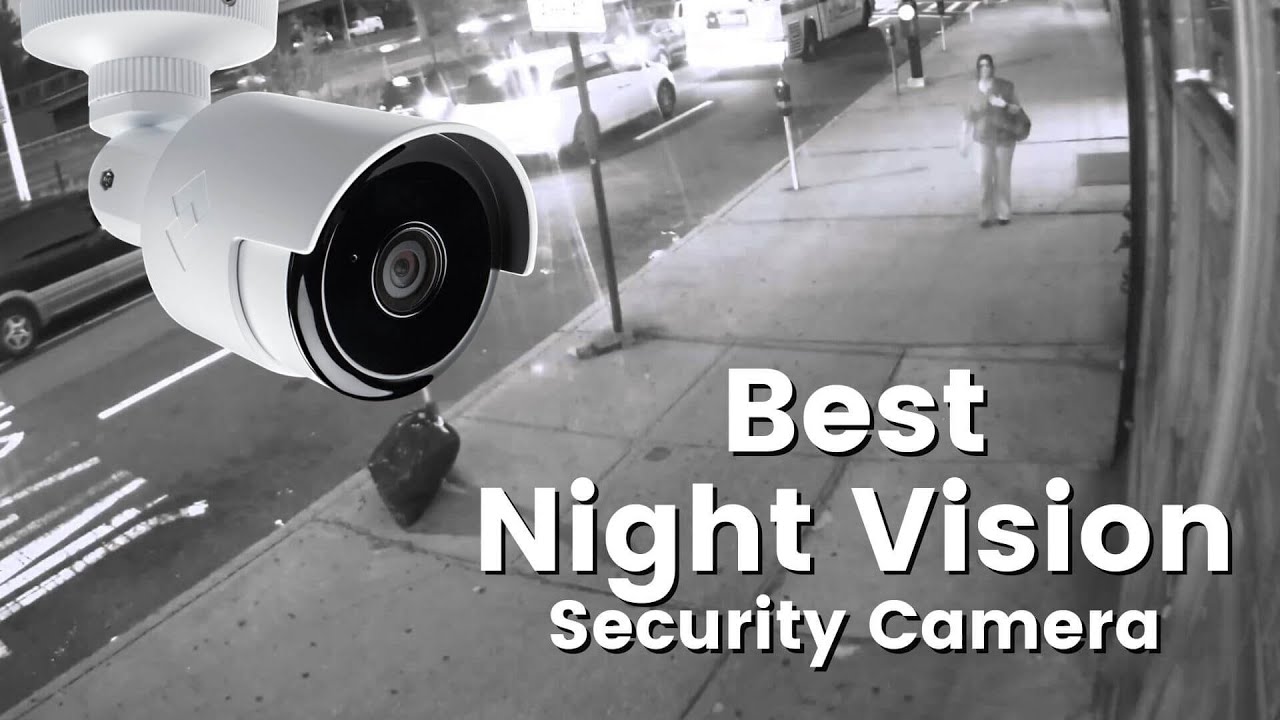
2. Camera Quality: The quality of the camera itself is a significant factor in night vision performance. Investing in high-quality, reliable cameras will ensure better image resolution, sensitivity, and overall performance. Look for cameras with advanced sensor technology and a high signal-to-noise ratio for better low-light performance.
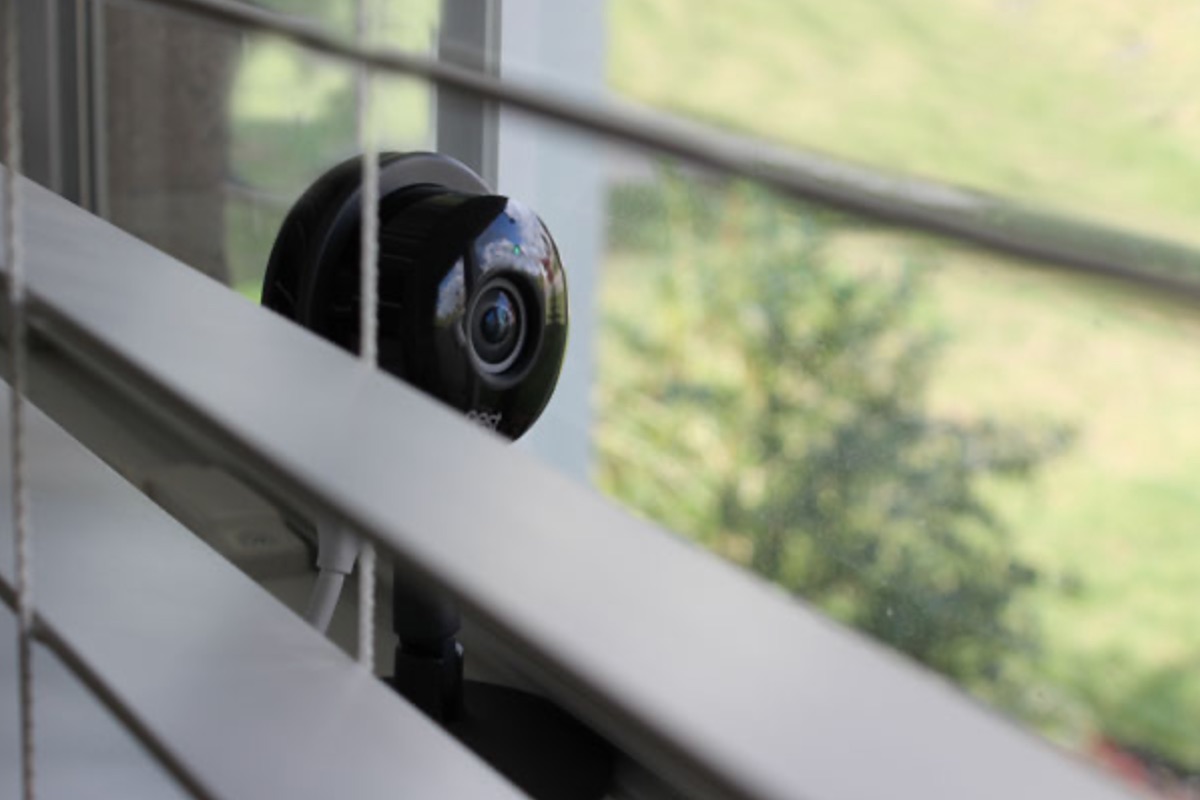
3. Camera Placement: Proper camera placement is essential for optimal night vision performance. Placing the camera at the correct angle and height, with a clear line of sight, will help capture the desired field of view and reduce obstructions that may affect image quality. Consider the distance from the subject, potential obstacles, and any lighting sources that may interfere with the camera’s performance.
4. Environmental Factors: Environmental conditions can affect night vision camera performance. Factors such as rain, fog, or extreme temperatures can impact image quality. If your camera is exposed to the elements, make sure it is weatherproof and designed to withstand harsh conditions.
5. Camera Settings: Adjusting the camera settings can make a significant difference in night vision performance. Experiment with different settings such as exposure level, brightness, contrast, and image enhancement options to find the optimal configuration for your specific environment. Additionally, enabling features like motion detection or using a higher frame rate can enhance the camera’s ability to capture clear images.
By considering these factors and taking appropriate measures, you can improve the performance of your night vision camera and ensure better surveillance and security for your home.
Tips for Improving Night Vision Camera Performance
To ensure optimal performance of your night vision camera, consider implementing the following tips:
- Proper Camera Placement: Place your camera in strategic locations that provide a clear line of sight and minimize obstructions. Avoid placing it too high or too low, as it may affect the camera’s field of view. Experiment with different angles and positions to find the optimal placement for your specific surveillance needs.
- Ensuring Sufficient Illumination: While night vision cameras are designed to work in low-light conditions, having some level of ambient light can significantly enhance the image quality. Consider installing outdoor lighting, such as motion-activated lights, to provide additional illumination for the camera. Avoid pointing the camera directly at bright light sources, as it can cause glare and affect image quality.
- Adjusting Camera Settings: Take advantage of the various settings available on your night vision camera. Experiment with exposure levels, brightness, contrast, and other image enhancements to find the optimal configuration for your specific needs. Additionally, enable features like motion detection or set a higher frame rate to improve the camera’s ability to capture clear images in motion.
- Regular Maintenance and Cleanliness: Keep your camera lenses and housing clean and free from dirt, dust, and debris. Regularly inspect the camera for any signs of damage or wear and tear. Clean the lenses gently using a microfiber cloth to remove fingerprints or smudges that can affect image quality. Maintaining the camera’s cleanliness and functionality is essential for optimal performance.
- Avoiding Glare and Reflections: Glare and reflections from nearby objects, such as windows or shiny surfaces, can disrupt the camera’s ability to capture clear images. Position the camera in a way that minimizes the chance of reflections, and consider using anti-glare coatings on windows or adjusting the camera angle to reduce the impact of glare.
By implementing these tips, you can significantly improve the performance of your night vision camera, ensuring that you capture clear and high-quality footage even in low-light conditions. Remember to regularly monitor the camera’s performance and make adjustments as needed to maintain optimal results.
Proper Camera Placement
Proper camera placement plays a crucial role in optimizing the performance of your night vision camera. By strategically positioning the camera, you can enhance its ability to capture clear and useful footage. Here are some tips for ensuring proper camera placement:
- Consider the Field of View: Before installing your night vision camera, visualize the area you want to monitor and determine the desired field of view. This will help you identify potential blind spots or areas where obstructions can hinder the camera’s effectiveness. Ensure that the camera’s installation location provides a clear and unobstructed view of the desired area.
- Mount the Camera at the Appropriate Height: The height at which you mount the camera is crucial for capturing the desired footage. Aim to position the camera at a height that provides a comprehensive view of the area without compromising its ability to capture details. Mounting the camera too high may result in a broad view but can reduce the clarity of the captured images. Conversely, mounting it too low might limit the camera’s field of view.
- Consider the Distance: Take into account the distance between the camera and the subject or area you want to monitor. If the camera is too far away, the images may lack clarity and detail. On the other hand, if the camera is too close, it may limit the field of view. Strike a balance and position the camera at an optimal distance that allows for clear and comprehensive coverage.
- Reduce Obstructions: Identify and minimize obstructions that may hinder the camera’s performance. Trees, bushes, or other objects can block the view or cast shadows, reducing the effectiveness of the night vision camera. Trim tree branches and foliage and reposition objects if they obstruct the camera’s field of view.
- Consider Angles and Coverage: Experiment with different camera angles to find the optimal position for capturing the desired area. Adjusting the camera’s tilt, pan, and rotation can help fine-tune the coverage and ensure that essential areas are adequately monitored. Properly adjusting the camera angles can capture critical details and reduce blind spots.
By carefully considering camera placement, taking into account factors such as field of view, height, distance, obstructions, and angles, you can maximize the effectiveness of your night vision camera. Remember to periodically reevaluate the camera’s position as your surveillance needs evolve or as changes occur in the monitored area.
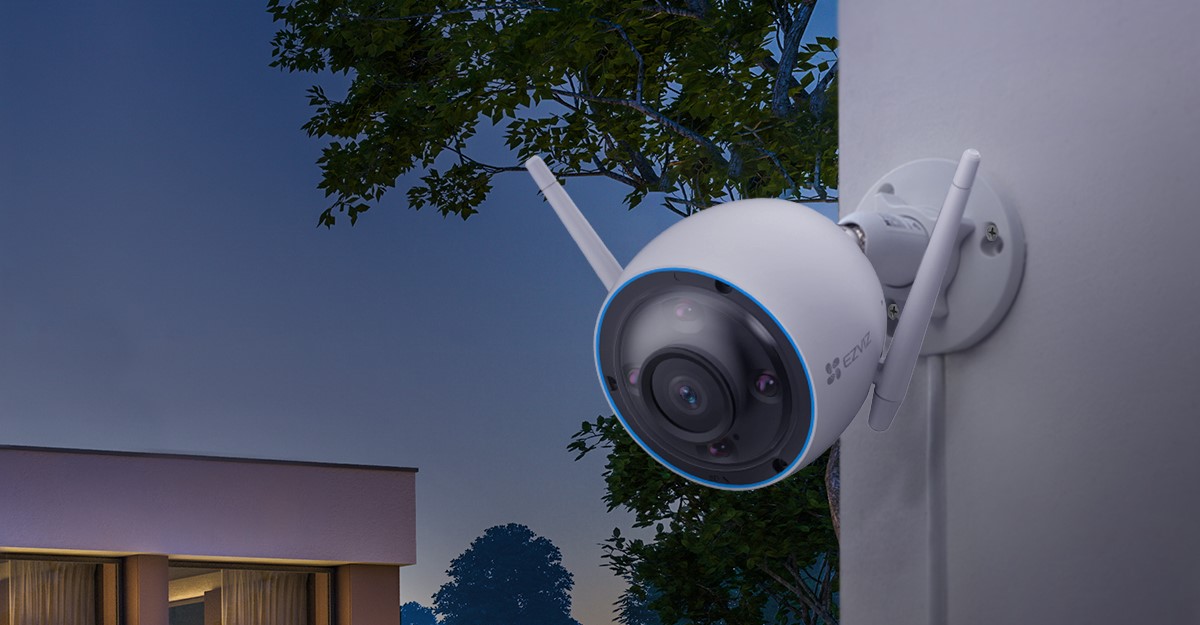
To improve night vision camera performance at night, use infrared (IR) illuminators to provide additional light for the camera to capture clear images in low light conditions. Position the IR illuminators strategically to cover the area you want to monitor.
Read more: How Far Can Night Vision Cameras See
Ensuring Sufficient Illumination
Proper illumination is crucial for maximizing the performance of your night vision camera. While night vision technology allows for low-light monitoring, having some level of ambient light can greatly enhance the quality of the captured footage. Here are some tips for ensuring sufficient illumination:
- Install Outdoor Lighting: Consider installing outdoor lighting around the area you want to monitor. Motion-activated lights are especially beneficial as they provide additional illumination only when needed. Well-placed lighting can improve the visibility and clarity of the camera’s images, making it easier to identify objects and individuals in the footage.
- Position Lights Strategically: When setting up outdoor lighting, position the lights strategically to minimize glare and shadows. Avoid pointing lights directly at the camera, as it can cause overexposure and wash out the images. Instead, position the lights to illuminate the area indirectly, providing balanced and even lighting for optimal visibility.
- Utilize Infrared Illuminators: Many night vision cameras are equipped with built-in infrared illuminators. These illuminators emit infrared light that is invisible to the human eye but can be detected by the camera’s sensor. If your camera has this feature, ensure that it is activated and properly positioned to provide additional illumination for enhanced night vision performance.
- Consider Additional Infrared Lighting: If your night vision camera does not have built-in infrared illuminators or if you require additional illumination, consider installing external infrared lighting. Infrared LEDs or laser illuminators can be strategically placed to provide the necessary infrared light for improved night vision performance. These can be especially useful for monitoring larger areas or locations with limited ambient light.
- Minimize Glare and Reflections: Glare and reflections from nearby objects, such as windows or shiny surfaces, can interfere with the camera’s ability to capture clear images. Position the camera and lighting sources in a way that minimizes the occurrence of glare and reflections. Utilize anti-glare coatings on windows or adjust the camera angle to reduce the impact of unwanted reflections.
By ensuring sufficient illumination for your night vision camera, you can significantly enhance the clarity and visibility of the captured footage. Whether it’s through outdoor lighting, infrared illuminators, or careful positioning to avoid glare and reflections, proper illumination can greatly improve the overall performance of your night vision camera.
Adjusting Camera Settings
Adjusting the settings of your night vision camera can make a significant difference in its performance and the quality of the captured images. Here are some key camera settings to consider when maximizing the effectiveness of your night vision camera:
- Exposure Levels: Experiment with the camera’s exposure settings to find the optimal balance for capturing clear images in low-light conditions. Adjusting the exposure level can help prevent overexposure or underexposure, resulting in better image quality. Increase the exposure for darker areas to bring out details, while decreasing it for areas with excessive brightness to avoid washout.
- Brightness and Contrast: Fine-tune the camera’s brightness and contrast settings to ensure vibrant and well-defined images. Increasing the brightness can help improve the visibility of darker areas, while adjusting the contrast can enhance the distinction between different objects or elements in the scene. Find the right balance to achieve clear and balanced footage.
- Image Enhancement: Many night vision cameras offer image enhancement features that can enhance the overall quality of the captured footage. These features may include options such as noise reduction, sharpness adjustment, or color saturation. Explore the camera’s menu to identify and experiment with these features to find the optimal settings for your specific surveillance needs.
- Motion Detection: Enable the motion detection feature to increase the camera’s effectiveness in capturing important events. When motion is detected within the camera’s field of view, it can trigger the camera to start recording or send alerts to notify you of any activity. This feature helps conserve storage space by only capturing footage when movement is detected, ensuring you don’t miss any crucial moments.
- Frame Rate: Adjusting the frame rate of your night vision camera can impact the smoothness and clarity of the captured footage. Higher frame rates can offer more fluid footage, but they may also require more storage space. Evaluate the trade-off between a higher frame rate for smoother video and the storage capacity of your system to determine the optimal setting for your needs.
It’s important to note that each camera may have a slightly different menu or user interface for adjusting settings. Consult your camera’s user manual or manufacturer’s documentation for specific guidance on adjusting the settings for optimal night vision performance.
By taking the time to adjust and fine-tune the camera’s settings, you can significantly enhance the performance and image quality of your night vision camera, ensuring that you capture clear and detailed footage in low-light conditions.
Regular Maintenance and Cleanliness
Maintaining your night vision camera and keeping it clean is essential for ensuring optimal performance and longevity. Regular maintenance helps prevent issues that can affect the quality of the captured footage. Here are some maintenance and cleanliness tips to keep in mind:
- Inspect the Camera: Regularly inspect your night vision camera for any signs of damage, wear and tear, or loose connections. Look for cracked lenses, loose screws, or damaged cables. Identifying and addressing these issues promptly can prevent further damage and ensure the camera operates at its best.
- Clean the Camera: Cleanliness is crucial for clear and sharp images. Use a microfiber cloth or a lens cleaning solution specifically designed for camera lenses to gently clean the lens and remove fingerprints, smudges, or dirt. Avoid using abrasive materials or harsh chemicals that can damage the lens coating. Regular cleaning helps maintain the clarity of the lens, ensuring optimal image quality.
- Remove Dust and Debris: Dust and debris can accumulate both on the lens and inside the camera housing over time. Use a can of compressed air or a soft brush to remove any dust or debris that may have accumulated on the lens or around the camera’s openings. Be careful not to blow air directly onto the lens, as it can cause particles to spread and settle on the lens.
- Check and Secure Connections: Ensure that all cables and connections are secure and firmly attached. Loose connections can lead to signal loss, poor image quality, or intermittent camera functionality. Periodically check the connections and re-secure them if necessary to maintain a reliable connection between the camera and the monitoring system.
- Protect from the Elements: Night vision cameras installed outdoors are exposed to various weather conditions. Ensure that your camera is properly protected from rain, snow, extreme heat, or freezing temperatures. Consider using weatherproof housing or enclosures designed for outdoor cameras. Regularly inspect the housing for any signs of damage and ensure that it remains secure and watertight.
By incorporating regular maintenance and cleanliness into your night vision camera routine, you can prolong its lifespan and maintain optimal performance. A well-maintained and clean camera will consistently deliver clear, high-quality images, providing peace of mind for your home security and surveillance needs.
Avoiding Glare and Reflections
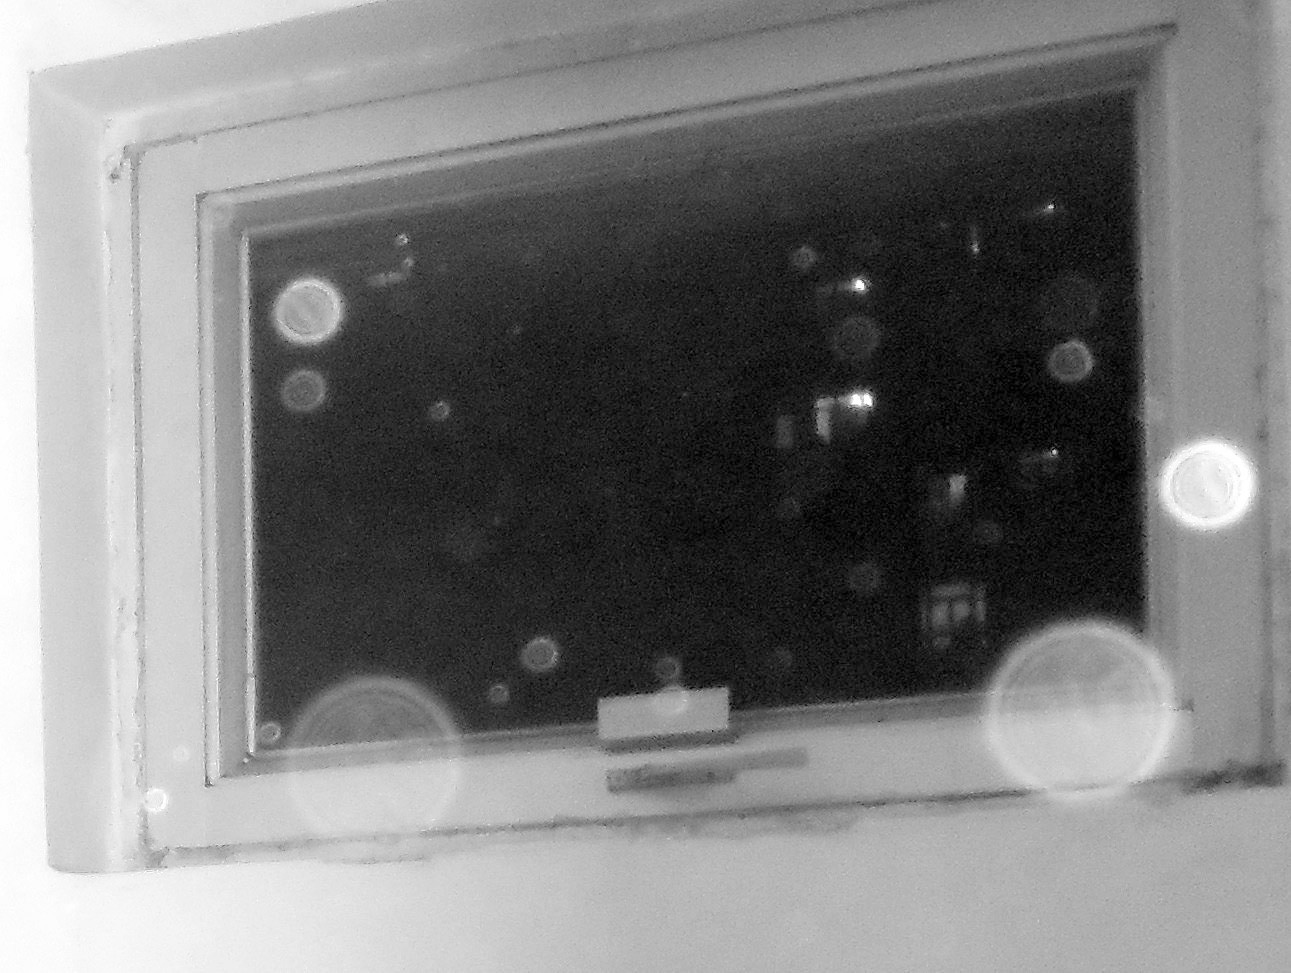
Glare and reflections can significantly impact the performance of your night vision camera and can distort or obstruct the captured footage. To ensure clear and accurate images, it’s crucial to minimize or eliminate the occurrence of glare and reflections. Here are some tips to help you avoid glare and reflections:
- Position the Camera Correctly: Proper positioning of the camera is essential to prevent glare and reflections. Avoid placing the camera directly facing sources of bright light, such as streetlights, spotlights, or other bright objects. Instead, position the camera in a way that reduces the direct impact of these light sources on the lens, allowing for a clearer image.
- Use Anti-Glare Coatings: Consider using anti-glare coatings on windows or other surfaces that may cause reflections. Anti-glare coatings minimize the amount of light that is reflected off the surface, reducing the potential for glare in the camera’s field of view. These coatings can help maintain clear and unobstructed images, especially when monitoring through glass windows or doors.
- Adjust Camera Angle: Experiment with different camera angles to find the optimal position that minimizes the occurrence of glare and reflections. Tilting or angling the camera slightly can help redirect the reflected light away from the lens, thereby reducing the impact on the image quality. Regularly assess the camera’s angle to ensure it remains optimal for your specific surveillance needs.
- Control Indoor Lighting: If you are monitoring an area indoors, be mindful of the indoor lighting. Bright overhead lights or lamps positioned near windows can cause reflections or glare. Adjust the position or intensity of indoor lights to minimize their impact on the camera’s field of view. Using curtains, blinds, or diffusing materials can also help control the intensity and direction of light entering the room.
- Monitor External Light Sources: Pay attention to external sources of light that may vary throughout the day. For example, the position of the sun may change throughout the day, casting different levels of light onto the camera lens. Regularly assess and adjust the camera’s positioning or consider using adjustable sunshades or lens hoods to block direct sunlight and prevent the occurrence of glare or lens flares.
By being mindful of glare and reflections and implementing these strategies, you can significantly improve the performance of your night vision camera. Ensuring clear and unobstructed images will provide you with accurate surveillance data and enhance the overall effectiveness of your home security system.
Read more: How To Blind A Night Vision Camera
Conclusion
Optimizing the performance of your night vision camera is crucial for ensuring effective home security and surveillance, especially during low-light conditions. By understanding the technology behind night vision cameras and addressing key factors that affect their performance, you can enhance the quality of the captured footage and improve overall monitoring capabilities.
Proper camera placement is essential for maximizing the camera’s field of view and minimizing obstructions. Consider the distance, angle, and height when installing the camera to achieve comprehensive coverage. Additionally, ensuring sufficient illumination through outdoor lighting or infrared illuminators can significantly enhance the camera’s ability to capture clear and detailed images.
Adjusting camera settings such as exposure levels, brightness, and contrast can fine-tune the camera’s performance in low-light conditions. Enable features like motion detection and adjust the frame rate to optimize surveillance capabilities. Regular maintenance and cleanliness, including inspecting the camera, cleaning the lens, and securing connections, are essential for preserving image quality and extending the camera’s lifespan.
Avoiding glare and reflections is crucial for obtaining clear and unobstructed footage. Proper positioning of the camera, use of anti-glare coatings, and monitoring of indoor and external light sources can help minimize these issues and enhance the camera’s performance.
In conclusion, implementing these tips and strategies will help you improve the night vision camera performance at night. By optimizing camera placement, ensuring sufficient illumination, adjusting settings, performing regular maintenance, and minimizing glare and reflections, you can enhance the capabilities of your home security and surveillance system. Remember to regularly assess and fine-tune the camera’s performance to adapt to changing environmental conditions and surveillance needs.
By investing time and effort into optimizing your night vision camera, you can enjoy greater peace of mind knowing that your home is well-protected, even during the darkest hours of the night.
Frequently Asked Questions about How Can I Improve Night Vision Camera Performance At Night
Was this page helpful?
At Storables.com, we guarantee accurate and reliable information. Our content, validated by Expert Board Contributors, is crafted following stringent Editorial Policies. We're committed to providing you with well-researched, expert-backed insights for all your informational needs.