Home>Home Security and Surveillance>How To Make A Night Vision Camera
Home Security and Surveillance
How To Make A Night Vision Camera
Modified: October 27, 2024
Learn how to make a night vision camera for home security and surveillance. Enhance your monitoring capabilities with this DIY project.
(Many of the links in this article redirect to a specific reviewed product. Your purchase of these products through affiliate links helps to generate commission for Storables.com, at no extra cost. Learn more)
Introduction
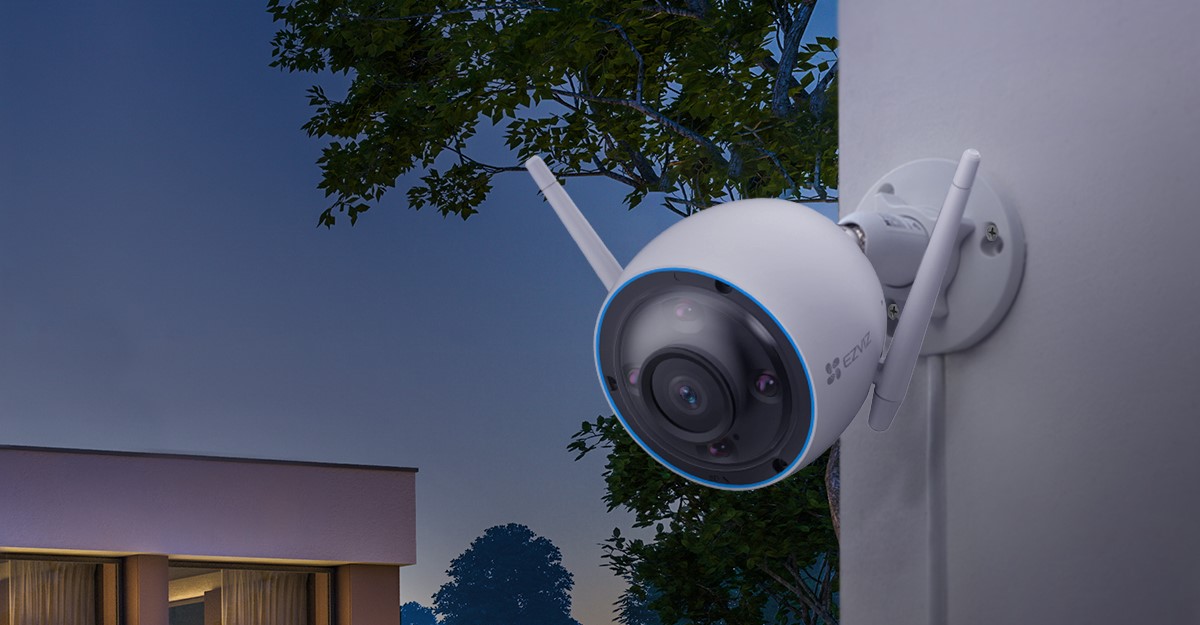
Welcome to the world of home security and surveillance! In today’s modern era, the safety of our homes and families is of utmost importance. Fortunately, advancements in technology have made it easier and more affordable than ever to set up our own home security systems. One such technology that has gained popularity is night vision cameras. These cameras allow us to monitor our surroundings even in low-light or complete darkness, providing an extra layer of security.
In this comprehensive guide, we will delve into the fascinating world of night vision cameras and explore how you can make your very own with just a few components and some basic technical know-how. Whether you’re a tech enthusiast, a DIY enthusiast, or simply curious about home security, this article is here to help you understand the ins and outs of night vision technology and guide you through the process of creating your own night vision camera.
Before we dive into the nitty-gritty details, let’s first ensure we have a solid understanding of night vision technology and how it works.
Key Takeaways:
- You can create your own night vision camera using simple components like a camera module, IR illuminators, and a power supply. It’s an exciting DIY project that enhances home security and surveillance.
- Testing and calibrating your homemade night vision camera is crucial for optimal performance. Positioning, cleaning the lens, and adjusting settings can further improve its functionality.
Read more: What Makes A Great Night Vision Camera
Understanding Night Vision Technology
Night vision technology is a fascinating field that allows us to see in low-light or completely dark environments. Whether it’s for military use, wildlife observation, or home security purposes, the basic principles of night vision remain the same. Let’s explore how this technology works.
At the heart of night vision technology is the ability to capture and amplify available light, such as moonlight or ambient light, and convert it into a visible image. This is achieved through a combination of optical and electronic components found in night vision devices.
The first step in the process is the collection of light. Night vision cameras typically use image intensifier tubes or advanced digital sensors to capture incoming light. These tubes or sensors work by converting photons (particles of light) into electrons.
Once the light is captured and converted into electrons, it goes through a process called amplification. This is where the magic happens. The electrons are multiplied and accelerated through a series of electrical and chemical reactions, resulting in a stronger and brighter image. This amplification process allows us to see objects and details that would otherwise be invisible to the naked eye in low-light conditions.
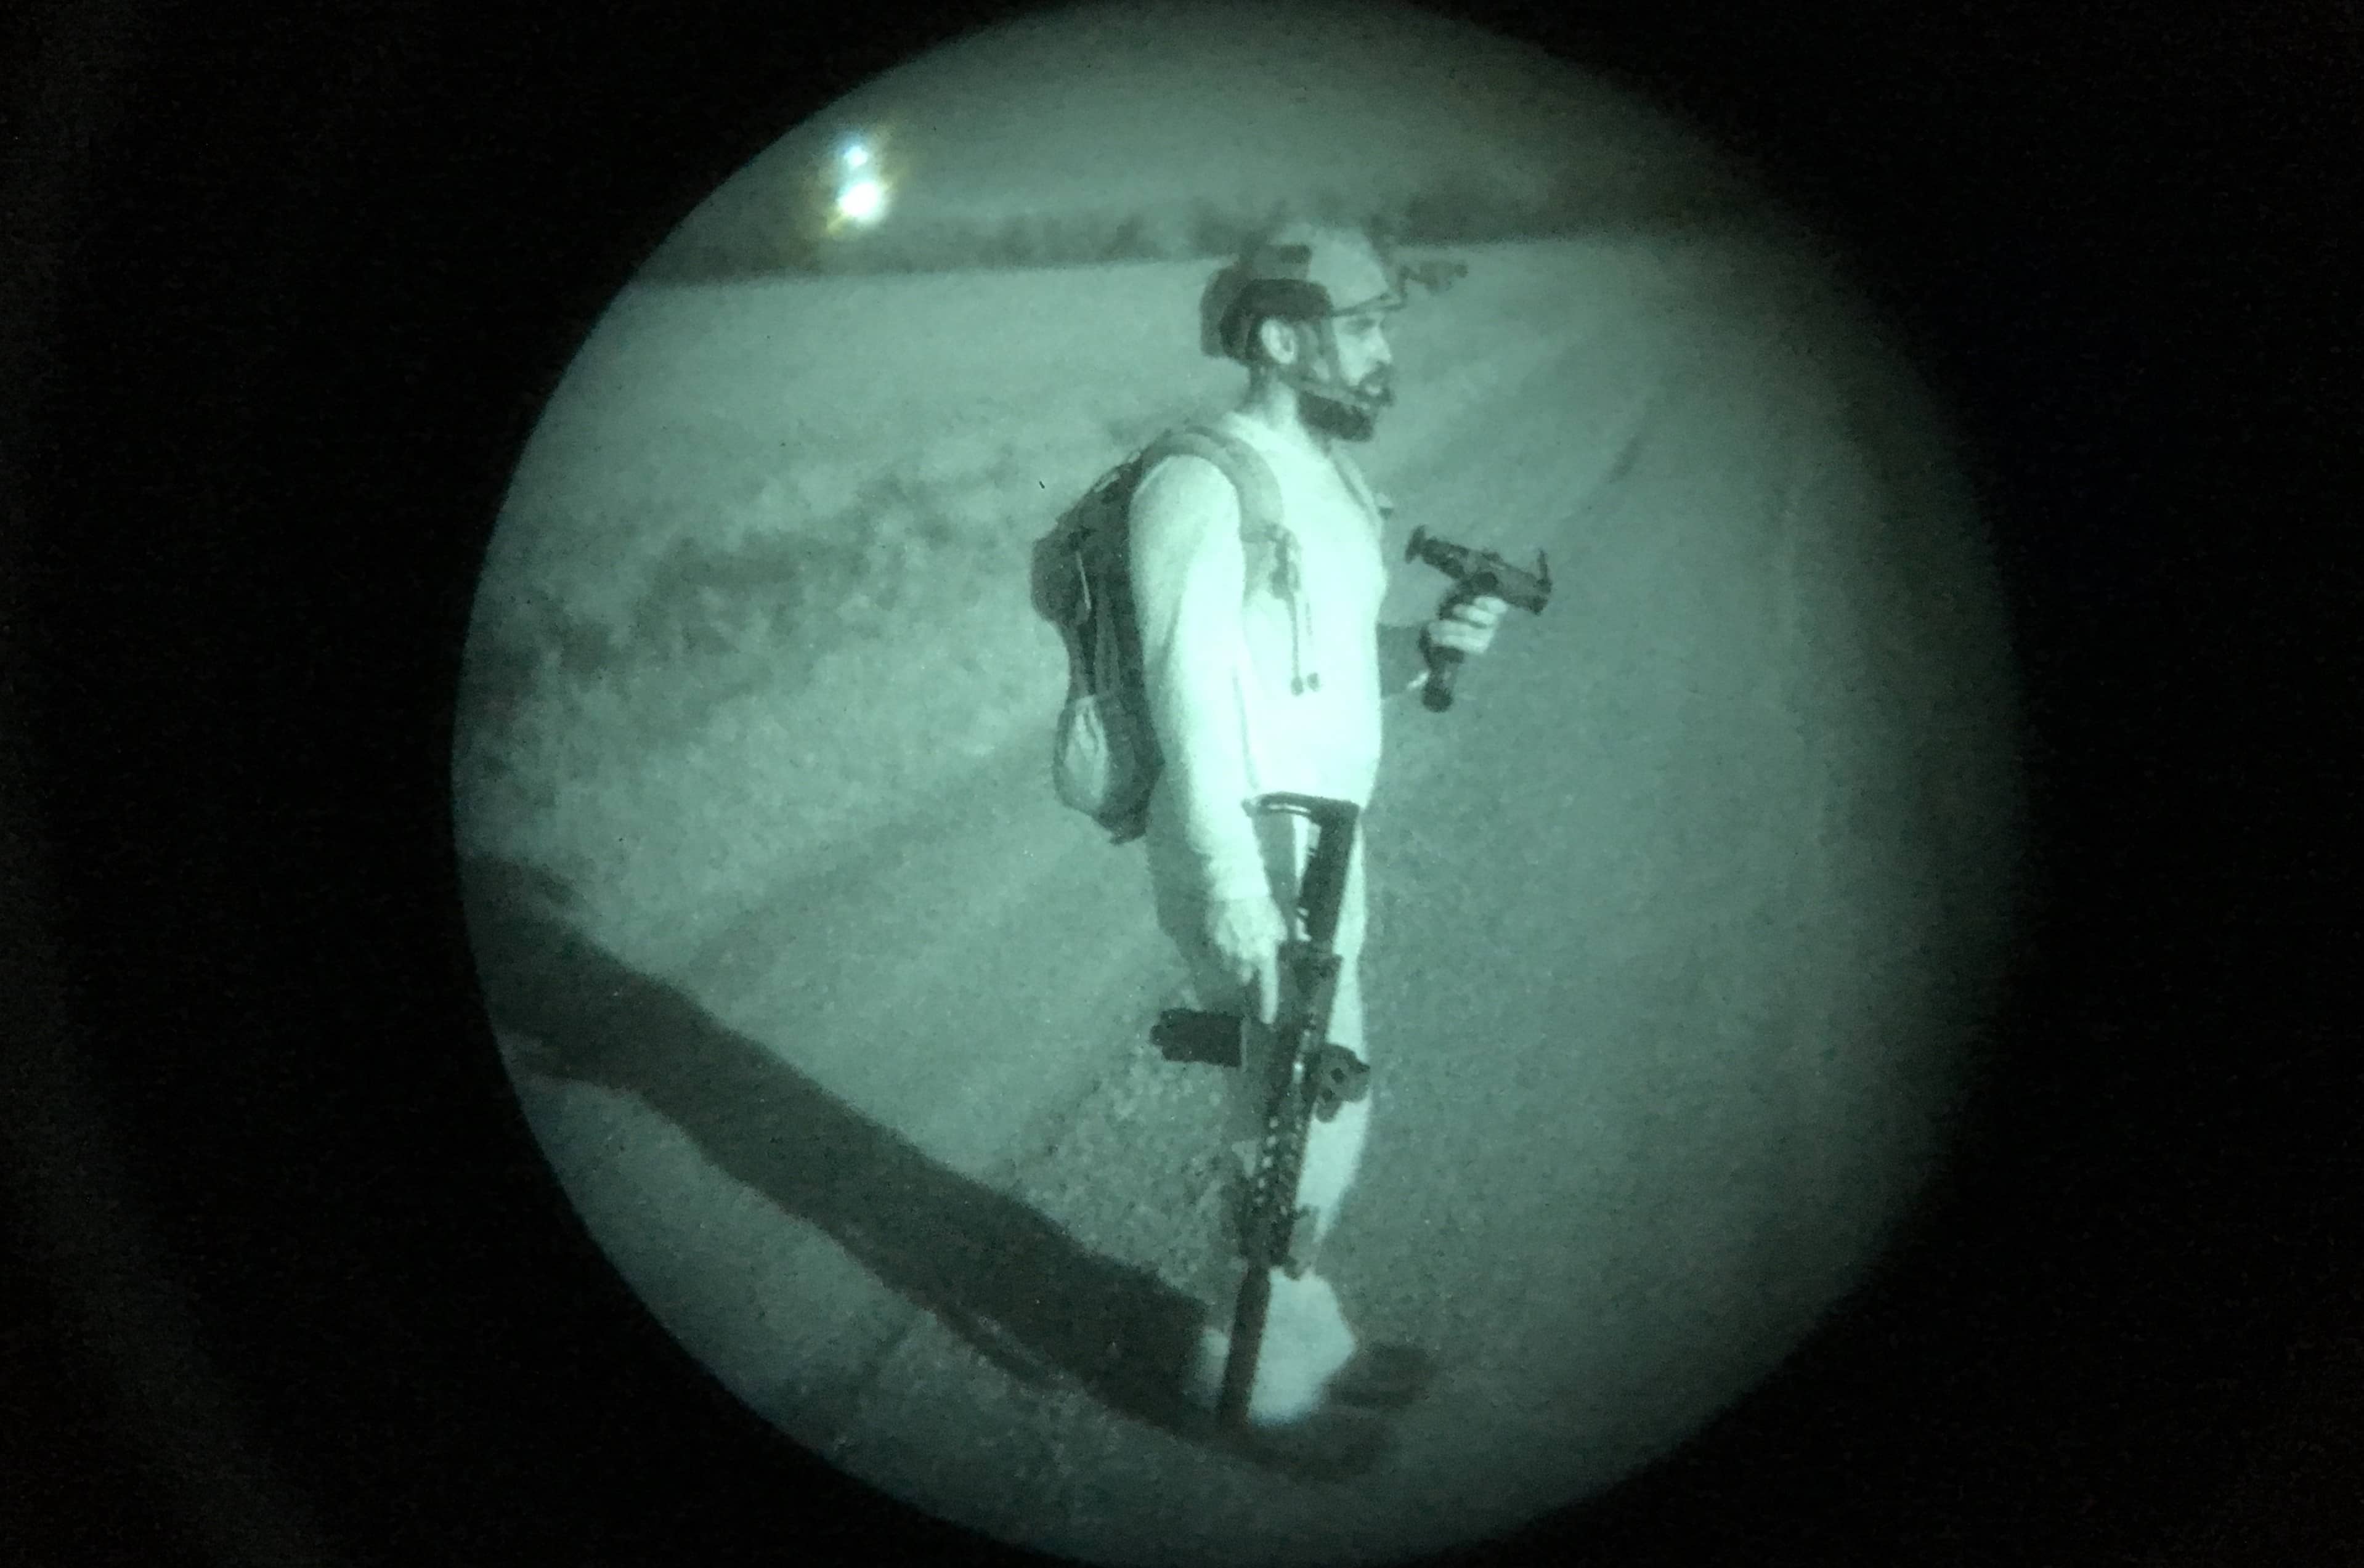
The final step in the night vision process is the display of the amplified image. In older generation night vision devices, the amplified image was viewed through a green phosphor screen. This green color was chosen because the human eye is more sensitive to shades of green. However, with the advent of digital technology, modern night vision devices can display the amplified image in full-color or monochrome on LCD screens or through digital image processing.
It’s important to note that there are different generations of night vision technology, each with its own advancements and capabilities. The most commonly used generations are Gen 1, Gen 2, and Gen 3. Gen 1 devices are the most affordable and widely available, while Gen 3 devices offer superior performance and image quality, albeit at a higher cost.
Now that we have a basic understanding of how night vision technology works, let’s explore the components required to make your own night vision camera.
Components Required for Making a Night Vision Camera
Creating your own night vision camera is an exciting project that requires a few key components. To ensure you have everything you need, let’s go through the essential components required for making a night vision camera.
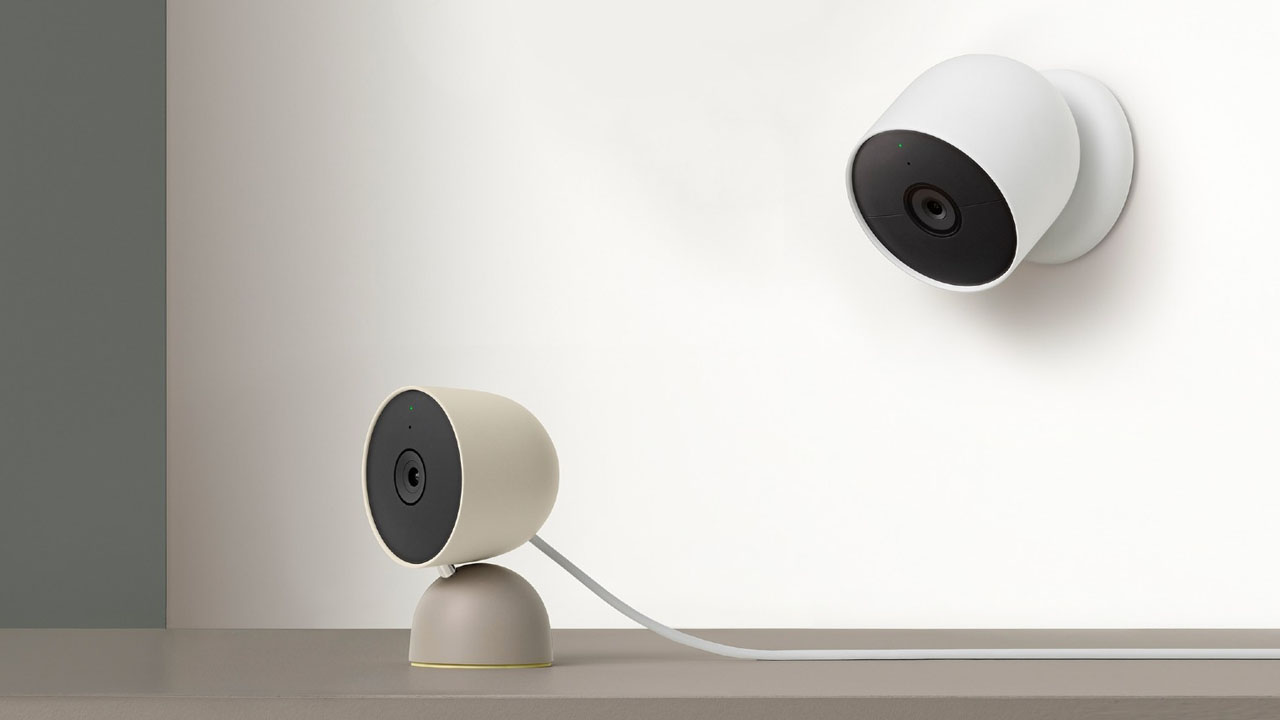
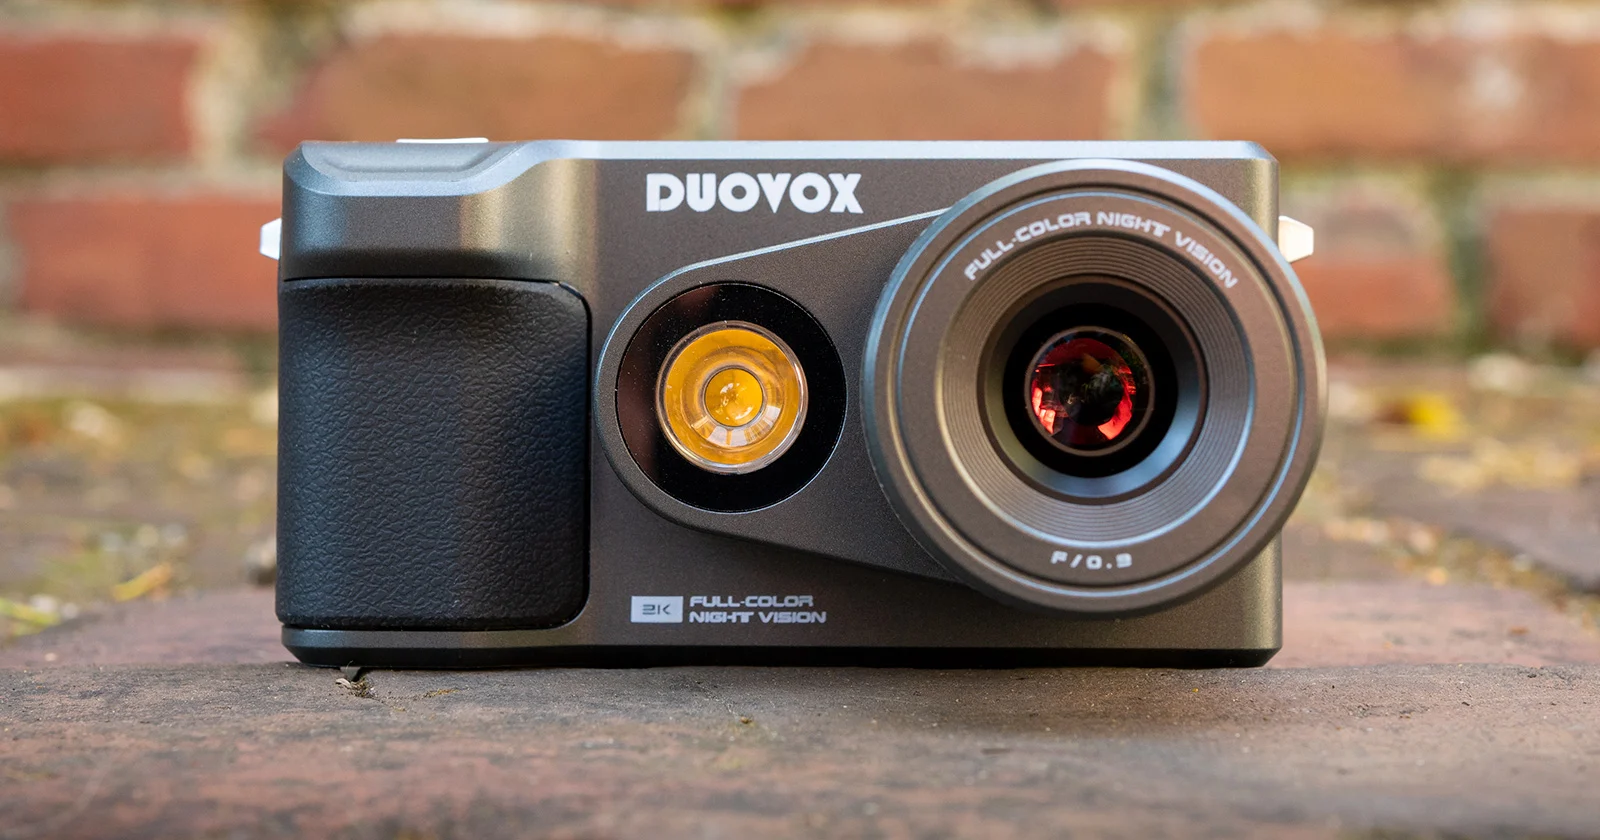
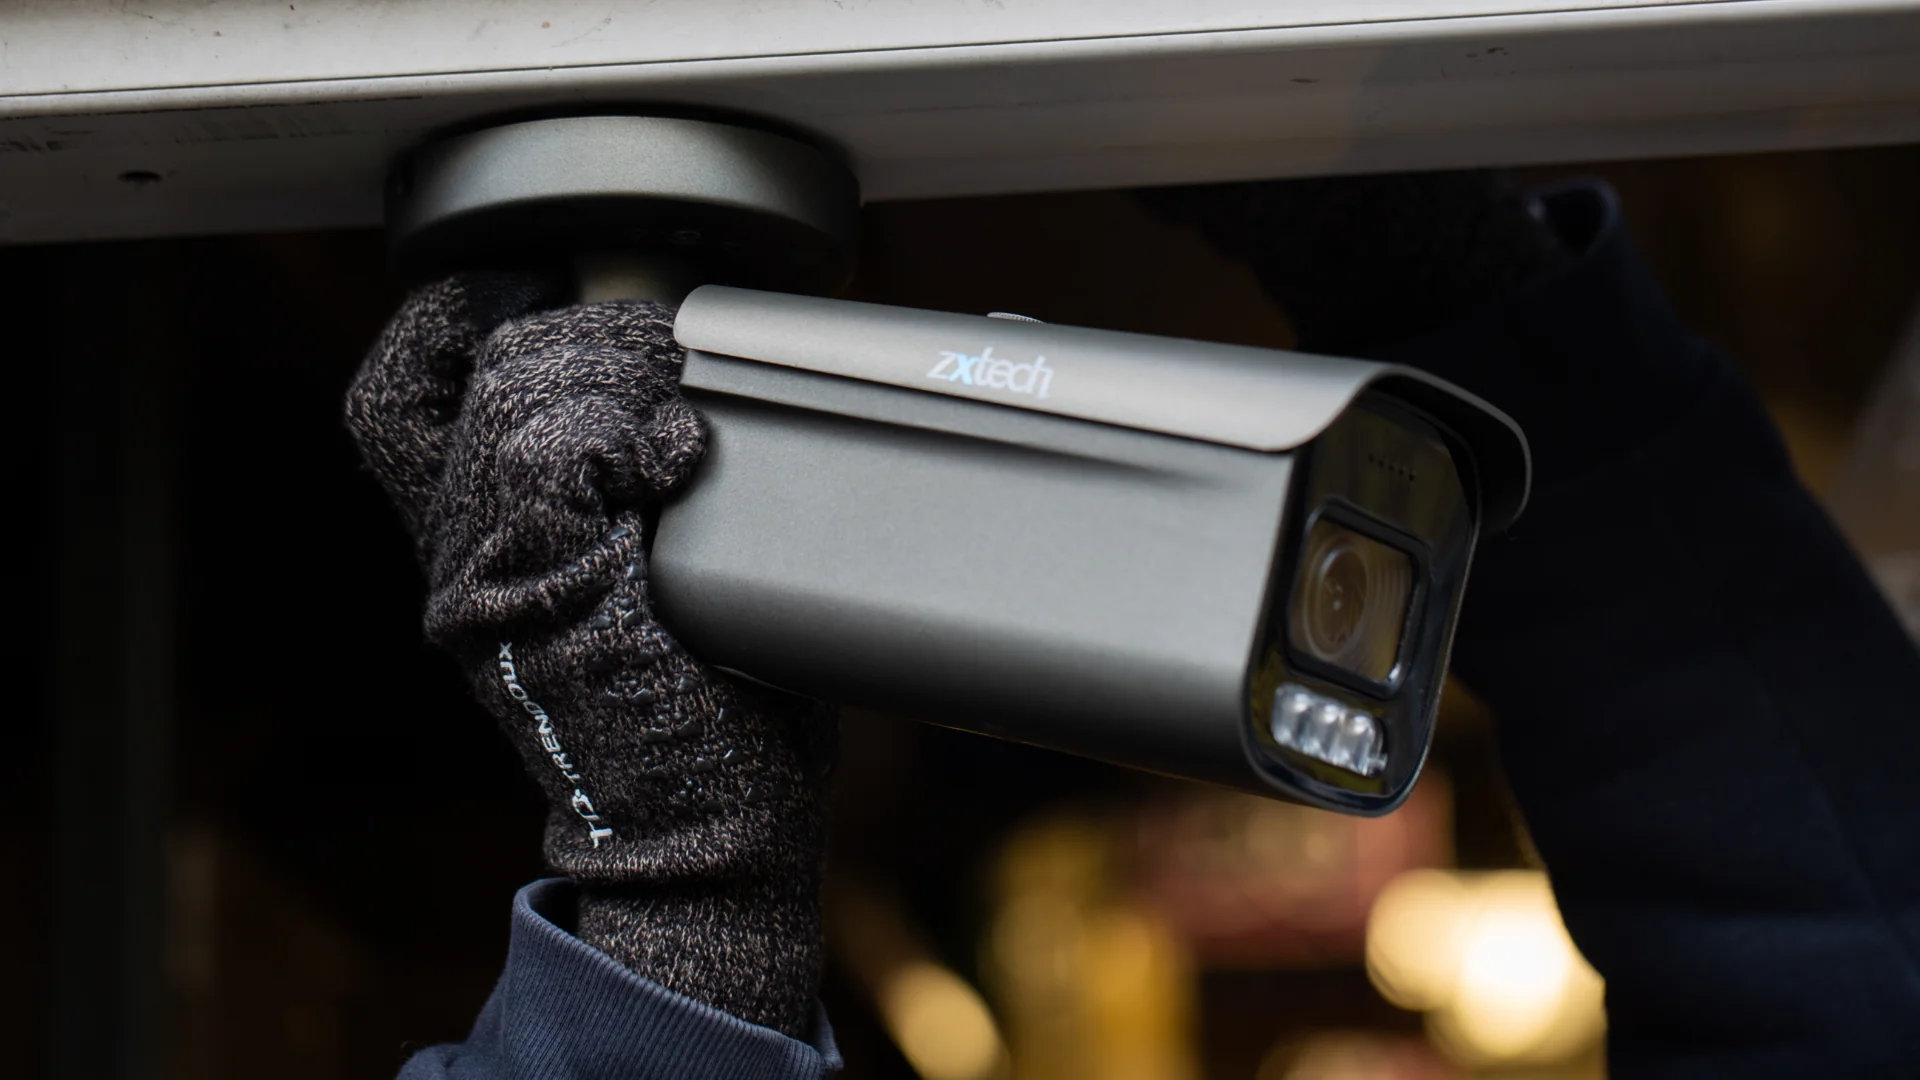
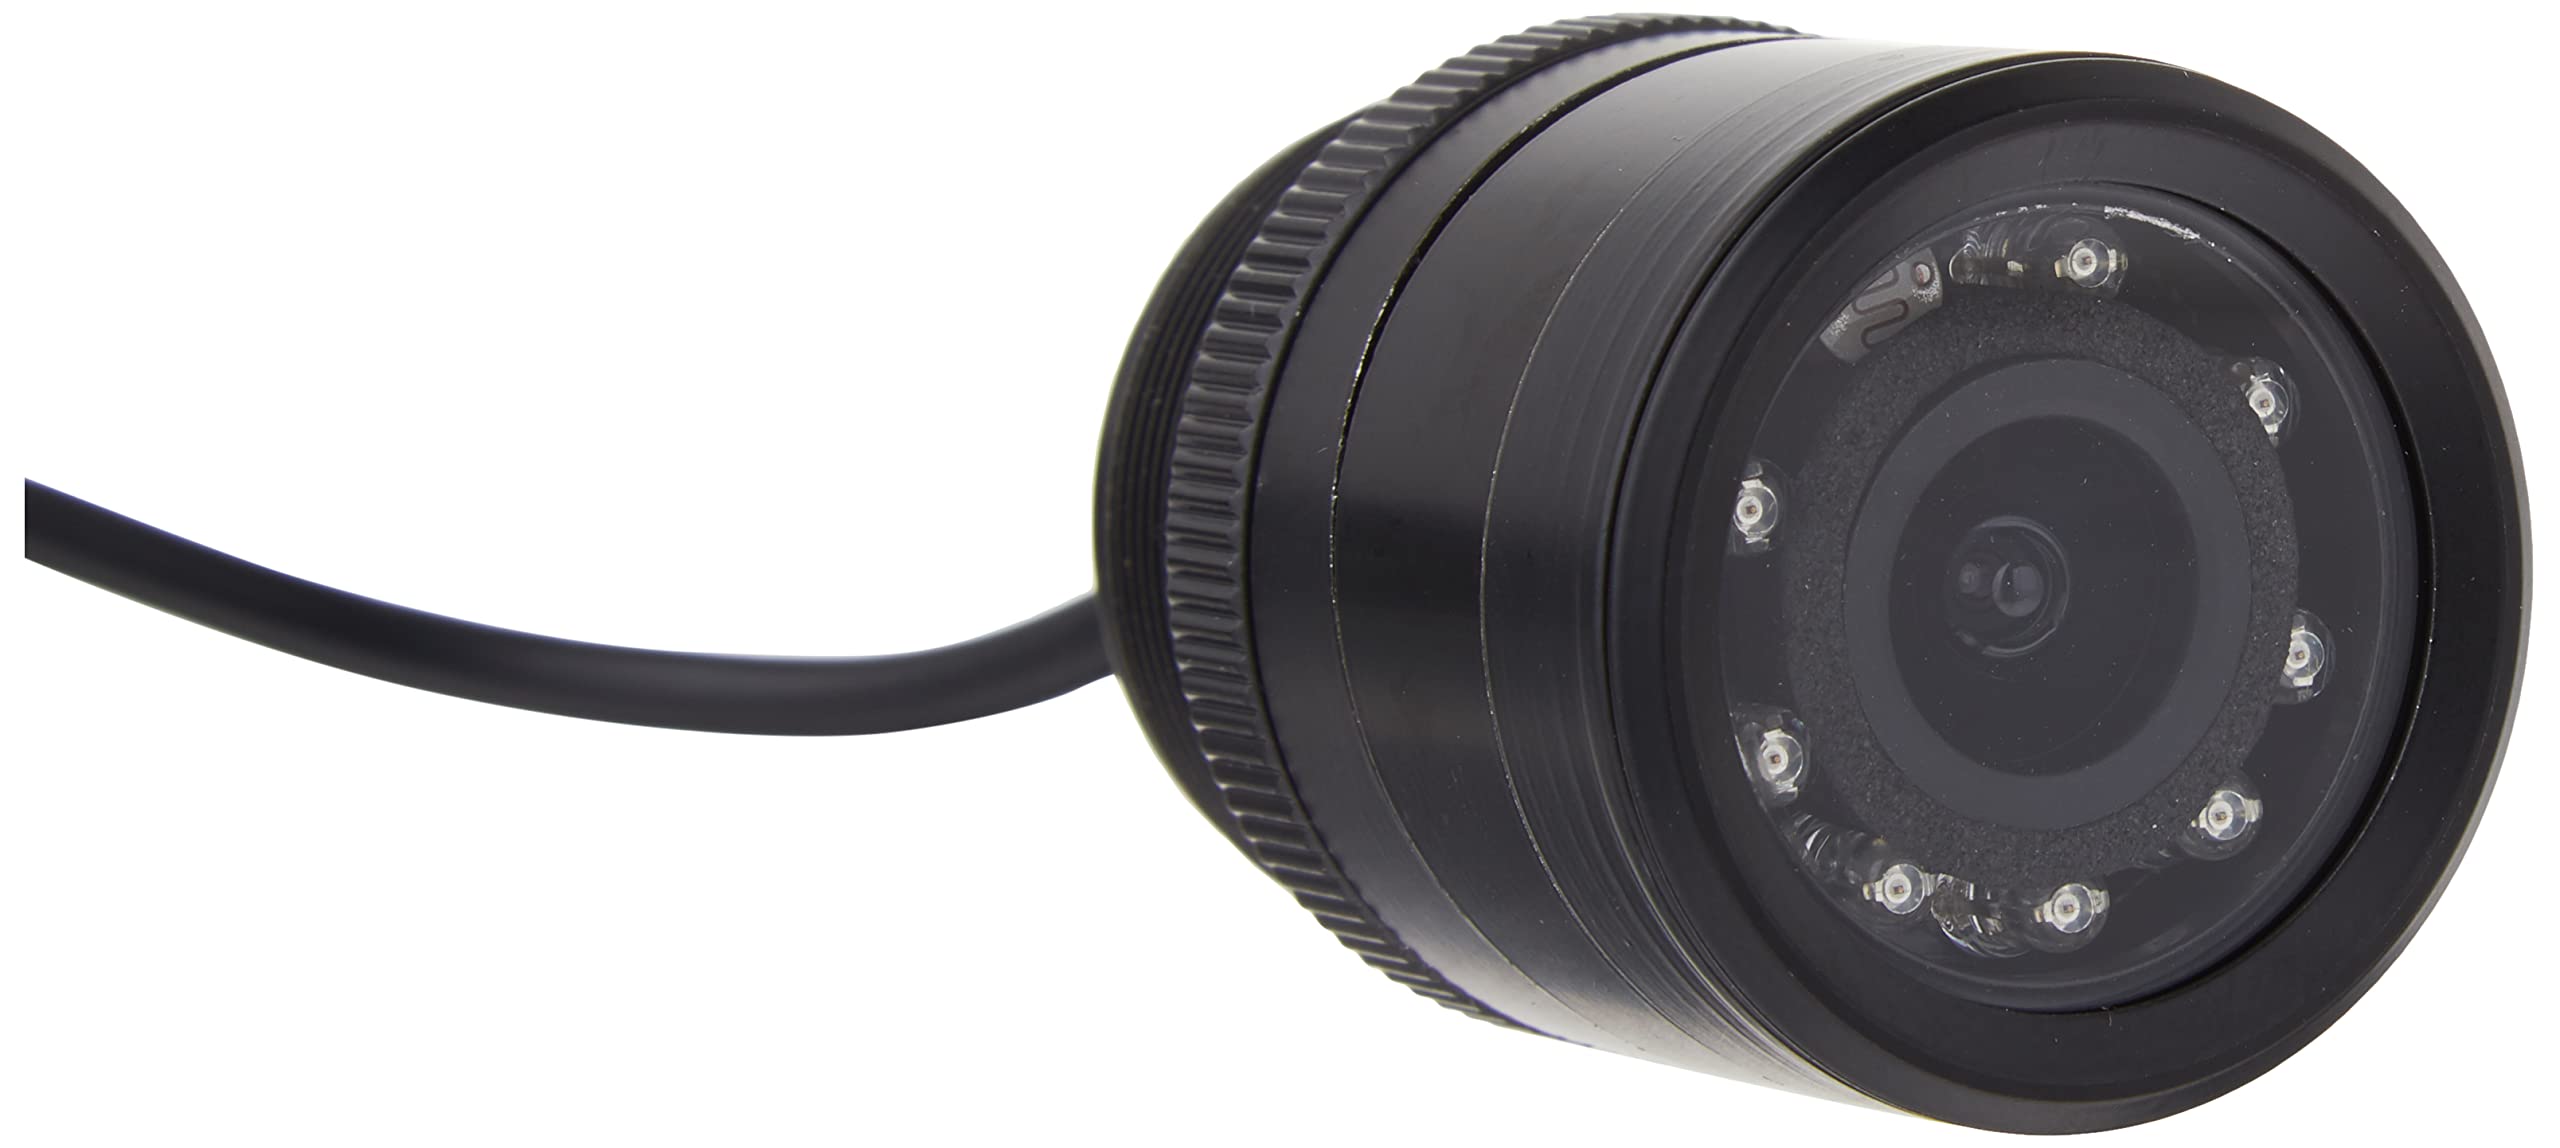
- Camera Module: The heart of your night vision camera is the camera module. You can choose from a wide range of camera modules available in the market. Look for one that has a low-light sensitivity and infrared (IR) capabilities. It’s ideal to choose a module that can capture high-quality images and videos in both day and night conditions.
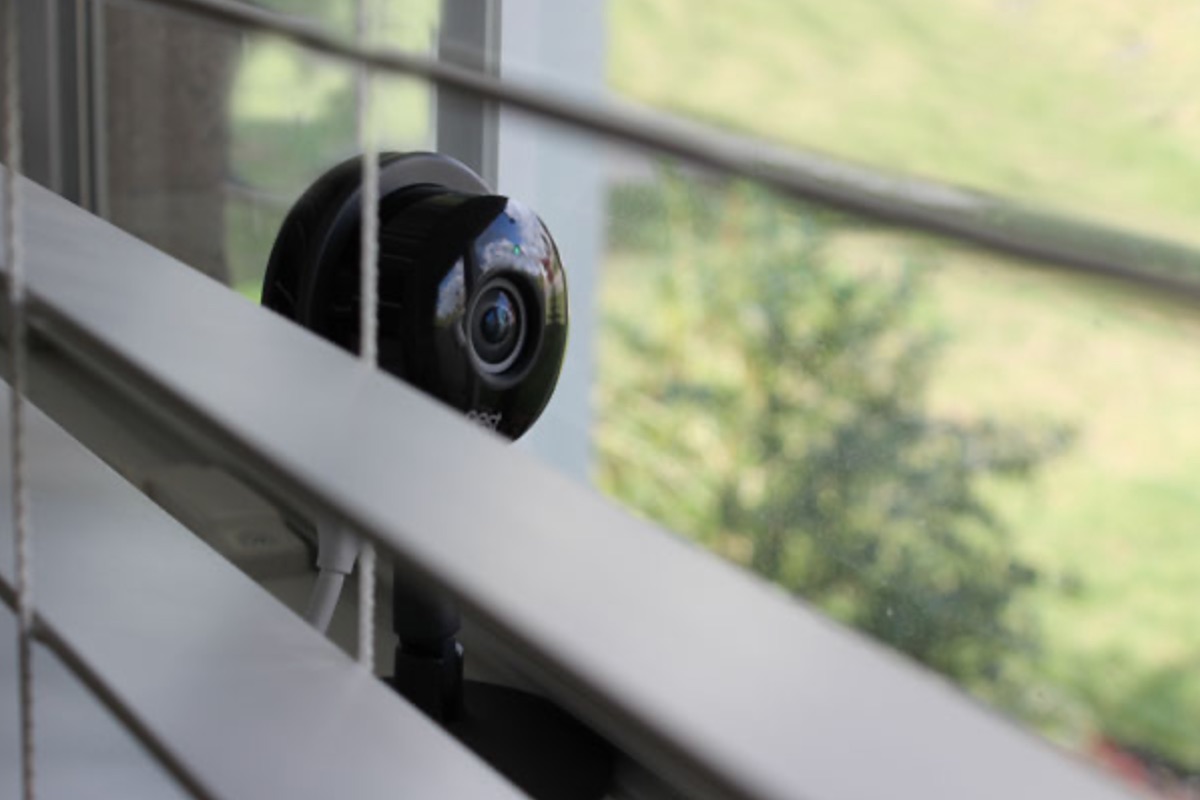
- Infrared (IR) Illuminators: Infrared illuminators are an essential component for night vision cameras. They emit infrared light, which is invisible to the human eye but can be detected by the camera module. IR illuminators provide the necessary illumination for capturing images and videos in low-light or dark conditions. You can find standalone IR illuminators or ones that are built into the camera module.
- Infrared (IR) Cut Filter: An IR cut filter helps improve image quality by blocking infrared light during daytime use. This filter is typically present in most camera modules, but you can also purchase standalone IR cut filters and attach them to your camera module if needed.
- Power Supply: To power your night vision camera, you will need a reliable power supply. Depending on the camera module and other components, you may require a battery or an AC/DC adapter. Make sure to choose a power supply that can handle the power requirements of your camera module and other components.
- Enclosure: It’s important to protect your camera module and other components from dust, moisture, and external elements by housing them in an enclosure. You can choose a ready-made enclosure or build your own using materials such as plastic or metal. Ensure that the enclosure has appropriate openings for the camera lens and IR illuminators.
- Cables and Connectors: To connect the camera module, IR illuminators, and power supply, you will need suitable cables and connectors. Make sure to choose cables and connectors that are compatible with your camera module and other components.
- Optional Accessories: Depending on the specific requirements of your project, you may consider additional accessories such as a lens hood to reduce glare, a tripod for stability, or a memory card for storing captured images and videos.
Now that you have a list of the essential components, it’s time to dive into the step-by-step instructions for making your night vision camera. Get ready to unleash your creativity and technical skills!
Step-by-Step Instructions for Making a Night Vision Camera
Now that you have gathered all the necessary components, it’s time to roll up your sleeves and start building your own night vision camera. Follow these step-by-step instructions to bring your project to life:
- Prepare the Enclosure: Begin by selecting an appropriate enclosure to house your camera module and other components. Ensure that the enclosure has sufficient space and openings for the camera lens and IR illuminators.
- Mount the Camera Module: Carefully mount the camera module inside the enclosure. Use screws or brackets to secure it in place. Ensure that the lens is aligned properly with the opening in the enclosure.
- Attach IR Illuminators: Depending on your chosen IR illuminators, either attach them to the enclosure or mount them separately in a strategic position. Aim the IR illuminators towards the area you wish to capture in your night vision camera.
- Connect the Cables: Connect the necessary cables and connectors to the camera module, IR illuminators, and power supply. Follow the manufacturer’s instructions for proper wiring and connections.
- Install the Power Supply: Depending on your chosen power supply, install the battery or connect the AC/DC adapter to provide power to your night vision camera. Ensure that the power supply is compatible with the camera module and can provide the required voltage and current.
- Test the Night Vision Camera: Before closing the enclosure, it’s important to test your night vision camera. Power it on and check if the camera module, IR illuminators, and power supply are functioning correctly. Adjust the positioning of the IR illuminators if needed to achieve optimal image quality.
- Secure the Enclosure: Once you are satisfied with the functionality of your night vision camera, secure the enclosure using screws or other suitable fasteners. Ensure that the camera lens and IR illuminators are properly aligned with the openings.
- Calibrate the Night Vision Camera: To optimize the performance of your night vision camera, you may need to calibrate it. Refer to the user manual or manufacturer’s guidelines for specific calibration instructions based on your camera module.
- Mount or Position Your Night Vision Camera: Determine the ideal location to mount or position your night vision camera. Make sure it has a clear view of the area you want to monitor. You can use brackets, stands, or other mounting options to securely position the camera.
- Monitor and Record: Connect a monitor or recording device to your night vision camera to view and record the captured images and videos. Depending on your setup, you can use a computer, television, or dedicated recording device for this purpose.
Congratulations! You’ve successfully built your own night vision camera. Now it’s time to put it to use and enhance the security of your home. However, before you start monitoring, it’s essential to test and calibrate your night vision camera for optimal performance, which we’ll cover in the next section.
When making a night vision camera, use an infrared light source to illuminate the area you want to capture. This will allow the camera to pick up the infrared light and create a night vision effect.
Testing and Calibrating the Night Vision Camera
After completing the construction of your night vision camera, it’s crucial to test and calibrate it to ensure optimal performance. Follow these steps to verify and fine-tune the functionality of your night vision camera:
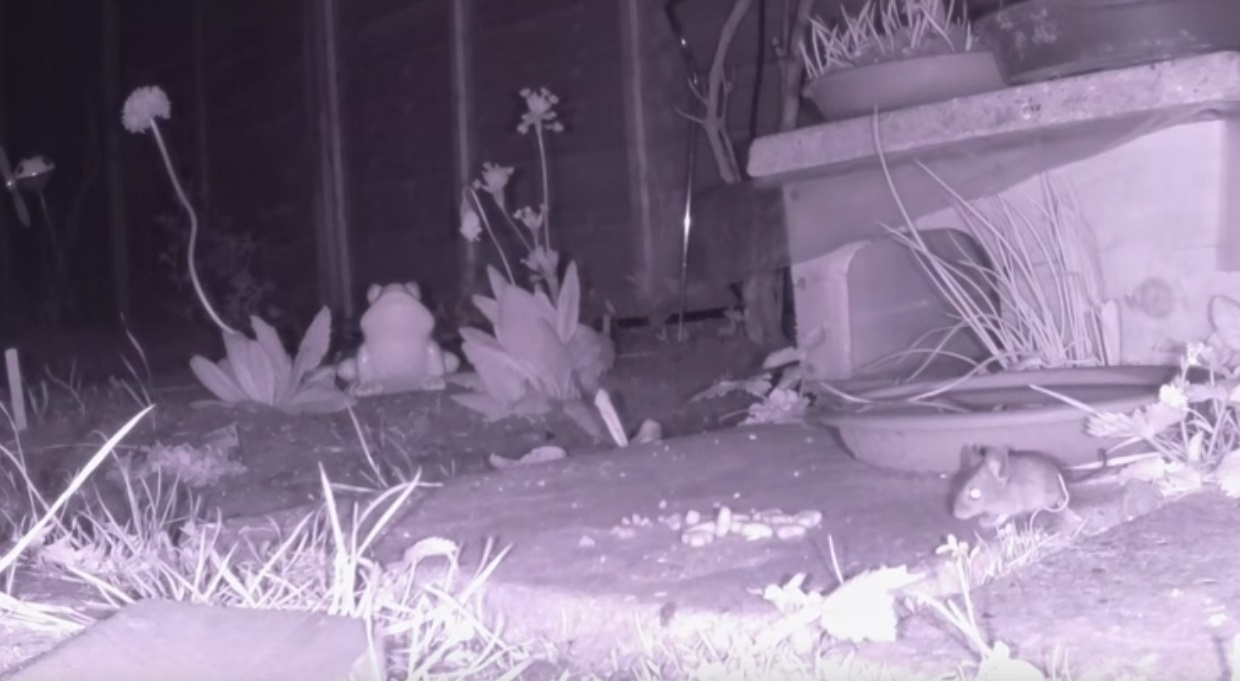
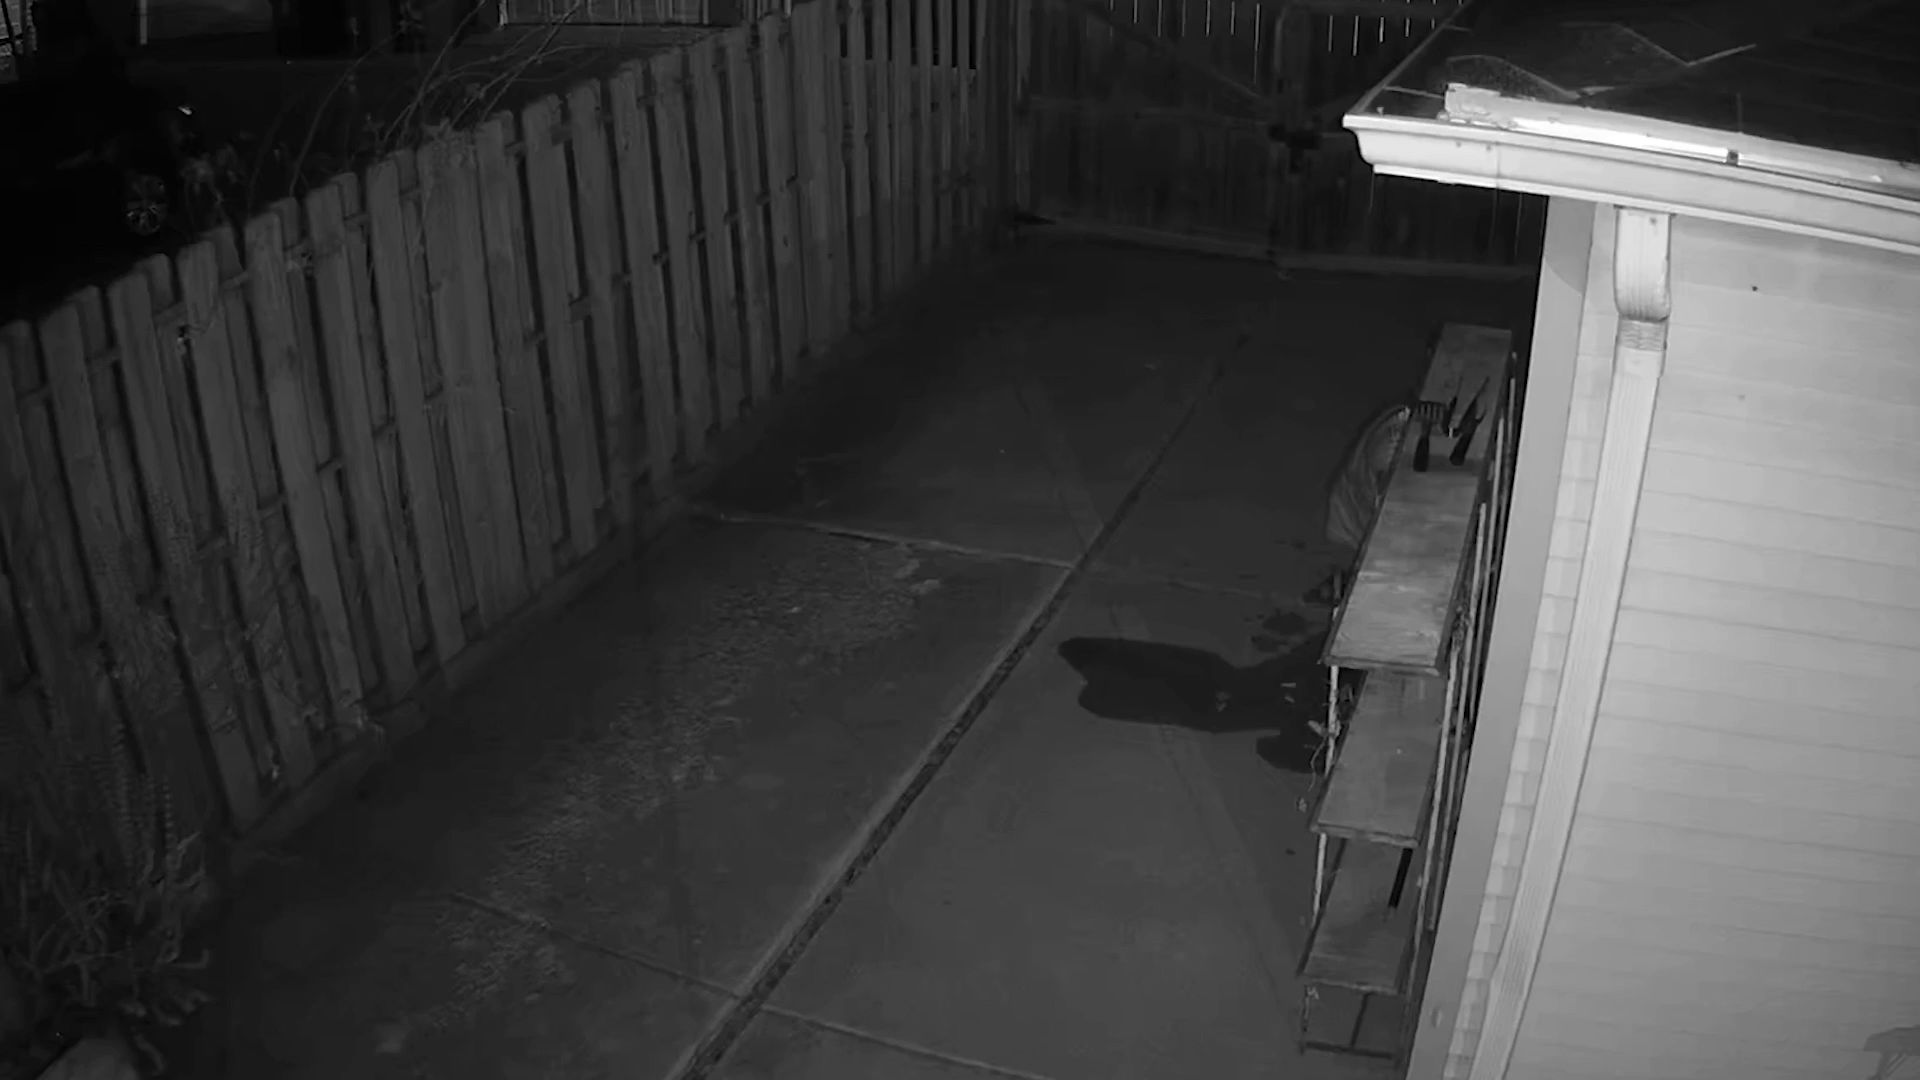
- Testing in Low-Light Conditions: Begin by testing your night vision camera in a low-light environment. Turn off the lights in a room or move to an area with minimal ambient light. Power on the camera and check if the captured images or videos appear clear and well-lit. Evaluate the visibility and level of detail to ensure satisfactory performance.
- Testing in Complete Darkness: Take your night vision camera to a completely dark room or outdoor area at night. Ensure that no ambient light is present. Turn on the camera and observe if the infrared illuminators effectively illuminate the scene. Check if the camera can capture clear images or videos in pitch-black conditions. Adjust the positioning or power of the IR illuminators if necessary.
- Adjusting the IR Cut Filter: If your camera module has an IR cut filter, you may need to adjust its position to optimize image quality during daytime use. Consult the user manual or manufacturer’s instructions to locate and fine-tune the IR cut filter. This step ensures that the camera captures accurate colors and avoids any unwanted infrared effects during daylight hours.
- Checking Night Vision Range: Determine the effective range of your night vision camera by experimenting with different distances. Move objects or subjects closer or farther away from the camera and observe the clarity and level of detail in the captured images or videos. This step helps you understand the limitations and capabilities of your night vision camera.
- Testing and Adjusting Camera Settings: Explore the settings and options available on your camera module. Adjust parameters such as brightness, contrast, gain, and exposure to fine-tune the image quality to your preference. Test different settings in various lighting conditions to find the optimal balance between visibility and detail.
- Recording and Playback: Utilize your chosen recording device to capture and playback footage from your night vision camera. Verify if the recorded videos maintain the desired image quality and visibility. Pay attention to any potential issues such as noise, distortion, or artifacts that might affect the overall performance.
- Fine-Tuning and Repeating Tests if Necessary: If you encounter any issues or unsatisfactory results during the testing phase, go back and fine-tune the camera’s components and settings. Make necessary adjustments to achieve the desired image quality, clarity, and range. Repeat the tests in different lighting conditions to ensure consistency and reliability.
By thoroughly testing and calibrating your night vision camera, you can ensure that it performs optimally and meets your specific needs. Once you are satisfied with the results, you can confidently rely on your homemade night vision camera to enhance the security and surveillance of your home.
Read more: How To Blind A Night Vision Camera
Tips and Troubleshooting for Better Performance
While you have successfully built your own night vision camera, there are several tips and troubleshooting techniques you can implement to further improve its performance. Here are some valuable suggestions to help you get the most out of your night vision camera:
- Ensure Proper Positioning: Properly position your night vision camera to capture the desired area. Experiment with different angles and heights to achieve the best field of view and maximize the camera’s coverage.
- Consider Illumination Range: Be mindful of the infrared illuminators’ range. Ensure they are positioned and configured to cover the area you want to monitor effectively. If needed, add additional IR illuminators or adjust their power to extend the coverage area.
- Eliminate Light Sources: Minimize any sources of light that may interfere with the performance of your night vision camera. This includes streetlights, porch lights, or nearby windows. Ensure that the camera lens is not directly exposed to extraneous light sources.
- Regularly Clean the Lens: Keep the camera lens clean and free from dust, smudges, or fingerprints. Regularly inspect and clean the lens using a soft lens brush or microfiber cloth. This helps maintain image clarity and prevents any obstructions from affecting the camera’s performance.
- Monitor Battery Life: If you’re using a battery-powered night vision camera, keep track of the battery life and recharge or replace the batteries as needed. A low battery can affect the overall performance and image quality of your camera.
- Upgrade Camera Module or IR Illuminators: If you find that the image quality or range of your night vision camera is not satisfactory, consider upgrading the camera module or investing in more powerful IR illuminators. Newer camera modules with higher resolution or advanced IR illuminators can significantly enhance the performance and visibility of your camera.
- Adjust Camera Settings: Take advantage of the camera module’s settings to adjust parameters such as exposure, gain, or sensitivity. Experiment with different settings in different lighting conditions to find the ideal balance between visibility and image quality.
- Inspect and Secure Connections: Regularly inspect the cables and connectors connecting the camera module, IR illuminators, and power supply. Ensure that they are securely plugged in and free from any damage or wear. Loose or damaged connections can result in intermittent or poor performance.
- Seek Technical Support: If you encounter persistent issues or challenges with your night vision camera, don’t hesitate to reach out to the manufacturer or seek technical support. They can provide valuable assistance, troubleshooting tips, and guidance to help you overcome any difficulties you may face.
By following these tips and implementing troubleshooting techniques, you can enhance the performance of your night vision camera and ensure consistent, high-quality results. Remember that continuous monitoring and maintenance are crucial to keep your camera in optimal condition.
Conclusion
Congratulations on successfully creating your own night vision camera! By understanding the principles of night vision technology, gathering the necessary components, and following the step-by-step instructions, you have embarked on a journey towards enhancing the security and surveillance of your home.
With your DIY night vision camera, you now have the ability to monitor your surroundings even in low-light or complete darkness. Whether you use it for home security, observing wildlife, or simply satisfying your technical curiosity, your night vision camera is a powerful tool that provides an extra layer of protection and peace of mind.
Remember to test and calibrate your night vision camera to optimize its performance. Fine-tune settings, adjust positioning, and ensure proper maintenance to get the best results. Additionally, by implementing the tips and troubleshooting techniques provided, you can further enhance the functionality and reliability of your homemade night vision camera.
Now it’s time to put your night vision camera to use and enjoy the benefits of enhanced home security. Monitor your property, record suspicious activities, or simply observe the beauty of nocturnal wildlife. With your newfound knowledge and skills, you can continue to explore and improve upon your night vision camera or even venture into other exciting DIY projects related to home security and surveillance.
Remember, safety and security are paramount, and technology has made it easier than ever to protect what’s important to us. Embrace the opportunity to empower yourself with the knowledge and tools to create a safer environment for you and your loved ones.
So, go ahead and unleash your creativity and technical skills to make the most out of your night vision camera. Enjoy the journey and the newfound sense of security it brings to your life!
Frequently Asked Questions about How To Make A Night Vision Camera
Was this page helpful?
At Storables.com, we guarantee accurate and reliable information. Our content, validated by Expert Board Contributors, is crafted following stringent Editorial Policies. We're committed to providing you with well-researched, expert-backed insights for all your informational needs.