Home>Home Security and Surveillance>How To Install Night Vision Camera In A Window
Home Security and Surveillance
How To Install Night Vision Camera In A Window
Modified: October 20, 2024
Learn how to install a night vision camera in your window for enhanced home security and surveillance. Follow our step-by-step guide and keep your property protected.
(Many of the links in this article redirect to a specific reviewed product. Your purchase of these products through affiliate links helps to generate commission for Storables.com, at no extra cost. Learn more)
Introduction
Welcome to the world of home security and surveillance! In today’s rapidly evolving digital age, it’s becoming increasingly important to take proactive measures to protect our homes and loved ones. With advancements in technology, installing a night vision camera in a window is an effective way to enhance the security of your home.
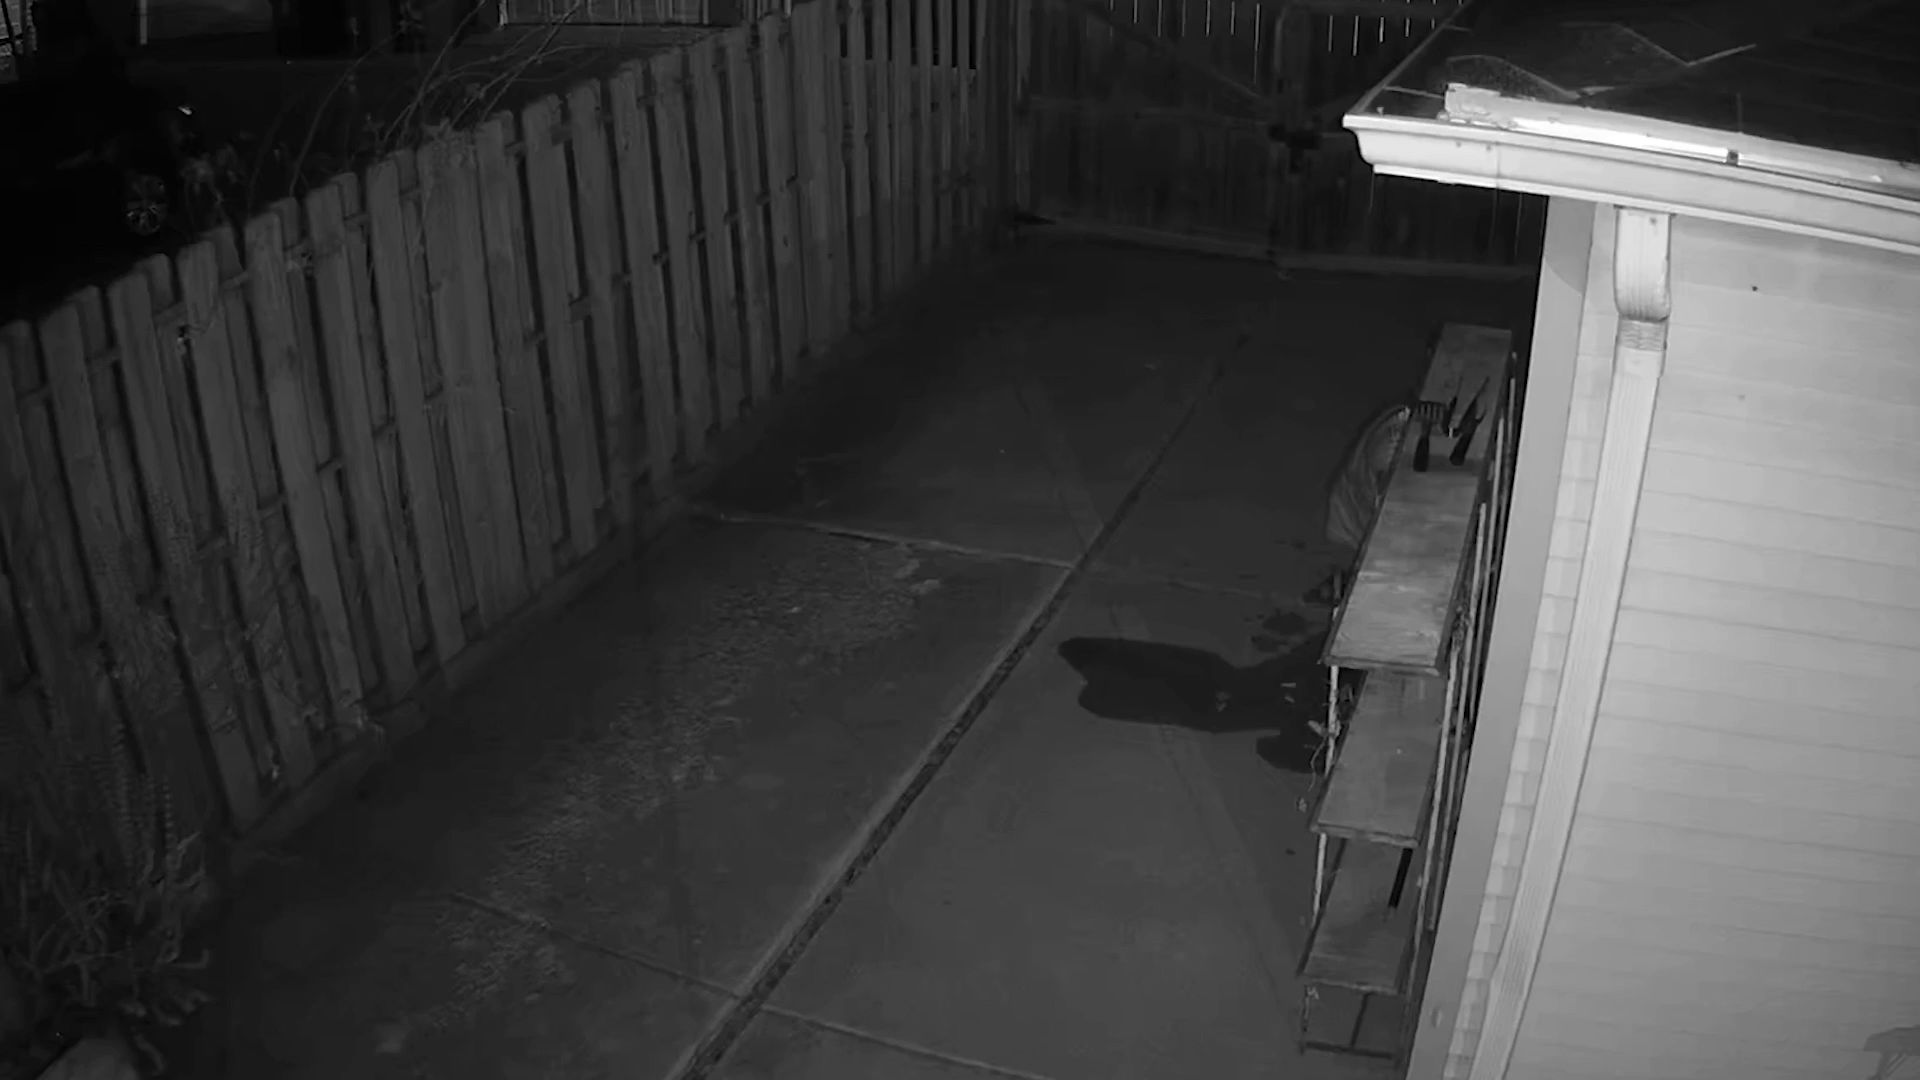
Whether you’re concerned about potential break-ins, want to keep an eye on your property, or simply want peace of mind, a night vision camera can provide you with the surveillance capabilities you need. This specialized camera is designed to capture high-quality footage, even in low-light conditions, making it an ideal choice for monitoring outdoor areas during the dark hours.
In this article, we will guide you through the step-by-step process of installing a night vision camera in a window. By following these easy steps, you can have your camera up and running in no time, providing you with a valuable tool for ensuring the safety and security of your home.
Before we dive into the installation process, let’s quickly go over the equipment you will need:
Key Takeaways:
- Installing a night vision camera in a window is an effective way to enhance home security. Follow the step-by-step guide to gather equipment, choose the right location, and ensure a successful installation.
- Regular maintenance and testing of the camera’s functionality are essential for optimal performance. Consider additional security measures and stay informed about emerging technologies to adapt your home security system.
Read more: How To Blind A Night Vision Camera
Step 1: Gather the necessary equipment
Before you begin the installation process, it’s essential to gather all the necessary equipment. Having everything ready beforehand will make the installation smoother and more efficient. Here’s a list of the equipment you’ll need:
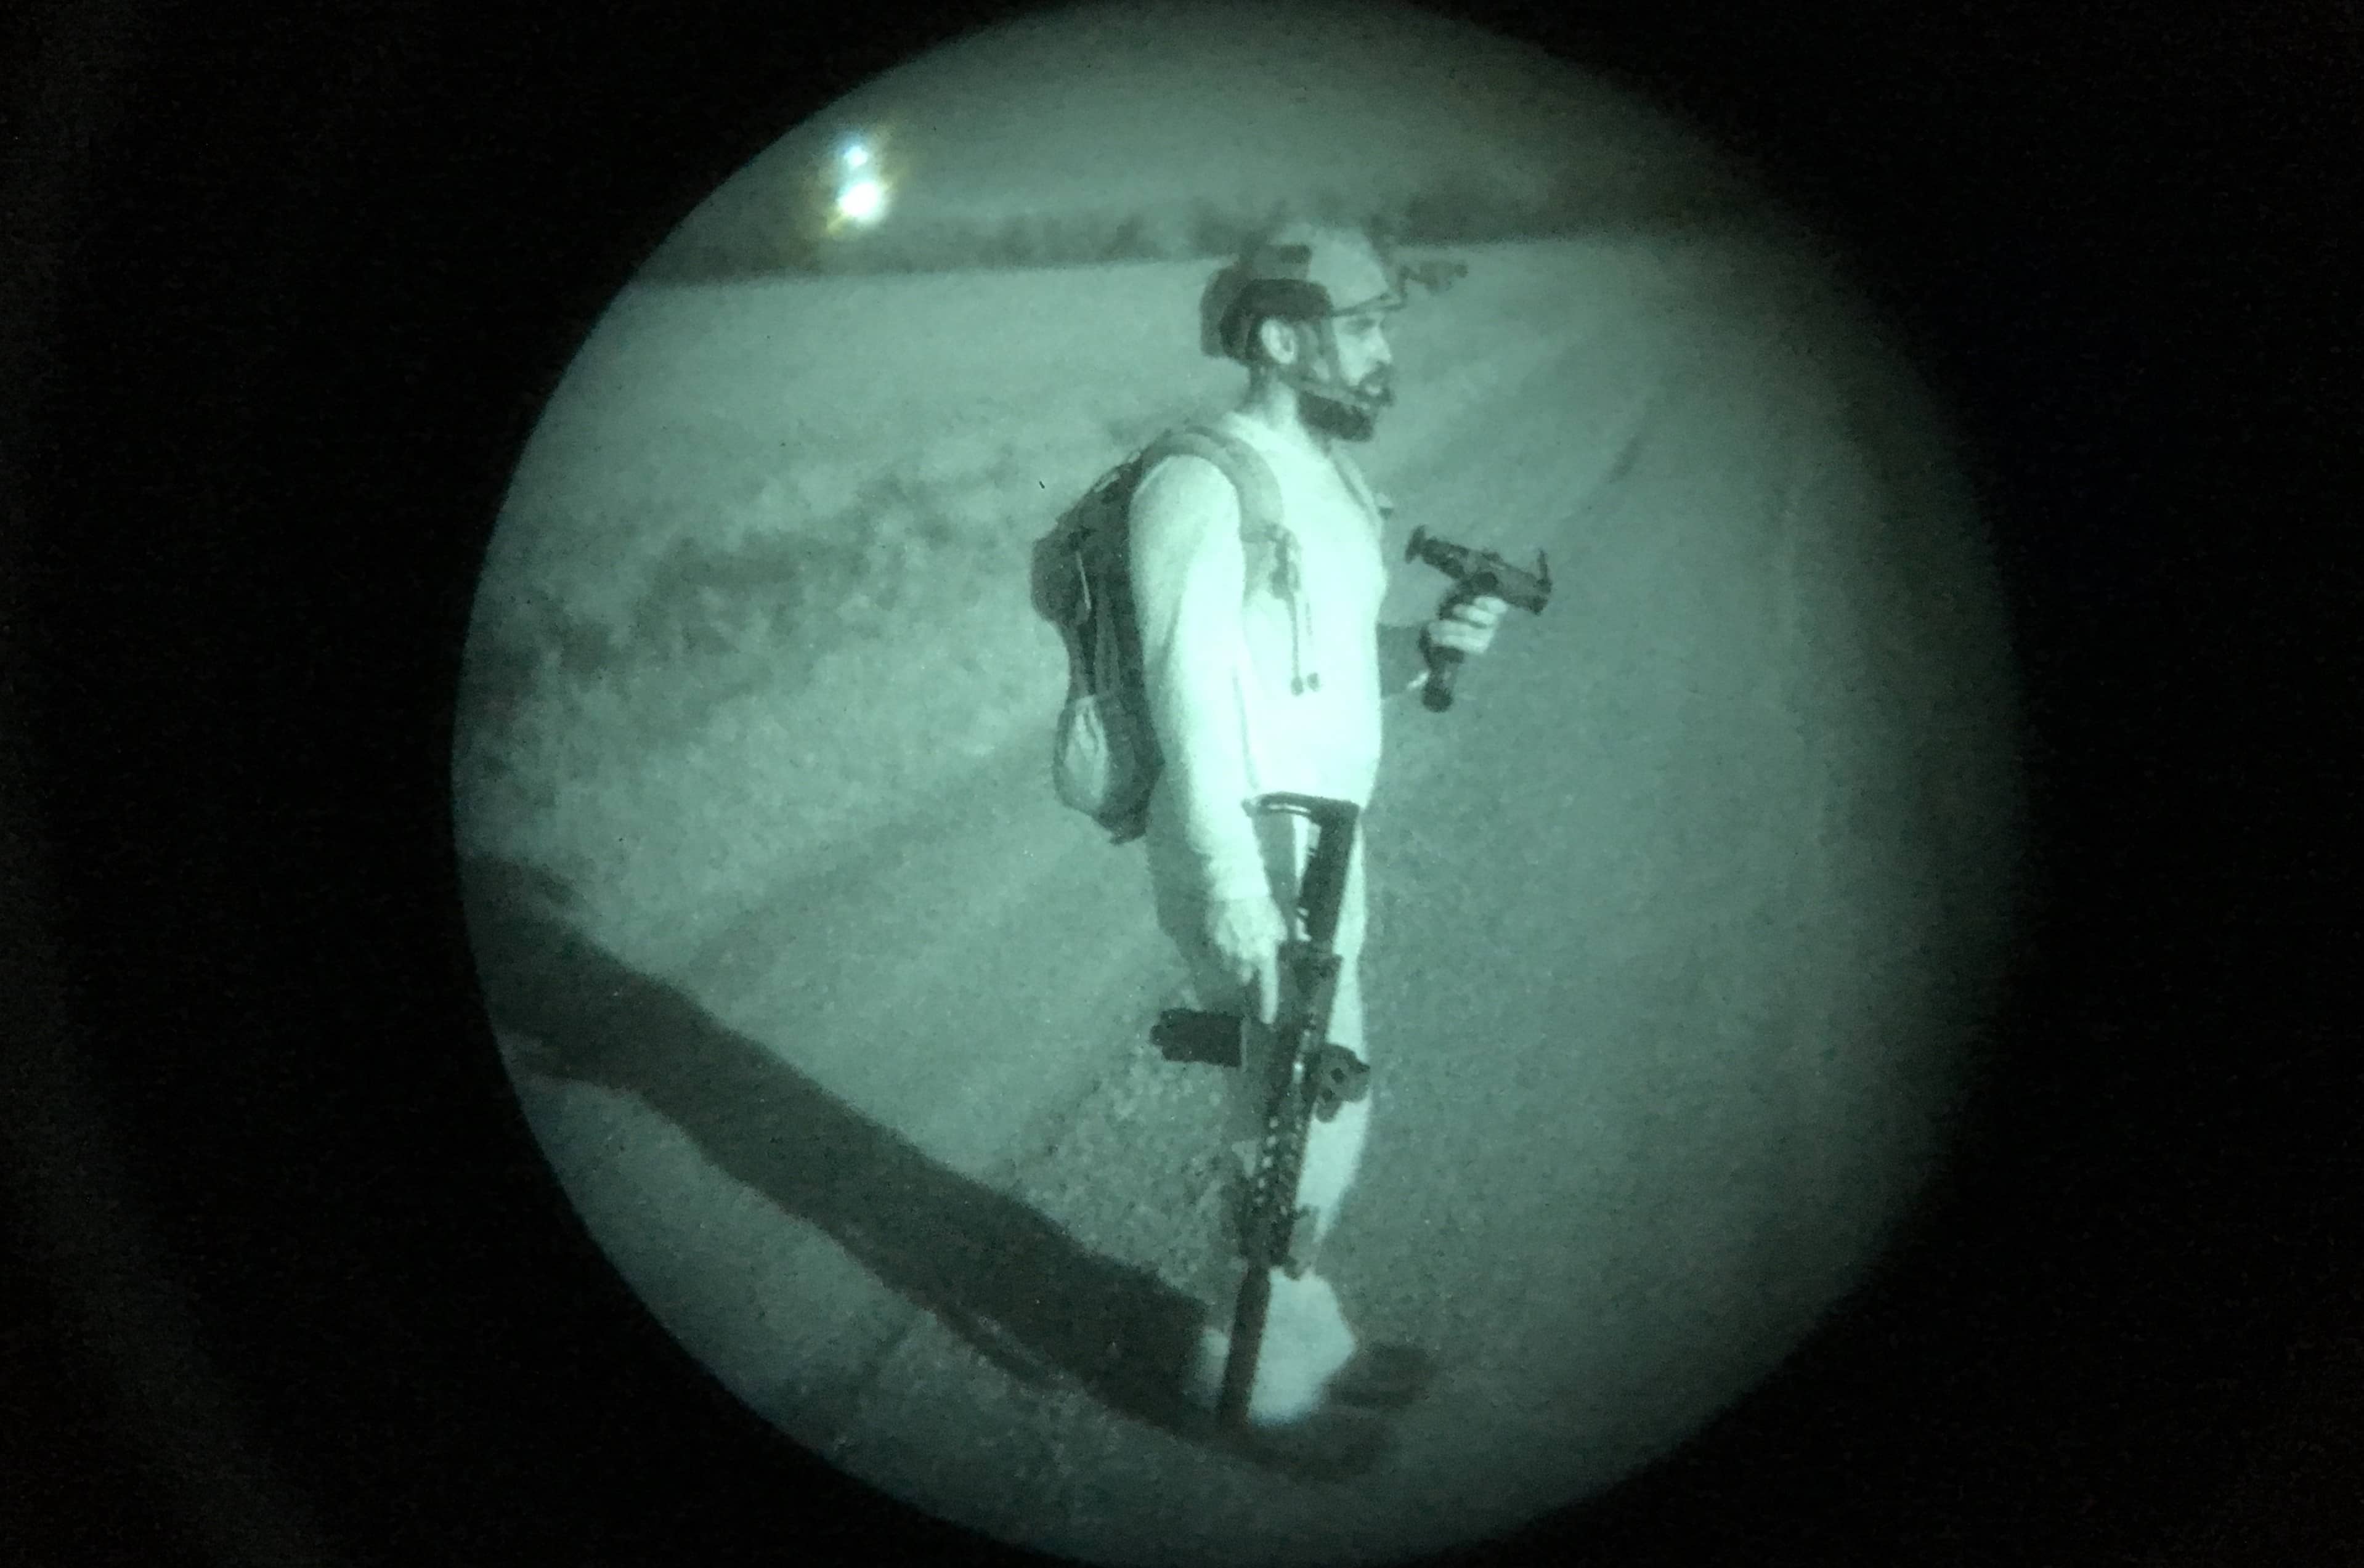
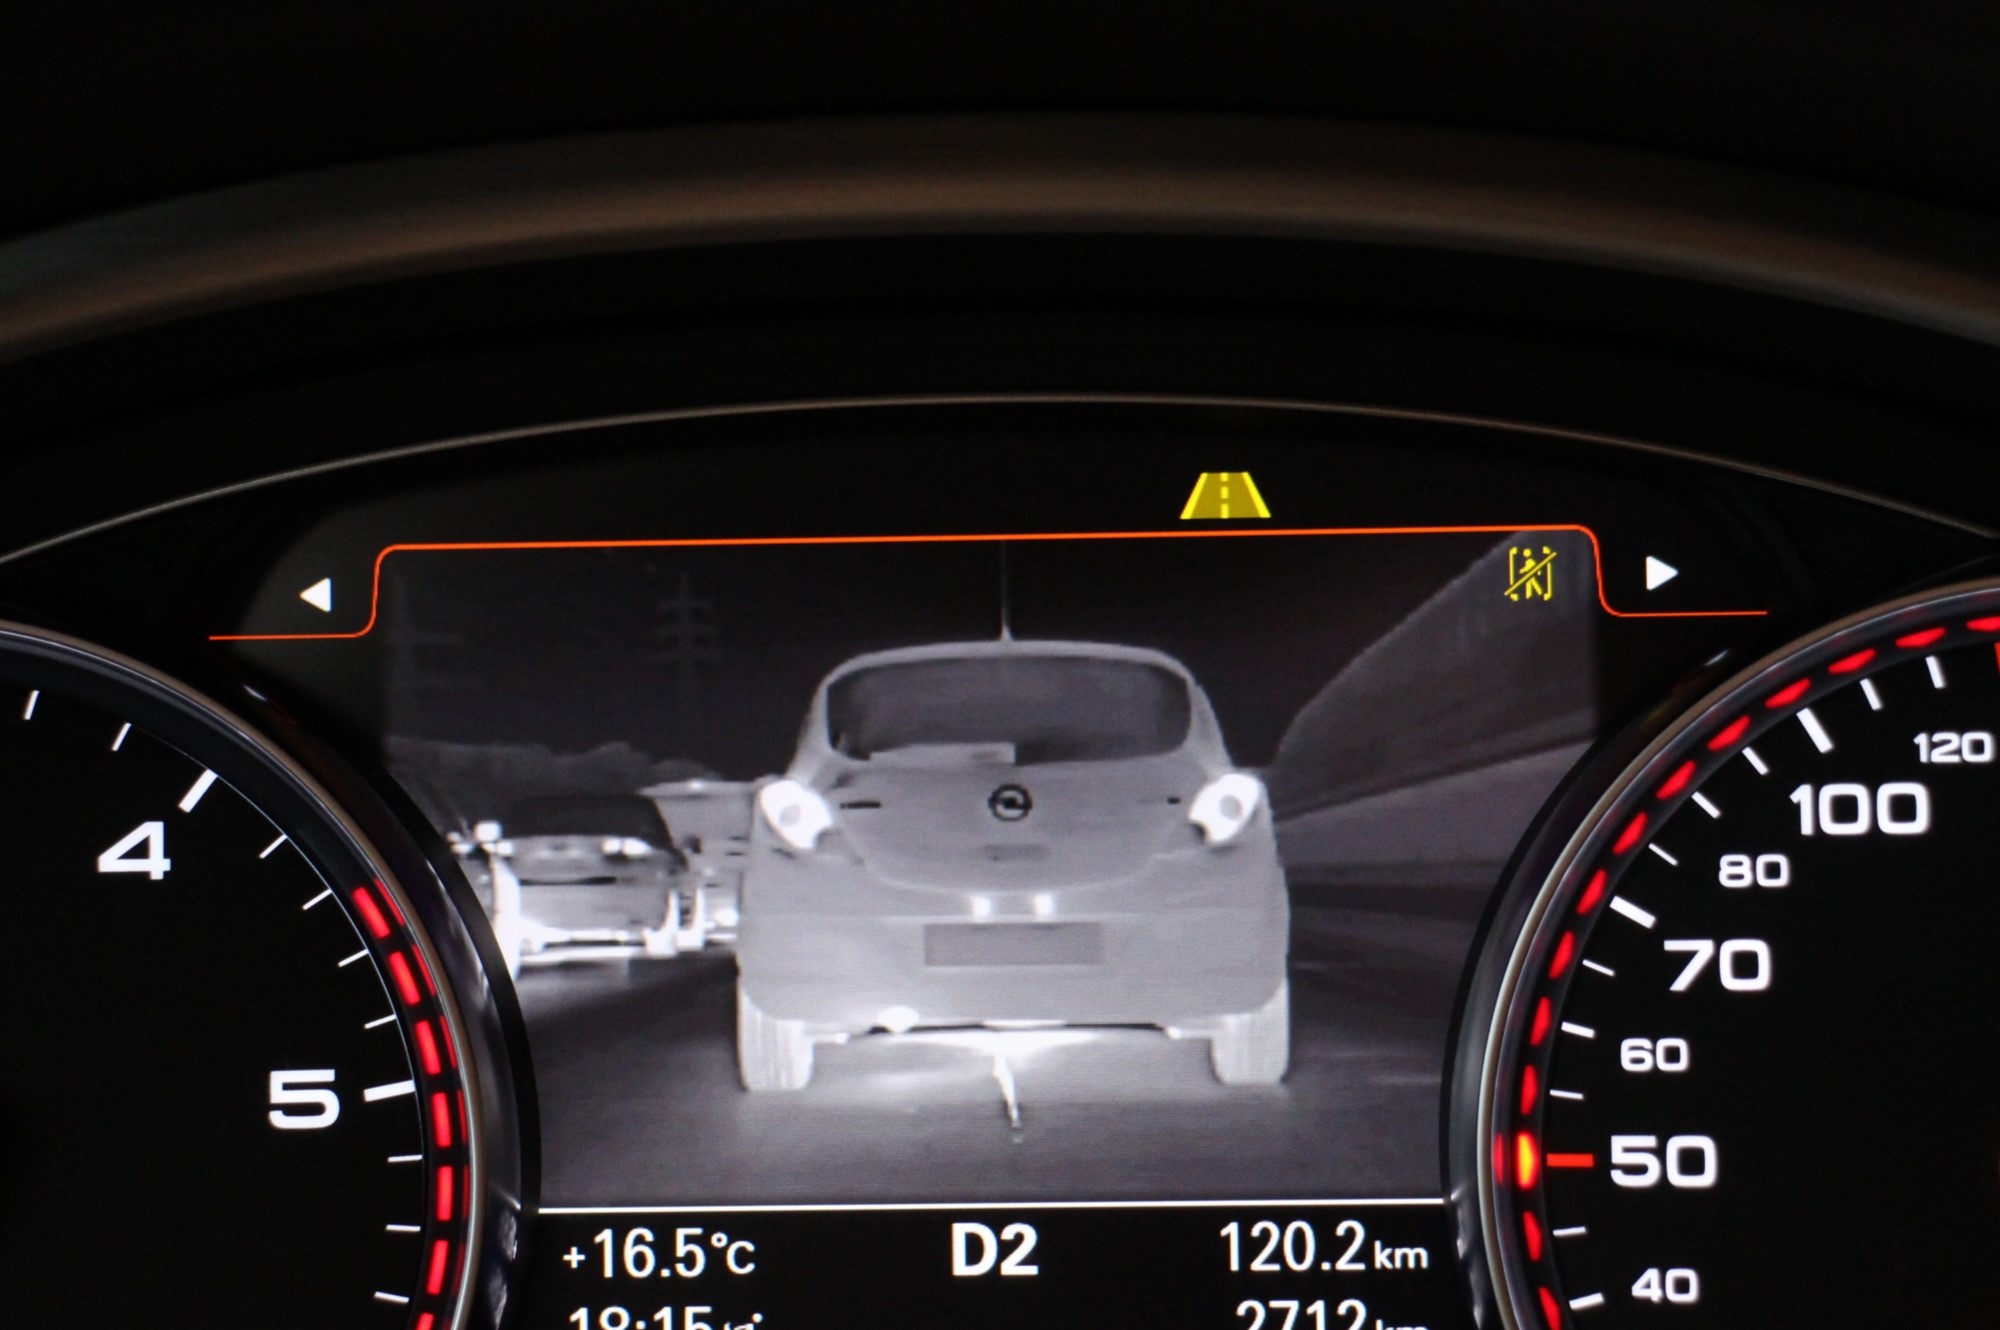
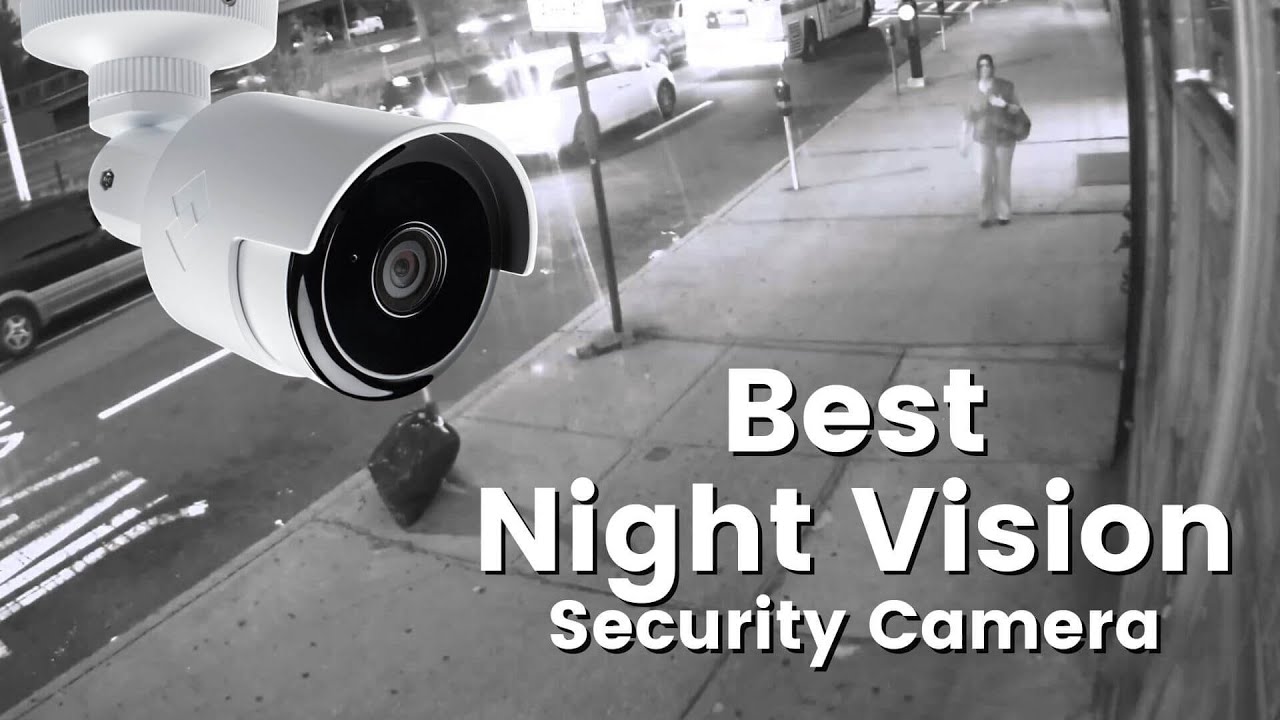
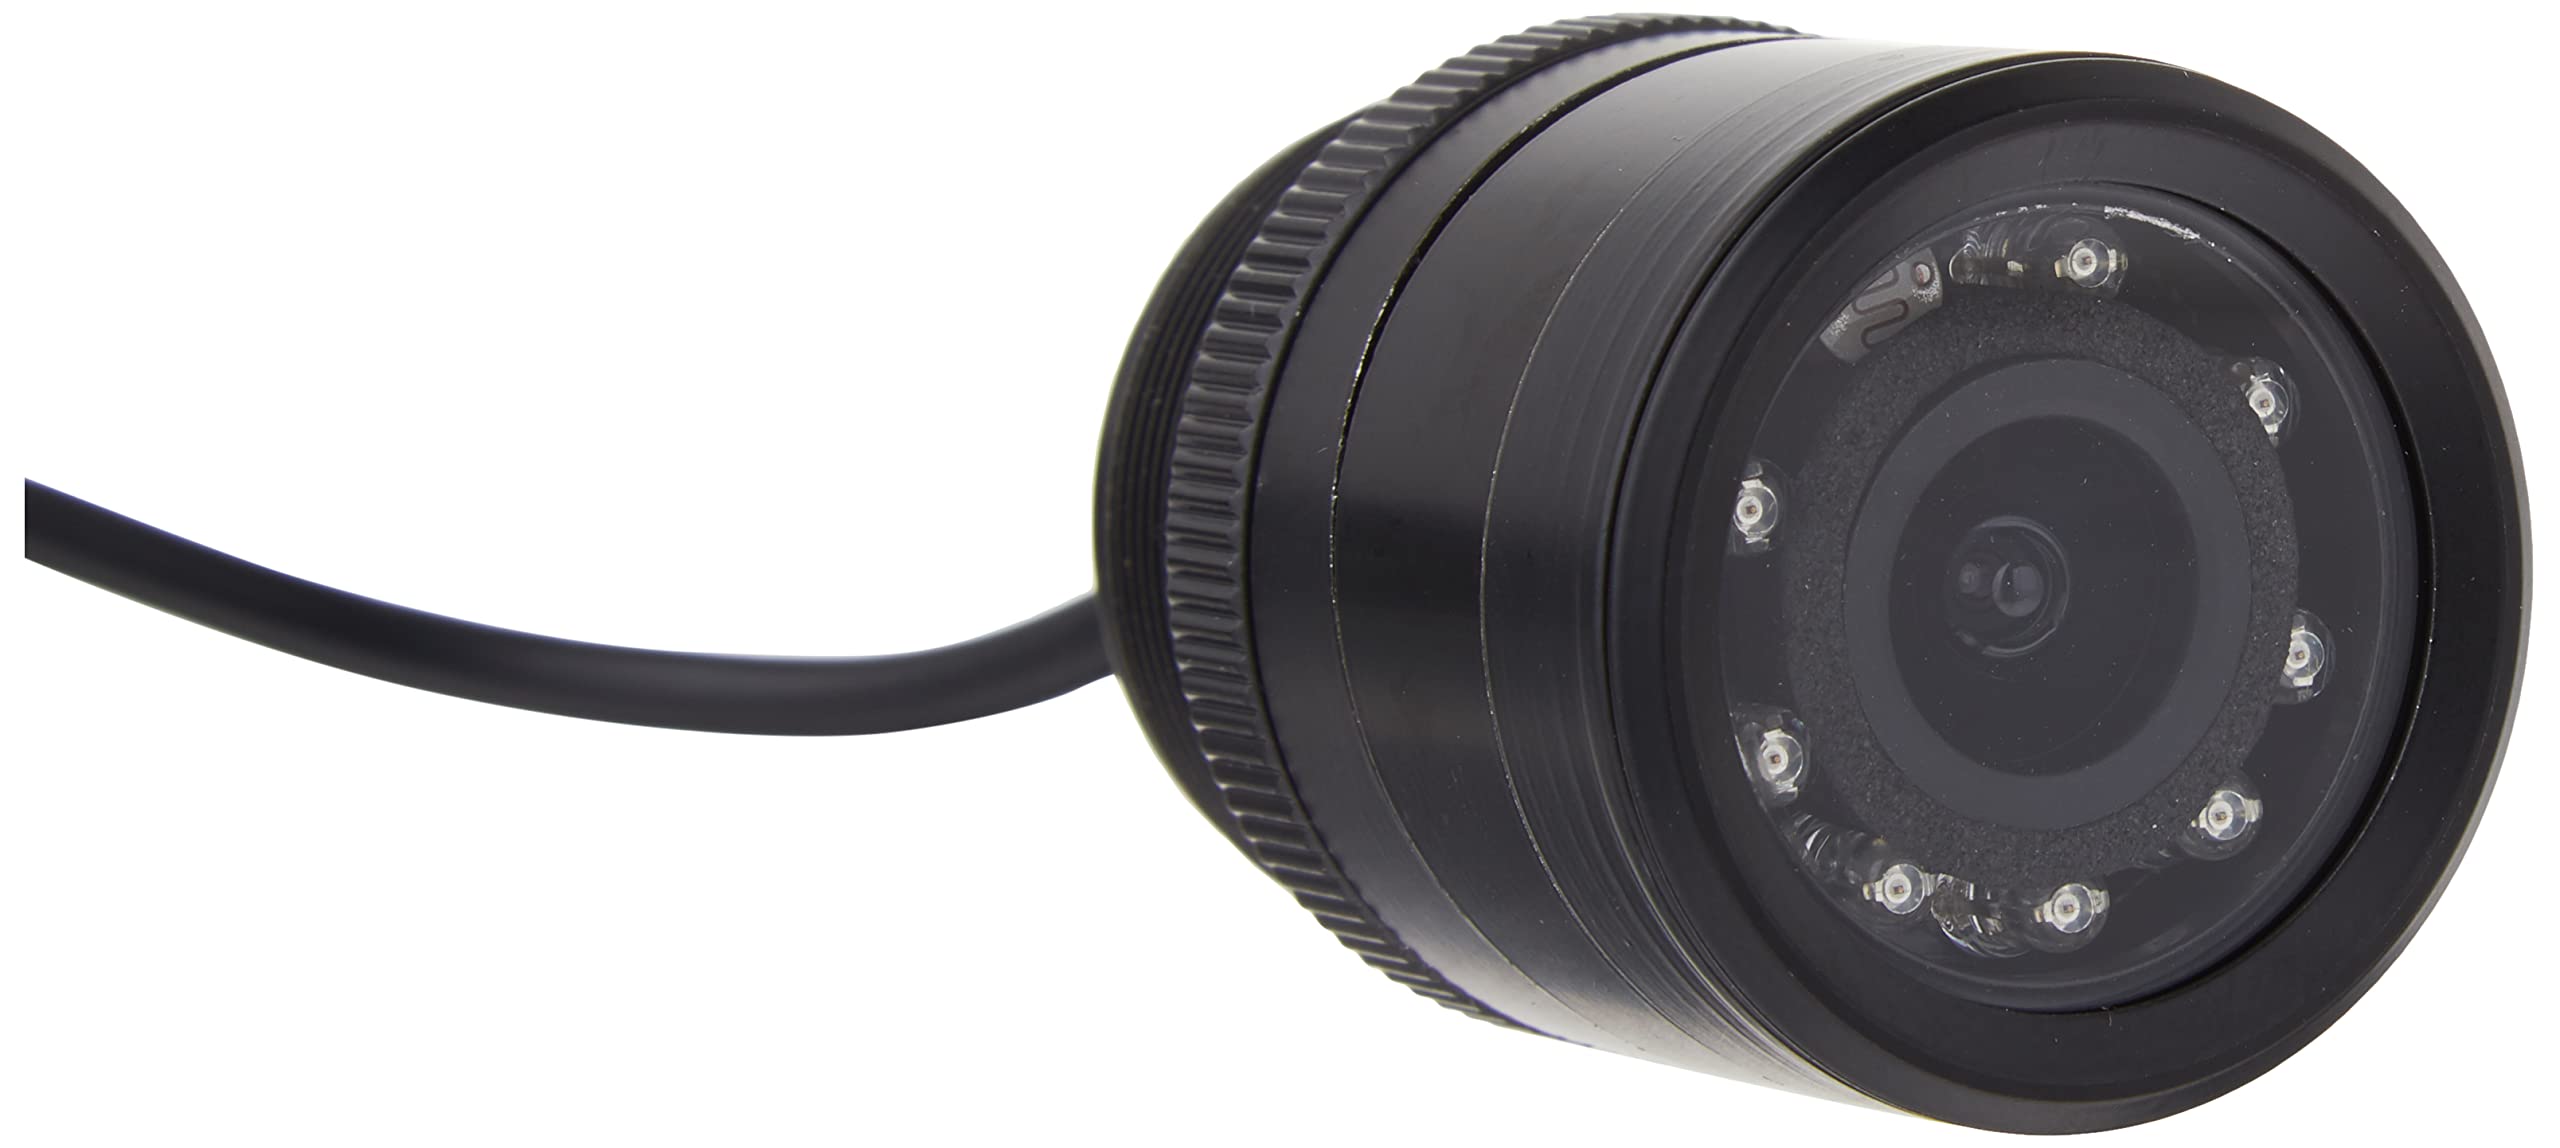
- Night Vision Camera: Choose a high-quality night vision camera that suits your specific security needs. Look for features such as infrared LED lights, high-resolution video capture, and remote viewing capabilities.
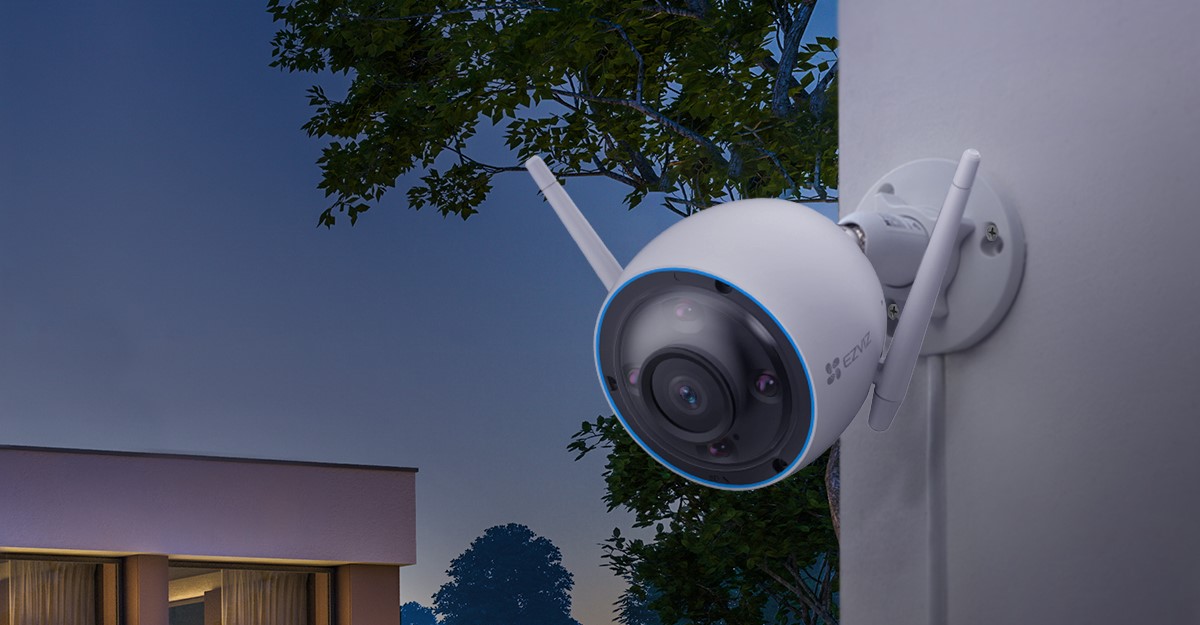
- Window Mount: Opt for a window mount that is compatible with your camera. This mount will secure the camera to the windowpane, providing it with stability and a clear view of the outdoor area.
- Power Source: Depending on the camera model, you may need to connect it to a power source. Ensure that you have the necessary power cables and adapters to supply the camera with electricity.
- Network Video Recorder (NVR) or Digital Video Recorder (DVR): If you want to store and access the recorded footage, consider investing in an NVR or DVR that is compatible with your camera. These devices will allow you to save and review the captured videos.
- Security Monitor (Optional): If you prefer to have a dedicated screen for viewing the camera feeds, invest in a security monitor. This will provide you with a clear and uninterrupted view of your surveillance footage.
- Toolkit: As with any installation, having a basic toolkit is essential. Make sure you have a screwdriver, drill with various drill bits, measuring tape, level, and any other tools that may be required based on your specific installation needs.
By gathering all the necessary equipment upfront, you’ll ensure a seamless and uninterrupted installation process. Now that you have everything ready, let’s move on to the next step: choosing the location for installation.
Step 2: Choose the location for installation
Choosing the right location for installing your night vision camera is crucial for ensuring optimal surveillance coverage. Here are a few factors to consider when selecting the installation spot:
- Visibility: The camera should have an unobstructed view of the area you want to monitor. Ensure that there are no obstacles such as trees, bushes, or walls blocking the camera’s line of sight.
- Strategic Placement: Identify areas around your home that are vulnerable to break-ins or suspicious activities. Common locations include entry points like doors, windows, and garages, as well as outdoor spaces like the front yard or backyard.
- Height and Angle: Mount the camera at a height where it can capture an optimal view of the surroundings. Additionally, consider the angle at which the camera will be capturing the footage. Aim for an angle that covers the desired area without any significant distortion.
- Protection from Elements: Ensure that the camera is positioned in a way that protects it from harsh weather conditions such as rain, snow, or direct sunlight. Consider installing a weatherproof housing or using a camera specifically designed for outdoor use.
- Accessibility: Keep in mind that you’ll need easy access to the camera for maintenance, adjustments, and cleaning. Choose a location that allows for convenient reach without compromising the security of the camera.
Once you’ve considered these factors, walk around your property and assess various locations that meet the criteria. Take note of the best spots that provide optimal visibility and security coverage. This will help you narrow down your options and determine the ideal location for installing your night vision camera.
With the location decided, it’s time to move on to the next step: preparing the window for installation.
Step 3: Prepare the window
Before mounting the night vision camera onto the window, it’s important to properly prepare the window to ensure a secure and stable installation. Follow these steps to prepare the window:
- Clean the window: Start by thoroughly cleaning both the interior and exterior surfaces of the window. Use a window cleaner and a lint-free cloth to remove any dirt, dust, or smudges. A clean window will not only provide a clear view but also improve the adhesive strength of the mount.
- Measure the window frame: Use a measuring tape to measure the dimensions of the window frame. This will help you determine the appropriate size and position for the camera mount.
- Plan the mount placement: Based on the measurements, plan the exact placement of the camera mount. Ensure that it aligns with your chosen location for installation and allows for the desired camera angle and field of view.
- Apply adhesive or suction cups: Depending on the type of mount you have, apply the appropriate adhesive or suction cups to securely attach the mount to the window frame. Follow the manufacturer’s instructions for the specific mount you’re using.
- Allow adhesive to set: If using adhesive, give it sufficient time to set and cure. This will ensure a strong bond between the mount and the window, providing stability to the camera.
Properly preparing the window is essential for the long-term durability and stability of your night vision camera installation. Take your time during this step to ensure that everything is in place before mounting the camera. Once the window is prepared, you’re ready to move on to the next step: mounting the night vision camera.
Step 4: Mount the night vision camera
With the window prepared, it’s time to mount the night vision camera onto the window. Follow these steps for a secure and stable installation:
- Attach the camera to the mount: Depending on the design of your camera and mount, follow the manufacturer’s instructions to securely attach the camera to the mount. Ensure that it is firmly in place and properly aligned.
- Position the camera mount on the window: Carefully position the camera mount on the prepared window, aligning it with the predetermined location. Apply gentle pressure to ensure it sticks or attaches securely.
- Check the camera angle: Once the camera mount is in place, verify that the camera angle is as desired. Make any necessary adjustments to ensure it captures the intended view.
- Tighten any screws or fasteners: If your camera mount has screws or fasteners, use a screwdriver or appropriate tool to tighten them. This will provide additional stability to the camera and prevent any unintended movement.
- Double-check the stability: Give the camera a gentle shake or tap to ensure that it is securely mounted. If necessary, make further adjustments to enhance its stability.
It’s crucial to take your time during the mounting process to ensure that the camera is properly secured. A sturdy and stable mount will prevent any unwanted movements, ensuring that your night vision camera stays in place and consistently captures high-quality footage.
Once you’ve successfully mounted the camera, it’s time to move on to the next step: connecting the camera to a power source.
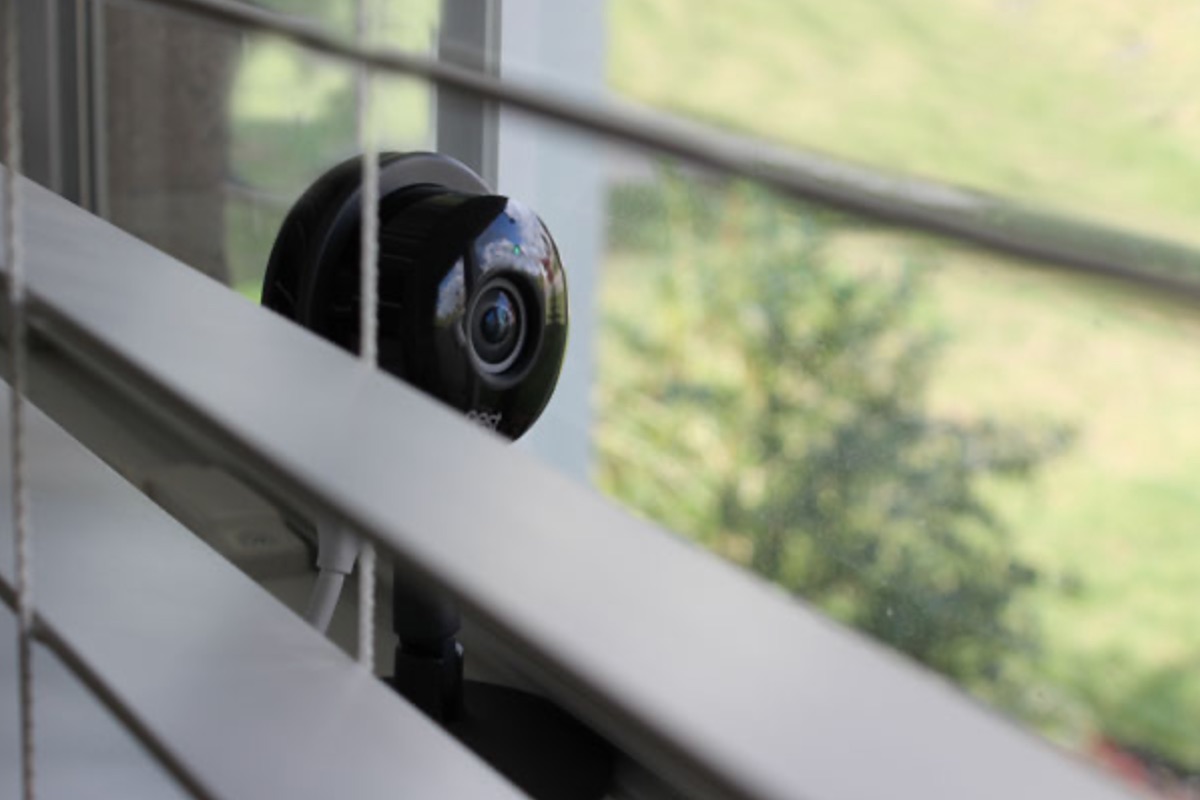
When installing a night vision camera in a window, make sure to position it in a way that minimizes glare and reflections. Use a mounting bracket to secure the camera and adjust the angle for optimal night vision performance.
Read more: How To Fix A Night Vision Camera
Step 5: Connect the camera to a power source
Now that your night vision camera is securely mounted, it’s time to connect it to a power source. Follow these steps to ensure a proper power connection:
- Locate the power input on the camera: Look for the power input port on the camera. It is usually located on the back or underside of the device. Refer to the camera’s user manual if you’re having trouble finding it.
- Connect the power cable: Take the power cable that came with the camera and plug it into the power input port. Ensure that it fits securely and is inserted all the way.
- Connect to a power source: Connect the other end of the power cable to a power source. Depending on the camera model, this could be a power outlet, a power adapter, or a separate power supply unit.
- Ensure a stable power supply: Confirm that the power source is providing a stable and reliable power supply to the camera. Ensure that the power cable is not loose or damaged.
- Test the camera: Once the camera is connected to the power source, verify that it powers on and begins capturing footage. Check the camera’s indicator lights or monitor for any visual confirmation of power.
Properly connecting the camera to a power source is vital for its functionality. Ensure that the power supply is consistent and reliable to ensure uninterrupted surveillance capabilities.
With the camera successfully connected to a power source, you’re now ready to move on to the next step: adjusting camera settings and testing functionality.
Step 6: Adjust camera settings and test functionality
With your night vision camera connected to a power source, it’s time to adjust the camera settings and test its functionality. Follow these steps to optimize your camera and ensure it’s working correctly:
- Access the camera’s settings: Depending on your camera model, you can typically access its settings through a dedicated mobile app, web interface, or included software. Refer to the camera’s user manual for specific instructions on accessing the settings.
- Adjust video quality and resolution: Set the desired video quality and resolution for your camera. Higher resolutions may provide more detailed footage but may require more storage space. Adjust the settings according to your preferences and storage capabilities.
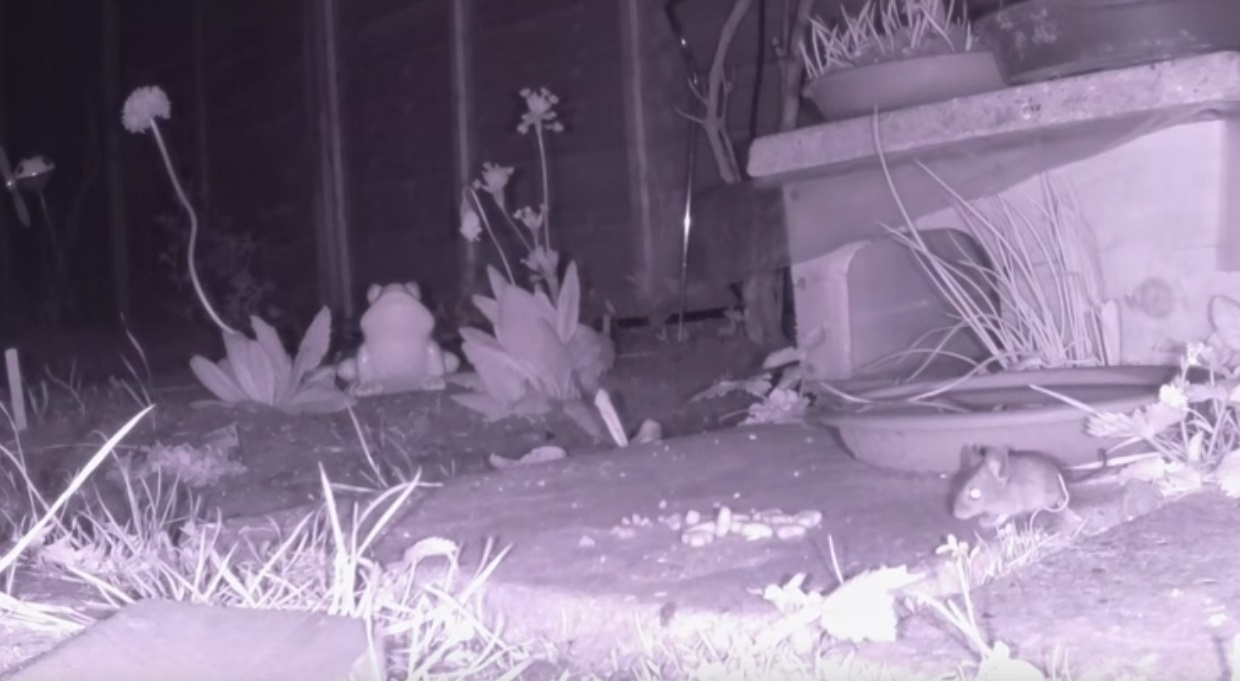
- Configure motion detection and recording: Enable motion detection if your camera supports it. Configure the sensitivity settings and select the specific areas you want the camera to monitor for motion. Additionally, set up recording options for when motion is detected.
- Set up remote viewing: If your camera supports remote viewing, configure the necessary network settings to access the camera’s live feed from your smartphone, tablet, or computer. Follow the instructions provided by the camera manufacturer for remote viewing setup.
- Test the camera’s functionality: Once the settings are adjusted, conduct a thorough functionality test. Walk around the monitored area to ensure that the camera captures the desired field of view. Check for any issues with video quality, motion detection, or remote viewing.
It’s essential to spend time fine-tuning the camera settings to suit your specific needs. This will ensure that you’re getting the most out of your night vision camera and maximizing its surveillance capabilities.
With the camera settings adjusted and functionality tested, you’re ready to move on to the final step: finalizing the installation.
Step 7: Finalize the installation
Congratulations! You’re in the final step of installing your night vision camera in a window. Follow these steps to wrap up the installation process:
- Secure any loose cables: Check all the cables connected to the camera and make sure they are securely in place. Use cable clips or adhesive clips to neatly secure any loose cables along the window frame or wall, keeping them hidden and out of the way.
- Adjust camera angles if needed: Take a final look at the camera angles and adjust them if necessary. Ensure that the camera provides the desired view and covers the intended areas effectively.
- Test the camera and recording functionality: Conduct one last test to ensure that the camera is capturing clear footage and recording properly. Verify that the motion detection feature is functioning as expected and that the recorded videos are being stored correctly.
- Install any additional security measures: Consider adding supplemental security measures to enhance the effectiveness of your night vision camera. This can include adding outdoor lighting, installing window or door alarms, or implementing a security system that integrates with your camera.
- Regularly maintain and clean the camera: To ensure optimal performance, regularly maintain and clean your night vision camera. Follow the manufacturer’s guidelines for cleaning and maintenance to prevent any dirt or debris from affecting its functionality.
By following these final steps, you’ll complete the installation process and have your night vision camera fully operational. Take some time to familiarize yourself with the camera’s features and settings to make the most of its surveillance capabilities.
Remember, home security is an ongoing effort, and investing in a night vision camera is just one part of the equation. Make sure to regularly assess your security needs and consider additional measures to keep your home and loved ones safe.
With your night vision camera installation complete, enjoy the peace of mind that comes with knowing your home is under constant surveillance. Stay vigilant and take proactive steps to maintain a secure environment for you and your family.
Be sure to refer back to this guide in the future if you need to reinstall, relocate, or troubleshoot your night vision camera. Happy monitoring!
Conclusion
With the installation of a night vision camera in a window, you’ve taken a proactive step towards enhancing the security and surveillance of your home. The ability to monitor your property day and night provides peace of mind and ensures the safety of your loved ones and belongings.
By following the step-by-step process outlined in this guide, you’ve learned how to gather the necessary equipment, choose the ideal location, prepare the window, mount the camera securely, connect it to a power source, adjust the settings, and finalize the installation. Each of these steps contributes to a successful and effective installation of a night vision camera.
Now that your night vision camera is up and running, remember to regularly maintain and clean it to ensure optimal performance. Additionally, consider implementing other security measures such as outdoor lighting, window and door alarms, or a comprehensive security system to complement your camera’s capabilities.
Stay vigilant and make use of the features and settings available on your camera, such as motion detection and remote viewing, to maximize its effectiveness. Regularly test the camera’s functionality and video quality to ensure it’s capturing the desired footage.
Ultimately, the installation of a night vision camera is just one part of a comprehensive home security strategy. It’s important to assess your security needs periodically and adapt your system accordingly. Stay informed about emerging technologies and advancements in home security to ensure that you’re utilizing the latest tools and techniques to protect your home.
Now, with your night vision camera in place, you can have a sense of security knowing that you have a reliable way to monitor your property, deter potential intruders, and keep an eye on your surroundings day and night.
Remember, a secure home is a safe home. Take the necessary steps to protect what matters most to you, and enjoy the peace of mind that comes with knowing you’ve taken proactive measures to safeguard your loved ones and belongings.
Frequently Asked Questions about How To Install Night Vision Camera In A Window
Was this page helpful?
At Storables.com, we guarantee accurate and reliable information. Our content, validated by Expert Board Contributors, is crafted following stringent Editorial Policies. We're committed to providing you with well-researched, expert-backed insights for all your informational needs.