Home>Home Security and Surveillance>How To Fix A Night Vision Camera
Home Security and Surveillance
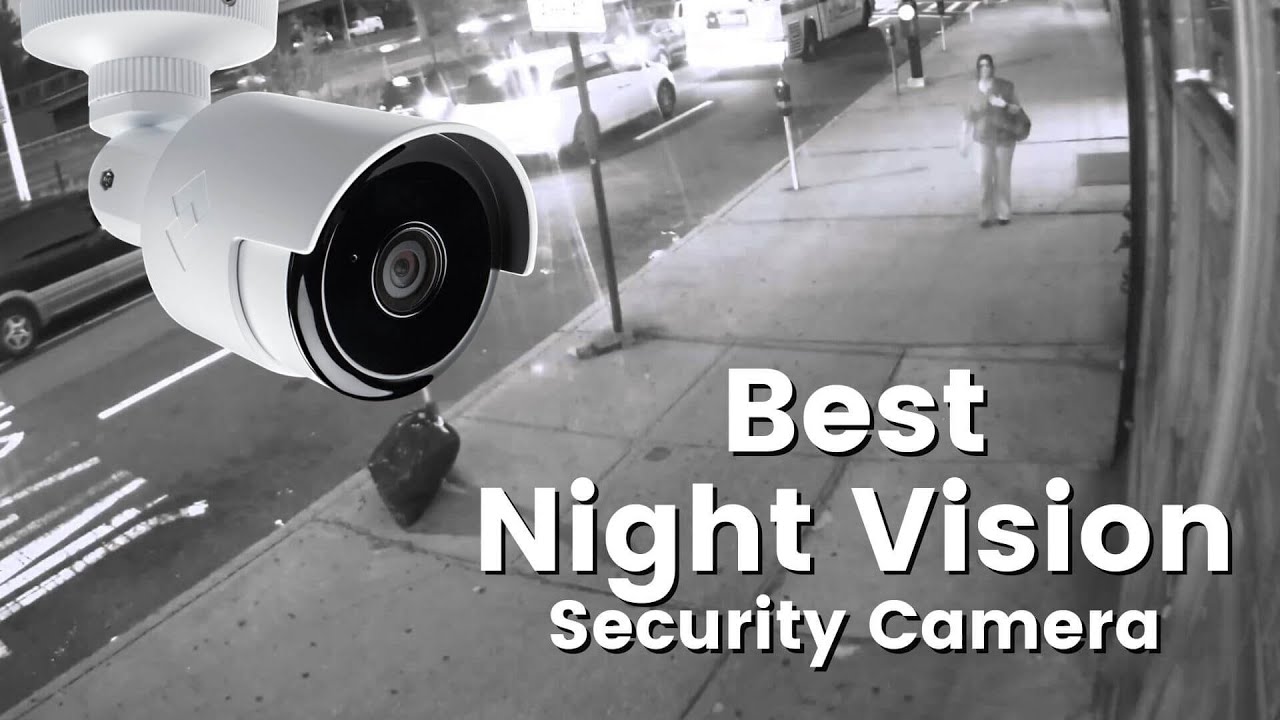
How To Fix A Night Vision Camera
Modified: March 7, 2024
Learn how to fix a night vision camera for your home security and surveillance needs. Find step-by-step instructions and troubleshooting tips.
(Many of the links in this article redirect to a specific reviewed product. Your purchase of these products through affiliate links helps to generate commission for Storables.com, at no extra cost. Learn more)
Introduction
Welcome to the world of home security and surveillance! In today’s day and age, it has become increasingly important to monitor and protect our homes, and night vision cameras play a crucial role in this endeavor. These cameras are equipped with infrared technology, allowing them to capture clear images and video even in low light or no light conditions.
However, like any other electronic device, night vision cameras can encounter issues that may affect their performance. Whether you are a homeowner or a security professional, it is essential to have a basic understanding of how to troubleshoot and fix these problems.
In this article, we will explore some of the most common issues faced with night vision cameras and guide you on how to fix them. By following these tips and techniques, you can enhance your camera’s performance and ensure your home remains safe and secure.
Key Takeaways:
- Keep your night vision camera in top shape by cleaning the lens regularly and adjusting the focus for clear and crisp images. Don’t forget to check and maintain the infrared illuminators for optimal performance.
- Troubleshoot connectivity issues and update firmware to ensure seamless operation. Regular maintenance, such as battery replacement, is essential for uninterrupted surveillance.
Read more: How To Blind A Night Vision Camera
Common Issues with Night Vision Cameras
Night vision cameras are sophisticated devices, but they are not exempt from encountering issues. Understanding these common problems is the first step towards resolving them. Let’s take a closer look at some of the frequent issues faced with night vision cameras:
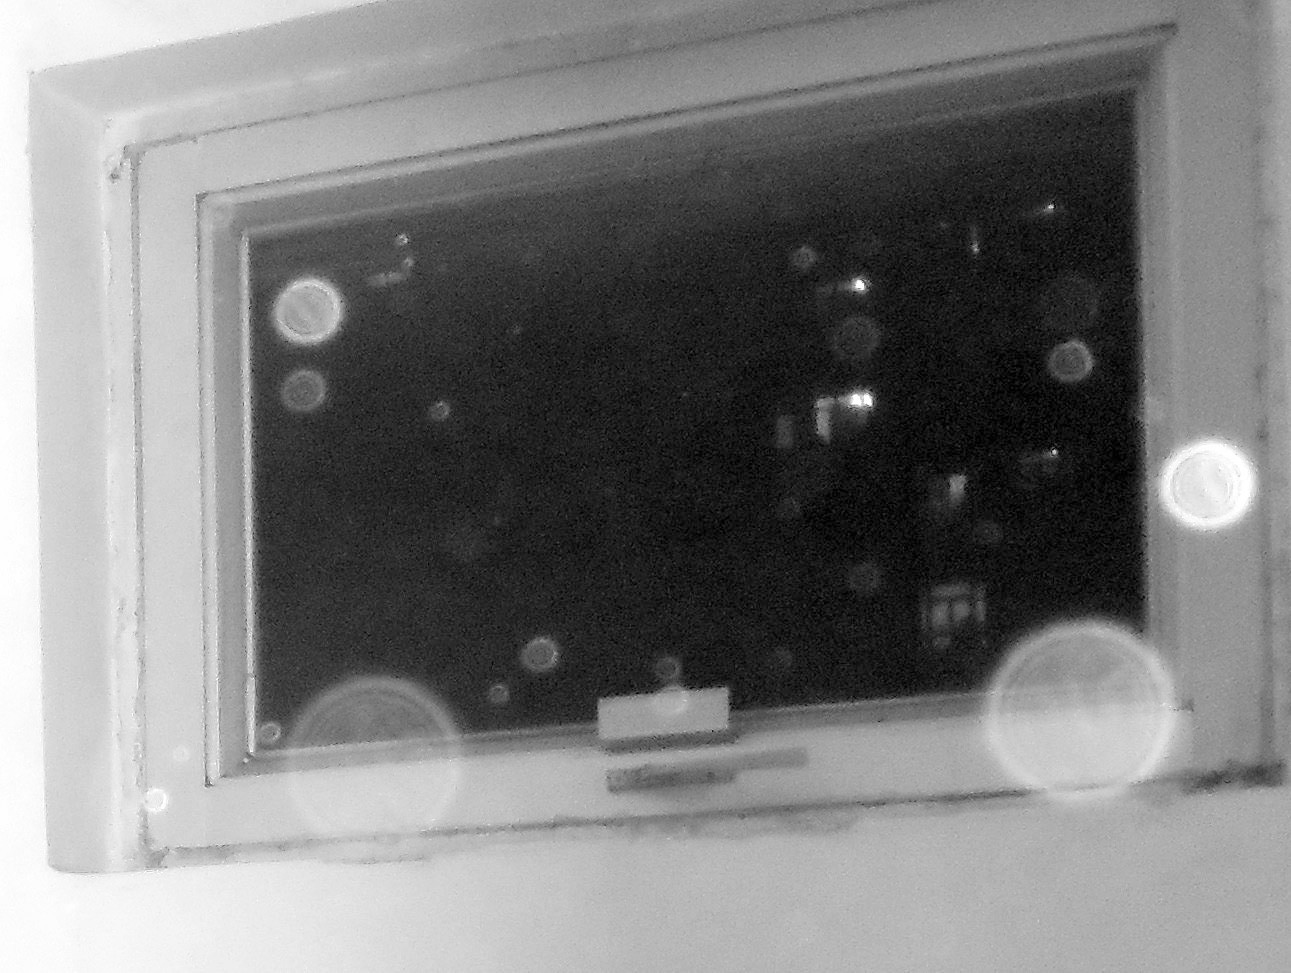
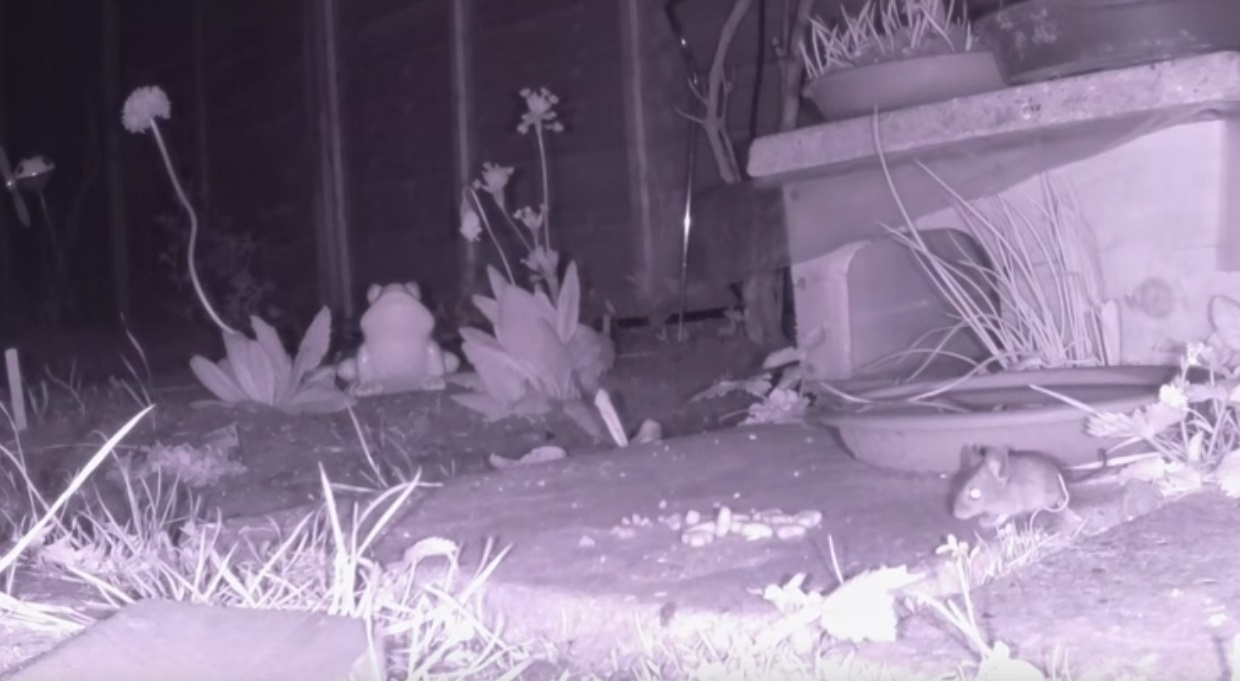
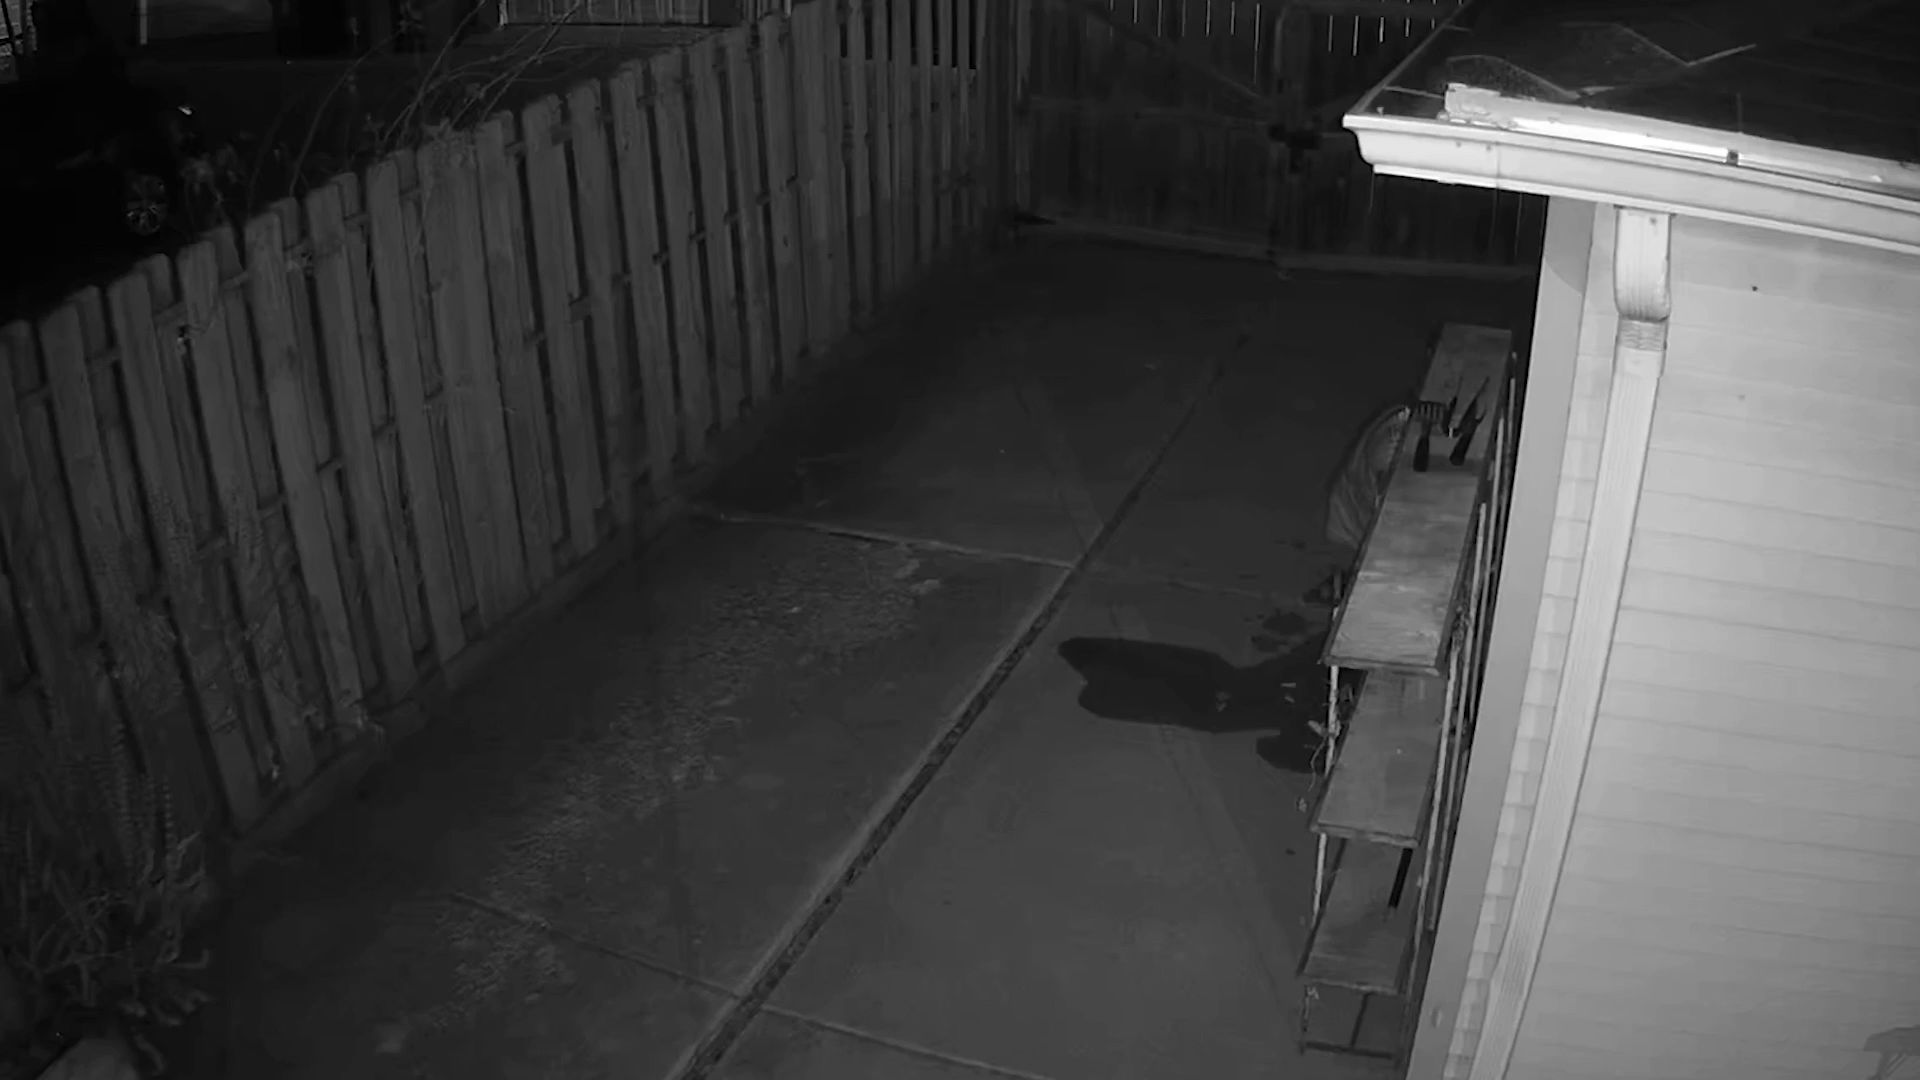
- Poor Image Quality: One of the most common issues with night vision cameras is poor image quality. This can manifest as blurry or distorted images, low resolution, or grainy footage. Several factors can contribute to this problem, including a dirty lens, incorrect focus, or inadequate lighting. We will discuss how to tackle these issues shortly.
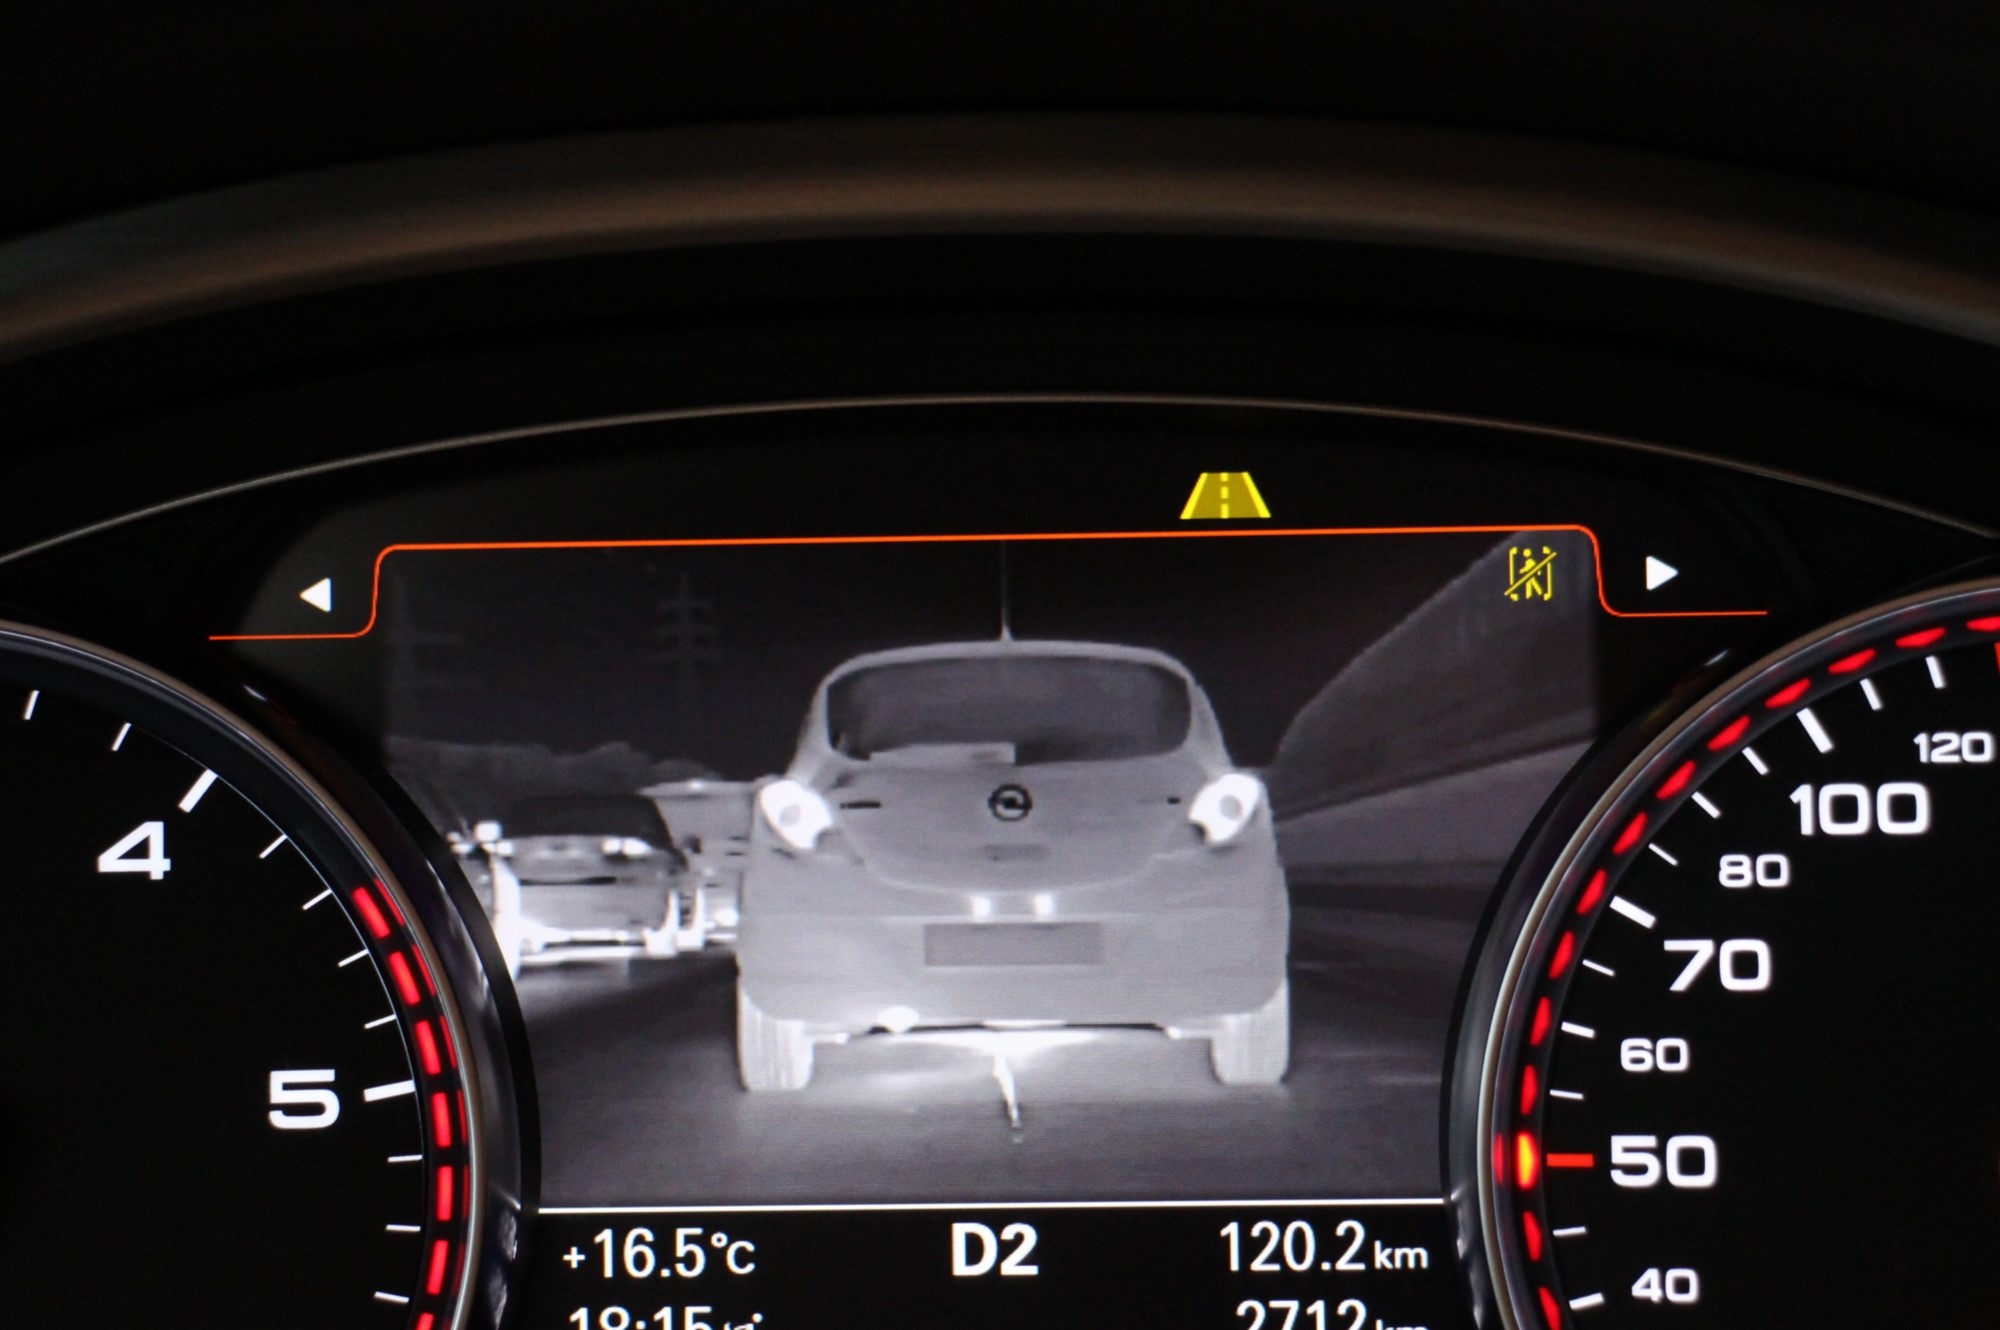
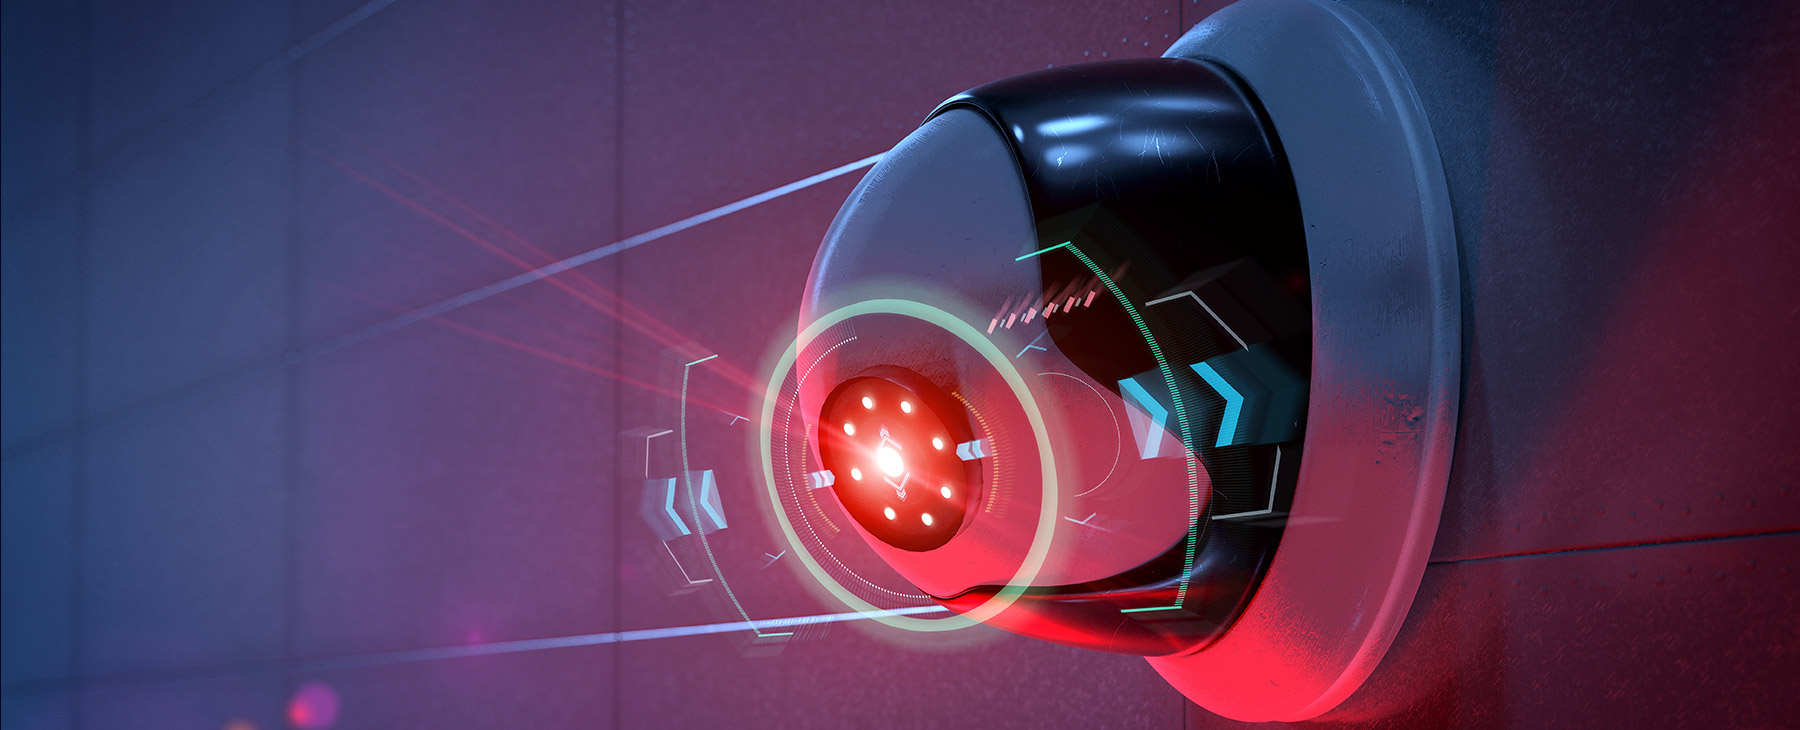
- Infrared Illuminator Problems: The infrared illuminators in night vision cameras are responsible for providing the necessary light for capturing clear images in the dark. If these illuminators are not functioning correctly, it can lead to dark or black images. Checking and troubleshooting the infrared illuminators is crucial to ensuring proper functioning of the camera.
- Connectivity Issues: Night vision cameras that rely on a network connection may experience connectivity issues. This can result in delays in accessing live footage or intermittent loss of connection. Troubleshooting the network settings and ensuring a stable internet connection can often resolve this problem.
- Camera Settings: Incorrect camera settings can lead to subpar performance. Issues such as incorrect exposure settings or disabled night vision mode can affect the camera’s ability to capture clear images in low light conditions. Resetting the camera settings or adjusting them to the appropriate values can help resolve these issues.
- Firmware Updates: Outdated firmware can cause compatibility issues and affect the overall performance of the night vision camera. Regularly updating the camera’s firmware can address bugs, improve stability, and ensure optimal performance.
Now that we have identified some of the common issues, let’s explore how to fix them and get your night vision camera back on track.
Cleaning the Lens
One of the primary reasons for poor image quality in night vision cameras is a dirty lens. Over time, dust, dirt, and fingerprints can accumulate on the lens surface, decreasing the clarity of the captured footage. Cleaning the lens regularly is a simple yet effective way to improve the camera’s performance. Here are the steps to clean your night vision camera’s lens:
- Start by powering off the camera and disconnecting it from any power source or network.
- Gently remove the lens cap, if present, and inspect the lens for any visible dirt or smudges.
- Use a soft microfiber cloth or lens cleaning tissue to gently wipe the lens surface in a circular motion. Avoid using rough materials or applying excessive pressure as this can scratch or damage the lens.
- If there are stubborn stains or smudges, you can dampen the cloth or tissue with a small amount of lens cleaning solution or isopropyl alcohol. Be sure to apply the solution to the cloth, not directly onto the lens.
- Continue wiping the lens gently until all dirt and smudges are removed.
- Once the lens is clean, use a dry part of the cloth to remove any excess moisture.
- Replace the lens cap if applicable.
It’s important to note that cleaning the lens should be done carefully and sparingly. Avoid excessive cleaning, as this can cause damage. Also, be cautious when cleaning inside the lens housing to prevent any damage to the camera’s internal components.
Regularly cleaning the lens of your night vision camera will ensure that it can capture clear and crisp images, allowing you to effectively monitor your home’s security.
Adjusting the Focus
Another common issue with night vision cameras is improper focus, which can result in blurry or out-of-focus images. Adjusting the focus of your camera is a straightforward process that can significantly improve image quality. Here’s a step-by-step guide on how to adjust the focus of your night vision camera:
- Begin by selecting a target or object in the camera’s field of view.
- Consult the camera’s user manual to determine the method for adjusting focus. Some cameras have a manual focus ring, while others may require you to use software or an app to make adjustments.
- If your camera has a manual focus ring, gently rotate it clockwise or counterclockwise to adjust the focus. Observe the live video feed or monitor to see the changes in image clarity.
- If your camera requires software or an app for focus adjustment, ensure that it is connected to the camera and open the appropriate interface. Look for options that allow you to fine-tune the focus settings.
- Make small adjustments and observe the changes in real-time. It may take several iterations to achieve the desired focus.
- Once you are satisfied with the focus, save the settings or exit the focus adjustment mode.
It’s important to note that the optimal focus may vary depending on factors such as the distance of the object, the lighting conditions, and the camera’s specifications. Experimenting with different focus settings can help you find the best configuration for your specific setup.
By ensuring that your night vision camera is properly focused, you can capture sharp and clear images, enhancing the effectiveness of your surveillance system.
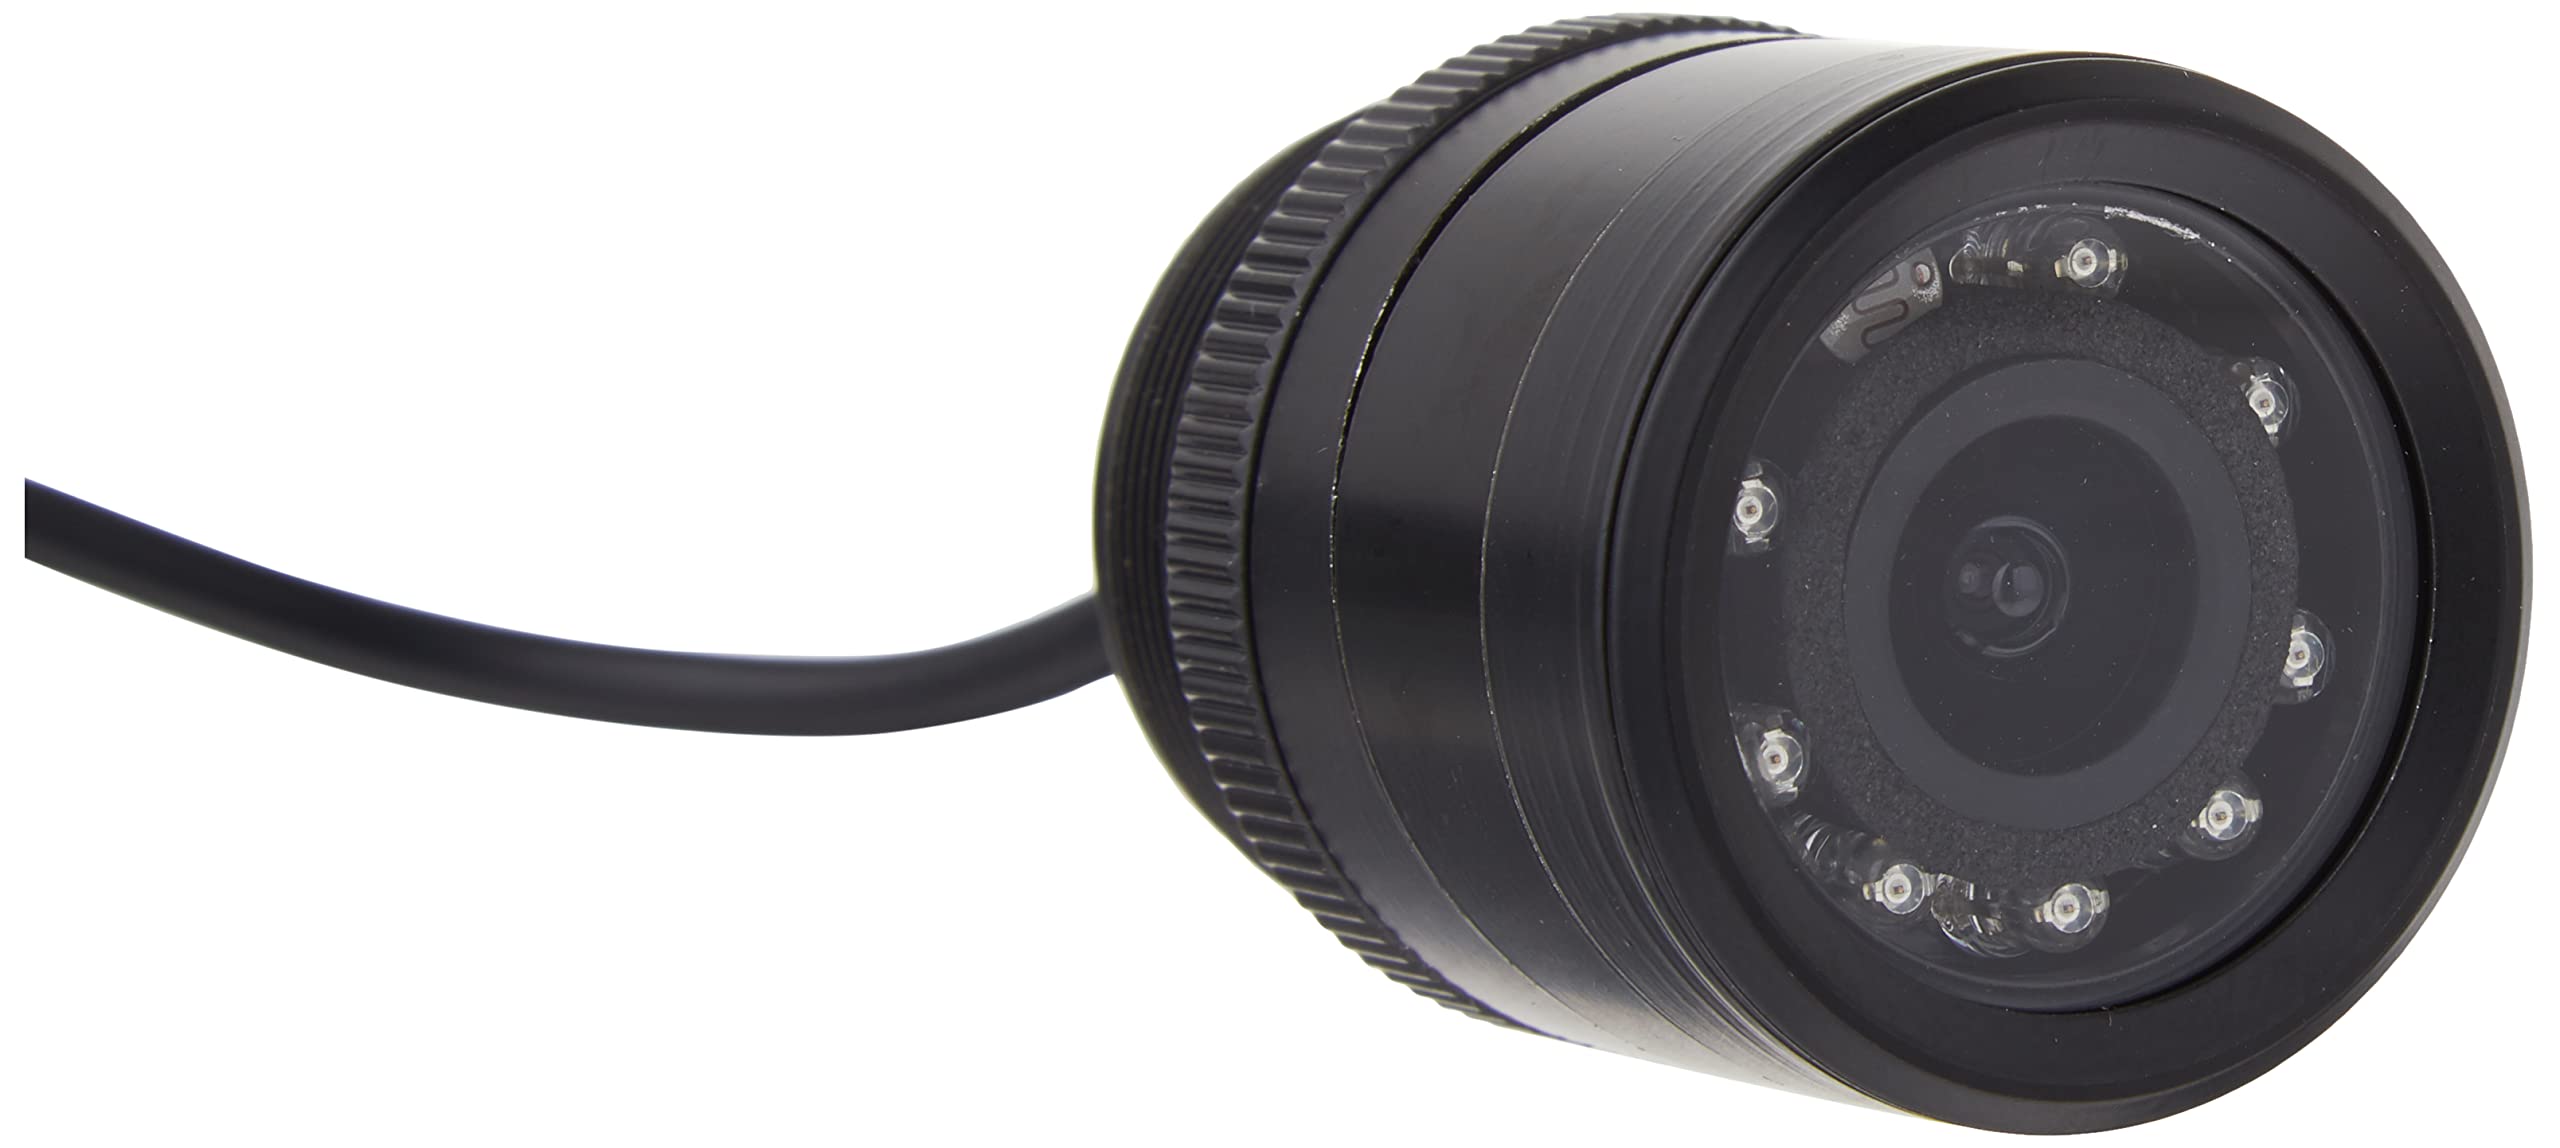
Checking the Infrared Illuminators
The infrared illuminators in night vision cameras are responsible for providing the necessary light for capturing clear images in the dark. If these illuminators are not functioning correctly, it can result in dark or black images, rendering your camera ineffective in low light conditions. Here’s how you can check and troubleshoot the infrared illuminators:
- Start by verifying that the infrared illuminators are turned on. Refer to your camera’s user manual or settings menu to ensure that the night vision mode is enabled.
- Inspect the camera’s front panel, usually located near the lens, to locate the infrared illuminators. They are typically small LED lights that emit infrared light.
- Ensure that the front panel and the illuminators are clean and free from any obstructions. Wipe away any dirt, dust, or debris that may be hindering the performance of the illuminators.
- If the illuminators are working but not providing sufficient light, check the camera’s settings to see if there is an option to adjust the infrared intensity. Increasing the intensity can help enhance the camera’s night vision capabilities.
- If the infrared illuminators are not working at all, it might indicate a malfunction. Try powering off the camera, disconnecting it from the power source, and then reconnecting it after a few minutes. This simple reset can sometimes resolve minor technical glitches.
- If the issue persists, it is recommended to consult the camera’s manufacturer or technical support for further assistance. They may be able to provide troubleshooting steps specific to your camera model or recommend repair or replacement options if necessary.
Proper functioning of the infrared illuminators is crucial for capturing clear and detailed images in low light situations. By regularly checking and maintaining these illuminators, you can ensure optimal performance from your night vision camera.
To fix a night vision camera, try cleaning the lens with a soft cloth and checking the infrared lights for any obstructions. If the issue persists, consider replacing the infrared lights or seeking professional repair.
Read more: How To Make A Night Vision Camera
Resetting the Camera Settings
Incorrect camera settings can impact the performance of your night vision camera, resulting in subpar image quality or functionality issues. Resetting the camera settings can help resolve these problems and restore your camera to its default configuration. Here’s how you can reset the settings:
- Access the camera’s settings menu. The method for doing this varies depending on the camera model and brand. Refer to the user manual or manufacturer’s website for specific instructions.
- Look for an option to reset or restore the camera settings. This is typically found in the “Settings” or “System” menu.
- Select the reset option and confirm your choice when prompted. Keep in mind that resetting the camera settings will revert any custom configurations or adjustments you may have made.
- Once the reset process is complete, power off the camera and disconnect it from the power source for a few minutes.
- Reconnect the camera to the power source and turn it back on.
- After the camera restarts, go through the initial setup process if necessary, which may include configuring network settings, date and time, and other preferences.
Resetting the camera settings can help resolve issues caused by incorrect exposure settings, disabled night vision mode, or other configuration-related problems. However, it’s important to note that this should be considered as a last resort after attempting other troubleshooting steps, as it will erase any customized settings.
If the issues persist after resetting the camera settings, it is advisable to contact the manufacturer’s technical support for further assistance. They can provide additional troubleshooting steps or guide you through more advanced troubleshooting procedures.
Updating the Firmware
Keeping the firmware of your night vision camera up-to-date is crucial for optimal performance and compatibility with the latest technologies. Firmware updates often include bug fixes, performance improvements, and new features that can enhance the functionality of your camera. Here’s how you can update the firmware:
- Visit the manufacturer’s website or check the documentation that came with your camera to find firmware update instructions specific to your model.
- Download the latest firmware version available for your camera model. Ensure that you are downloading the correct firmware version to avoid compatibility issues.
- Connect the camera to your computer or your network as specified by the manufacturer.
- Access the camera’s web-based interface by entering the camera’s IP address into a web browser on your computer.
- Navigate to the firmware update section within the camera’s interface. The location and labeling may vary, so consult the user manual or manufacturer’s instructions for specific guidance.
- Follow the on-screen instructions to browse for and select the downloaded firmware file.
- Initiate the firmware update and wait for the process to complete. Do not interrupt the update or power off the camera during this time.
- Once the update is finished, reboot the camera as directed by the manufacturer.
- After the camera restarts, verify that the firmware has been successfully updated by checking the firmware version in the camera’s settings or interface.
Regularly updating the firmware of your night vision camera ensures that you have access to the latest features, improvements, and security enhancements. It is recommended to check for firmware updates periodically and install them as soon as they become available.
If you encounter any issues during the firmware update process or have difficulty finding the appropriate firmware for your camera, reach out to the manufacturer’s technical support for assistance.
Replacing the Batteries
For night vision cameras that operate on battery power, ensuring that the batteries are in good condition is essential for uninterrupted surveillance. Over time, batteries can lose their capacity and may need to be replaced to maintain optimal camera performance. Here’s a step-by-step guide on how to replace the batteries in your night vision camera:
- Refer to the camera’s user manual or manufacturer’s instructions to determine the type and size of batteries required.
- Power off the camera and disconnect it from any power source or network.
- Locate the battery compartment on the camera. This is typically located on the back or underside of the camera body.
- Open the battery compartment cover. Some cameras may require you to slide or press a release button to unlock the cover.
- Remove the old batteries from the compartment. Pay attention to the polarity markings (+ and -) and ensure that you insert the new batteries correctly.
- Insert the new batteries into the compartment, aligning them with the polarity markings. Make sure the batteries fit securely and the compartment cover can close properly.
- Close the battery compartment cover and ensure it is securely latched or locked.
- Power on the camera and check for any battery level indicators or notifications in the camera’s interface or settings menu.
It is important to use high-quality batteries from reputable brands to ensure optimal performance and longevity. Additionally, regular battery maintenance, such as cleaning the battery contacts and replacing the batteries as needed, will help keep your night vision camera operating smoothly.
If you continue to experience power-related issues with your camera even after replacing the batteries, it is advisable to consult the camera’s manufacturer or technical support for further guidance or troubleshooting steps.
Troubleshooting Connectivity Issues
Connectivity issues can hinder the functionality of your night vision camera, preventing you from accessing live footage or remotely managing the camera. Troubleshooting these issues can help restore a stable connection and ensure seamless operation. Here are some steps to troubleshoot connectivity issues with your night vision camera:
- Check the network cables or Wi-Fi connection: Ensure that the network cables are securely connected to the camera and the router or switch. If using Wi-Fi, make sure the camera is within the range of the Wi-Fi network and that the network signal strength is strong.
- Restart your camera and network devices: Power off the camera, as well as your router, modem, or any other network devices. Wait for a few minutes, then power them back on. This can often resolve temporary network glitches.
- Confirm network settings: Double-check that the camera’s network settings, such as IP address, subnet mask, and gateway, are correctly configured. Ensure that there are no conflicting IP addresses on the network.
- Update firmware and software: Ensure that the camera’s firmware and any supporting software or apps are up to date. Outdated firmware or software can cause compatibility issues and affect connectivity. Refer to the manufacturer’s website for the latest updates.
- Check firewall settings: If you have a firewall or security software running on your network, ensure that it is not blocking the camera’s network traffic. Add the camera to the firewall’s allowed list or temporarily disable the firewall to test the connection.
- Reset network settings: If you have made any recent network changes or if the camera was previously connected to a different network, try resetting the network settings on the camera. This will allow you to reconfigure the camera’s network connection from scratch.
- Test with a different network cable or Wi-Fi network: If possible, try using a different network cable or connect the camera to a different Wi-Fi network to determine if the issue is specific to the network or the camera itself.
- Contact technical support: If none of the troubleshooting steps resolve the connectivity issues, it is recommended to reach out to the camera’s manufacturer or technical support for further assistance. They can provide specialized guidance or advanced troubleshooting steps tailored to your camera model.
By following these troubleshooting steps, you can identify and resolve connectivity issues with your night vision camera, ensuring a seamless connection and efficient monitoring of your home or property.
Conclusion
Home security and surveillance are of utmost importance in today’s world, and night vision cameras play a vital role in ensuring the safety and protection of our homes. However, encountering issues with these cameras is not uncommon. By understanding and troubleshooting these common problems, you can restore the functionality and performance of your night vision camera.
In this article, we discussed several common issues that can arise with night vision cameras, such as poor image quality, infrared illuminator problems, connectivity issues, incorrect camera settings, and outdated firmware. We also provided step-by-step guides on how to fix these issues, including cleaning the lens, adjusting the focus, checking the infrared illuminators, resetting the camera settings, updating the firmware, replacing the batteries, and troubleshooting connectivity issues.
Remember to approach troubleshooting with a systematic and patient mindset. Start with basic steps, such as cleaning the lens or adjusting the focus, before moving on to more advanced troubleshooting techniques like firmware updates or network diagnostics.
Regular maintenance and periodic checks are essential for the optimal performance of your night vision camera. Clean the lens regularly, ensure the infrared illuminators are functioning correctly, update the firmware when available, and replace the batteries as needed to keep your camera operating at its best.
If you encounter persistent issues or if the troubleshooting steps do not resolve the problem, do not hesitate to contact the manufacturer’s technical support for further guidance. They have the expertise to provide tailored assistance specific to your night vision camera model.
By utilizing the information and techniques provided in this article, you can overcome common issues with night vision cameras and maintain a reliable and effective home security surveillance system for the safety and peace of mind of yourself and your loved ones.
Frequently Asked Questions about How To Fix A Night Vision Camera
Was this page helpful?
At Storables.com, we guarantee accurate and reliable information. Our content, validated by Expert Board Contributors, is crafted following stringent Editorial Policies. We're committed to providing you with well-researched, expert-backed insights for all your informational needs.