Home>Home Security and Surveillance>How To Remove Power Cable From Nest Outdoor Camera
Home Security and Surveillance
How To Remove Power Cable From Nest Outdoor Camera
Modified: March 6, 2024
Learn how to safely remove the power cable from your Nest Outdoor Camera for convenient home security and surveillance. Securely manage your camera's power supply to ensure constant monitoring.
(Many of the links in this article redirect to a specific reviewed product. Your purchase of these products through affiliate links helps to generate commission for Storables.com, at no extra cost. Learn more)
Introduction
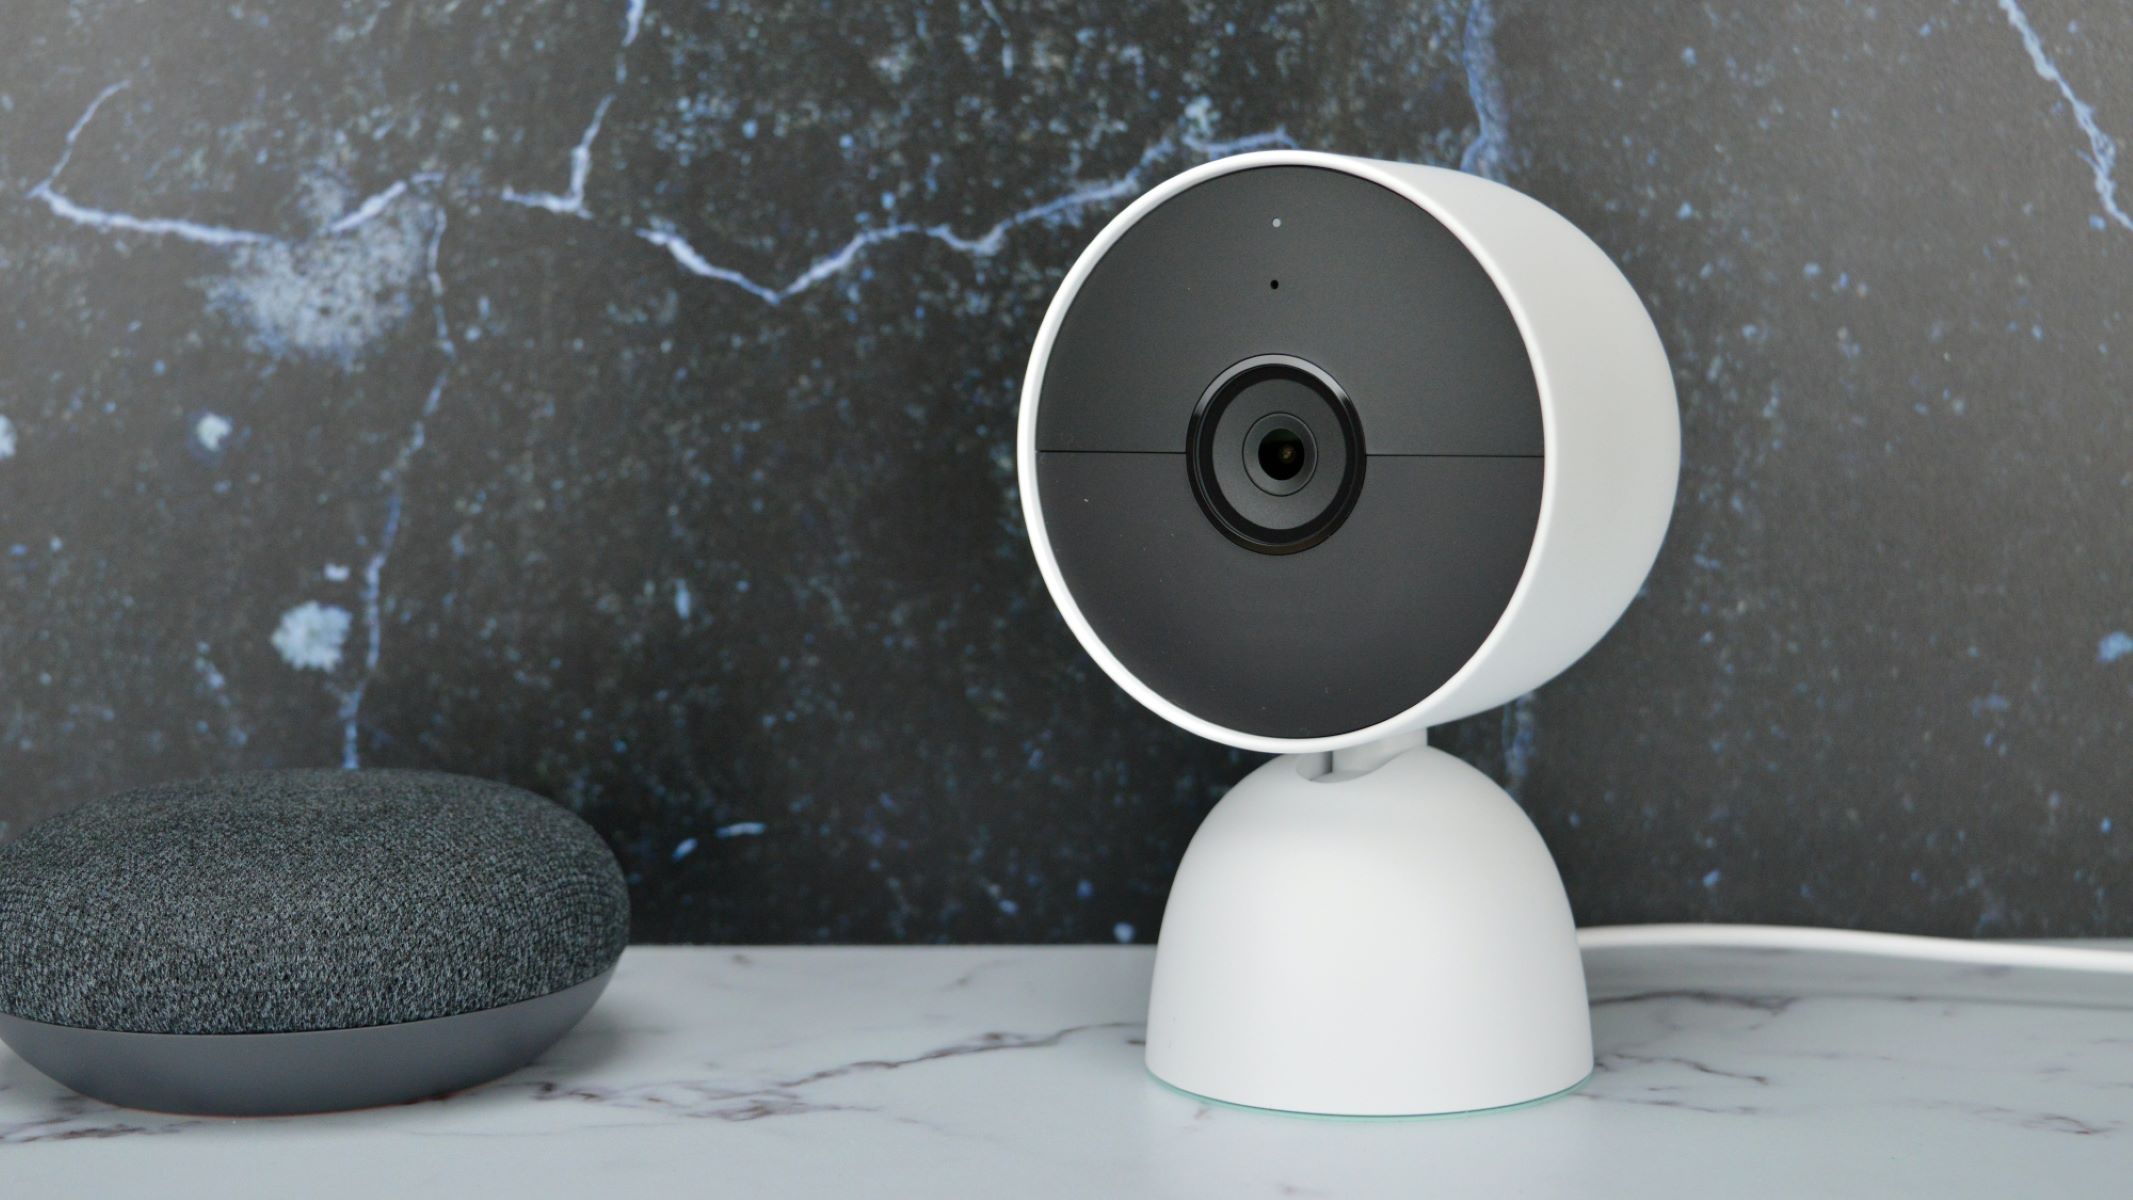
Welcome to our guide on how to remove the power cable from a Nest Outdoor Camera. Nest Outdoor Cameras are fantastic devices that provide homeowners with the peace of mind of having a reliable surveillance system. However, there may be situations where you need to disconnect the power cable. Whether you are relocating your camera or troubleshooting an issue, this step-by-step guide will walk you through the process of safely removing the power cable from your Nest Outdoor Camera.
Before we dive into the details, it’s important to note that when working with any electrical equipment, safety should be your top priority. Always exercise caution and follow the necessary precautions to avoid accidents or damage to the equipment. If you are not comfortable working with electrical components, it’s recommended to seek the assistance of a professional.
In the next sections, we will provide you with step-by-step instructions and the tools required to safely remove the power cable from your Nest Outdoor Camera. We’ll also provide tips for reinstalling the power cable, should you need to do so in the future.
So, let’s get started!
Key Takeaways:
- Safely remove the power cable from your Nest Outdoor Camera by following step-by-step instructions and prioritizing safety precautions. Always consult the user manual and seek professional assistance if needed.
- Reinstall the power cable with confidence using tips provided in the user manual. Ensure a secure and proper connection to maintain optimal safety and performance.
Read more: How To Remove The Nest Outdoor Camera Base
Safety Precautions
Before we begin the process of removing the power cable from your Nest Outdoor Camera, it’s crucial to prioritize your safety. Here are some important safety precautions to keep in mind:
- Make sure to turn off the power supply to the camera before starting any work. This will help prevent any potential electrical shocks.
- If your camera is installed at a height, use a stable ladder or step stool to access it. Ensure that the ladder or stool is on a flat and stable surface.
- Wear appropriate safety gear, such as gloves and safety glasses, to protect yourself from any potential injuries.
- If you are unsure about any aspect of the process or feel uncomfortable working with electrical components, it’s best to seek professional assistance.
By following these safety precautions, you can minimize any risks associated with working on your Nest Outdoor Camera.
Step 1: Gathering Required Tools
Before proceeding with the removal of the power cable from your Nest Outdoor Camera, it’s important to gather the necessary tools. Here’s a list of tools you’ll need:
- Small Phillips screwdriver: This will be used to remove any screws holding the camera or the cable in place.
- Wire cutter/stripper: In case you need to cut or strip any wires during the process.
- Electrical tape: This will come in handy to secure any loose wires and provide insulation.
- Step ladder: If your camera is installed at a height, you may need a step ladder to reach it safely.
Make sure you have these tools readily available before you start working on removing the power cable.
Once you have gathered all the necessary tools, you are ready to proceed to the next step.
Step 2: Preparing for Power Disconnection
Before disconnecting the power cable from your Nest Outdoor Camera, it’s important to take a few preparatory steps. Here’s what you need to do:
- Locate the power supply: Identify where the power supply for your camera is coming from. It is usually an electrical outlet or a power source connected to a power adapter.
- Turn off the power: Switch off the power supply to your camera by either unplugging the power adapter or flipping the switch on the electrical outlet.
- Remove any obstruction: Clear any debris or objects that may be blocking access to the camera and the power cable. This will ensure an easier and safer disconnection process.
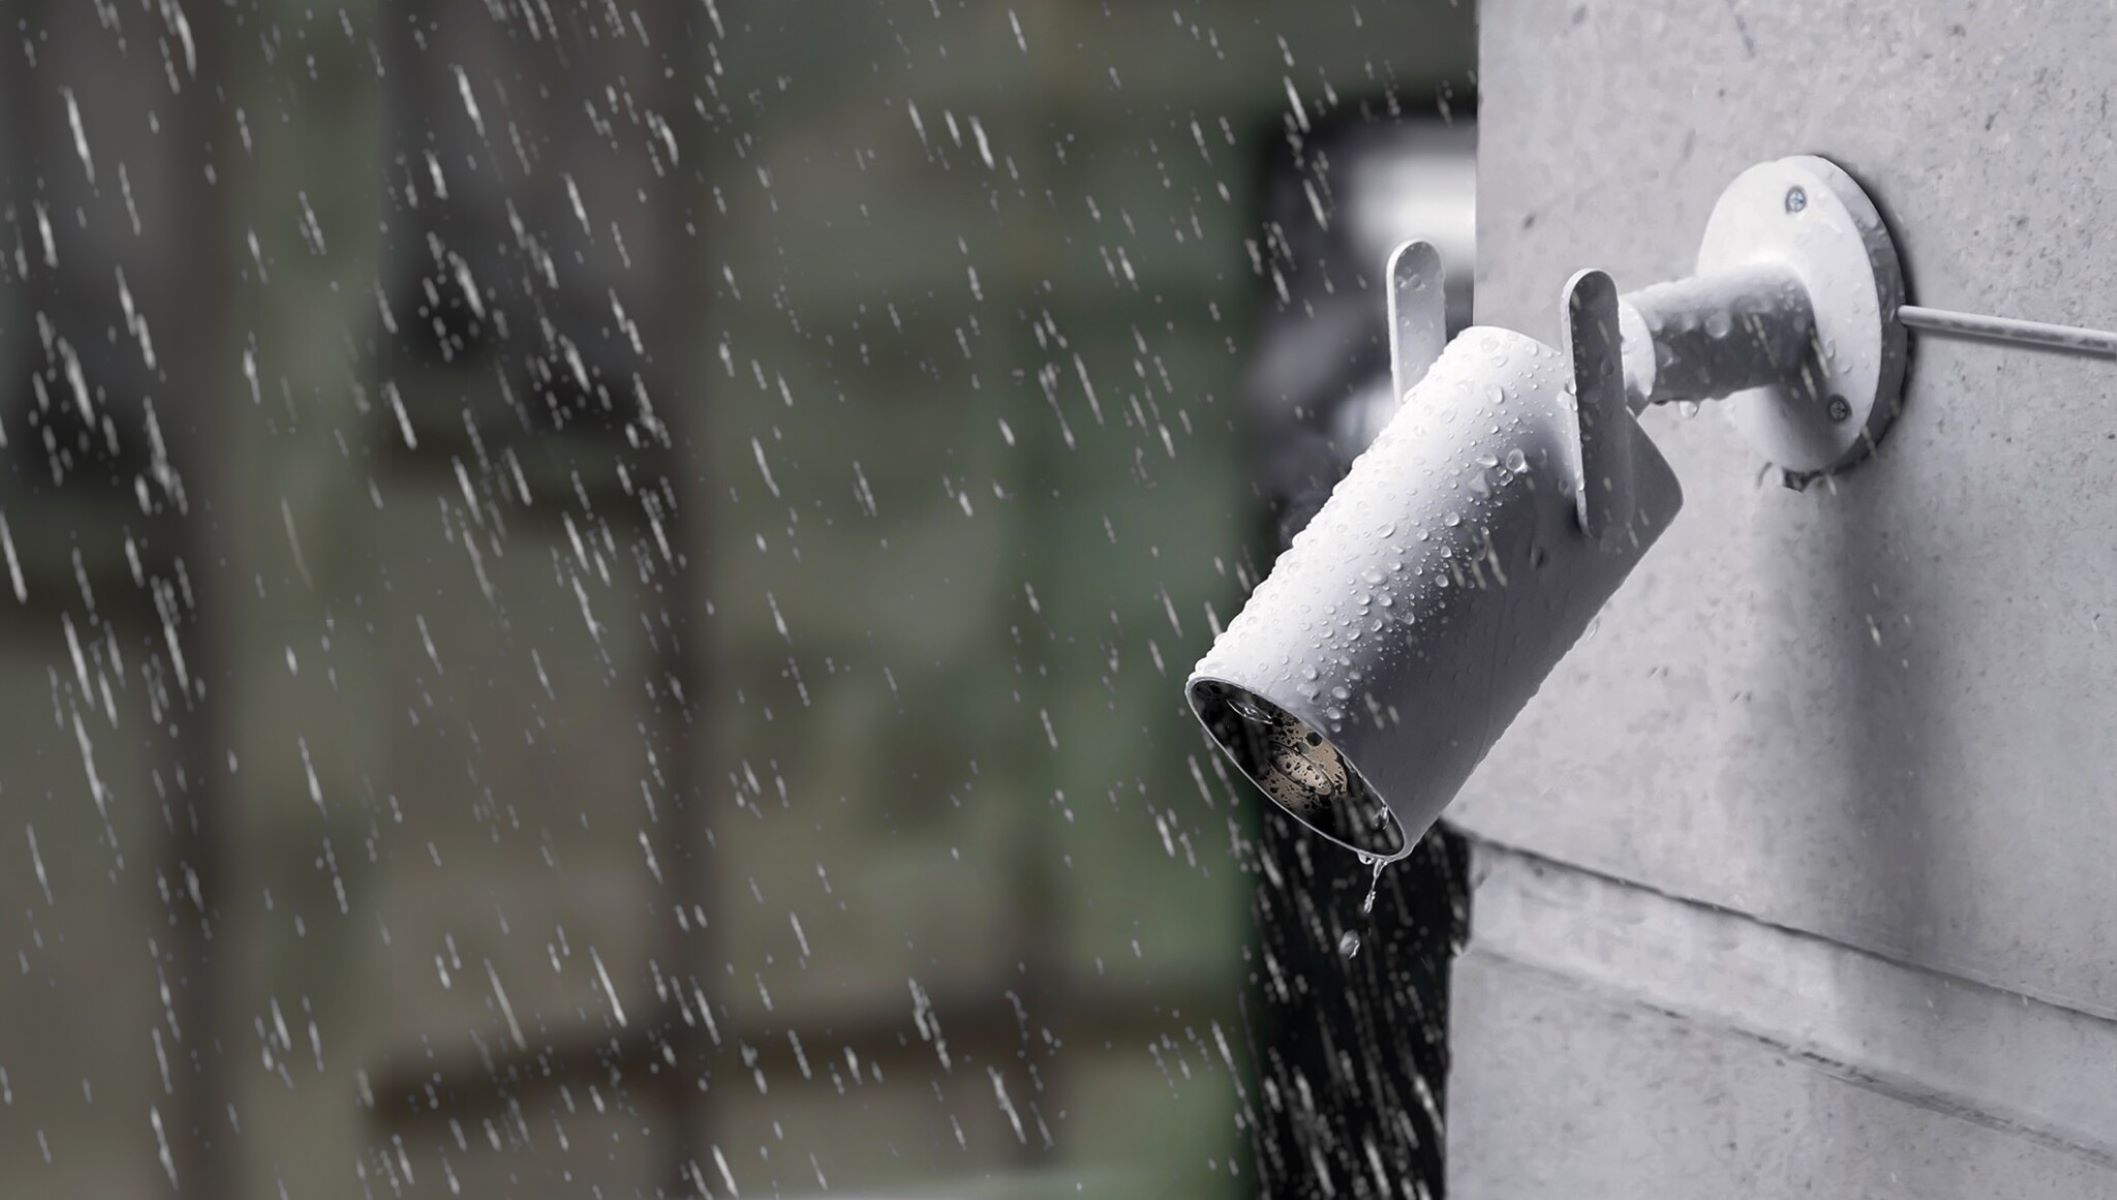
- Inspect the cable: Take a close look at the power cable to check for any signs of damage or wear. If you notice any frayed wires or exposed insulation, it’s important to address those issues before proceeding.
By following these preparatory steps, you ensure that you are ready to safely disconnect the power cable from your Nest Outdoor Camera. Taking these precautions will help prevent any potential damage to the camera or electrical mishaps during the process.
Once you have prepared for power disconnection, you can move on to the next step: locating the power cable on the Nest Outdoor Camera.
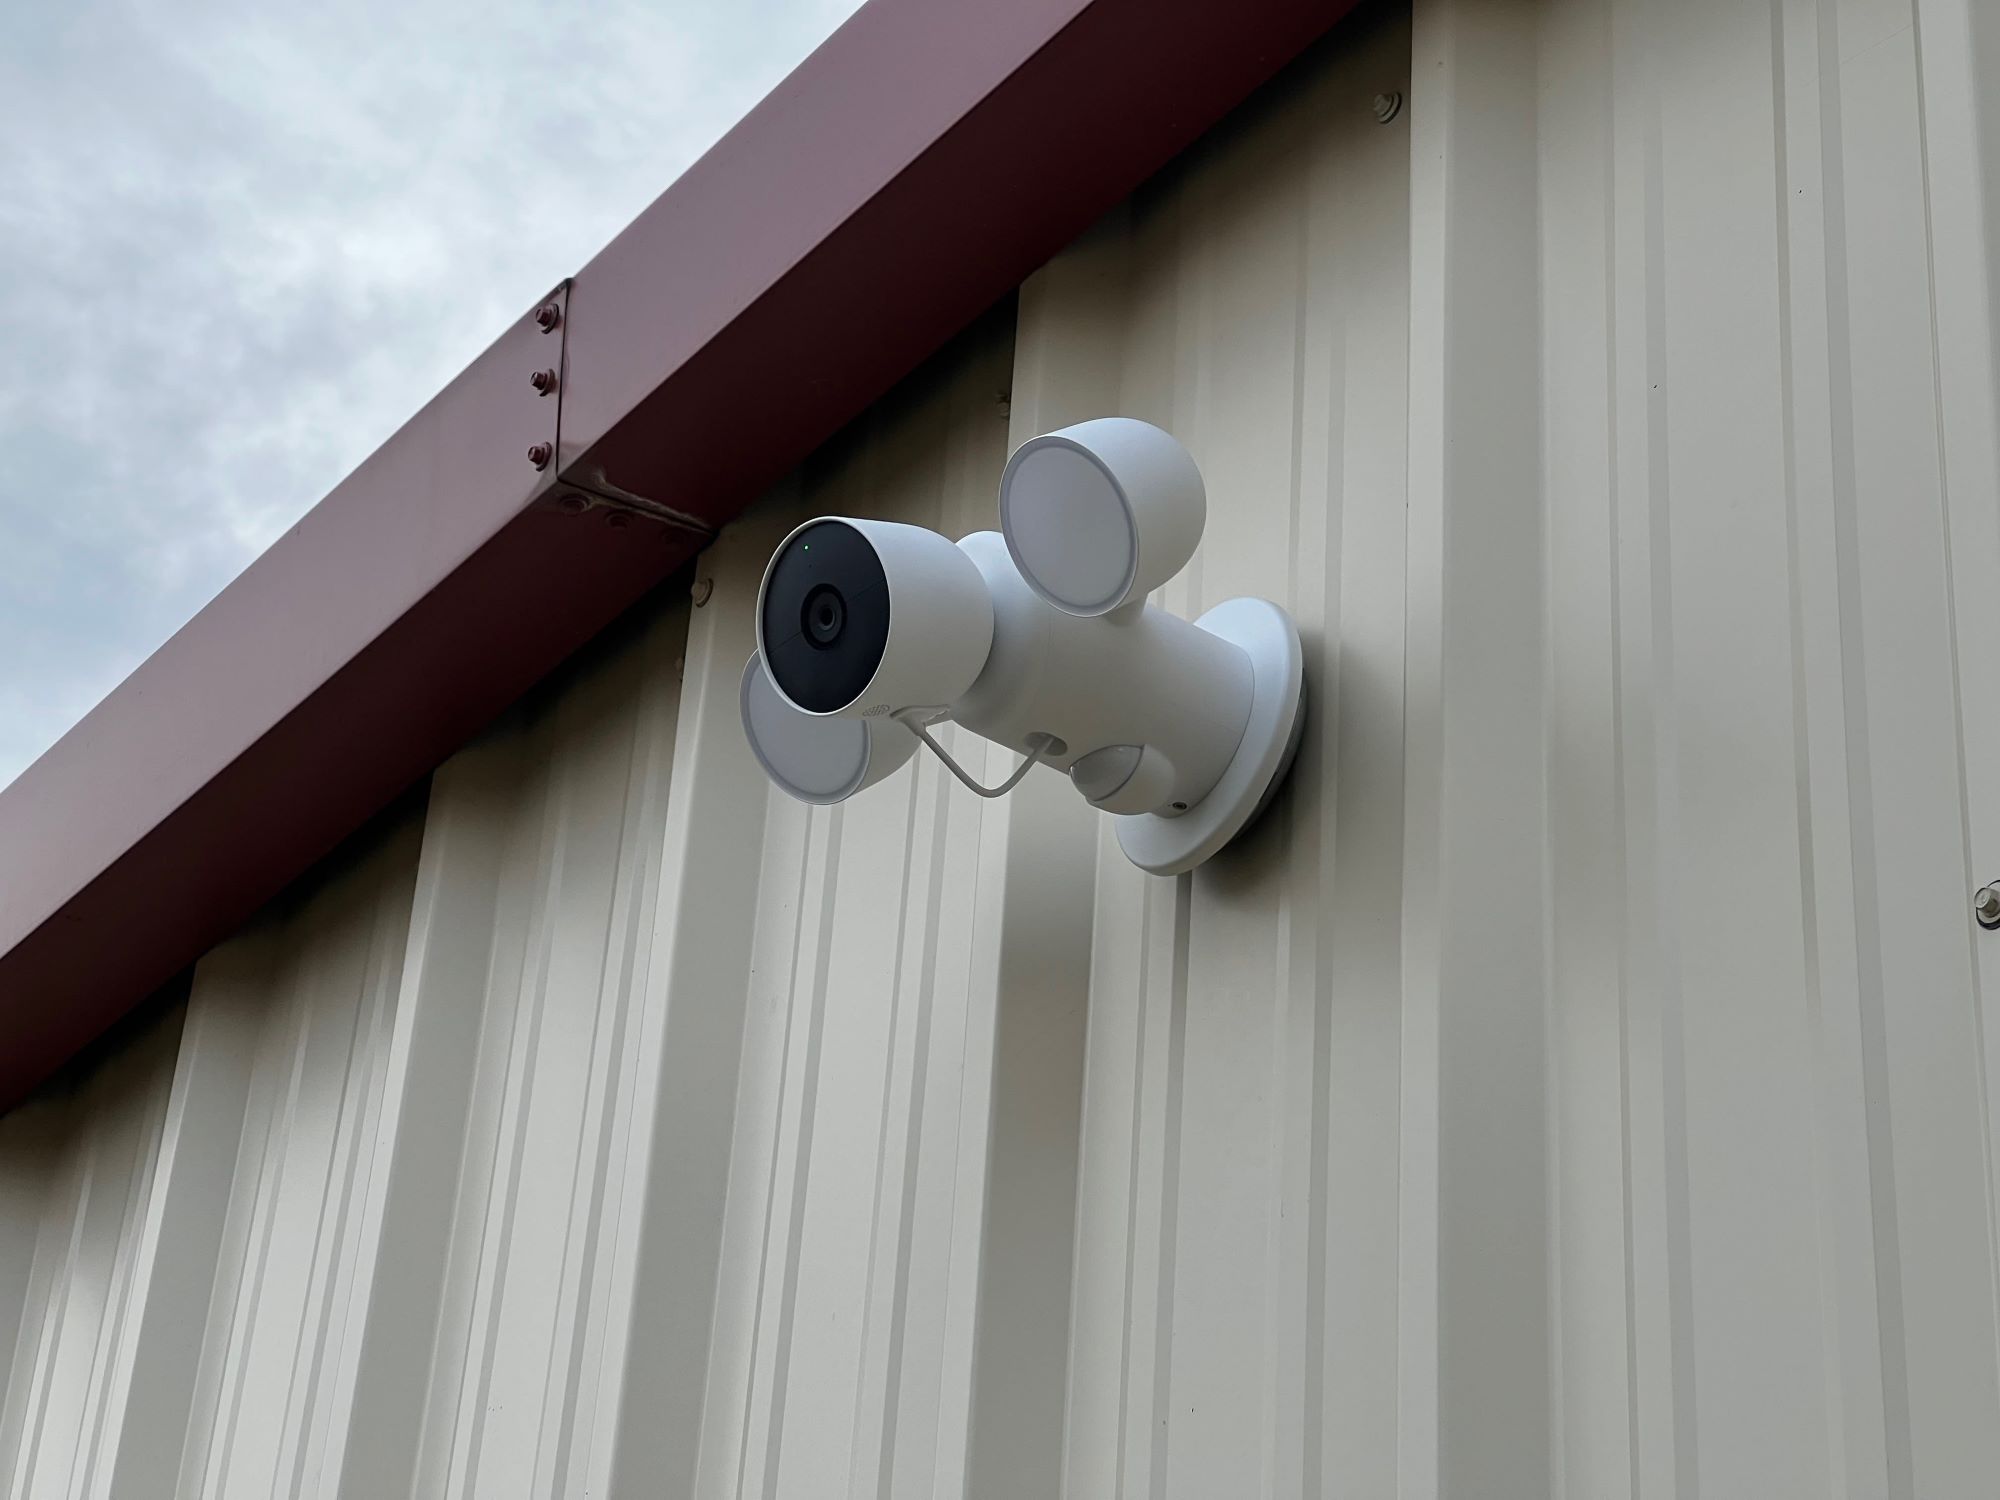
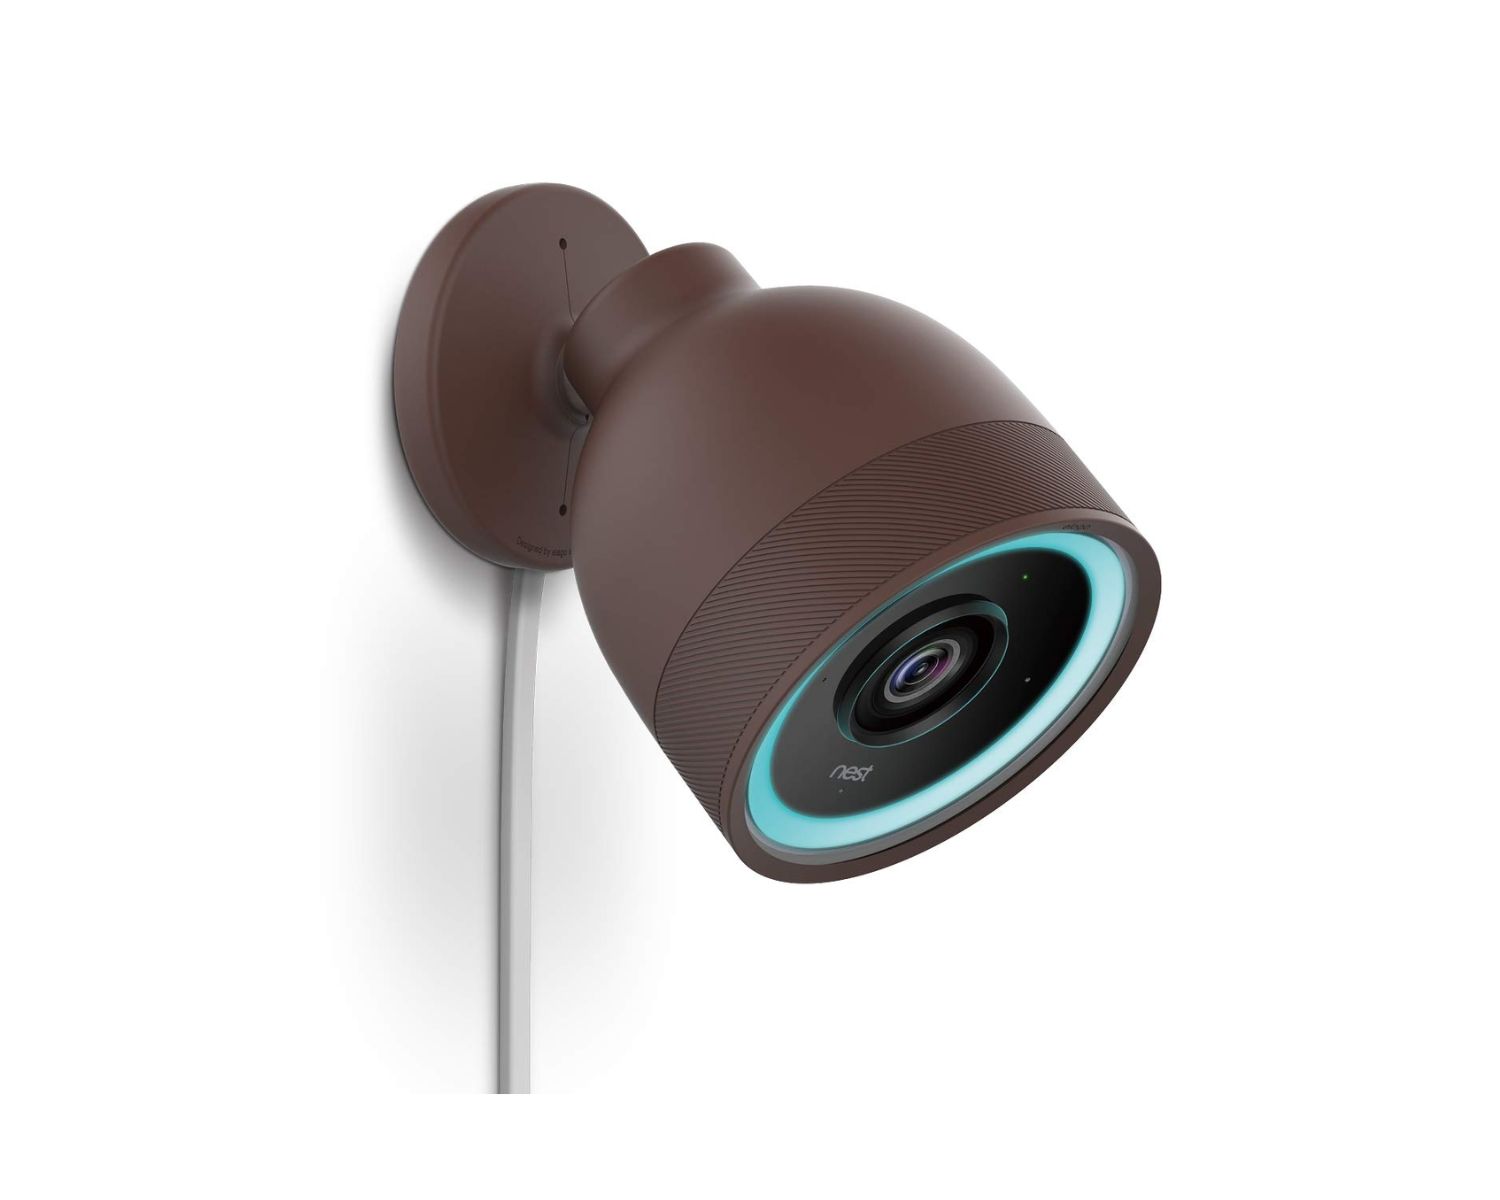
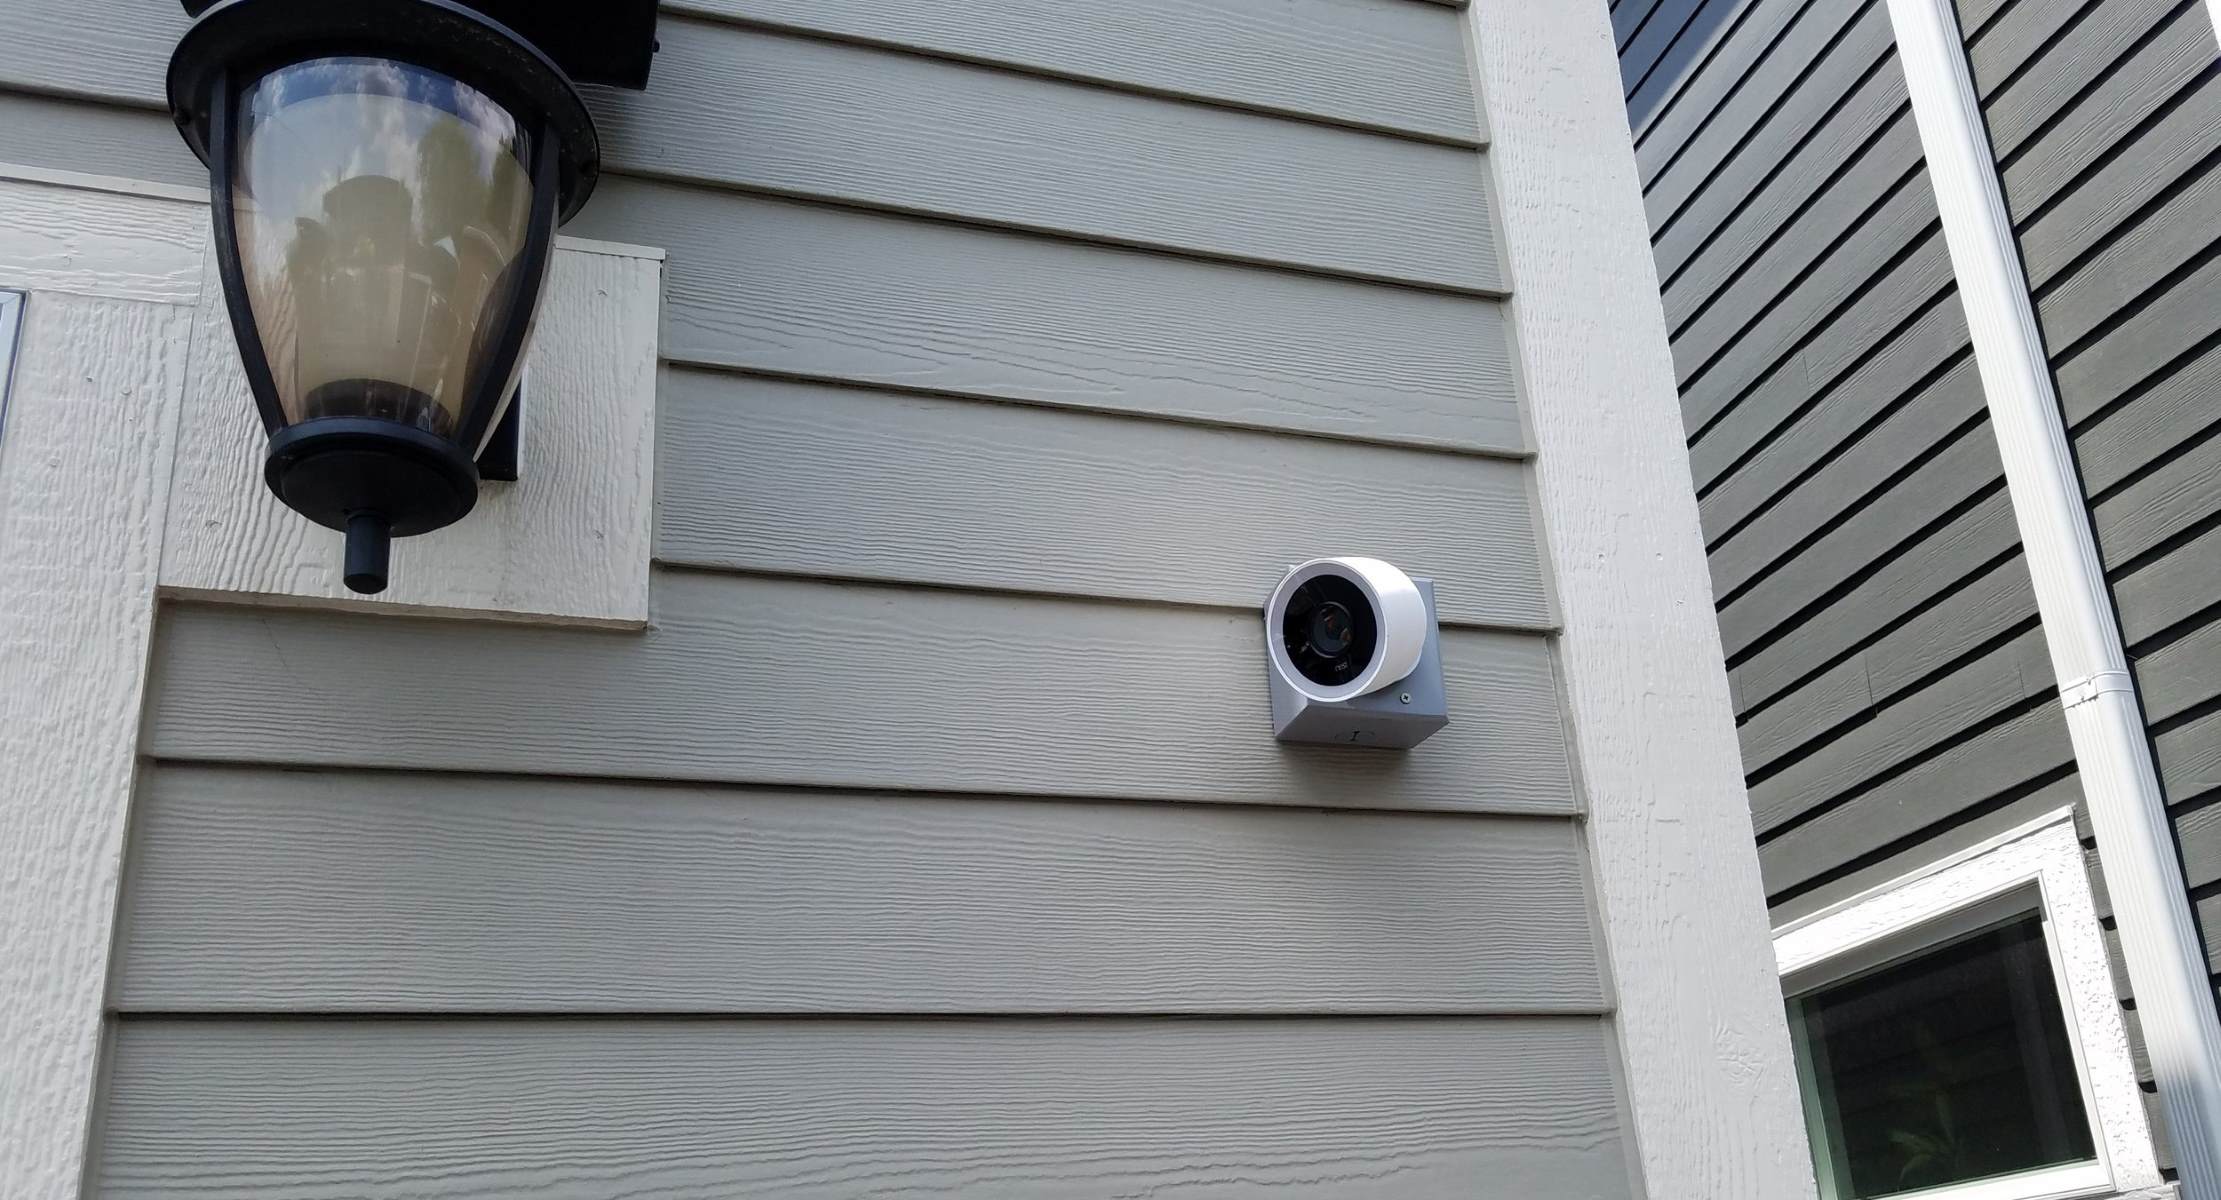
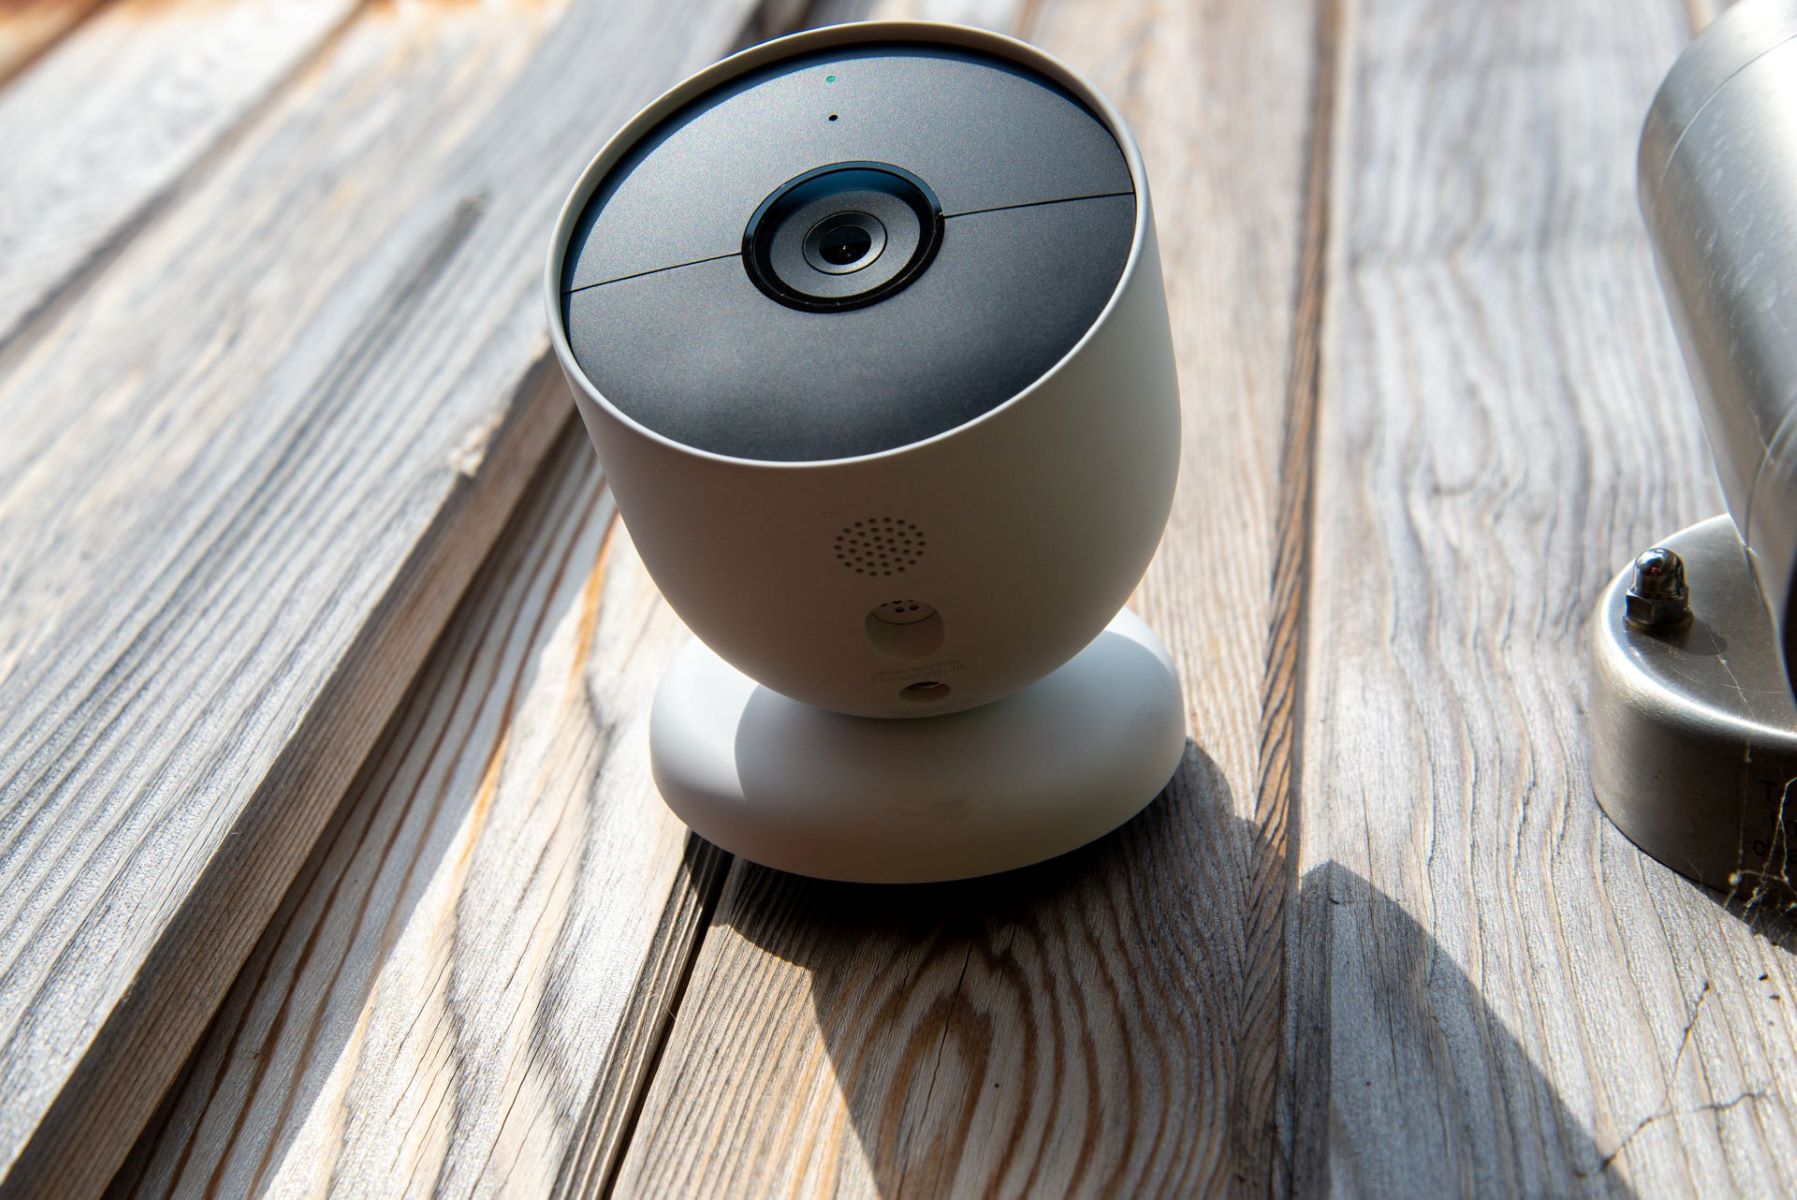
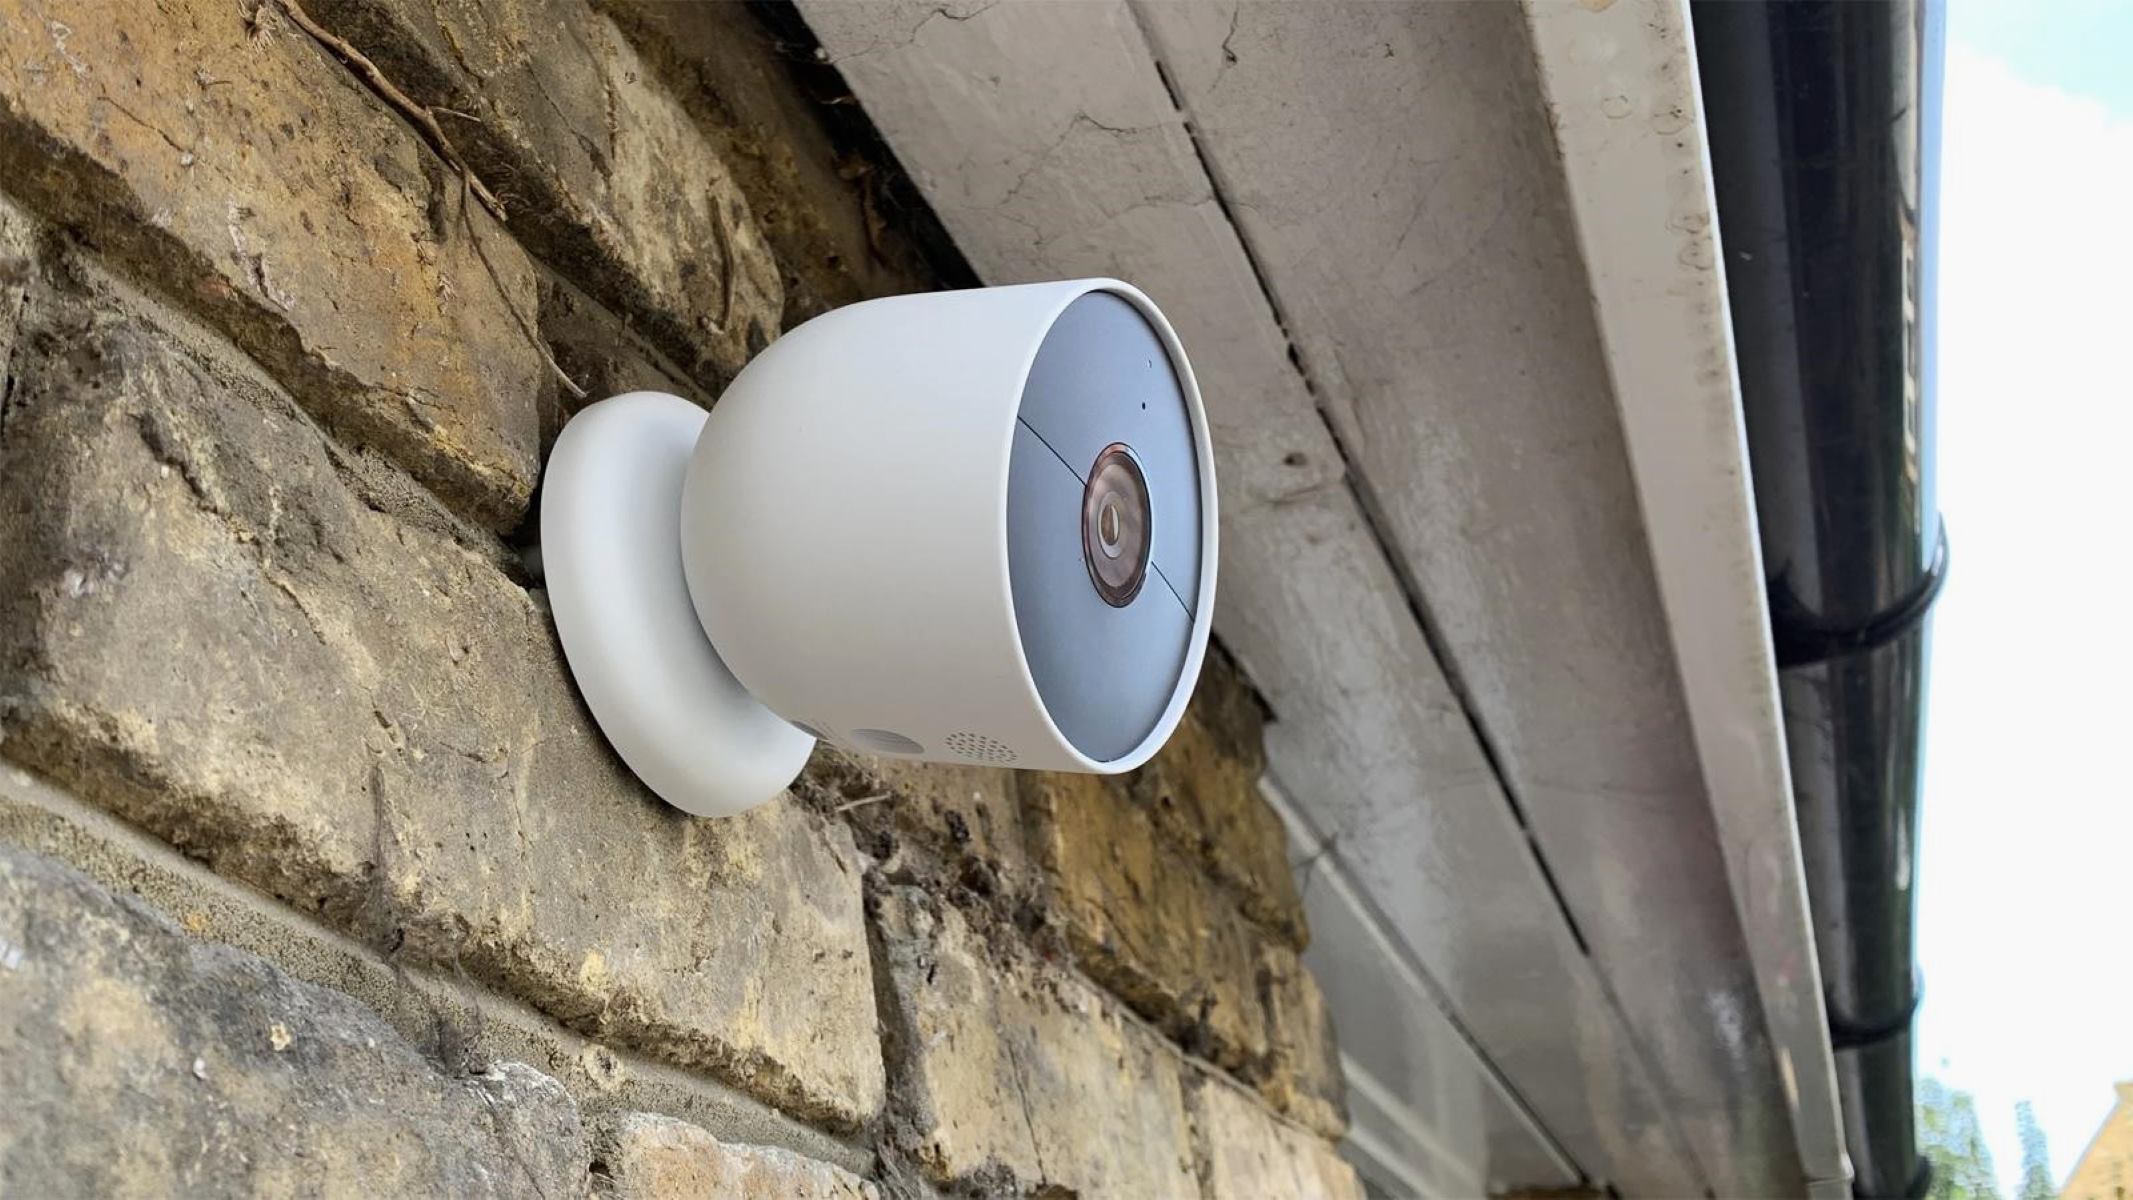
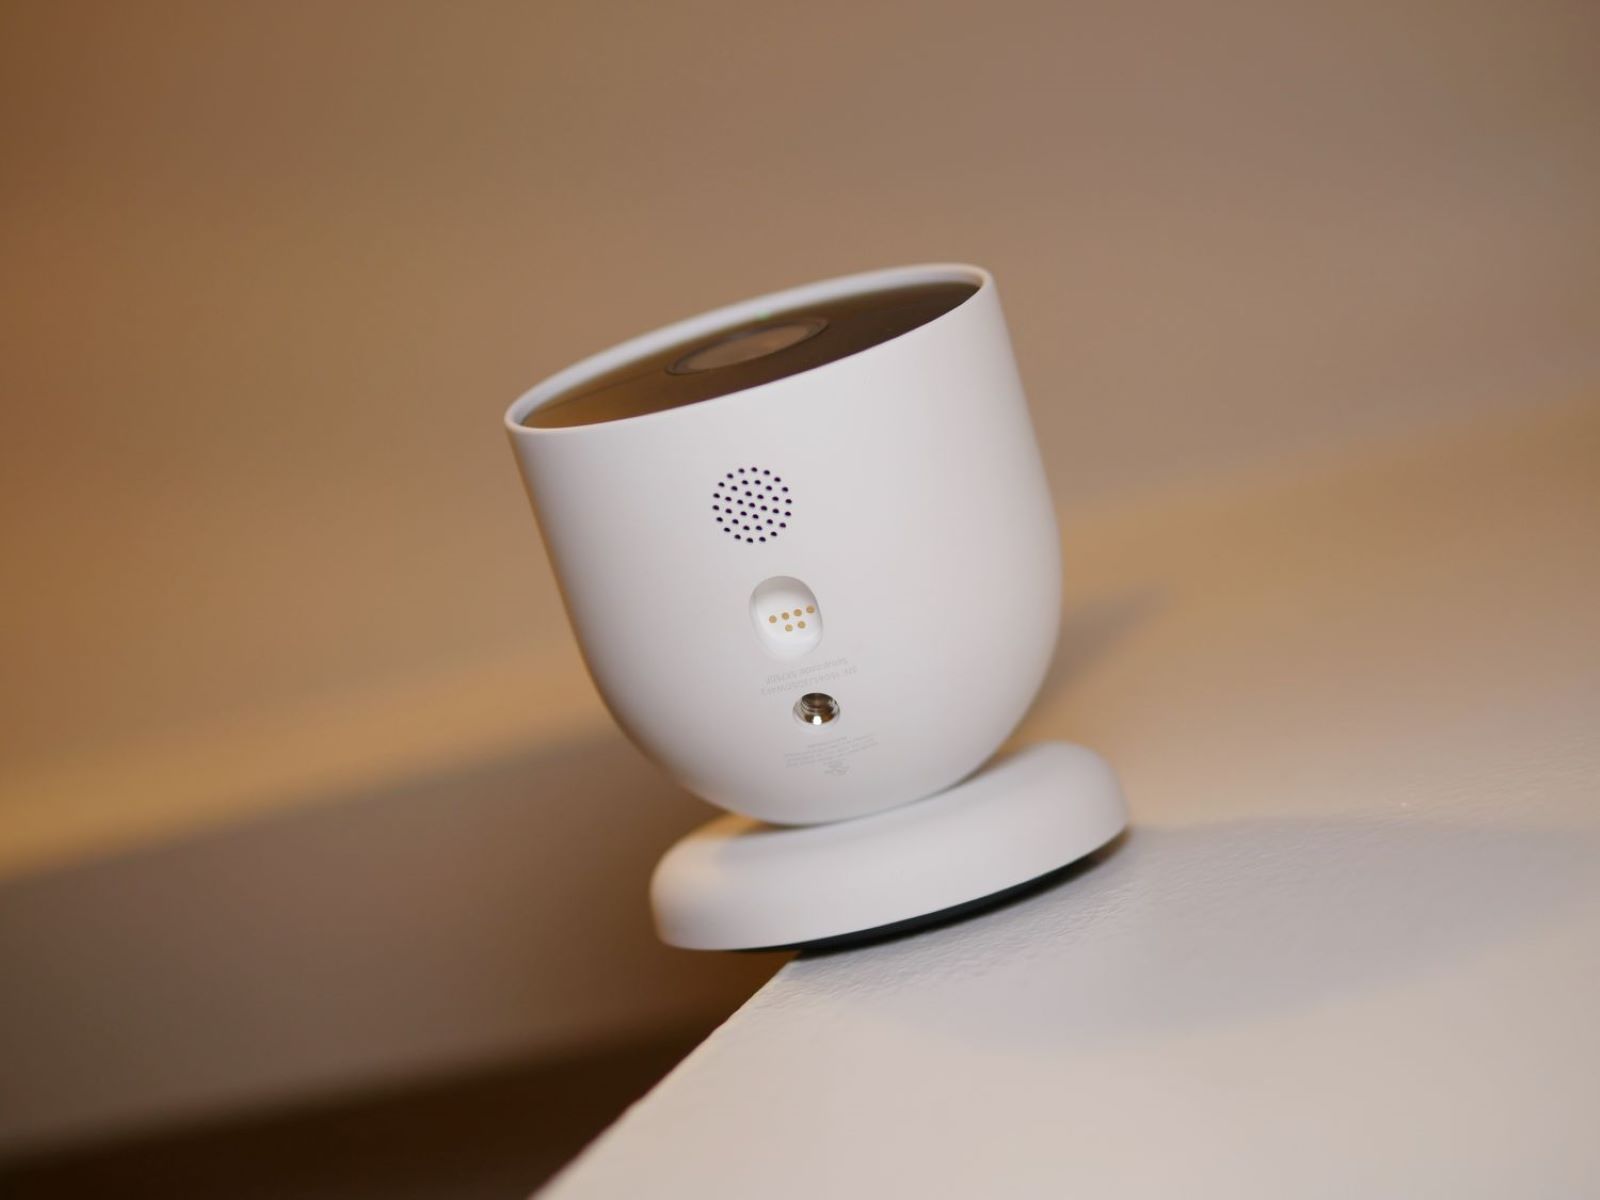
Step 3: Locating the Power Cable on the Nest Outdoor Camera
Now that you have prepared for the power disconnection, it’s time to locate the power cable on your Nest Outdoor Camera. Follow these steps:
- Inspect the camera: Carefully examine the camera to identify the location of the power cable. The cable is usually connected to the back or side of the camera housing.
- Look for the connection point: Once you have located the power cable, you need to find the connection point where it is attached to the camera. This may be in the form of a socket, jack, or connector.
- Trace the cable: Gently trace the power cable from the connection point to its origin. Be cautious during this process to avoid putting undue strain on the cable or camera.
By following these steps, you will be able to easily locate the power cable on your Nest Outdoor Camera. This will help you with the subsequent step of disconnecting the cable safely.
Once you have located the power cable, you can proceed to the next step: disconnecting the power cable from your Nest Outdoor Camera.
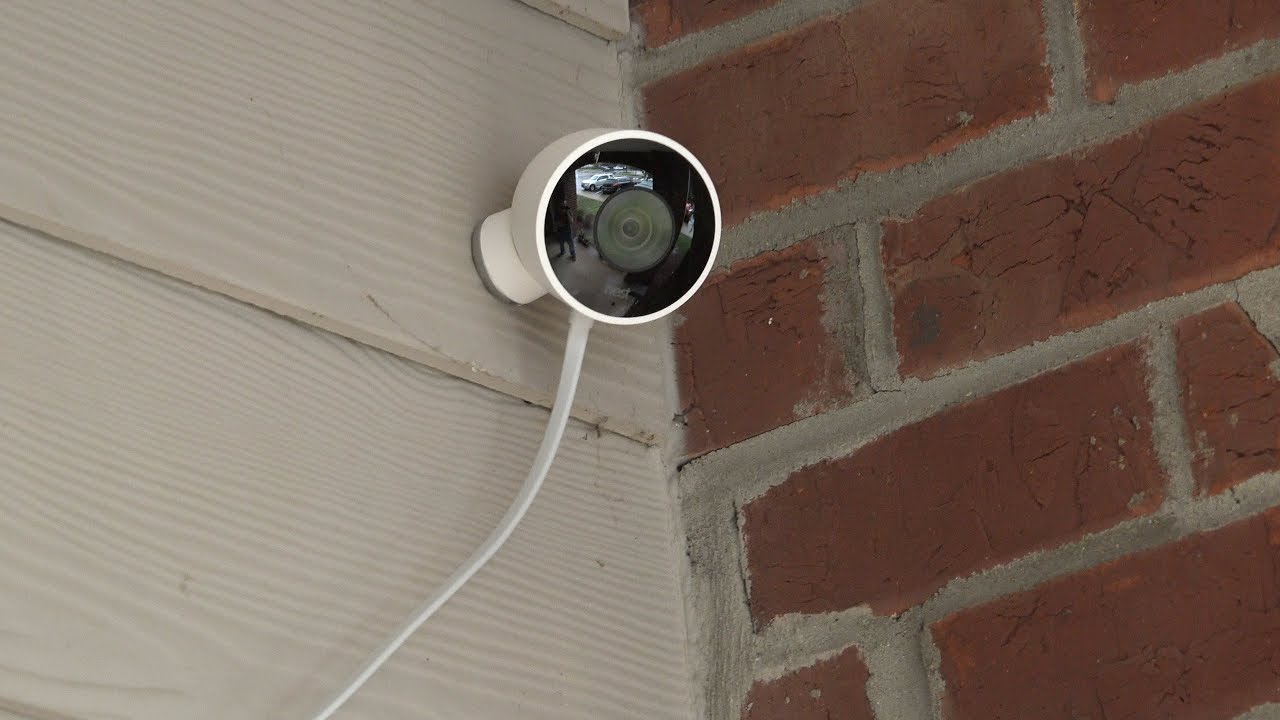
To remove the power cable from the Nest Outdoor Camera, first unplug the cable from the power source. Then, gently pull the cable out from the camera’s port. Be careful not to yank or twist the cable to avoid damaging it.
Read more: How To Reset Nest Outdoor Camera
Step 4: Disconnecting the Power Cable
With the power cable located, it’s time to disconnect it from your Nest Outdoor Camera. Follow these steps:
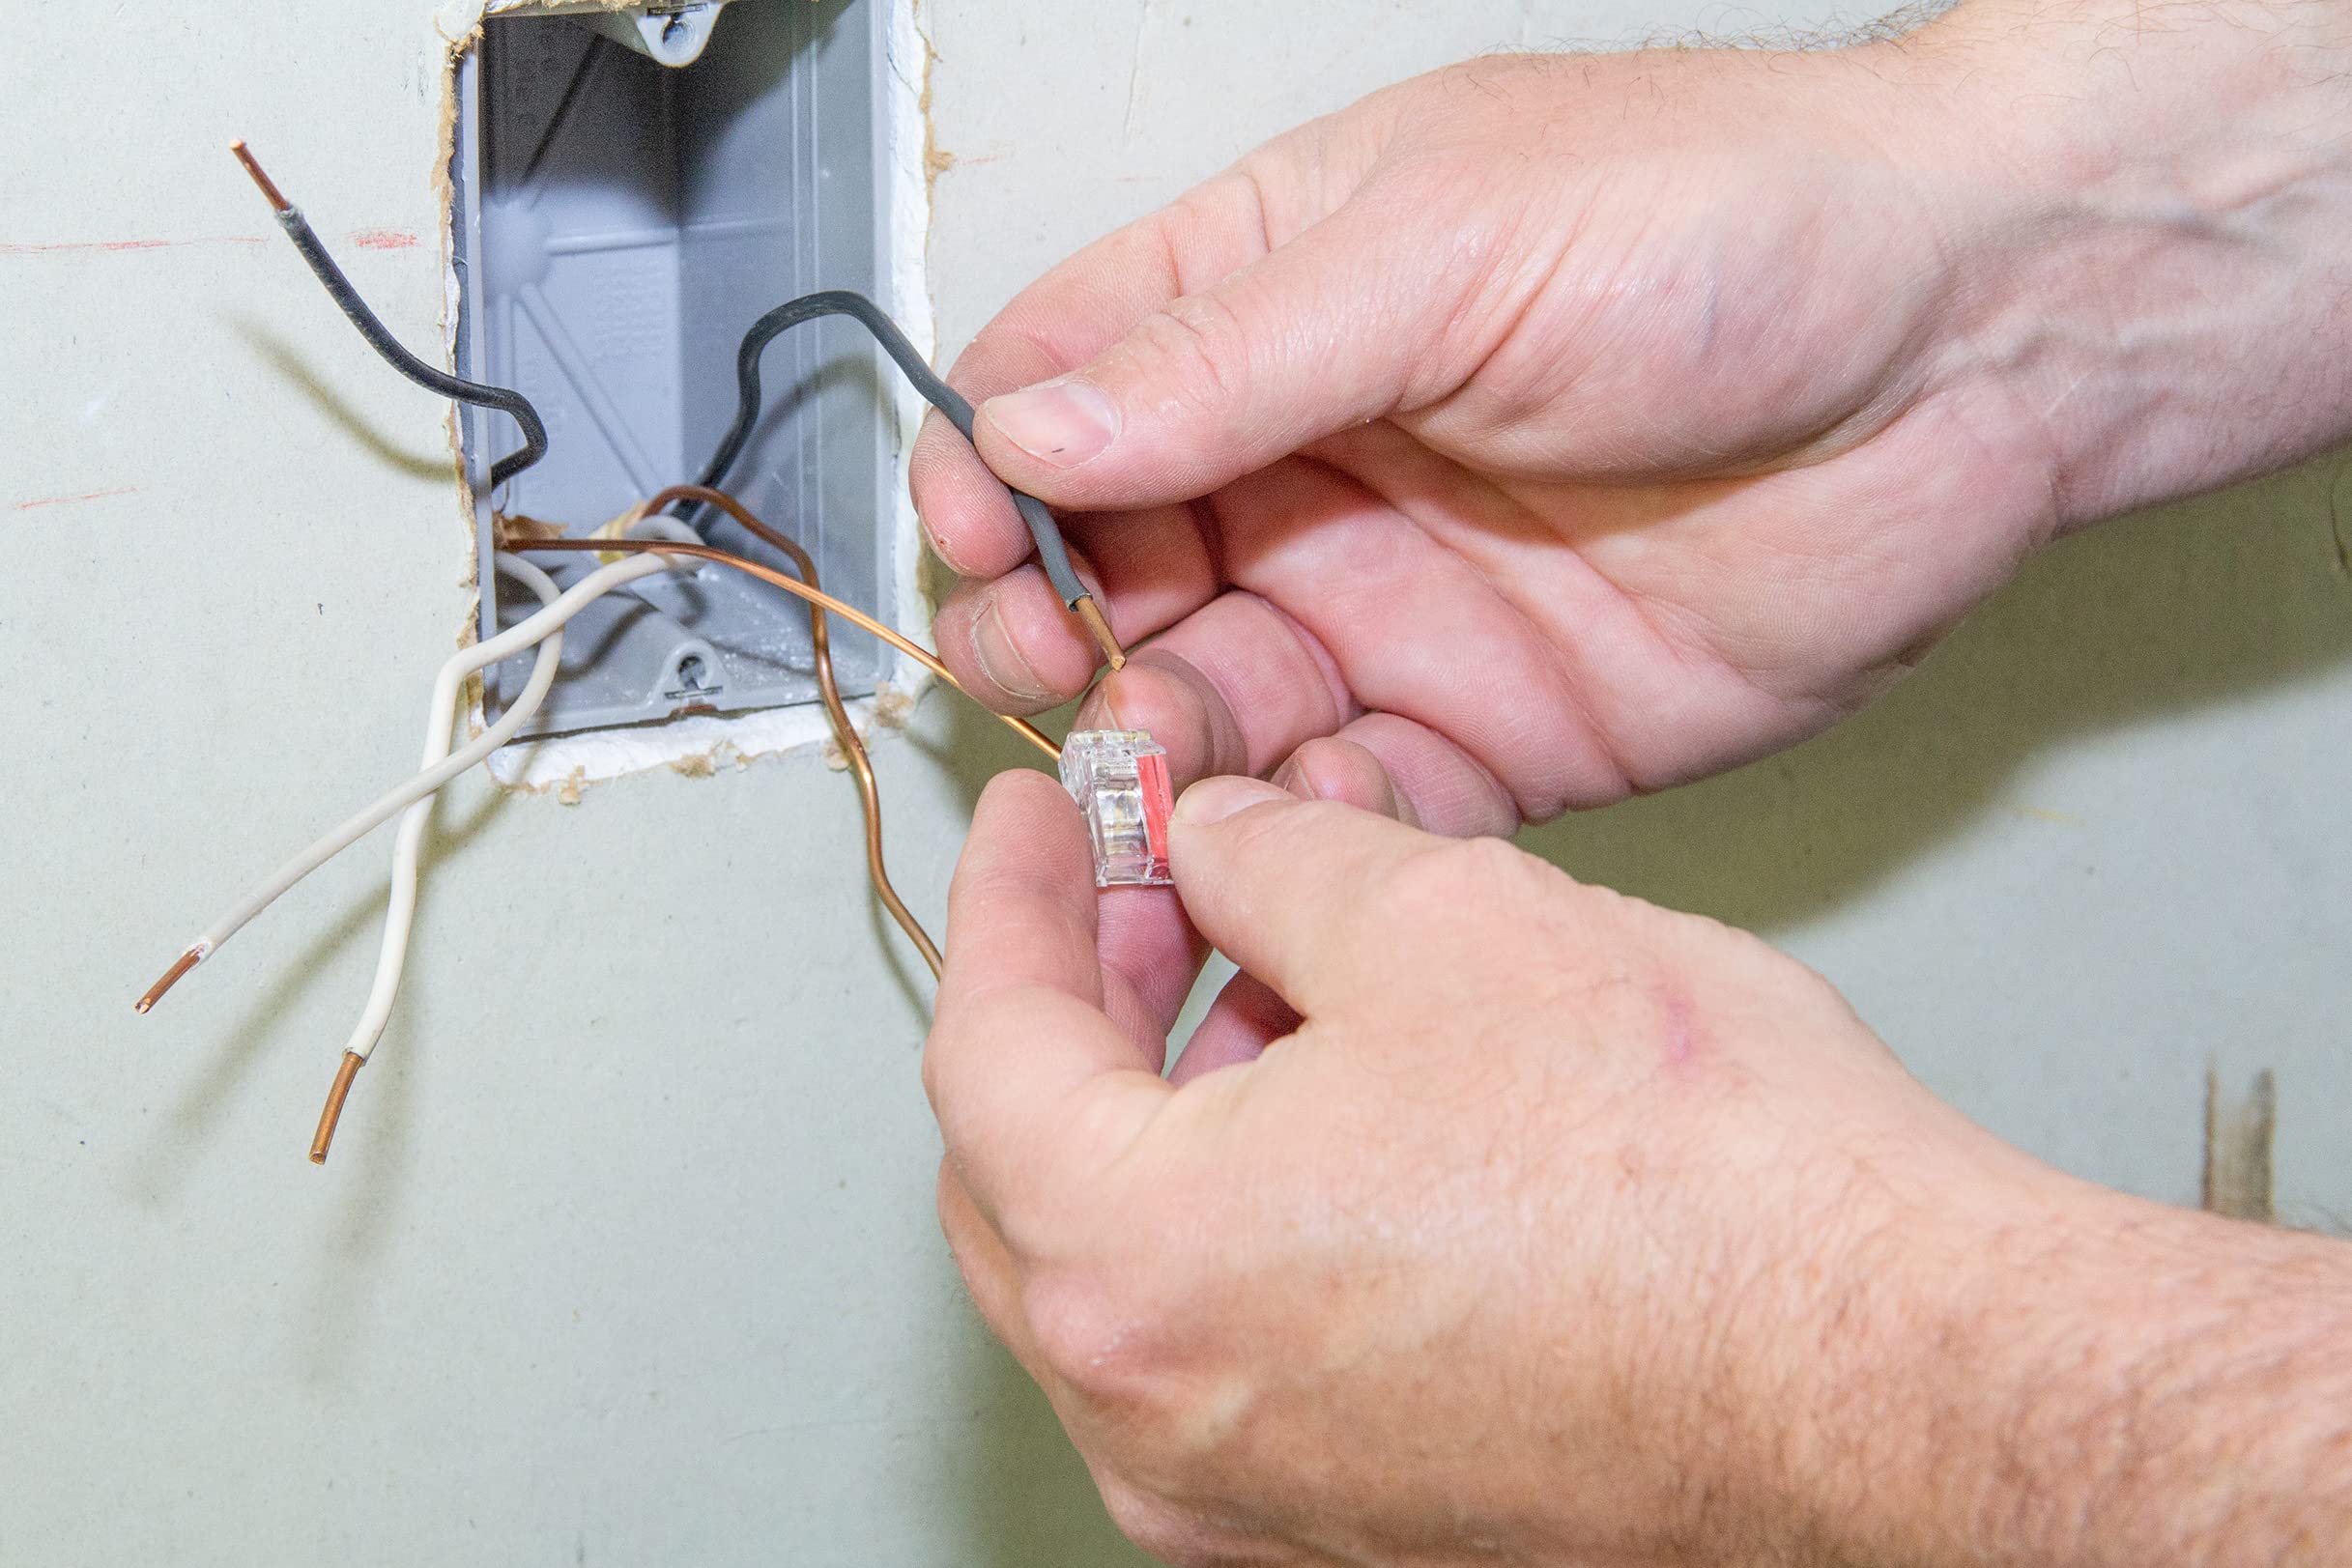
- Unplug the cable: If the power cable is connected to an outlet or power adapter, simply unplug it by pulling it gently. Be careful not to forcefully yank the cable as it may damage the cable or the camera.
- Disconnect the cable from the camera: If the power cable is connected directly to the camera, you may need to unscrew any screws or release any clips holding the cable in place. Use a small Phillips screwdriver to remove any screws, and gently detach the cable from its connection point.
- Inspect the cable: Once the cable is disconnected, inspect it for any signs of damage or wear. If you notice any issues, such as frayed wires or exposed insulation, it’s important to replace the cable before reinstallation.
By following these steps, you will be able to successfully disconnect the power cable from your Nest Outdoor Camera. Take your time and exercise caution to ensure a smooth and safe disconnection process.
With the power cable removed, it’s time to move on to the next step: verifying the successful power cable removal.
Step 5: Verifying Successful Power Cable Removal
Once the power cable is disconnected from your Nest Outdoor Camera, it’s important to verify that the removal process was successful. Here’s how you can do it:
- Inspect the camera: Take a close look at the camera to ensure that the power cable is no longer connected to it. Check the back and sides of the camera carefully.
- Examine the cable ends: Take a moment to inspect both ends of the power cable. If removed correctly, both ends should be free and not connected to any power source or the camera.
- Test the camera: Plug in the power supply or turn on the power source to test the camera. If the camera remains off and does not show any signs of power, then the power cable removal was successful.
If you have followed the steps correctly and the camera remains without power, this confirms that the power cable has been successfully removed. However, if you encounter any issues or the camera continues to receive power, it’s recommended to double-check the disconnection process or seek professional assistance.
Congratulations! You have now successfully removed the power cable from your Nest Outdoor Camera. Let’s proceed to the next step for some tips on reinstalling the power cable, should you need to do so in the future.
Step 6: Tips for Reinstalling the Power Cable
If you ever need to reinstall the power cable to your Nest Outdoor Camera, whether it’s for relocation or troubleshooting purposes, here are some helpful tips to ensure a smooth reinstallation:
- Refer to the user manual: Before you begin, consult the user manual that came with your Nest Outdoor Camera. It will provide specific instructions on how to properly reconnect the power cable.
- Inspect the cable: Before reinstalling, carefully inspect the power cable for any signs of damage or wear. If you notice any issues, it’s essential to replace the cable with a new one to maintain optimal safety and performance.
- Follow the correct connection sequence: Make sure to connect the power cable in the proper sequence as specified in the user manual. This will help ensure that the camera receives the necessary power and functions correctly.
- Secure the cable: After reconnecting the power cable, use electrical tape, zip ties, or clips to secure it in place. This will prevent any accidental disconnections and provide a tidy installation.
- Test the camera: Once the power cable is securely connected, plug in the power supply or turn on the power source to test the camera. Ensure that it powers on and functions as expected.
By following these tips, you can reinstall the power cable to your Nest Outdoor Camera with confidence. Remember to refer to the user manual for specific instructions and take the necessary precautions to ensure a safe and successful reinstallation.
With these steps completed, you have successfully learned how to remove and reinstall the power cable from your Nest Outdoor Camera. We hope this guide has been helpful in assisting you with your home security and surveillance needs.
Remember, should you encounter any difficulties or have any concerns, it’s always recommended to consult the official Nest support documentation or reach out to their customer support for further assistance.
Stay safe and enjoy the added peace of mind that comes with your Nest Outdoor Camera!
Conclusion
In conclusion, being able to remove the power cable from your Nest Outdoor Camera is an essential skill for homeowners who may need to relocate the camera or troubleshoot any issues. By following the steps outlined in this guide and taking the necessary safety precautions, you can safely and effectively disconnect the power cable from your camera.
We started by emphasizing the importance of safety precautions and understanding the risks associated with working with electrical equipment. Your well-being should always come first, so if you’re unsure or uncomfortable with the process, it’s best to seek professional assistance.
We then discussed the step-by-step process, starting with gathering the required tools, preparing for power disconnection, locating the power cable on the Nest Outdoor Camera, disconnecting the cable, and verifying the successful removal. Finally, we provided helpful tips for reinstallation if the need arises in the future.
Remember that when you reinstall the power cable, you should carefully follow the instructions provided in the user manual and ensure a secure and proper connection.
By following these instructions, you can successfully remove the power cable from your Nest Outdoor Camera without any hassle or complications. This guide aims to empower you to take control of your home security and surveillance system.
If you have any further questions or need additional assistance, always refer to the official Nest support documentation or reach out to their customer support for expert guidance.
Now that you have learned how to remove the power cable from your Nest Outdoor Camera, you can confidently make any necessary adjustments or troubleshoot power-related issues. Enjoy the enhanced security and peace of mind that your Nest Outdoor Camera provides!
Frequently Asked Questions about How To Remove Power Cable From Nest Outdoor Camera
Was this page helpful?
At Storables.com, we guarantee accurate and reliable information. Our content, validated by Expert Board Contributors, is crafted following stringent Editorial Policies. We're committed to providing you with well-researched, expert-backed insights for all your informational needs.