Home>Home Security and Surveillance>How To Wire A Nest Outdoor Camera

Home Security and Surveillance
How To Wire A Nest Outdoor Camera
Modified: March 6, 2024
Learn how to wire a Nest outdoor camera for your home security and surveillance needs. Follow our step-by-step guide for easy installation and monitoring.
(Many of the links in this article redirect to a specific reviewed product. Your purchase of these products through affiliate links helps to generate commission for Storables.com, at no extra cost. Learn more)
Introduction
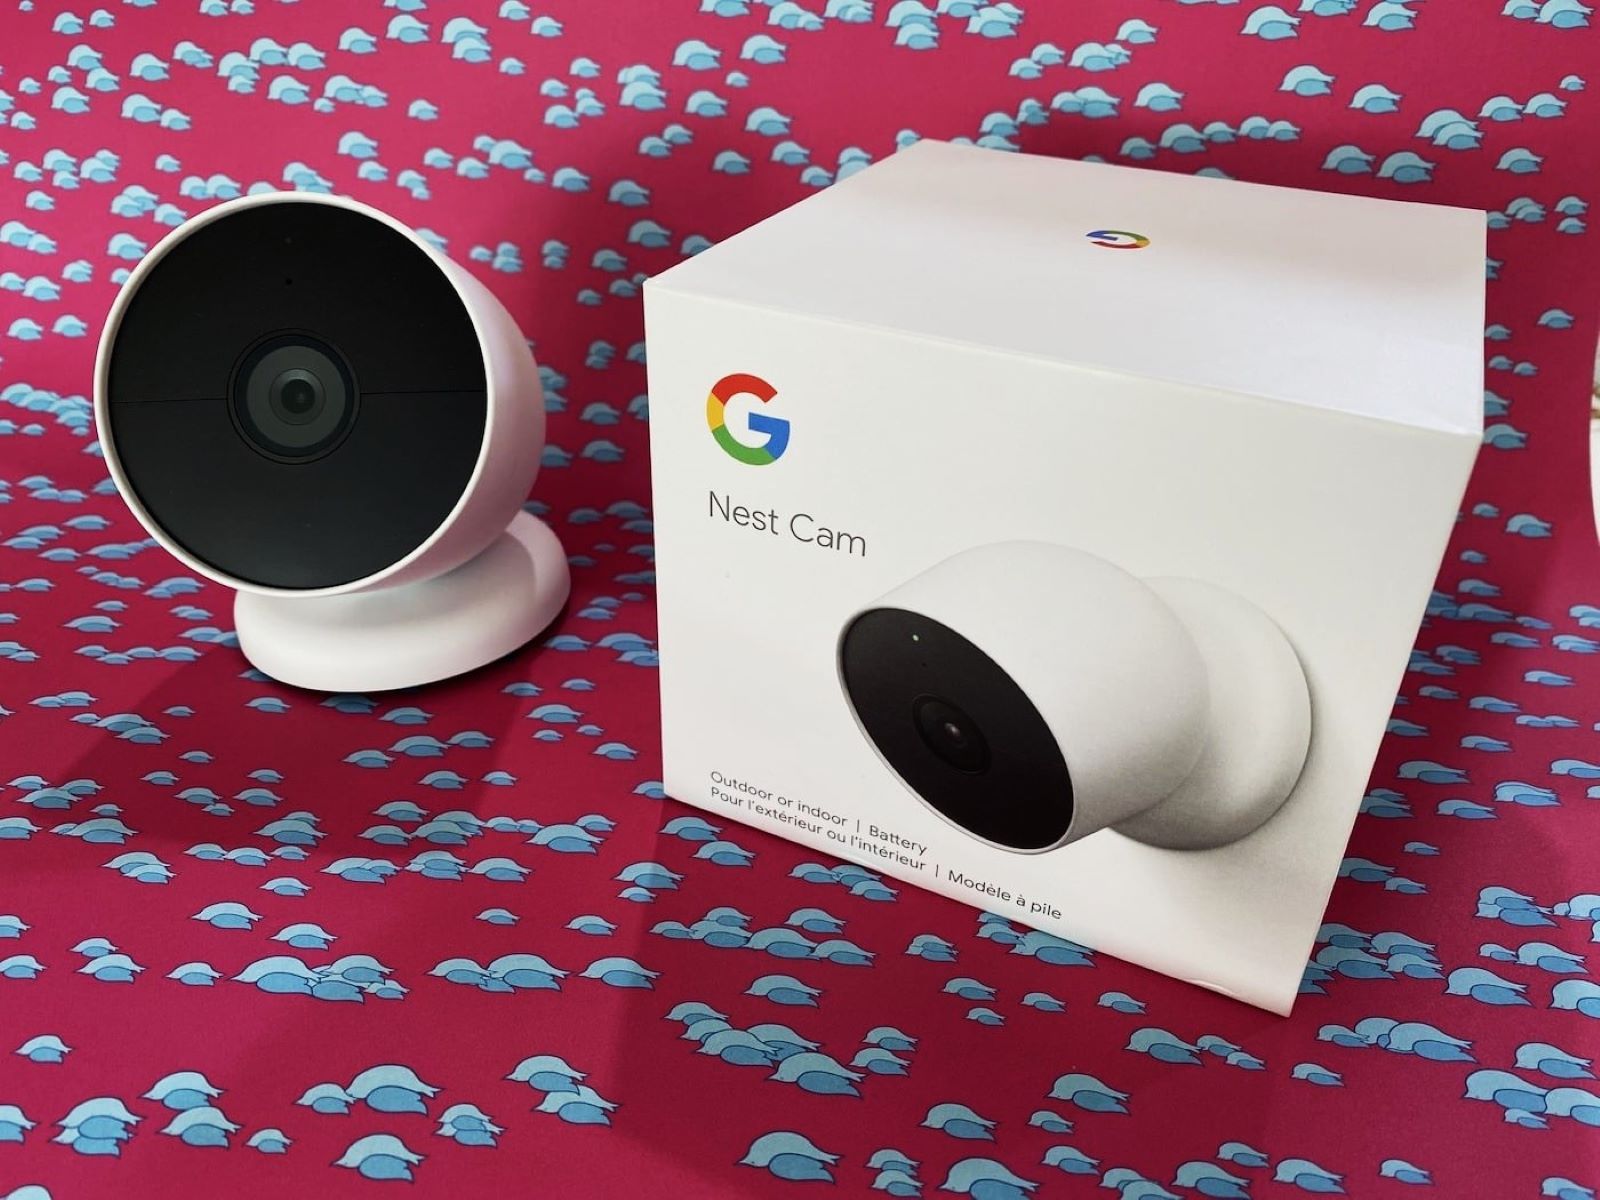
Home security is a top priority for any homeowner. With the advancements in technology, installing a surveillance system for your home has become easier and more affordable than ever. One popular option for outdoor surveillance is the Nest Outdoor Camera.
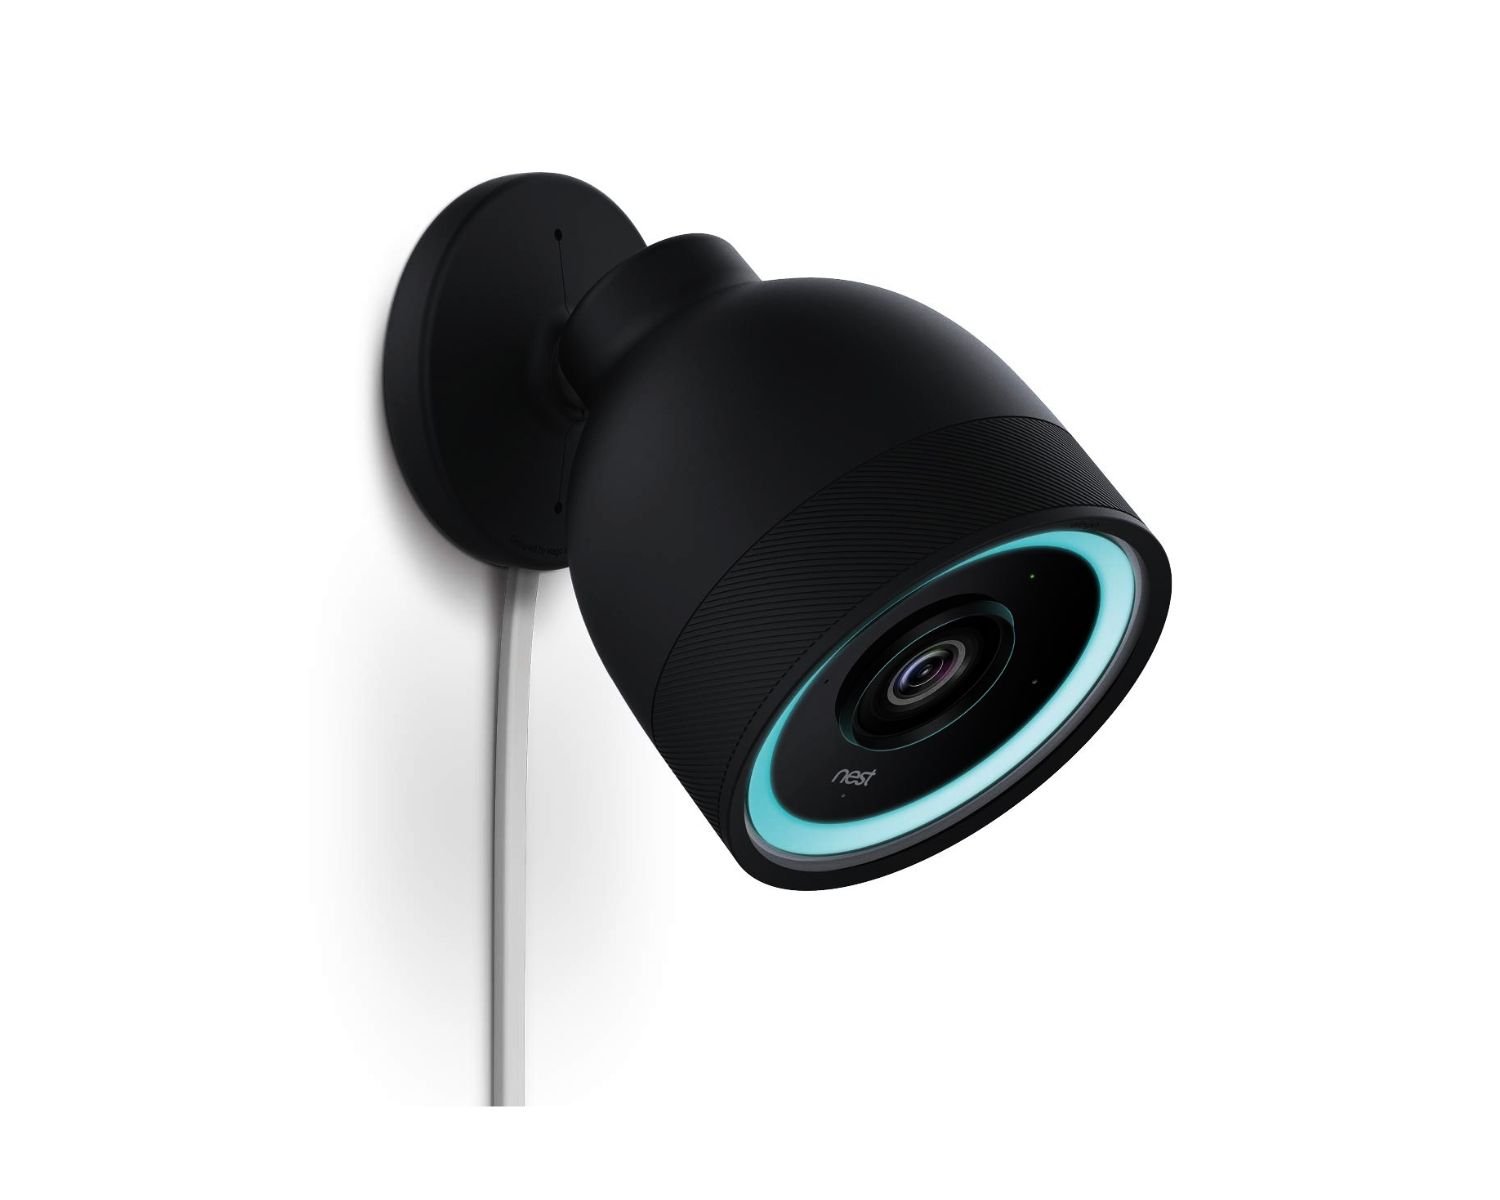
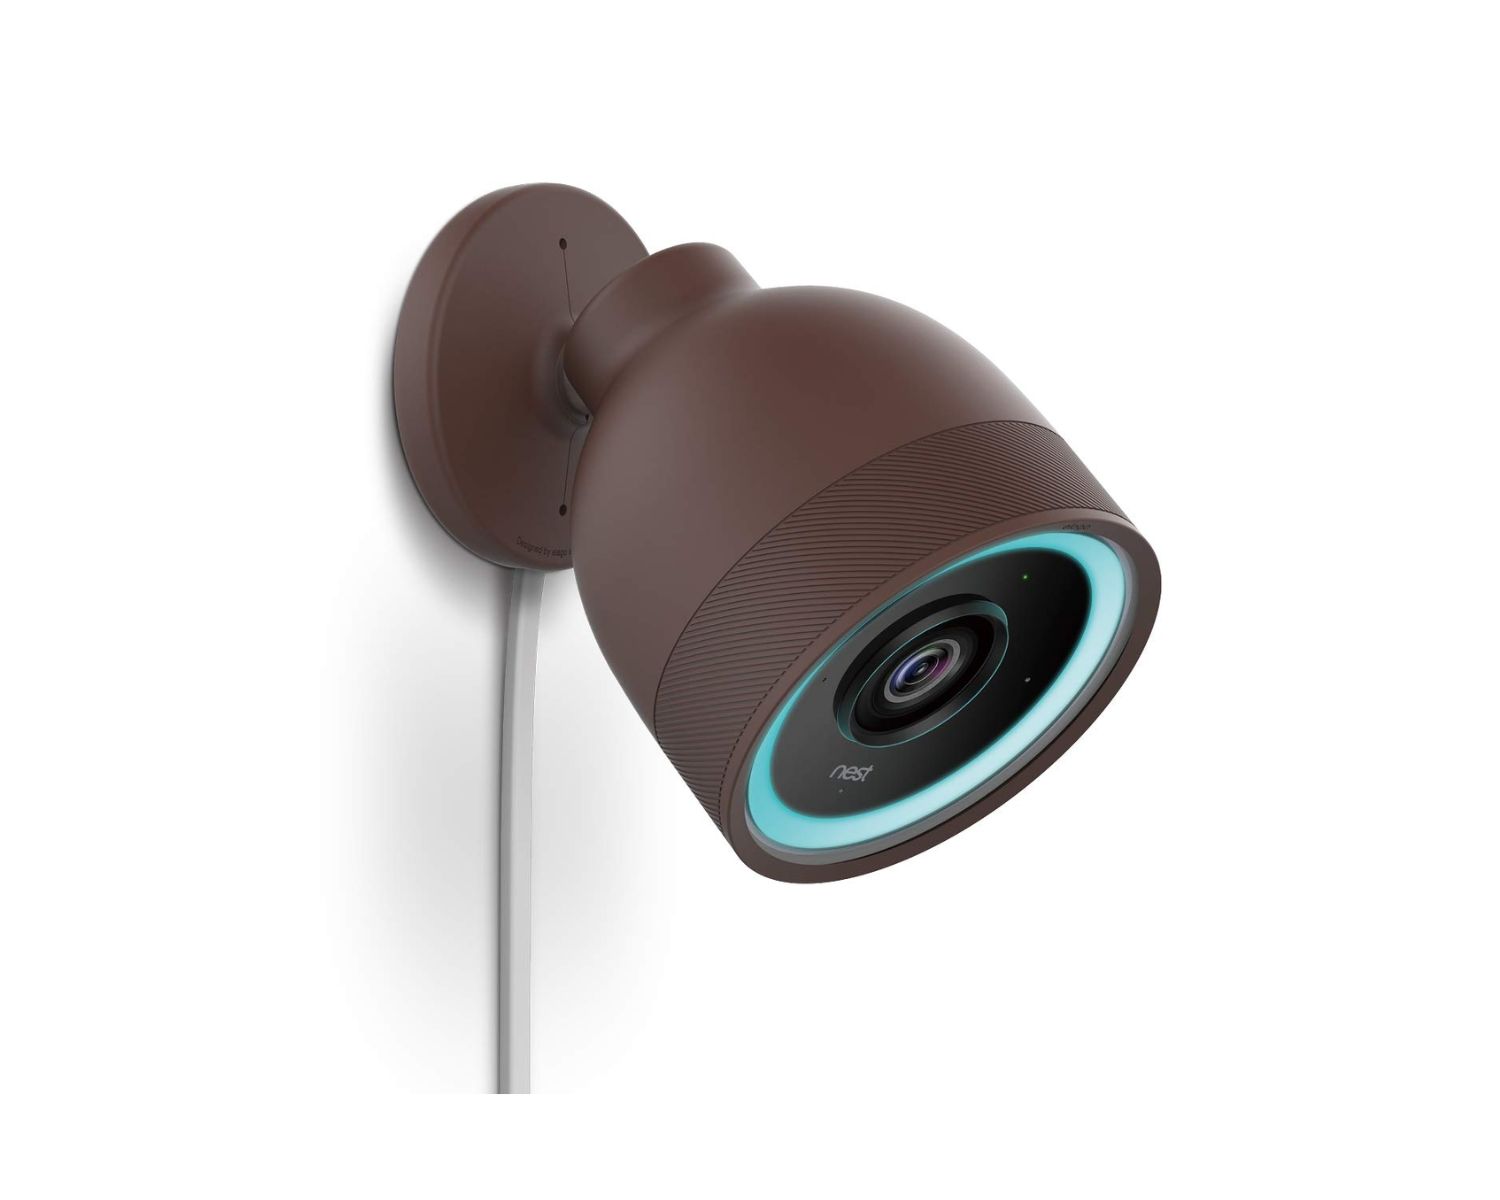
The Nest Outdoor Camera is a high-quality security camera that provides 24/7 monitoring and recording of your home’s exterior. It offers features such as live streaming, motion detection, and two-way audio, giving you peace of mind knowing that your home is protected.
In this article, we will guide you through the process of wiring a Nest Outdoor Camera to ensure a seamless installation. We will cover the necessary tools and materials, selecting the optimal location, mounting the camera, connecting it to a power source and Wi-Fi network, setting up and configuring the camera using the Nest app, adjusting settings, and testing its functionality.
By following this step-by-step guide, you’ll be able to install and set up your Nest Outdoor Camera with ease, transforming your home into a secure and protected haven.
Key Takeaways:
- Ensure a smooth Nest Outdoor Camera installation by gathering essential tools and materials beforehand. This preparation will help you avoid delays and complete the setup process seamlessly.
- Maximize your Nest Outdoor Camera’s effectiveness by selecting the optimal location, securely mounting the camera, and connecting it to a power source and Wi-Fi network. Thorough testing ensures reliable surveillance for your home’s exterior.
Read more: How To Hide Wires On Nest Outdoor Camera
Step 1: Gather the necessary tools and materials
Before you begin the installation process, it’s important to gather all the tools and materials you will need. This will ensure that you have everything at your disposal and can complete the installation smoothly.
Here is a list of the essential tools and materials you will need:
- Nest Outdoor Camera: Make sure you have the camera itself. It comes with a power cable and adapter.
- Drill: You will need a drill to create holes for mounting the camera.
- Screwdriver: A screwdriver will be needed to secure the camera mount.
- Mounting screws and anchors: These are used to securely attach the camera mount to the wall.
- Power source: The Nest Outdoor Camera requires a power source. You can use an outdoor electrical outlet or opt for a weatherproof power cord.
- Wire stripper: A wire stripper is needed to strip the outer insulation of the power cable.
- Wire connectors: These are used to connect the power cable to the power source.
- Network connection: To connect the camera to your home’s Wi-Fi network, make sure you have the necessary credentials, such as the network name and password.
- Mobile device: You will need a smartphone or tablet to download the Nest app and set up the camera.
By having all these tools and materials ready, you can avoid unnecessary delays during the installation process. Ensure that you have them within reach before proceeding to the next steps.
html
Before you begin the installation process, it’s important to gather all the tools and materials you will need. This will ensure that you have everything at your disposal and can complete the installation smoothly.
Here is a list of the essential tools and materials you will need:
- Nest Outdoor Camera: Make sure you have the camera itself. It comes with a power cable and adapter.
- Drill: You will need a drill to create holes for mounting the camera.
- Screwdriver: A screwdriver will be needed to secure the camera mount.
- Mounting screws and anchors: These are used to securely attach the camera mount to the wall.
- Power source: The Nest Outdoor Camera requires a power source. You can use an outdoor electrical outlet or opt for a weatherproof power cord.
- Wire stripper: A wire stripper is needed to strip the outer insulation of the power cable.
- Wire connectors: These are used to connect the power cable to the power source.
- Network connection: To connect the camera to your home’s Wi-Fi network, make sure you have the necessary credentials, such as the network name and password.
- Mobile device: You will need a smartphone or tablet to download the Nest app and set up the camera.
By having all these tools and materials ready, you can avoid unnecessary delays during the installation process. Ensure that you have them within reach before proceeding to the next steps.
Step 2: Select the optimal location for the outdoor camera
Selecting the right location for your Nest Outdoor Camera is crucial for maximizing its effectiveness in capturing important footage and providing optimal security coverage. Here are some factors to consider when choosing the location:
- Visibility: Ensure that the camera has a clear line of sight to the area you want to monitor. Avoid obstructions such as trees, bushes, or walls that could obstruct the view.
- Height: Position the camera at a height that provides a wide-angle view of the area while keeping it out of reach from potential intruders. A recommended height is between 7 to 10 feet above the ground.
- Lighting conditions: Take into account the lighting conditions of the area throughout the day and night. Avoid placing the camera in areas with excessive glare or extreme backlighting, as it can affect image quality.
- Weatherproofing: Ensure that the chosen location provides adequate protection from harsh weather conditions. The Nest Outdoor Camera is weather-resistant, but placing it in an area where it is sheltered from rain, snow, or direct sunlight can prolong its lifespan.
- Wi-Fi signal strength: Check the Wi-Fi signal strength in the selected location to ensure a stable connection. A weak signal can cause video streaming issues or interruptions in communication with the app.
Once you have considered these factors, it’s time to physically mount the camera in the chosen location. The Nest Outdoor Camera comes with a magnetic mount that offers flexibility in positioning. You can easily adjust the camera’s angle to achieve optimal coverage.
Use the drill and mounting screws to secure the camera mount onto a solid surface, such as a wall or ceiling. Ensure that the mount is stable and firmly attached.
By carefully selecting the optimal location for your Nest Outdoor Camera, you can maximize its surveillance capabilities and effectively monitor your home’s exterior.
html
Step 2: Select the optimal location for the outdoor camera
Selecting the right location for your Nest Outdoor Camera is crucial for maximizing its effectiveness in capturing important footage and providing optimal security coverage. Here are some factors to consider when choosing the location:
- Visibility: Ensure that the camera has a clear line of sight to the area you want to monitor. Avoid obstructions such as trees, bushes, or walls that could obstruct the view.
- Height: Position the camera at a height that provides a wide-angle view of the area while keeping it out of reach from potential intruders. A recommended height is between 7 to 10 feet above the ground.
- Lighting conditions: Take into account the lighting conditions of the area throughout the day and night. Avoid placing the camera in areas with excessive glare or extreme backlighting, as it can affect image quality.
- Weatherproofing: Ensure that the chosen location provides adequate protection from harsh weather conditions. The Nest Outdoor Camera is weather-resistant, but placing it in an area where it is sheltered from rain, snow, or direct sunlight can prolong its lifespan.
- Wi-Fi signal strength: Check the Wi-Fi signal strength in the selected location to ensure a stable connection. A weak signal can cause video streaming issues or interruptions in communication with the app.
Once you have considered these factors, it’s time to physically mount the camera in the chosen location. The Nest Outdoor Camera comes with a magnetic mount that offers flexibility in positioning. You can easily adjust the camera’s angle to achieve optimal coverage.
Use the drill and mounting screws to secure the camera mount onto a solid surface, such as a wall or ceiling. Ensure that the mount is stable and firmly attached.
By carefully selecting the optimal location for your Nest Outdoor Camera, you can maximize its surveillance capabilities and effectively monitor your home’s exterior.
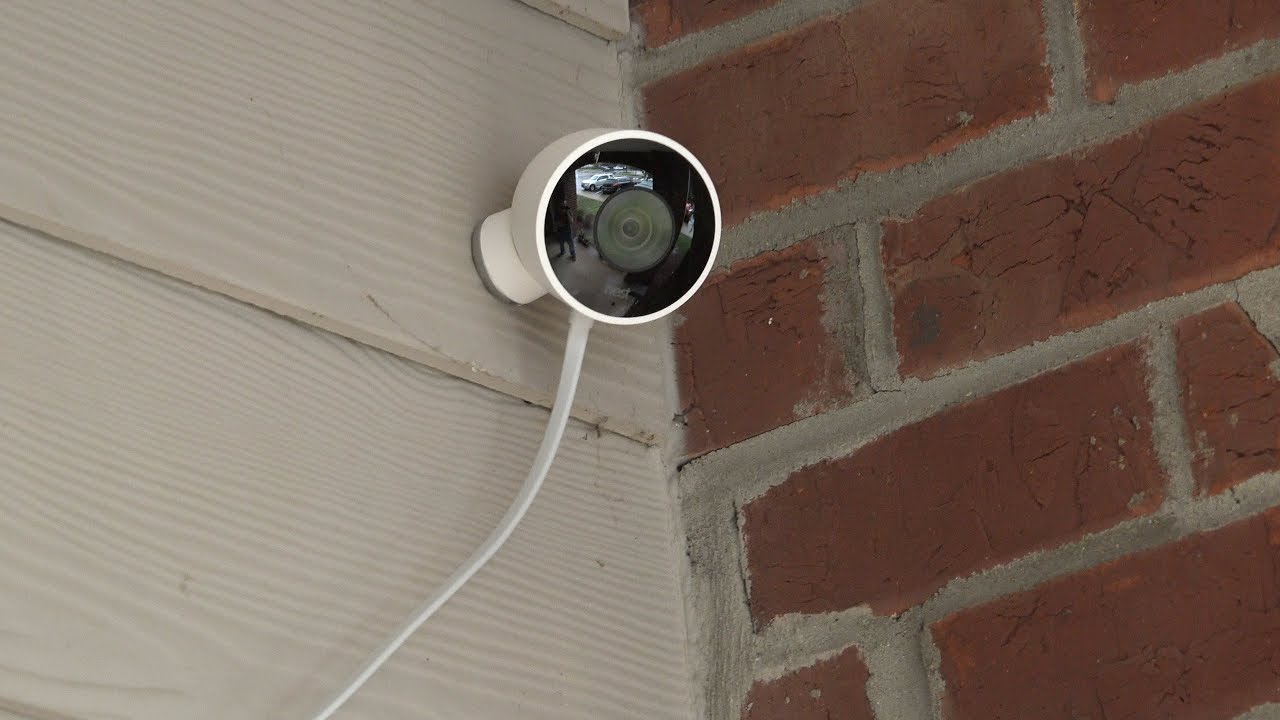
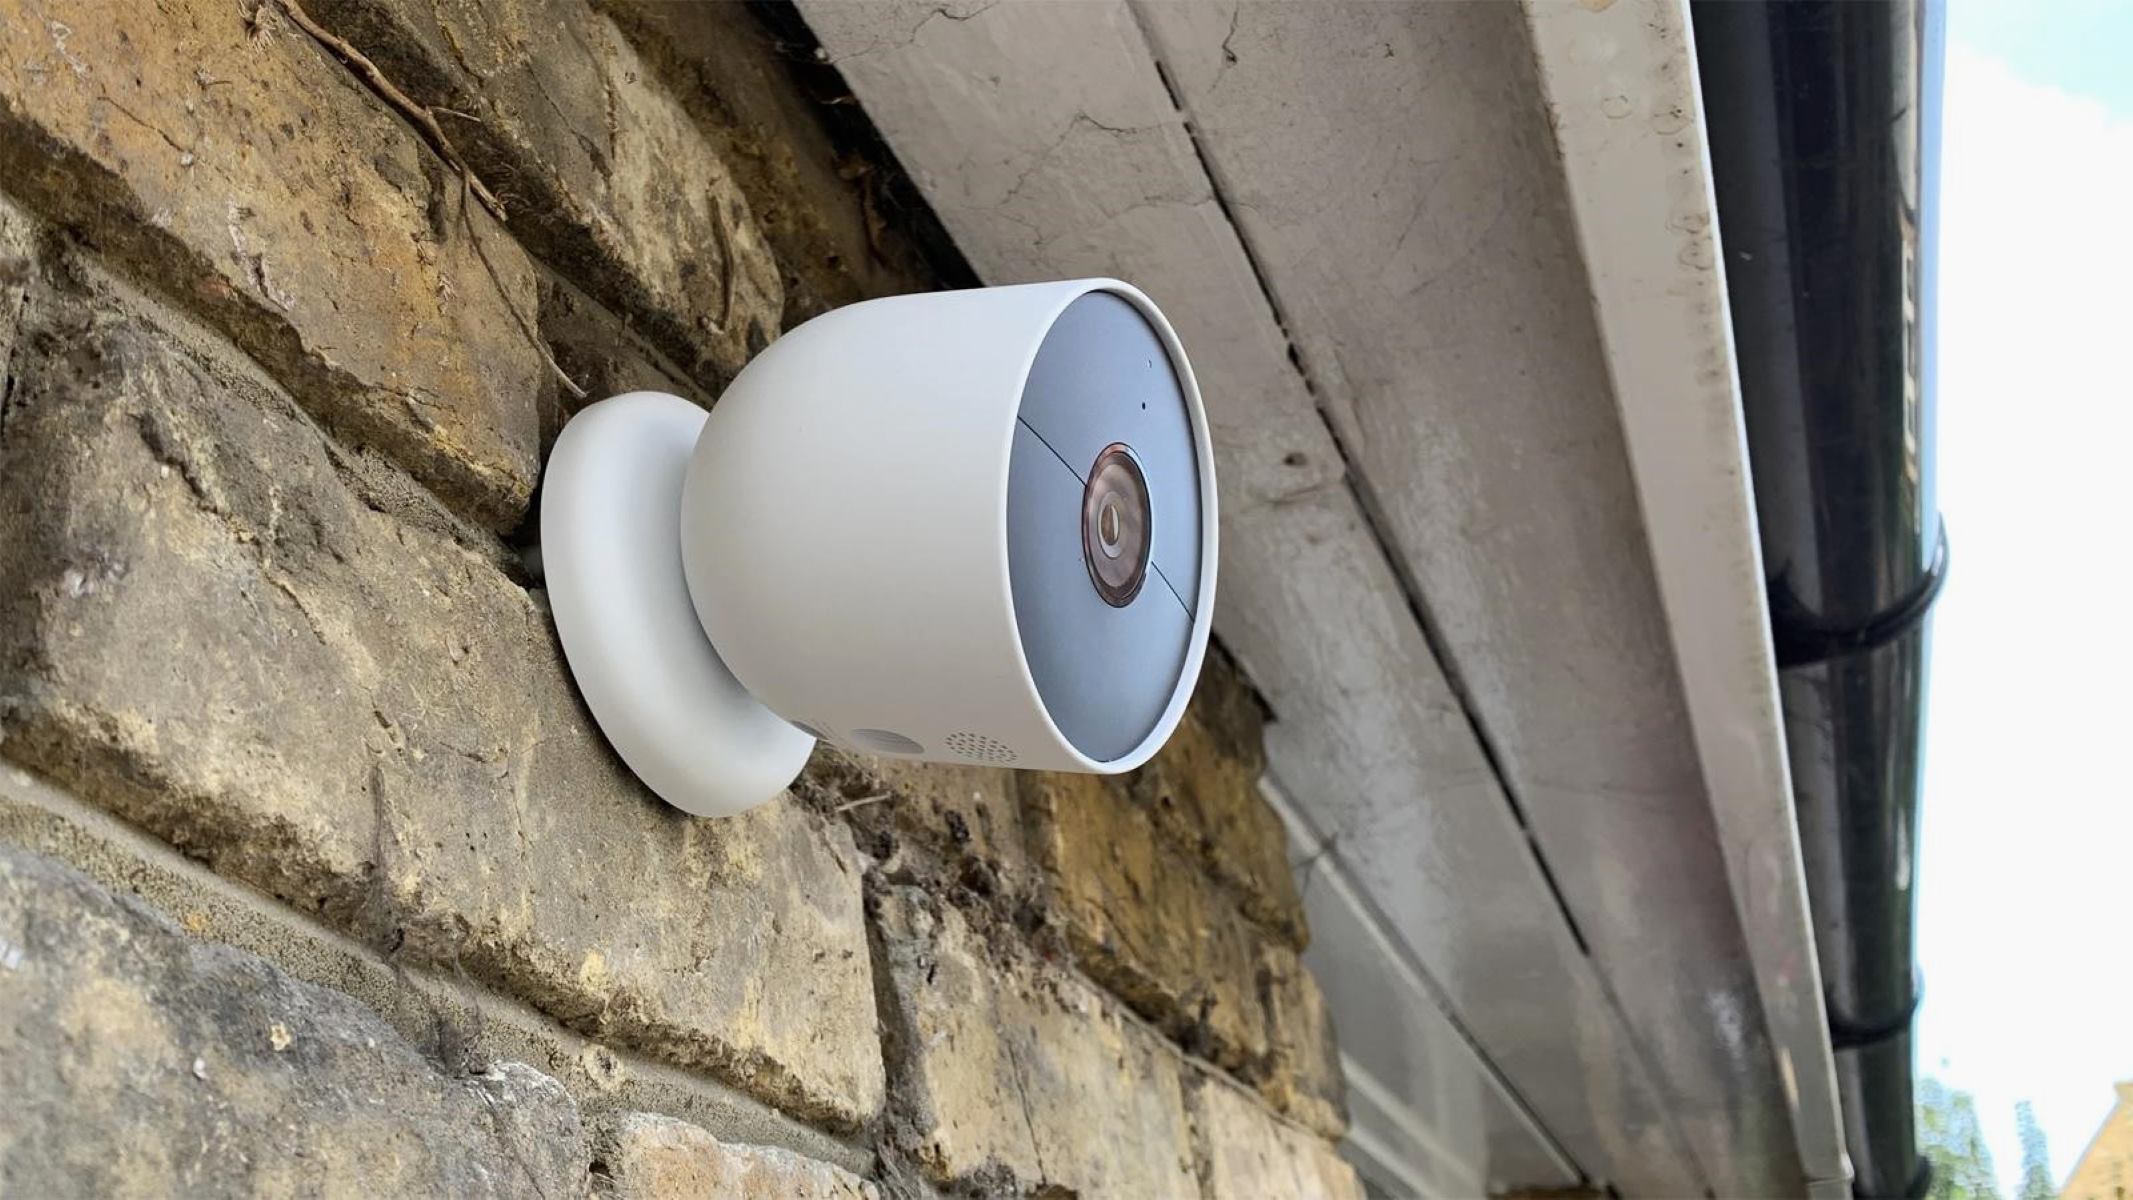
Step 3: Mount the camera on the designated spot
Now that you have selected the optimal location for your Nest Outdoor Camera, it’s time to mount it on the designated spot. Follow these steps:
- Prepare the camera and mount: Remove the camera from its packaging and attach it to the camera mount. The Nest Outdoor Camera is designed to easily click into place on the magnetic mount, ensuring a secure fit.
- Locate the mounting holes: Take note of the mounting holes on the camera mount. These holes will be used to secure the camera to the wall or ceiling.
- Mark the spots for drilling: Hold the camera mount against the wall or ceiling in the desired position. Use a pencil or marker to mark the spots where you will be drilling the holes for the mounting screws.
- Drill the holes: Use a drill with an appropriate size drill bit to create the holes in the marked spots. Ensure that the holes are deep enough to securely hold the mounting screws.
- Secure the camera mount: Align the mounting holes on the camera mount with the drilled holes. Insert the mounting screws through the holes and tighten them using a screwdriver. Ensure that the camera mount is firmly attached to the wall or ceiling.
- Attach the camera: With the camera mount securely in place, now you can attach the Nest Outdoor Camera. Simply align the camera with the magnetic mount and let it snap into place.
- Adjust the camera angle: The Nest Outdoor Camera allows for easy adjustment of the viewing angle. Use your hand to tilt or rotate the camera until you achieve the desired angle and coverage.
Once you have mounted the camera on the designated spot and adjusted the angle, double-check its stability. Make sure that it is securely attached and will not be easily tampered with.
Remember, the proper mounting of the camera is essential for capturing clear and consistent footage of your home’s exterior. Take your time to ensure a secure and stable installation.
html
Step 3: Mount the camera on the designated spot
Now that you have selected the optimal location for your Nest Outdoor Camera, it’s time to mount it on the designated spot. Follow these steps:
- Prepare the camera and mount: Remove the camera from its packaging and attach it to the camera mount. The Nest Outdoor Camera is designed to easily click into place on the magnetic mount, ensuring a secure fit.
- Locate the mounting holes: Take note of the mounting holes on the camera mount. These holes will be used to secure the camera to the wall or ceiling.
- Mark the spots for drilling: Hold the camera mount against the wall or ceiling in the desired position. Use a pencil or marker to mark the spots where you will be drilling the holes for the mounting screws.
- Drill the holes: Use a drill with an appropriate size drill bit to create the holes in the marked spots. Ensure that the holes are deep enough to securely hold the mounting screws.
- Secure the camera mount: Align the mounting holes on the camera mount with the drilled holes. Insert the mounting screws through the holes and tighten them using a screwdriver. Ensure that the camera mount is firmly attached to the wall or ceiling.
- Attach the camera: With the camera mount securely in place, now you can attach the Nest Outdoor Camera. Simply align the camera with the magnetic mount and let it snap into place.
- Adjust the camera angle: The Nest Outdoor Camera allows for easy adjustment of the viewing angle. Use your hand to tilt or rotate the camera until you achieve the desired angle and coverage.
Once you have mounted the camera on the designated spot and adjusted the angle, double-check its stability. Make sure that it is securely attached and will not be easily tampered with.
Remember, the proper mounting of the camera is essential for capturing clear and consistent footage of your home’s exterior. Take your time to ensure a secure and stable installation.
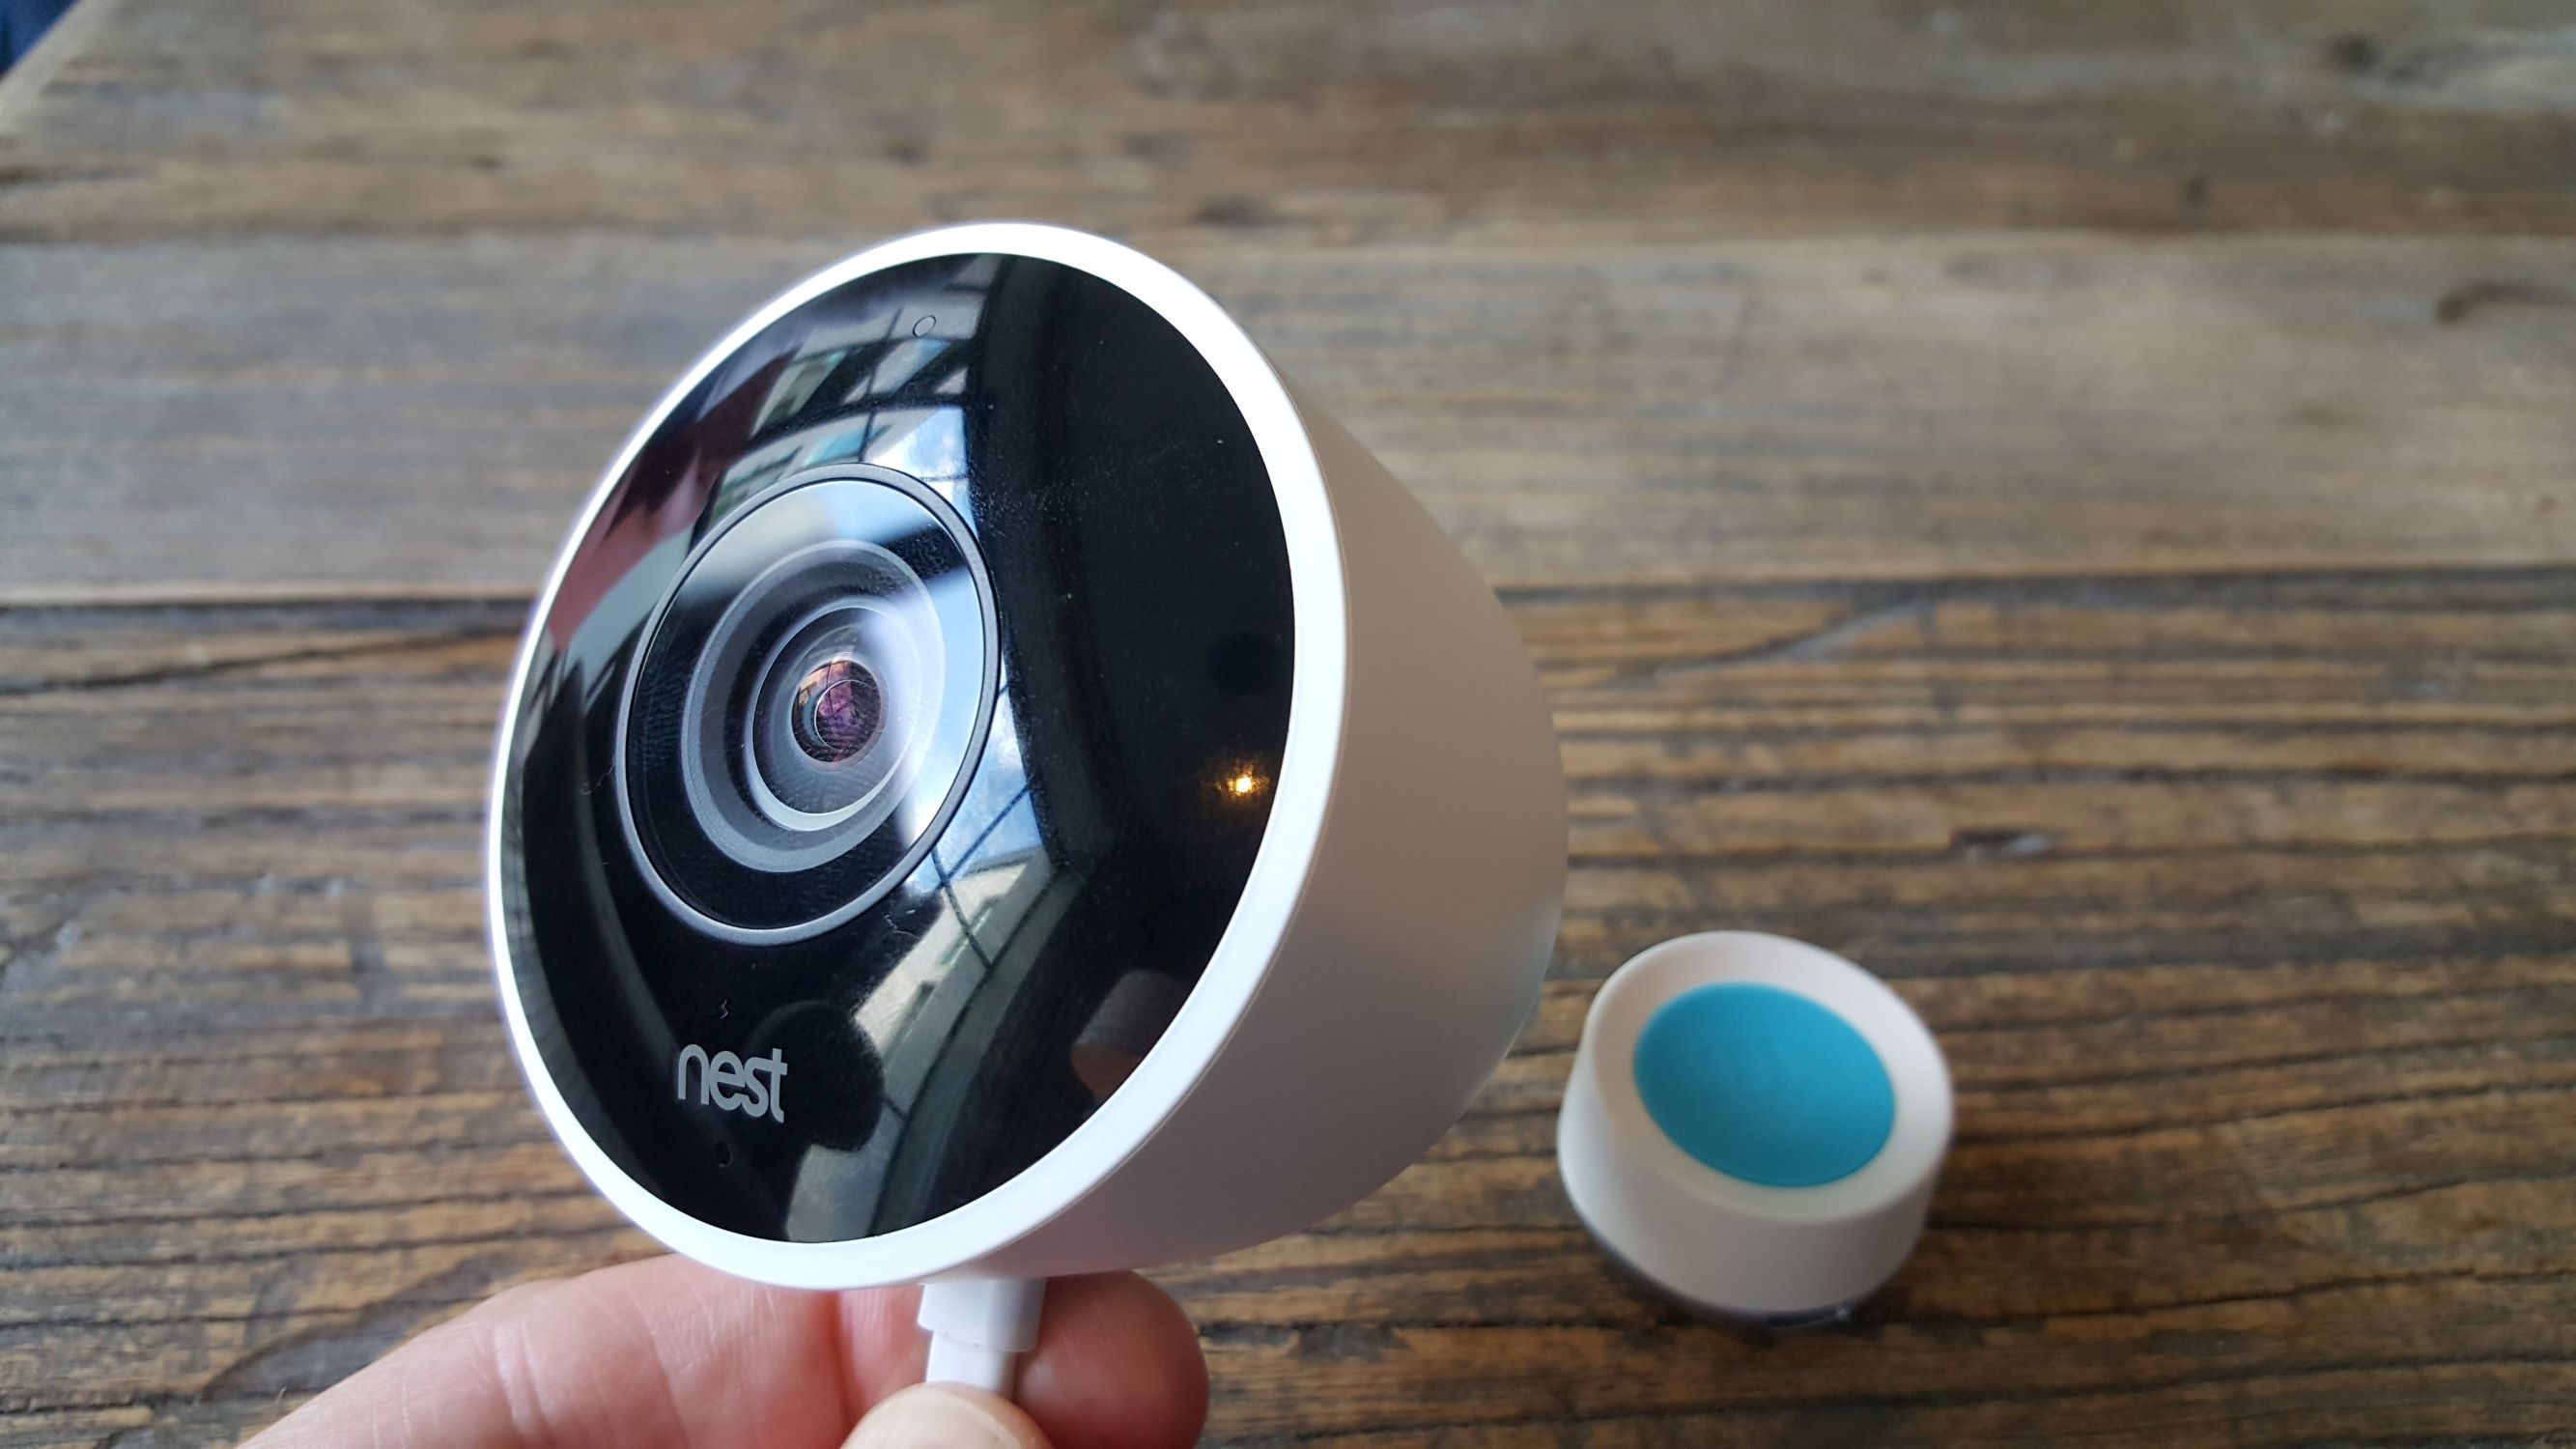
Step 4: Connect the camera to a power source
Now that you have successfully mounted the Nest Outdoor Camera, the next step is to connect it to a power source for consistent operation. Follow these instructions to ensure a proper power connection:
- Determine the power source: Decide whether you will be using an outdoor electrical outlet or a weatherproof power cord to provide power to the camera. Both options are viable, but the weatherproof power cord offers more flexibility in terms of camera placement.
- If using an outdoor electrical outlet:
- Locate an accessible outdoor electrical outlet near the camera’s position.
- Plug the power adapter into the outlet.
- Connect the other end of the power adapter to the back of the camera.
- If using a weatherproof power cord:
- Select a suitable location for the weatherproof power cord. Ensure it is within reach of an indoor electrical outlet.
- Plug the power cord into the indoor electrical outlet.
- Run the weatherproof power cord from the indoor outlet to the camera’s location. Ensure the cord is safely secured and protected from potential tripping hazards.
- Connect the weatherproof power cord to the back of the camera.
Once the camera is connected to a power source, you should see the LED lights on the camera illuminate, indicating that it is receiving power. Ensure that the power connection is secure and there are no exposed wires that could pose a safety hazard.
Note: If you are unsure about any electrical connections, it is recommended to consult a professional electrician to ensure proper installation and safety.
By properly connecting the Nest Outdoor Camera to a power source, you can ensure uninterrupted surveillance and peace of mind knowing that your home is protected.
html
Step 4: Connect the camera to a power source
Now that you have successfully mounted the Nest Outdoor Camera, the next step is to connect it to a power source for consistent operation. Follow these instructions to ensure a proper power connection:
- Determine the power source: Decide whether you will be using an outdoor electrical outlet or a weatherproof power cord to provide power to the camera. Both options are viable, but the weatherproof power cord offers more flexibility in terms of camera placement.
- If using an outdoor electrical outlet:
- Locate an accessible outdoor electrical outlet near the camera’s position.
- Plug the power adapter into the outlet.
- Connect the other end of the power adapter to the back of the camera.
- If using a weatherproof power cord:
- Select a suitable location for the weatherproof power cord. Ensure it is within reach of an indoor electrical outlet.
- Plug the power cord into the indoor electrical outlet.
- Run the weatherproof power cord from the indoor outlet to the camera’s location. Ensure the cord is safely secured and protected from potential tripping hazards.
- Connect the weatherproof power cord to the back of the camera.
Once the camera is connected to a power source, you should see the LED lights on the camera illuminate, indicating that it is receiving power. Ensure that the power connection is secure and there are no exposed wires that could pose a safety hazard.
Note: If you are unsure about any electrical connections, it is recommended to consult a professional electrician to ensure proper installation and safety.
By properly connecting the Nest Outdoor Camera to a power source, you can ensure uninterrupted surveillance and peace of mind knowing that your home is protected.
Step 5: Connect the camera to your home’s Wi-Fi network
Connecting your Nest Outdoor Camera to your home’s Wi-Fi network is an essential step to enable remote access, real-time monitoring, and receiving notifications. Follow these instructions to establish a connection:
- Ensure that your mobile device is connected to your home’s Wi-Fi network before proceeding.
- Download and install the Nest app on your mobile device from the App Store or Google Play Store.
- Launch the Nest app and sign in to your Nest account. If you don’t have an account, create one by following the prompts in the app.
- Tap on the “+” sign or the “Add” button to add a new device.
- Select “Nest Camera” from the list of available devices.
- Follow the on-screen instructions provided by the app to connect the camera to your Wi-Fi network.
- The Nest app will search for nearby cameras. Once your Nest Outdoor Camera is detected, select it from the list.
- Enter your Wi-Fi network credentials when prompted. Make sure to enter the correct network name (SSID) and password.
- Wait for the app to establish a connection between the camera and your Wi-Fi network. This may take a few minutes.
- Once connected, you will receive a confirmation message in the app indicating that the camera is successfully connected to your Wi-Fi network.
Ensure that your Wi-Fi network has a strong signal in the selected location for optimal camera performance. If the signal strength is weak, consider using a Wi-Fi extender to improve coverage.
By connecting your Nest Outdoor Camera to your home’s Wi-Fi network, you will be able to remotely access and control the camera’s functions through the Nest app, providing you with flexibility and convenience in monitoring your home’s exterior.
html
Step 5: Connect the camera to your home’s Wi-Fi network
Connecting your Nest Outdoor Camera to your home’s Wi-Fi network is an essential step to enable remote access, real-time monitoring, and receiving notifications. Follow these instructions to establish a connection:
- Ensure that your mobile device is connected to your home’s Wi-Fi network before proceeding.
- Download and install the Nest app on your mobile device from the App Store or Google Play Store.
- Launch the Nest app and sign in to your Nest account. If you don’t have an account, create one by following the prompts in the app.
- Tap on the “+” sign or the “Add” button to add a new device.
- Select “Nest Camera” from the list of available devices.
- Follow the on-screen instructions provided by the app to connect the camera to your Wi-Fi network.
- The Nest app will search for nearby cameras. Once your Nest Outdoor Camera is detected, select it from the list.
- Enter your Wi-Fi network credentials when prompted. Make sure to enter the correct network name (SSID) and password.
- Wait for the app to establish a connection between the camera and your Wi-Fi network. This may take a few minutes.
- Once connected, you will receive a confirmation message in the app indicating that the camera is successfully connected to your Wi-Fi network.
Ensure that your Wi-Fi network has a strong signal in the selected location for optimal camera performance. If the signal strength is weak, consider using a Wi-Fi extender to improve coverage.
By connecting your Nest Outdoor Camera to your home’s Wi-Fi network, you will be able to remotely access and control the camera’s functions through the Nest app, providing you with flexibility and convenience in monitoring your home’s exterior.
Step 6: Set up and configure the Nest Outdoor Camera using the Nest app
Once your Nest Outdoor Camera is connected to your Wi-Fi network, the next step is to set up and configure the camera using the Nest app. Follow these instructions to complete the setup:
- Open the Nest app on your mobile device and sign in to your Nest account if you haven’t already done so.
- Tap on the camera icon or navigate to the camera section in the app to access the camera’s settings.
- Follow the on-screen instructions provided by the app to complete the camera setup process. This may include selecting your camera from the list of devices and confirming its location.
- Choose the desired camera settings and preferences. These may include adjusting video quality, enabling motion detection, setting up activity zones, configuring night vision mode, and enabling 2-way audio.
- Customize the notifications settings according to your preferences. You can choose to receive alerts for motion detection, sound detection, or specific events.
- Set up additional features such as recording and storage options. The Nest app may offer options for cloud storage subscriptions or local storage options.
- Optimize camera performance by ensuring the firmware is up to date. Check for any available firmware updates in the app and follow the prompts to update the camera’s firmware if necessary.
- Review and confirm the settings and preferences you have chosen. Make any necessary adjustments before finalizing the setup.
- Once you are satisfied with the settings, save and apply the configurations to the camera.
- Take a moment to explore the other features and functionalities offered by the Nest app, such as live streaming, playback of recorded footage, and sharing access with family members or trusted individuals.
By setting up and configuring your Nest Outdoor Camera using the Nest app, you can personalize its settings to suit your specific needs and preferences. This will allow you to maximize its capabilities and ensure effective surveillance of your home’s exterior.
html
Step 6: Set up and configure the Nest Outdoor Camera using the Nest app
Once your Nest Outdoor Camera is connected to your Wi-Fi network, the next step is to set up and configure the camera using the Nest app. Follow these instructions to complete the setup:
- Open the Nest app on your mobile device and sign in to your Nest account if you haven’t already done so.
- Tap on the camera icon or navigate to the camera section in the app to access the camera’s settings.
- Follow the on-screen instructions provided by the app to complete the camera setup process. This may include selecting your camera from the list of devices and confirming its location.
- Choose the desired camera settings and preferences. These may include adjusting video quality, enabling motion detection, setting up activity zones, configuring night vision mode, and enabling 2-way audio.
- Customize the notifications settings according to your preferences. You can choose to receive alerts for motion detection, sound detection, or specific events.
- Set up additional features such as recording and storage options. The Nest app may offer options for cloud storage subscriptions or local storage options.
- Optimize camera performance by ensuring the firmware is up to date. Check for any available firmware updates in the app and follow the prompts to update the camera’s firmware if necessary.
- Review and confirm the settings and preferences you have chosen. Make any necessary adjustments before finalizing the setup.
- Once you are satisfied with the settings, save and apply the configurations to the camera.
- Take a moment to explore the other features and functionalities offered by the Nest app, such as live streaming, playback of recorded footage, and sharing access with family members or trusted individuals.
By setting up and configuring your Nest Outdoor Camera using the Nest app, you can personalize its settings to suit your specific needs and preferences. This will allow you to maximize its capabilities and ensure effective surveillance of your home’s exterior.
Step 7: Adjust camera settings and preferences
Now that your Nest Outdoor Camera is set up and configured, it’s time to adjust the camera settings and preferences according to your specific needs and preferences. Here are some key settings you can customize:
- Video quality: Choose the desired video quality for your camera feed. Higher quality can provide clearer details but may consume more bandwidth and storage.
- Motion detection: Adjust the sensitivity of the camera’s motion detection feature. You can choose to receive alerts for all motion detected or set specific zones to monitor.
- Activity zones: Define specific areas within the camera’s field of view where you want motion detection to be active. This allows you to focus on important areas and reduce false alerts.
- Night vision mode: Configure the camera’s night vision mode. You can choose between automatic mode, which automatically switches to night vision in low light conditions, or always-on mode.
- Recording options: Set up recording options, such as continuous recording or event-triggered recording. Choose whether you want to store the recordings locally or subscribe to cloud storage options.
- Two-way audio: Enable or disable the two-way audio feature, which allows you to communicate with people near the camera. This can be useful for greeting visitors or alerting potential intruders.
- Notifications: Customize the type of notifications you want to receive. You can choose to receive alerts for motion detection, sound detection, or specific events.
- Privacy modes: Set privacy modes to specify when the camera should disable recording or streaming. This ensures privacy when you are present or during specific times.
Take the time to explore the various settings and preferences available in the Nest app. Adjust them according to your preferences and the specific requirements of your home security setup.
Remember, by fine-tuning the camera settings and preferences, you can enhance the camera’s performance and tailor it to meet your unique surveillance needs.
html
Step 7: Adjust camera settings and preferences
Now that your Nest Outdoor Camera is set up and configured, it’s time to adjust the camera settings and preferences according to your specific needs and preferences. Here are some key settings you can customize:
- Video quality: Choose the desired video quality for your camera feed. Higher quality can provide clearer details but may consume more bandwidth and storage.
- Motion detection: Adjust the sensitivity of the camera’s motion detection feature. You can choose to receive alerts for all motion detected or set specific zones to monitor.
- Activity zones: Define specific areas within the camera’s field of view where you want motion detection to be active. This allows you to focus on important areas and reduce false alerts.
- Night vision mode: Configure the camera’s night vision mode. You can choose between automatic mode, which automatically switches to night vision in low light conditions, or always-on mode.
- Recording options: Set up recording options, such as continuous recording or event-triggered recording. Choose whether you want to store the recordings locally or subscribe to cloud storage options.
- Two-way audio: Enable or disable the two-way audio feature, which allows you to communicate with people near the camera. This can be useful for greeting visitors or alerting potential intruders.
- Notifications: Customize the type of notifications you want to receive. You can choose to receive alerts for motion detection, sound detection, or specific events.
- Privacy modes: Set privacy modes to specify when the camera should disable recording or streaming. This ensures privacy when you are present or during specific times.
Take the time to explore the various settings and preferences available in the Nest app. Adjust them according to your preferences and the specific requirements of your home security setup.
Remember, by fine-tuning the camera settings and preferences, you can enhance the camera’s performance and tailor it to meet your unique surveillance needs.
Step 8: Test the camera’s functionality
With the Nest Outdoor Camera installed and configured, it’s important to test its functionality to ensure that it is working properly. Follow these steps to test the camera:
- Open the Nest app on your mobile device and make sure you are connected to your home’s Wi-Fi network.
- Navigate to the camera section in the app and select your Nest Outdoor Camera.
- Check the live stream: Tap on the “Live” button or the camera feed to view the live stream from the camera. Ensure that the camera provides a clear and crisp image.
- Test motion detection: Move within the camera’s field of view to trigger motion detection. Check if the camera properly detects and records the motion, and if you receive a notification on your mobile device.
- Test two-way audio: Use the app’s two-way audio feature to test the communication between the camera and your mobile device. Ensure that you can hear audio from the camera and that your voice is transmitted back to the camera.
- Verify night vision functionality: Test the camera’s night vision mode by ensuring the camera is in a low-light or dark environment. Check if the camera switches to night vision and provides clear images in these conditions.
- Review recording and storage: If you have set up recording options, verify that the camera is properly recording and storing the footage according to your preferences. Check if you can access the recorded footage through the app.
- Adjust settings if necessary: Based on your testing, make any necessary adjustments to the camera settings and preferences to optimize its functionality.
If any issues or discrepancies are identified during the testing phase, refer to the Nest app’s troubleshooting guide or contact Nest customer support for assistance. They will be able to provide further guidance and resolve any issues you may encounter.
By thoroughly testing the Nest Outdoor Camera’s functionality, you can ensure that it is functioning as intended and providing reliable surveillance for your home’s exterior.
html
Step 8: Test the camera’s functionality
With the Nest Outdoor Camera installed and configured, it’s important to test its functionality to ensure that it is working properly. Follow these steps to test the camera:
- Open the Nest app on your mobile device and make sure you are connected to your home’s Wi-Fi network.
- Navigate to the camera section in the app and select your Nest Outdoor Camera.
- Check the live stream: Tap on the “Live” button or the camera feed to view the live stream from the camera. Ensure that the camera provides a clear and crisp image.
- Test motion detection: Move within the camera’s field of view to trigger motion detection. Check if the camera properly detects and records the motion, and if you receive a notification on your mobile device.
- Test two-way audio: Use the app’s two-way audio feature to test the communication between the camera and your mobile device. Ensure that you can hear audio from the camera and that your voice is transmitted back to the camera.
- Verify night vision functionality: Test the camera’s night vision mode by ensuring the camera is in a low-light or dark environment. Check if the camera switches to night vision and provides clear images in these conditions.
- Review recording and storage: If you have set up recording options, verify that the camera is properly recording and storing the footage according to your preferences. Check if you can access the recorded footage through the app.
- Adjust settings if necessary: Based on your testing, make any necessary adjustments to the camera settings and preferences to optimize its functionality.
If any issues or discrepancies are identified during the testing phase, refer to the Nest app’s troubleshooting guide or contact Nest customer support for assistance. They will be able to provide further guidance and resolve any issues you may encounter.
By thoroughly testing the Nest Outdoor Camera’s functionality, you can ensure that it is functioning as intended and providing reliable surveillance for your home’s exterior.
Conclusion
Installing a Nest Outdoor Camera is a valuable addition to your home security system, providing enhanced surveillance and peace of mind. By following the step-by-step guide outlined in this article, you can successfully wire and set up your Nest Outdoor Camera with ease.
Throughout the installation process, we covered the essential steps of gathering the necessary tools and materials, selecting the optimal location, mounting the camera securely, connecting it to a power source, linking it to your home’s Wi-Fi network, configuring the camera settings, and testing its functionality.
By taking the time to select an ideal mounting location, ensuring a secure power connection, and customizing important camera settings, you can optimize the performance of your Nest Outdoor Camera. This will enable you to monitor and protect your home’s exterior effectively.
Remember to periodically review and adjust the camera settings and preferences to accommodate any changes in your security needs. Regularly test the camera’s functionality to ensure it is operating at its best and promptly address any issues that may arise.
With the Nest Outdoor Camera installed and set up, you can have confidence in your home’s security and enjoy the convenience of monitoring your property remotely through the Nest app. Rest easy knowing that your home is protected around the clock and that you have taken a proactive step in safeguarding your loved ones and belongings.
Investing in a Nest Outdoor Camera not only enhances the security of your home but also provides you with peace of mind, knowing that you can keep an eye on your property from anywhere, at any time.
Frequently Asked Questions about How To Wire A Nest Outdoor Camera
Was this page helpful?
At Storables.com, we guarantee accurate and reliable information. Our content, validated by Expert Board Contributors, is crafted following stringent Editorial Policies. We're committed to providing you with well-researched, expert-backed insights for all your informational needs.