Home>Furniture & Design>Outdoor Furniture>How To Remove Vivint Outdoor Camera From Wall
Outdoor Furniture
How To Remove Vivint Outdoor Camera From Wall
Modified: March 1, 2024
Learn how to safely remove your Vivint outdoor camera from the wall with our step-by-step guide. Get expert tips on outdoor furniture, design, and more.
(Many of the links in this article redirect to a specific reviewed product. Your purchase of these products through affiliate links helps to generate commission for Storables.com, at no extra cost. Learn more)
Introduction
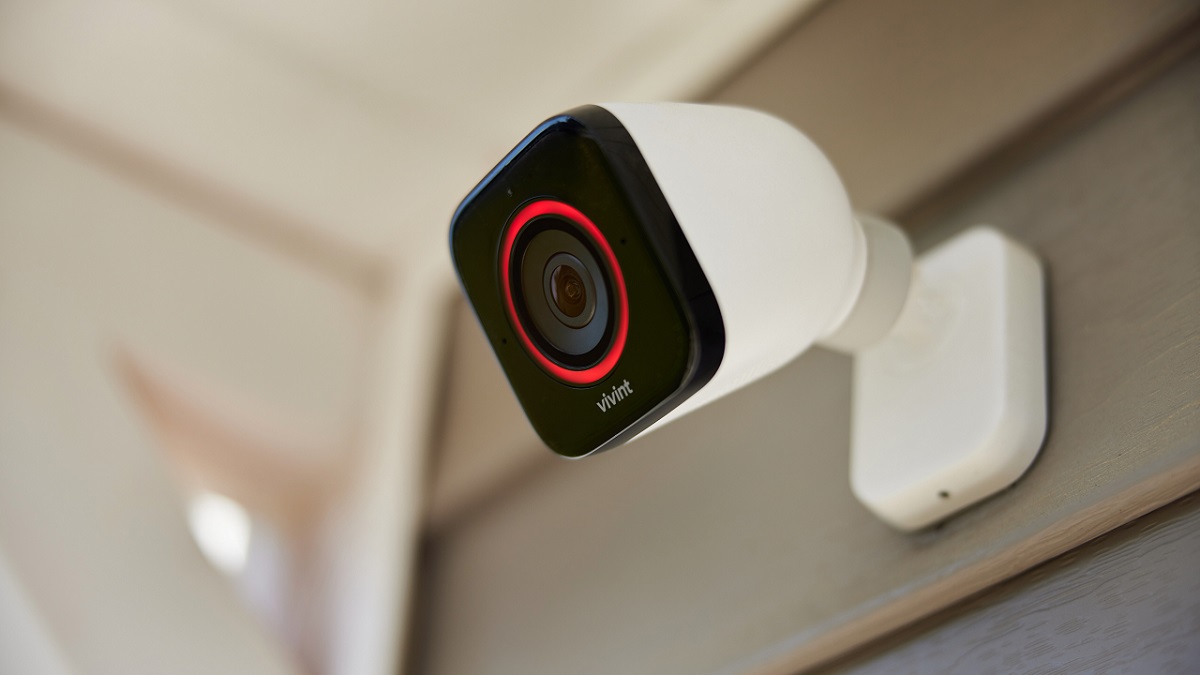
Removing a Vivint outdoor camera from the wall might seem like a daunting task, but with the right guidance and tools, it can be a straightforward process. Whether you're relocating the camera, upgrading to a new model, or making adjustments to your outdoor setup, knowing how to remove the camera safely is essential.
In this guide, we will walk you through the step-by-step process of removing a Vivint outdoor camera from the wall. By following these instructions, you can ensure that the camera is detached without causing damage to the wall or the camera itself. Before you begin, it's important to gather the necessary tools and familiarize yourself with the components of the camera and its mounting system.
So, let's dive into the details and learn how to remove a Vivint outdoor camera from the wall with confidence and ease.
Key Takeaways:
- Safely remove a Vivint outdoor camera by gathering tools, powering off the camera, detaching it from the mounting plate, and disconnecting wires. Patch any wall holes for a seamless finish.
- Removing a Vivint outdoor camera involves powering it off, removing the cover, detaching it from the mounting plate, and disconnecting wires. Patch any wall holes for a smooth finish.
Read more: How To Remove Vivint Outdoor Camera
Step 1: Gather Necessary Tools
Before you start the process of removing your Vivint outdoor camera from the wall, it’s crucial to gather the necessary tools. Having the right tools on hand will make the task more efficient and help prevent any accidental damage. Here’s what you’ll need:
- Screwdriver: Depending on the type of screws used to mount the camera, you may need a Phillips head or flathead screwdriver. Ensure that the screwdriver size matches the screws to avoid stripping or damaging them during removal.
- Wire Cutters (if necessary): If the camera is wired to a power source, wire cutters may be required to disconnect the wires safely. Always exercise caution when working with electrical components.
- Electrical Tape: This can be used to secure the wires after disconnection and prevent any accidental contact while removing the camera.
- Wall Patch Kit: In some cases, removing a camera from the wall may leave behind visible holes. A wall patch kit can be used to fill these holes and restore the wall’s appearance.
- Cleaning Cloth: Once the camera is removed, a cleaning cloth can be used to wipe down the mounting area and ensure it’s free from any dirt or residue.
By ensuring you have these tools at your disposal, you’ll be well-prepared to proceed with the camera removal process smoothly and safely. With the tools gathered, you can move on to the next steps of powering off the camera and beginning the removal procedure.
Step 2: Power Off the Camera
Before you begin the physical removal of the Vivint outdoor camera from the wall, it’s essential to power off the device to ensure safety and prevent any electrical mishaps. Here’s how you can power off the camera:
- Access the Vivint App: If your outdoor camera is connected to the Vivint app, open the app on your smartphone or tablet.
- Select the Camera: Navigate to the camera settings within the app and locate the option to power off or disable the camera.
- Power Off the Camera: Follow the on-screen prompts to power off the camera. This may involve selecting a “Power Off” option or disabling the camera’s functionality temporarily.
- Verify Power Down: Once the camera has been powered off, verify that it is no longer operational by checking for any indicator lights or sounds from the device.
If your Vivint outdoor camera is not connected to the Vivint app or if you’re unable to power it off using the app, you may need to refer to the camera’s user manual for specific instructions on powering down the device. It’s crucial to ensure that the camera is completely powered off before proceeding with the physical removal to avoid any electrical hazards.
By following these steps to power off the camera, you can proceed with the removal process with the confidence that the device is safely deactivated. With the camera powered down, you can now move on to the next step of removing the camera cover to access the mounting components.
Step 3: Remove the Camera Cover
With the Vivint outdoor camera powered off, the next step in the removal process is to access the mounting components by removing the camera cover. The camera cover is designed to protect the internal components and provide weather resistance, and it is typically secured in place with screws or latches. Here’s how you can remove the camera cover:
- Locate the Screws or Latches: Inspect the camera housing to identify the screws or latches that secure the cover in place. These are usually located around the edges of the camera cover.
- Use the Appropriate Tool: Depending on the type of fasteners used, use the appropriate tool, such as a screwdriver or a small pry tool, to carefully loosen and remove the screws or release the latches.
- Set Aside the Cover: Once the screws or latches are removed, carefully lift the camera cover away from the camera housing and set it aside in a safe location. Be mindful of any gaskets or seals that may be present to maintain weather resistance.
- Inspect the Interior: With the camera cover removed, take a moment to inspect the interior components for any signs of damage or debris. This is also a good opportunity to ensure that the camera lens and sensors are protected from any accidental contact.
By following these steps, you can safely remove the camera cover and gain access to the mounting plate and wiring connections. With the camera cover removed, you can proceed to the next step of detaching the camera from the mounting plate in preparation for its removal from the wall.
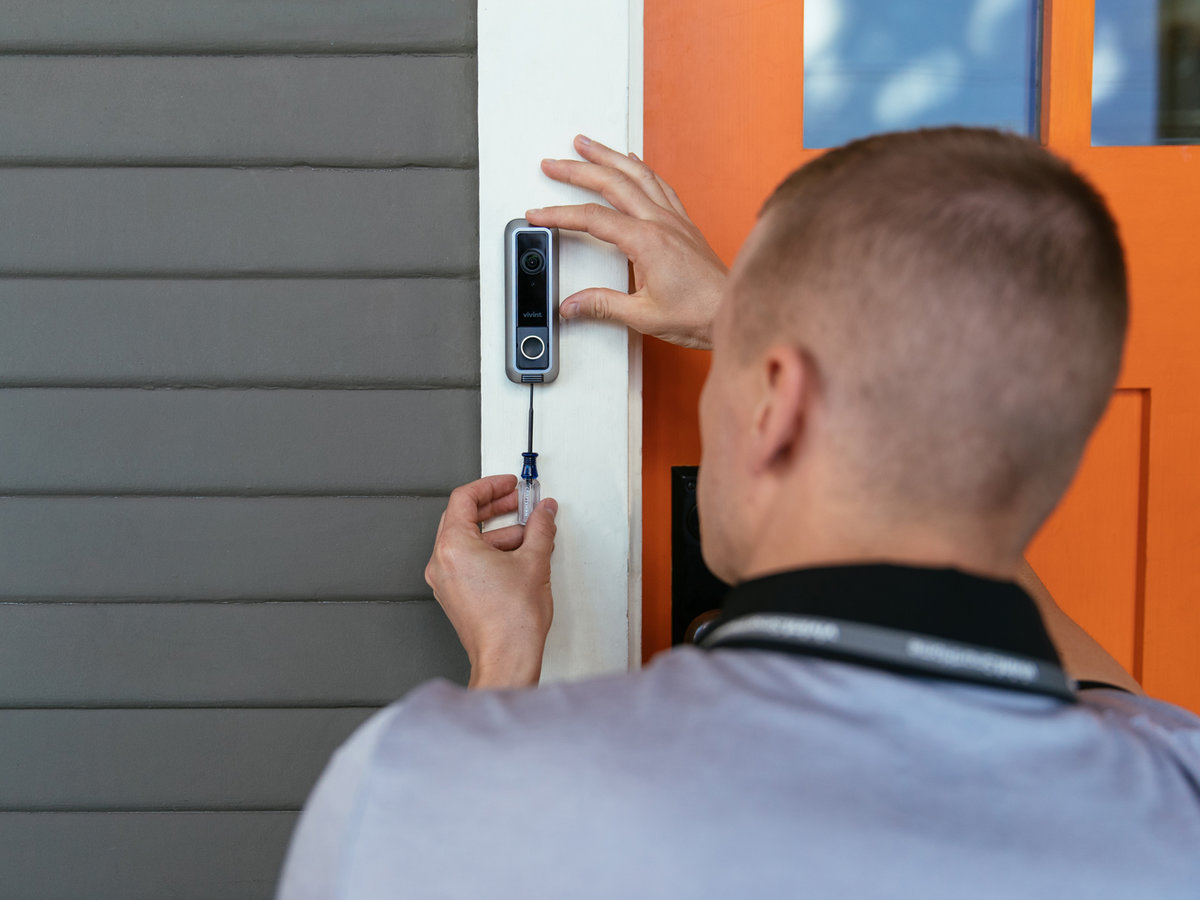
To remove a Vivint outdoor camera from the wall, first disconnect the power source. Then, use a screwdriver to loosen the mounting screws and carefully lift the camera off the mount. Be sure to store any screws or parts in a safe place for reinstallation.
Step 4: Detach the Camera from the Mounting Plate
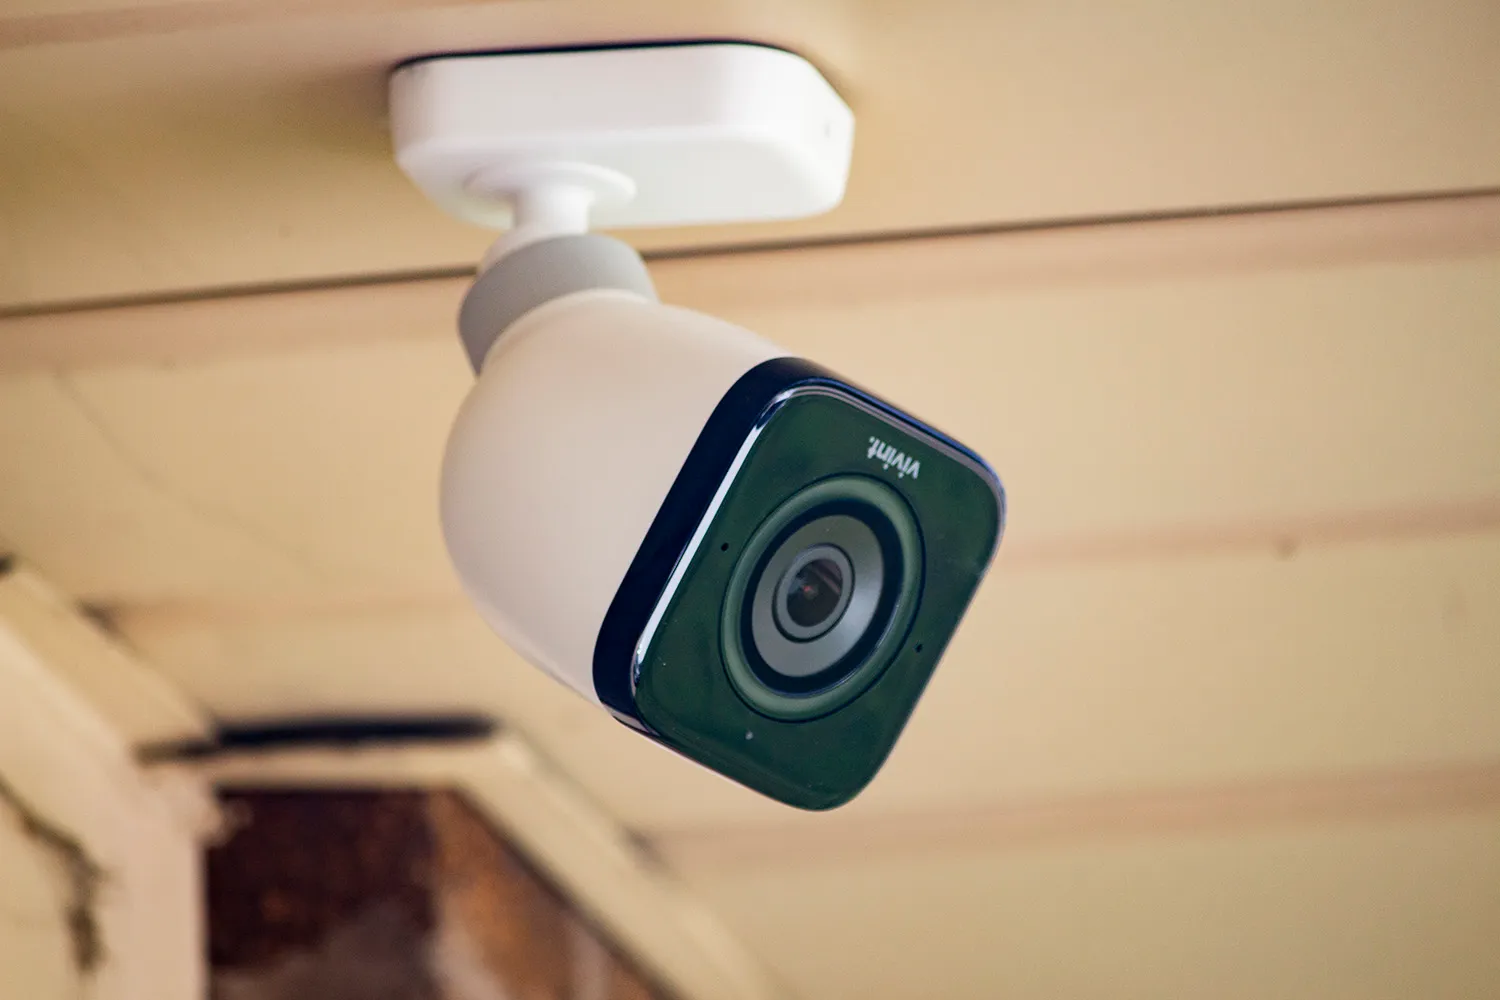
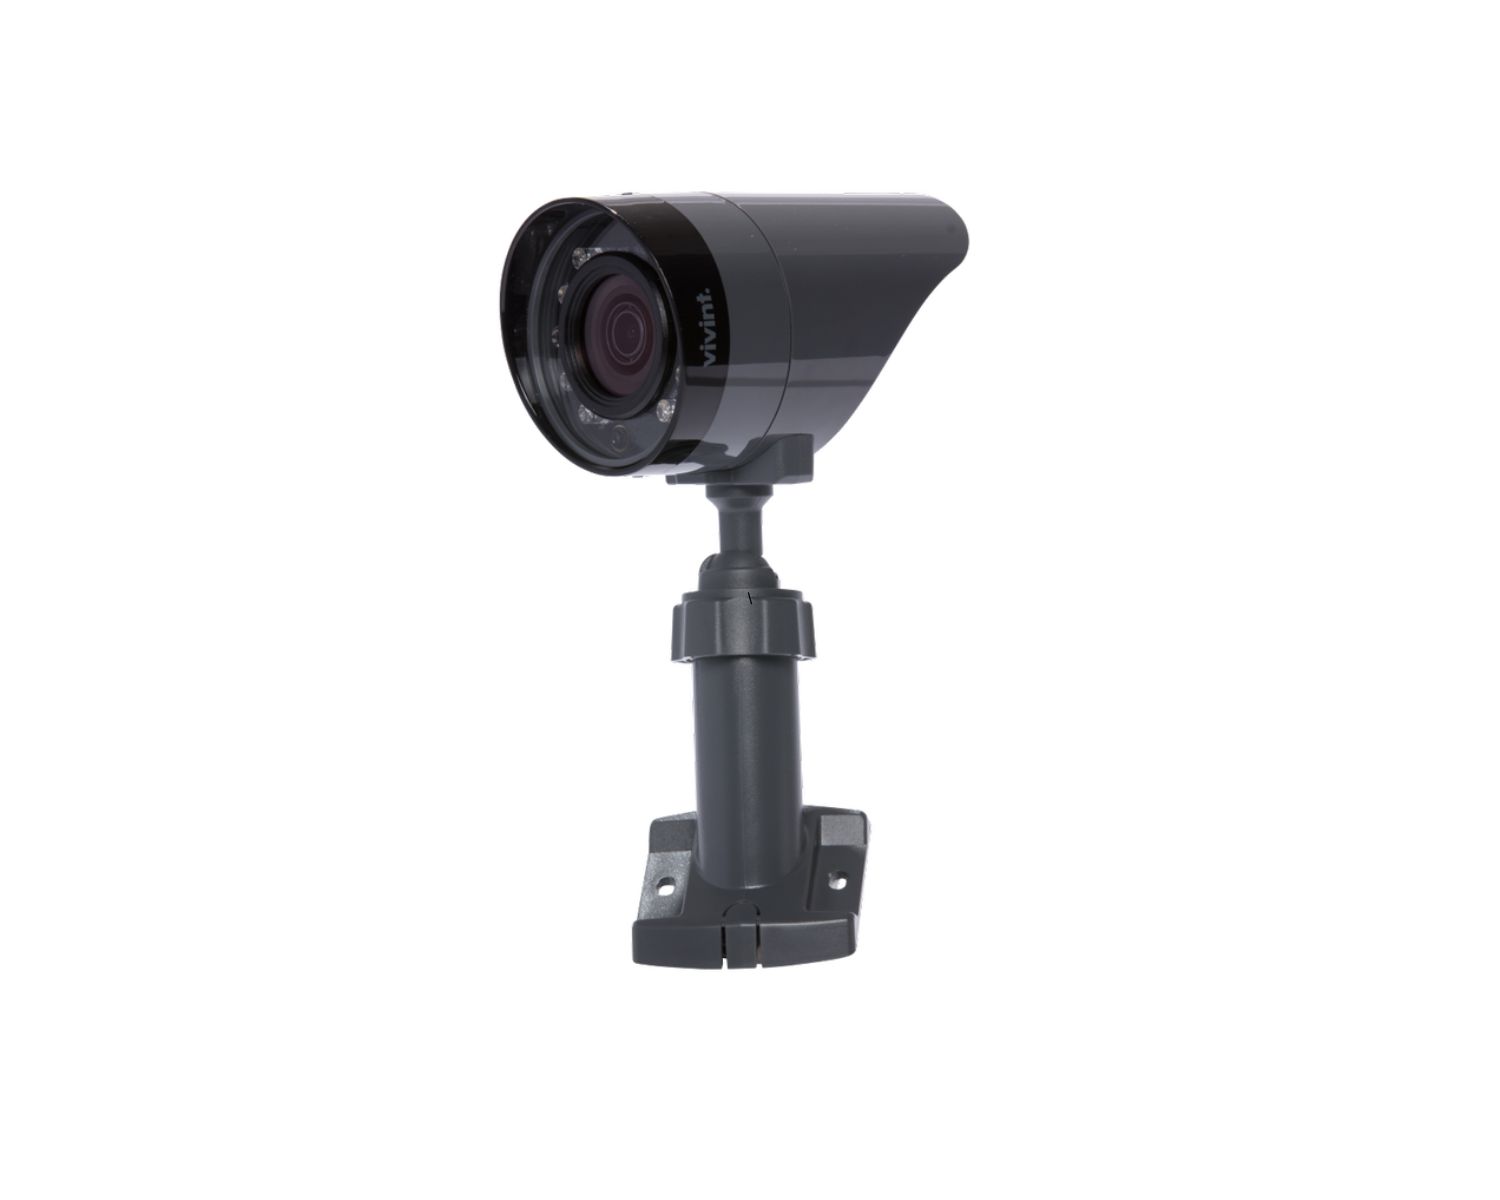
After removing the camera cover, the next crucial step in the process of removing a Vivint outdoor camera from the wall is detaching the camera from the mounting plate. The mounting plate is typically secured to the wall or another surface, and the camera is attached to it using specific mounting mechanisms. Here’s how you can detach the camera from the mounting plate:
- Identify Mounting Mechanism: Inspect the area around the camera to identify the specific mounting mechanism used to secure the camera to the mounting plate. This may involve screws, a locking collar, or a similar attachment method.
- Loosen Mounting Hardware: Use the appropriate tool, such as a screwdriver or a wrench, to loosen and remove the mounting hardware. Be sure to support the camera as you remove the fasteners to prevent it from falling once detached.
- Detach the Camera: Once the mounting hardware is removed, carefully lift the camera away from the mounting plate. Take care to guide any attached wires through the mounting plate as you detach the camera.
- Set Aside the Camera: Place the detached camera in a secure location, ensuring that it is placed on a soft surface to prevent any damage to the exterior or the lens.
By following these steps, you can safely detach the camera from the mounting plate, preparing it for the next stage of disconnecting any wired connections and fully removing it from the wall. With the camera now removed from the mounting plate, you can proceed to the next step of disconnecting any wired connections before finalizing the removal process.
Read more: How To Remove Vivint Outdoor Camera Pro
Step 5: Disconnect the Wires
With the Vivint outdoor camera detached from the mounting plate, the next essential step in the removal process is to disconnect any wired connections. Depending on the camera model and installation, the camera may be wired to a power source or a network connection. Here’s how you can safely disconnect the wires:
- Identify the Wiring: Inspect the area around the mounting plate to locate the wires connected to the camera. These may include power cables, Ethernet cables, or other connections, depending on the camera’s setup.
- Power Source Disconnection: If the camera is powered by a wired connection, such as a power adapter or PoE (Power over Ethernet), follow the wiring from the camera to the power source and disconnect it accordingly. Exercise caution and, if necessary, use wire cutters to safely remove any electrical connections.
- Network Disconnection: If the camera is connected to a network, such as through an Ethernet cable, carefully disconnect the cable from the camera. Ensure that any network-related settings or configurations are noted for future reference if the camera is to be reinstalled.
- Secure the Wires: After disconnecting the wires, use electrical tape to secure the loose ends and prevent them from accidentally contacting each other or the surrounding surfaces.
By following these steps, you can safely disconnect the wired connections from the Vivint outdoor camera, ensuring that it is fully prepared for removal from the wall. With the camera now detached and the wires disconnected, you can proceed to the final steps of patching any holes left in the wall and concluding the removal process.
Step 6: Patch the Holes
After removing the Vivint outdoor camera and disconnecting any wired connections, it’s essential to address any holes or marks left on the wall from the camera’s mounting hardware. Patching these holes not only restores the wall’s appearance but also prepares it for potential future installations or cosmetic touch-ups. Here’s how you can effectively patch the holes:
- Remove Mounting Hardware: If any screws, anchors, or mounting brackets remain in the wall, carefully remove them using the appropriate tools, such as a screwdriver or pliers.
- Clean the Area: Use a cleaning cloth or mild detergent to clean the area around the holes, removing any dust, debris, or residual adhesive from the previous installation.
- Apply Patching Compound: Using a wall patch kit or spackling compound, fill the holes left by the mounting hardware. Ensure that the compound is applied evenly and smoothly to create a seamless surface.
- Smooth and Blend: Once the compound is applied, use a putty knife or a similar tool to smooth and blend the patched areas with the surrounding wall surface. This will create a uniform appearance and minimize the visibility of the patched areas.
- Allow for Drying and Sanding: Follow the manufacturer’s instructions for the patching compound regarding drying time. Once dry, lightly sand the patched areas to create a smooth finish that matches the wall texture.
- Touch-Up Painting (if necessary): If the wall is painted, consider touching up the patched areas with matching paint to ensure a consistent color and finish. This step may be necessary to seamlessly blend the patched areas with the rest of the wall.
By following these steps, you can effectively patch the holes left by the Vivint outdoor camera’s mounting hardware, restoring the wall to its original condition. This not only enhances the visual appeal of the area but also ensures that the wall is ready for any future installations or decorative enhancements.
Conclusion
Removing a Vivint outdoor camera from the wall involves a series of systematic steps to ensure a safe and effective process. By following the outlined steps, you can confidently remove the camera while maintaining the integrity of the wall and the camera itself. Here’s a quick recap of the key points:
- Gather the Necessary Tools: Ensure that you have the required tools, including a screwdriver, wire cutters, electrical tape, a wall patch kit, and a cleaning cloth, to facilitate the removal process.
- Power Off the Camera: Safely deactivate the camera through the Vivint app or by following the specific instructions for your camera model to prevent electrical mishaps during removal.
- Remove the Camera Cover: Carefully detach the camera cover to access the mounting components, taking note of any weatherproofing seals or gaskets.
- Detach the Camera from the Mounting Plate: Loosen and remove the mounting hardware to detach the camera from the mounting plate, ensuring a secure and controlled removal.
- Disconnect the Wires: Identify and disconnect any wired connections, such as power cables or network connections, from the camera, exercising caution with electrical components.
- Patch the Holes: Address any holes or marks left on the wall from the camera’s mounting hardware using a wall patch kit, spackling compound, and touch-up painting if necessary.
By following these steps, you can successfully remove a Vivint outdoor camera from the wall, whether for relocation, replacement, or adjustments to your outdoor setup. Remember to exercise caution when working with electrical components and to follow any specific instructions provided by the camera’s manufacturer.
With the camera safely removed and the wall restored, you can proceed with your desired changes to the outdoor area, knowing that the removal process was carried out with precision and care.
Frequently Asked Questions about How To Remove Vivint Outdoor Camera From Wall
Was this page helpful?
At Storables.com, we guarantee accurate and reliable information. Our content, validated by Expert Board Contributors, is crafted following stringent Editorial Policies. We're committed to providing you with well-researched, expert-backed insights for all your informational needs.

0 thoughts on “How To Remove Vivint Outdoor Camera From Wall”