Home>Home Security and Surveillance>How To Remove The Nest Outdoor Camera Base

Home Security and Surveillance
How To Remove The Nest Outdoor Camera Base
Modified: May 6, 2024
Learn how to remove the Nest Outdoor Camera base for your home security and surveillance needs. Safely and easily uninstall your camera base with our step-by-step guide.
(Many of the links in this article redirect to a specific reviewed product. Your purchase of these products through affiliate links helps to generate commission for Storables.com, at no extra cost. Learn more)
Introduction
Welcome to this guide on how to remove the Nest Outdoor Camera Base. The Nest Outdoor Camera is a popular choice for home security and surveillance, offering high-quality video recording and remote monitoring capabilities. Whether you are replacing the camera or relocating it to a different area, knowing how to remove the camera base is essential.
Before we dive into the steps, it is important to note that safety should always be a priority. Make sure to turn off the power supply and follow any manufacturer instructions specific to your camera model.
In this article, we will walk you through a step-by-step process on how to safely and effectively remove the Nest Outdoor Camera Base. By following these instructions, you can ensure a smooth removal process without any damage to your camera or mounting surface. So, let’s get started!
Key Takeaways:
- Safely removing the Nest Outdoor Camera Base involves gathering tools, disconnecting cables, and following step-by-step instructions. Prioritize safety, handle with care, and keep track of removed parts for a smooth removal process.
- Disconnecting the Nest Outdoor Camera Base from the network and safely removing it requires following specific steps, such as accessing the Nest app, securing the camera base, and cleaning the mounting surface. Remember to prioritize safety and handle components with care.
Step 1: Gathering the Required Tools
Before you begin the removal process, it is essential to gather all the necessary tools. Having the right tools at hand will make the process easier and more efficient. Here are the tools you will need:
- Screwdriver – Depending on your camera model, you may need either a Phillips head or flathead screwdriver to remove the screws.
- Step ladder or stool – This will be handy if your camera is installed in a higher location that requires reaching.
- Power supply – Make sure the power supply to the camera is turned off to avoid any electrical accidents.
- Personal protective equipment – Using gloves and safety glasses can protect you from any sharp edges or debris during the removal process.
Once you have gathered all the necessary tools, double-check to ensure you have everything you need before moving on to the next step.
Step 2: Disconnecting the Nest Outdoor Camera Base
Now that you have gathered the required tools, it’s time to disconnect the Nest Outdoor Camera Base from its mounting plate. Follow these steps:
- Locate the screws – Depending on your camera model, you may find screws located at the bottom or on the sides of the camera base. Use the appropriate screwdriver to remove these screws.
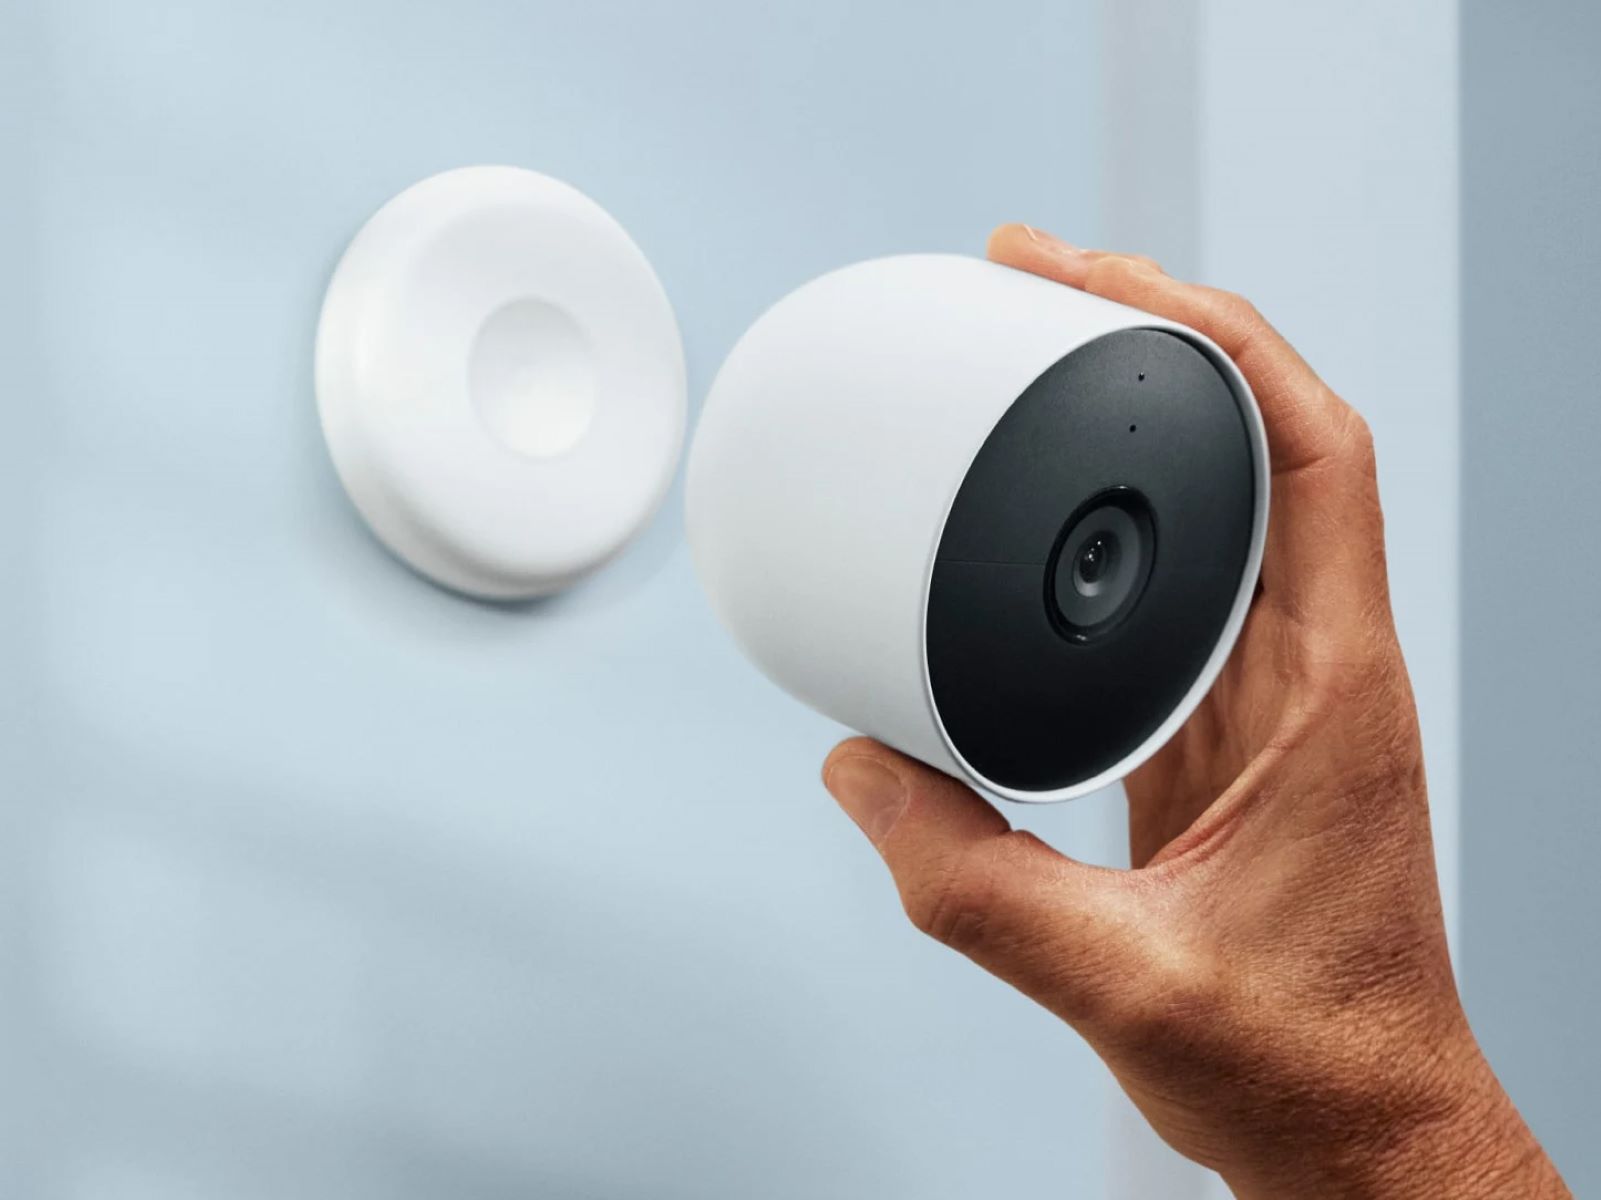
- Gently pull the camera base forward – After removing the screws, gently pull the camera base forward to detach it from the mounting plate. Be careful not to apply excessive force, as it may cause damage to the camera or mounting surface.
- Disconnect the cables – Once the camera base is detached, locate the cables connected to the base. Carefully disconnect these cables, taking note of their positions for reinstallation if necessary.
By following these steps, you will successfully disconnect the Nest Outdoor Camera Base from its mounting plate. Proceed to the next step to continue the removal process.
Step 3: Removing the Nest Outdoor Camera Base from the Mounting Plate
Now that the camera base is disconnected from the cables, it’s time to remove it from the mounting plate. Follow these steps:
- Inspect the mounting plate – Take a close look at the mounting plate to understand how the camera base is secured. Depending on the model, you may find additional screws or locking mechanisms holding the camera base in place.
- Remove any additional securing elements – If there are any additional screws or locking mechanisms, use your screwdriver or any applicable tool to loosen and remove them. Be sure to keep the screws and parts in a safe place for reinstallation if needed.
- Detach the camera base – Once the securing elements are removed, gently lift and detach the camera base from the mounting plate. Be cautious of any cables still connected to the base and disconnect them if necessary.
With these steps, you should be able to successfully remove the Nest Outdoor Camera Base from the mounting plate. Set the camera base aside and proceed to the next step.
Step 4: Detaching the Power Cable
With the camera base removed from the mounting plate, the next step is to detach the power cable. Follow these steps:
- Locate the power cable – Identify the power cable connected to the camera base. It is usually a thick cable that provides power to the camera.
- Unplug the power cable – Carefully unplug the power cable from its power source or the adapter. Ensure that the power supply is turned off before disconnecting the cable. If there are any protective caps or covers on the cable, remove them before unplugging it.
- Remove any cable clips or ties – In some cases, the power cable might be secured to the mounting surface with clips or ties. Use a small tool like pliers to remove these clips or ties and free the cable.
Once the power cable is detached, set it aside safely. You have successfully detached the power cable from the Nest Outdoor Camera Base.
Now that the power cable is disconnected, proceed to the next step to remove the cover of the camera base.
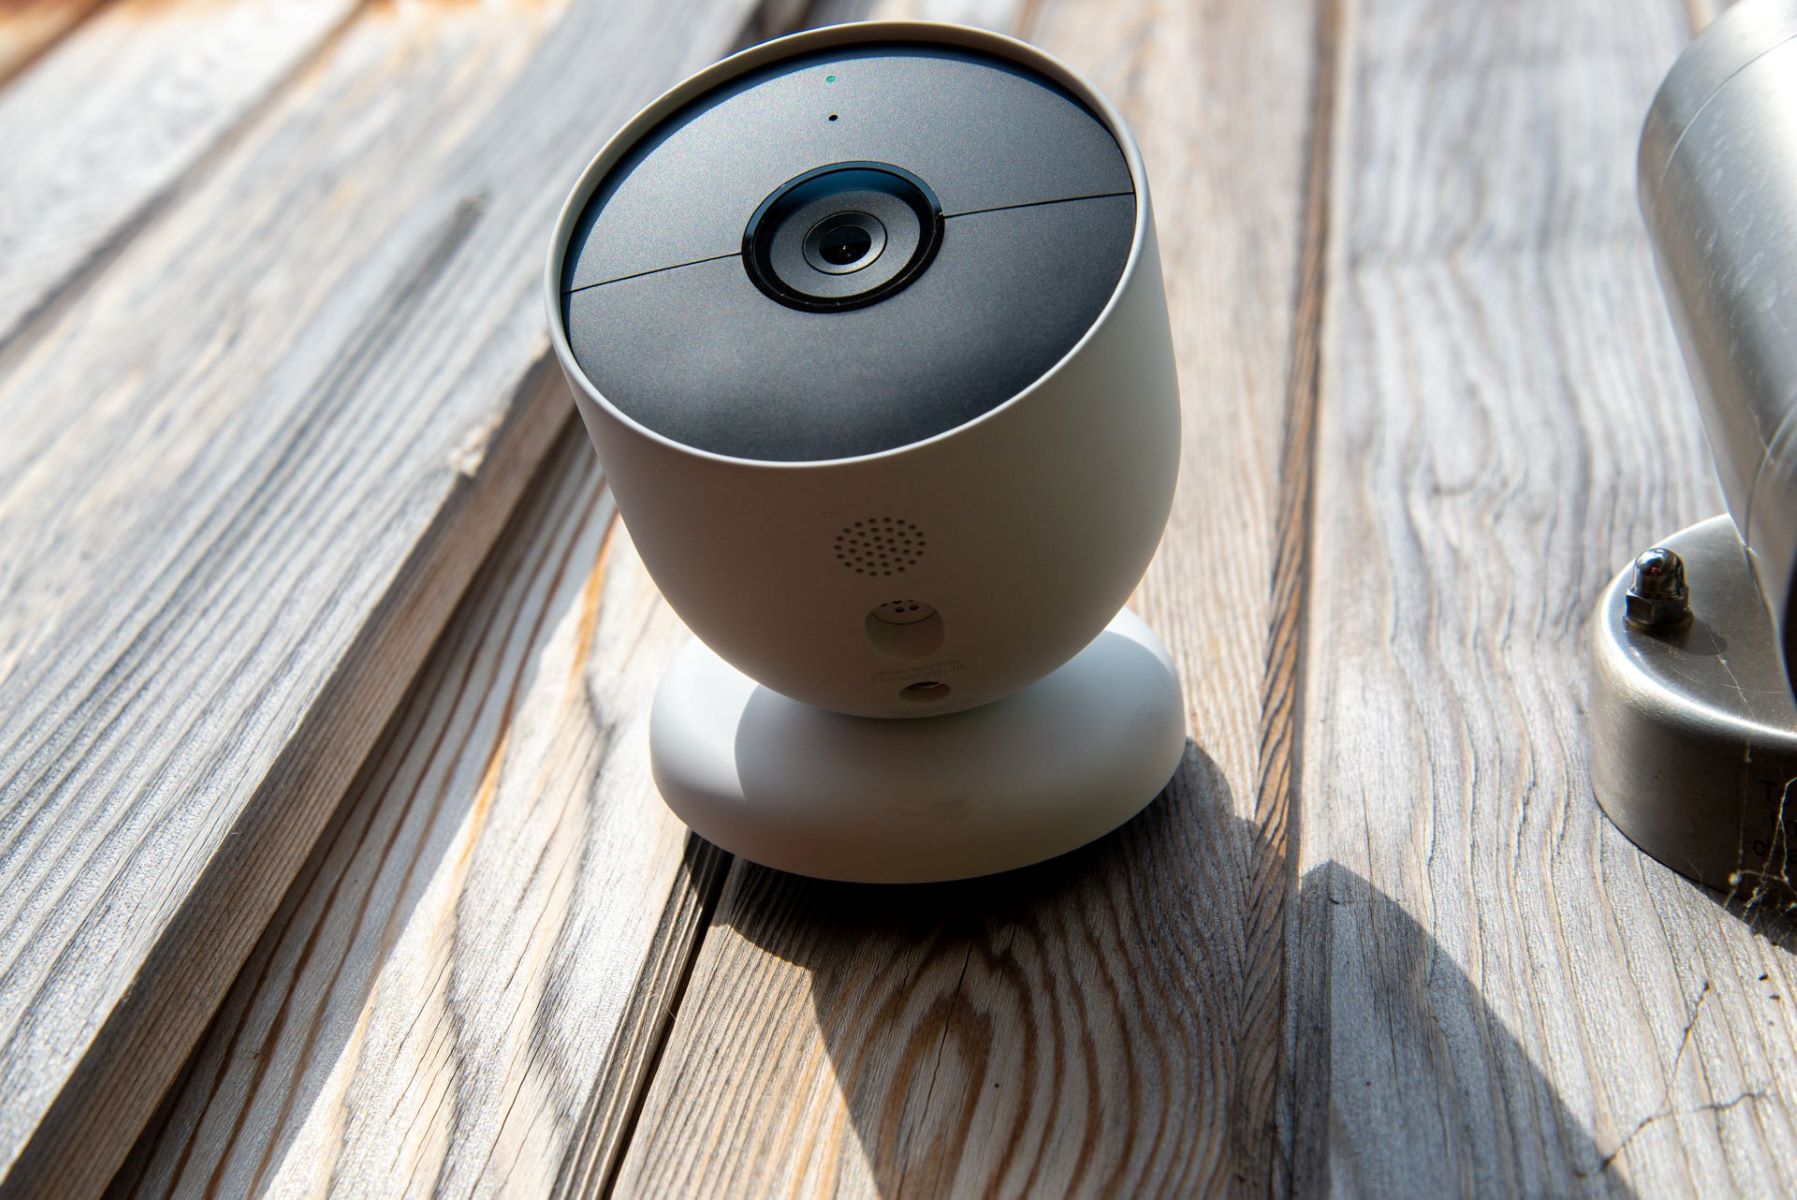
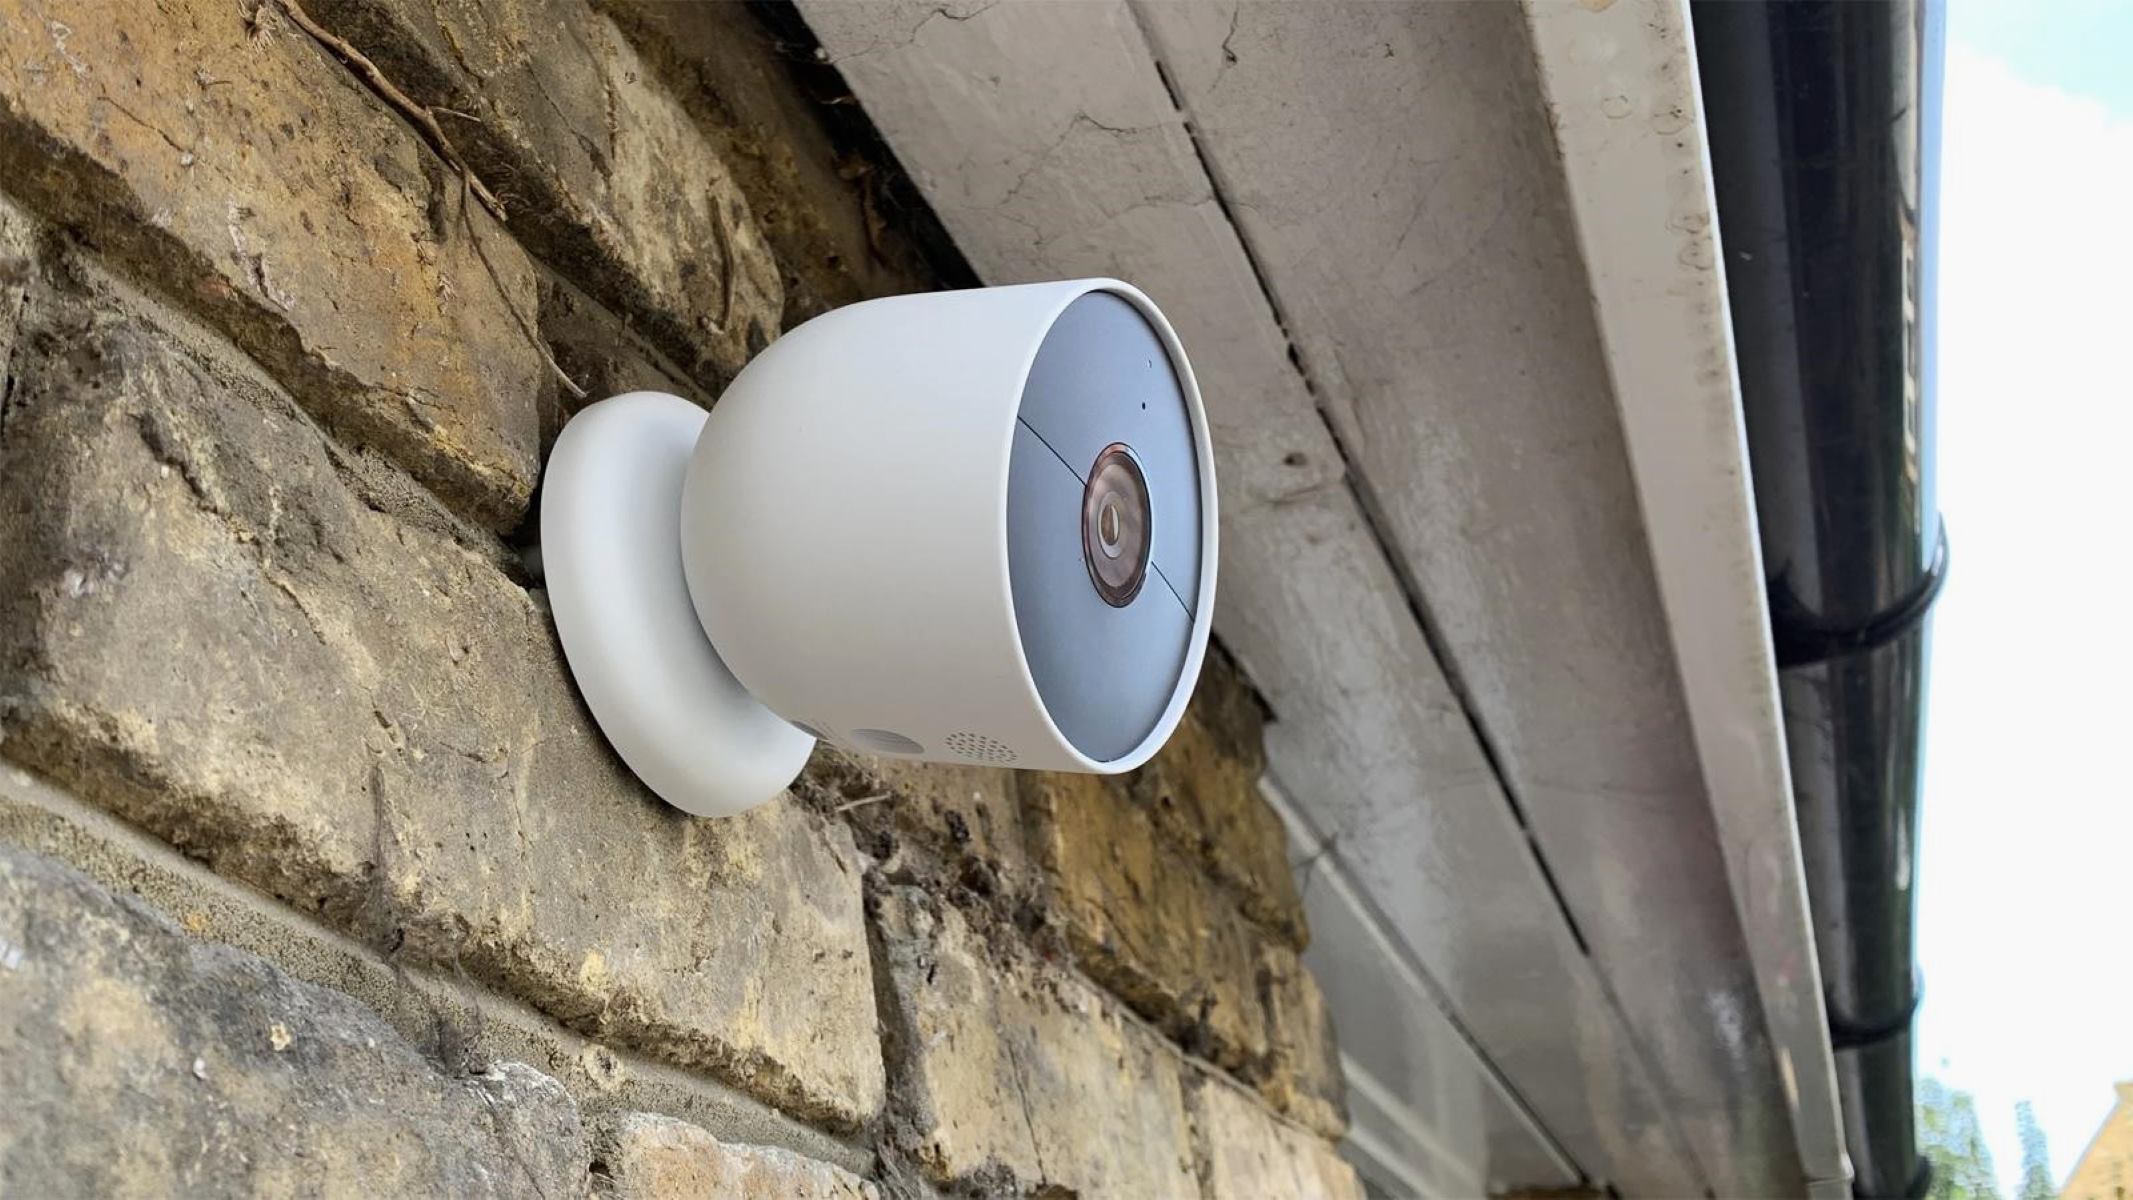
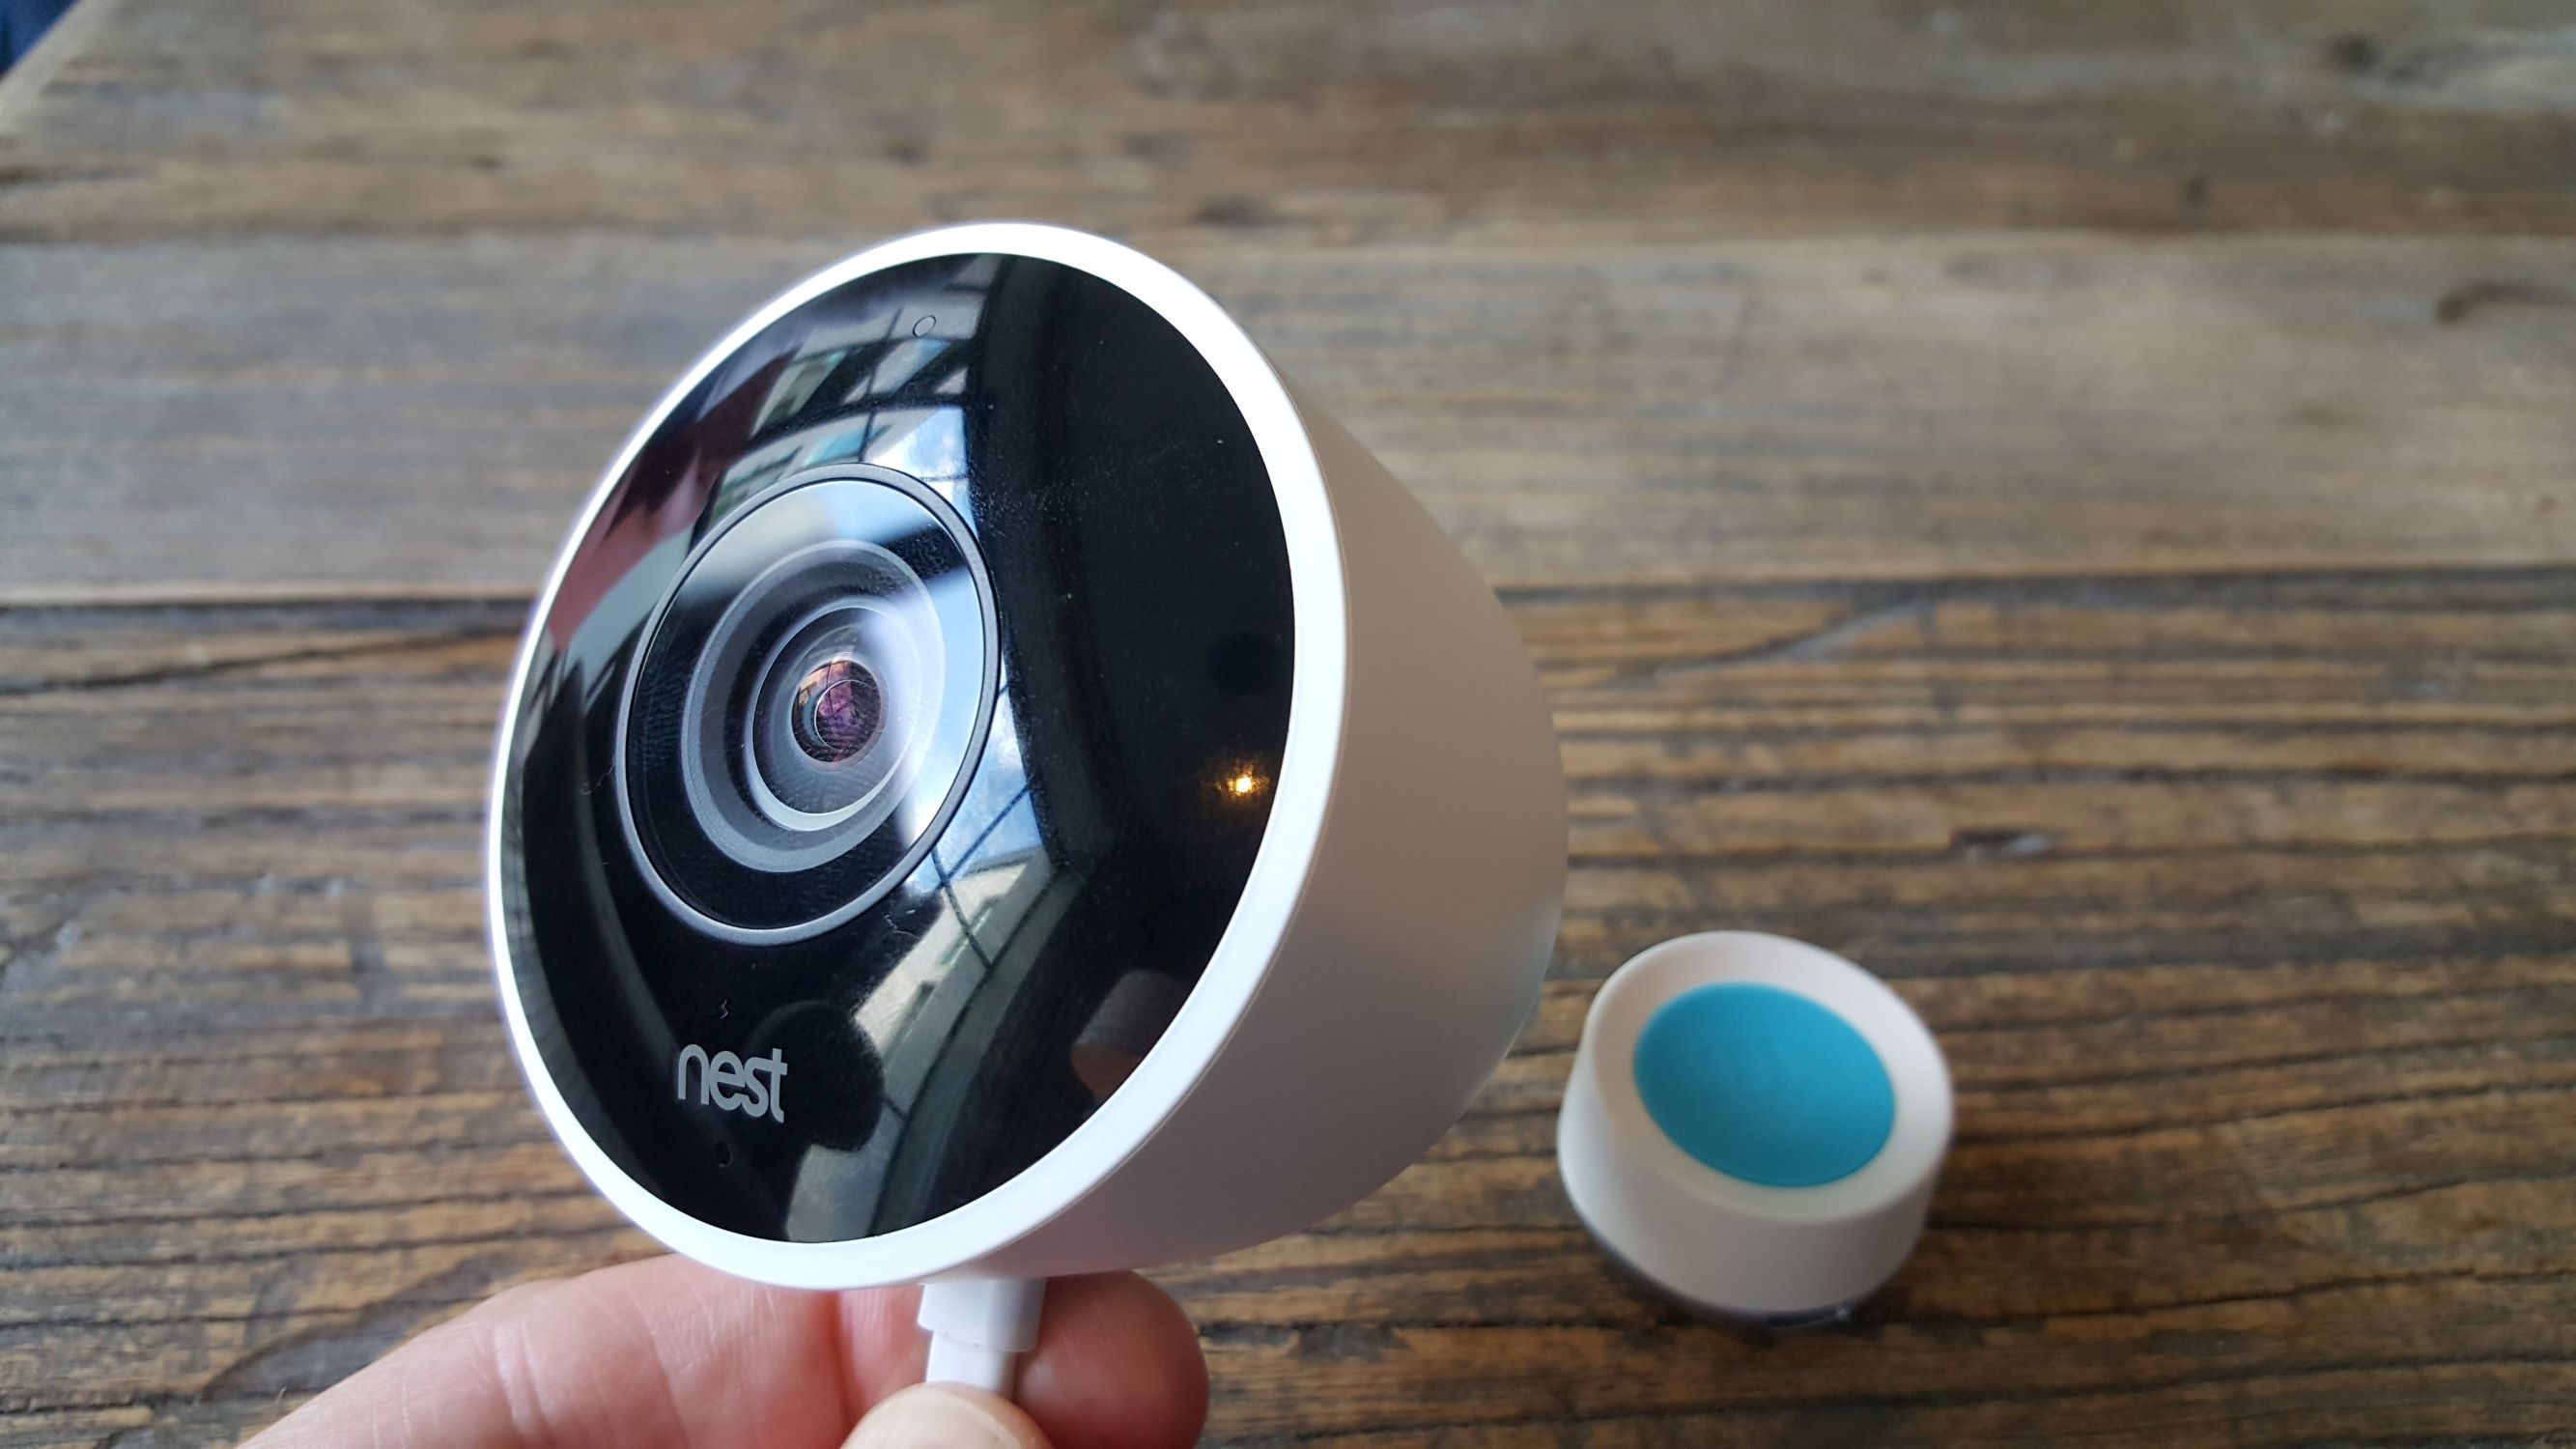
When removing the Nest Outdoor Camera base, make sure to disconnect the power source and any cables attached to the base. Then, use a screwdriver to loosen the screws holding the base in place, and carefully lift it off the mounting surface.
Read more: How To Reset Nest Outdoor Camera
Step 5: Removing the Nest Outdoor Camera Base Cover
In this step, we will focus on removing the cover of the Nest Outdoor Camera Base. Follow these steps:
- Inspect the camera base cover – Take a close look at the camera base and locate any screws or clips that are holding the cover in place.
- Remove the screws or release the clips – Depending on your camera model, you may need to unscrew the cover or release the clips using a small tool like a flathead screwdriver or a plastic opening tool.
- Gently lift and remove the cover – Once the screws are removed or the clips released, gently lift and remove the cover from the camera base. Be careful not to force or damage any components.
With these steps, you should be able to remove the cover of the Nest Outdoor Camera Base. Keep the cover aside safely, as you may need it for reinstallation or replacement.
Now that the cover is removed, we will proceed to the next step and disconnect the camera base from the network.
Step 6: Disconnecting the Camera Base from the Network
Before completely removing the Nest Outdoor Camera Base, it’s important to disconnect it from the network to ensure a smooth transition. Follow these steps to disconnect the camera base from the network:
- Access the Nest app – Open the Nest app on your mobile device or access it through a web browser.
- Select the camera – Navigate to the camera settings and select the Nest Outdoor Camera Base that you are removing.
- Go to the device settings – Within the camera settings, locate the device-specific settings and navigate to that section.
- Select “Remove” or “Disconnect” – Look for options like “Remove from account” or “Disconnect from network.” Select the appropriate option to initiate the removal process.
- Follow the on-screen instructions – The app will guide you through the process of disconnecting the camera base from the network. This may involve confirming your action, entering credentials, or scanning QR codes.
By following these steps, you will disconnect the Nest Outdoor Camera Base from the network. This will ensure that the camera base is no longer connected to your home security system or remote monitoring services.
Now that the camera base is disconnected from the network, we can proceed to the final step of safely removing it.
Step 7: Safely Removing the Nest Outdoor Camera Base
In this final step, we will focus on safely removing the Nest Outdoor Camera Base from its mounting location. Follow these steps to ensure a safe removal process:
- Secure the camera base – With the camera base disconnected from the network, make sure it is held securely to prevent it from falling or slipping during the removal process.
- Remove any remaining screws – Check the camera base and the mounting plate for any remaining screws. Use the appropriate screwdriver to remove them if necessary.
- Gently lift and remove the camera base – Once all the screws are removed, gently lift the camera base away from the mounting surface. Be cautious of any attached cables and disconnect them if needed.
- Clean the mounting surface – Take a moment to clean the mounting surface and remove any debris or residue left behind. This will ensure a clean surface for reinstallation or for installing a new camera in the future.
With these steps, you have successfully removed the Nest Outdoor Camera Base from its mounting location. Take care to store the camera base, screws, and any other components in a safe place in case you need them for reinstallation or troubleshooting.
Remember to exercise caution and follow any manufacturer guidelines while removing the camera base to avoid any damage or potential injuries.
Congratulations! You have completed the process of removing the Nest Outdoor Camera Base. Whether you are replacing the camera or relocating it to a new spot, you can now proceed with your desired installation or setup.
Conclusion
Removing the Nest Outdoor Camera Base may seem like a daunting task, but by following the steps outlined in this guide, you can easily and safely accomplish it. By gathering the necessary tools, disconnecting the camera base, removing it from the mounting plate, detaching the power cable, removing the cover, disconnecting it from the network, and finally, safely removing the camera base from its mounting location, you can effectively complete the removal process.
Remember to prioritize safety throughout the process. Turn off the power supply, wear personal protective equipment, and handle the components with care to avoid any accidents or damage. Additionally, keep track of any screws or parts that are removed to ensure that you can reassemble the camera or install a new one properly.
Whether you are replacing the Nest Outdoor Camera or relocating it to a different area, having the knowledge to remove the camera base is crucial. This guide has provided you with the necessary steps to perform a seamless removal, allowing you to proceed with your next steps confidently.
By following the steps outlined in this guide, you can safely and effectively remove the Nest Outdoor Camera Base. Remember to consult the manufacturer’s instructions specific to your camera model and seek professional assistance if needed. With careful execution, you can successfully complete the removal process and continue with your home security and surveillance plans.
We hope this guide has been helpful to you. Happy removing!
Now that you've mastered removing your Nest Outdoor Camera Base, why not dive deeper into enhancing your home's intelligence? For those keen on upgrading their living space, our latest articles on smart home technology and home automation will guide you through the latest gadgets and systems. From simplifying daily tasks to boosting security, these insights are perfect for any tech enthusiast looking to modernize their home. Don't miss out on transforming your home into a smarter, more efficient haven.
Frequently Asked Questions about How To Remove The Nest Outdoor Camera Base
Was this page helpful?
At Storables.com, we guarantee accurate and reliable information. Our content, validated by Expert Board Contributors, is crafted following stringent Editorial Policies. We're committed to providing you with well-researched, expert-backed insights for all your informational needs.
