Home>Home Security and Surveillance>How To Hook Up A Wi-Fi Outdoor Camera
Home Security and Surveillance
How To Hook Up A Wi-Fi Outdoor Camera
Modified: October 19, 2024
Easy guide on how to set up a Wi-Fi outdoor camera for enhanced home security and surveillance. Ensure peace of mind with this step-by-step tutorial.
(Many of the links in this article redirect to a specific reviewed product. Your purchase of these products through affiliate links helps to generate commission for Storables.com, at no extra cost. Learn more)
Introduction
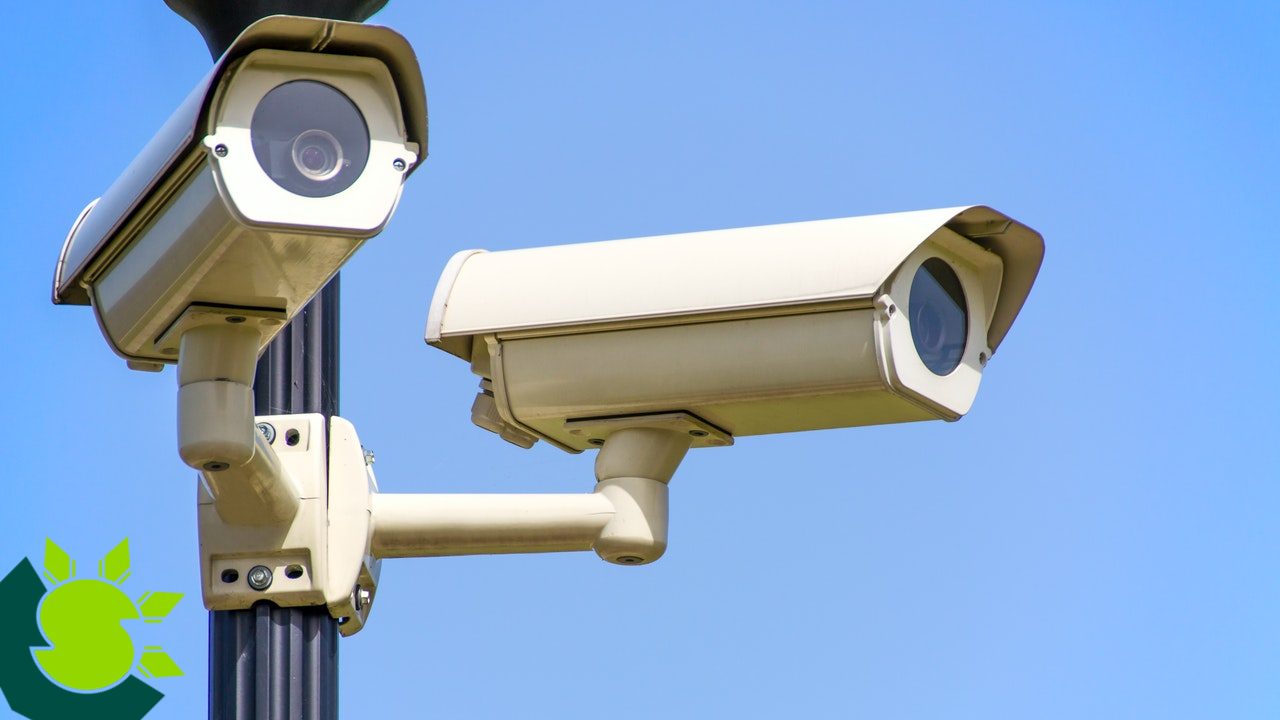
Welcome to the world of home security and surveillance! In today’s fast-paced and interconnected world, it’s essential to ensure the safety and security of our homes. One of the most effective ways to achieve peace of mind and protect our loved ones is by installing a Wi-Fi outdoor camera.
Wi-Fi outdoor cameras have revolutionized the home security industry, providing homeowners with the ability to monitor their properties remotely and in real-time. With features like motion detection, night vision, and two-way audio, these cameras offer advanced functionalities that enhance the overall security of our homes.
In this article, we will guide you through the process of hooking up a Wi-Fi outdoor camera, from choosing the right location to configuring its settings. Whether you’re a tech enthusiast or a novice, you’ll find this guide helpful in setting up your Wi-Fi outdoor camera with ease.
Before we dive into the step-by-step process, it’s essential to note that every camera model may have slightly different instructions. Therefore, it’s crucial to refer to the user manual provided by the manufacturer for specific guidance related to your camera model.
Now, let’s get started on setting up your Wi-Fi outdoor camera and taking the first steps towards improving the security of your home!
Key Takeaways:
- Choose the right location for your Wi-Fi outdoor camera by considering entry points, visibility, obstructions, Wi-Fi signal strength, and weather resistance to maximize its effectiveness and coverage.
- After setting up and testing your Wi-Fi outdoor camera, enjoy the added peace of mind knowing that you can monitor your property remotely, receive real-time notifications, and deter potential intruders.
Read more: How To Hook Up My HP Printer To Wi-Fi
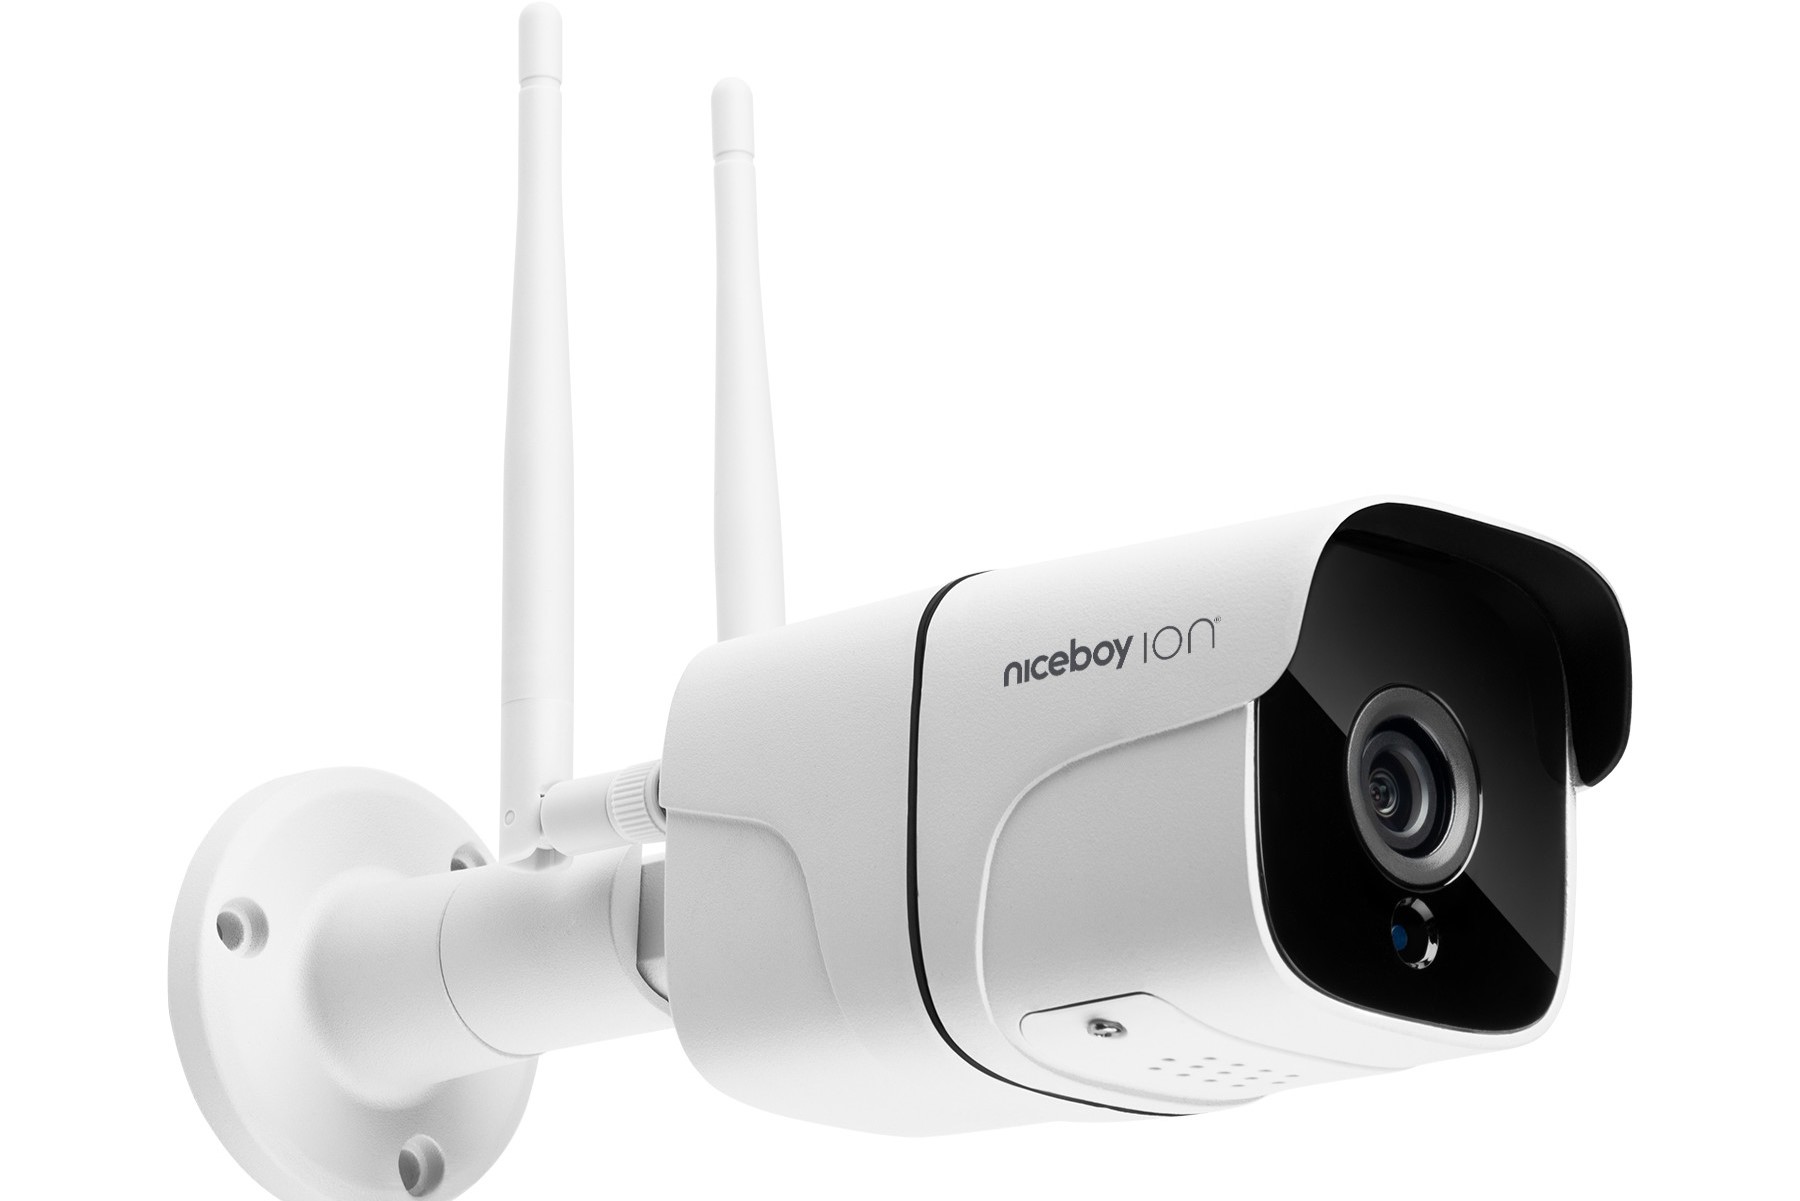
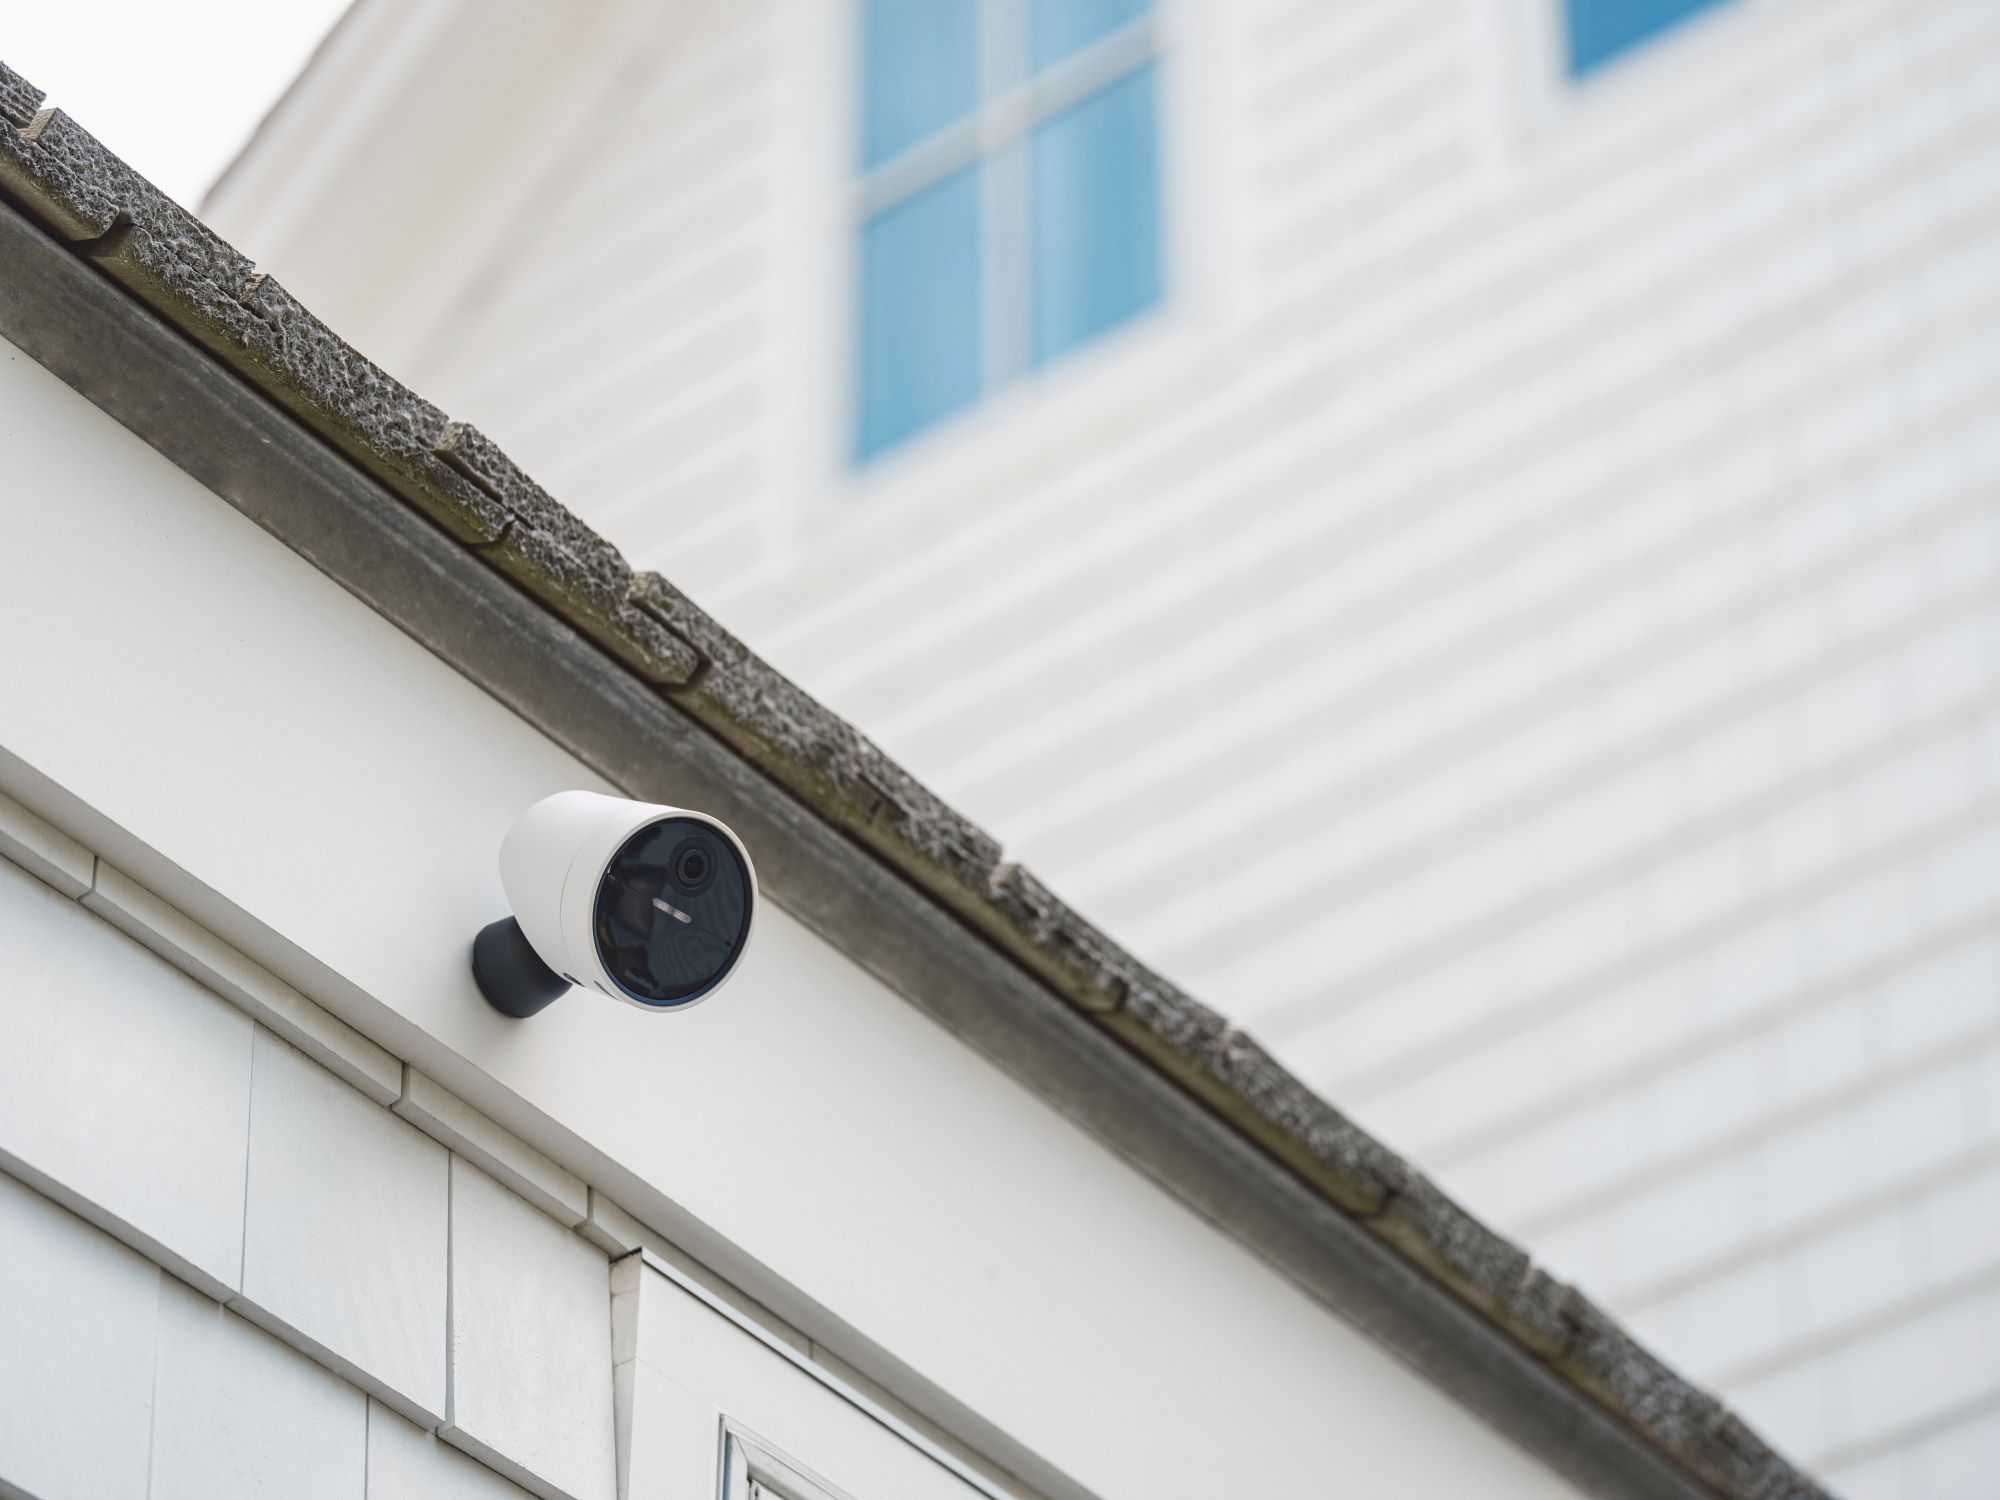
Step 1: Choose the right location
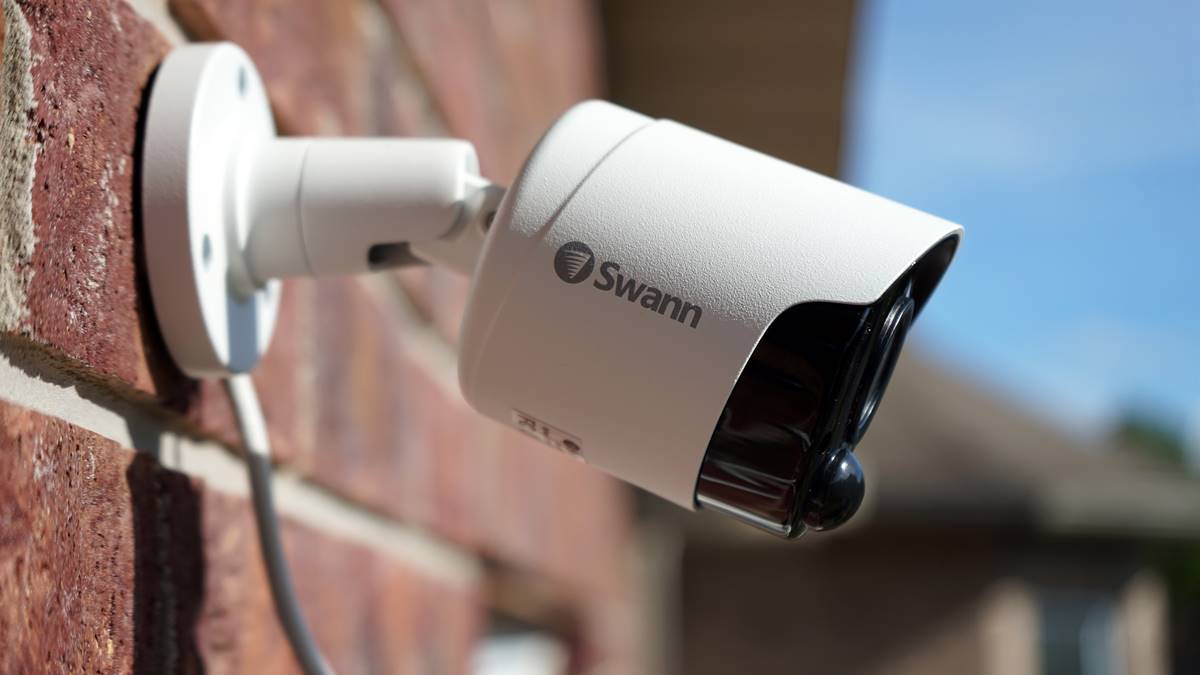
Choosing the right location for your Wi-Fi outdoor camera is crucial for maximizing its effectiveness and coverage. Here are some factors to consider when selecting the perfect spot:
- Entry points: Identify the main entry points to your property, such as doors, windows, and driveways. These areas are prime locations to install your outdoor camera as they provide a comprehensive view of any potential intrusions.
- Visibility: Ensure that the camera is easily visible to both deter potential burglars and capture clear footage for identification purposes. However, be strategic in placing the camera out of reach, making it difficult for intruders to tamper with or disable it.
- Obstructions: Consider any potential obstructions, such as trees, walls, or other structures, that could obstruct the camera’s view. It’s important to have a clear line of sight to capture accurate and relevant footage.
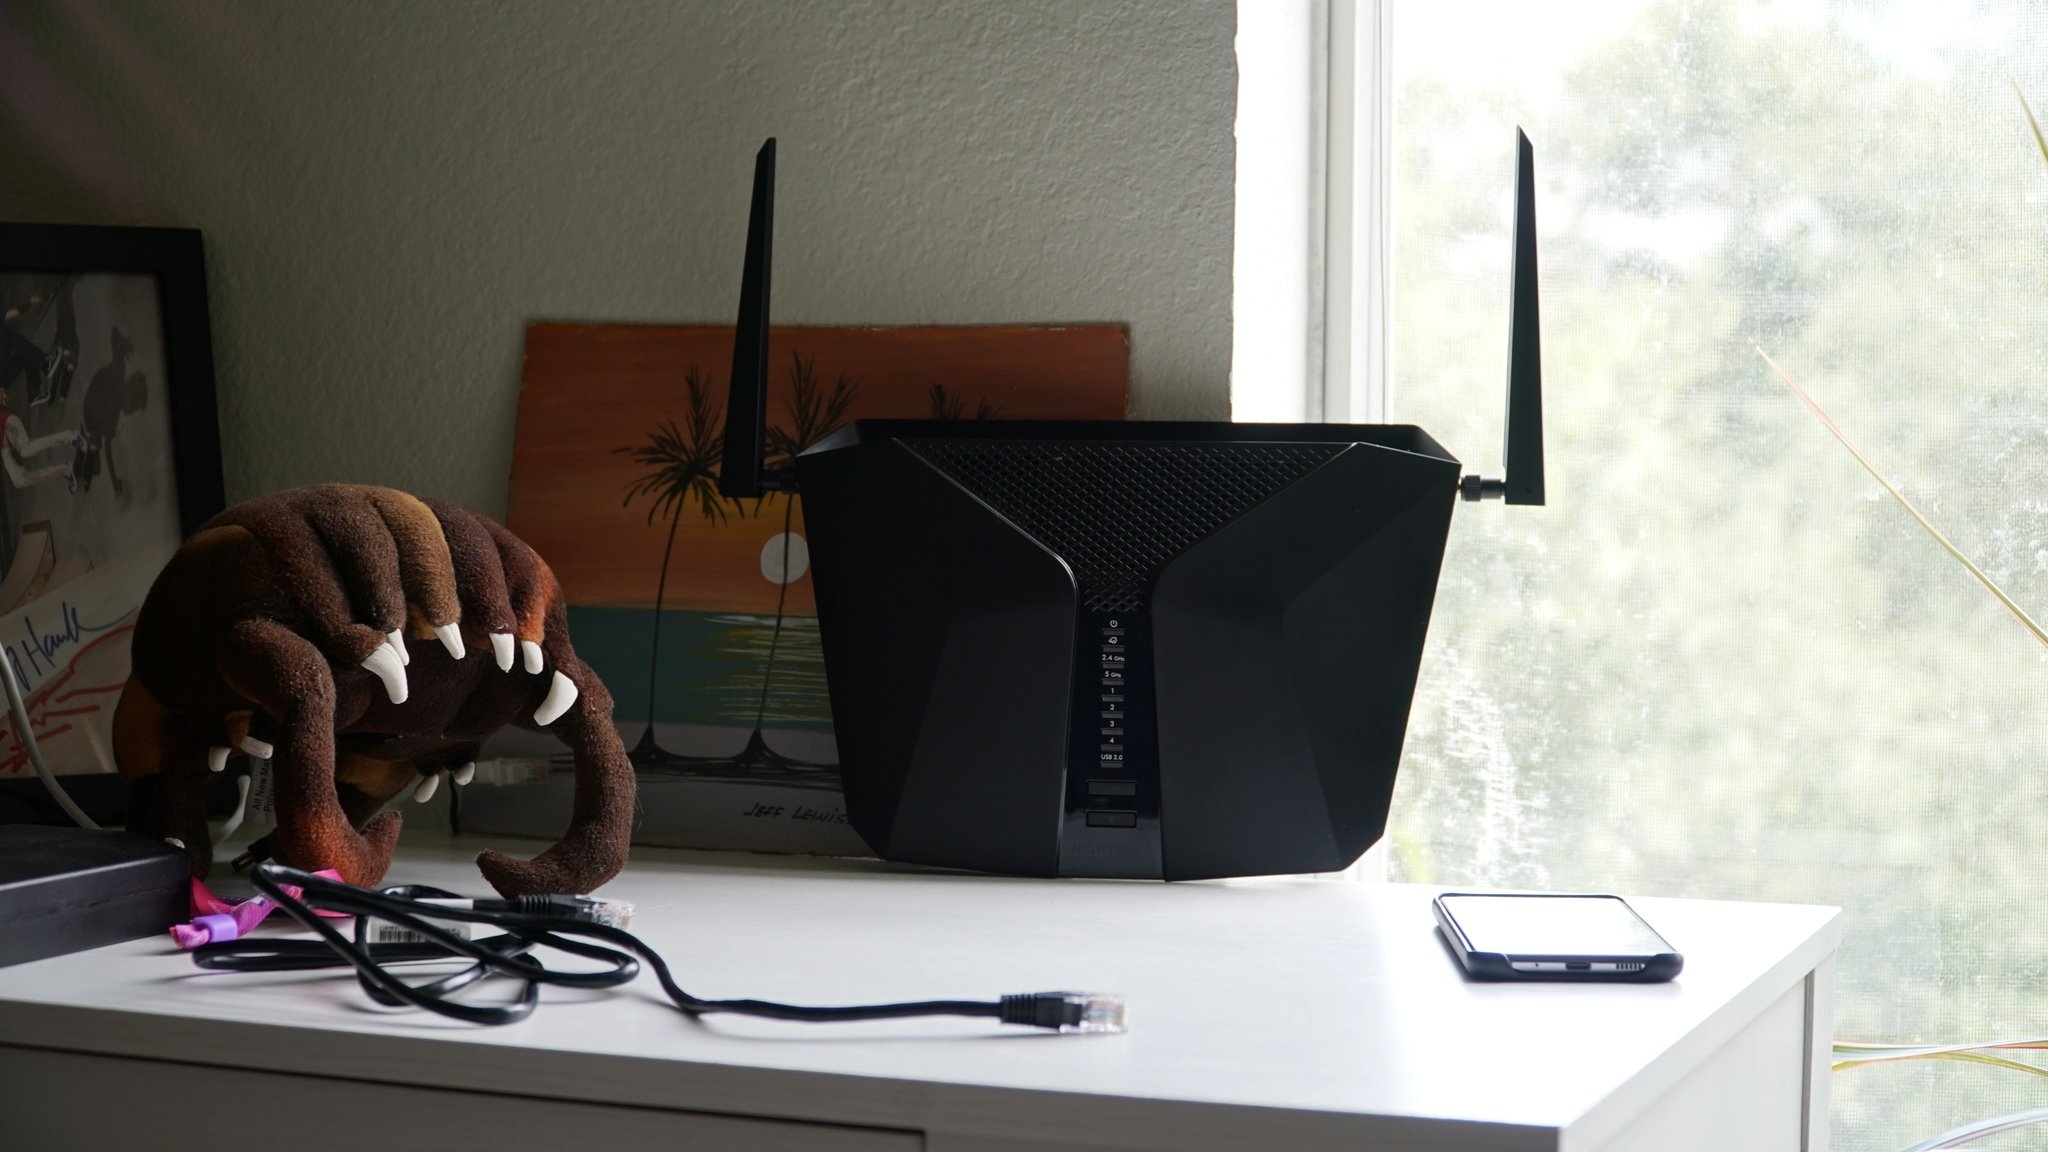
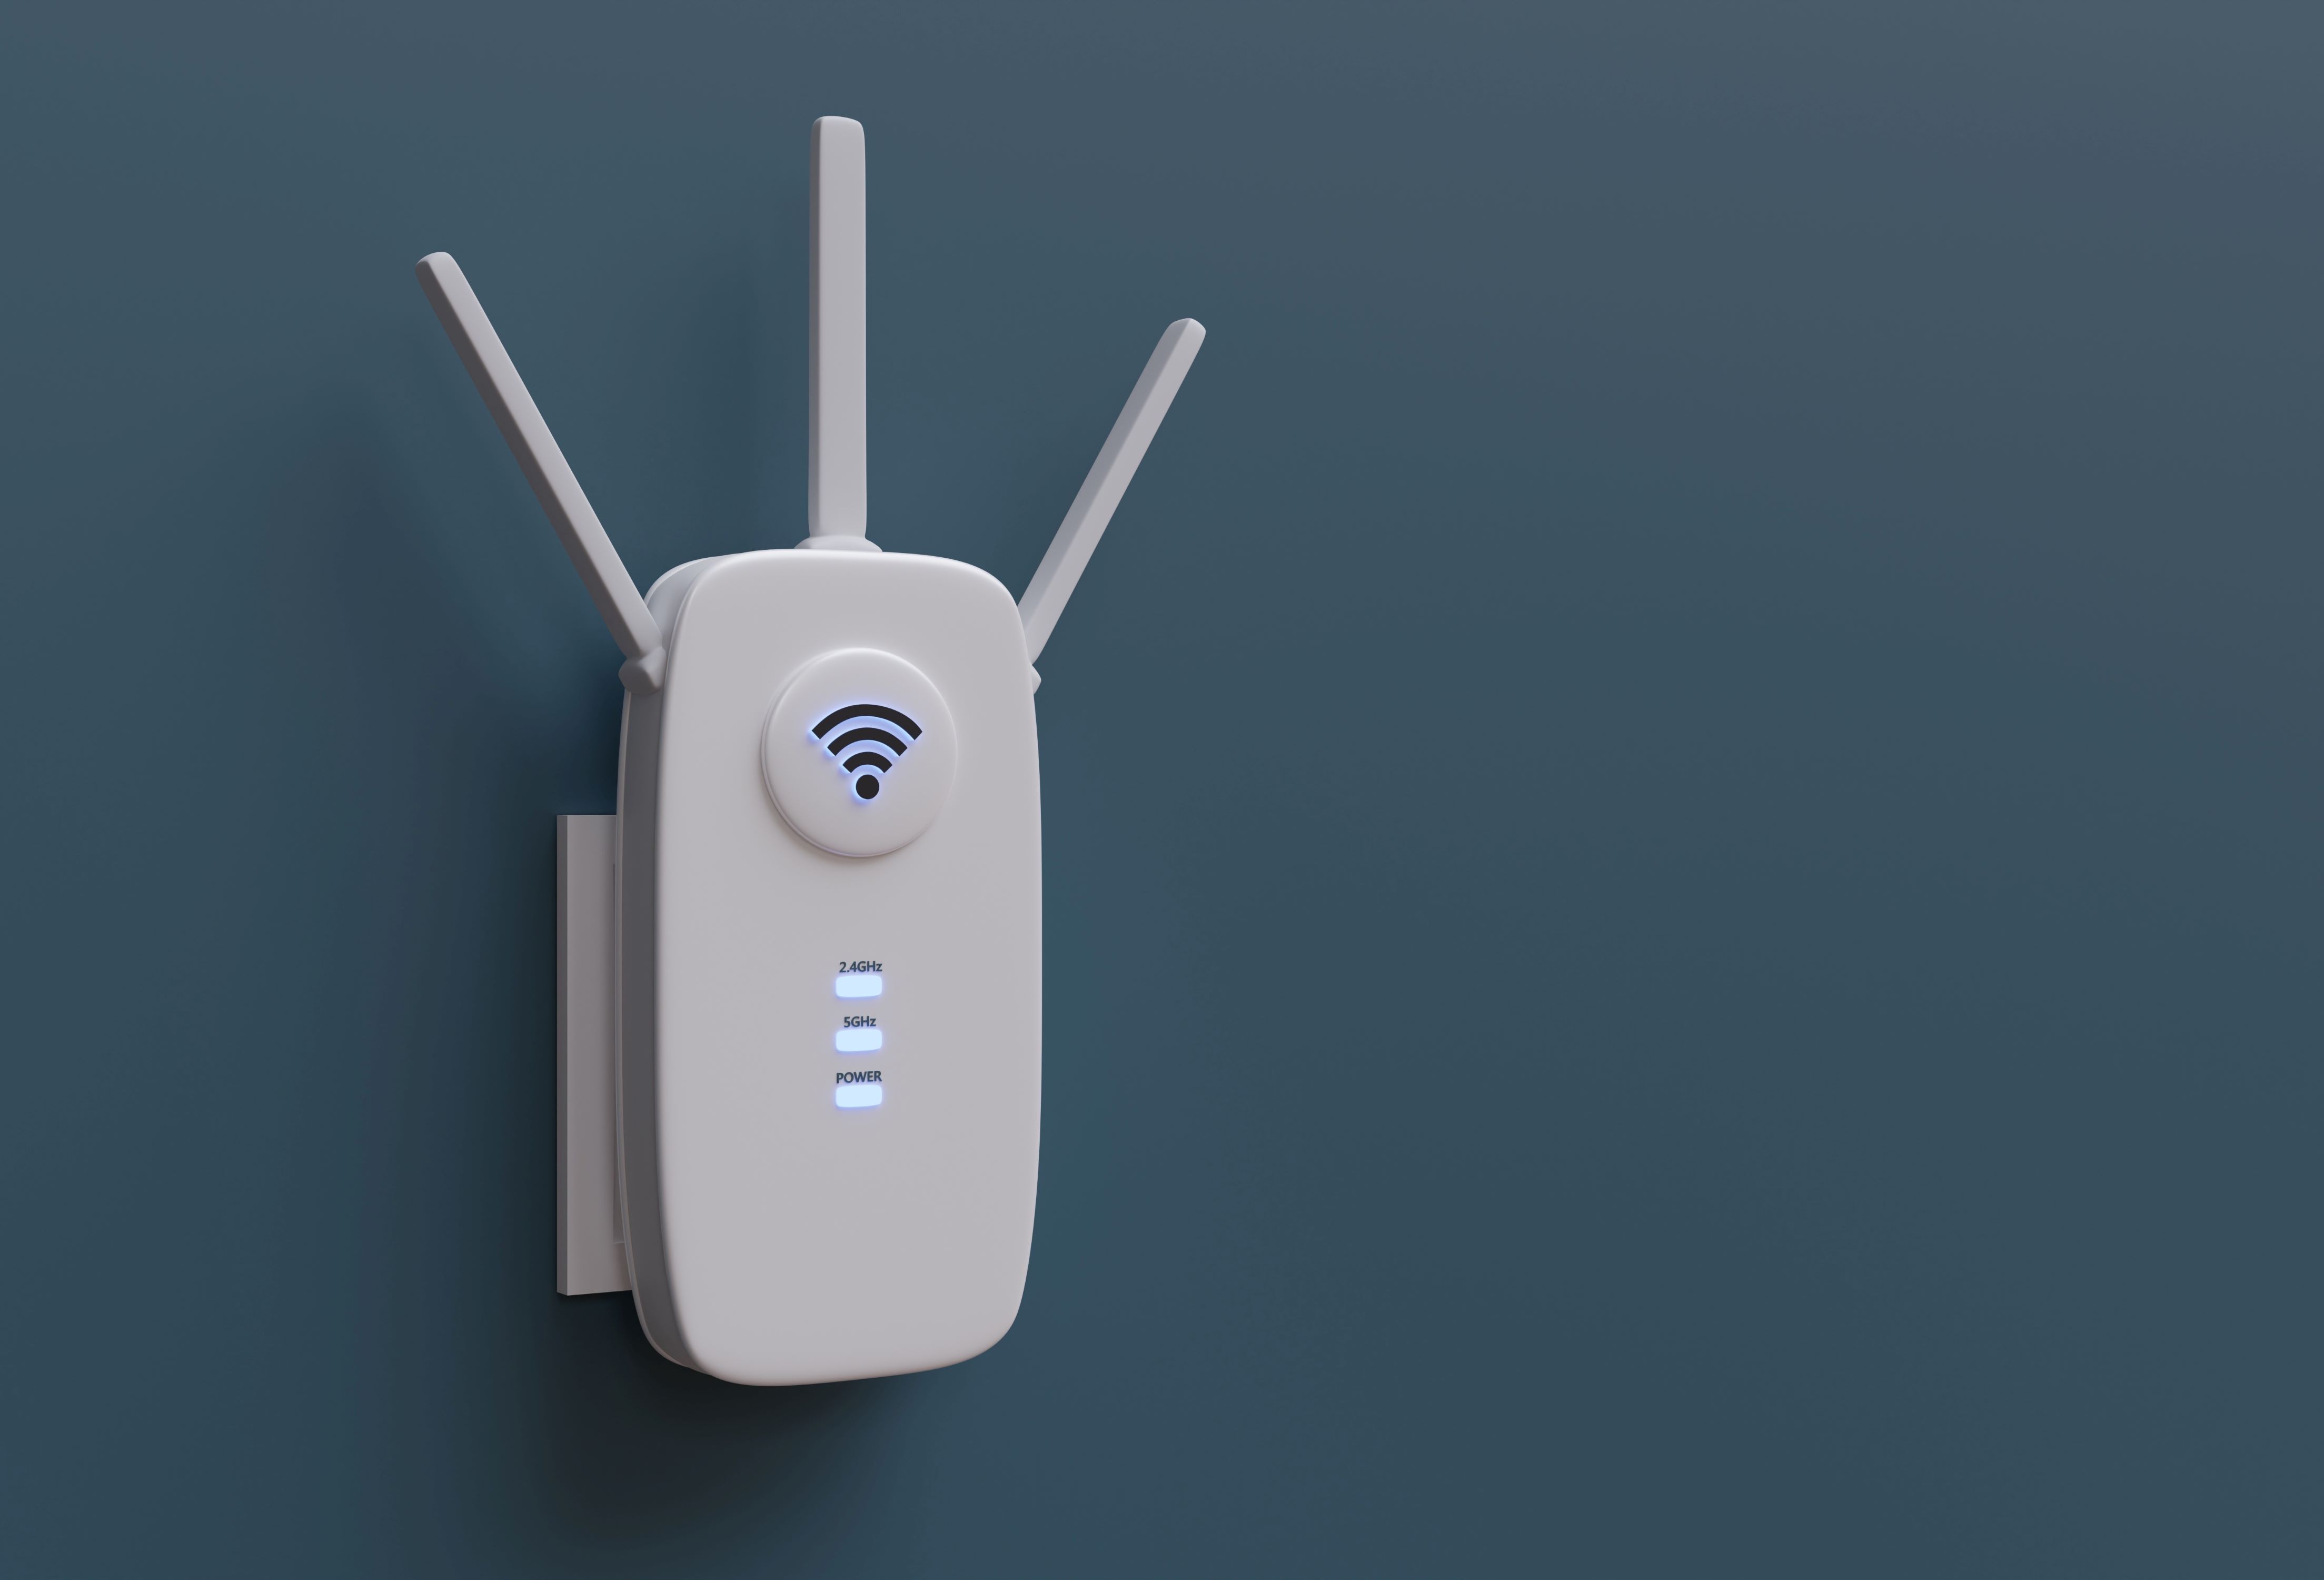
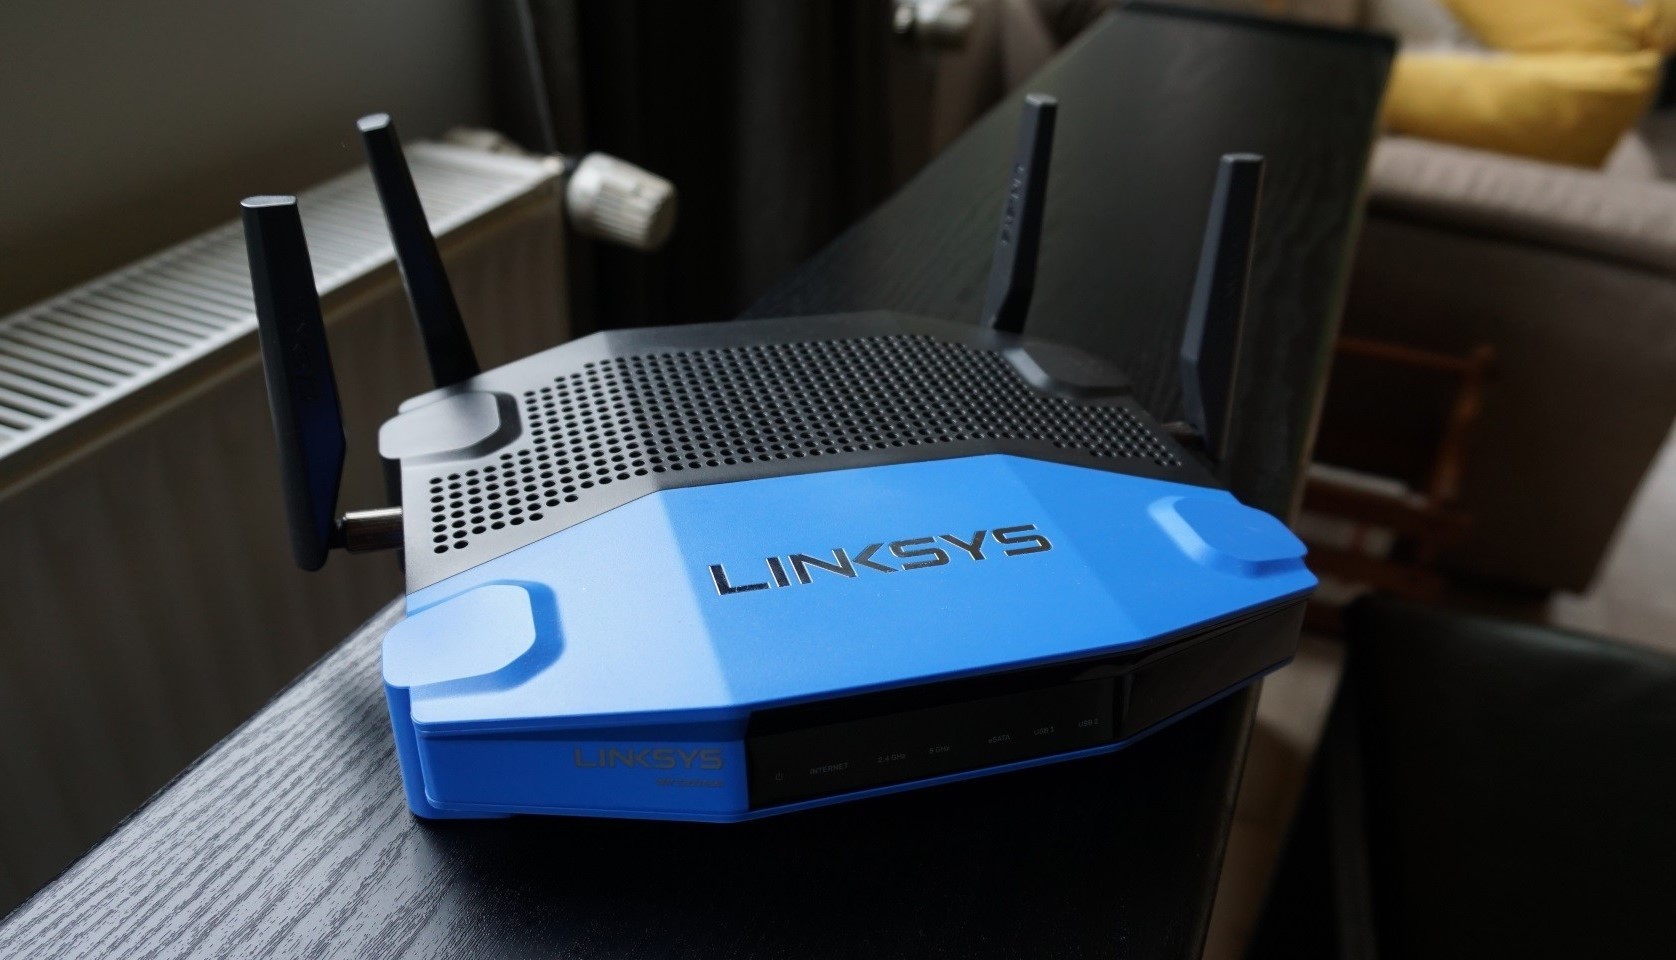
- Wi-Fi signal strength: Check the Wi-Fi signal strength in the potential camera location. Poor signal strength can result in unreliable camera performance. If the signal is weak, consider using Wi-Fi extenders or relocating the router closer to the camera.
- Weather resistance: Ensure that the camera is designed for outdoor use and can withstand various weather conditions. Look for cameras with an IP65 or higher rating, which indicates their ability to withstand dust, rain, and other outdoor elements.
By considering these factors, you can find the ideal location for your Wi-Fi outdoor camera, maximizing its effectiveness and ensuring comprehensive coverage of your property.
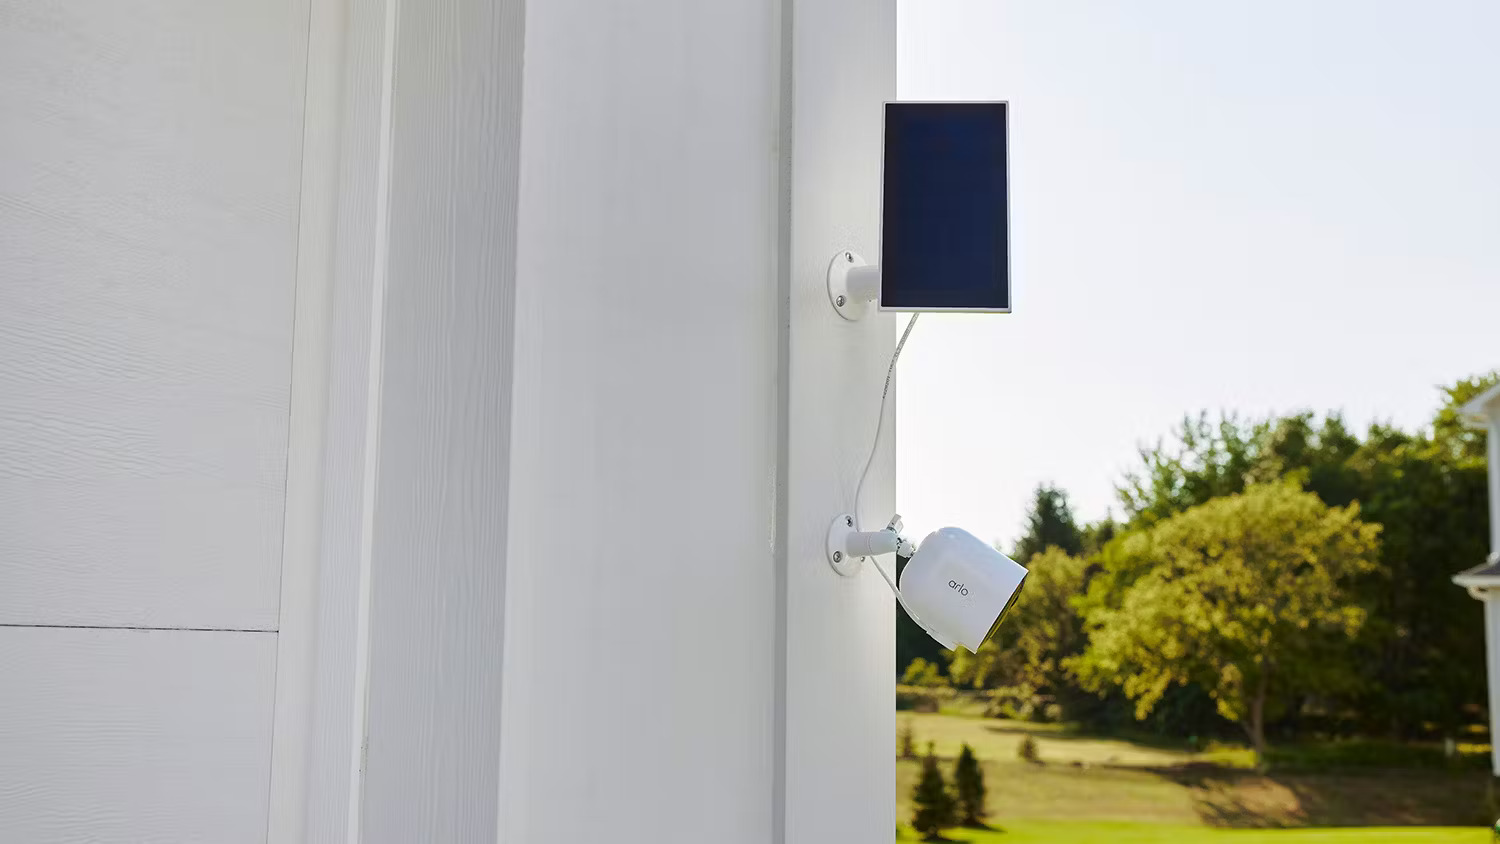
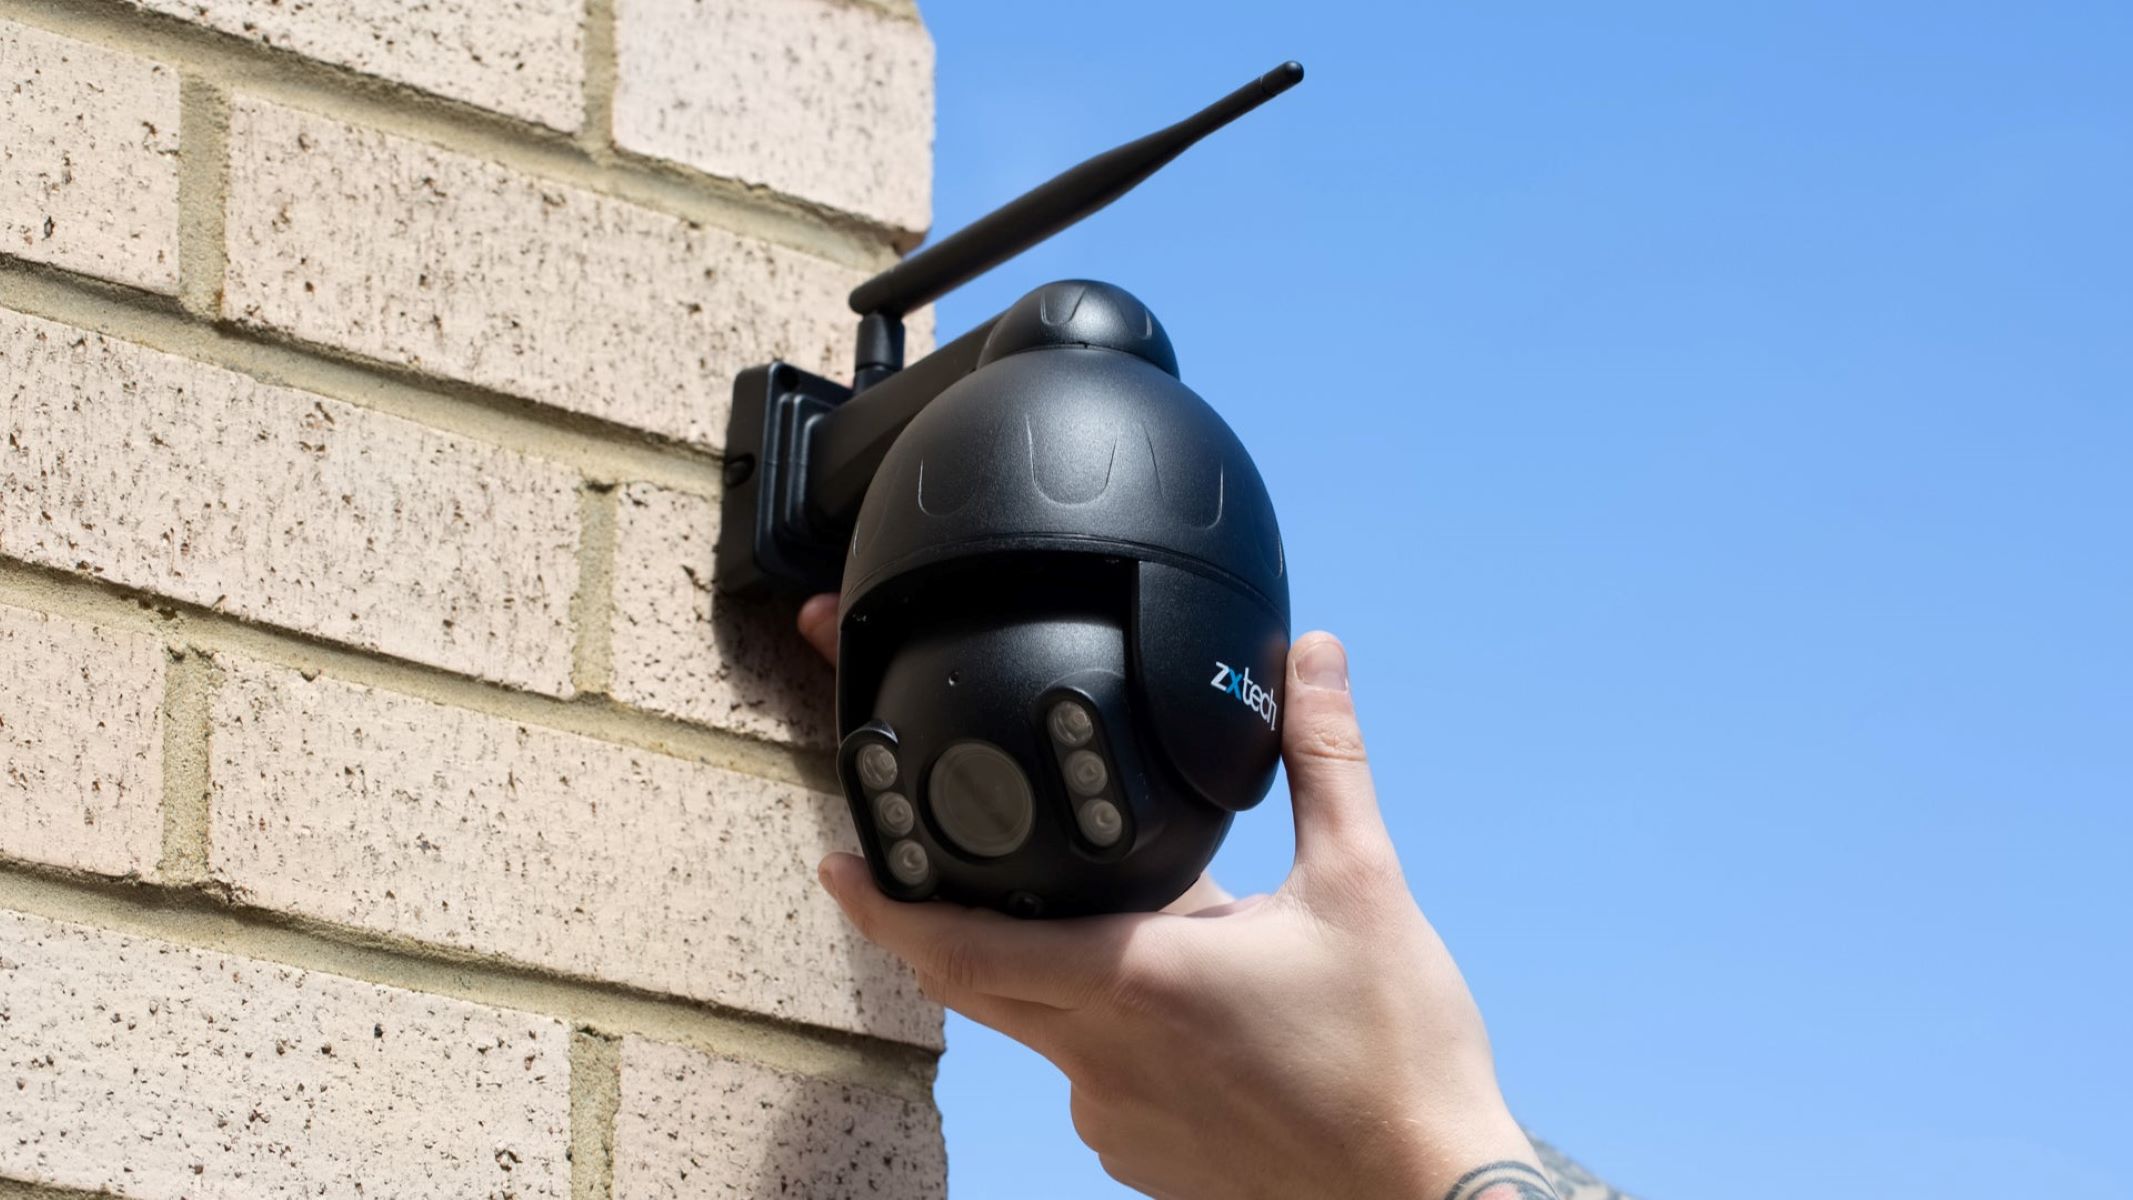
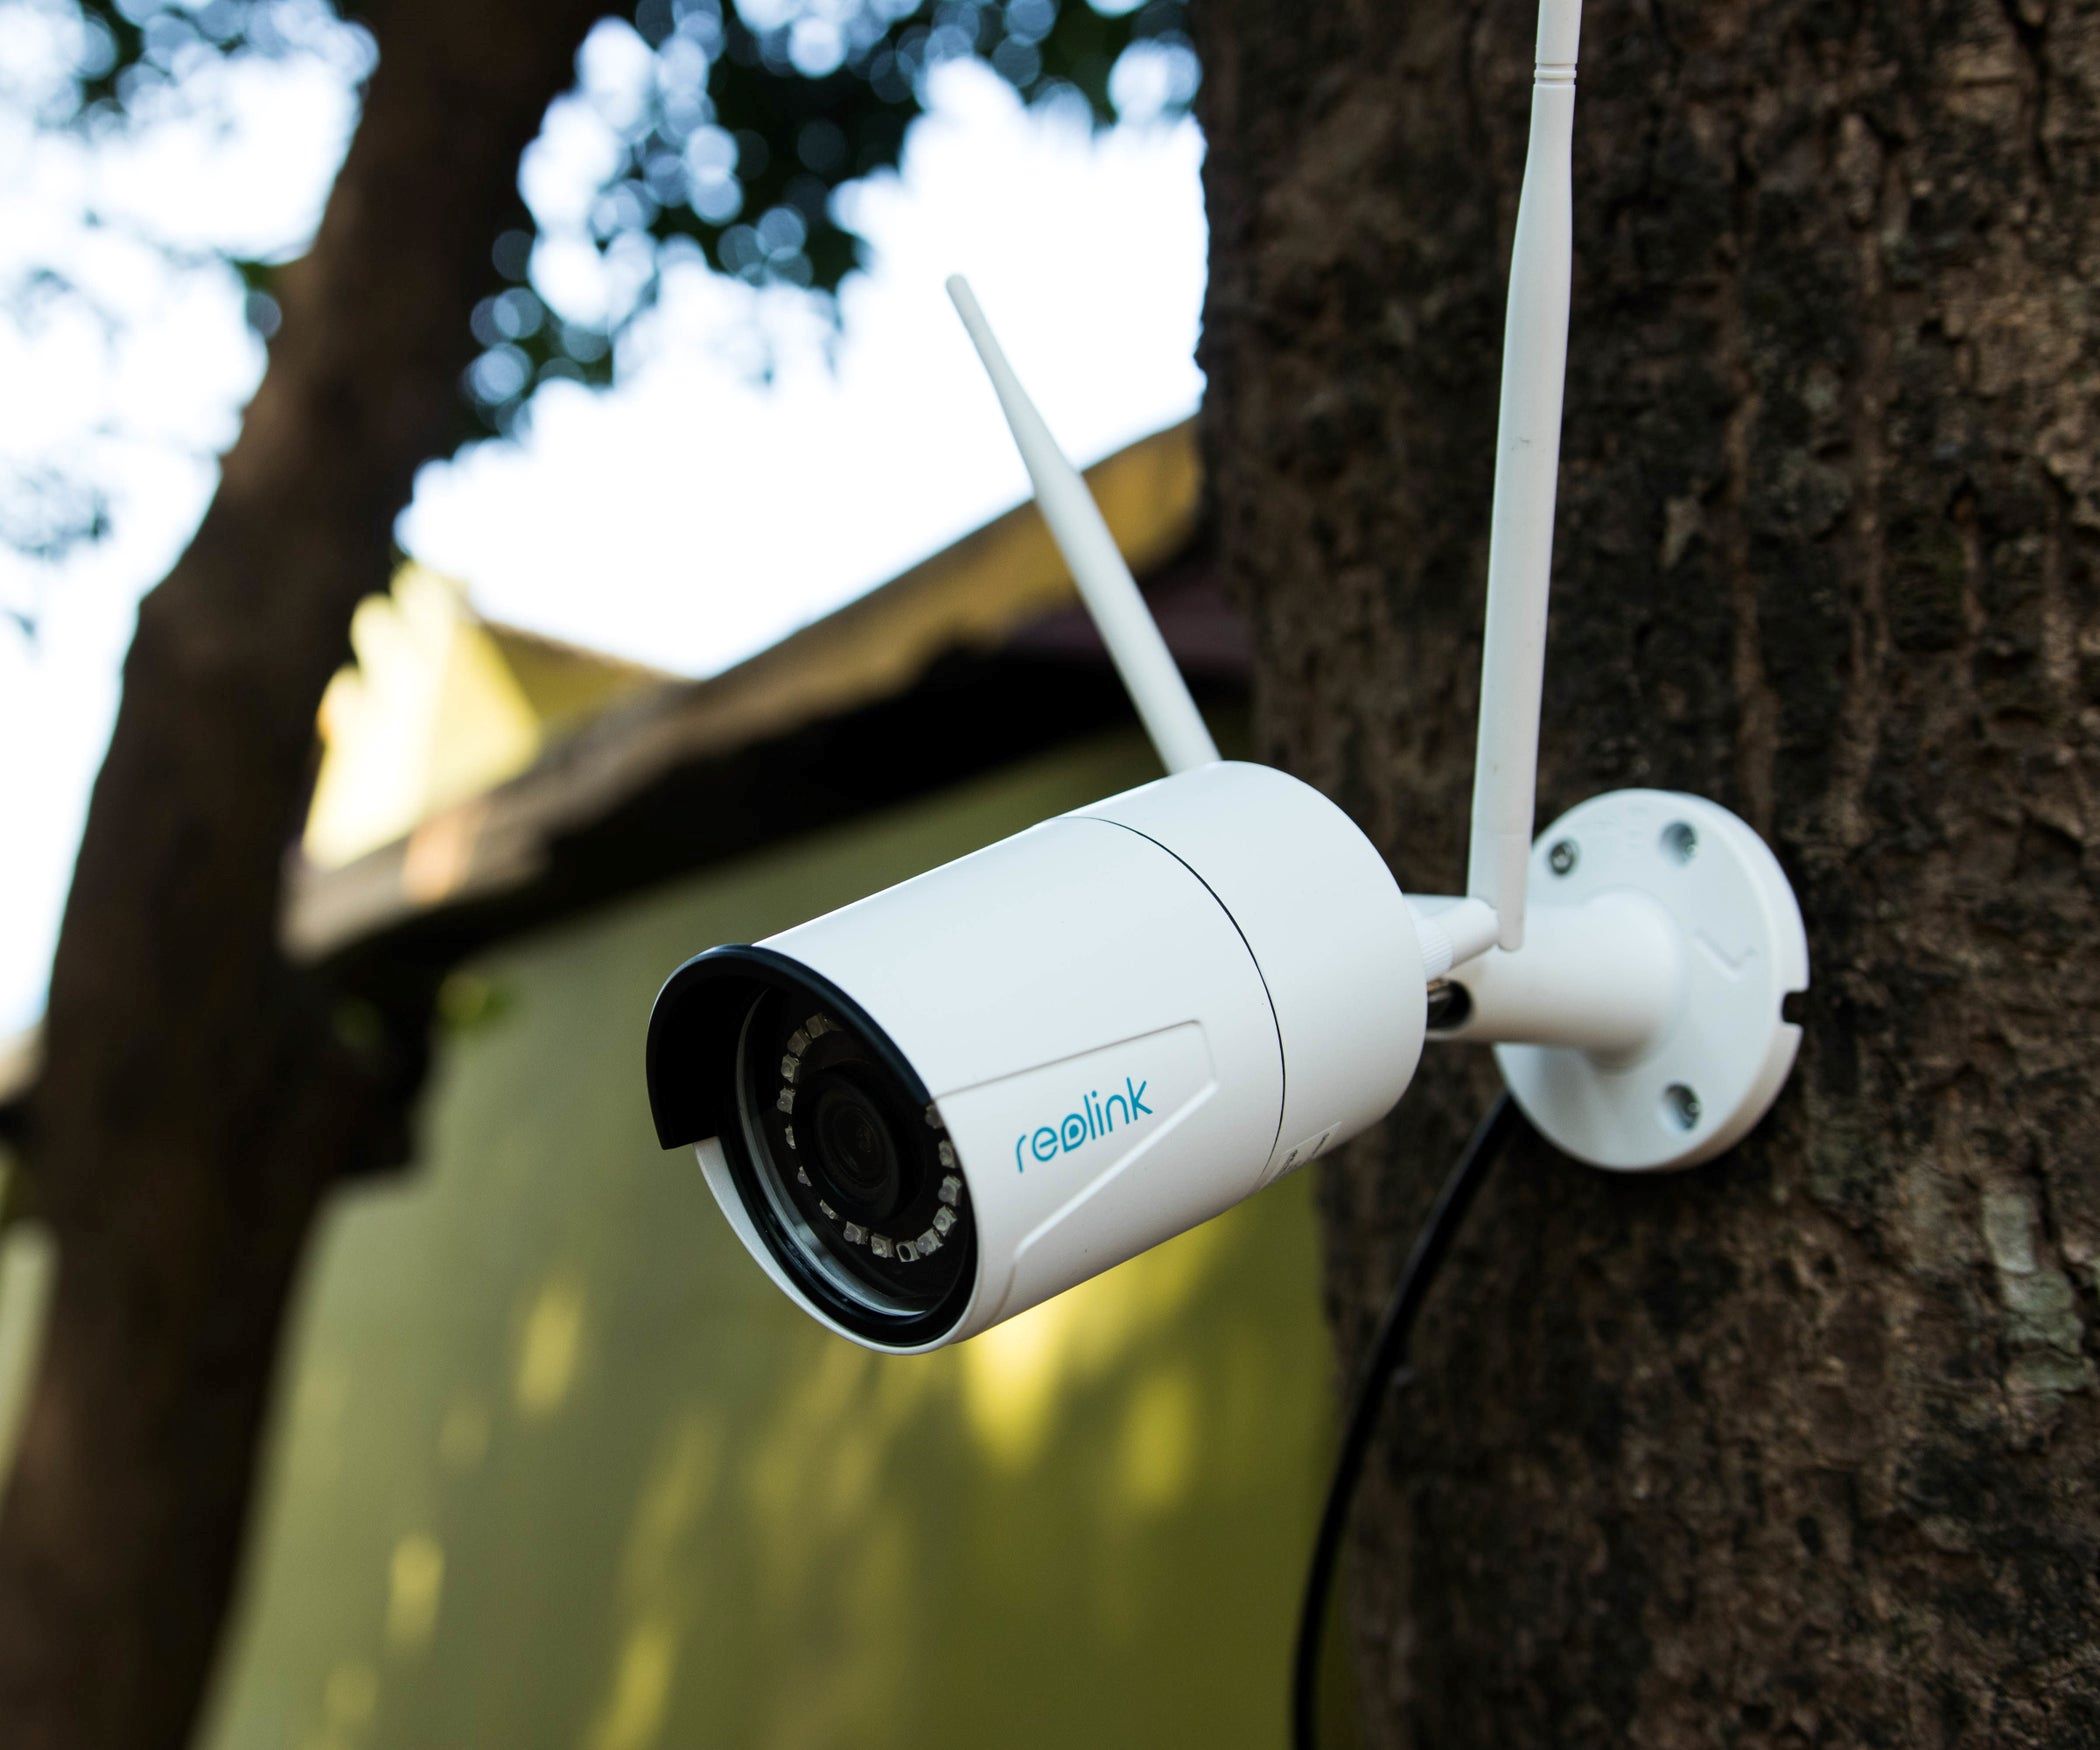
Step 2: Mount the camera
Once you have chosen the right location for your Wi-Fi outdoor camera, it’s time to mount it securely. Follow these steps to ensure a stable and reliable installation:
- Gather the necessary tools: Before you begin, make sure you have all the tools required for mounting the camera. This may include a drill, screwdriver, screws, and any mounting brackets provided with the camera.
- Read the instructions: Refer to the user manual or installation guide provided by the manufacturer for specific instructions on how to mount your camera. Different camera models may have specific mounting requirements.
- Mark the drilling points: Using a pencil or marker, mark the spots where you will be drilling holes for the screws. Ensure that the marks align with the mounting holes on the camera and that they are level and secure.
- Drill the holes: Using a drill, carefully drill holes at the marked spots. Be sure to use the appropriate drill bit size recommended by the manufacturer for the mounting screws.
- Attach the mounting bracket: If the camera requires a mounting bracket, attach it to the drilling holes using the provided screws. Make sure the bracket is securely in place and aligned with the camera’s mounting holes.
- Attach the camera: With the mounting bracket in place, align the camera’s mounting holes with those on the bracket. Use the screws provided to secure the camera to the bracket, ensuring it is tightly fastened.
- Tighten and adjust: Once the camera is mounted, use a screwdriver or wrench to tighten any screws and make any necessary adjustments for proper alignment and positioning.
Remember, it’s crucial to follow the manufacturer’s instructions for mounting your specific camera model. This will ensure a secure installation and optimal performance.
By following these steps, you can mount your Wi-Fi outdoor camera with confidence, knowing that it is securely installed and ready to provide reliable surveillance of your property.
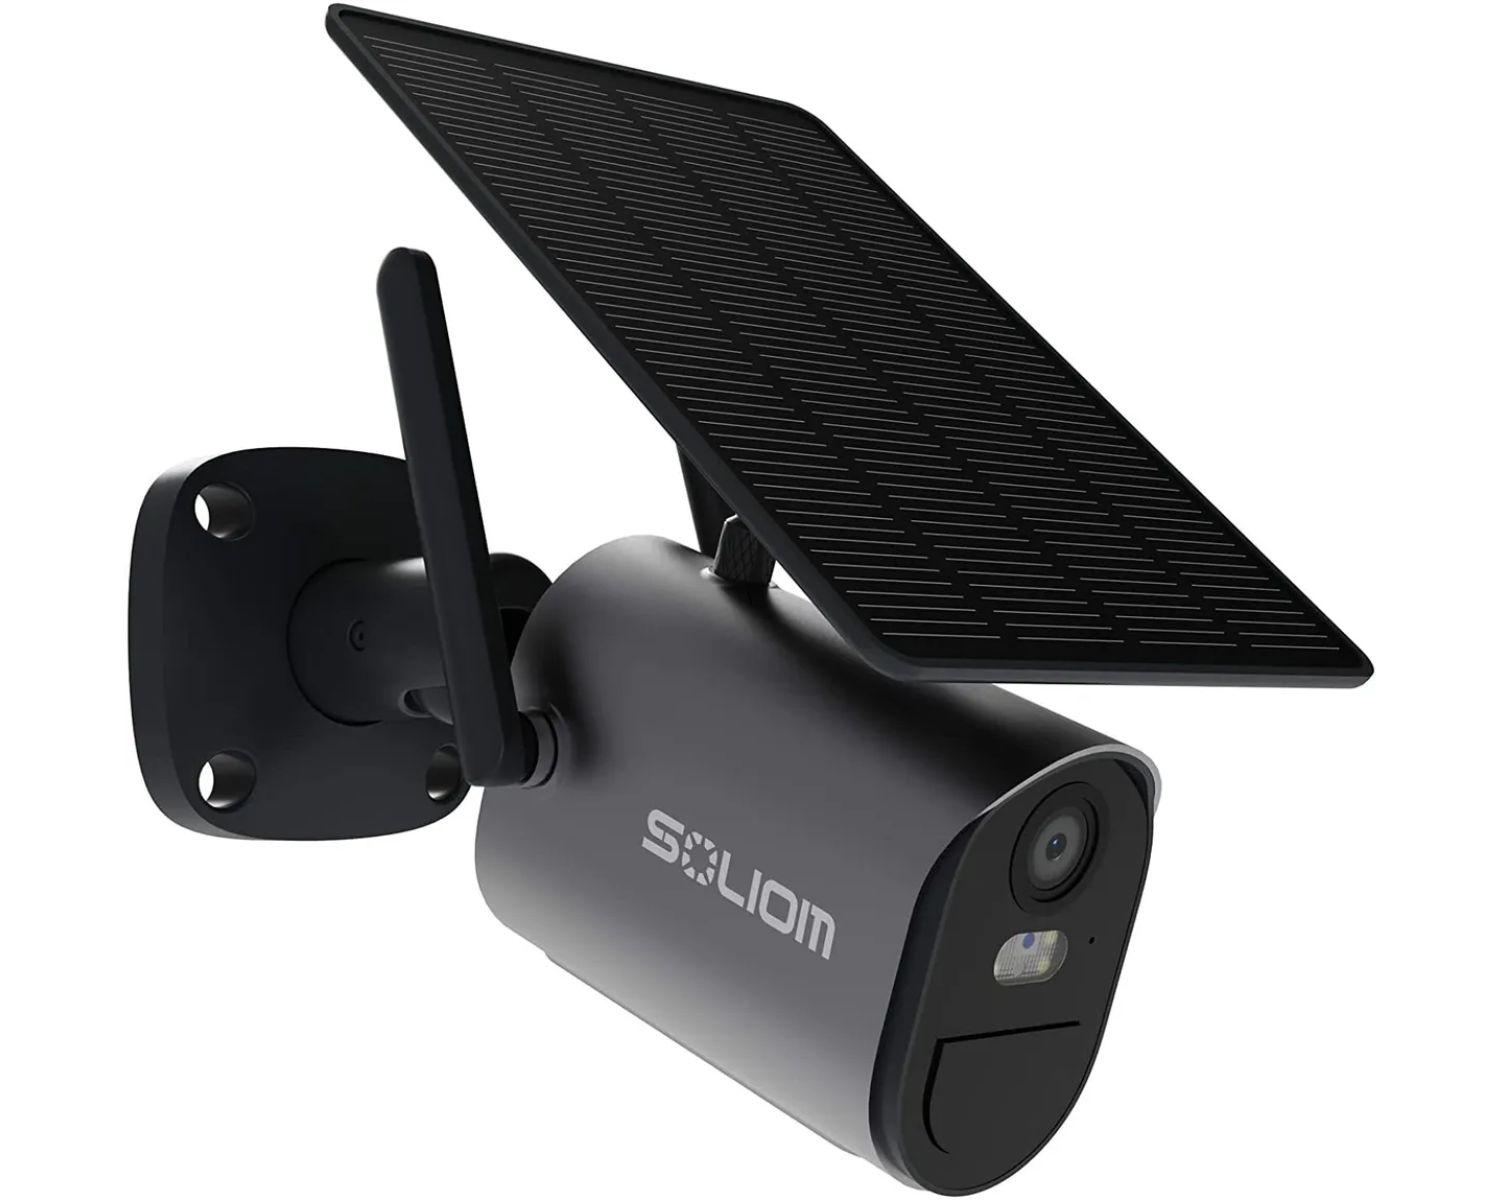
Step 3: Connect the camera to a power source
Now that your Wi-Fi outdoor camera is securely mounted, it’s time to connect it to a power source. Follow these steps to ensure a proper power connection:
- Check the camera’s power requirements: Refer to the camera’s user manual or specifications to determine the necessary power input. This could be AC power or Power over Ethernet (PoE) depending on the camera model.
- Locate a power outlet: Identify the nearest power outlet to your camera’s location. If your camera requires AC power, make sure the outlet is within reach of the camera’s power adapter or cable.
- Connect the power adapter: If your camera uses AC power, connect the power adapter to the camera’s power input port. Ensure a secure and snug connection. Plug the other end of the power adapter into the power outlet.
- Install a weatherproof box or cover: To protect the power connection from the elements, consider installing a weatherproof box or cover over the power adapter and outlet. This will help prevent water damage and ensure a safe electrical connection.
- Verify power supply: Once the camera is connected to the power source, verify that it is receiving power. Look for any indicator lights on the camera that indicate it is receiving power. Consult the camera’s user manual for specific indicators.
It is important to note that some Wi-Fi outdoor cameras offer the option of Power over Ethernet (PoE) connectivity. This allows the camera to receive power and data through a single Ethernet cable. If your camera supports PoE, follow the manufacturer’s instructions on how to connect it to a PoE switch or injector.
By following these steps, you can ensure that your Wi-Fi outdoor camera is properly connected to a power source, allowing it to function effectively and provide continuous surveillance of your property.
When setting up a Wi-Fi outdoor camera, make sure to place it within the range of your Wi-Fi signal and protect it from the elements by using a weatherproof housing or cover.
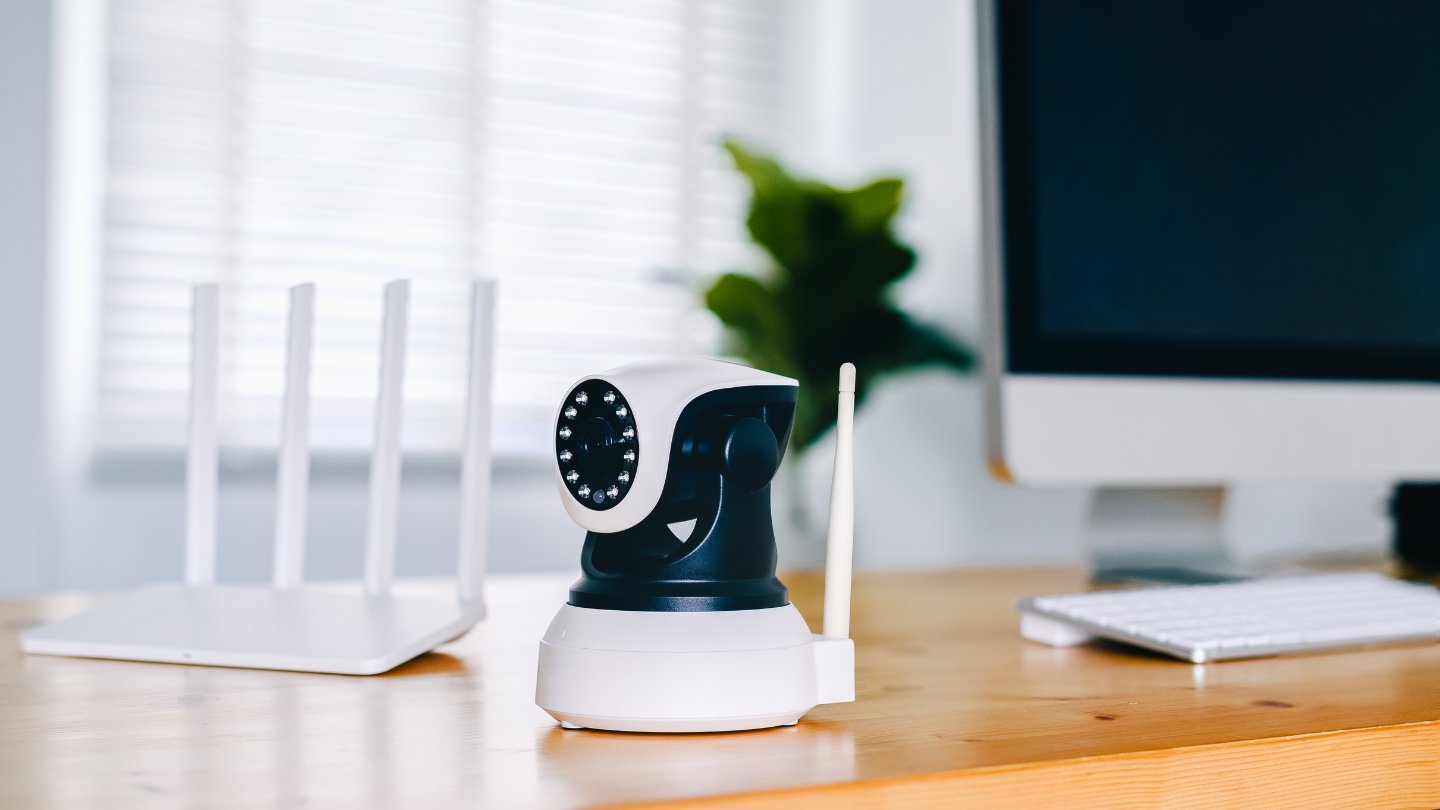
Step 4: Set up the camera’s Wi-Fi connection
Now that your Wi-Fi outdoor camera is securely mounted and connected to a power source, it’s time to set up its Wi-Fi connection. Follow these steps to ensure a seamless Wi-Fi setup:
- Access the camera’s settings: Each camera model may have a different setup process. Refer to the user manual or manufacturer’s instructions to determine how to access your camera’s settings.
- Locate the Wi-Fi setup option: Within the camera’s settings, look for the Wi-Fi setup option. This may be labeled as “network settings” or something similar. Select this option to begin the Wi-Fi setup process.
- Scan for available networks: The camera will scan for available Wi-Fi networks within range. Select your home Wi-Fi network from the list of available networks. If your network is not visible, ensure that the camera’s Wi-Fi antenna is properly positioned for optimal signal reception.
- Enter Wi-Fi password: Once you have selected your home Wi-Fi network, you will be prompted to enter the Wi-Fi password. Carefully enter the password using the on-screen keyboard or the camera’s mobile app if available. Double-check that the password is entered correctly to avoid connection issues.
- Wait for the camera to connect: After entering the Wi-Fi password, the camera will attempt to connect to your home network. This process may take a few moments. Be patient and wait for the camera to establish a successful Wi-Fi connection.
- Verify the connection: Once the camera has connected to your home network, it should display a confirmation or connected status. Some cameras may have a Wi-Fi indicator light that illuminates when connected. If the camera fails to connect, double-check the Wi-Fi password and ensure that your home network is operating correctly.
It’s important to note that some cameras may require you to install a companion mobile app to complete the Wi-Fi setup process. If this is the case, follow the instructions provided by the manufacturer to set up the camera through the app.
By following these steps, you can successfully set up your Wi-Fi outdoor camera’s Wi-Fi connection, enabling it to transmit live video feeds and alerts to your smartphone or computer.
Read more: How To Change Wi-Fi On Blink Outdoor Camera
Step 5: Configure camera settings on your smartphone or computer
After setting up your Wi-Fi outdoor camera’s Wi-Fi connection, the next step is to configure its settings on your smartphone or computer. This will allow you to customize the camera’s functionality and tailor it to your specific needs. Follow these steps to configure your camera settings:
- Install the camera’s companion app: Check if your camera requires a dedicated mobile app for remote access and configuration. Visit the app store on your smartphone and search for the camera’s app. Download and install the app onto your device.
- Launch the app and create an account: Open the camera’s app and follow the on-screen instructions to create an account. This account will be used to access and control the camera remotely.
- Add your camera to the app: Once you have created an account, follow the app’s instructions to add your camera to the app. This typically involves scanning a QR code on the camera or entering a unique camera ID found on the camera’s packaging or user manual.
- Configure camera settings: With your camera added to the app, you can now configure various settings such as motion detection sensitivity, recording preferences, notification alerts, and more. Explore the app’s settings menu to customize the camera to your desired specifications.
- Test camera functionality: After configuring the settings, it’s important to test the camera’s functionality to ensure it’s working as intended. Trigger the motion detection feature or manually record a video to verify that the camera is capturing footage and transmitting it to your device correctly.
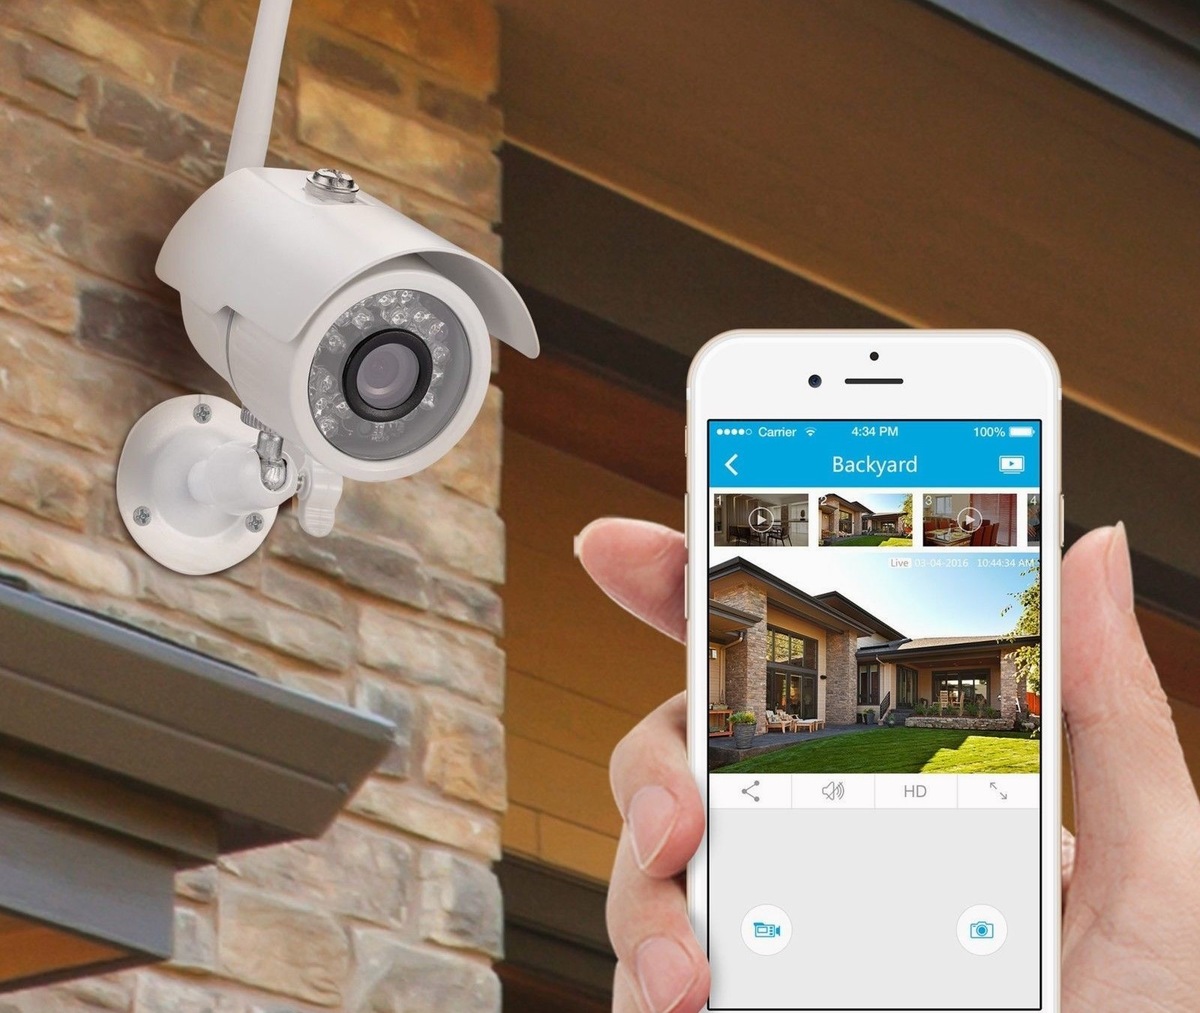
- Access and control the camera remotely: Once the camera settings are configured, you can remotely access the camera’s live feed, view recordings, and control other features through the companion app on your smartphone or computer. This allows you to monitor your property even when you’re away.
Note that some Wi-Fi outdoor cameras may also provide a web portal or desktop software for configuration on your computer. In such cases, follow the manufacturer’s instructions to install and access the camera’s settings through the provided software.
By following these steps, you can easily configure your Wi-Fi outdoor camera settings on your smartphone or computer, ensuring that it operates according to your preferences and security needs.
Step 6: Test the camera’s functionality
Once you have completed the setup and configuration of your Wi-Fi outdoor camera, it’s important to thoroughly test its functionality. This will ensure that the camera is working properly and providing the desired level of security for your home. Follow these steps to test your camera’s functionality:
- Check the live feed: Open the companion app on your smartphone or access the camera through the web portal on your computer. Verify that you can see the camera’s live feed and that the image is clear and of high quality. Make sure there are no delays or buffering issues.
- Test motion detection: Trigger the motion detection feature by walking in front of the camera or waving your hand. Confirm that the camera detects the movement and starts recording, sends a notification to your device, or performs any other predefined action you have set up.
- Verify night vision: If your camera has night vision capabilities, check to see if it can effectively capture footage in low-light or dark conditions. Test this by turning off the lights or simulating nighttime conditions to ensure the night vision feature is working properly.
- Test two-way audio: If your camera has two-way audio functionality, try speaking through the camera’s built-in microphone and listen for the audio output on your smartphone or computer. Confirm that you can clearly hear the audio and that there are no distortion or connectivity issues.
- Review recorded footage: Access the recorded footage on your smartphone or computer and review it to ensure that the camera is capturing and storing video clips as expected. Check for any glitches or missing footage that may indicate a problem with the camera’s recording functionality.
- Verify remote access: If you intend to monitor your camera remotely, test the remote access feature by accessing the camera’s live feed and settings while connected to a different Wi-Fi network or using cellular data. Ensure that you can still view the camera’s feed and control its settings without any issues.
By conducting these tests, you can confidently ensure that your Wi-Fi outdoor camera is functioning correctly and providing the level of security and surveillance you desire for your home. If you encounter any issues during the testing process, refer to the camera’s user manual or contact the manufacturer’s support for further assistance.
Conclusion
Congratulations! You have successfully set up and configured your Wi-Fi outdoor camera, enhancing the security and surveillance capabilities of your home. By following the step-by-step guide outlined in this article, you have taken proactive measures to protect your loved ones and valuable assets.
The process of hooking up a Wi-Fi outdoor camera involves selecting the right location, securely mounting the camera, connecting it to a power source, setting up the Wi-Fi connection, configuring camera settings on your smartphone or computer, and thoroughly testing its functionality.
Remember to consult the user manual provided by the manufacturer for specific instructions and recommendations related to your camera model. This will ensure that you follow the correct procedures and maximize the effectiveness of your camera.
With your Wi-Fi outdoor camera now in place, you have the ability to monitor your property remotely, receive real-time notifications, and deter potential intruders. The peace of mind that comes with knowing that your home is protected is invaluable.
Additionally, regularly check your camera for firmware updates and make necessary adjustments to optimize its performance. Stay vigilant and maintain a proactive approach to home security by reviewing recorded footage, adjusting motion detection settings, and ensuring that your camera’s Wi-Fi connection remains stable.
Remember, a Wi-Fi outdoor camera is just one component of a comprehensive home security system. Consider complementing it with other security measures such as smart locks, alarm systems, and outdoor lighting to create a robust defense against intruders.
By taking the time to set up and properly configure your Wi-Fi outdoor camera, you have taken a significant step towards creating a safer and more secure home environment. Enjoy the added peace of mind and keep your loved ones protected.
Frequently Asked Questions about How To Hook Up A Wi-Fi Outdoor Camera
Was this page helpful?
At Storables.com, we guarantee accurate and reliable information. Our content, validated by Expert Board Contributors, is crafted following stringent Editorial Policies. We're committed to providing you with well-researched, expert-backed insights for all your informational needs.