Home>Home Security and Surveillance>How To Troubleshoot Fire Alarm Systems
Home Security and Surveillance
How To Troubleshoot Fire Alarm Systems
Modified: October 19, 2024
Learn how to troubleshoot and maintain your home security and surveillance fire alarm systems with expert tips and step-by-step guides. Protect your loved ones with a reliable and efficient fire alarm system.
(Many of the links in this article redirect to a specific reviewed product. Your purchase of these products through affiliate links helps to generate commission for Storables.com, at no extra cost. Learn more)
Introduction
Welcome to our comprehensive guide on troubleshooting fire alarm systems. Fire alarm systems play a vital role in protecting lives and property by detecting and alerting occupants of a potential fire emergency. These systems are designed to provide early warning, allowing people to evacuate safely and giving firefighters the chance to respond quickly. However, like any complex system, fire alarm systems can experience issues that may impact their functionality.
In this article, we will explore the importance of proper fire alarm system troubleshooting and provide you with a step-by-step guide to help you identify and resolve common issues. Whether you are a homeowner, a business owner, or a building manager, understanding how to troubleshoot your fire alarm system can save time, money, and, most importantly, lives.
It is important to note that fire alarm systems are complex and sensitive devices that require professional installation and maintenance. While this guide will provide you with general troubleshooting steps, it is always recommended to consult with a licensed fire alarm technician for proper diagnosis and repair.
Let’s dive into the world of fire alarm system troubleshooting and learn how to keep your system in top-notch condition!
Key Takeaways:
- Regular troubleshooting of fire alarm systems ensures early fire detection, minimizes false alarms, and maintains compliance with regulations, ultimately protecting lives and property.
- Documenting findings and seeking professional help when needed are crucial for maintaining a reliable fire alarm system, providing peace of mind in the event of a fire emergency.
Read more: Who Designs Fire Alarm Systems
Importance of Proper Fire Alarm System Troubleshooting
Proper fire alarm system troubleshooting is crucial for maintaining the effectiveness and reliability of your fire alarm system. Here are some key reasons why it is important:
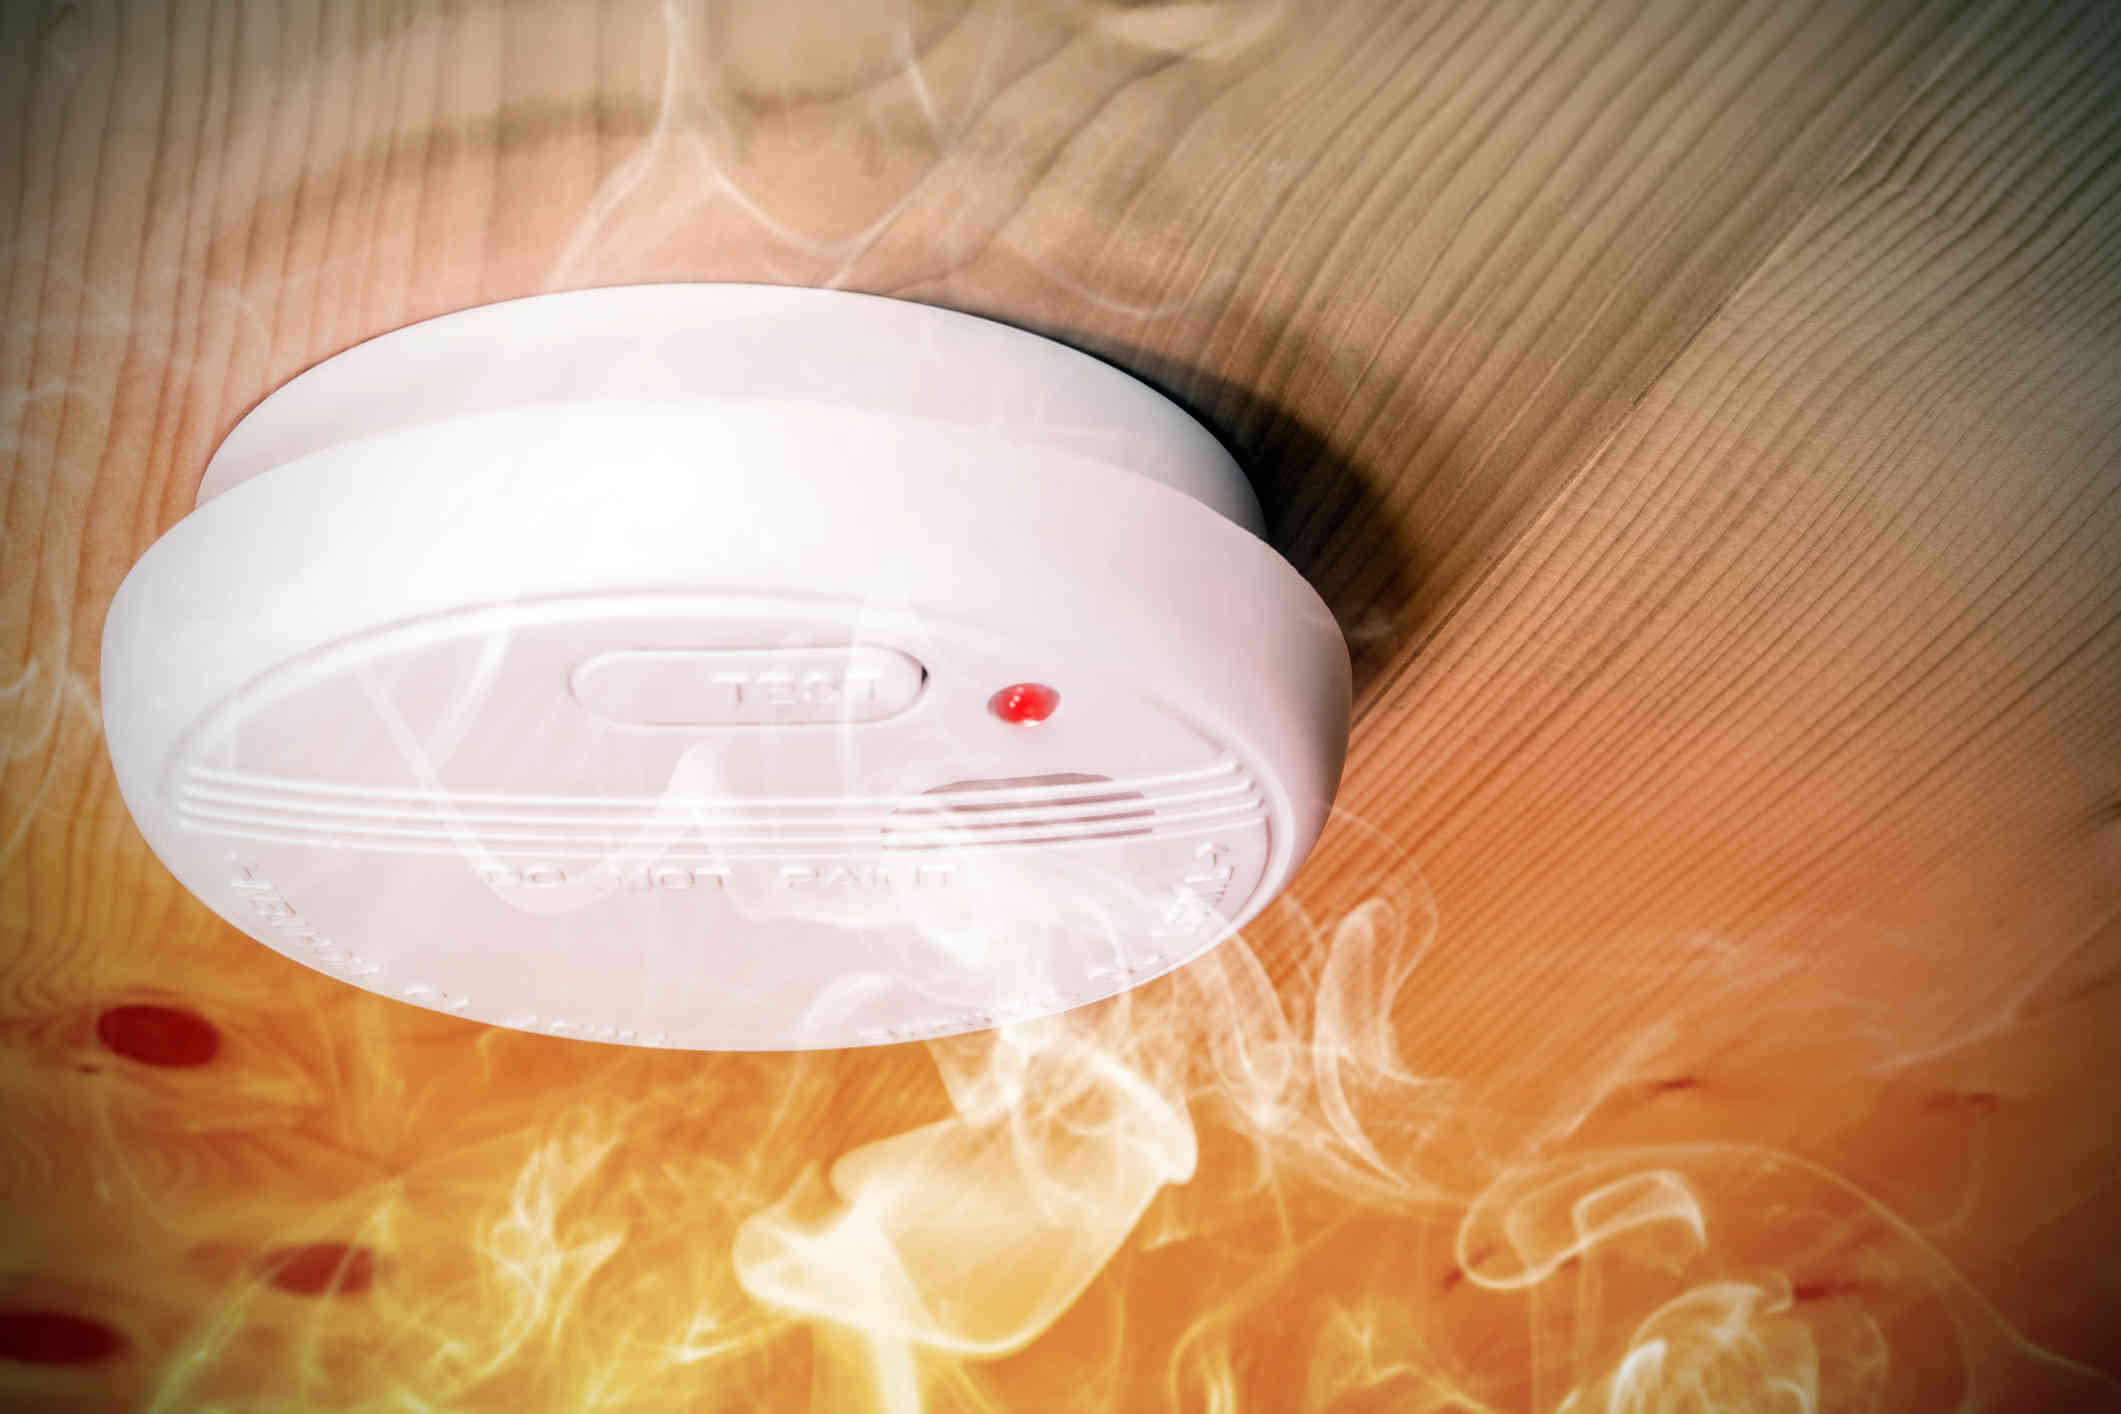
- Early Detection of Fires: Fire alarm systems are designed to detect fires at their early stages. By promptly identifying the presence of smoke, heat, or flames, an operational fire alarm system can provide vital warning signals, allowing occupants to evacuate and firefighters to respond swiftly. If the system is not properly functioning, it may result in delayed detection, increasing the risk to life and property.
- Minimizing False Alarms: False alarms can be disruptive and can lead to complacency among occupants. A well-maintained fire alarm system minimizes false alarms by accurately sensing and processing alarm signals. Regular troubleshooting helps identify and rectify issues such as faulty detectors, wiring problems, or malfunctioning control panels that can trigger false alarms.
- Ensuring Proper System Functionality: Fire alarm systems consist of interconnected components, such as control panels, detectors, power supplies, and notification devices. Troubleshooting allows you to inspect and test each component to ensure they are functioning as intended. Identifying and addressing issues such as faulty wiring, damaged equipment, or outdated software/firmware helps maintain the system’s reliability and performance.
- Compliance with Regulations and Insurance Requirements: Fire alarm systems are subject to regulations and codes set forth by local authorities and insurance providers. Regular troubleshooting and maintenance are essential for meeting these requirements. Non-compliance can result in penalties, increased insurance premiums, or even denial of claims in case of a fire-related incident.
- Cost Savings: Timely troubleshooting can help prevent major system failures and costly repairs. By detecting and addressing issues early on, you can avoid expensive emergency repairs or the need to replace the entire system. Additionally, a well-maintained fire alarm system is more energy-efficient and reduces the risk of damage to other electrical components in the building.
Overall, proper fire alarm system troubleshooting ensures the safety of occupants, minimizes disruptions, and protects your investment in fire protection equipment. It is a proactive approach to maintaining the functionality and reliability of your fire alarm system, giving you peace of mind in the event of a fire emergency.
Common Fire Alarm System Issues
Fire alarm systems can encounter various issues that may affect their proper functioning. Understanding these common issues can help you in troubleshooting your system effectively. Here are some of the most frequent problems:
- False Alarms: One of the most common issues faced by fire alarm systems is false alarms. False alarms can be triggered by factors such as dust, humidity, temperature fluctuations, or improper detector placement. Troubleshooting false alarms involves inspecting detectors, checking wiring connections, and ensuring proper calibration.
- Detector Malfunctions: Detectors are the core components of fire alarm systems, and they can experience malfunctions over time. This can include issues like faulty sensors, worn-out batteries, or outdated technology. Troubleshooting detector malfunctions involves cleaning detectors, testing batteries, and replacing defective units as necessary.
- Power Supply Problems: Electrical power is essential for the operation of fire alarm systems. Power supply issues can arise from factors such as faulty wiring, blown fuses, or power surges. Troubleshooting power supply problems includes checking electrical connections, replacing damaged components, and confirming the functionality of backup power sources like batteries or generators.
- Communication Errors: Fire alarm systems often use communication interfaces to transmit signals to a monitoring station or emergency services. Communication errors can occur due to issues with network connections, outdated software, or incompatible components. Troubleshooting communication errors involves inspecting network connections, updating software/firmware, and testing communication devices.
- Faulty Control Panels: Control panels are the brain of fire alarm systems, responsible for receiving and processing signals from detectors and initiating alarm notifications. Control panel issues can include software glitches, display malfunctions, or failure to respond to inputs. Troubleshooting faulty control panels requires inspecting the panel, checking programming, and consulting technical documentation for guidance.
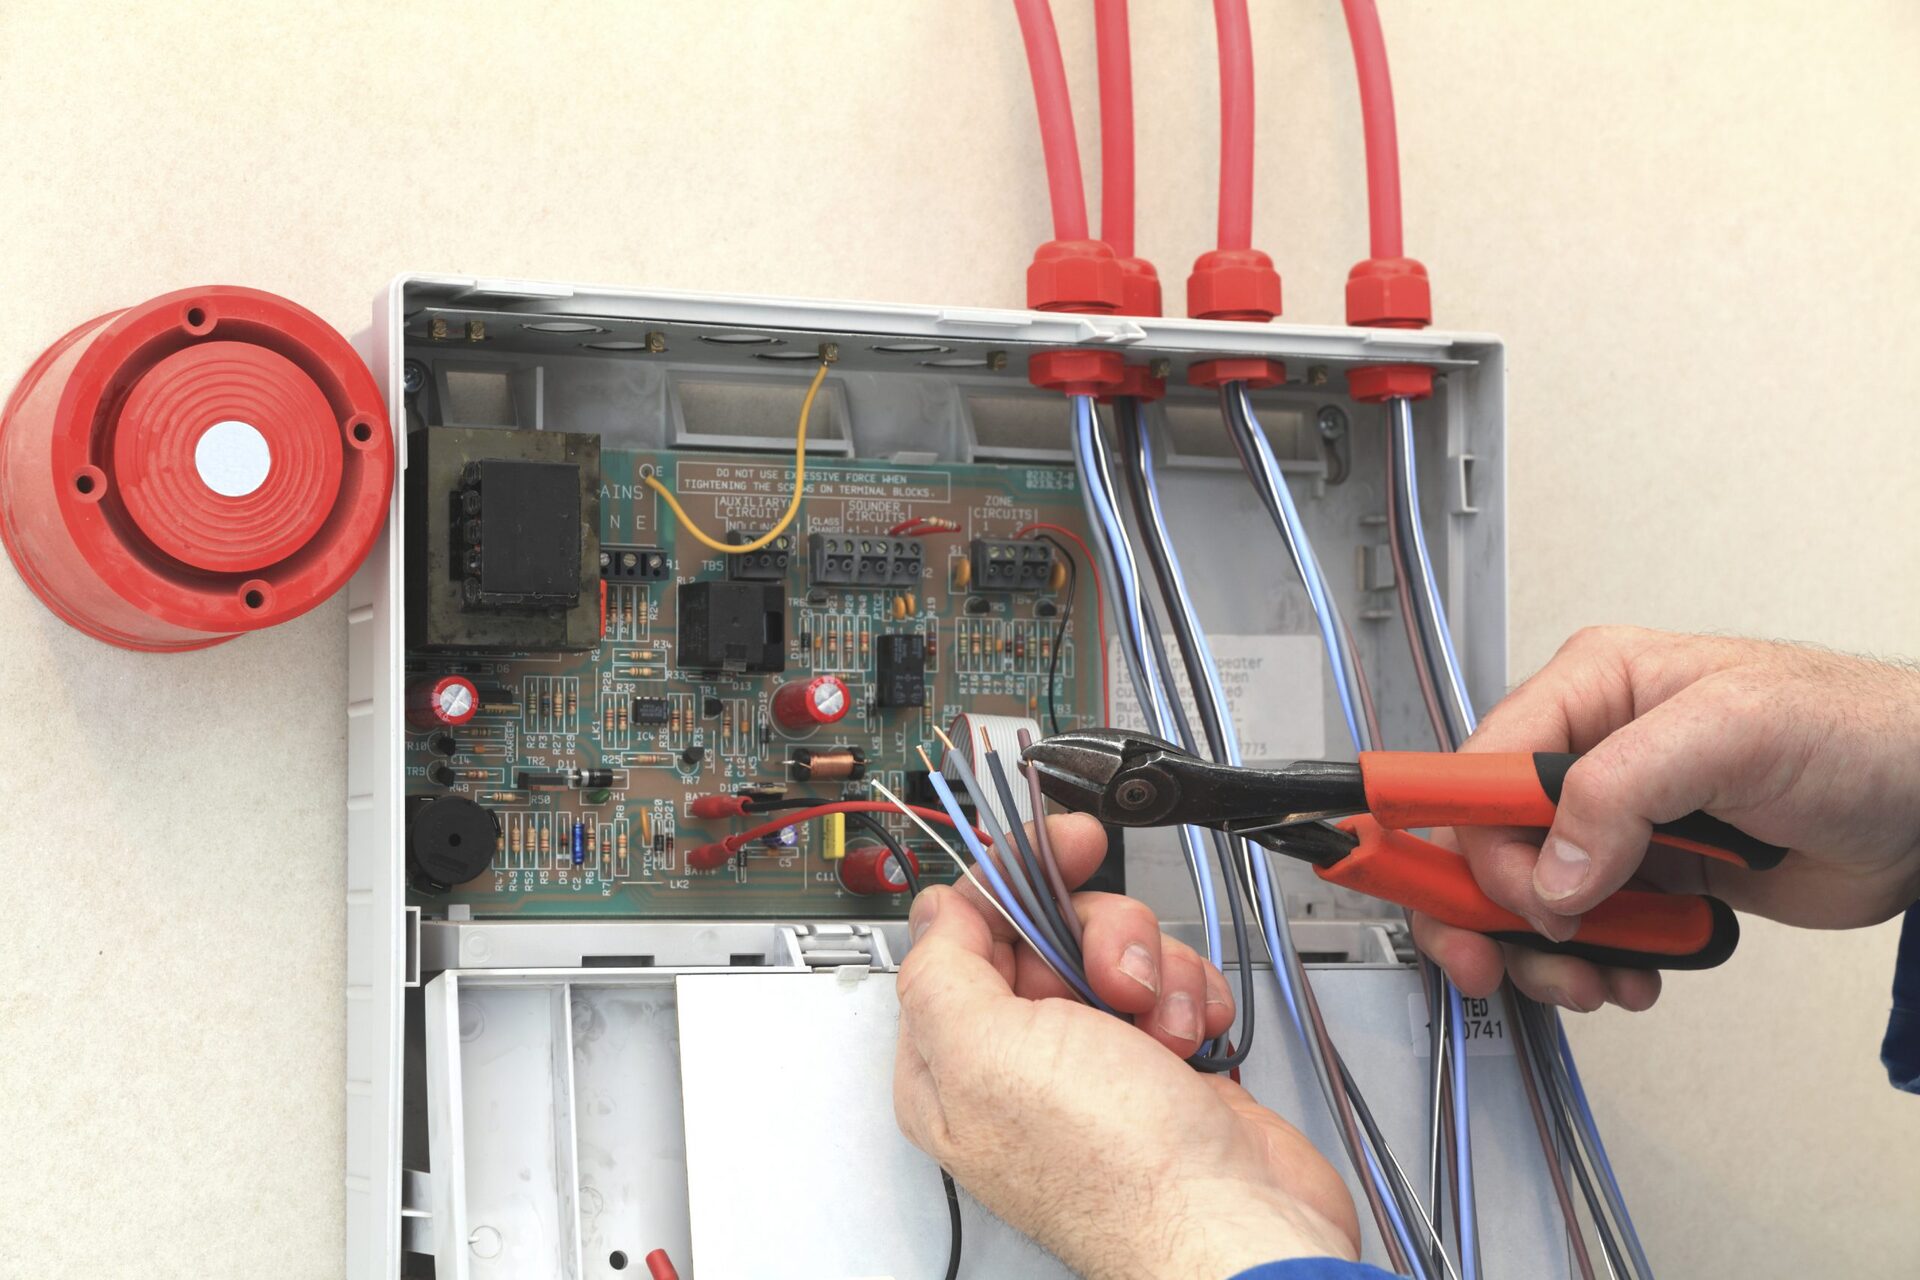
- Wiring Problems: Fire alarm systems rely on proper wiring connections to ensure the transmission of signals between components. Wiring problems can manifest as loose connections, frayed wires, or incorrect installations. Troubleshooting wiring problems involves visually inspecting the wiring, testing connections, and re-terminating or replacing faulty wires as needed.
It is important to note that troubleshooting fire alarm systems can be complex and may require technical expertise. When encountering any issues, consider consulting with a licensed fire alarm technician or contacting the manufacturer for guidance. They can provide specialized knowledge and assist you in resolving any problems with your fire alarm system effectively.
Step-by-Step Troubleshooting Guide
When troubleshooting your fire alarm system, it’s important to approach the process systematically. This step-by-step guide will help you identify and resolve issues effectively:
- Preliminary Checks: Start by checking the power supply and ensuring that the system is receiving electrical power. Inspect any visible components for signs of damage or loose connections.
- Examining Control Panel: Access the control panel and review any error messages or indicators displayed. Check if the control panel is properly responding to inputs and if there are any signs of malfunctioning.
- Inspecting Power Supply: Verify that the power supply is functional by testing the voltage output. Replace any blown fuses or damaged components. If backup power sources like batteries or generators are used, inspect them for proper operation.
- Testing Detectors: Perform a systematic test of all detectors in your fire alarm system. Inspect for proper placement, clean any dust or debris, and test the functionality of the sensors. Replace any faulty or expired detectors as necessary.
- Verifying Wiring Connections: Visually inspect the wiring connections between components. Ensure that wires are properly secured, free from damage, and connected to the correct terminals. Re-terminate or replace any faulty wiring connections.
- Analyzing Alarm Signals: Trigger test alarms from different areas to determine if the system is properly detecting and signaling alarms. Check if all the notification devices, such as sirens or strobe lights, are functioning correctly.
- Checking Notification Devices: Test each notification device individually to confirm they are producing the intended sound or visual signals. Replace any defective devices and ensure they are properly connected to the system.
- Resetting the System: Once the troubleshooting process is complete, reset the system to ensure that all changes and repairs have been properly applied. Follow the manufacturer’s instructions for resetting the fire alarm system.
- Documenting Findings: Throughout the troubleshooting process, document all observations, repairs, and changes made to the fire alarm system. This documentation will be helpful for future reference and can aid technicians in diagnosing and resolving any recurring issues.
Remember, troubleshooting fire alarm systems can be complex and may require technical expertise. If you encounter any challenges or are unsure about any aspect of the process, it is always advisable to seek the assistance of a licensed fire alarm technician. They have the knowledge and experience to properly diagnose and resolve any issues with your fire alarm system.
Preliminary Checks
Before delving into the troubleshooting process, it is important to conduct preliminary checks to identify any obvious issues with your fire alarm system. These checks can help you narrow down the potential sources of the problem and save time during troubleshooting.
Here are the key steps to follow in the preliminary checks:
- Power Supply: Ensure that the fire alarm system is receiving electrical power. Check if the system is connected to a reliable power source and if there are any tripped breakers or blown fuses. If the system uses backup power sources like batteries or generators, ensure that they are adequately charged or operational.
- Visible Components: Inspect the visible components of the fire alarm system, such as control panels, detectors, and notification devices. Look for any signs of damage, loose connections, or tampering.
- Notifications: Test the alarm notification devices, such as sirens or strobe lights, to ensure they are producing the intended sound or visual signals. Check if any notifications devices are visibly damaged or faulty.
- System Activation: Attempt to trigger a manual alarm activation to determine if the system responds as expected. Observe if the control panel acknowledges the activation and if the notification devices activate.
- Environmental Factors: Consider any environmental conditions that might affect the fire alarm system’s functionality. For example, check for excessive dust or debris that could interfere with detector operation or high humidity levels that might cause false alarms.
- Logs and Reports: Review the system logs or any available reports to see if there are any recurring error messages or patterns that may indicate underlying issues.
By conducting these preliminary checks, you can quickly identify any obvious problems that may be affecting your fire alarm system. Document your findings and observations as they will be valuable for troubleshooting and communicating with fire alarm technicians if further assistance is needed.
If the preliminary checks reveal no evident issues, it’s time to move on to a more detailed examination of the control panel and other components of the fire alarm system. This will help pinpoint the source of the problem and guide you in resolving it effectively.
Read more: When Are Fire Alarm Systems Required
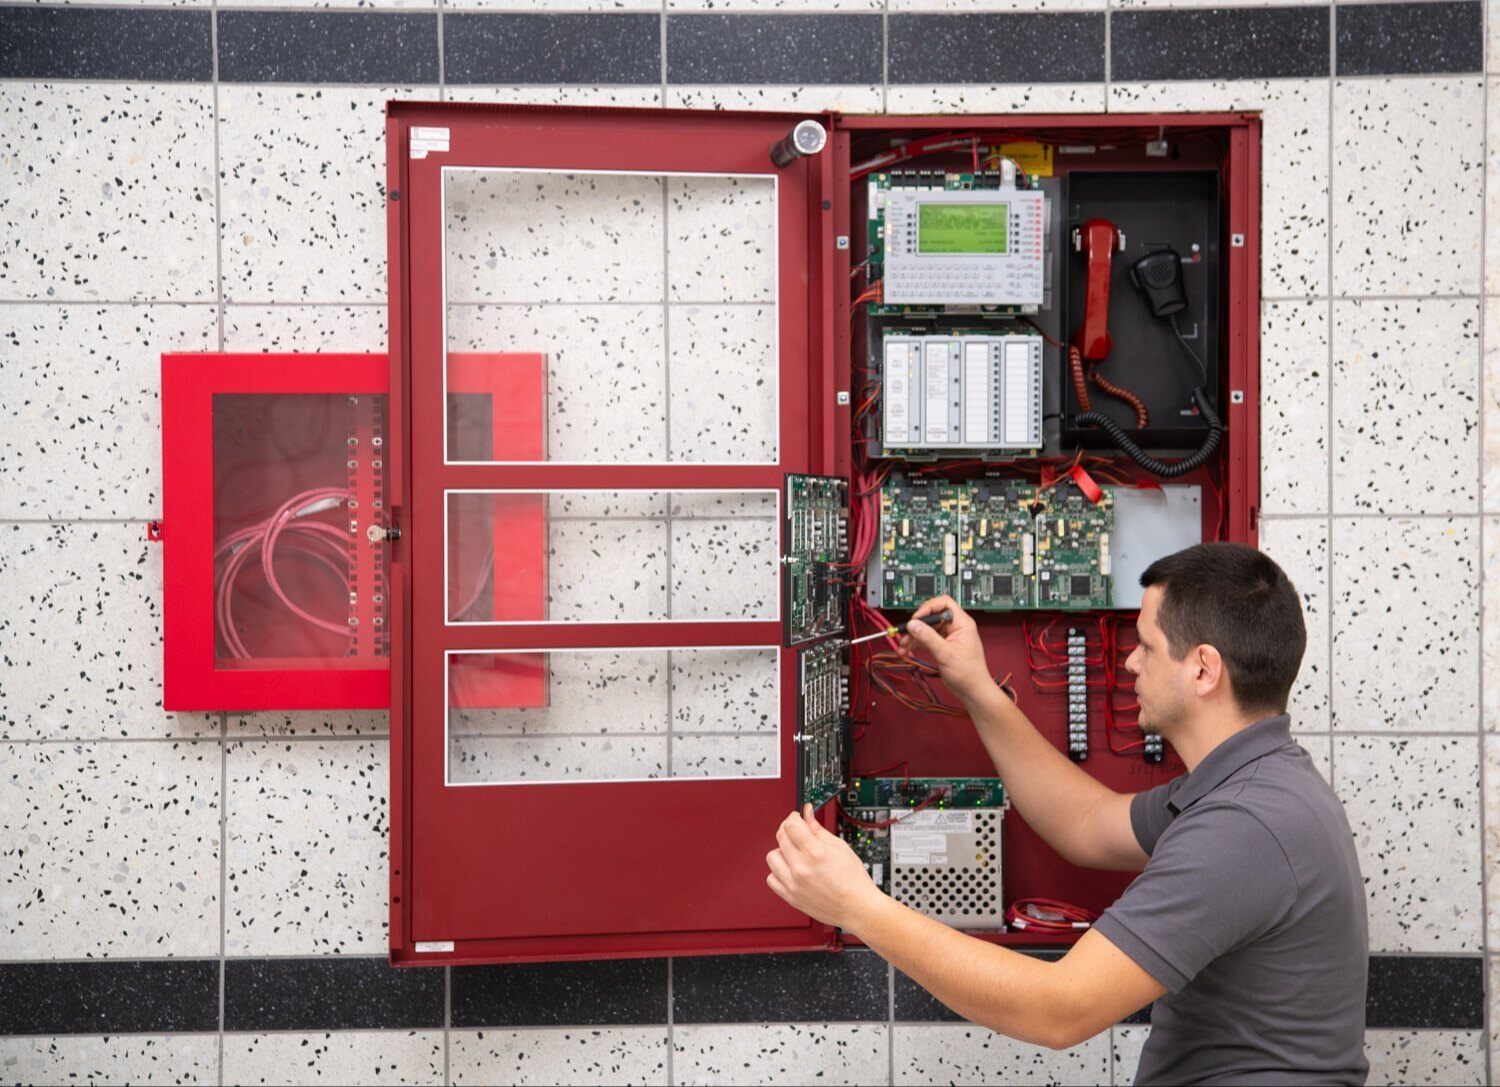
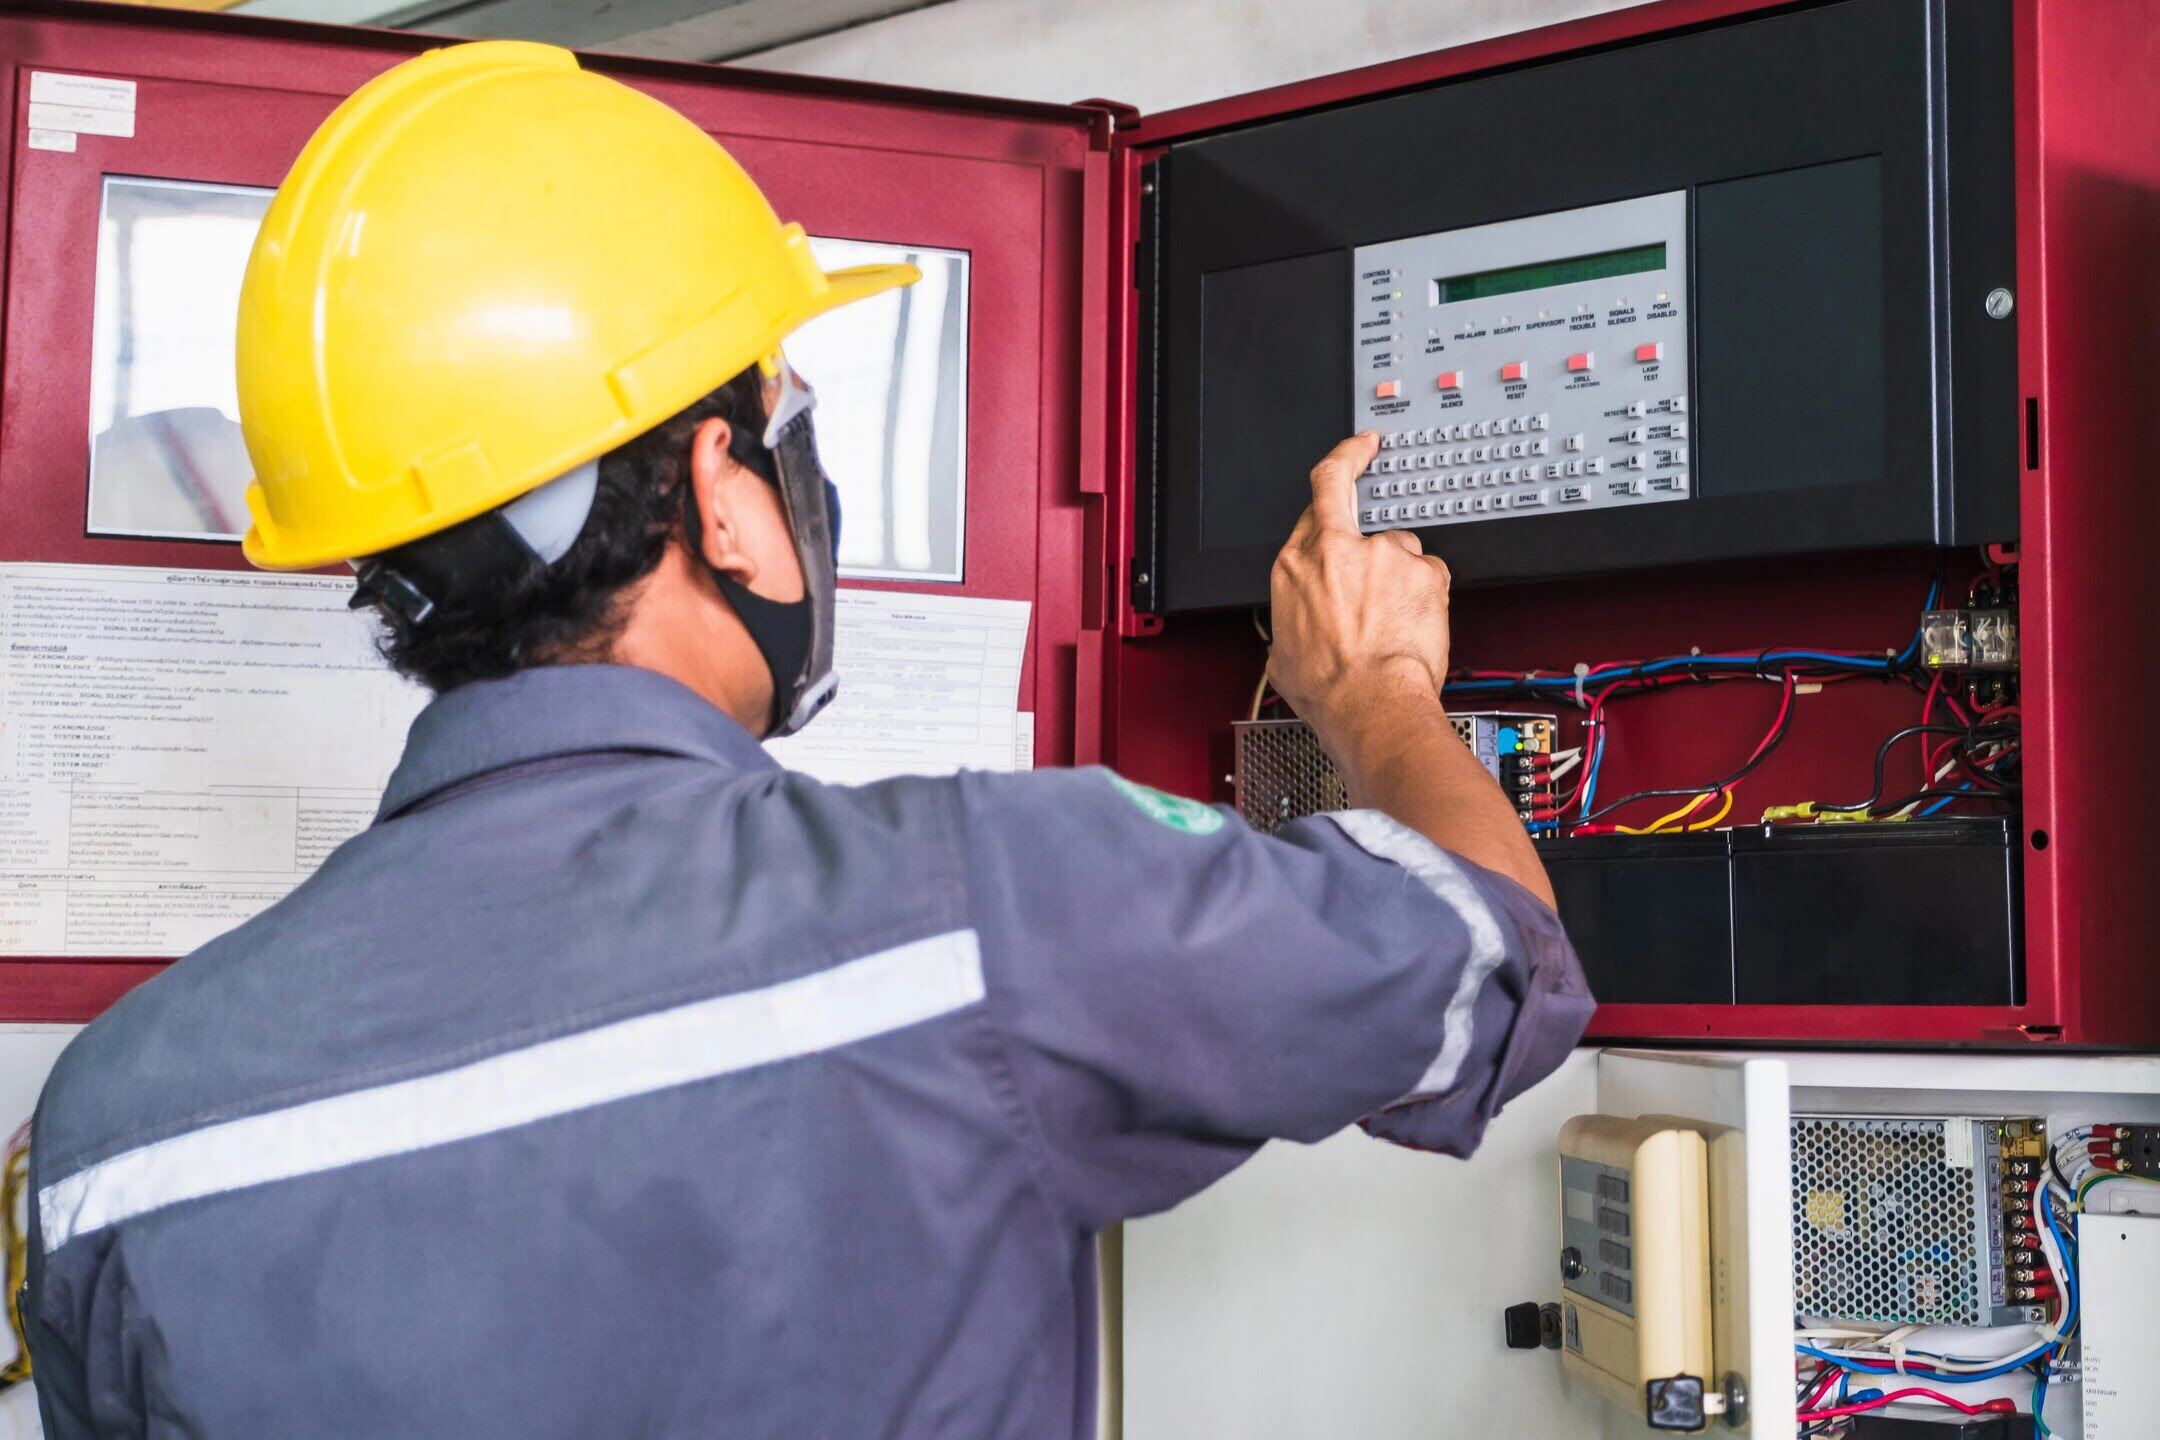
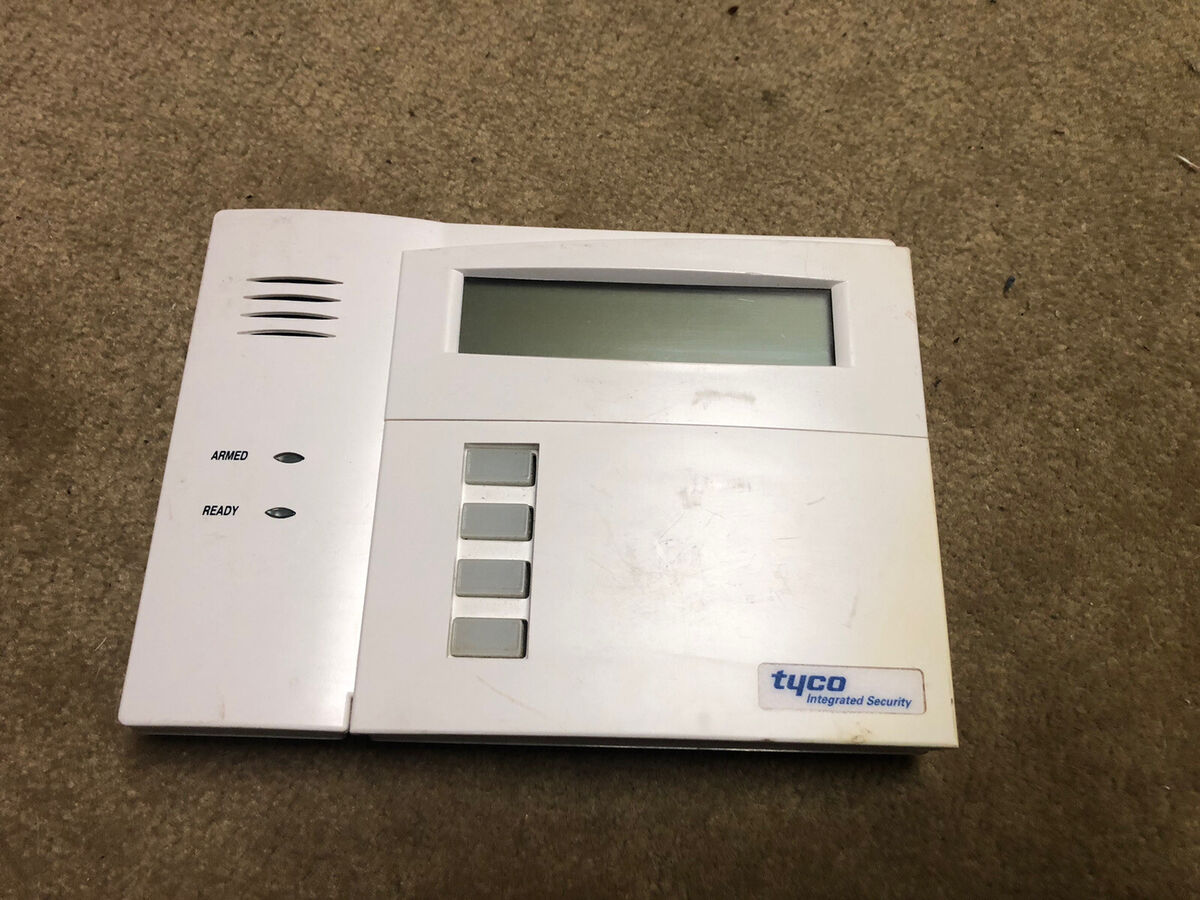
Examining Control Panel
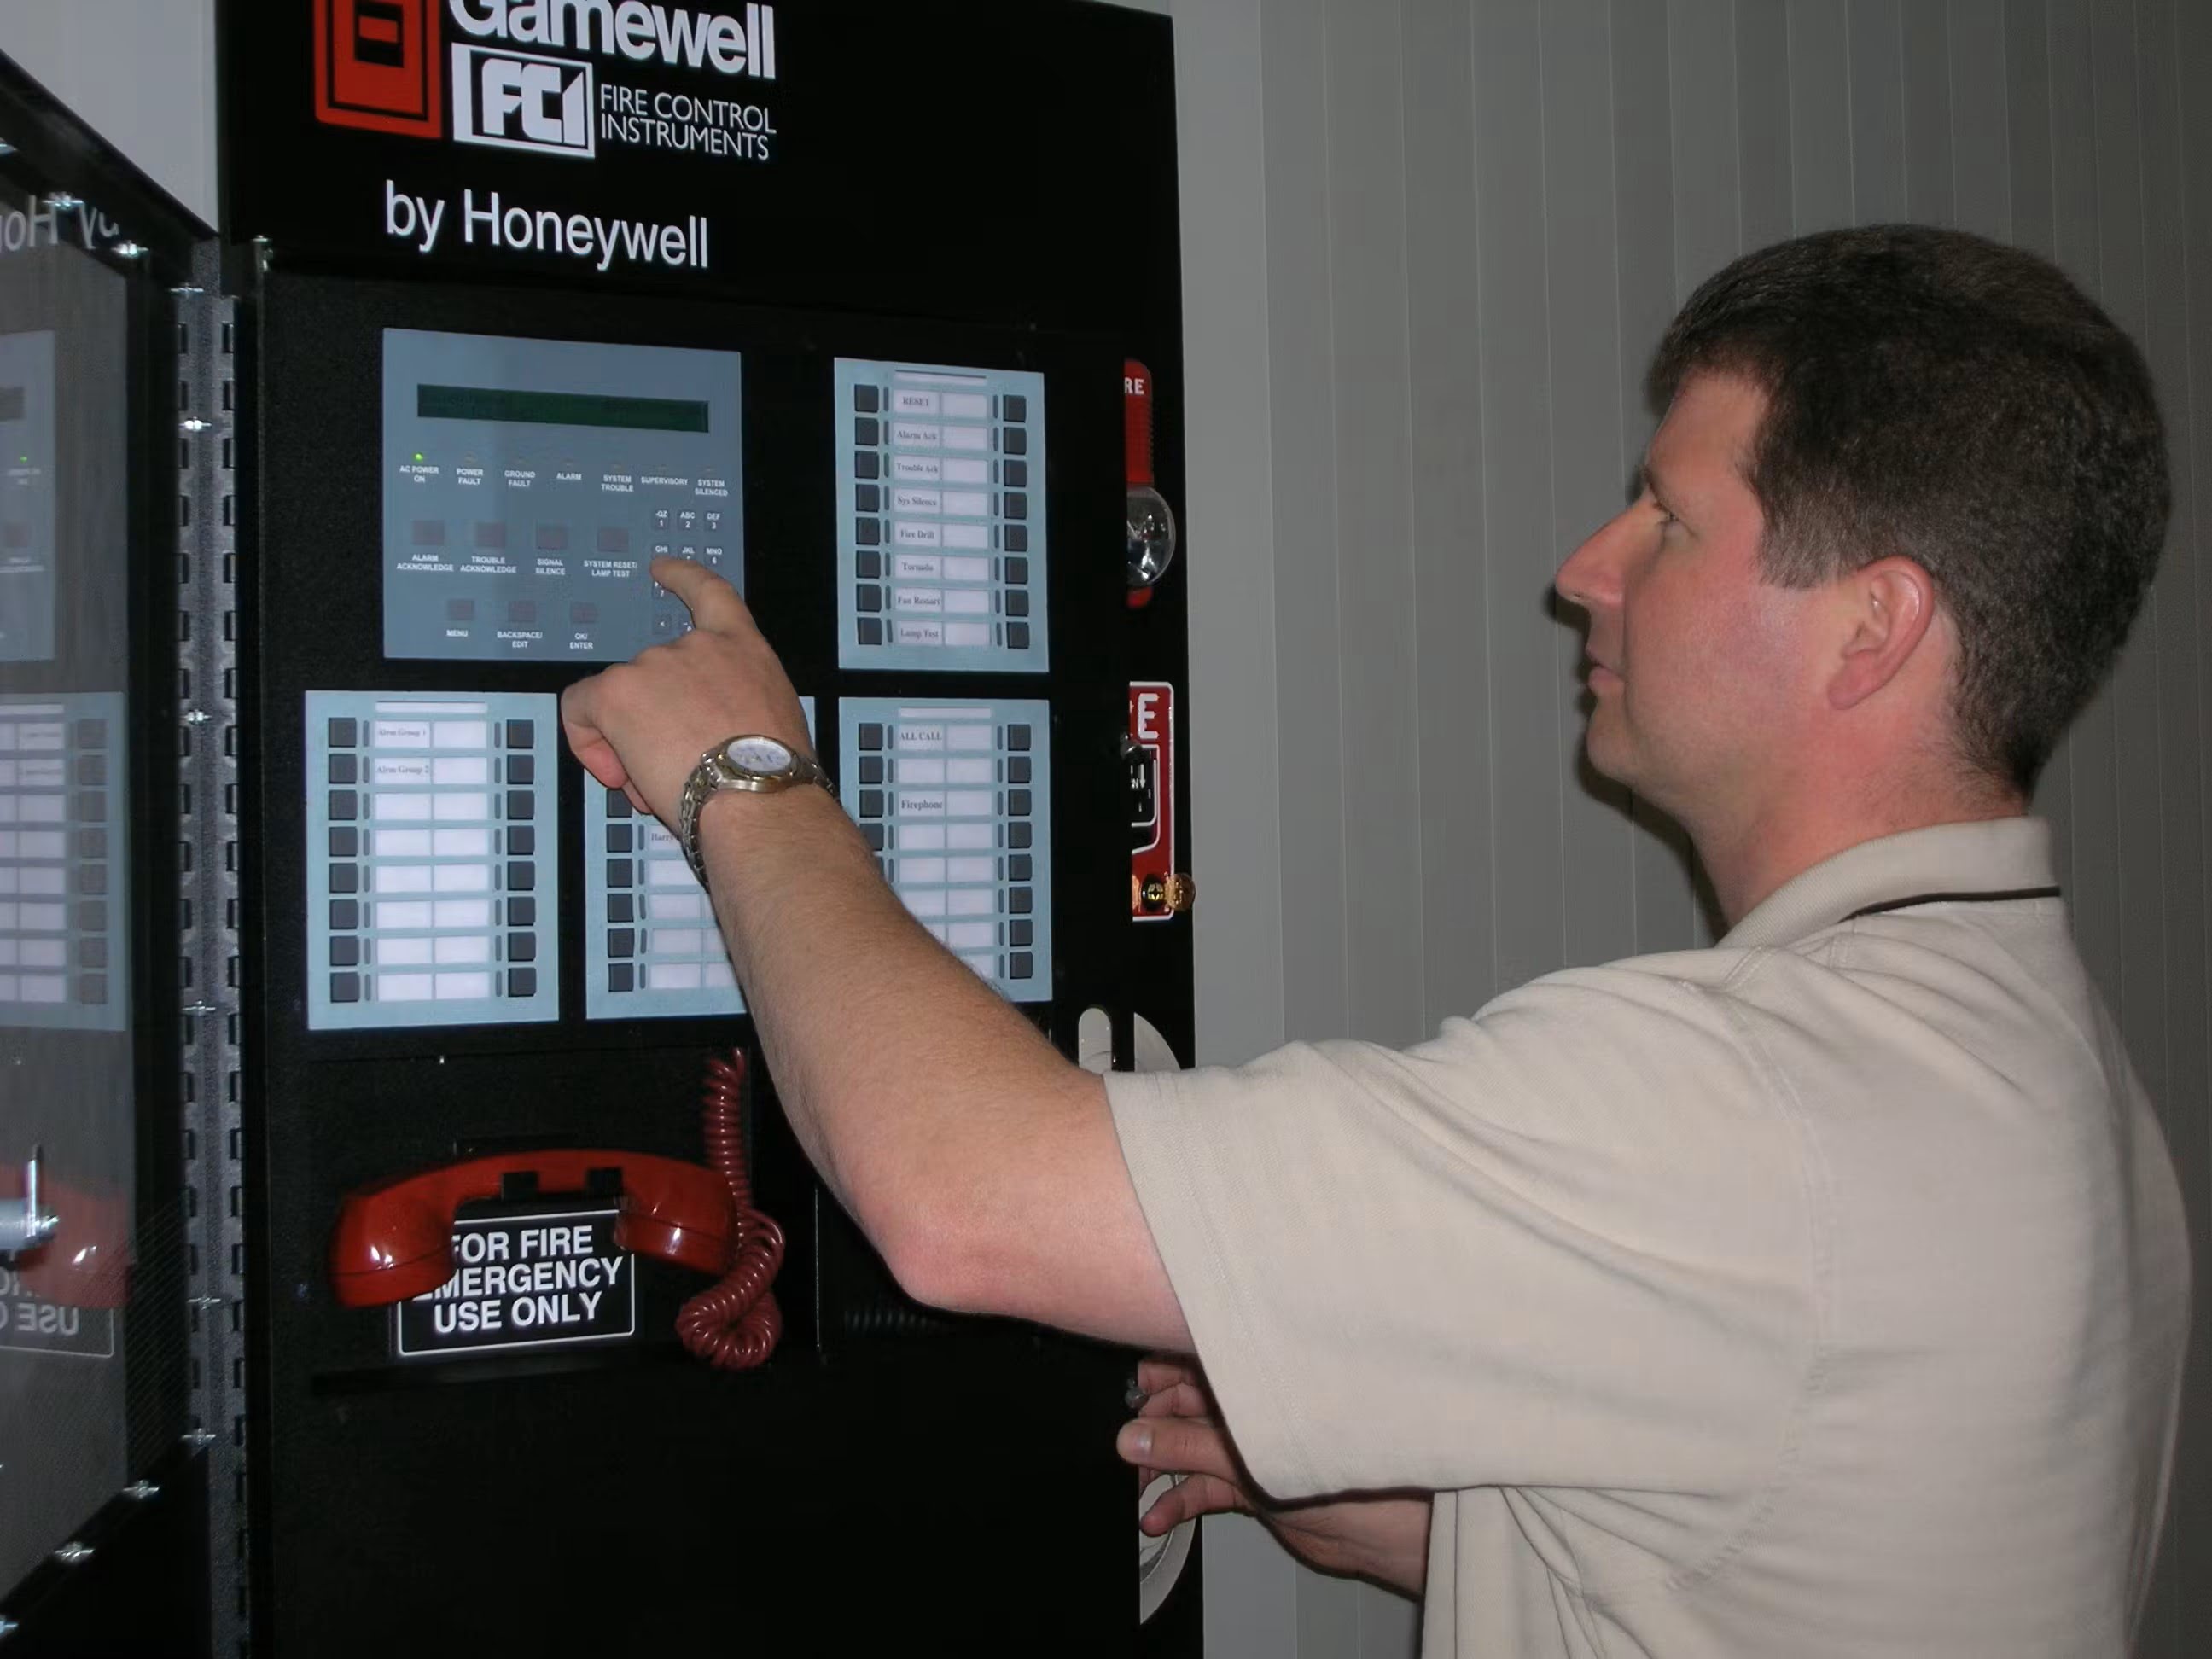
The control panel is the central hub of your fire alarm system, responsible for receiving and processing signals from detectors, initiating alarm notifications, and providing status updates. If you have completed the preliminary checks and are still experiencing issues, it’s time to examine the control panel in more detail.
Here are the key steps to follow when examining the control panel:
- Access the Control Panel: Locate the control panel, which is usually installed in a centralized area, such as a utility room or electrical closet. Follow the manufacturer’s instructions for gaining access to the control panel, ensuring that you take appropriate safety precautions.
- Visual Inspection: Perform a visual inspection of the control panel. Look for any signs of damage, such as cracked or malfunctioning display screens, loose or disconnected wires, or burnt components. Take note of any visible issues that may require further attention.
- Review Error Messages and Indicators: Check the control panel’s display for any error messages or indicators. These messages can provide valuable information about the nature of the problem. Consult the system’s user manual or technical documentation to understand the meaning of the displayed messages and the recommended actions to take.
- Perform Functional Tests: Depending on the capabilities of your fire alarm system, initiate functional tests from the control panel to ensure it is correctly responding to inputs. This can include testing alarm triggers, performing system resets, or activating specific zones. Monitor the control panel’s response and observe if there are any issues or discrepancies.
- Check Programming and Configurations: Review the control panel’s programming and configurations to ensure they are aligned with the intended setup. Verify that the system is programmed to trigger the appropriate alarm notifications and that the configured settings are accurate. If unsure about any programming or configuration settings, consult the system’s user manual or contact the manufacturer for guidance.
- Consult Technical Documentation: Refer to the system’s technical documentation for troubleshooting guidance specific to your control panel. Troubleshooting steps and recommendations may vary depending on the make and model of your fire alarm system. Follow the documented procedures and guidelines to address any identified issues or errors.
Examining the control panel is an important step in the troubleshooting process, as it can provide valuable insight into the functioning of your fire alarm system. The control panel serves as the command center, and understanding its status and operation can help identify and resolve underlying issues. If you are unable to resolve the problem at the control panel level, it may be necessary to conduct further inspections of other components in your fire alarm system.
Remember, if you are unsure about any aspect of examining the control panel or need technical assistance, consult with a licensed fire alarm technician or contact the manufacturer for support. They can provide expert guidance to ensure the proper functioning of your fire alarm system.
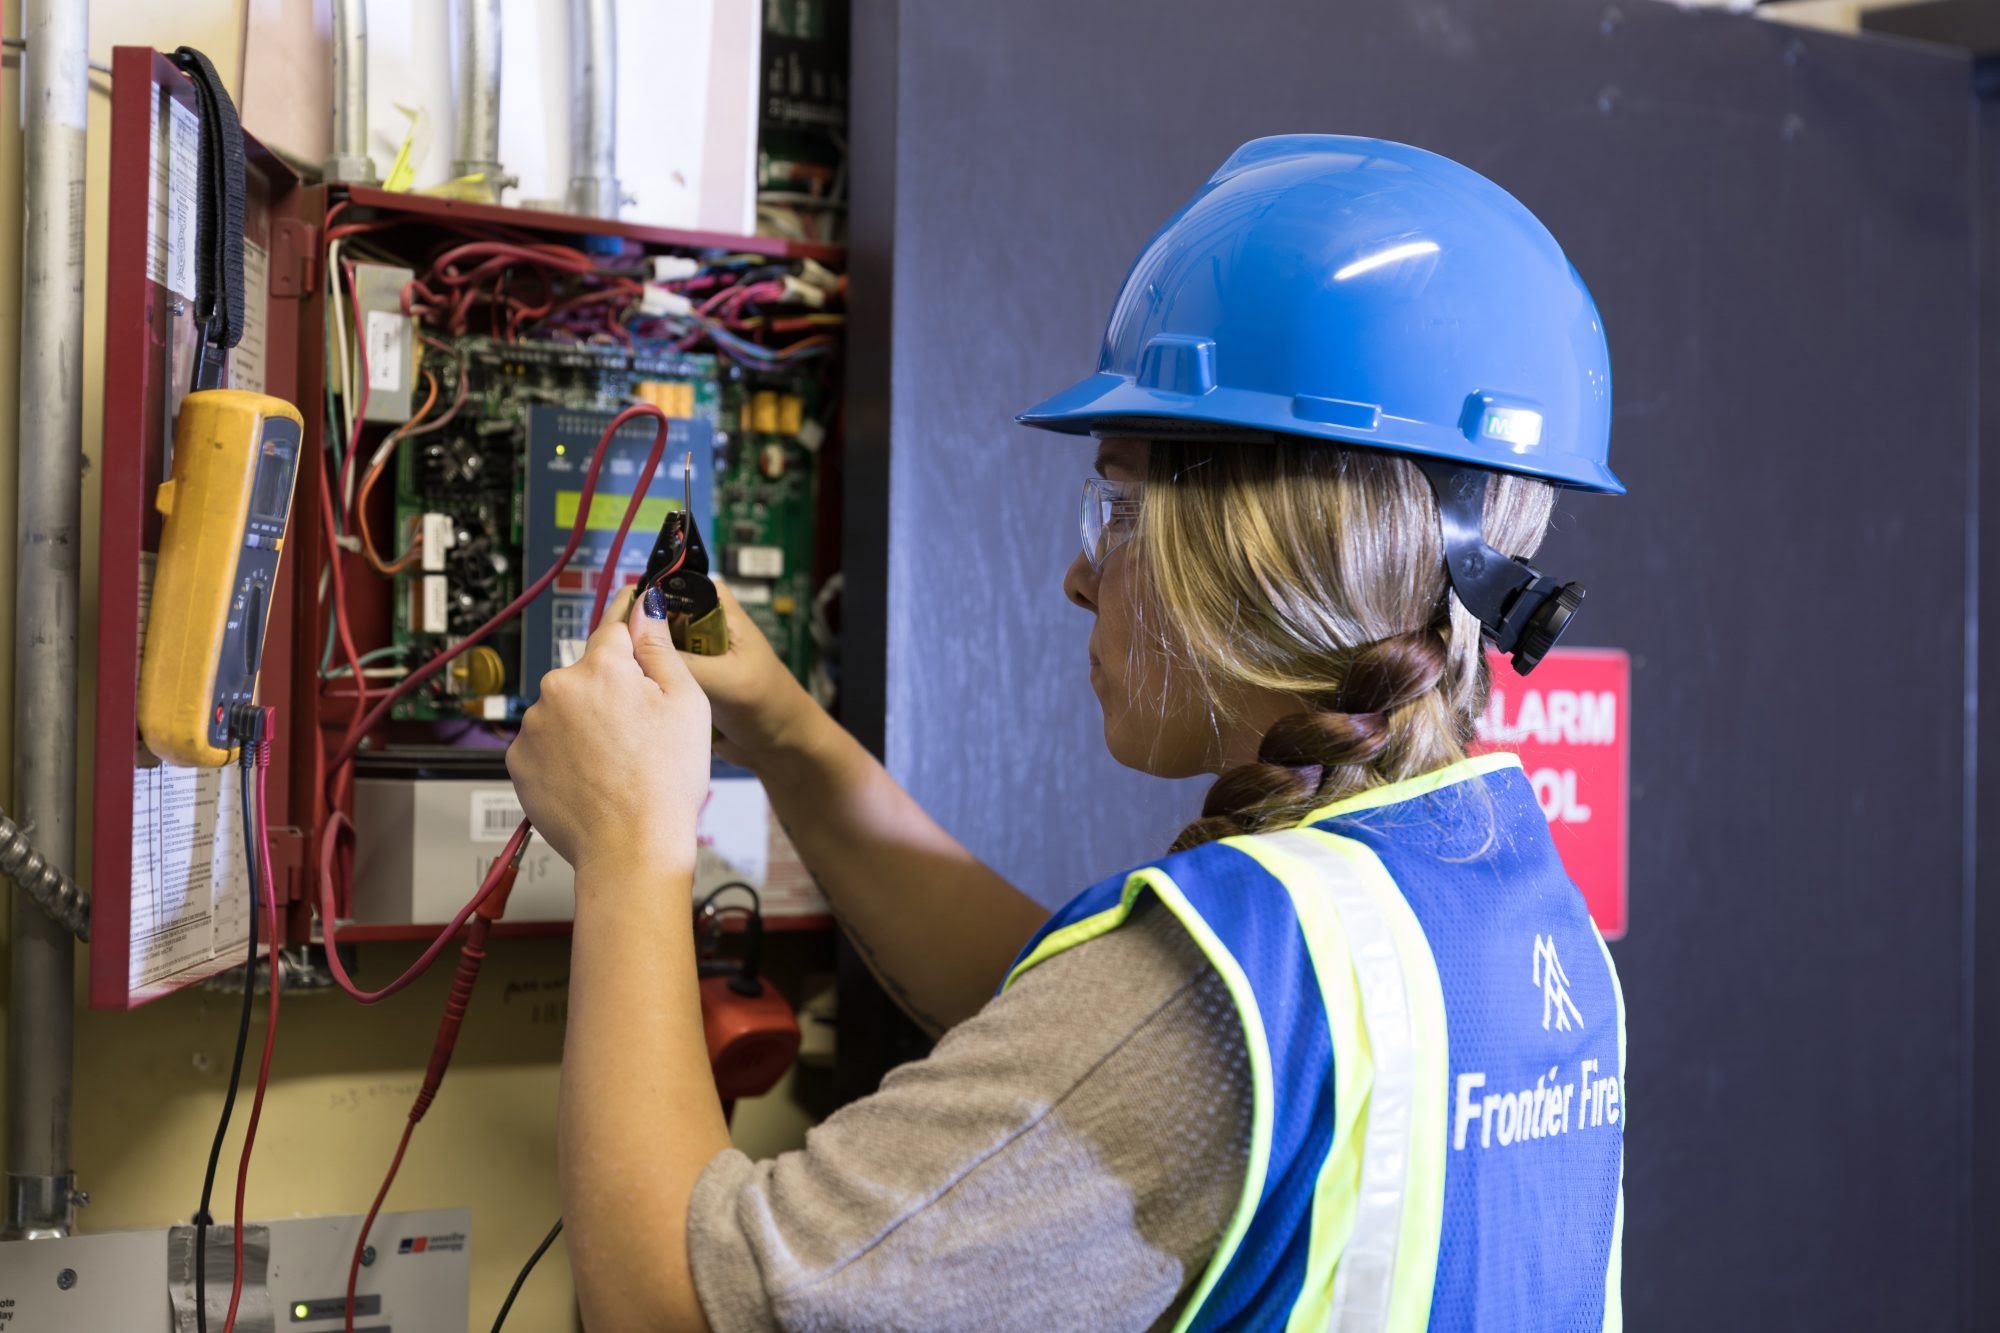
Inspecting Power Supply
The power supply is a critical component of your fire alarm system, ensuring reliable and continuous operation. If you’re experiencing issues with your fire alarm system, it’s important to inspect the power supply to identify any potential problems. Here’s a step-by-step guide for inspecting the power supply:
- Locate the Power Supply: Depending on the type of fire alarm system you have, the power supply may be located within the control panel or in a separate enclosure. Consult the system’s documentation or contact the manufacturer for guidance on locating the power supply.
- Visual Inspection: Perform a visual inspection of the power supply. Look for any visible damage, such as exposed or frayed wires, loose connections, or burnt components. This includes checking the power cables, connectors, and any associated circuit breakers or fuses.
- Test the Voltage Output: Using a multimeter, carefully test the voltage output of the power supply. Compare the measured voltage with the system’s specifications to ensure it falls within the acceptable range. If the output voltage is significantly lower or higher than expected, it may indicate a problem with the power supply unit.
- Check Backup Power Sources: If your fire alarm system utilizes backup power sources, such as batteries or generators, inspect them for proper operation. Test the batteries to ensure they are adequately charged and examine any charging systems or wiring associated with backup power sources.
- Replace Faulty Components: If you come across any damaged or faulty components during the inspection, such as frayed wires, loose connectors, or blown fuses, replace them immediately. Use the appropriate replacement parts recommended by the manufacturer to ensure compatibility and reliability.
- Consult System’s Documentation: Refer to the system’s documentation or contact the manufacturer for specific guidance on power supply inspection and troubleshooting. They can provide detailed instructions or technical support tailored to your fire alarm system’s make and model.
By inspecting the power supply, you can identify and resolve issues that may be impacting the functionality of your fire alarm system. Addressing power supply problems promptly helps ensure uninterrupted power flow and the proper operation of other components within the system.
Remember, if you’re unsure about any aspect of inspecting the power supply or need assistance, it is recommended to consult with a licensed fire alarm technician or contact the manufacturer for expert guidance. They will have the knowledge and expertise to help you troubleshoot and resolve power supply issues safely and effectively.
Regularly test and maintain your fire alarm system to ensure it is functioning properly. This includes checking the batteries, cleaning the detectors, and conducting regular drills.
Testing Detectors
Detectors are a crucial part of your fire alarm system, responsible for sensing the presence of smoke, heat, or flames. Regular testing of detectors is essential to ensure their proper functioning and reliability. Here’s a step-by-step guide for testing detectors:
- Inspect Detector Placement: Start by visually inspecting the placement of each detector. Ensure that they are installed in the correct locations as recommended by the manufacturer and local fire codes. Look for any obstructions or objects that may interfere with their ability to detect smoke or heat.
- Clean Detectors: Dust, debris, or other obstructions can hinder the performance of detectors. Use a soft cloth or compressed air to gently clean the detectors, removing any accumulated dirt or particles. Be cautious and follow manufacturer’s instructions to avoid damaging the detectors.
- Test Individual Detectors: Activate each detector one by one to ensure they are functioning properly. Most detectors have a test button or test feature that allows you to simulate a smoke or heat event. Follow the manufacturer’s instructions to activate the test mode and observe if the detector triggers an alarm signal.
- Check Detector Batteries: If your fire alarm system utilizes battery-powered detectors, verify the battery status. Replace any expired or low batteries to ensure reliable operation. Make sure to use batteries recommended by the manufacturer for compatibility and performance.
- Inspect Detector Wiring: Examine the wiring connections of each detector. Check for loose or disconnected wires, signs of damage, or improper connections. Secure any loose or disconnected wires, and repair or replace damaged wiring as necessary.
- Replace Faulty Detectors: If a detector fails the test or shows signs of malfunctioning, replace it with a new one. Ensure you use a compatible replacement detector approved by the manufacturer. Document the replacement and keep a record of all detector replacements and changes made during troubleshooting.
Testing detectors is crucial for ensuring the early detection of fires and the proper operation of your fire alarm system. By regularly testing and maintaining detectors, you can minimize the risk of false alarms and ensure the timely detection of real fire emergencies.
It’s important to consult the system’s documentation or contact the manufacturer for specific testing procedures and recommendations tailored to your fire alarm system’s make and model. If you encounter difficulties or uncertainties, consider seeking the assistance of a licensed fire alarm technician who can provide expert guidance and perform thorough detector testing.
Verifying Wiring Connections
Proper wiring connections are essential for the reliable operation of your fire alarm system. Faulty or loose wiring can lead to intermittent signal transmission, false alarms, or even failure to detect a fire when it occurs. Verifying and repairing wiring connections is an important step in troubleshooting your fire alarm system. Here’s a step-by-step guide to help you with this process:
- Inspect All Wiring: Begin by visually inspecting all wiring connections in your fire alarm system. Check for any loose, disconnected, or damaged wires. Pay close attention to areas such as junction boxes, control panels, detectors, and notification devices.
- Verify Proper Terminal Connections: Ensure that each wire is connected to the correct terminal or terminal block. Consult the system’s wiring diagram or installation manual to verify the proper terminal connections for each component. Reconnect any wires that are not properly seated or secured.
- Tighten Loose Connections: Check for any loose terminal screws or wire nuts. Use the appropriate tool (such as a screwdriver or pliers) to tighten them securely. Loose connections can cause signal interruptions or affect the performance of the fire alarm system.
- Repair or Replace Damaged Wires: If you come across any frayed, cut, or damaged wires, they should be repaired or replaced immediately. Cut off the damaged section and strip the wire ends to expose fresh conductor material. Use appropriate connectors or wire nuts to make a secure and reliable connection.
- Perform Continuity Testing: Consider performing continuity testing on the wiring connections to ensure there are no breaks or short circuits. Use a multimeter or a continuity tester to check the continuity of each wire in the system. Identify and rectify any wiring issues that are revealed during testing.
- Label and Organize Wires: Properly label and organize the wires in your fire alarm system. Use wire labels, cable ties, or other suitable methods to identify and manage the wiring connections. This will help with future troubleshooting and maintenance efforts.
Verifying and maintaining proper wiring connections in your fire alarm system is crucial for ensuring reliable operation and accurate signal transmission. Remember to follow the manufacturer’s guidelines, wiring diagrams, and installation instructions specific to your system. If you encounter complex or extensive wiring issues, it is recommended to seek the assistance of a licensed fire alarm technician for professional troubleshooting and repair.
Read more: How To Get A Fire Alarm Systems Training
Analyzing Alarm Signals
Analyzing alarm signals is a crucial step in troubleshooting your fire alarm system. By understanding and interpreting the alarm signals generated by the system, you can identify the source of the issue and take appropriate action. Here’s a step-by-step guide to help you analyze alarm signals effectively:
- Identify the Alarm Type: Determine the type of alarm signal being generated by the system. This could include fire alarms, trouble alarms, supervisory alarms, or other specific alarm types. Consult the system’s documentation or contact the manufacturer for information on the different types of alarms and their indications.
- Review Alarm Notifications: Observe the specific details provided with the alarm, such as the zone or area where the alarm originated. This information can help narrow down the potential cause of the alarm and guide your troubleshooting efforts.
- Consider Environmental Factors: Take into account any environmental factors that may influence alarm signals, such as temperature fluctuations, humidity levels, or dust accumulation. Consider whether these factors could be triggering false alarms or affecting the proper operation of detectors.
- Check Communication Paths: Evaluate the communication paths between devices and the control panel. Verify that communication lines, such as data wires or network connections, are properly connected and functioning. Faulty communication paths can lead to interrupted alarm signals or incomplete data transmission.
- Examine Control Panel Logs: Review the system logs or event history on the control panel to identify any recurring patterns or error messages related to the alarms. This information can provide further insights into the cause of the alarm signals.
- Inspect Detectors and Zones: Focus on the detectors and zones associated with the alarm signals. Inspect the detectors for any signs of malfunction, such as physical damage or false trigger incidents. Check if the affected zone has any wiring issues or if there are external factors that may be influencing the alarm.
- Consider Alarm Thresholds: Some fire alarm systems have adjustable alarm thresholds or sensitivity levels for detectors. Evaluate whether the alarm thresholds are set correctly for the specific environment and whether adjustments need to be made to prevent false alarms or improve detection accuracy.
- Consult Manufacturer or Technician: If you are unable to determine the cause of the alarm signals or if you suspect more complex issues, consult the system’s documentation or contact the manufacturer for troubleshooting assistance. A licensed fire alarm technician can also provide expert guidance in analyzing and resolving alarm signal-related problems.
Analyzing alarm signals requires attention to detail and consideration of various factors that may influence the system’s performance. By following these steps, you can identify the source of alarm signals and take appropriate steps to resolve the underlying issues, ensuring the proper functioning of your fire alarm system.
Remember, troubleshooting fire alarm systems can be complex, and it’s important to seek the assistance of professionals if needed. Licensed fire alarm technicians have the expertise to interpret alarm signals, diagnose issues, and perform repairs or replacements as necessary.
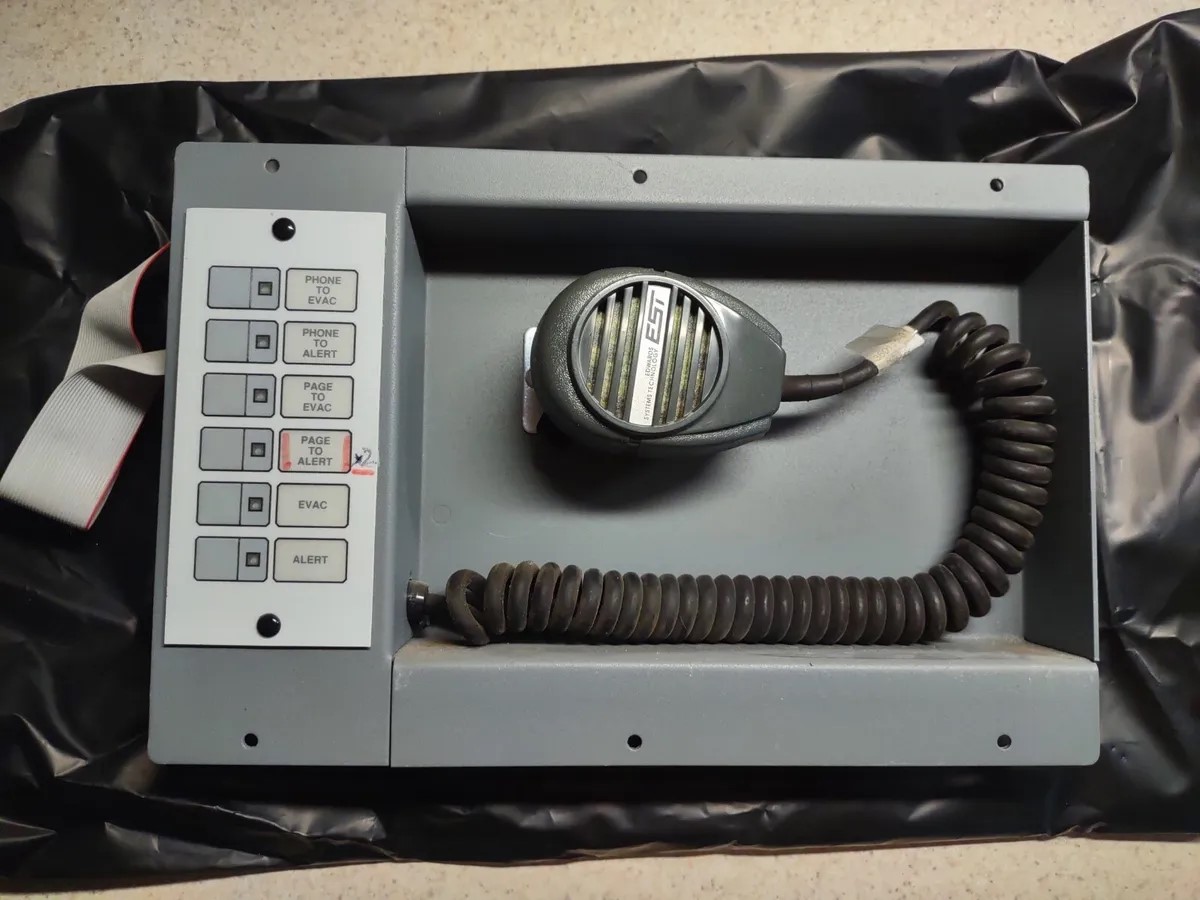
Checking Notification Devices
Notification devices, such as sirens, strobe lights, or speakers, play a crucial role in alerting occupants during a fire emergency. It is important to regularly check these devices to ensure they are operational and capable of delivering clear and audible alerts. Here’s a step-by-step guide for checking notification devices:
- Visual Inspection: Begin by visually inspecting each notification device. Check for any physical damage, such as cracks, broken components, or signs of wear and tear. Ensure that the devices are securely mounted in their designated locations.
- Test Audible Devices: Trigger the alarm to test the audible notification devices, such as sirens or speakers. Monitor the sound produced by each device and assess if it is loud and clear enough to be heard throughout the intended area. Replace any devices that produce distorted or weak sound.
- Test Visual Devices: Activate the alarm to test the visual notification devices, such as strobe lights or LED indicators. Observe if these devices emit a strong and visible light, ensuring they meet the intended brightness and visibility requirements. Replace any devices that are dim or malfunctioning.
- Check Power and Wiring: Inspect the power connections and wiring associated with the notification devices. Verify that the devices are receiving the necessary electrical power and that the wiring connections are secure. Loose or damaged wiring can result in poor device performance or total failure.
- Functional Testing: Perform functional tests for each notification device individually. Activate them using manual or system-initiated tests, and ensure that they activate simultaneously with the alarm signal. Verify that all notification devices intended for a specific zone are triggered appropriately.
- Consider Visibility and Audibility: Assess the location and positioning of notification devices to ensure they are placed strategically for maximum visibility and audibility. Make sure that devices are not obstructed by objects or furniture that could impede the effectiveness of the alerts.
- Document and Maintain Records: Keep a detailed record of all tests performed on the notification devices, noting any issues discovered and the actions taken to address them. Documenting maintenance, repairs, and replacements will help track the system’s performance over time and assist in future troubleshooting.
Checking notification devices is crucial to ensure that they will effectively alert occupants during a fire emergency. Regular maintenance and testing of these devices help guarantee their proper operation when needed the most.
If issues are encountered during the checking process or if you believe there are problems with any notification devices, it is recommended to consult with a licensed fire alarm technician. They can provide expert assistance and guidance to resolve any issues and ensure the reliability of your fire alarm system.
Resetting the System
Resetting the fire alarm system is an important step in the troubleshooting process, especially after making changes, repairs, or adjustments. Resetting the system helps ensure that the changes take effect and that the system returns to its normal functioning state. Here’s a step-by-step guide to help you reset your fire alarm system:
- Consult the Manufacturer’s Instructions: Refer to the system’s documentation or contact the manufacturer for specific instructions on how to reset the fire alarm system. Different systems may have varying procedures, so it’s important to follow the recommended steps.
- Notify Occupants and Authorities: Before initiating a system reset, ensure that occupants and relevant authorities are aware that the fire alarm system will temporarily be in a reset mode. This prevents any confusion or unnecessary panic during the reset process.
- Disable Alarm Signals: Temporarily disable or silence the alarm signals during the reset process to avoid any unnecessary alarms. This can usually be done from the control panel or through a specific reset function available on the system.
- Power Cycle the System: Power down the entire fire alarm system by switching off the main power supply. After a few seconds, turn the power back on to initiate a complete system reboot. This helps clear any temporary issues or glitches within the system.
- Restart the Control Panel: Once the power is restored, restart the control panel according to the manufacturer’s instructions. This ensures that all settings and configurations are properly reloaded and that the control panel is ready for normal operation.
- Validate System Functionality: After the reset, carefully monitor the system to ensure that all components are functioning as expected. Check if detectors are properly detecting smoke or heat, if notification devices activate correctly, and if the control panel responds to inputs accurately.
- Perform Test Alarms: To confirm that the system has been reset successfully, activate test alarms from various zones in the building. Observe if the alarms trigger the appropriate notifications and if the control panel indicates the alarms correctly.
- Document the Reset: It is important to document the date and details of the system reset as part of your fire alarm system’s maintenance records. This information will be valuable for future troubleshooting or maintenance efforts.
Remember, resetting the fire alarm system is a sensitive process, and it’s important to follow the manufacturer’s instructions and guidelines. If you experience any difficulties or uncertainties during the process, it is recommended to consult with a licensed fire alarm technician for expert assistance.
By properly resetting the fire alarm system, you ensure that any changes or repairs made are applied correctly, allowing the system to resume its optimal performance in keeping occupants safe in case of a fire emergency.
Documenting Findings
Documenting the findings of your fire alarm system troubleshooting process is essential for maintaining accurate records and aiding future troubleshooting efforts. By documenting your findings, you create a reference log that can be used to track issues, identify trends, and ensure the ongoing maintenance and reliability of your system. Here’s a step-by-step guide to help you effectively document your findings:
- Record Date and Time: Start by noting the date and time of the troubleshooting session. This information provides a reference point for future analysis and tracking of system performance.
- Describe the Issue: Clearly describe the issue or problem that prompted the troubleshooting process. Include details such as the specific alarm type, affected zones or areas, and any other relevant information regarding the symptom or nature of the problem.
- Note Preliminary and Diagnostic Steps: Document the preliminary checks that were conducted before delving into the troubleshooting process. Include any diagnostic steps taken to analyze the issue, such as inspecting components, testing devices, or reviewing system logs.
- Detail Actions Taken: Describe the actions that were taken during the troubleshooting process to address the identified issues. This can include repairs, replacements, adjustments, or any other corrective measures implemented to resolve the problem.
- Document Observations: Record any notable observations made during troubleshooting. This could include unusual behavior, recurring patterns, or unexpected discoveries that may provide insights into the root cause of the issue.
- Include Recommendations: If you have identified underlying issues or potential improvements during the troubleshooting process, provide recommendations for further action. This could involve suggestions for system upgrades, repairs, or additional maintenance tasks that may enhance the overall performance and reliability of your fire alarm system.
- Attach Supporting Documentation: If applicable, attach any documentation, such as photos, diagrams, or technical manuals, that were referenced during the troubleshooting process. This provides additional context and clarity to support your findings.
- Review and Sign Off: Once you have documented your findings, review the information for accuracy and completeness. Sign off on the document to indicate that you have completed the troubleshooting process and that the findings have been recorded.
By documenting your findings in a systematic and comprehensive manner, you create a valuable resource that can be referred to in the future. This documentation aids in maintaining an accurate history of your fire alarm system’s troubleshooting and maintenance, facilitates communication with fire alarm technicians, and helps establish a proactive approach to system management.
Remember to keep your findings document in a safe and accessible place for future reference. Regularly update it with new findings or changes made to your fire alarm system to ensure it remains an up-to-date and reliable resource.
Conclusion
Troubleshooting your fire alarm system is paramount to ensuring the safety and effectiveness of your fire protection measures. Through this comprehensive guide, we have explored the importance of proper fire alarm system troubleshooting and provided a step-by-step approach to help you identify and resolve common issues. By following these steps, you can maintain a reliable and efficient fire alarm system that protects lives and property.
Throughout the troubleshooting process, remember to consult the system’s documentation, follow the manufacturer’s instructions, and reach out to licensed fire alarm technicians for expert guidance when needed. They possess the knowledge and expertise to diagnose and resolve complex issues that may arise in your fire alarm system.
From conducting preliminary checks to analyzing alarm signals, inspecting components, and documenting findings, each step serves a crucial role in ensuring the proper functionality of your fire alarm system. By identifying and addressing issues promptly, you minimize the risk of false alarms, maximize the system’s reliability, and enable early detection and notification during a fire emergency.
Regular maintenance and troubleshooting of your fire alarm system are essential. Remember to perform routine checks, document your findings, and keep accurate records of any repairs or changes made. This documentation will serve as a valuable resource for future troubleshooting efforts and can aid in compliance with regulations and insurance requirements.
Never underestimate the importance of a well-maintained fire alarm system. It is a critical component of any home or building’s safety infrastructure. By ensuring its proper function through troubleshooting, you provide peace of mind to occupants and help create a safer environment for all.
Remember to stay proactive, regularly test your fire alarm system, and seek professional assistance when needed. Through consistent and diligent maintenance, your fire alarm system will continue to protect lives and property, providing invaluable peace of mind in the face of potential fire emergencies.
Frequently Asked Questions about How To Troubleshoot Fire Alarm Systems
Was this page helpful?
At Storables.com, we guarantee accurate and reliable information. Our content, validated by Expert Board Contributors, is crafted following stringent Editorial Policies. We're committed to providing you with well-researched, expert-backed insights for all your informational needs.