Home>Ideas and Tips>DIY Compost Bins: Designs For Every Yard Size

Ideas and Tips
DIY Compost Bins: Designs For Every Yard Size
Published: October 28, 2024
Discover cost-effective and customizable DIY compost bin designs for any yard size. Reduce waste and enrich your soil with these easy-to-build solutions.
(Many of the links in this article redirect to a specific reviewed product. Your purchase of these products through affiliate links helps to generate commission for Storables.com, at no extra cost. Learn more)
Composting is an essential practice for any gardener or homeowner looking to reduce waste and create nutrient-rich soil for their plants. While commercial compost bins can be expensive, DIY compost bins offer a cost-effective and customizable solution that can fit any yard size. In this article, we will explore various DIY compost bin designs, materials, and construction methods to help you create the perfect bin for your needs.
Why Choose a DIY Compost Bin?
Choosing a DIY compost bin is a no-brainer for several reasons. First off, it's cost-effective. You can make a compost bin from materials you already have lying around or can easily get for cheap. No need to break the bank on a fancy commercial bin. Plus, you get to customize it. Want a bin that fits snugly in that awkward corner of your yard? You got it. Prefer a design that matches your garden aesthetic? Go for it. The sky's the limit when you're the one calling the shots.
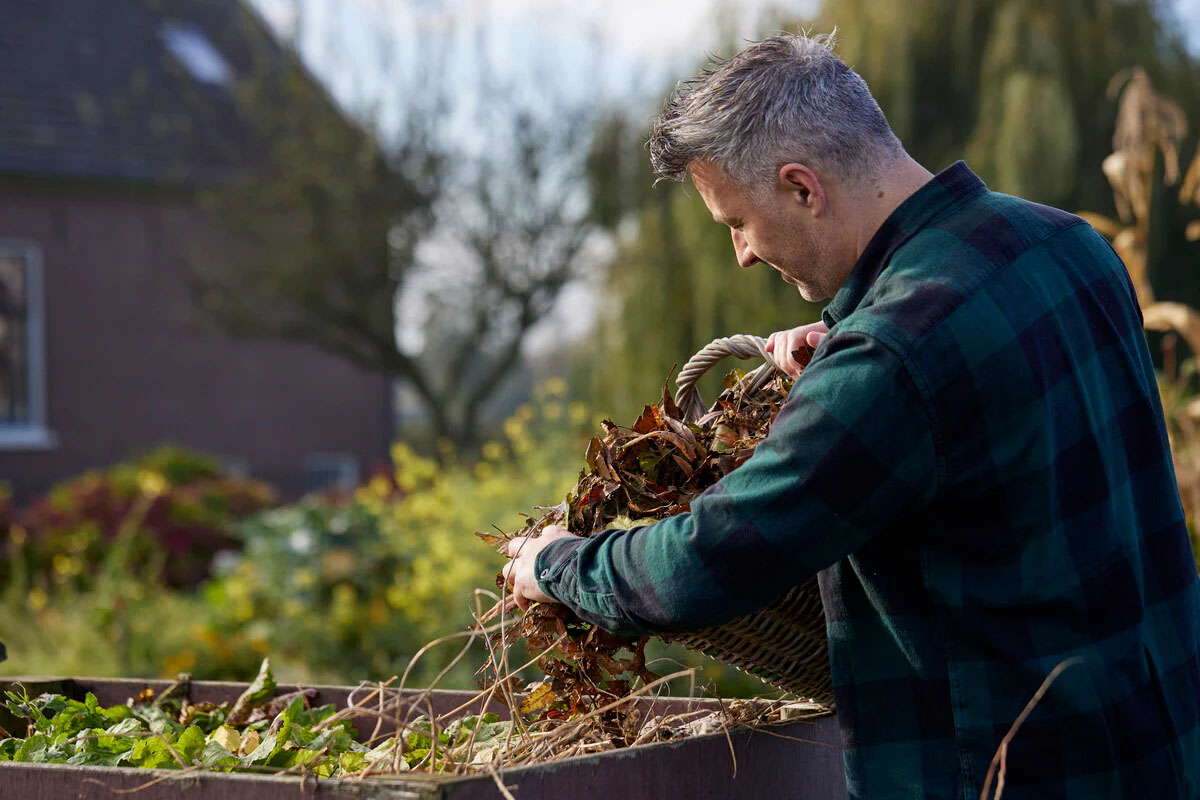
Another big win is the environmental benefits. Composting cuts down on the amount of organic waste that ends up in landfills. Less waste means fewer greenhouse gases, which is a win for Mother Earth. And let's not forget the educational opportunity. Building a compost bin can be a fun family project. Kids can learn about decomposition, recycling, and soil health—all while getting their hands dirty.
Read more: What Is A Compost Bin
Materials for DIY Compost Bins
One of the coolest things about DIY compost bins is the variety of materials you can use. Here are some popular options:
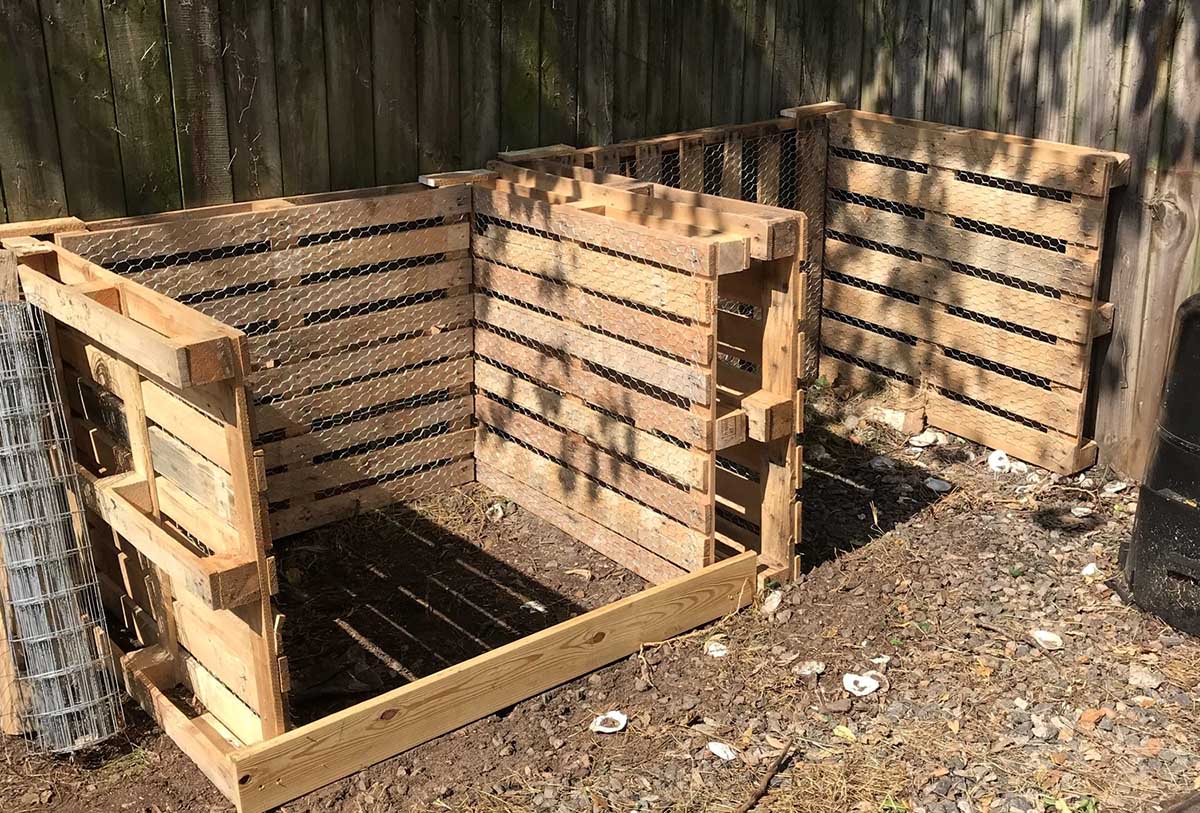
- Pallets: These are a DIYer's best friend. They're sturdy, often free, and perfect for building a compost bin.
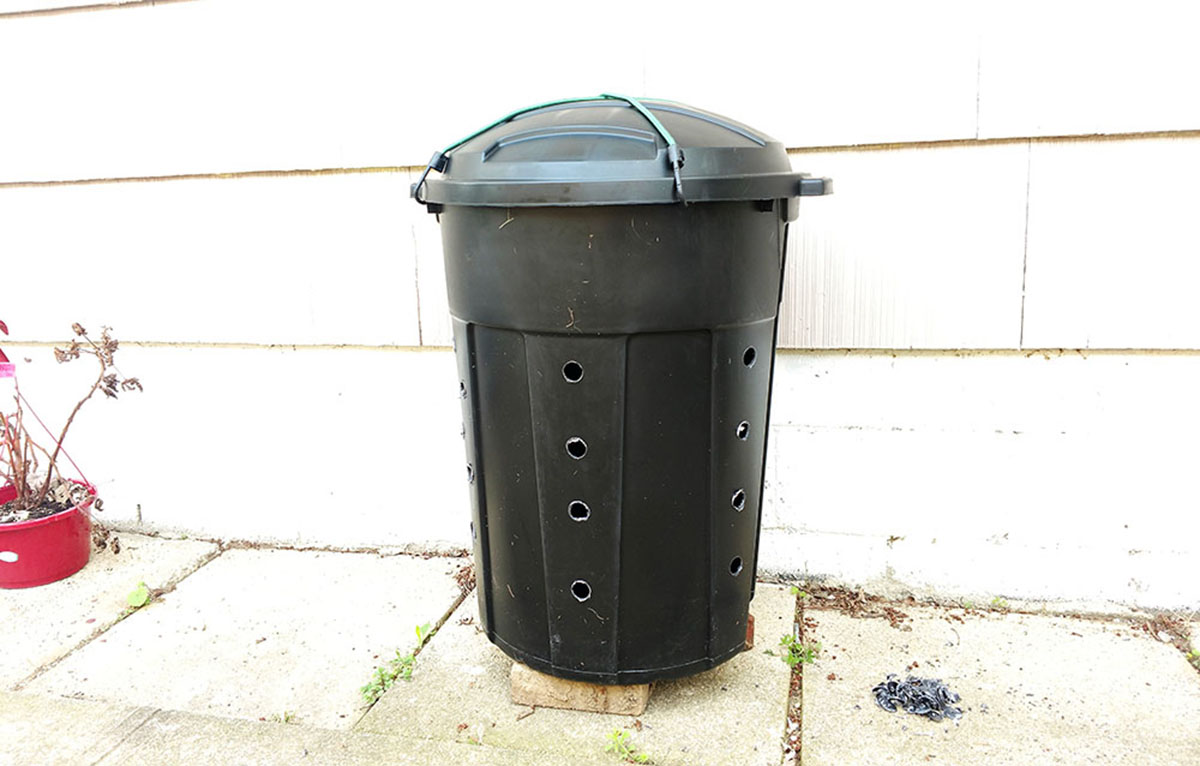
- Plastic Totes: Got an old storage bin? Drill some holes in it, and you've got yourself a compost bin.
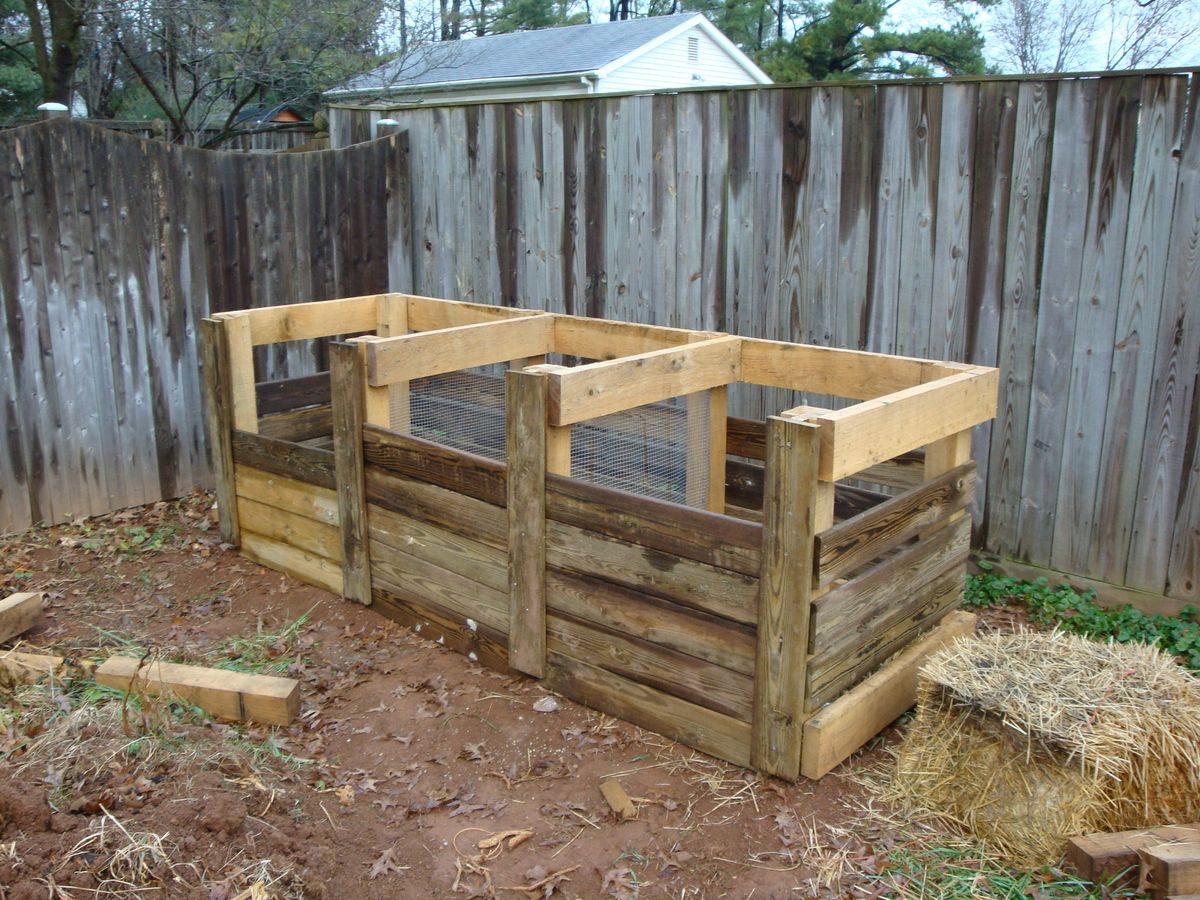
- Wooden Frames: Using 2x4s or 2x6s, you can build a durable frame that can be customized to any size.
- Chicken Wire: This is great for covering your wooden frame, allowing for air circulation while keeping pests out.
- Straw Bales: Perfect for smaller spaces or temporary composting needs. Just stack them up to form a bin.
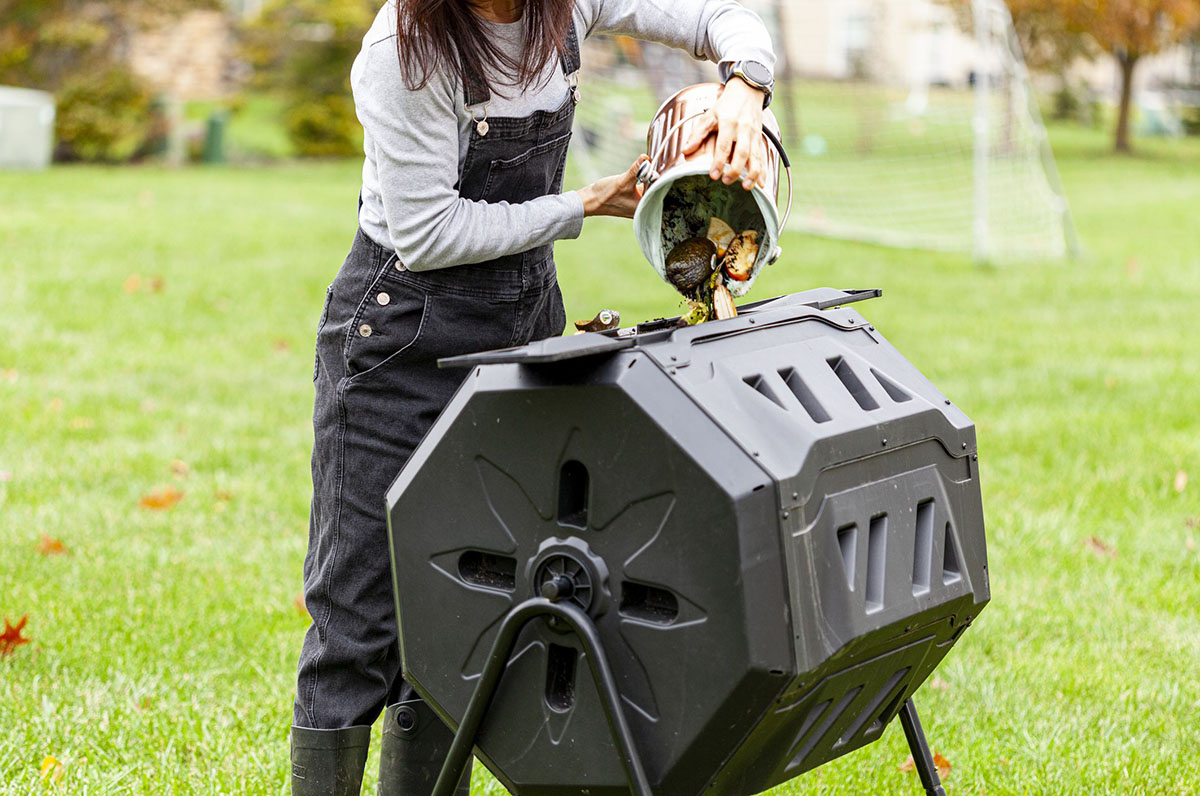
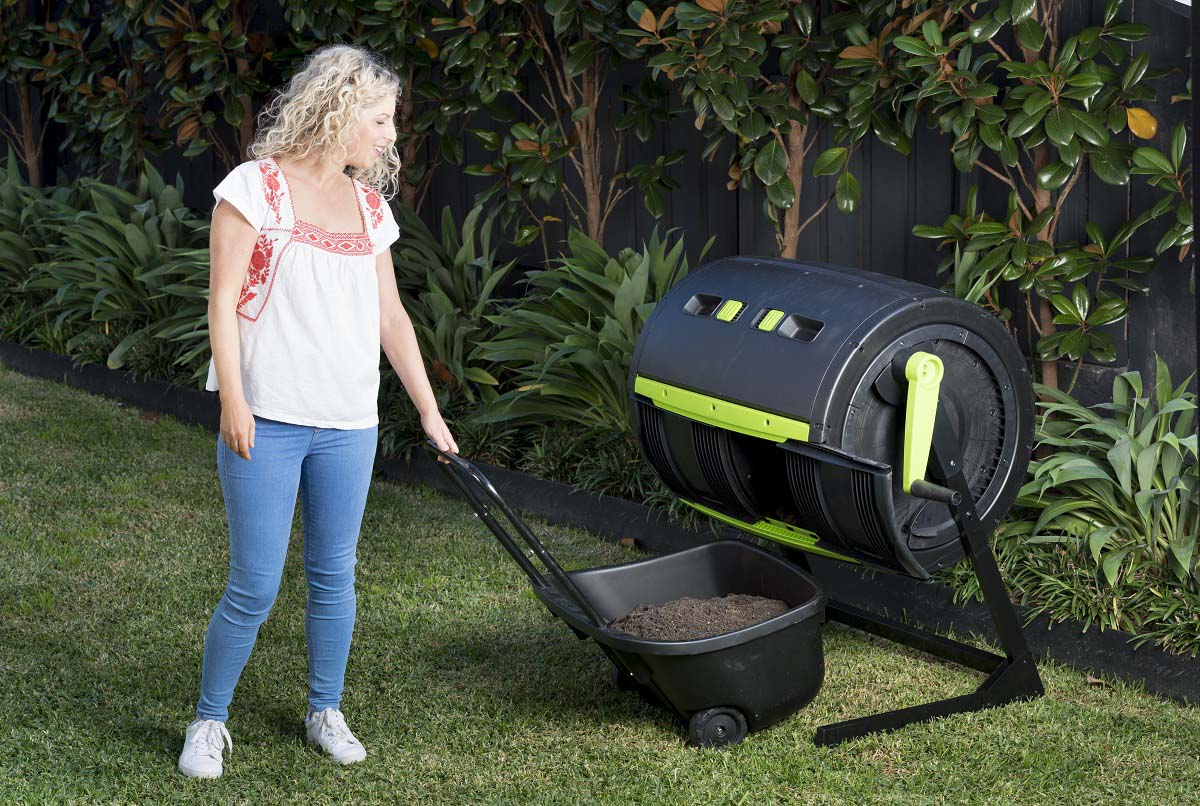
- Barrels: Plastic barrels can be turned into tumblers by adding a door and some holes for airflow.
Step-by-Step Guide to Building a DIY Compost Bin
Here’s a detailed guide on how to build several types of DIY compost bins:
1. Pallet Compost Bin
Materials Needed:
- 4-6 wooden pallets
- 2 L brackets
- Strap hinges
- Hook and latch
- Hammer
- Drill
Instructions:
- Prepare the Site: Choose a shaded area with good drainage for your compost bin.
- Assemble the Frame: Place two pallets side by side to form the back of the bin. Attach them using L brackets.
- Add Sides: Place another pallet on the left side and attach it to the back pallet using L brackets.
- Create the Door: Attach two strap hinges to one side of the bin for easy access.
- Add a Handle: Attach a hook and latch to keep the door closed.
- Secure the Sides: Use screws or nails to secure all sides of the pallets together.
2. Plastic Tote Compost Bin
Materials Needed:
- Large plastic tote
- Drill
- Drill bits (3/16”)
- Hammer
Instructions:
- Select Your Tote: Choose a large plastic tote that can hold at least 30 gallons of material.
- Drill Holes: Drill 8-10 small holes in both the bottom and lid of the tote for airflow.
- Create Brown Base: Fill about 1/8 – 1/4 of the tote with dry leaves or twigs.
- Add Dirt: Fill another 1/2 of the tote with dirt or topsoil.
- Add Compostable Materials: Start adding green waste like food scraps, grass clippings, etc., on top of the brown base.
3. Wooden Frame Compost Bin
Materials Needed:
- 2x4s or 2x6s for frame
- Chicken wire or hardware cloth
- Hammer
- Drill
- Screws
Instructions:
- Lay Out Frame: Lay out three 2×4 boards evenly spaced across 3 feet of space.
- Add Horizontal Slats: Place horizontal slats between vertical boards leaving about an inch for ventilation.
- Attach Chicken Wire: Attach chicken wire or hardware cloth to three sides of the frame using wire staples.
- Secure Sides: Use screws to secure all sides of the frame together.
4. Straw Bale Compost Bin
Materials Needed:
- Straw bales
- Hammer
Instructions:
- Prepare Site: Choose an area with good drainage.
- Arrange Straw Bales: Place straw bales around the designated area forming a square or rectangle shape.
- Add Compostable Materials: Start adding green waste like food scraps, grass clippings, etc., inside the straw bale structure.
5. Barrel Tumbler Compost Bin
Materials Needed:
- Plastic barrel (32-gallon)
- Drill
- Hinges
- Latch
- Hammer
Instructions:
- Clean Barrel: Clean the barrel thoroughly inside and out.
- Draw Door: Use a marker to draw a door large enough to add vegetable scraps and yard waste easily.
- Cut Out Door: Cut out the door using a saw or utility knife.
- Attach Hinges & Latch: Attach one side of the door with two hinges and screws, then add a latch to keep it closed while rolling it to mix the compost.
- Drill Holes: Drill holes into the barrel for airflow.
Tips for Effective Composting
While building your DIY compost bin is exciting, remember that effective composting requires more than just a bin. Here are some tips:
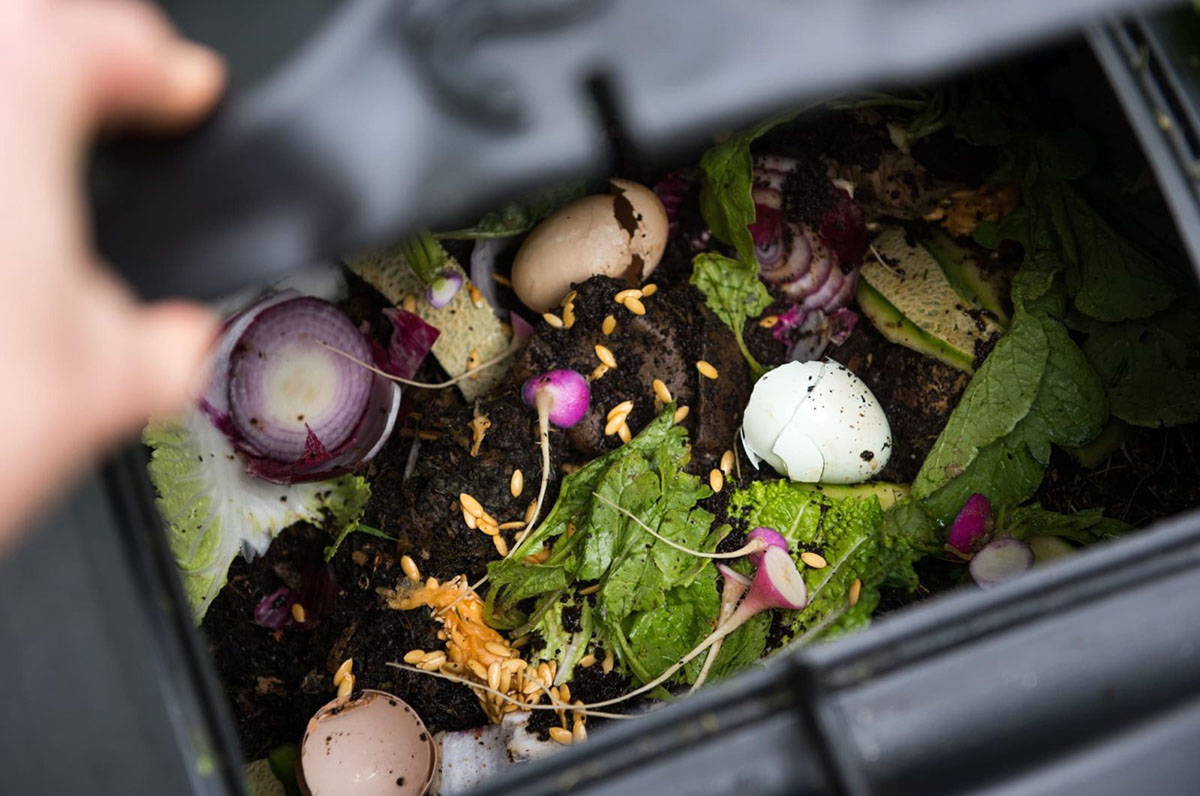
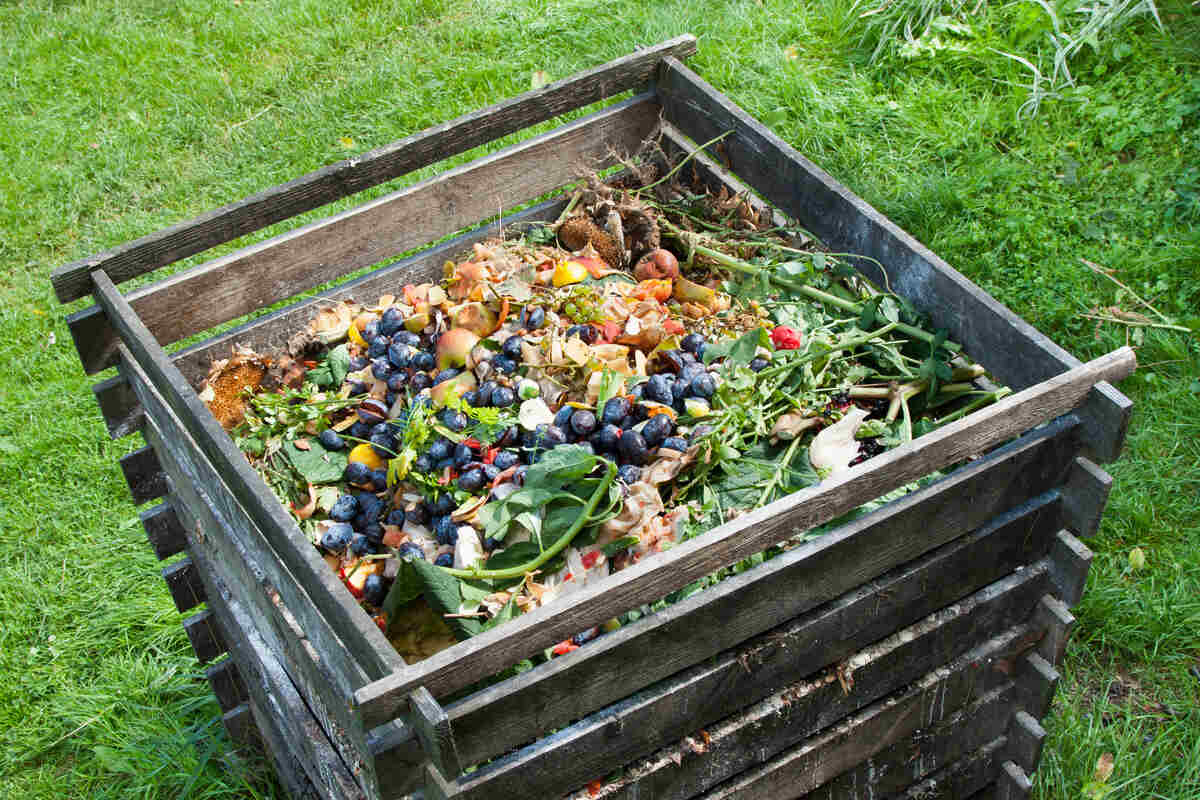
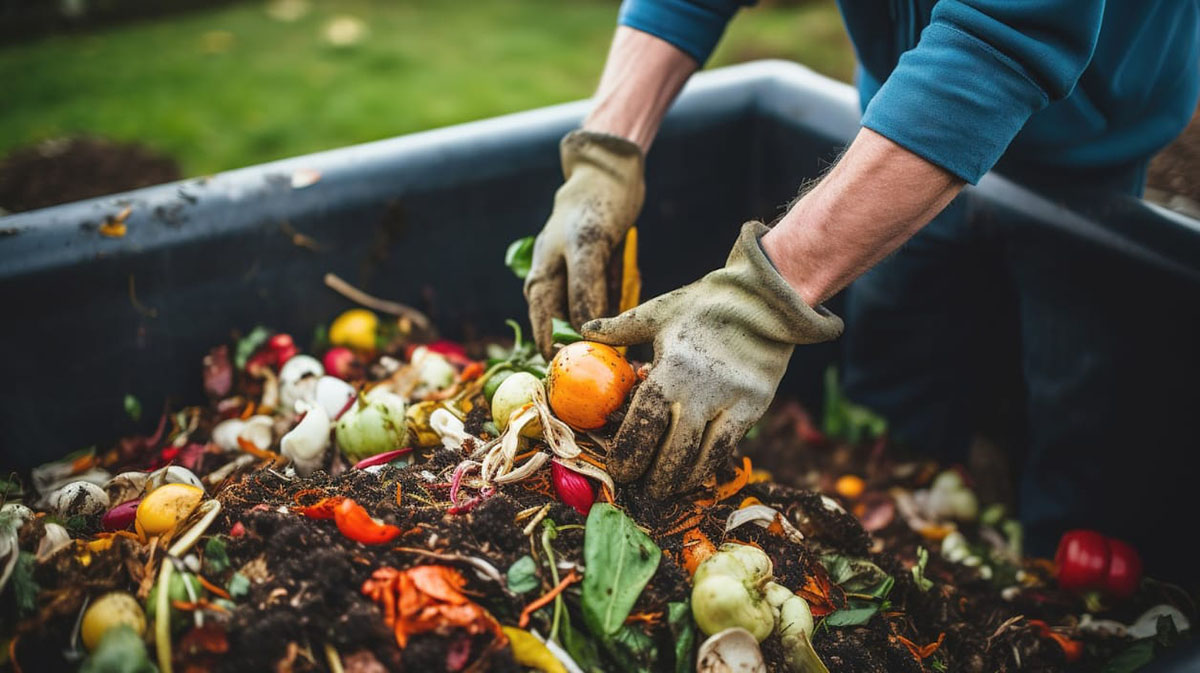
- Layering Materials: Composting involves layering “browns” (dead leaves, twigs) and “greens” (food waste, grass clippings). This layering helps maintain moisture and provides oxygen for decomposition.
- Moisture Control: Keep your compost pile moist but not soggy; ideal moisture levels should be like a damp sponge.
- Aeration: Regularly turn your compost pile or use a tumbler to ensure adequate aeration which speeds up decomposition.
- Temperature Monitoring: Compost piles can get hot; monitor temperatures regularly to ensure they don’t exceed 160°F which can kill beneficial microbes.
- Pest Control: Use materials like chicken wire or hardware cloth to keep pests out while allowing air circulation.
- Maintenance Routine: Regularly add new materials while turning old ones over; this ensures continuous decomposition without creating odors or attracting pests.
Read more: How To Compost With A Bin
Common Mistakes to Avoid
Composting can be straightforward but there are common mistakes that can hinder success:
- Insufficient Aeration: Lack of oxygen slows down decomposition; ensure there are enough holes drilled into your bin for airflow.
- Incorrect Moisture Levels: Too little or too much moisture can lead to unpleasant odors or slow decomposition; aim for damp but not soggy conditions.
- Inadequate Mixing: Failure to mix layers properly leads to uneven decomposition; regularly turn your pile or use a tumbler if possible.
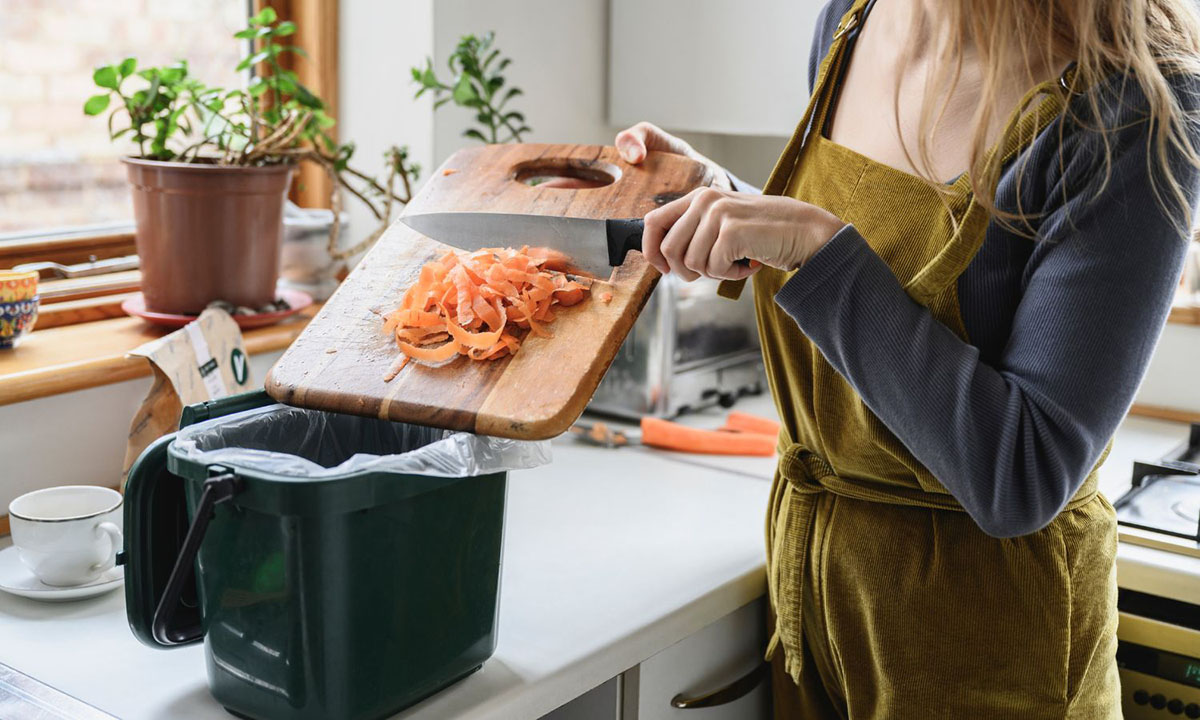
- Adding Contaminants: Avoid adding meat, dairy products, oils, or pet waste as these attract pests and create unpleasant odors; stick with organic materials like food scraps, grass clippings, etc.
Conclusion
Creating a DIY compost bin is an excellent way to reduce waste while enriching your soil naturally without breaking the bank or requiring extensive expertise in carpentry or engineering skills Whether you choose pallets, plastic totes, wooden frames covered with chicken wire/hardware cloth or even straw bales/barrels turned into tumblers—you'll find that each method offers unique advantages tailored specifically towards different yard sizes/preferences ensuring everyone has access towards sustainable gardening practices regardless their space constraints!
Remember always follow basic principles like layering materials maintaining proper moisture levels ensuring adequate aeration monitoring temperatures regularly keeping pests out while maintaining regular maintenance routines avoiding common mistakes along way ensuring successful composting experience every time!
Happy composting
Was this page helpful?
At Storables.com, we guarantee accurate and reliable information. Our content, validated by Expert Board Contributors, is crafted following stringent Editorial Policies. We're committed to providing you with well-researched, expert-backed insights for all your informational needs.

0 thoughts on “DIY Compost Bins: Designs For Every Yard Size”