Home>Ideas and Tips>DIY Guide: Installing A Paver Patio

Ideas and Tips
DIY Guide: Installing A Paver Patio
Modified: November 1, 2024
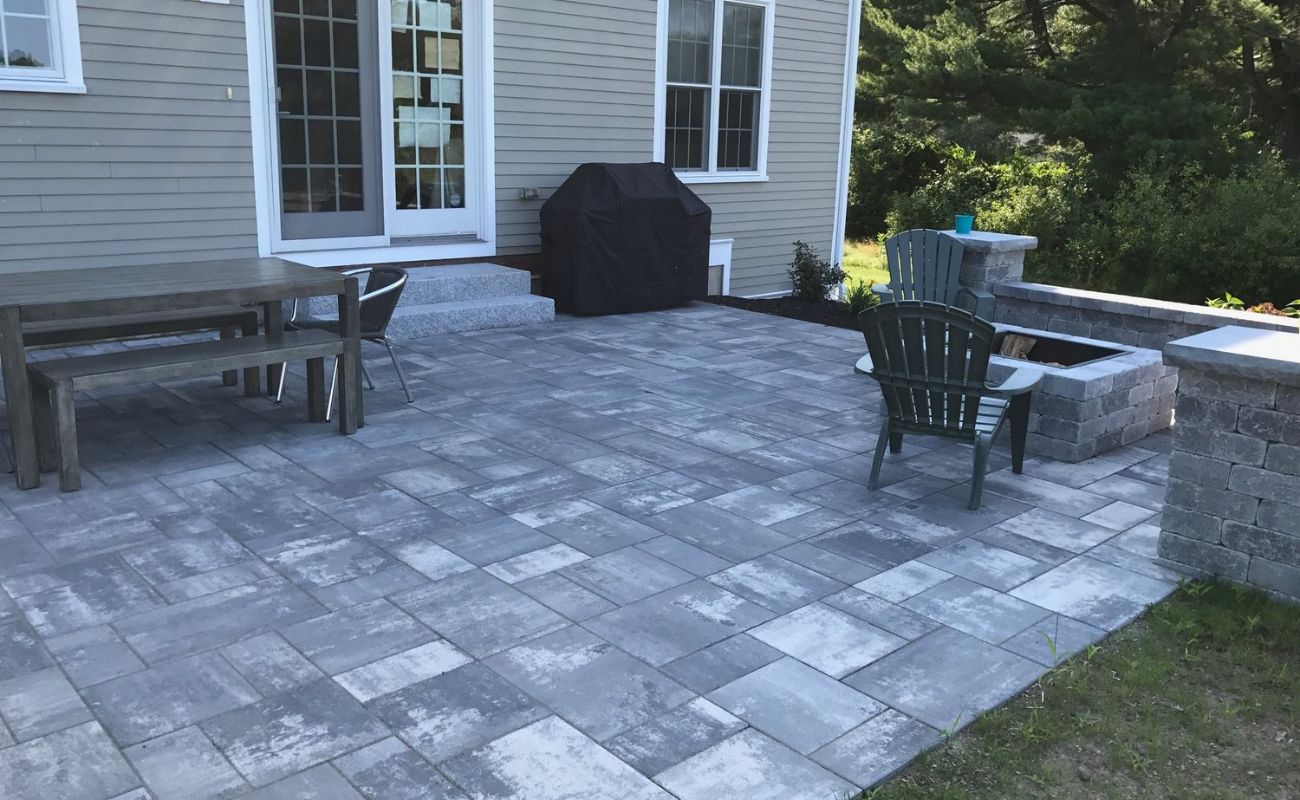
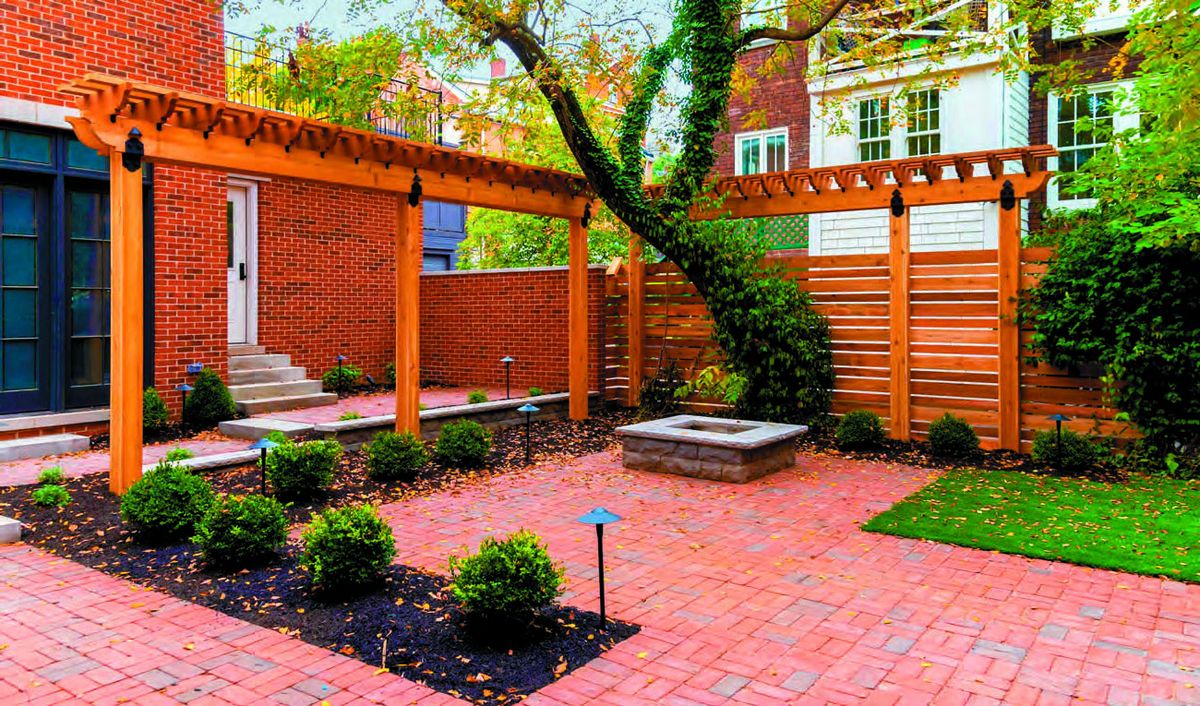
Transform your outdoor space with our DIY guide to installing a paver patio. Follow these steps for a beautiful and functional patio.
(Many of the links in this article redirect to a specific reviewed product. Your purchase of these products through affiliate links helps to generate commission for Storables.com, at no extra cost. Learn more)
Installing a paver patio is a rewarding DIY project that can transform your outdoor space into a beautiful and functional area perfect for relaxation, entertainment, or both. With the right tools and some careful planning, you can create a stunning paver patio that enhances the aesthetic appeal of your home. In this comprehensive guide, we will walk you through each step of the process, from preparation to completion.
Step 1: Planning and Layout
Before you begin digging, it's essential to plan and layout your paver patio carefully. Here are the steps to follow:
-
Determine the Space: Decide where you want to install your paver patio. Ensure that the area is level and clear of any debris or obstructions.
-
Measure the Area: Measure the width and length of the area to be paved. This will help you calculate the number of pavers needed.
-
Calculate Paver Quantity: Multiply the width by the length to get the square footage of the area. Add 5% to this figure to account for pavers that will be cut to fit curves and odd spaces. If you anticipate cutting many pavers, add 10% to your total.
-
Create a Layout Plan: Use graph paper to draw out your planned area. Mark or spray paint the outline of your paved area, approximately eight inches outside that outline. This will give you a clear visual of where your pavers will go.
-
Consider Drainage: Ensure that the area has a gradient or slope to allow water to run off the pavers. This prevents pooling or ponding that can damage the pavement over time.
Read more: DIY Guide To Installing A Paver Patio
Step 2: Excavation
Excavation is one of the most critical steps in installing a paver patio. Here’s how to do it:
-
Determine Depth: Calculate the total depth needed for excavation by adding together:
- The inches required for the base (4 to 6 inches)
- The sand bedding (1 inch)
- The paver’s thickness
-
Mark Stakes: Place stakes around the parameter and mark them with the slope decline. Use a string tightly on these stakes to indicate the height level to follow.
-
Dig Out Soil: Dig out to the indicated depth, level, and compact the ground with a compacting machine. If you don’t have access to a compacting machine, you can use a hand tamper or even manual compaction methods.
-
Remove Debris: Clear out any debris or roots that may interfere with your paver installation.
Step 3: Base Material
The base material is crucial for providing a stable foundation for your pavers. Here’s how to prepare it:
-
Lay Down Gravel: Start by laying down 4-6 inches of 3/4 inch clean gravel. This type of gravel does not contain fines and dust, which allows water to drain well.
-
Compact Gravel: Compact this layer into the existing soil using a compactor rented from Home Depot or similar equipment.
-
Add Landscape Fabric: Lay down commercial-grade landscape fabric over the compacted gravel layer to help lock everything in place and minimize settling.
-
Add Additional Gravel: Add another 2-3 inches of 3/4 inch clear gravel on top of the landscape fabric and compact it as well.
Step 4: Top Coat
The top coat is designed to provide drainage while keeping the pavers in place.
-
Choose Top Coat Material: Use 1/4 inch or 3/8 inch clean chip stone for the top coat instead of sand, which can wash away into the gravel below and hold moisture.
-
Screed and Pitch: Screed and pitch this layer properly (1/8 inch per foot) to ensure it’s even with any guides you may have set up.
Step 5: Installing Pavers
Now it’s time to install your pavers:
-
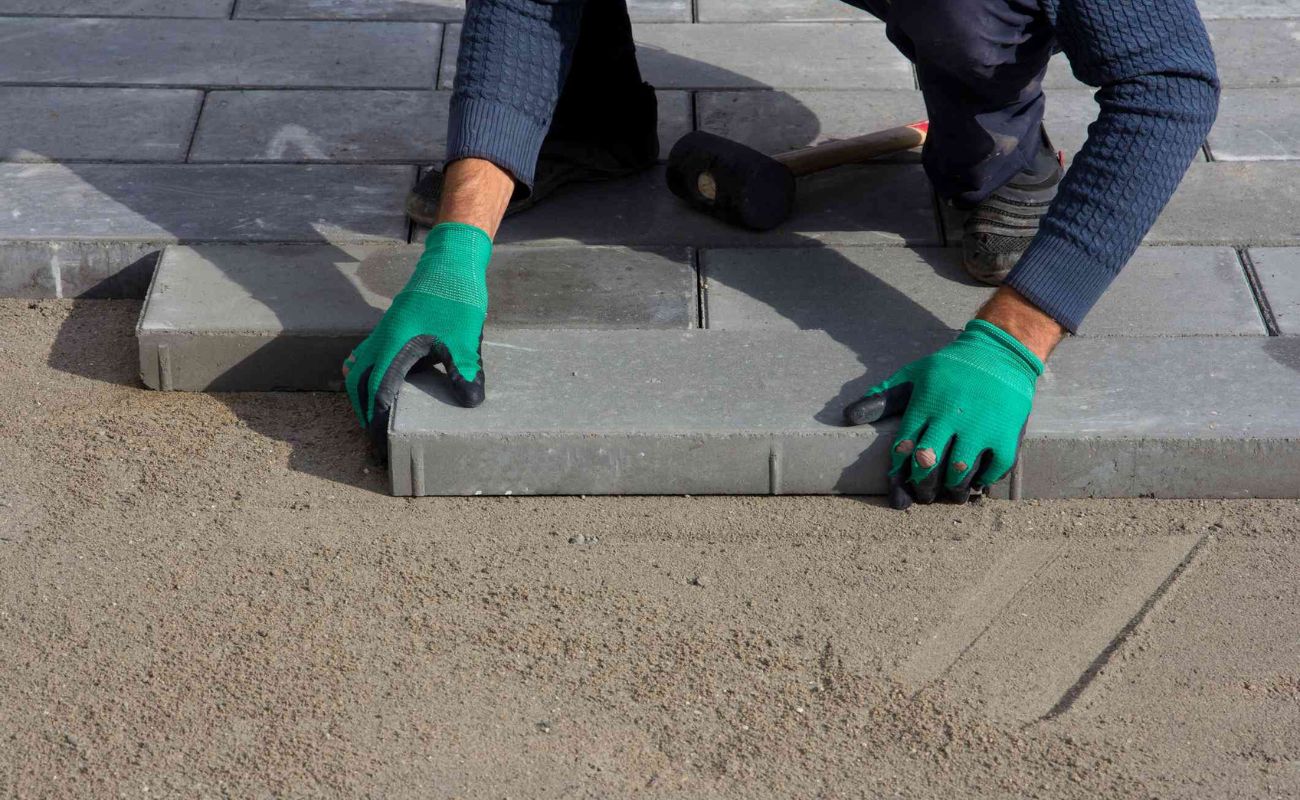
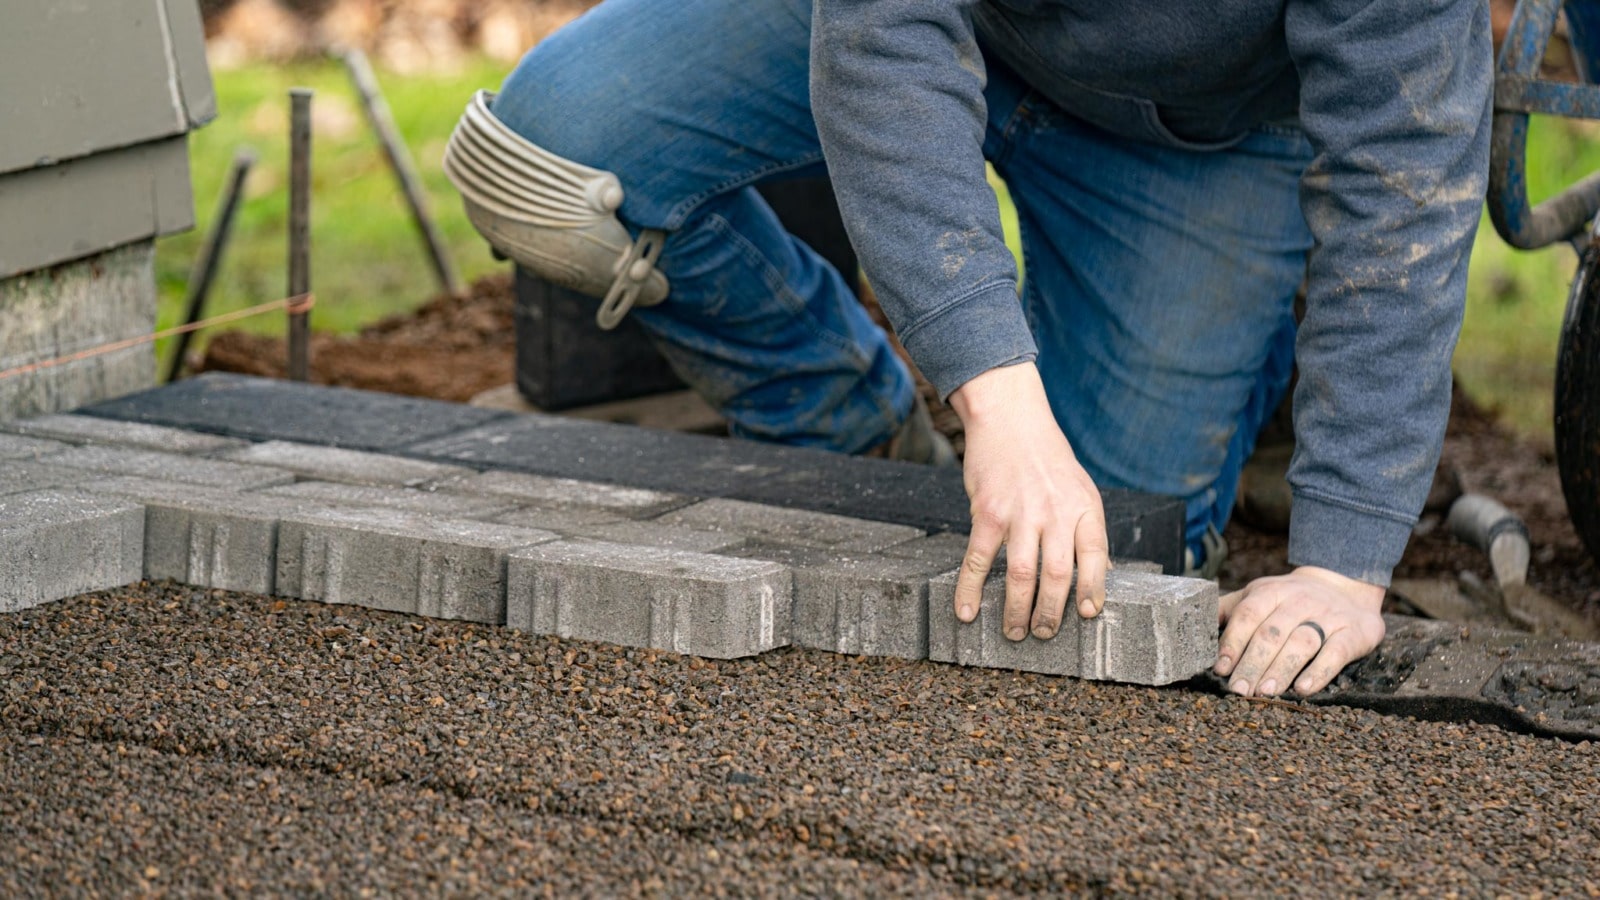
Lay Out Pavers: Start laying out your pavers along an edge using a string set low to the ground as a guide. Continue setting pavers towards the middle of the patio, leaving gaps between them.
-
Cut Pavers: If necessary, cut pavers using a wet saw with a diamond blade or an angle grinder with a concrete blade kept wet during cutting.
-
Install Edge Restraints: Use plastic paver edging and hammer it into place with 10-inch galvanized spikes or consider using concrete edging for added stability.
Read more: DIY Guide To Installing Wainscoting
Step 6: Backfilling
After installing your pavers, backfill around them using some of the leftover topsoil:
-
Cut Excess Weed Barrier: Cut any excess weed barrier around the patio area.
-
Backfill Soil: Backfill around the patio with soil dug out earlier, ensuring it’s level with the surrounding area.
Step 7: Filling Joints with Poly Sand
Filling joints with polymeric sand is crucial for locking everything together:
-
Sweep Sand into Joints: Sweep polymeric jointing sand into all joints between pavers.
-
Vibrate Sand into Place: Use a compactor with a pad under it to vibrate sand into joints without scratching new pavers.
-
Remove Excess Sand: Sweep off all excess sand from surface.
-
Activate Polymer: Lightly spray surface with hose until polymer in sand starts repelling water.
Step 8: Sealing (Optional)
Sealing your pavers can help prevent stains and maintain their appearance over time:
-
Clean Area: Clean newly paved area thoroughly by sweeping away all materials and debris.
-
Apply Sealant: Apply sand binding sealant over entire area to ensure joint sand doesn’t disappear over time and prevent growth of vegetation between joints.
-
Regular Maintenance: Regularly re-seal pavers as needed to maintain color appearance protect against stains algae loss joint sand clean sweep regularly especially shaded damp areas prone efflorescence moss build-up power washing generally not recommended dislodge joint sand repeat steps #8 #9 if necessary use various cleaning products market various situations…
Was this page helpful?
At Storables.com, we guarantee accurate and reliable information. Our content, validated by Expert Board Contributors, is crafted following stringent Editorial Policies. We're committed to providing you with well-researched, expert-backed insights for all your informational needs.





0 thoughts on “DIY Guide: Installing A Paver Patio”