Home>Furniture>Outdoor Furniture>How To Install Pavers Over A Concrete Patio
Outdoor Furniture
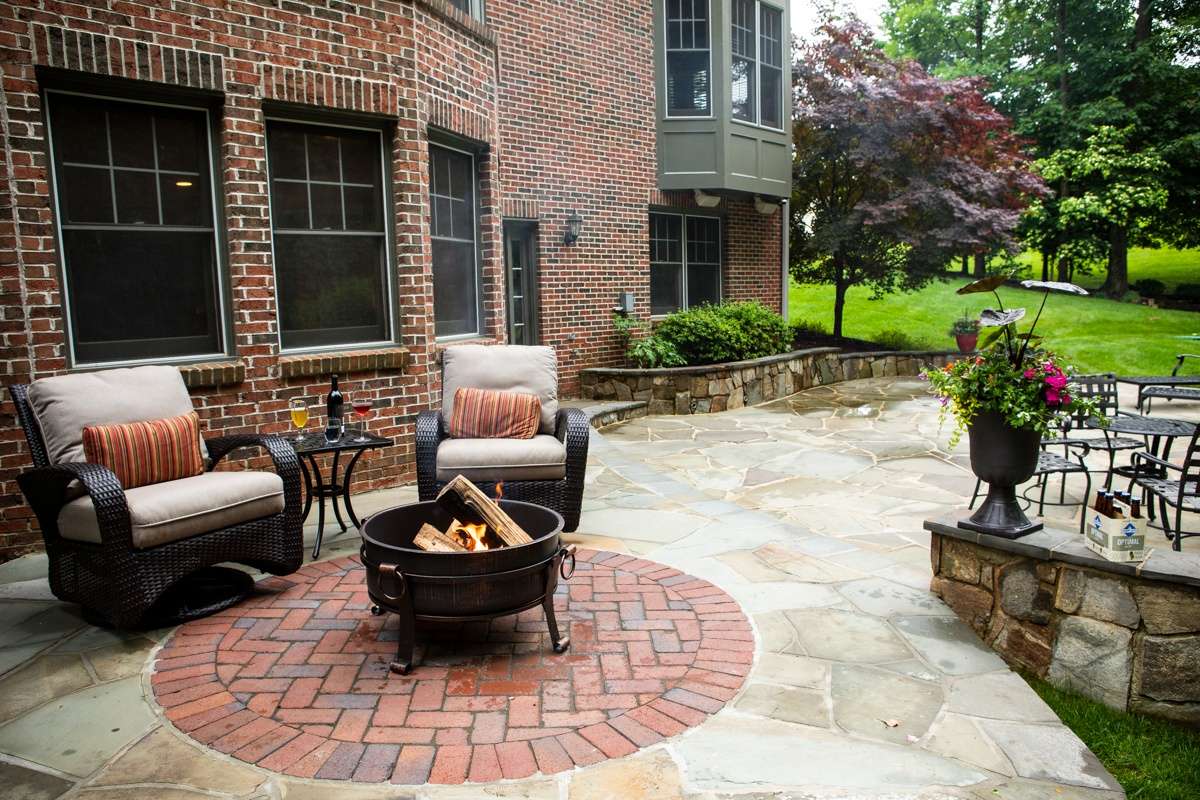
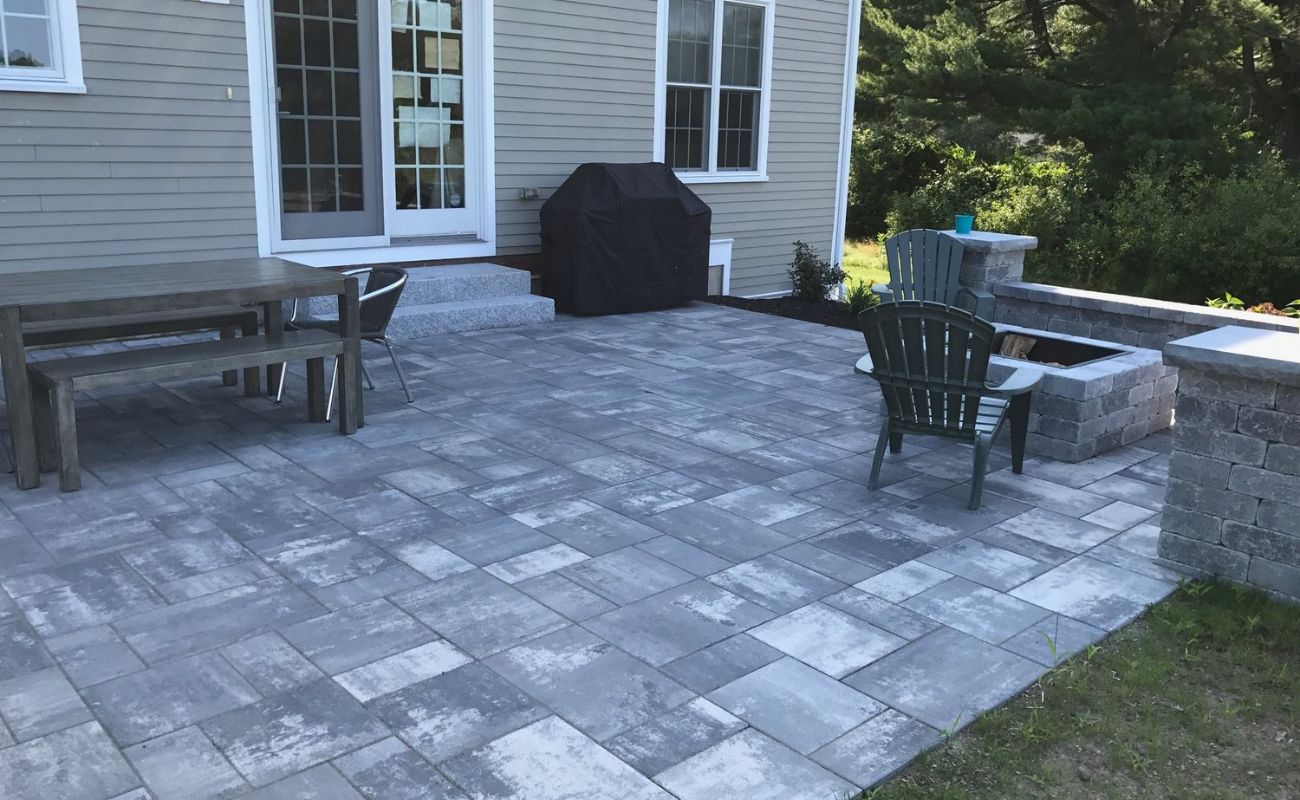
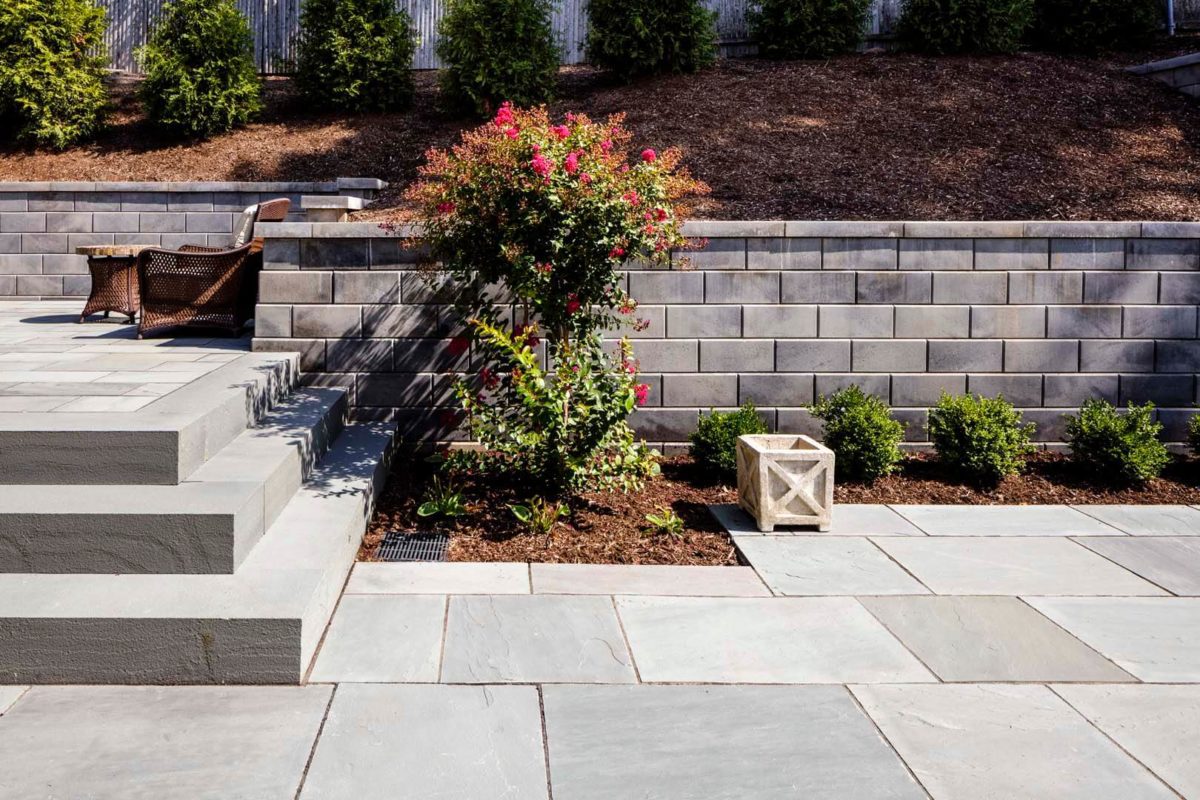
How To Install Pavers Over A Concrete Patio
Modified: September 1, 2024
Learn how to install pavers over a concrete patio to transform your outdoor space. Create a stunning outdoor-furniture area with this step-by-step guide.
(Many of the links in this article redirect to a specific reviewed product. Your purchase of these products through affiliate links helps to generate commission for Storables.com, at no extra cost. Learn more)
Introduction
Welcome to our comprehensive guide on how to install pavers over a concrete patio. If you have an existing concrete patio that is worn-out or you simply want to give it a fresh look, installing pavers can be a fantastic solution. Not only do pavers add aesthetic appeal, but they also provide a durable and functional outdoor space for relaxation and entertainment.
In this article, we will walk you through each step of the installation process, from preparation to finishing touches. Whether you’re a seasoned DIY enthusiast or a beginner looking to take on a new project, we have you covered.
Before we dive into the details, let’s take a quick look at the materials you’ll need for this project.
Key Takeaways:
- Transform your concrete patio into a stunning outdoor space by following our step-by-step guide to installing pavers. Create a durable and beautiful area for relaxation and entertainment.
- With the right materials and careful preparation, you can easily upgrade your patio with pavers. Enjoy a personalized and long-lasting outdoor space for years to come.
Read more: How To Install Turf Over Pavers
Materials Needed
Before you get started, gather the following materials:
- Pavers – Choose the type, color, and size that suits your design preferences.
- Bonding Agent – This will help the pavers adhere to the concrete.
- Paver Base – Typically made of crushed stone or gravel, it provides a stable foundation for the pavers.
- Paver Sand – Used to fill the joints between the pavers and provide stability.
- Edge Restraints – These can be made of plastic, metal, or concrete and are used to keep the pavers in place.
- Masonry Saw – If you need to cut the pavers to fit your patio, a masonry saw will come in handy.
- Paver Sealer – Optional, but recommended to protect the pavers from stains and weather damage.
- Work Gloves – To protect your hands during the installation process.
- Safety Glasses – Essential for eye protection when cutting pavers.
- Measuring Tape – To accurately measure the dimensions of your patio and pavers.
- Rubber Mallet – Used for leveling the pavers.
- Broom – For sweeping off excess sand and debris.
Having these materials ready before you begin will ensure a smoother and more efficient installation process.
Step 1: Preparation
Before installing pavers over your concrete patio, it’s important to properly prepare the area. Follow these steps:
- Measure the Patio: Start by measuring the dimensions of your concrete patio. This will help you determine how many pavers you will need and how they will fit on the patio.
- Clear the Patio: Remove any furniture, plants, or objects from the patio. This will give you a clear working space and prevent any obstructions during the installation process.
- Check for Drainage Issues: Inspect your concrete patio for any signs of poor drainage or standing water. If you notice any issues, it’s important to address them before proceeding with the paver installation.
- Check for Cracks or Damage: Examine the surface of the concrete patio for any cracks or damage. Minor cracks can typically be repaired, but severe damage may require professional assistance. It’s crucial to address any repairs before installing the pavers.
By taking the time to prepare the area properly, you’ll ensure a solid foundation for your paver installation and prevent any potential issues down the line.
Step 2: Clean the Concrete Patio
Before installing pavers over your concrete patio, it’s essential to thoroughly clean the surface. Here’s how to do it:
- Sweep the Patio: Start by sweeping the entire patio to remove any loose dirt, debris, or leaves. Use a stiff-bristle broom to ensure a thorough clean.
- Pressure Wash: If your patio has stubborn stains or built-up grime, it’s recommended to use a pressure washer. Adjust the settings to a medium or high pressure level and spray the entire surface of the patio. This will help remove any dirt, oil, or other contaminants that may affect the adhesion of the pavers.
- Use a Concrete Cleaner: For particularly stubborn stains, you may need to use a concrete cleaner. Follow the instructions on the cleaner’s packaging to apply it to the affected areas. Scrub the stains with a brush or broom to loosen the dirt, and then rinse thoroughly with water.
- Allow the Patio to Dry: After cleaning, allow the patio to fully dry before proceeding with the paver installation. This may take a few hours or even overnight, depending on the weather conditions. Ensure that there is no moisture remaining on the surface.
By cleaning the concrete patio thoroughly, you’ll create a clean and smooth surface for the pavers to adhere to. This will help ensure a successful and long-lasting installation.
Step 3: Apply a Bonding Agent
Applying a bonding agent is an important step to ensure strong adhesion between the pavers and the concrete patio. Follow these steps to apply the bonding agent:
- Choose the Right Bonding Agent: Select a bonding agent that is specifically designed for bonding pavers to concrete. These bonding agents are typically available in liquid form and can be found at your local hardware store.
- Clean the Patio: Before applying the bonding agent, make sure that the concrete patio is clean and free from any dust or debris. Use a broom or a blower to remove any loose particles.
- Read the Instructions: Carefully read the instructions provided with the bonding agent to ensure proper application. Different bonding agents may have specific instructions, so it’s important to follow them accordingly.
- Apply the Bonding Agent: Using a brush or roller, apply the bonding agent evenly to the entire surface of the concrete patio. Make sure to apply a generous amount to ensure good coverage. Allow the bonding agent to partially dry, following the recommended time provided in the instructions.
It’s important to note that the bonding agent acts as a bridge between the pavers and the concrete, creating a strong bond. This will help prevent the pavers from shifting or becoming loose over time.
Once you’ve applied the bonding agent and it has partially dried, you’re ready to move on to the next step: laying the paver base.
Read more: How To Tile Over A Concrete Patio
Step 4: Lay the Paver Base
Now that you have prepared the concrete patio and applied the bonding agent, it’s time to lay the paver base. The paver base provides a stable foundation for the pavers to sit on. Follow these steps:
- Calculate the Amount of Paver Base Needed: Measure the dimensions of your patio to determine the amount of paver base required. The depth of the base will depend on the thickness of your pavers and any slopes or dips in the patio.
- Remove Excess Soil: If there are any areas of the patio that have excessive soil or soft spots, remove them to create a level surface. Use a shovel to dig out these areas, making sure to maintain the desired slope, if applicable.
- Spread the Paver Base: Spread a layer of paver base evenly over the entire patio area. Use a rake to ensure a consistent thickness. The recommended thickness of the paver base is typically around 4 to 6 inches, but this may vary depending on your specific project requirements.
- Compact the Base: Use a plate compactor or a hand tamper to compact the paver base. This will compress the material and create a solid foundation for the pavers. Continue compacting until the entire base is firm and level.
- Check for Levelness: Use a level or a straightedge to check the levelness of the base. Adjust as necessary to ensure that the surface is even and slopes away from any structures to allow for proper drainage.
By laying a proper paver base, you create a stable and level surface for the pavers to be installed on. This helps prevent any shifting or unevenness in the final result.
Once the paver base is properly laid and compacted, you’re ready to move on to the next step: leveling the base.
Step 5: Leveling the Base
Leveling the base is a crucial step to ensure that your pavers are properly installed and provide a smooth and even surface. Follow these steps to level the paver base:
- Use a Straightedge: Take a straight 2×4 or a long level and place it across the top of the paver base. Move it back and forth in a sawing motion across the base to distribute the material evenly and remove any high spots.
- Add or Remove Base Material: If you notice any low spots while leveling, add more paver base material and compact it again. If you encounter any high spots, remove the excess material until the base is level and even.
- Check for Evenness: Continuously check the levelness of the base as you work, ensuring that it is consistent across the entire patio area. This will ensure a solid and stable foundation for the pavers.
- Compact Again: After making any adjustments, use a plate compactor or hand tamper to compact the base once more. This will help further stabilize the paver base and ensure that it is firmly in place.
Leveling the base is a critical step to achieve a professional-looking paver installation. Taking the time to properly level the base will minimize any future settling or shifting of the pavers and provide a sturdy and level surface for years to come.
With the paver base leveled, you’re now ready to move on to the next step: laying the pavers.
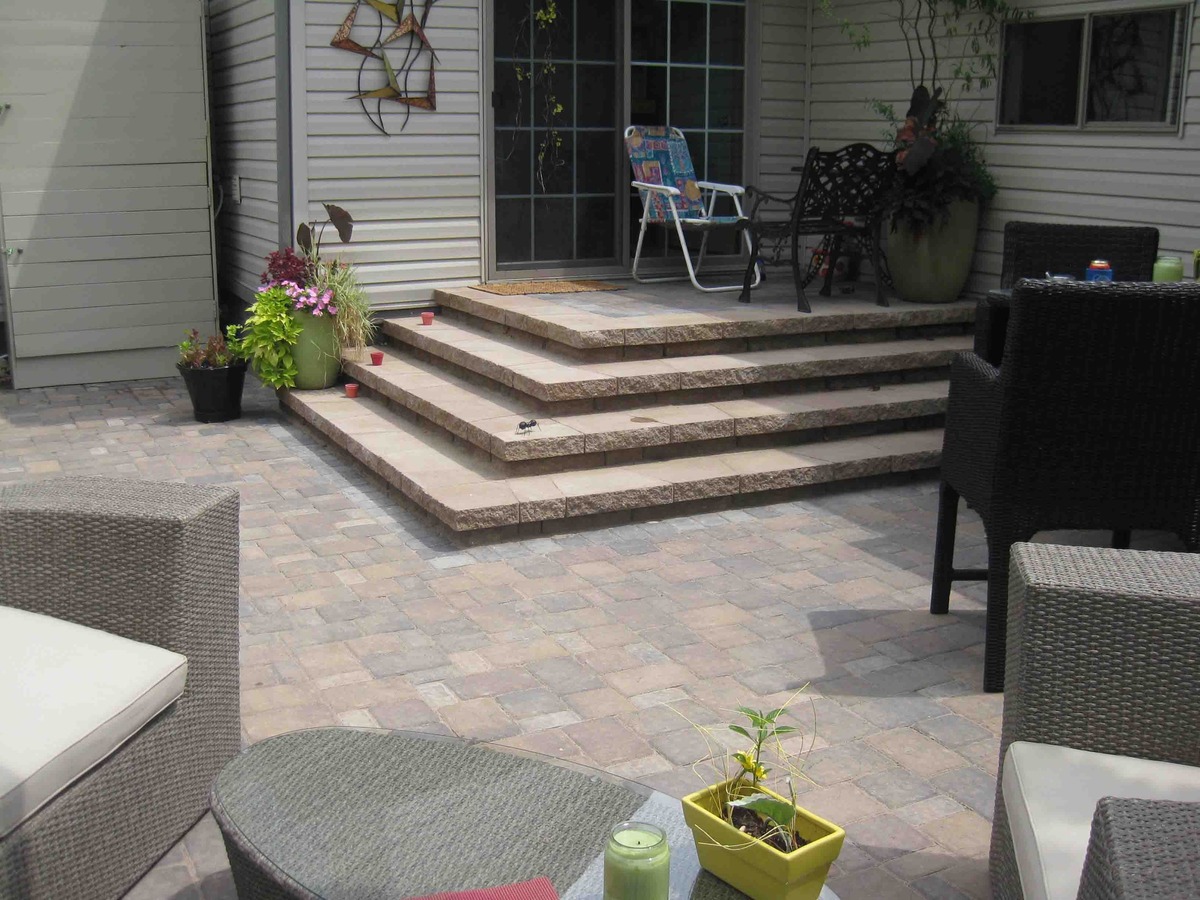
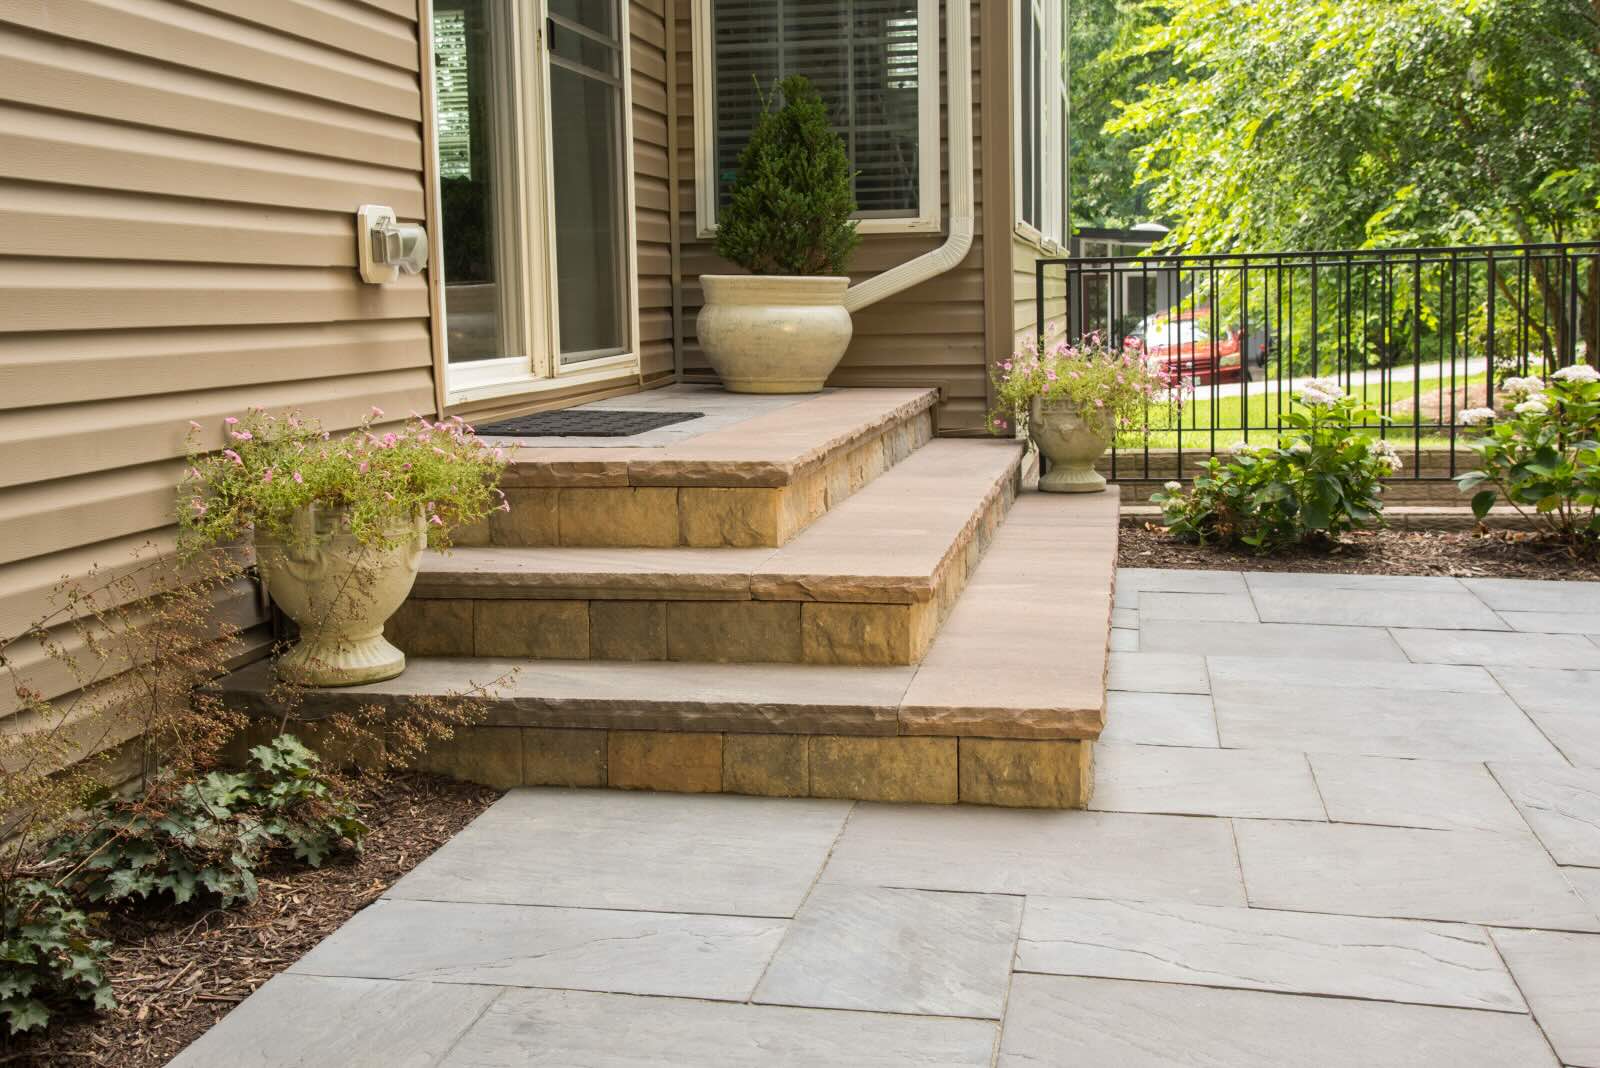
Before installing pavers over a concrete patio, make sure the surface is clean and level. Use a bonding agent to help the pavers adhere to the concrete and prevent shifting.
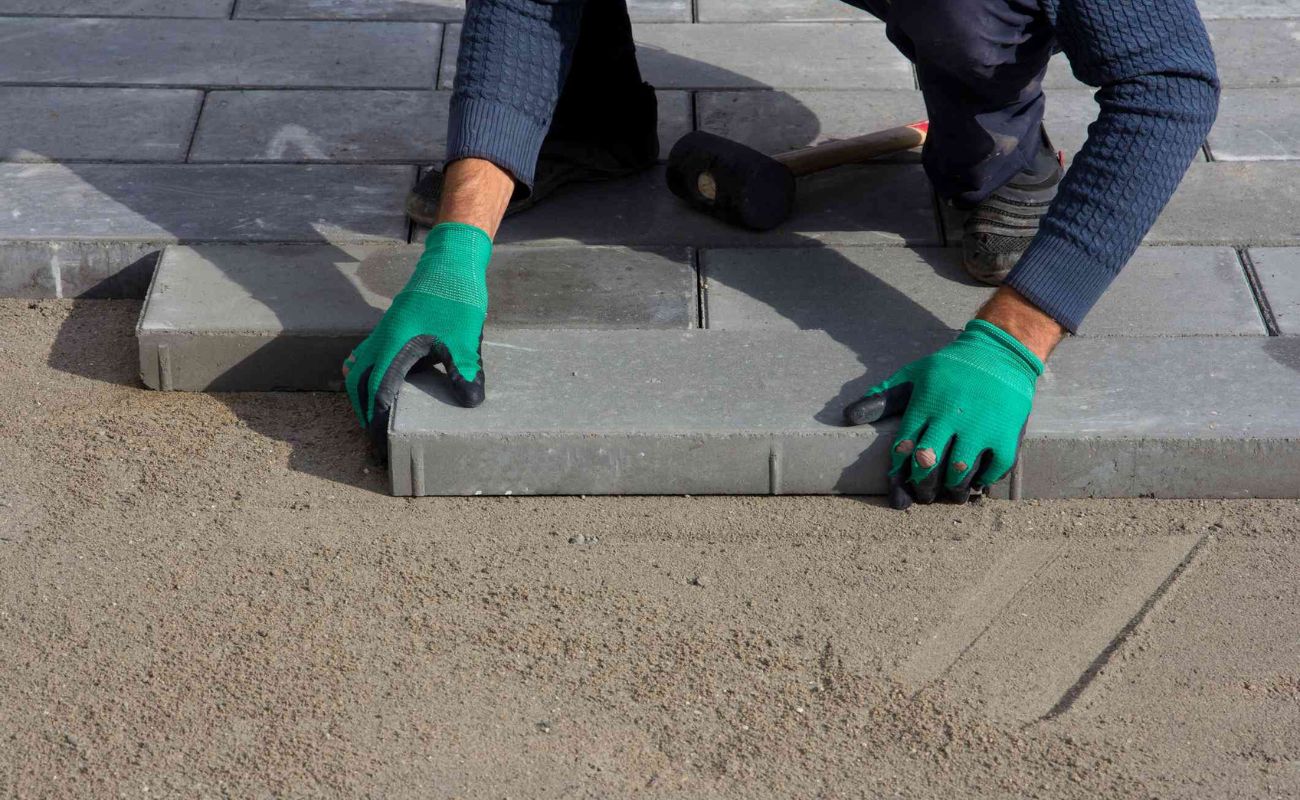
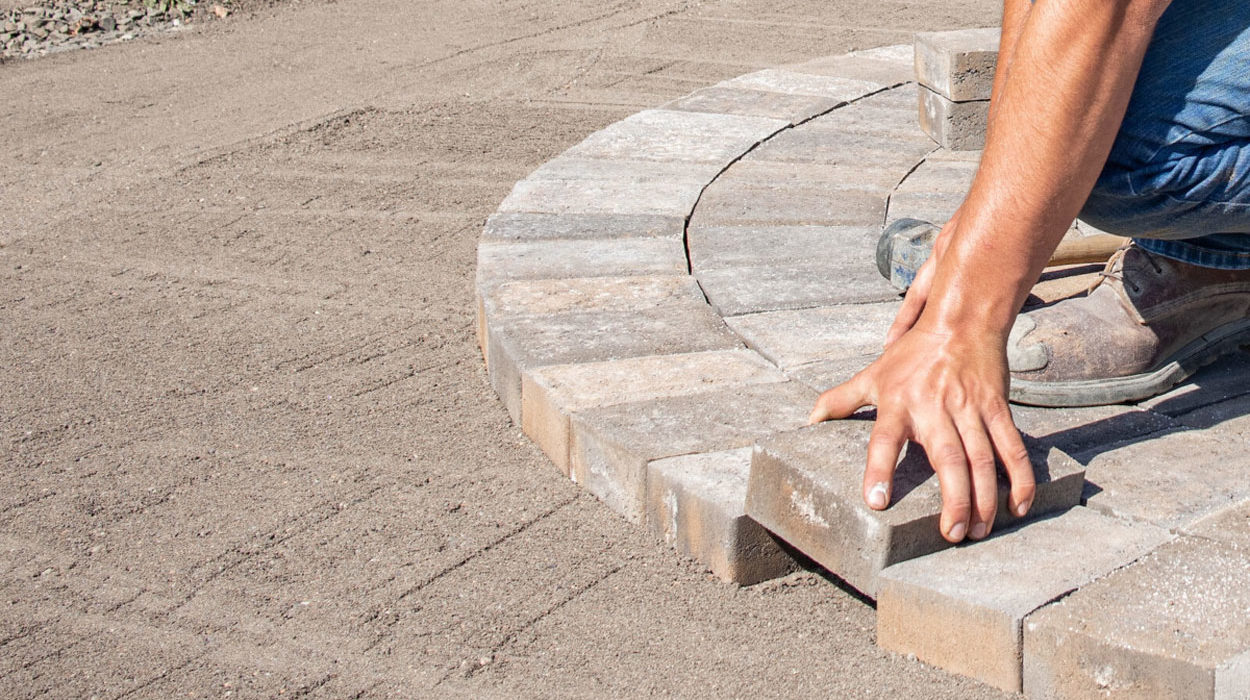
Step 6: Lay the Pavers
Now comes the exciting part – laying the pavers! Follow these steps to ensure a successful and visually appealing installation:
- Start from a Corner: Begin laying the pavers from one corner of the patio. This will provide a reference point and help ensure a straight and uniform installation.
- Place the Pavers: Carefully place each paver onto the paver base, leaving a small gap (around 1/8 inch) between each paver. Use a rubber mallet to gently tap the pavers into place until they are level with the surrounding ones.
- Double-Check Alignment: Regularly check the alignment of the pavers using a straightedge or a string line. This will help maintain straight lines and prevent any unevenness in the pattern.
- Consider a Pattern: If you want to create an interesting pattern with your pavers, such as a herringbone or basket weave pattern, plan it out beforehand and follow the pattern as you lay the pavers.
- Work in Sections: Divide the patio into manageable sections and work on one section at a time. This will make the installation process more organized and will help maintain consistency throughout.
- Continue Laying Pavers: Repeat the process of placing and leveling the pavers until the entire patio area is covered. Take your time and ensure that each paver is properly aligned and level.
As you lay the pavers, periodically step back to observe the overall appearance and make any necessary adjustments. This will ensure a visually pleasing result.
With the pavers laid in place, you’re one step closer to completing your patio transformation. The next step is to cut any pavers that need to be trimmed to fit the edges of the patio (if necessary).
Step 7: Cut the Pavers (if necessary)
In some cases, you may need to cut the pavers to fit the edges of the patio or to create specific patterns. Here’s how to cut pavers:
- Measure and Mark: Measure the section of paver that needs to be cut and mark it using a pencil or chalk.
- Use a Masonry Saw: Using a masonry saw equipped with a diamond blade, carefully cut along the marked line. Follow the manufacturer’s instructions for operating the saw and wear appropriate safety equipment, including safety glasses and work gloves.
- Make Multiple Passes: If the paver is thick, it may require multiple passes with the saw to ensure a clean and precise cut. Take your time and make gradual cuts, rather than trying to cut through the paver in one pass.
- Smooth Edges: Once the paver is cut, use a grinding stone to smooth the edges and remove any rough or jagged edges.
- Check the Fit: After cutting the paver, place it back into position to ensure it fits correctly. Make any necessary adjustments or additional cuts if needed.
Remember to exercise caution when cutting pavers, as the masonry saw can be powerful and the blades sharp. Take your time and prioritize safety.
With any necessary paver cuts completed, you are now ready to move on to the next step: installing edge restraints.
Read more: How To Build A Deck Over A Concrete Patio
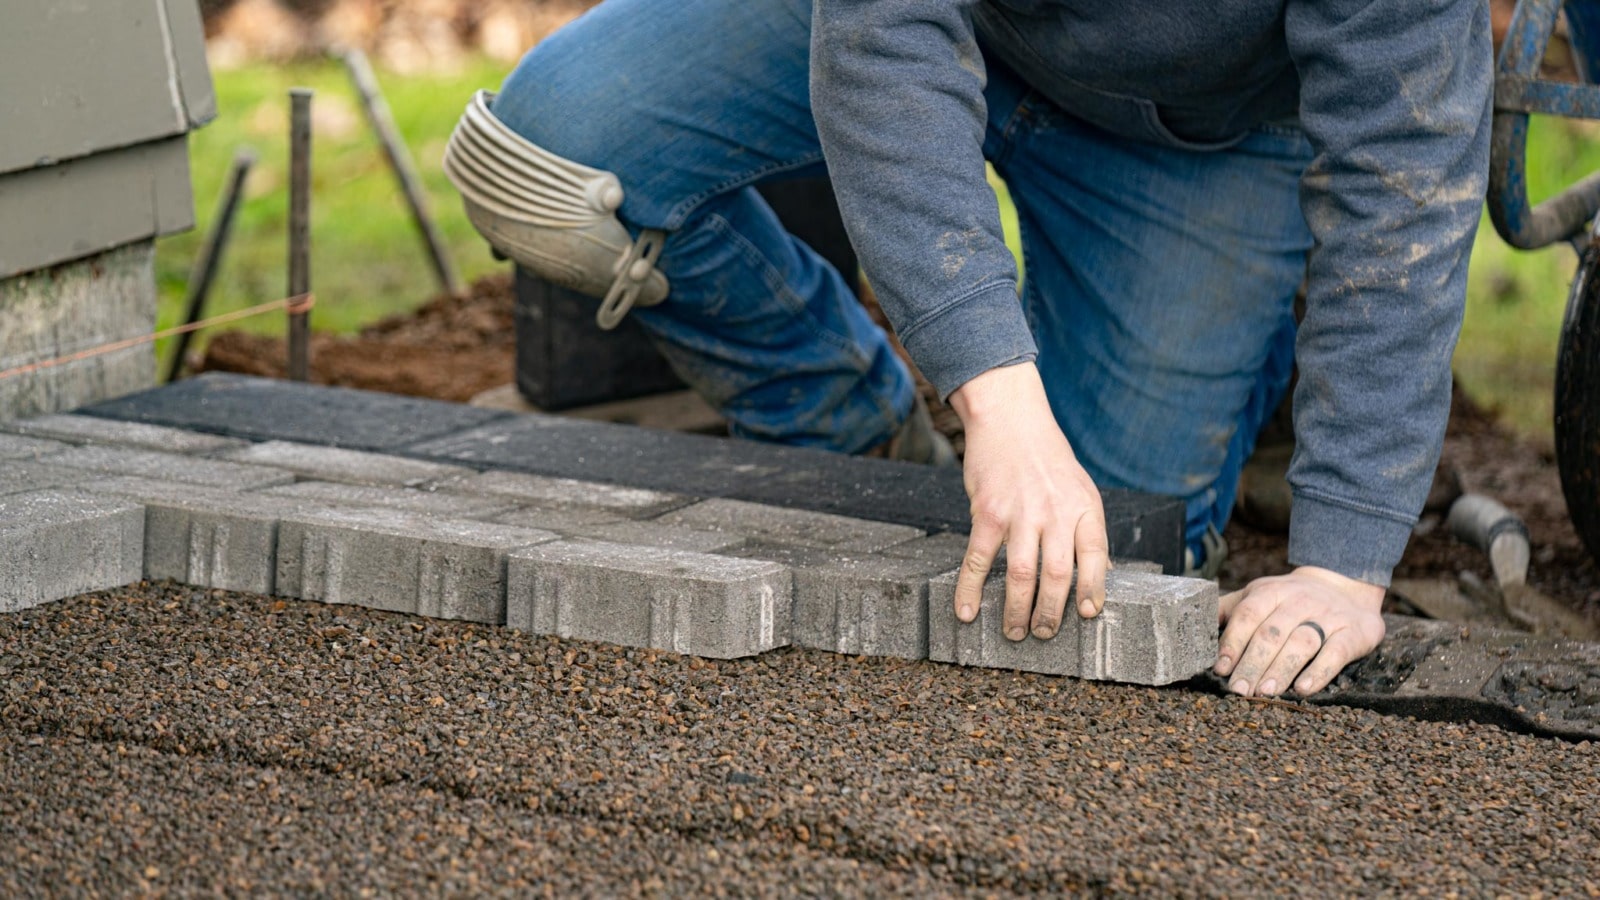
Step 8: Install Edge Restraints
Edge restraints are an important component in ensuring the stability and longevity of your paver installation. They help keep the pavers in place and prevent them from shifting or spreading over time. Follow these steps to install edge restraints:
- Choose the Right Type of Edge Restraints: There are various types of edge restraints available, such as plastic, metal, or concrete. Consider the specific needs of your patio and select the appropriate type.
- Prepare the Area: Clear any loose soil or debris from the edges of the patio area where the edge restraints will be installed.
- Position the Edge Restraints: Place the edge restraints along the outer edges of the patio, ensuring they are snug against the pavers. Use a rubber mallet or a hammer to secure them firmly into the ground.
- Check for Alignment: Verify that the edge restraints are straight and aligned with the edges of the pavers. Adjust as necessary.
- Secure the Edge Restraints: Depending on the type of edge restraints you have chosen, secure them in place by driving spikes or screws through the pre-drilled holes provided in the restraints. Make sure they are firmly anchored to the ground.
Edge restraints not only add a polished look to your patio, but they also provide structural support and prevent the pavers from shifting or shifting outward over time. They are an essential element in creating a durable and long-lasting paver installation.
With the edge restraints securely in place, you can now move on to the next step: filling the joints between the pavers.
Step 9: Fill the Joints
Filling the joints between the pavers is an important step to stabilize and enhance the overall appearance of your patio. Here’s how to fill the joints:
- Choose the Right Jointing Material: There are a few options for filling the joints, such as polymeric sand, regular sand, or mortar. Select the material that best suits your preferences and the specific requirements of your project.
- Apply the Jointing Material: Pour the chosen jointing material onto the surface of the pavers. Use a broom or a brush to sweep it into the joints, ensuring even distribution. Work in small sections to focus on one area at a time.
- Compact the Material: After applying the jointing material, use a plate compactor or a tamper to compact the material into the joints. This will help ensure a firm and stable fill. Additionally, it will remove any excess material and create a level surface.
- Repeat the Process: Continue filling and compacting the joints until all the gaps between the pavers are filled. Take your time to ensure that the joints are completely filled and the surface is smooth and even.
- Sweep off Excess Material: Once the joints are filled, use a broom to sweep off any excess jointing material from the surface of the pavers. Pay attention to the edges and corners to ensure a clean finish.
The jointing material not only helps stabilize the pavers but also prevents weed growth and minimizes water infiltration between the pavers.
With the joints filled, you’re almost done! The final step is to compact the pavers to ensure they are securely in place.
Step 10: Compact the Pavers
Compacting the pavers is the final step in ensuring a durable and stable patio surface. This process helps to ensure that the pavers are securely in place and will not shift over time. Follow these steps to compact the pavers:
- Prepare the Compactor: If you have access to a plate compactor, ensure that it is in good working condition. Adjust the settings according to the manufacturer’s instructions.
- Start at the Edges: Begin compacting the pavers at the outer edges and work your way towards the center. This will help ensure that any air or gaps between the pavers are eliminated.
- Pass Over the Pavers: Slowly drive the compactor over the entire surface of the patio, making multiple passes in different directions. This will help evenly distribute the compaction force and ensure thorough stability.
- Check for Settling: After compacting, check for any settling or unevenness in the pavers. If you notice any areas that are not as level as desired, remove the pavers and add or remove base material as necessary. Then, compact again and reposition the pavers.
- Repeat if Needed: Depending on the type of pavers and the specific project requirements, you may need to make multiple compaction passes to achieve the desired stability.
Compacting the pavers not only ensures a sturdy and long-lasting installation but also helps to bond the pavers together, creating a cohesive surface.
With the pavers compacted, your installation is complete! Take a step back and admire your beautifully transformed patio.
Remember, proper maintenance and periodic cleaning will help preserve the appearance and longevity of your paver patio. Enjoy your new outdoor space and create lasting memories!
Conclusion
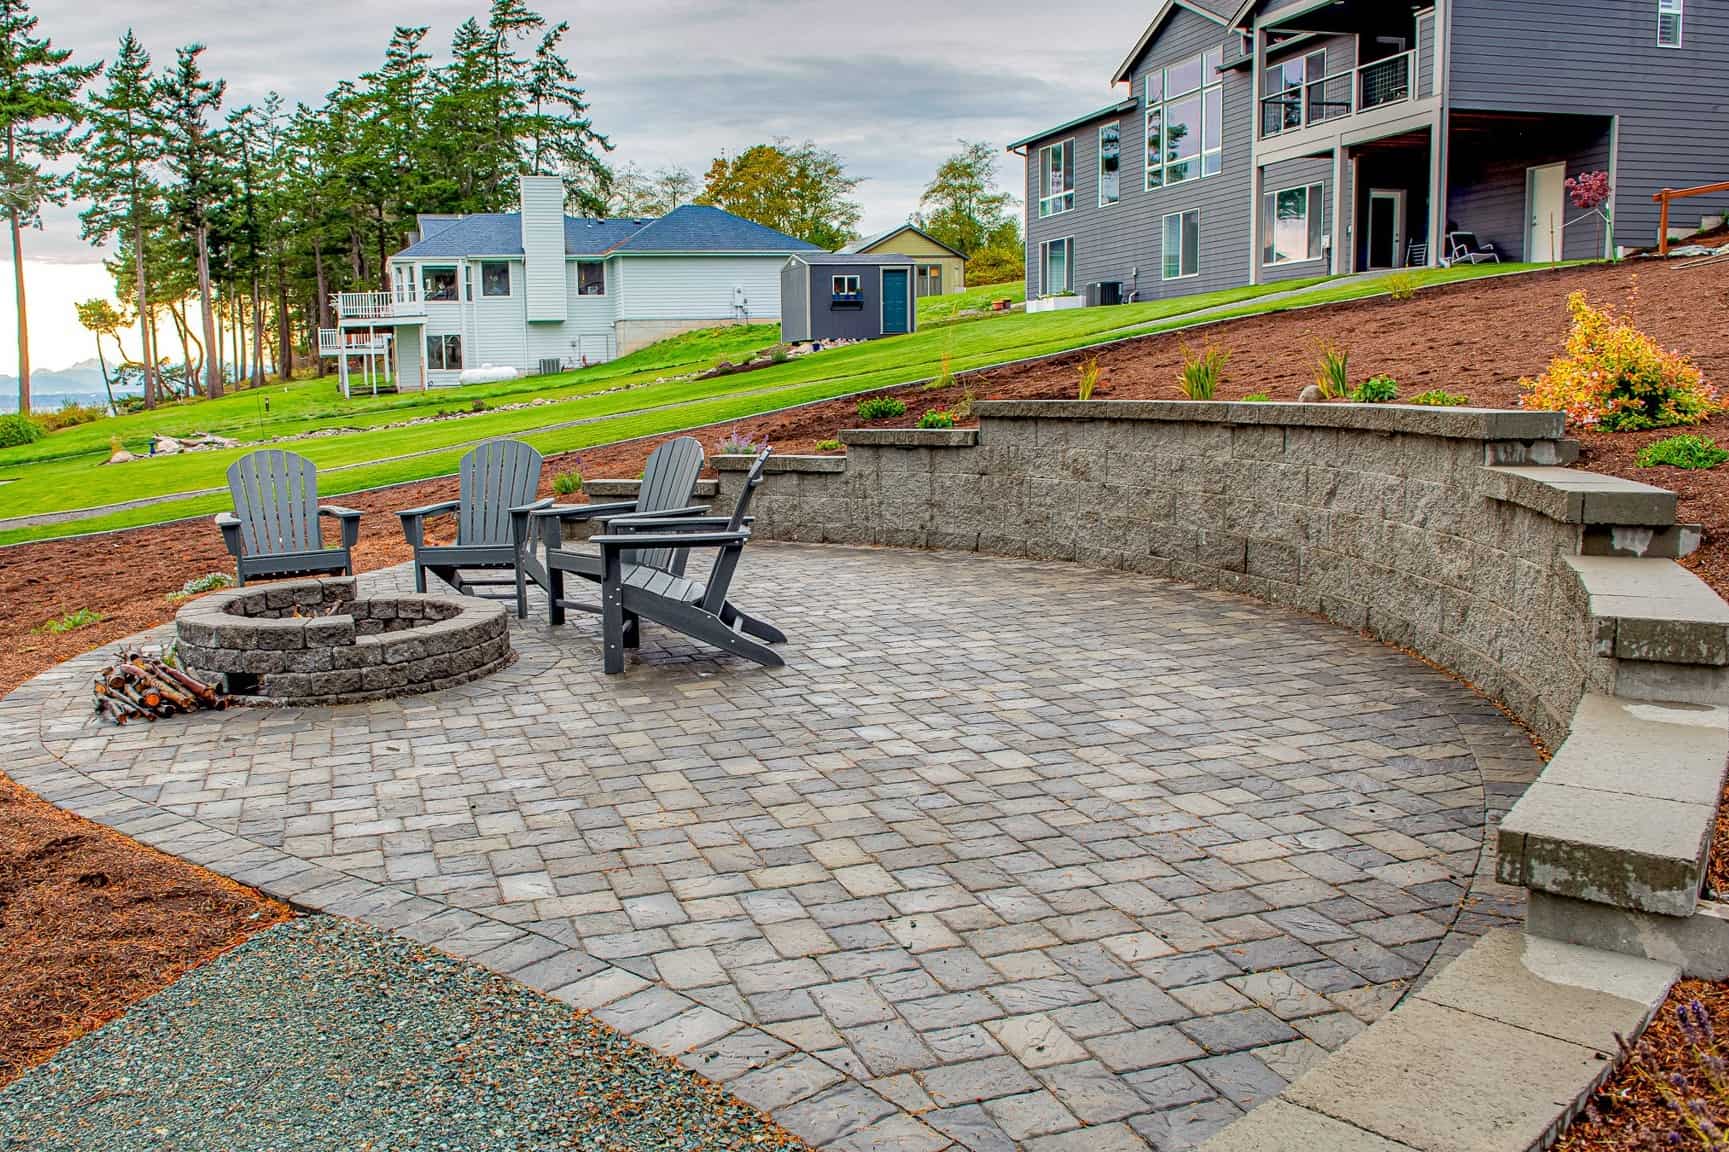
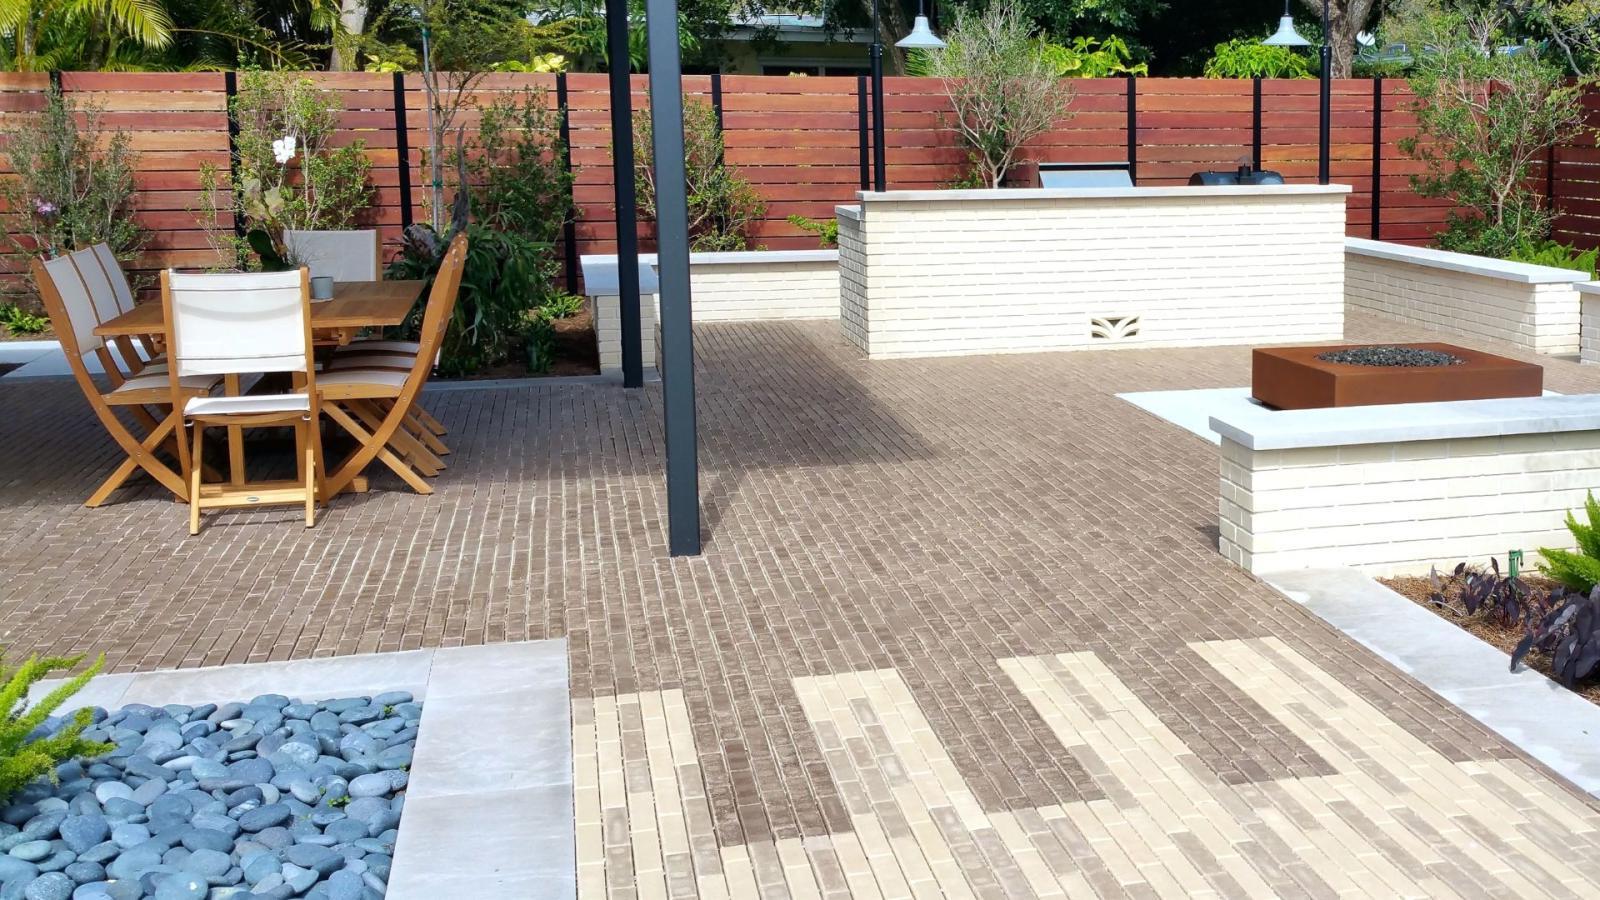
Congratulations! You have successfully learned how to install pavers over a concrete patio. By following these step-by-step instructions, you have transformed your dull concrete patio into a beautiful and inviting outdoor space.
Throughout the process, you have prepared the area, cleaned the concrete patio, applied a bonding agent, laid the paver base, leveled it, laid the pavers, cut them if necessary, installed edge restraints, filled the joints, and compacted the pavers. Each of these steps is essential to achieving a professional and long-lasting installation.
Not only have you improved the aesthetic appeal of your patio, but you have also increased its functionality and durability. Pavers provide a versatile surface that can withstand the elements and can be customized to suit your style and design preferences.
Remember to regularly maintain your paver patio by removing debris, cleaning the surface, and refilling any joint gaps that may occur over time. This will help ensure its longevity and keep it looking pristine for years to come.
Now, it’s time to enjoy your newly transformed outdoor space. Whether you choose to relax, entertain guests, or simply unwind with a cup of coffee, your new paver patio will provide the perfect setting.
Thank you for following this comprehensive guide on how to install pavers over a concrete patio. We hope you find great satisfaction in the outcome and create beautiful memories in your revitalized outdoor area.
Frequently Asked Questions about How To Install Pavers Over A Concrete Patio
Was this page helpful?
At Storables.com, we guarantee accurate and reliable information. Our content, validated by Expert Board Contributors, is crafted following stringent Editorial Policies. We're committed to providing you with well-researched, expert-backed insights for all your informational needs.


0 thoughts on “How To Install Pavers Over A Concrete Patio”