Home>Ideas and Tips>DIY Guide: Installing A Programmable Thermostat

Ideas and Tips
DIY Guide: Installing A Programmable Thermostat
Modified: October 20, 2024
Learn how to install a programmable thermostat with our step-by-step DIY guide. Save on energy bills and improve home comfort easily and efficiently.
(Many of the links in this article redirect to a specific reviewed product. Your purchase of these products through affiliate links helps to generate commission for Storables.com, at no extra cost. Learn more)
Installing a programmable thermostat is a straightforward DIY project that can significantly improve your home's energy efficiency and comfort. This guide will walk you through the steps involved in replacing your old manual thermostat with a programmable one, ensuring you save up to 10% annually on heating and cooling bills, as recommended by the U.S. Department of Energy.
Types of Programmable Thermostats
Before diving into the installation process, it's essential to understand the different types of programmable thermostats available. Each type offers various features and programming options, catering to different lifestyles and needs.
7-Day Thermostat
A 7-day thermostat allows you to set a different schedule for each day of the week. This is ideal for households with varying schedules, such as those with different work and school hours.
5-2-Day Thermostat
A 5-2-day thermostat offers one schedule for weekdays and another for weekends. This is suitable for households with consistent weekend routines.
5-1-1-Day Thermostat
A 5-1-1-day thermostat provides separate schedules for weekdays, Saturdays, and Sundays. This is perfect for households with distinct weekend and weekday routines.
Smart Thermostat
A smart thermostat connects to your home's Wi-Fi network, enabling remote control and learning capabilities. It can automatically adjust the temperature based on your schedule and preferences, making it highly energy-efficient.
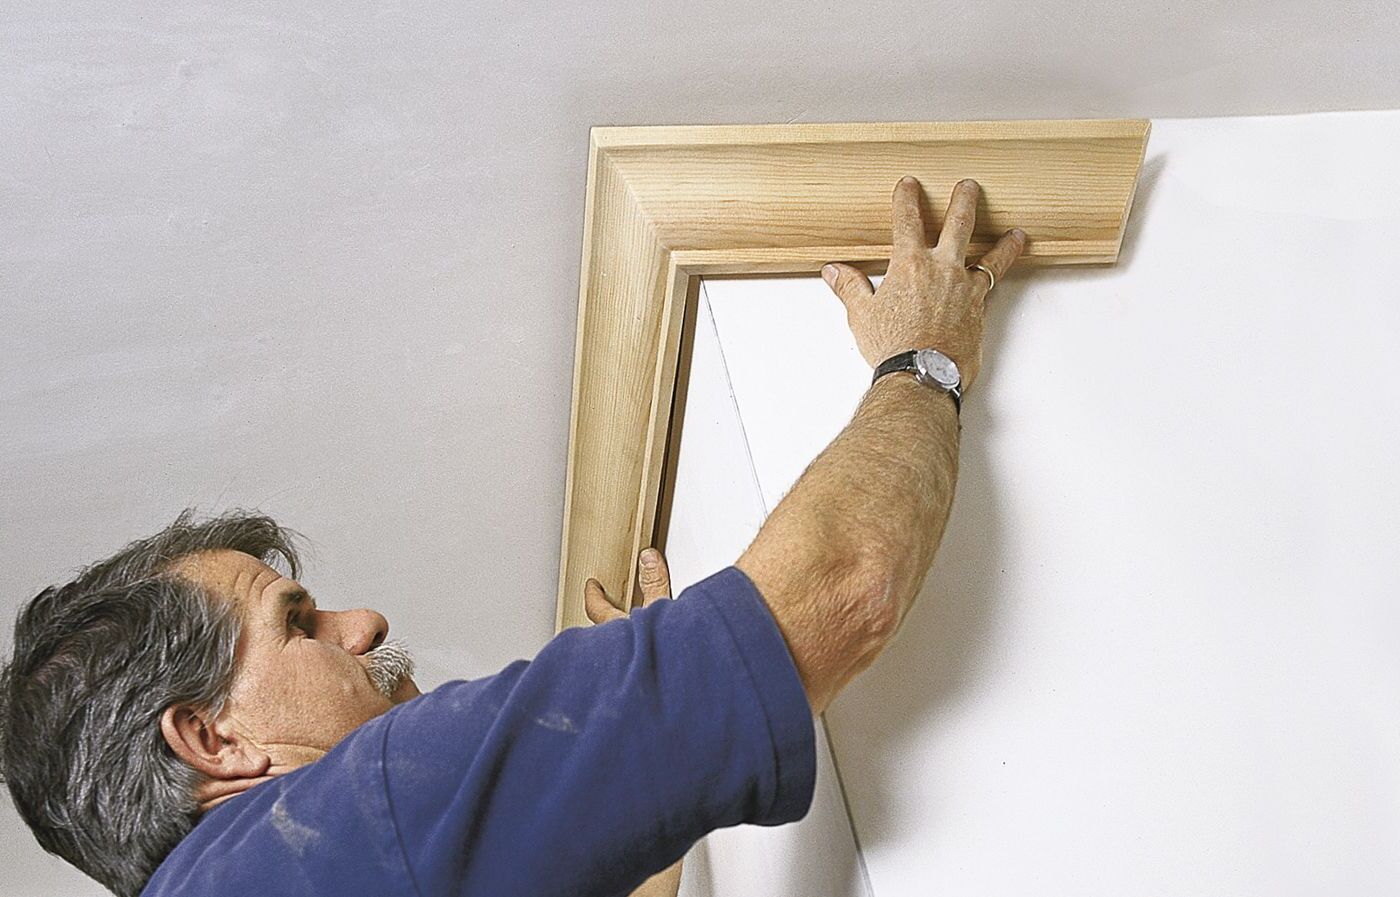
Read more: DIY Guide To Installing Wainscoting
Tools and Materials Needed
To ensure a smooth installation process, gather the necessary tools and materials before starting:
- New Programmable Thermostat: Choose a thermostat that fits your needs, whether it's a 7-day, 5-2-day, 5-1-1-day, or smart thermostat.
- Batteries (if required): Some programmable thermostats require batteries for backup power.
- Drill/Driver: For mounting the new sub-base.
- Screwdriver: For removing the old thermostat and mounting screws.
- Torpedo Level: To ensure the sub-base is level.
- Wall Anchors: To secure the sub-base to the wall.
- Wiring Diagrams: For reference during the wiring process.
- Power Extender Kit (if necessary): To add a common wire if your system lacks one.
Safety Precautions
Safety should always be your top priority when working with electrical systems. Follow these precautions to avoid any potential risks:
- Turn Off Power: Switch off the power to your heating and cooling system at the circuit breaker or fuse box. Verify that the power is off by attempting to adjust the temperature on your current thermostat.
- Label Wires: Use stickers or tape to label each wire for easy identification during the installation process. This will help you avoid confusion and ensure correct connections.
- Avoid High-Voltage Systems: If you notice high-voltage indicators such as warning labels saying 110v or 220v, wires labeled L1 or L2, or wires connected by wire nuts, your system may not be compatible with a programmable thermostat.
Step-by-Step Installation Guide
Step 1: Remove the Old Thermostat
- Remove Cover Plate: Pop off the cover plate or unscrew it with a screwdriver, depending on the model of your old thermostat.
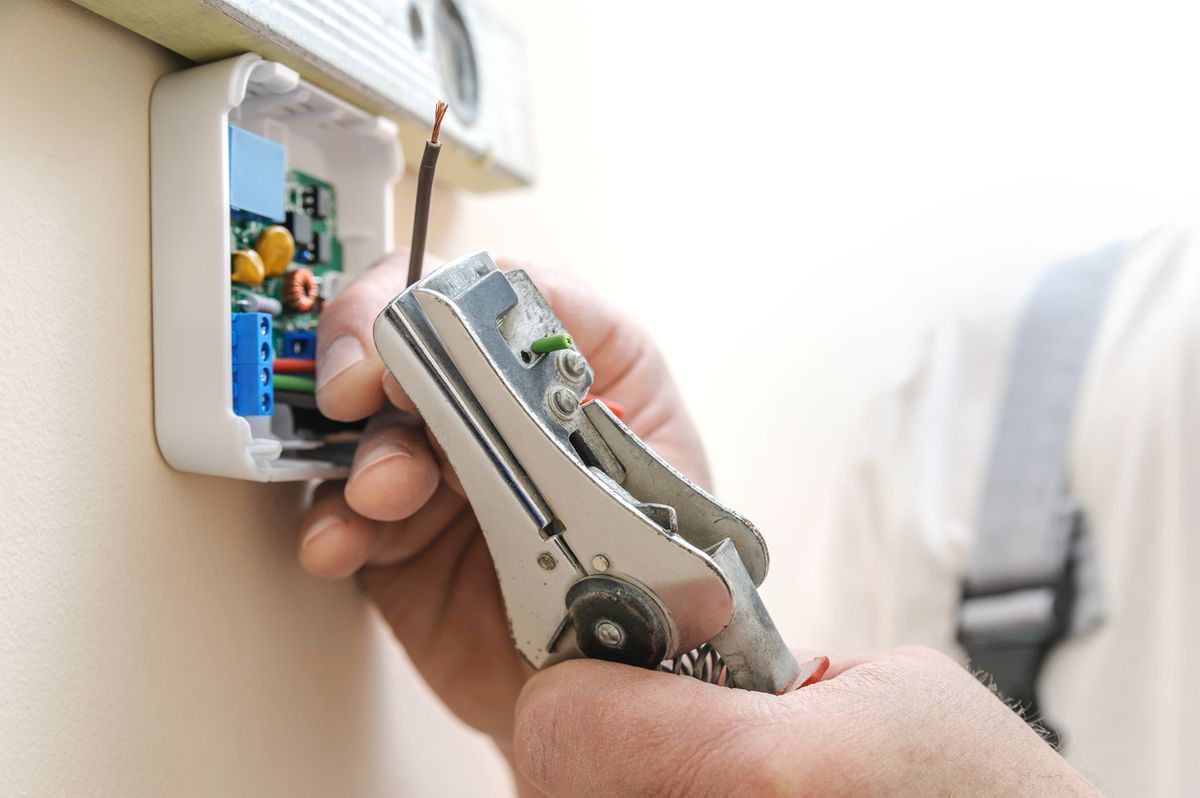
- Mark Wires: Take a picture of the current wiring configuration for reference before unscrewing the thermostat from its wall-mounted sub-base.
- Disconnect Wires: Carefully loosen the wires connected to the thermostat’s sub-base without disconnecting them yet.
- Remove Old Sub-base: Once you’ve loosened all wires, remove the old sub-base from the wall.
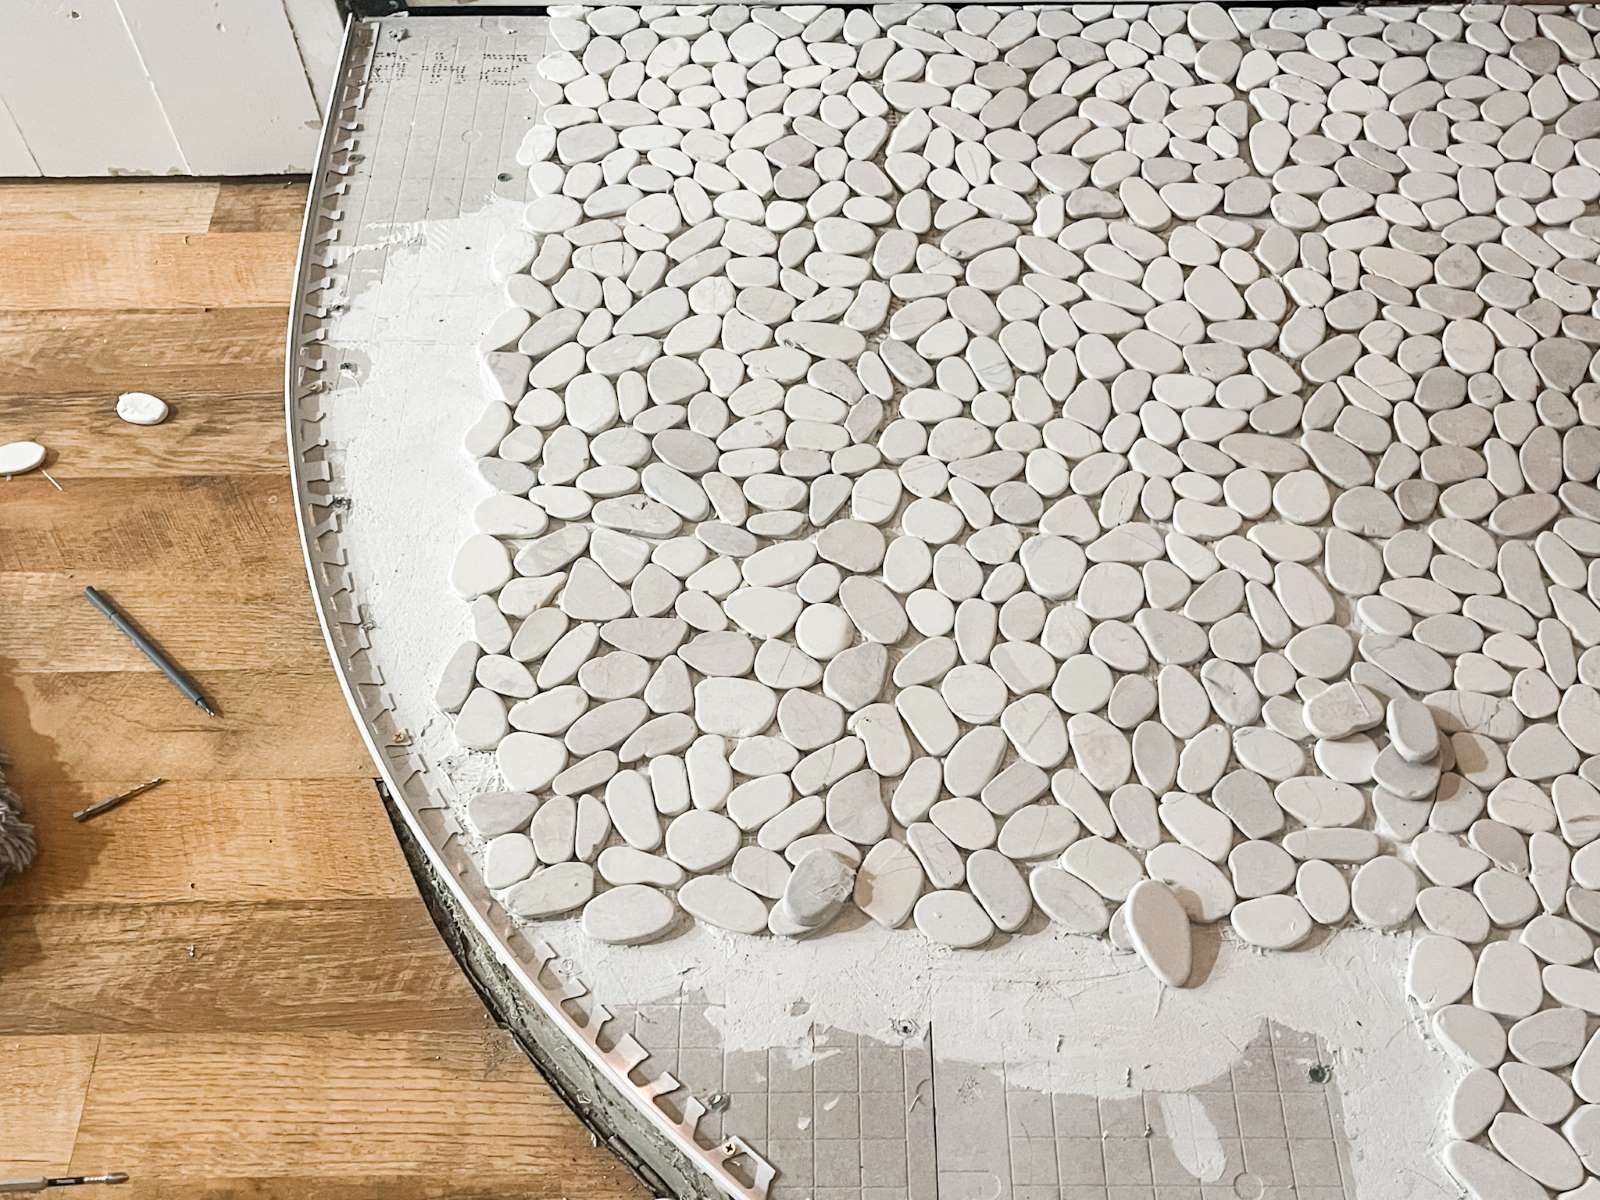
Read more: DIY Guide To Installing Floating Shelves
Step 2: Mount the New Sub-base
- Hold Sub-base Against Wall: Hold the sub-base of the new thermostat against the wall, ensuring it’s level.
- Mark Screw Holes: Mark the locations for the mounting screws using a level.
- Drill Pilot Holes: Drill pilot holes if necessary, and insert wall anchors into these holes if needed.
- Secure Sub-base: Secure the sub-base to the wall using provided screws.
Step 3: Connect the Wires
- Identify Terminals: Refer to your thermostat’s instructions and any wiring diagrams you took pictures of earlier.
- Connect Red Wire: Connect the red wire to the “R” terminal on the new sub-base.
- Connect White Wire: Connect the white wire to the “W” terminal.
- Add C-Wire (if necessary): If your system lacks a common wire (C-wire), you may need a power extender kit or a 24-volt adapter with a C-wire.
Step 4: Finalize the Installation
- Insert Batteries (if required): Insert batteries into your thermostat if they are required for backup power.
- Attach Thermostat Faceplate: Carefully attach the thermostat faceplate to its base plate, ensuring all wires are securely connected.
- Turn Power Back On: Turn the power back on at the circuit breaker or fuse box.
- Program Thermostat: Program your new thermostat according to your schedule and preferences.
Additional Tips and Considerations
Read more: DIY Guide To Installing A Stair Runner
Common Wire (C-Wire)
A common wire is essential for most programmable thermostats as it provides power independent of other appliances in your home. If you don’t have a C-wire, you can use a power extender kit or a 24-volt adapter with a C-wire.
Smart Thermostat Installation
Smart thermostats require Wi-Fi connectivity for remote control and learning capabilities. Ensure that your router is nearby and that there are no obstructions between your router and the thermostat.
Troubleshooting
If your thermostat doesn’t show any signs of life after installation, turn off the power again, remove the faceplate, and check if all wires are properly connected. Refer back to your wiring diagrams if needed.
Conclusion
Installing a programmable thermostat is a relatively simple DIY project that can lead to significant energy savings and improved home comfort. By following these steps carefully and taking necessary safety precautions, you can upgrade your old manual thermostat with ease. Remember always to consult professional help if you’re unsure about any part of the process or if you encounter any complications during installation.
Read more: DIY Guide To Installing A Kitchen Island
Related Help Topics
- Amazon Smart Thermostat Installation: For specific instructions on installing an Amazon Smart Thermostat, refer to Amazon's guided instructions in the Alexa app or their compatibility check page.
- This Old House Thermostat Installation Guide: This Old House provides detailed step-by-step instructions on how to install a programmable thermostat, including types of thermostats and necessary tools.
- Reddit Home Automation Community: The Reddit community offers valuable insights and experiences from users who have replaced their old thermostats with smart ones, including tips on wiring configurations and common issues.
By following this comprehensive guide, you'll be well-equipped to handle your DIY thermostat installation project confidently and efficiently. Happy upgrading
Was this page helpful?
At Storables.com, we guarantee accurate and reliable information. Our content, validated by Expert Board Contributors, is crafted following stringent Editorial Policies. We're committed to providing you with well-researched, expert-backed insights for all your informational needs.




0 thoughts on “DIY Guide: Installing A Programmable Thermostat”