Home>Ideas and Tips>DIY Guide to Installing a Bathroom Shower with a Rain Shower Head and a Hand Shower
Ideas and Tips
DIY Guide to Installing a Bathroom Shower with a Rain Shower Head and a Hand Shower
Modified: October 28, 2024
Upgrade your bathroom with our DIY guide to installing a rain shower head and hand shower. Follow easy steps for a luxurious shower experience.
(Many of the links in this article redirect to a specific reviewed product. Your purchase of these products through affiliate links helps to generate commission for Storables.com, at no extra cost. Learn more)
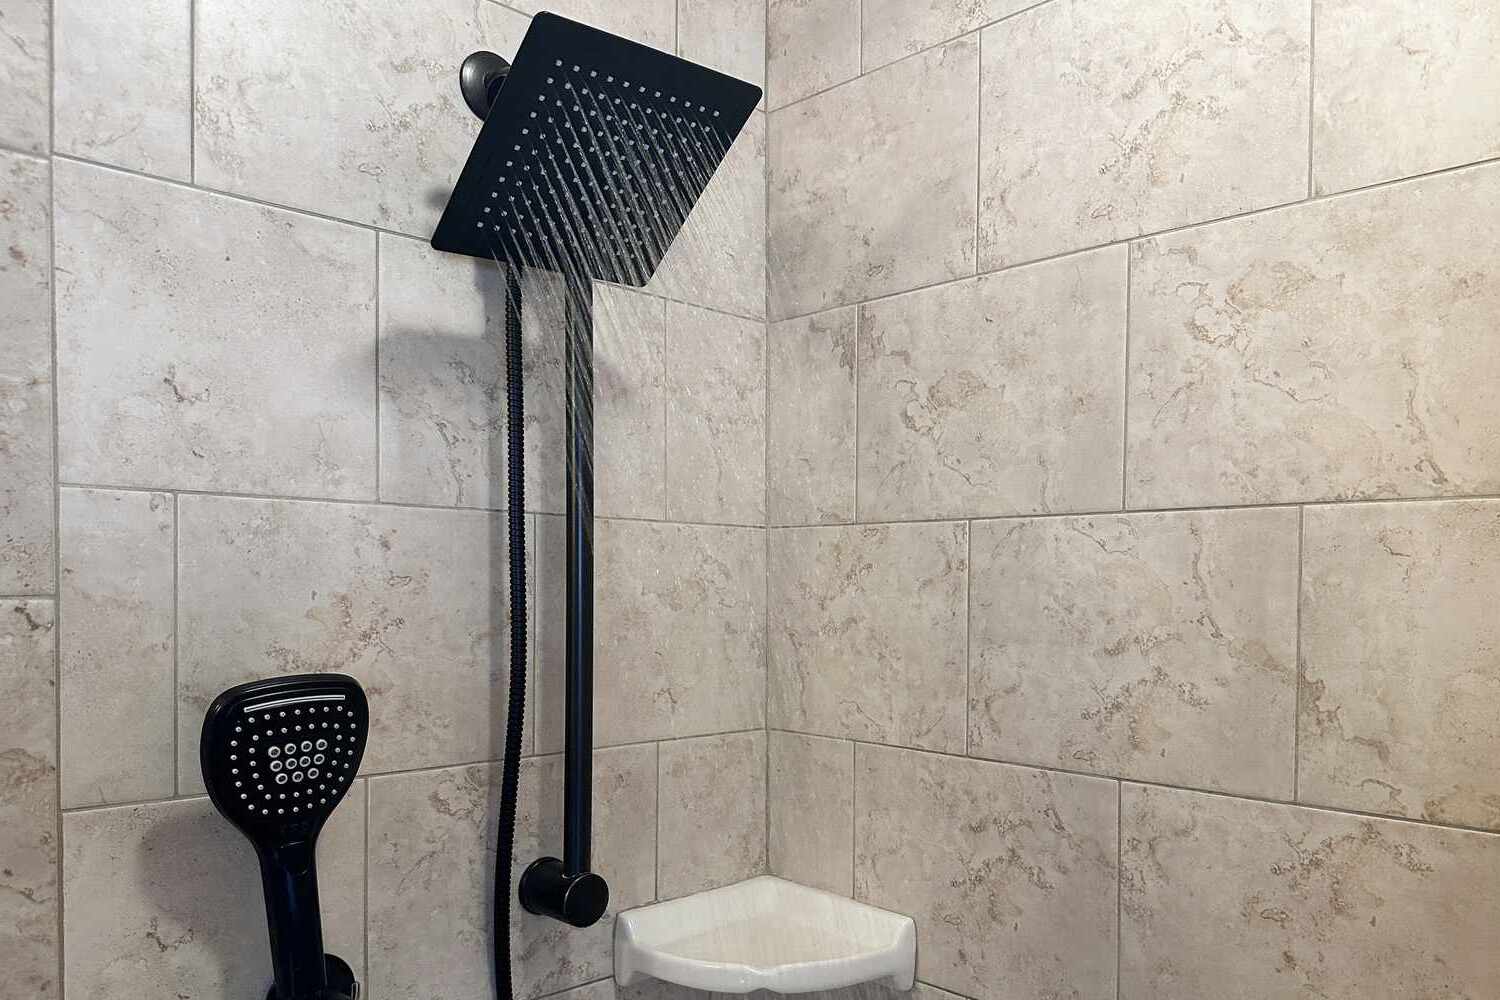
Installing a bathroom shower with a rain shower head and a hand shower is a fantastic way to enhance your daily showering experience. Not only does it provide a luxurious and relaxing ambiance, but it also adds an elegant touch to your bathroom. In this comprehensive guide, we will walk you through the steps required to install a rain shower head and a hand shower, ensuring that you can achieve this upgrade with ease.
Why Choose a Rain Shower Head?
A rain shower head is an excellent choice for your bathroom for several reasons. First off, it simulates the feeling of standing under natural rainfall. The gentle, even distribution of water creates a more relaxing and soothing shower experience compared to traditional showerheads, which often provide a more forceful stream of water. Imagine starting your day with a gentle cascade of water that feels like a warm summer rain. Sounds dreamy, right?
Relaxing Experience
A rain shower head simulates the feeling of standing under natural rainfall. The gentle, even distribution of water creates a more relaxing and soothing shower experience compared to traditional showerheads, which often provide a more forceful stream of water.
Aesthetic Appeal
Rain shower heads are known for their sleek and contemporary design, enhancing the aesthetic appeal of your bathroom. They come in various styles and sizes, allowing you to choose one that perfectly fits your bathroom's theme and design.
Easy Maintenance
One of the advantages of rain shower heads is their ease of maintenance. Due to their large size and broader surface area, they are extremely easy to clean. A few swipes with a soft cloth can keep them looking new and functional.
Water Conservation
Rain shower heads can also help conserve water. The even distribution of water means that showering takes less time, resulting in reduced water consumption. Additionally, many modern rain shower heads come equipped with cutting-edge water-saving technology.
Tools and Materials Needed
Before starting your DIY project, make sure you have all the necessary tools and materials. Here’s a list of what you’ll need:
- Rain Shower Head Kit: This includes the rain shower head itself and any additional components like a ceiling-mounted extension arm.
- Adjustable Wrench: Essential for removing and installing the shower head.
- Plumber’s Tape (Teflon Tape): Used to create a watertight seal between the shower arm and the new shower head.
- Pipe Thread Sealant (Optional): Additional sealant for extra security against leaks.
- Screwdriver: Useful for any additional adjustments or tightening.
- Silicone Caulk (Optional): For creating a watertight seal around the base of the rain shower head where it meets the wall or ceiling.
- Safety Glasses: Protect your eyes from any potential splashes or debris.
- Step Ladder (If Needed): For reaching high areas like the ceiling.
Step-by-Step Installation Guide
Step 1: Turn Off the Water Supply
Before starting any plumbing project, it’s crucial to turn off the water supply to your shower. Locate the shut-off valve in your bathroom or the main water supply to the house and turn it off. This will prevent any accidental flooding or water damage during the installation process.
Step 2: Remove the Old Shower Head
Using an adjustable wrench or pliers, carefully remove your old shower head by turning it counterclockwise. Be cautious not to damage the water pipe in the process. Once you’ve unscrewed the old shower head, you can set it aside.
Step 3: Clean the Pipe Thread
Inspect the exposed pipe thread for any debris or old plumber’s tape. Clean the threads thoroughly, removing any residual tape or debris that may interfere with the installation of the new rain shower head.
Step 4: Apply Plumber’s Tape
To ensure a watertight seal, wrap the threads of the shower arm with plumber’s tape (Teflon tape) in a clockwise direction. Wrap it around the threads two to three times for a secure fit. This step helps prevent leaks.
Step 5: Install the Rain Shower Head
Screw the new rain shower head onto the cleaned and taped shower arm. Use an adjustable wrench to tighten it, but be careful not to overtighten it, as it may damage the shower arm or the rain shower head.
Step 6: Check for Leaks
After attaching the rain shower head, turn on the water supply and check for any leaks. If you notice any water seeping out, turn off the water supply and tighten the connections further. You can also use pipe thread sealant for extra security.
Step 7: Caulk (Optional)
If your rain shower head includes a ceiling-mounted extension arm or if you want to prevent water from leaking behind the wall, you can apply a small bead of silicone caulk around the base of the rain shower head where it meets the wall or ceiling. This helps create a watertight seal and adds a clean finish.
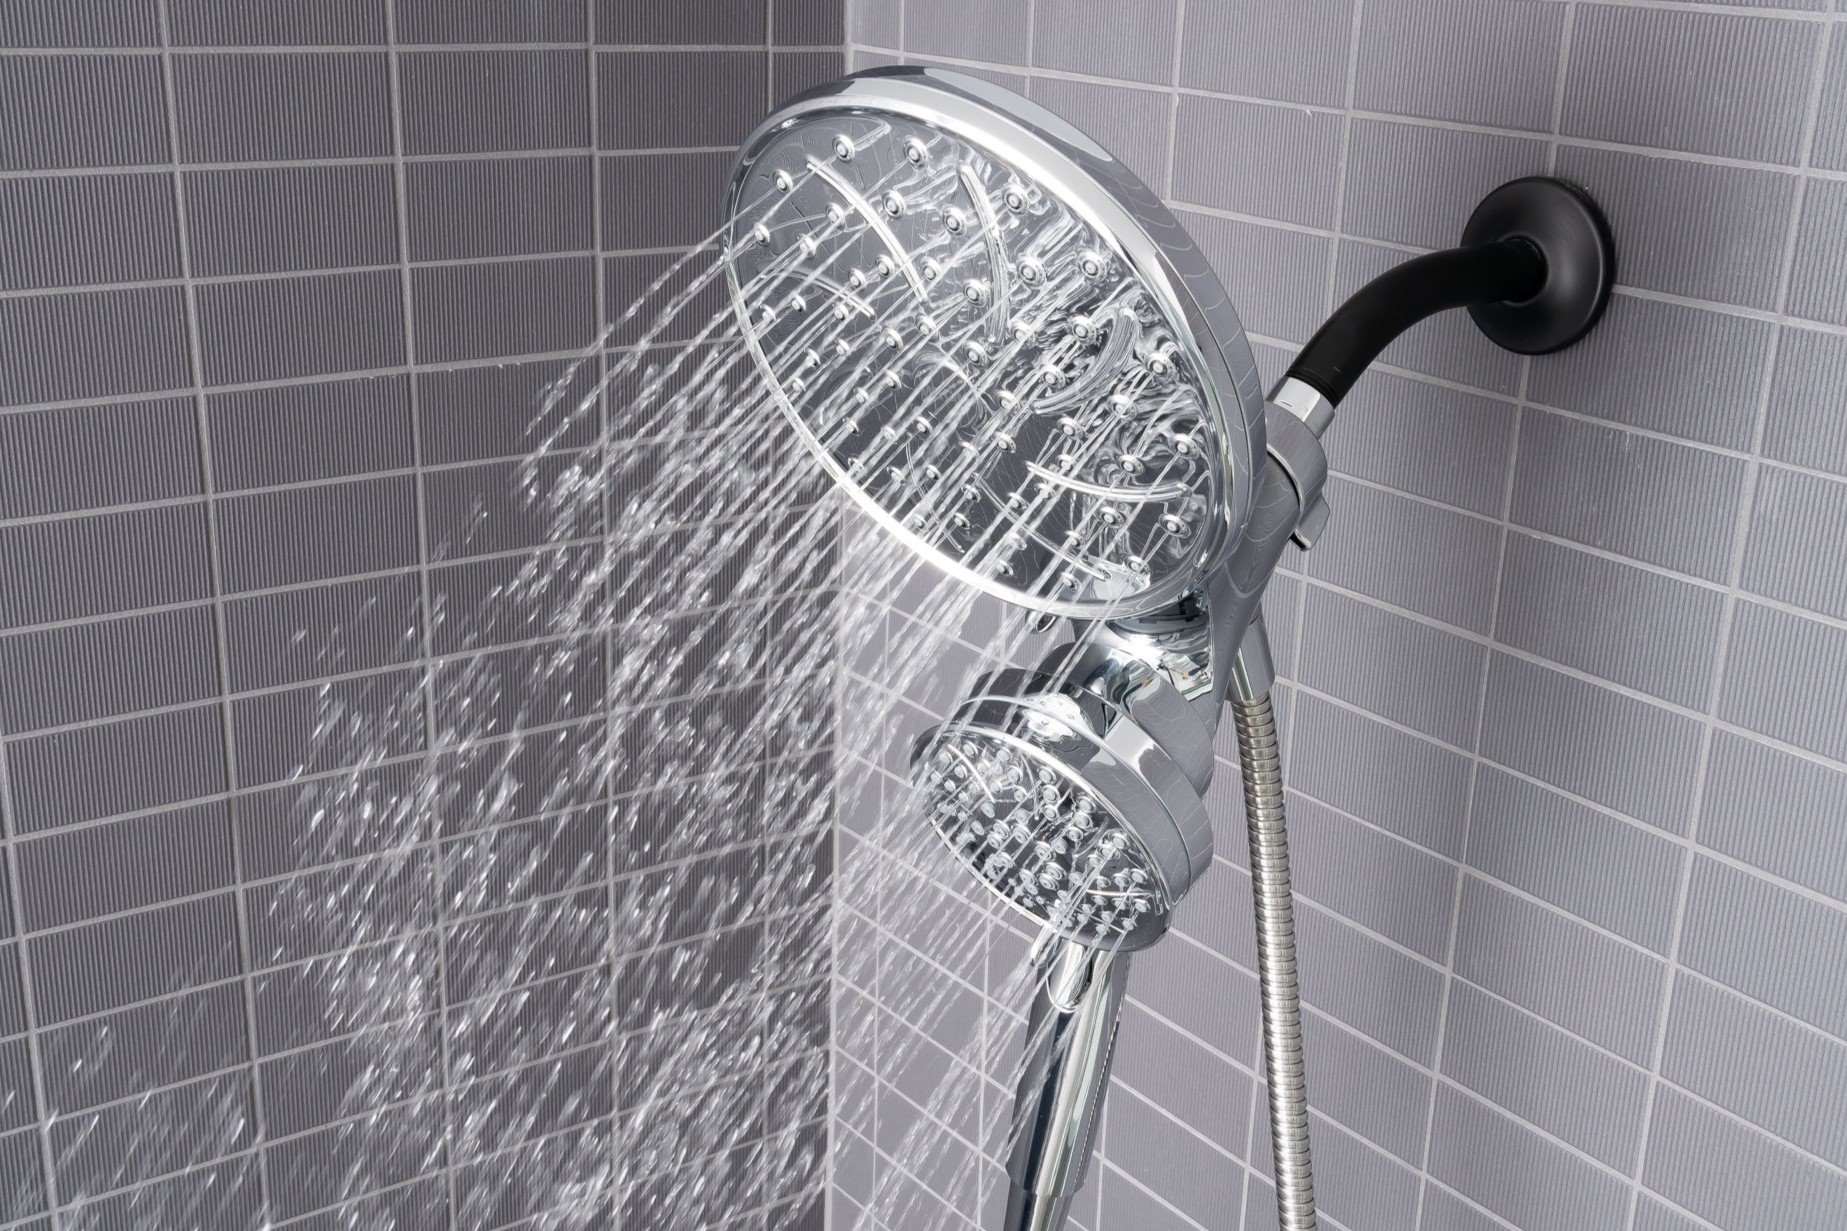
Step 8: Install the Hand Shower
To install a hand shower, follow these steps:
- Attach Hand Shower Arm: Connect the hand shower arm to the existing shower arm. This usually involves screwing it into place using an adjustable wrench.
- Connect Hand Shower Head: Attach the hand shower head to the hand shower arm. Make sure it is securely fastened to prevent any leaks.
- Test Hand Shower: Turn on the water supply and test the hand shower to ensure it is working properly and there are no leaks.
Step 9: Final Check
Once you’ve ensured there are no leaks and everything is securely in place, it’s time to enjoy your new rain shower head and hand shower. Turn on both fixtures and relish the soothing, gentle cascade of water that mimics a refreshing rain shower, combined with the flexibility of using a handheld shower for targeted cleaning and convenience.
Additional Tips and Considerations
Read more: DIY Guide To Installing A Tile Shower
Choosing the Right Rain Shower Head
When selecting a rain shower head, consider factors such as size, design, and features like LED illumination or multiple spray settings. Ensure that it fits your bathroom's plumbing configuration and meets your needs for water pressure and flow rate.
Ensuring Proper Installation
If you are not confident in your plumbing skills or if the installation involves complex plumbing configurations, it may be wise to hire a professional plumber. They can help determine the appropriate shower head size and ensure proper placement to avoid water leakage.
Maintenance Tips
Regular maintenance is crucial for extending the lifespan of your rain shower head. Clean the shower head regularly using a soft cloth and avoid using abrasive materials that could damage the surface. Additionally, check for mineral buildup and clean it periodically to maintain optimal performance.
Conclusion
Installing a rain shower head and hand shower is a rewarding DIY project that can significantly enhance your bathroom experience. By following these steps and considering the tips outlined above, you can achieve a luxurious and relaxing showering experience without breaking the bank. Remember to always prioritize safety and ensure proper installation to avoid any potential issues. Happy DIY-ing!
Read more: DIY Guide To Installing A Glass Shower Door
References: Simply Every. (2018, November). DIY Easy Installation Rain Shower in Master Bathroom. Lowe's. (2019, July). How to Install a Rain Shower Head. Express Sewer. (2015, July). Step-by-Step Guide to Installing a Shower Head. Michelle Hirsch. (n.d.). A Step-by-Step Guide to Installing Your DIY Rain Shower Head. My Georgia Plumber. (n.d.). What to Know About Rain Showers in Your Bathroom.
Was this page helpful?
At Storables.com, we guarantee accurate and reliable information. Our content, validated by Expert Board Contributors, is crafted following stringent Editorial Policies. We're committed to providing you with well-researched, expert-backed insights for all your informational needs.


0 thoughts on “DIY Guide to Installing a Bathroom Shower with a Rain Shower Head and a Hand Shower”