Home>Articles>How To Install A Rain Shower Head In The Ceiling
Articles
How To Install A Rain Shower Head In The Ceiling
Modified: October 20, 2024
Learn how to install a rain shower head in the ceiling with step-by-step instructions and helpful tips. Our articles provide expert advice and guidance for a successful installation.
(Many of the links in this article redirect to a specific reviewed product. Your purchase of these products through affiliate links helps to generate commission for Storables.com, at no extra cost. Learn more)
Introduction
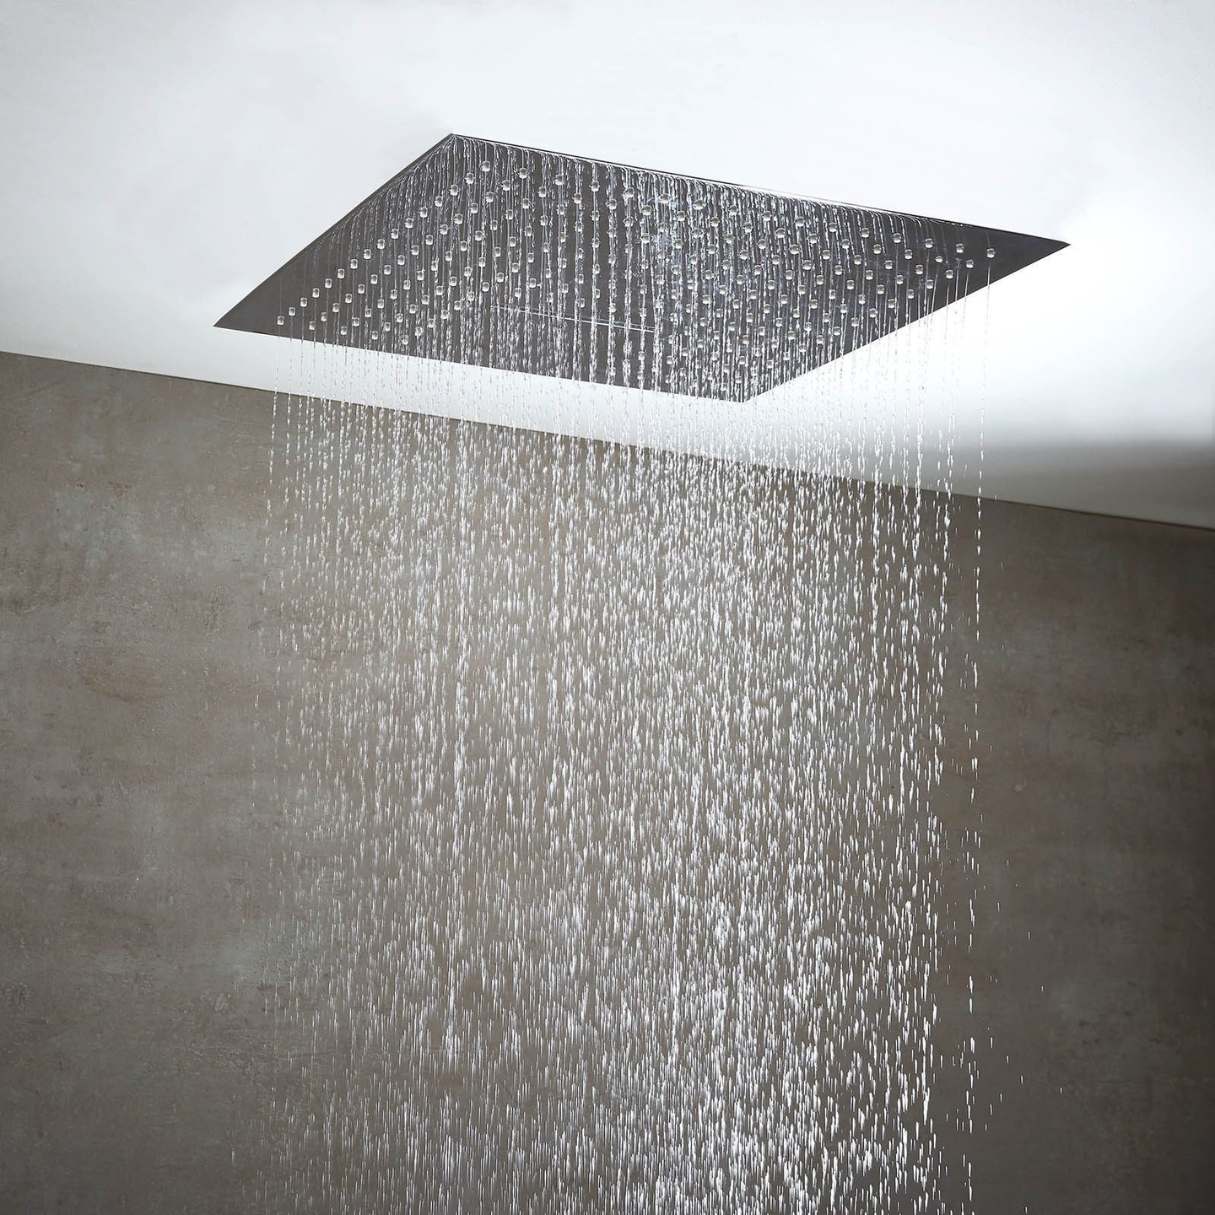
Installing a rain shower head in the ceiling can transform your bathroom into a luxurious spa-like haven. With a gentle and immersive water flow, rain shower heads provide a refreshing and therapeutic showering experience. If you’re looking to upgrade your bathroom and enjoy a soothing rainfall shower, you’ve come to the right place.
In this article, we will guide you step-by-step on how to install a rain shower head in the ceiling. From gathering the necessary tools and materials to testing and adjusting the water flow, we’ve got you covered. So, let’s get started and take your showering experience to the next level!
Key Takeaways:
- Transform your bathroom into a luxurious spa-like haven by installing a rain shower head in the ceiling. Follow the step-by-step guide for a seamless and enjoyable shower experience.
- Proper planning, attention to detail, and careful adjustments are key to a successful rain shower head installation. Enjoy the blissful, rain-like sensation while you shower and revel in the luxury of your newly installed rain shower head!
Step 1: Gather the necessary tools and materials
Before you begin the installation process, it’s essential to gather all the necessary tools and materials. Here’s a list of items you’ll need:
- Rain shower head: Choose a rain shower head that fits your preferences in terms of size, design, and water flow.
- Shower arm: The shower arm connects the rain shower head to the water supply. Make sure it is compatible with your chosen shower head.
- Teflon tape: Use Teflon tape to create a tight seal when connecting the shower arm to the water supply.
- Drill with a hole saw attachment: You will need a drill with a hole saw attachment to create an opening in the ceiling for the shower head.
- Measuring tape: Use a measuring tape to determine the ideal location for the rain shower head.
- Pencil: A pencil will allow you to mark the exact spot where the shower head will be installed.
- Safety glasses and gloves: Safety should always come first. Protect your eyes with safety glasses and your hands with gloves.
- Ladder or step stool: Depending on the height of your ceiling, you may need a ladder or step stool to safely reach the installation site.
- Caulk gun and silicone caulk: You will use caulk to create a watertight seal around the shower head installation site.
- Screwdriver: You may need a screwdriver to secure the shower head or shower arm in place.
Make sure you have all the necessary tools and materials before you begin the installation process. This will save you time and ensure a smooth and efficient installation.
Step 2: Determine the ideal location for the rain shower head
Choosing the right location for your rain shower head is crucial for a comfortable and enjoyable showering experience. Here are some factors to consider when determining the ideal location:
- Ceiling height: Ensure that your ceiling has enough clearance to accommodate the rain shower head comfortably. It should be positioned at a height that allows for a relaxing and immersive shower experience.
- Water supply: Locate the water supply lines in your ceiling to determine the best spot for installing the rain shower head. You’ll need a location with access to the water supply lines to connect the shower arm.
- Shower coverage: Consider the size of your shower area and the desired coverage of the rain shower head. Ideally, it should be placed directly above your head to provide full body coverage when standing beneath it.
- Structural support: Ensure that the chosen location has adequate structural support to handle the weight of the rain shower head. It should be installed on a solid and stable part of the ceiling.
- Existing plumbing: Take into account the existing plumbing configurations in your bathroom. Adjustments may be needed to connect the shower arm to the water supply lines.
Once you have considered these factors, use a measuring tape to mark the exact location on the ceiling. Take into account the projection of the rain shower head and its distance from the wall to ensure it aligns with your desired placement and coverage.
Remember, the location of your rain shower head can significantly impact your overall showering experience. Take your time to choose a spot that meets both aesthetic and functional requirements.
Step 3: Preparation and planning
Before you start cutting into your ceiling and installing the rain shower head, it’s important to take some time for preparation and planning. This will ensure a smooth and successful installation process. Here’s what you need to do:
- Turn off the water supply: Locate the main water shut-off valve in your home and turn it off. This will prevent any accidental water flow during the installation.
- Protect the surrounding area: Cover your bathroom floor and fixtures with drop cloths or plastic sheets to prevent damage from debris and dust.
- Review the installation instructions: Carefully read the installation instructions provided with your rain shower head and shower arm. Familiarize yourself with the steps and any specific requirements mentioned.
- Study the plumbing: Take a close look at the existing plumbing in your ceiling. Understand the layout and connections to determine the best approach for attaching the shower arm to the water supply lines.
- Plan for electrical wiring: If your rain shower head has built-in lighting or other electrical features, make sure you have a plan for connecting it safely to your bathroom’s electrical system.
- Check for any obstacles: Look for any pipes, ducts, or electrical wires that may be hidden in your ceiling. Plan your installation to avoid unnecessary obstacles and complications.
- Consult a professional if needed: If you’re unsure about any aspect of the installation process or if you’re dealing with complex plumbing or electrical work, it’s always a good idea to consult a professional for guidance.
By taking the time to prepare and plan, you’ll minimize the risk of errors and ensure a smoother installation process. Proper planning will also help you identify any potential challenges and address them before starting the installation.
Step 4: Cut an opening in the ceiling
Now that you’ve done the necessary preparation and planning, it’s time to cut an opening in the ceiling for the rain shower head. Follow these steps:
- Locate the marked spot: Identify the exact location on the ceiling where the rain shower head will be installed. Use a stud finder if needed to ensure you avoid any studs or structural beams.
- Put on safety gear: Before you begin cutting, put on safety glasses, gloves, and a dust mask to protect yourself from debris.
- Prepare your tools: Ensure that you have a drill with a hole saw attachment that matches the diameter of the rain shower head. Attach the hole saw to the drill securely.
- Drill the opening: Position the hole saw over the marked spot on the ceiling and start drilling slowly. Apply consistent pressure and keep the drill as straight as possible to create a clean and precise opening.
- Remove the cut piece: Once the hole is complete, carefully remove the cut piece of ceiling material. Set it aside to dispose of later.
- Smooth the edges: Use sandpaper or a file to smooth any rough edges around the opening. This will ensure a clean and professional finish.
Remember to work carefully and be mindful of your surroundings during the cutting process. Take breaks as needed, and don’t rush through this step to ensure a precise and accurate opening for your rain shower head.
Note: If you’re not comfortable or confident with cutting the hole yourself, it’s advisable to seek professional assistance to ensure the job is done correctly and to avoid any potential damage or safety hazards.
When installing a rain shower head in the ceiling, make sure to use a stud finder to locate a secure mounting location. Use a waterproof sealant around the edges to prevent leaks.
Step 5: Install the shower arm
With the opening in the ceiling ready, it’s time to install the shower arm that will connect the rain shower head to the water supply. Follow these steps:
- Apply Teflon tape: Start by wrapping Teflon tape around the threaded end of the shower arm. This will create a tight seal and prevent any leaks.
- Insert the shower arm: Insert the threaded end of the shower arm into the opening in the ceiling. Thread it in clockwise until it is snug, but avoid overtightening.
- Align the shower arm: Adjust the position of the shower arm so that it is aligned vertically or at the desired angle for your shower experience. You may need to use a wrench or pliers to hold the arm in place while tightening it.
- Tighten the connections: Use an adjustable wrench to securely tighten the connections between the shower arm and the fittings in the ceiling. Be careful not to over-tighten, as it may cause damage.
- Test for stability: Give the shower arm a gentle tug to ensure it is securely mounted and stable. Make any necessary adjustments to ensure optimal stability.
Once the shower arm is installed, it’s important to double-check for any leaks. Turn on the water supply and inspect the connections for any signs of water leakage. If you notice any leaks, tighten the connections further or consider using plumbing tape to provide an extra seal.
By following these steps, you’ll have the shower arm securely installed, providing the necessary connection between the water supply and the rain shower head.
Step 6: Connect the shower head to the arm
Now that the shower arm is installed, it’s time to connect the rain shower head to the arm. Follow these steps:
- Prepare the shower head: If your rain shower head has any additional components, such as a filter or rubber gasket, make sure they are properly attached according to the manufacturer’s instructions.
- Apply Teflon tape: Wrap Teflon tape around the threaded end of the shower arm to ensure a tight and leak-free connection.
- Attach the shower head: Carefully screw the rain shower head onto the threaded end of the shower arm. Begin by hand-tightening it, then use a wrench or pliers to securely tighten the connection. Be cautious not to overtighten and risk damaging the shower head or arm.
- Adjust the shower head: Once the shower head is attached, adjust it to the desired angle and position for your showering comfort. Most rain shower heads have a swivel joint that allows for easy adjustment.
It’s crucial to ensure a secure and leak-free connection between the shower head and the shower arm. After tightening, check for any signs of water leakage around the connection. If there are any leaks, gently tighten the connection further or consider using plumbing tape for an extra seal.
Once you’re satisfied with the connection and positioning of the rain shower head, move on to the next step to test and adjust the water flow.
Step 7: Test and adjust the water flow
With the rain shower head installed and connected, it’s time to test and adjust the water flow to ensure a satisfying shower experience. Follow these steps:
- Turn on the water supply: Slowly turn on the water supply to allow water to flow through the shower head. Pay attention to any leaks or irregularities in the water flow.
- Check for proper water pressure: Determine if the water pressure from the rain shower head is to your liking. If it feels too weak, you may need to adjust the water pressure valve or consult a professional plumber to assess and adjust the water pressure in your home’s plumbing system.
- Adjust the shower head settings: Most rain shower heads come with adjustable settings that allow you to control the water flow pattern, intensity, and coverage. Experiment with these settings to find your preferred shower experience.
- Consider water-saving options: If you’re concerned about water conservation, look for rain shower heads that have water-saving features. These can help reduce water consumption without compromising the overall showering experience.
- Inspect for any leaks: During and after the water flow test, carefully inspect the connections between the shower head, shower arm, and water supply lines for any signs of leakage. If you detect any leaks, tighten the connections further or apply plumbing tape to create a watertight seal.
Remember that everyone has different preferences when it comes to water flow intensity and coverage. Take the time to adjust the settings and find the perfect balance that suits your personal showering needs.
By testing and adjusting the water flow, you can ensure that your rain shower head provides a refreshing and relaxing shower experience, tailored to your liking.
Step 8: Apply caulk and finish the installation
With the rain shower head installed and the water flow adjusted, it’s time to apply caulk and complete the installation. Follow these steps:
- Clean the area: Before applying caulk, ensure that the surrounding area is clean and free from any dirt, debris, or moisture. Use a damp cloth to wipe down the ceiling and the area around the shower head.
- Load the caulk gun: Load a tube of silicone caulk into a caulk gun, following the manufacturer’s instructions. Cut the tip of the caulk tube at a 45-degree angle to create a small opening.
- Apply caulk around the shower arm: Starting from the base of the shower arm where it meets the ceiling, apply a steady and even bead of caulk around the joint. Ensure that the caulk covers any gaps and creates a watertight seal.
- Smooth the caulk: Use a caulk smoothing tool or a moistened finger to smooth and level the caulk. This will create a neat and professional-looking finish while ensuring a proper seal.
- Clean excess caulk: Use a damp cloth to clean up any excess caulk that may have smeared or spilled around the area. Be careful not to disturb the caulk around the shower arm joint.
- Allow the caulk to dry: Follow the caulk manufacturer’s instructions for drying time. Avoid using the shower or disturbing the caulked area until the caulk is completely dry and cured.
- Final inspection: Once the caulk is dry, inspect the entire installation for any imperfections or areas that may require touch-ups. Make any necessary adjustments or cleanup to ensure a flawless finish.
By applying caulk and finishing the installation, you not only create a clean and professional look but also provide an added layer of protection against water leaks. The caulk will help prevent water from seeping into the ceiling and causing damage.
Congratulations! With the caulk applied and the installation complete, you can now enjoy your new rain shower head in the ceiling. Sit back, relax, and indulge in a luxurious showering experience.
Conclusion
Congratulations on successfully installing a rain shower head in the ceiling! By following the step-by-step guide outlined in this article, you have transformed your bathroom into a luxurious oasis where you can enjoy the soothing sensation of a rainfall shower.
Throughout the installation process, you learned how to gather the necessary tools and materials, determine the ideal location, prepare and plan for the installation, cut an opening in the ceiling, install the shower arm, connect the shower head, test and adjust the water flow, and apply caulk to finish the installation. Each step plays a crucial role in ensuring a seamless and enjoyable shower experience.
Remember, proper planning, attention to detail, and careful adjustments are key to a successful installation. Take the time to familiarize yourself with the instructions provided with your specific rain shower head and consult professionals whenever you’re unsure or dealing with complex plumbing or electrical work.
Now that you have a rain shower head in your ceiling, make the most of it by adjusting the water flow to your preference and enjoying the blissful, rain-like sensation while you shower. Allow yourself to relax, unwind, and rejuvenate in the comfort of your own home.
Thank you for joining us on this installation journey. We hope this guide has provided valuable insights and assistance throughout the process. Upgrade your showering experience, and revel in the luxury of your newly installed rain shower head!
Now that you've mastered installing a rain shower head, why not tackle your next home improvement project? If you're considering a bathroom makeover, understanding how long a renovation might take is crucial. Our guide on bathroom renovation durations offers insights and planning advice to help streamline your project. Whether you're updating fixtures or overhauling the entire space, we'll walk you through what to expect at every step.
Frequently Asked Questions about How To Install A Rain Shower Head In The Ceiling
Was this page helpful?
At Storables.com, we guarantee accurate and reliable information. Our content, validated by Expert Board Contributors, is crafted following stringent Editorial Policies. We're committed to providing you with well-researched, expert-backed insights for all your informational needs.


0 thoughts on “How To Install A Rain Shower Head In The Ceiling”