Home>Ideas and Tips>DIY Guide To Installing A Brick Patio
Ideas and Tips
DIY Guide To Installing A Brick Patio
Published: September 18, 2024
Learn how to install a brick patio with our step-by-step DIY guide. Enhance your outdoor space with this rewarding and visually appealing project.
(Many of the links in this article redirect to a specific reviewed product. Your purchase of these products through affiliate links helps to generate commission for Storables.com, at no extra cost. Learn more)
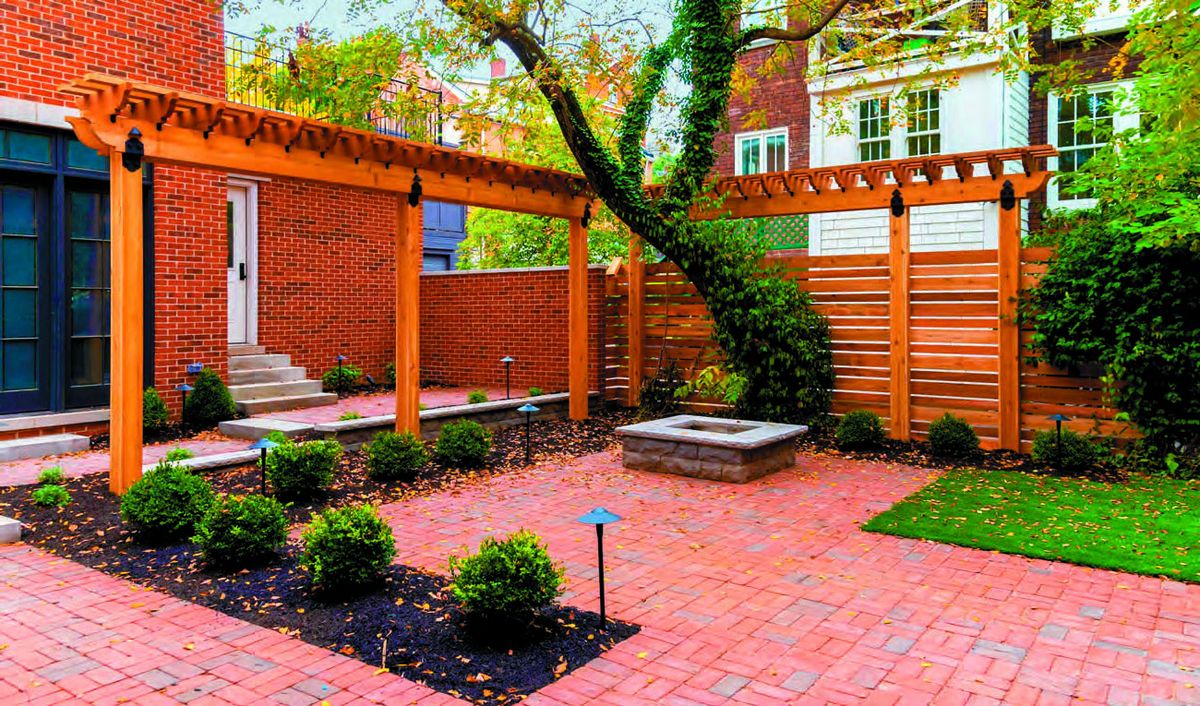
Installing a brick patio can be a rewarding and visually appealing addition to your outdoor living space. Not only does it provide a functional area for relaxation and entertainment, but it also enhances the aesthetic appeal of your home. In this comprehensive guide, we will walk you through the steps involved in building a brick patio, from planning and preparation to the final touches.
Planning Your Brick Patio
Before you begin the construction process, it is crucial to plan your brick patio carefully. This stage will determine the success and longevity of your project. Here are the key considerations:
Choosing the Location
The location of your brick patio is critical. It should be situated in an area that receives the right amount of sunlight and has good drainage to avoid water pooling. Consider the proximity to your house, views from the patio area, and privacy from neighbors. For example, a spot near the back door can be convenient for easy access, but it may not provide the best privacy or views.
Determining the Size and Shape
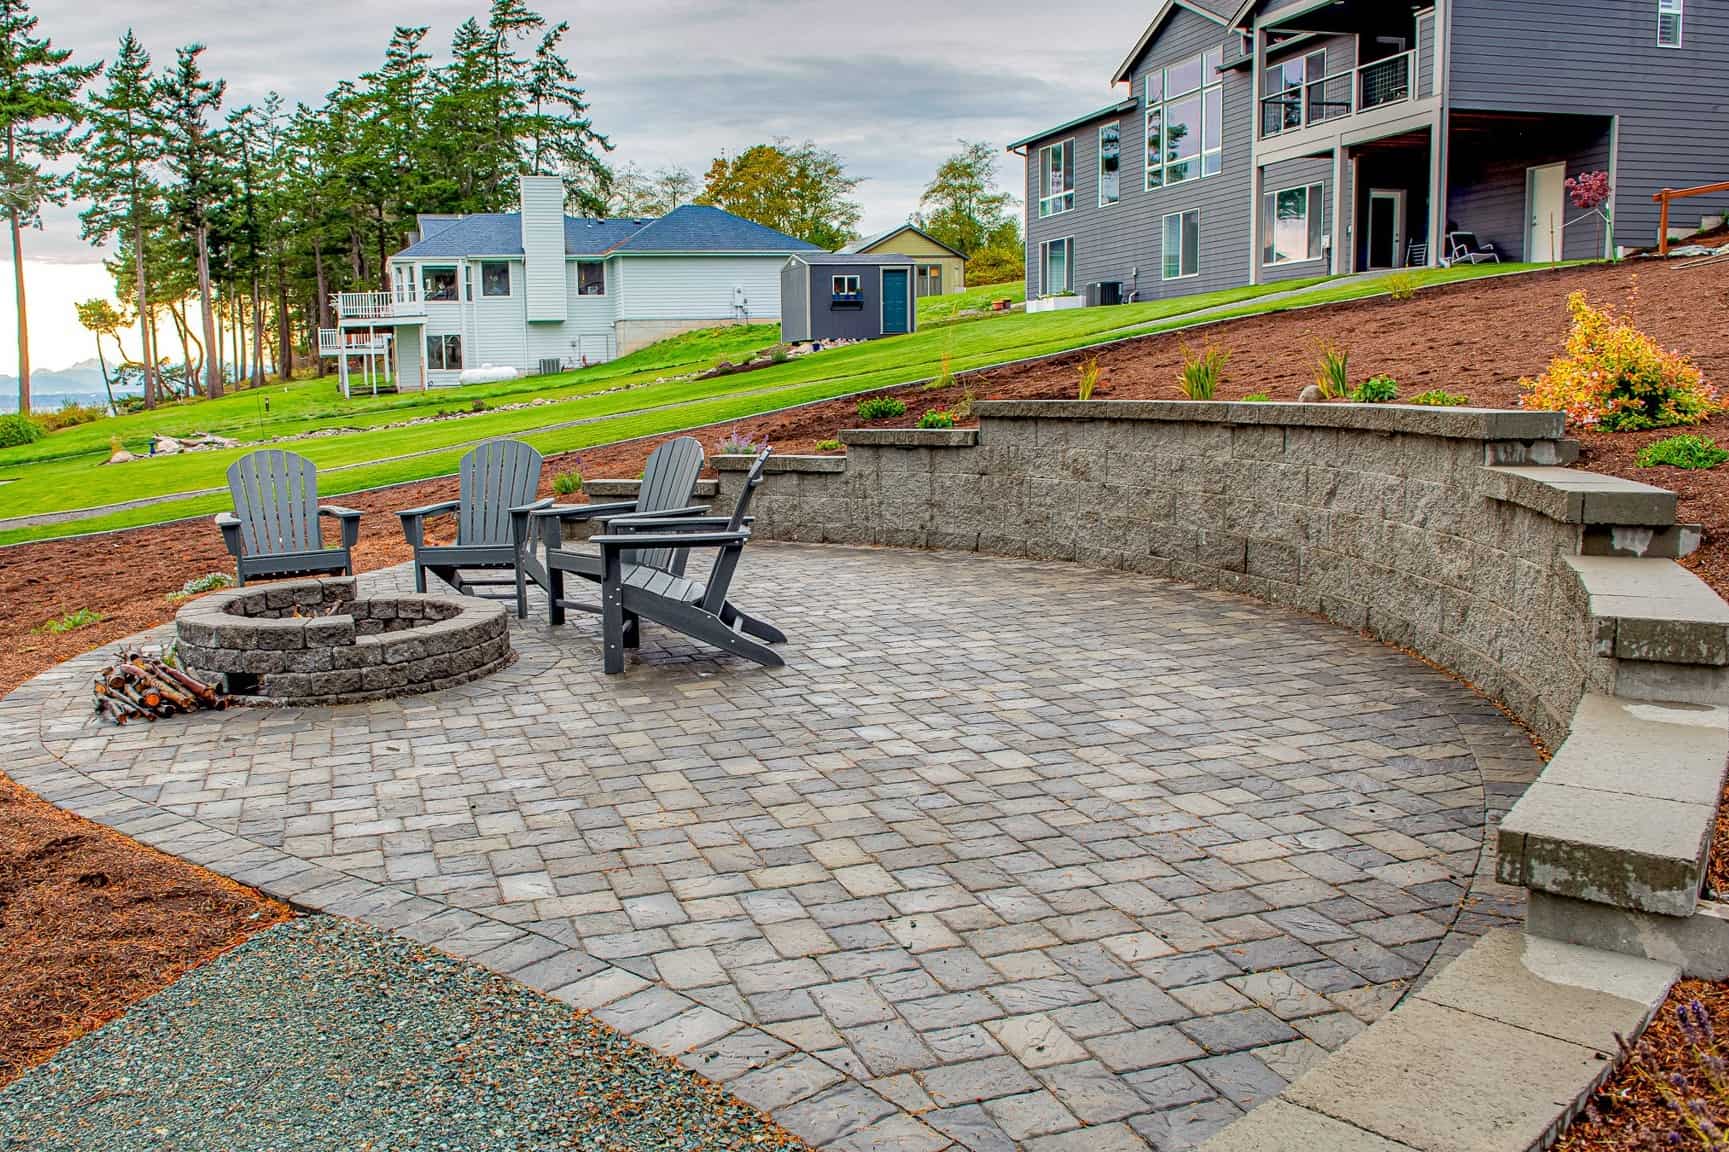
The size and shape of your patio will depend on the available space and your desired layout. A simple rectangular shape is often the easiest to work with, but you can also opt for a circular or L-shaped design to better suit the space's dimensions. If you're feeling creative, you can choose a freeform shape that reflects your personal style.
Tools and Supplies Needed
To ensure that your project goes smoothly, you'll need the right tools and supplies. Here’s a list of what you'll need:
- Brick Pavers: These are the actual bricks that will form the surface of your patio.
- Graded Base: This material is used to create a stable sub-base for your patio.
- Sand: Spread over the sub-base and on top of the patio to level it out.
- Plastic Edging: Used to create a border around your brick patio and prevent shifting.
- Plate Compactor: A gas-powered tool used to flatten and compact the ground.
- Screed Rails: Steel pipes that act as guidelines for creating an even sand layer beneath the pavers.
- Nylon Spikes: Used to secure the plastic edging in place.
- Weed Barrier: Prevents weeds from growing up in between the bricks.
- Wet Tile Saw: For cutting the brick pavers if necessary.
- Shovel, Leveler, and Broom: Essential tools for digging, leveling, and smoothing out the sand.
Read more: DIY Guide To Installing Wainscoting
Patio Site Preparation
Preparing the site is crucial to ensure that your brick patio remains stable and looks professional. Here’s how to get the site ready:
Removing Existing Materials
Begin by removing any old bricks, paving stones, and about 7 inches of soil from the designated patio area. This will provide a fresh, uniform base for your new patio.
Creating a Level Surface
To achieve professional-looking results, you’ll need to smooth and even out the surface before laying a single brick. Here’s how:
- Stretch Nylon Lines: Place nylon lines across the patio area, tying them to stakes and positioning them three inches above the graded base surface. These lines will serve as a reference point for the final patio height and ensure a consistent level throughout the area.
- Install Screed Rails: Place steel pipes (screed rails) 2 inches below the nylon lines. These rails act as guidelines for creating an even sand layer beneath the pavers.
- Spread and Level Sand: Spread a layer of sand over the entire area. Pull a length of board along the rails to remove excess sand and create a smooth, level surface. Fill in any low spots and repeat the leveling process as necessary to ensure the surface remains even.
- Recheck Levels: Take your time screeding the sand layer — any inconsistencies here will be magnified when you lay bricks on top of it. After leveling the sand, recheck the grade using a long board and a spirit level to spot any low or high spots that need attention before laying the pavers.
Installing Edging
Once you have prepared the site, it’s time to install edging around your patio. This will help contain the pavers and prevent them from shifting over time.
- Choose Edging Material: You can use plastic edging or metal edging, depending on your preference and budget.
- Secure Edging: Use non-galvanized spikes to secure the edging in place. These spikes will rust over time and provide a better grip in the soil.
Laying Down the Pavers
Now that you have a solid foundation and level surface, it’s time to lay down your brick pavers.
- Lay Down Paver Base: If you’re using paver base panels, lay them down according to the manufacturer’s instructions. These panels come in sheets that interlock for a smooth surface.
- Spread Sand: Spread a half-inch layer of sand over the entire patio surface using a push broom to sweep it into the joints between pavers.
- Compact Surface: Run a plate compactor over the entire patio surface to vibrate the sand deep into the joints, locking the pavers in place and creating a stable surface.
- Fill Joints with Sand: Reapply sand and compact as necessary to fill any remaining gaps between the pavers.
Final Inspection and Touches
After completing these steps, perform a final inspection to ensure all pavers are properly seated and the surface is level. Any problems now will get worse over time, so address any issues before the sand fully settles.
- Final Sweep: Give your new patio a final sweep to remove excess sand.
- Apply Sealer (Optional): If desired, apply a coat of brick sealer to help lock out moisture and stains.
Read more: DIY Guide To Installing Floating Shelves
Tips and Considerations
- Weed Barrier: Laying down a weed barrier can save you time and keep your patio looking great for several years by preventing weeds from growing up in between the bricks.
- Cutting Bricks: If you need to cut your brick pavers, use a wet tile saw for precise cuts.
- Leveling Agent: Using a leveling agent can help keep your brick patio level even as the ground may shift beneath over the years.
Example Project
Let’s take an example project to illustrate these steps in action:
Project Overview
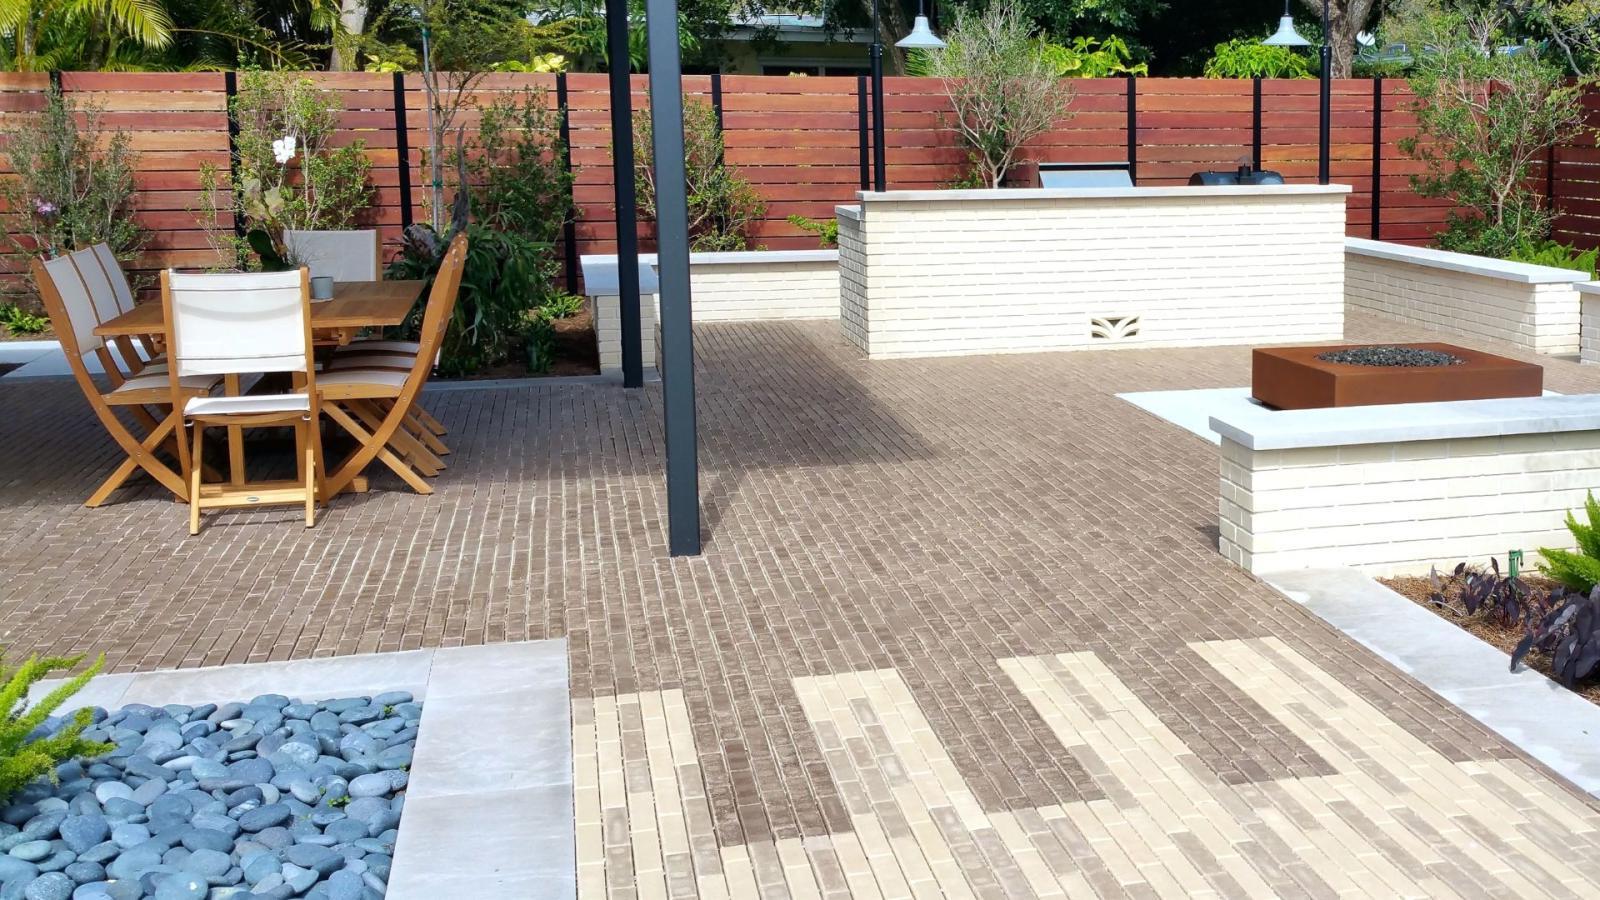
A homeowner decided to build a small brick patio in their backyard to create an additional living space for relaxation and entertaining. The area was approximately 10 feet by 12 feet, and they chose a rectangular shape for ease of construction.
Site Preparation
The homeowner began by removing all old bricks and paving stones from the designated patio area. They then used a shovel to remove about 7 inches of soil from the area. Next, they ran a gas-powered plate compactor over the ground to flatten it out.
Installing Edging
They installed plastic edging around the perimeter of their patio using nylon spikes for security. This edging helped contain the pavers and prevent them from shifting over time.
Laying Down Sand
The homeowner spread about half an inch thick layer of paver sand over their patio using a leveler to ensure evenness. They pulled a length of board along their screed rails to remove excess sand and create a smooth surface.
Laying Down Paver Base Panels
They opted to use paver base panels which came in sheets that interlocked for a smooth surface. These panels were easier to install than leveling sand and provided better stability for their patio.
Laying Down Bricks
With their solid foundation in place, they began laying down their brick pavers. They started at one corner and worked their way outward in sections, ensuring each brick was level before moving on to the next one.
Compacting Surface
After laying all their bricks, they ran their plate compactor over their entire patio surface several times to vibrate sand deep into joints between pavers, locking them securely in place.
Final Touches
Finally, they performed a final inspection ensuring all pavers were properly seated and surface level. They gave their new patio one last sweep removing excess sand before applying sealant if desired.
Conclusion
Building a brick patio is not only rewarding but also adds significant value to your property. By following these steps carefully from planning through final touches you can create beautiful functional outdoor space perfect for relaxation entertainment or both Remember patience attention detail will make all difference ensuring longevity stability beauty of your new brick patio years come
Was this page helpful?
At Storables.com, we guarantee accurate and reliable information. Our content, validated by Expert Board Contributors, is crafted following stringent Editorial Policies. We're committed to providing you with well-researched, expert-backed insights for all your informational needs.


0 thoughts on “DIY Guide To Installing A Brick Patio”