Home>Ideas and Tips>DIY Guide To Installing A Kitchen Backsplash With Recycled Glass Tiles
Ideas and Tips
DIY Guide To Installing A Kitchen Backsplash With Recycled Glass Tiles
Modified: October 18, 2024
Transform your kitchen with our DIY guide to installing a recycled glass tile backsplash. Eco-friendly, stylish, and easy to maintain!
(Many of the links in this article redirect to a specific reviewed product. Your purchase of these products through affiliate links helps to generate commission for Storables.com, at no extra cost. Learn more)
Introduction
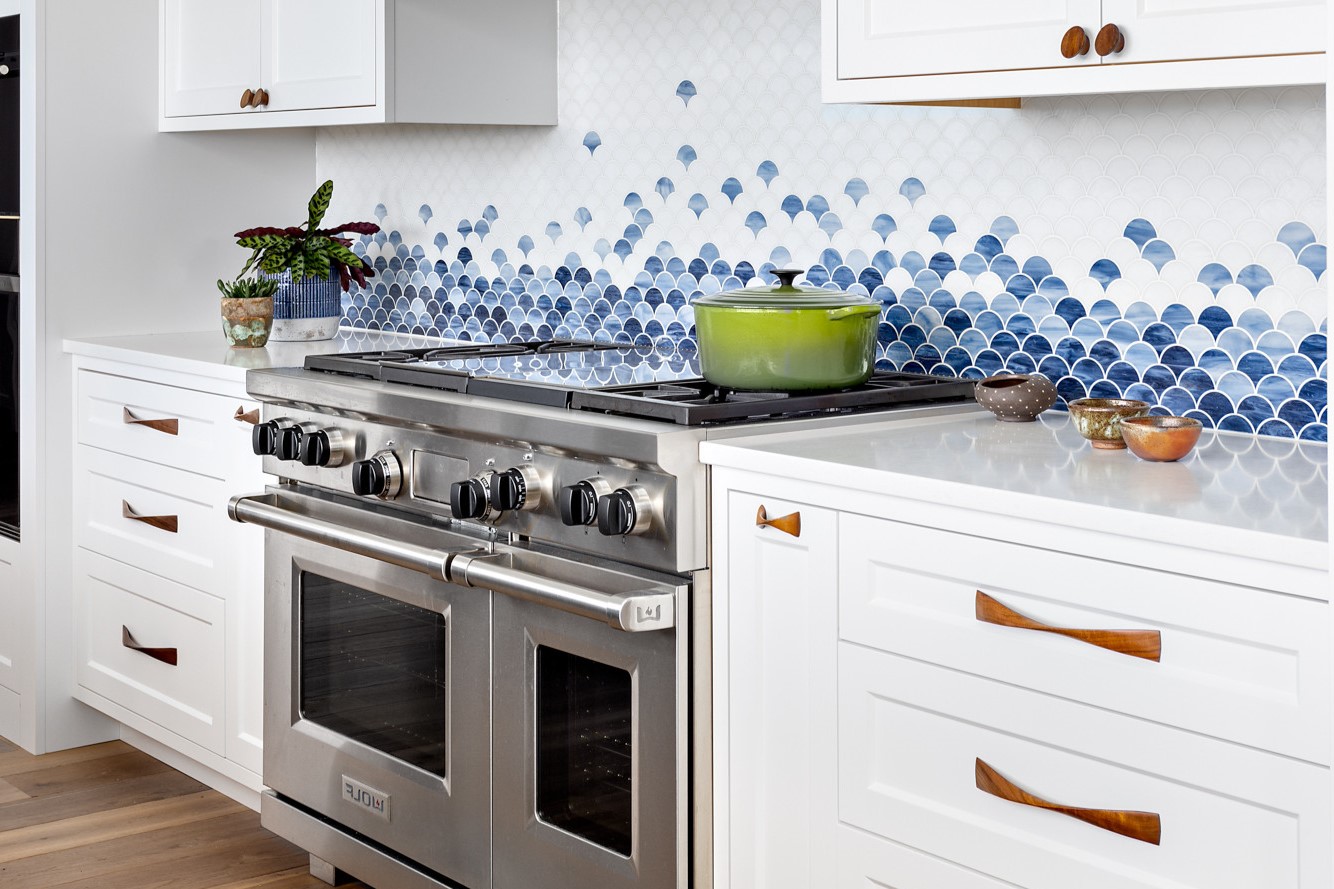
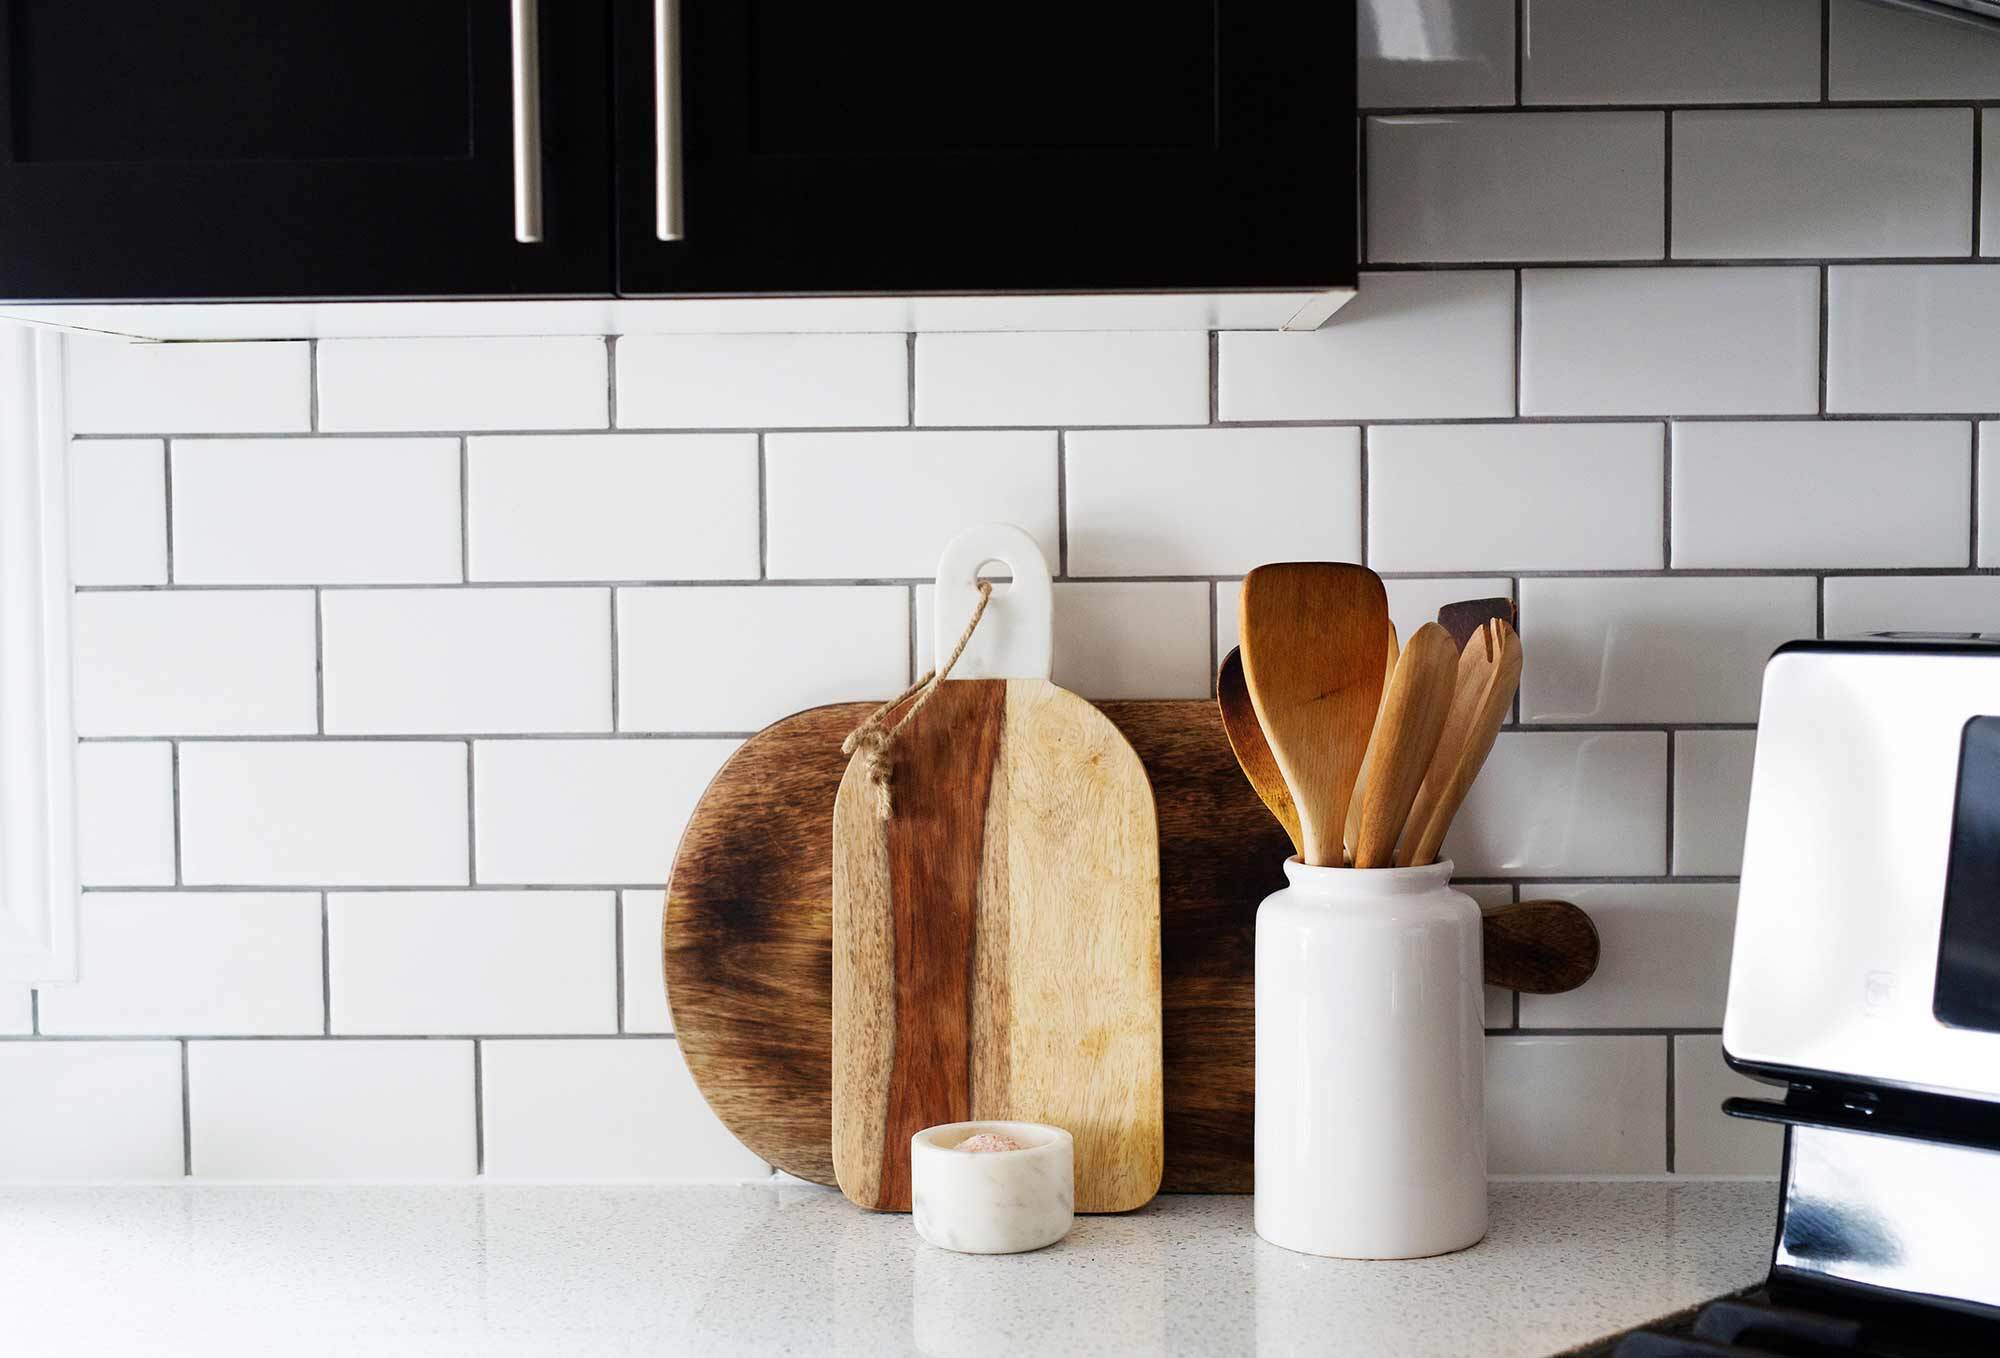
Transforming your kitchen with a stunning backsplash is one of the most impactful ways to enhance its aesthetic appeal and functionality. Among the various materials available, recycled glass tiles have emerged as a popular choice due to their eco-friendly nature, versatility, and timeless beauty. In this comprehensive DIY guide, we will walk you through the process of selecting and installing a recycled glass tile backsplash, ensuring that your kitchen becomes a show-stopping focal point.
Why Choose Recycled Glass Tiles?
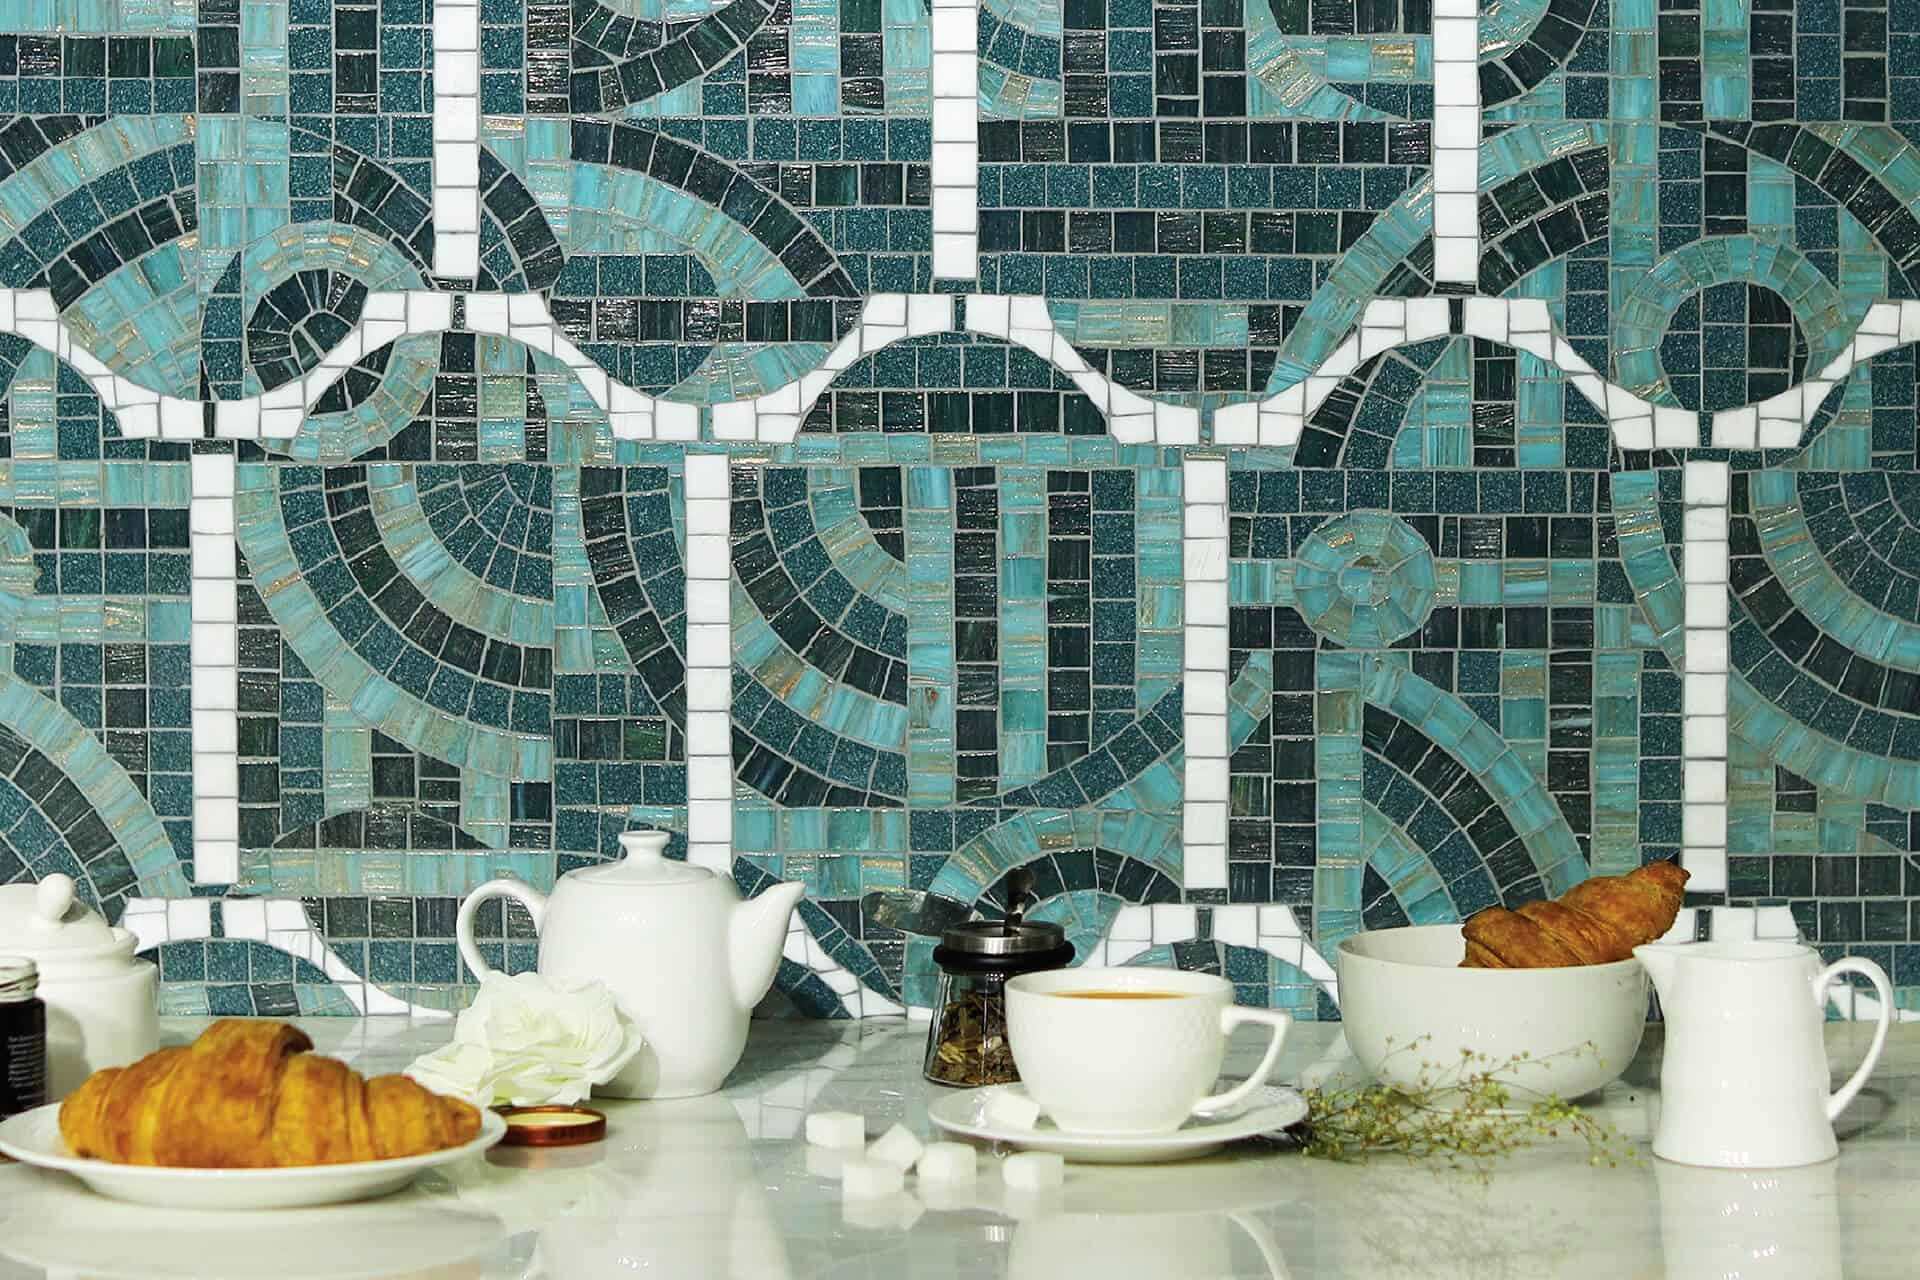
Recycled glass tiles have been cherished for their unique blend of sustainability and style. These tiles are made from recycled glass materials, which not only reduce waste but also offer a wide range of colors and patterns. Here are some compelling reasons why you should consider using recycled glass tiles for your kitchen backsplash:
-
Eco-Friendly: Recycled glass tiles are an eco-friendly option, reducing the need for raw materials and minimizing environmental impact.
-
Versatility: Available in various shapes, sizes, and colors, recycled glass tiles can seamlessly integrate into any kitchen design theme.
-
Timeless Appeal: The intricate designs and vibrant color palette of recycled glass tiles add a touch of glamour and sophistication to your kitchen.
-
Durability: These tiles are durable and long-lasting, making them an excellent choice for high-traffic areas like the kitchen.
-
Easy Maintenance: Recycled glass tiles are easy to clean and maintain, ensuring they stay beautiful for years to come.
Selecting the Perfect Recycled Glass Tiles
Choosing the right recycled glass tiles is crucial for achieving a cohesive and visually appealing backsplash. Here are some key factors to consider when selecting your tiles:
-
Color and Design:
- Mosaic tiles come in an array of colors and patterns. Take into account your existing kitchen color palette and personal choices to select the perfect combination that will enhance your overall design.
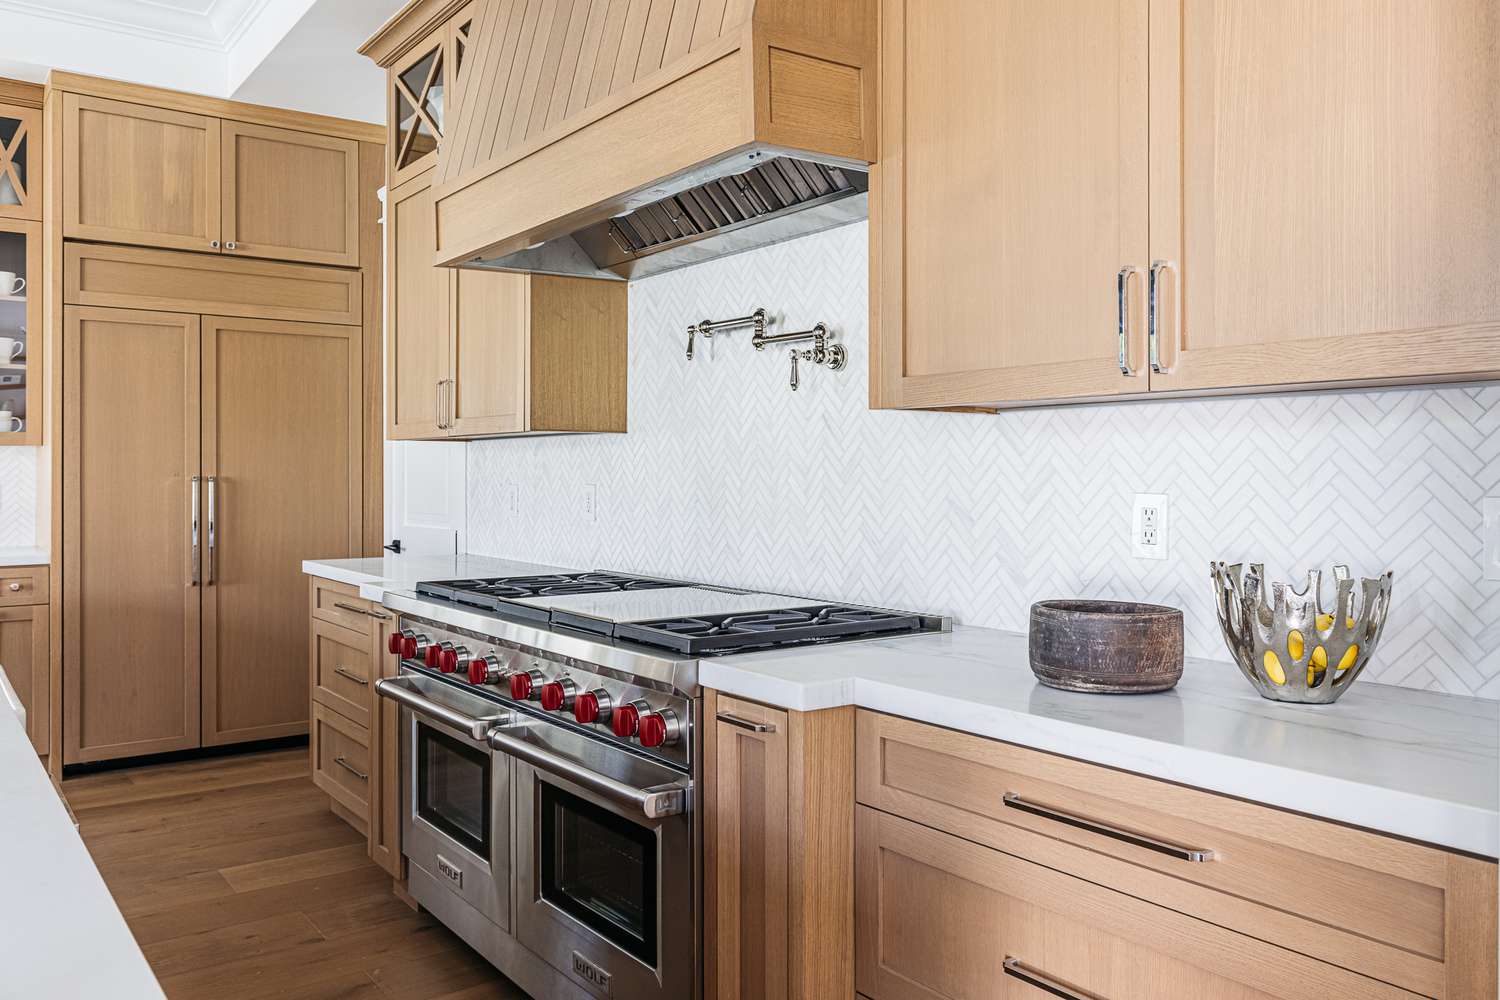
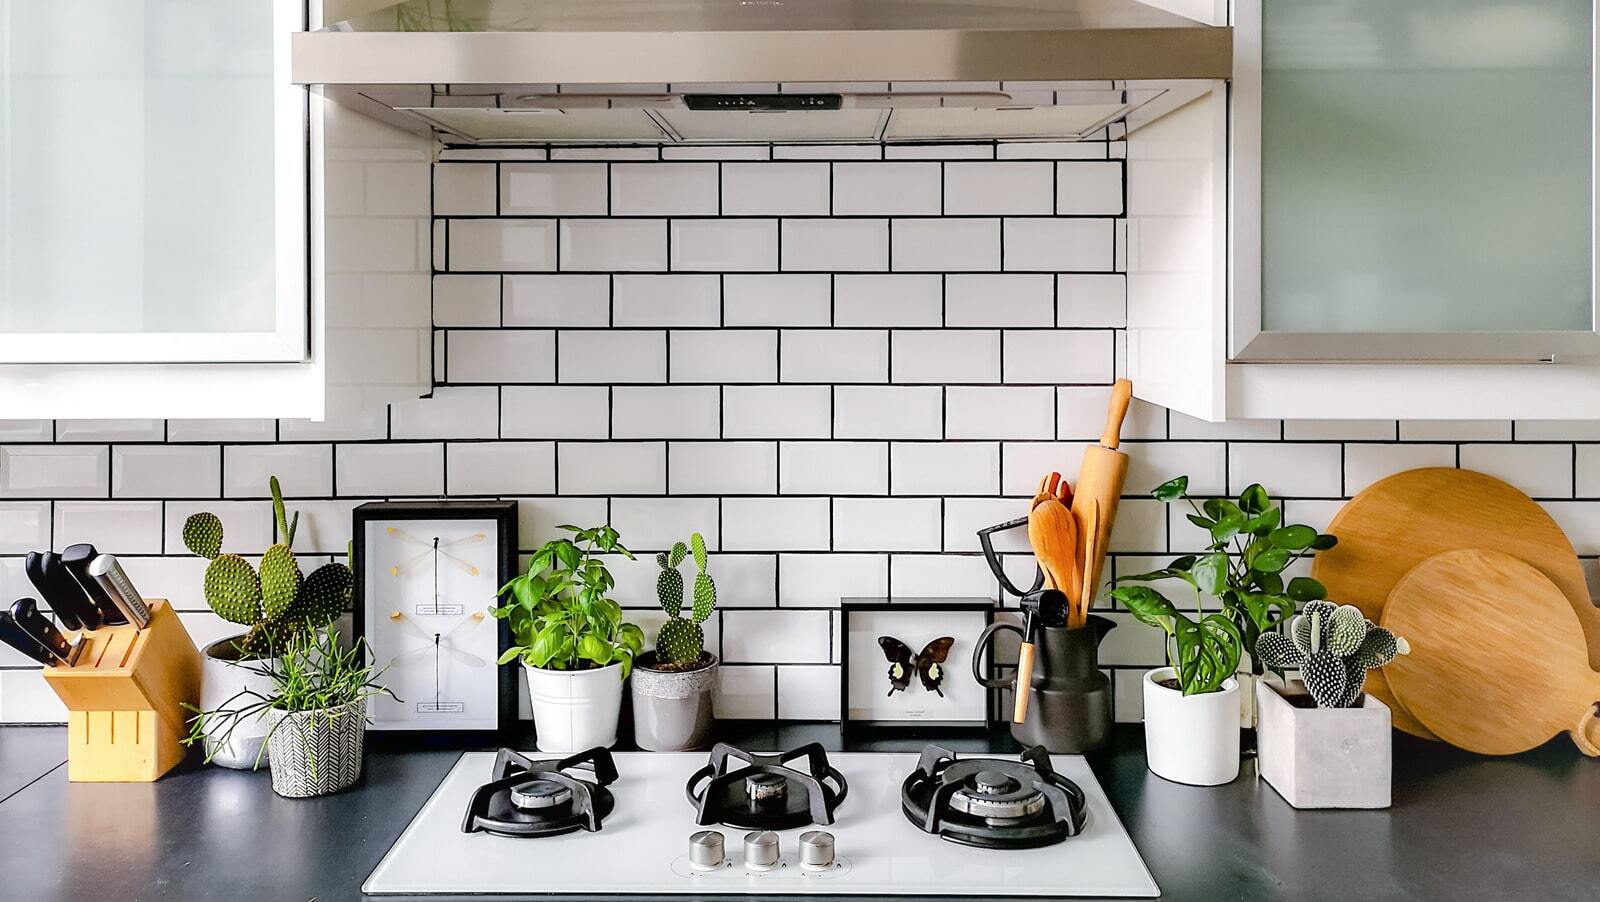
- Consider the overall aesthetic you want to achieve. For example, if you have a modern kitchen, you might opt for more contemporary designs, while traditional kitchens might benefit from more classic patterns.
-
Material:
- The material of your mosaic tiles will have an impact on both the style and functionality of your backsplash.
- Natural stone tiles offer a timeless appeal and a touch of elegance and sophistication, but they may require more maintenance.
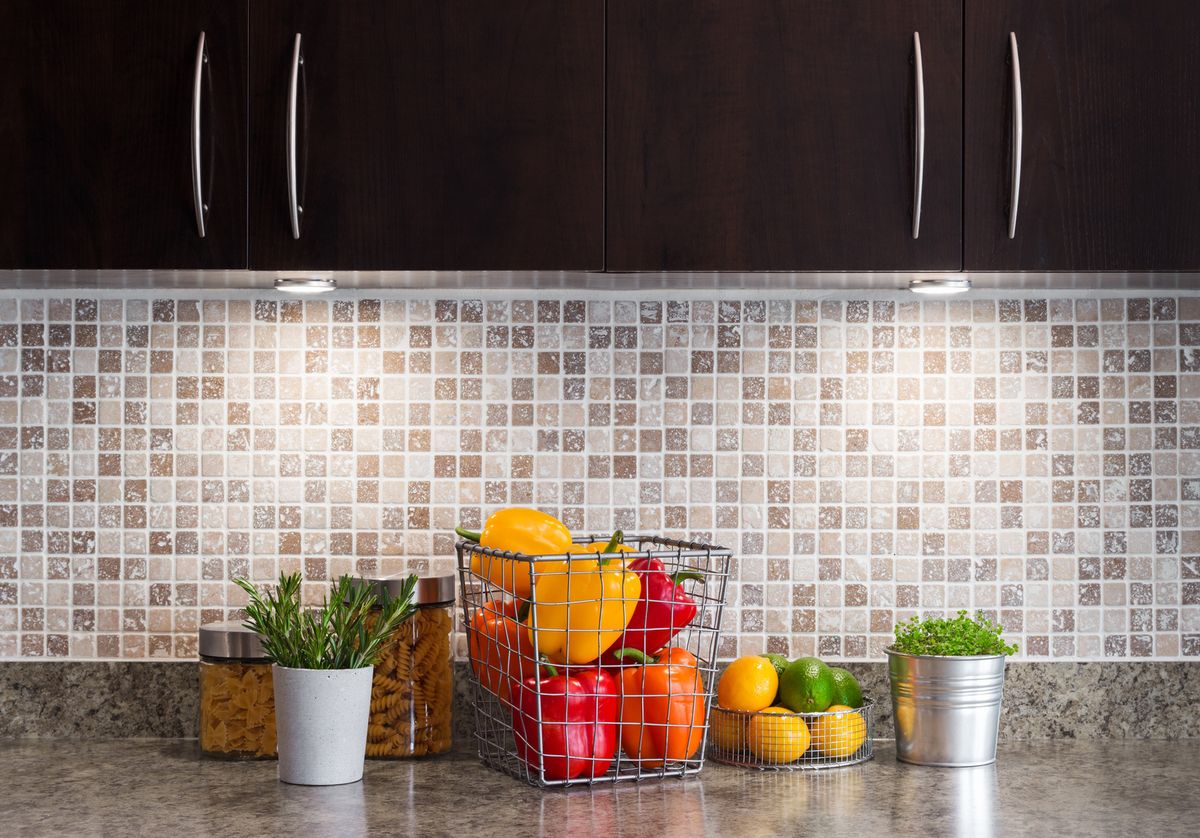
- Glass tiles reflect light beautifully and work well with under cabinet lighting and other room lighting. They are also easy to clean and maintain.
- Ceramic tiles are durable and easy to maintain but may lack the sparkle of glass tiles.
- Recycled glass tiles offer many looks and patterns that blend nicely into any ambience while being easy to care for and long-lasting.
-
Size and Shape:
- While mosaic tiles are often designed in smaller patterns, they come in various shapes including square, rectangle, hexagon, arabesque, teardrop, and even irregular shapes.
- Experiment with different shapes to create eye-catching patterns and visual interest.
Tools and Materials Needed
Before you begin the installation process, make sure you have all the necessary tools and materials:
- Tiles
- Grout
- Rubber Grout Float
- Bucket and Sponge
- Painter’s Tape
- Tape Measure
- Mortar/Adhesive
- V-notched Trowel
- A Pair of Scissors
Preparing the Wall
Before installing your recycled glass tiles, ensure that your wall is ready for the task:
- Cleanliness: The wall must be clean and dry to ensure proper adhesion of the tiles.
- Smooth Surface: Ensure that the surface is smooth and even by repairing any dents or imperfections.
- Measurements: Take measurements to determine the number of mosaic sheets needed (add 10% to account for waste).
- Gridlines: Use a square and a level to draw gridlines to ensure straight and even installation.
Step-by-Step Installation Guide
Step 1: Apply Mortar/Adhesive
- Application: Apply mortar/adhesive to the wall using the flat side of a v-notch trowel.
- Raking: Using the v-notched side, rake the mortar/adhesive to create ridges of the proper depth and size.
- Spread: Spread only as much adhesive as you can tile in about 10-15 minutes because mortar/adhesive dries quickly.
Step 2: Apply Mosaic Tile Sheets
- Layout: Begin your installation at the most visible part of the wall and work outwards from there.
- Application: Apply the mosaic tile sheets or field tiles to the wall using a rubber grout float to apply light and even pressure.
- Grip: Ensure that each tile grips firmly with the adhesive.
Step 3: Applying Grout
- Preparation: Before applying grout, make sure that the desired area is fully covered with tiles and that you have allowed the mortar/adhesive to set as recommended by the manufacturer (usually 24 hours).
- Application: Apply grout with a rubber grout float working diagonally across the tile to force grout into joints until they are full.
- Excess Removal: Use the grout float to take off any excess grout and wipe clean with a damp sponge.
Step 4: Cleaning
- Haze Removal: Use a damp sponge to remove excess grout residue and clean any haze from the surface of the tile.
- Polishing: Once the grout is completely dry, polish your tiles clean with a vinegar and water solution or with a mild glass cleaner.
Tips for Working Around Obstacles
When installing your recycled glass tile backsplash, you may encounter obstacles such as wall outlets or varying heights of upper cabinets. Here are some tips to help you navigate these challenges:
- Outlets: Check our guideline for getting around electrical outlets when installing tiles.
- Cutting Tiles: Use a wet saw with a proper blade to cut glass tiles if needed. Remove individual tiles around outlets, cut away the mesh backing, and then replace them.
Essential Tips for Glass Backsplash Tile Installation
From MSI Surfaces
- Quality Tile Selection: Choose a quality tile from a reputable distributor that can withstand moisture, humidity, and a range of temperatures.
- Proper Planning: Research and select appropriate materials such as epoxy grout with an antimicrobial agent to prohibit mildew growth.
- Mesh Backing: Glass tiles often come with a mesh backing for quick and easy installation. Remove unneeded tiles and snip away the mesh backing around outlets.
- Press Down Firmly: Press down on each tile firmly as you place it to ensure proper adhesion.
- Unsanded Grout: Use unsanded grout to avoid scratching the smooth surface of your new glass tiles.
Read more: DIY Guide To Installing A Kitchen Tile Backsplash With Photocatalytic Self-Cleaning Tiles
Cleaning and Maintenance
Cleaning and maintaining your recycled glass tile backsplash is relatively easy:
- Everyday Cleaning: Use a commercial glass window cleaner or a solution of vinegar and water in a spray bottle for everyday cleaning.
- Hard Water Stains: Clean hard water stains with a mixture of baking soda and vinegar.
- Stained Grout: Clean stained grout with a paste of baking soda and water or a mixture of bleach and water (scrub with a soft-bristled brush).
Conclusion
Installing a recycled glass tile backsplash is a rewarding DIY project that can significantly enhance the look and feel of your kitchen. By following these steps and tips, you can achieve professional-looking results while ensuring that your new backsplash remains beautiful and functional for years to come. Whether you're aiming for a modern, eco-friendly look or a classic, sophisticated design, recycled glass tiles offer endless possibilities to transform your kitchen into a stunning focal point.
With free shipping and quick order fulfillment available at many retailers, you can start your kitchen project in no time. Unleash your creativity and let mosaic tiles create a show-stopping backsplash that will impress for years to come
Was this page helpful?
At Storables.com, we guarantee accurate and reliable information. Our content, validated by Expert Board Contributors, is crafted following stringent Editorial Policies. We're committed to providing you with well-researched, expert-backed insights for all your informational needs.


0 thoughts on “DIY Guide To Installing A Kitchen Backsplash With Recycled Glass Tiles”