Home>Furniture & Design>Interior Design Trends>How To Cut Glass
Interior Design Trends
How To Cut Glass
Modified: October 19, 2024
Learn the latest interior design trends for cutting glass to elevate your home decor. Discover expert tips and techniques for creating stunning glass accents. Elevate your interior design with these cutting-edge glass cutting ideas.
(Many of the links in this article redirect to a specific reviewed product. Your purchase of these products through affiliate links helps to generate commission for Storables.com, at no extra cost. Learn more)
Introduction
Cutting glass can seem like a daunting task, but with the right tools, techniques, and a bit of patience, it can be a rewarding and practical skill to master. Whether you're a DIY enthusiast, a hobbyist, or a professional craftsman, knowing how to cut glass opens up a world of creative possibilities for creating custom glass pieces, repairing windows, or tackling home improvement projects.
In this comprehensive guide, we will walk you through the step-by-step process of cutting glass safely and accurately. From marking the glass to smoothing the edges, we'll cover each stage in detail, providing valuable tips and insights along the way. By the end of this guide, you'll have the confidence and know-how to tackle glass-cutting projects with precision and finesse.
So, gather your tools and let's embark on this glass-cutting journey together. With the right approach and a steady hand, you'll soon discover that cutting glass is not only achievable but also immensely satisfying. Let's dive in and unlock the art of cutting glass like a pro.
Key Takeaways:
- Mastering the art of cutting glass requires precision, patience, and the right tools. From marking to smoothing, each step is crucial for achieving clean and accurate results in DIY or professional projects.
- Prioritize safety by wearing protective gear, working in a controlled environment, and handling glass with care. With the right tools and techniques, cutting glass can be a rewarding and satisfying skill to master.
Read more: How To Cut Glass Tile
Tools and Materials Needed
When it comes to cutting glass, having the right tools and materials is essential for achieving clean and precise results. Before embarking on a glass-cutting project, it's crucial to gather the following items:
1. Glass Cutter:
A high-quality glass cutter is the cornerstone of any glass-cutting endeavor. Look for a cutter with a carbide wheel, which is highly effective in scoring the glass surface. Additionally, consider a cutter with a comfortable grip to minimize hand fatigue during prolonged use.
2. Cutting Oil:
Cutting oil serves as a lubricant, reducing friction as the glass cutter scores the surface. This lubrication is vital for achieving a smooth and controlled cut. Opt for a specialized cutting oil designed for glass cutting to ensure optimal results.
3. Straight Edge:
A reliable straight edge, such as a metal ruler or a T-square, is indispensable for guiding the glass cutter along straight lines. It provides stability and precision, resulting in accurate cuts. Ensure that the straight edge is sturdy and has a smooth, straight edge to prevent any irregularities in the cut.
Read more: What Cuts Glass
4. Safety Glasses:
Protecting your eyes is paramount when working with glass. Safety glasses or goggles shield your eyes from glass shards and debris, reducing the risk of injury. Prioritize safety by wearing protective eyewear throughout the cutting process.
5. Work Surface:
A suitable work surface is essential for stability and safety. Choose a flat, smooth, and sturdy work surface, such as a workbench or a dedicated cutting table. Ensure that the surface is clean and free of any debris that could scratch the glass during cutting.
6. Glass Sheets:
Of course, you'll need the glass sheets you intend to cut. Whether it's a large pane for a window or a smaller piece for a craft project, select the appropriate thickness and type of glass for your specific application.
7. Running Pliers:
Running pliers are designed to apply pressure along the scored line, aiding in cleanly breaking the glass along the intended cut. These specialized pliers are instrumental in achieving precise breaks without damaging the glass.
Read more: How Do You Cut A Glass Bottle
8. Safety Gloves:
While not mandatory, wearing safety gloves can provide an added layer of protection, particularly when handling broken glass edges. Choose gloves that allow dexterity while offering sufficient protection against sharp edges.
By assembling these essential tools and materials, you'll be well-equipped to embark on your glass-cutting journey with confidence and precision. With the right setup, you're ready to move on to the next step: safety precautions.
Safety Precautions
When working with glass, prioritizing safety is paramount to prevent accidents and minimize the risk of injury. Before diving into the glass-cutting process, it's crucial to adhere to the following safety precautions:
-
Wear Protective Gear: Always wear safety glasses or goggles to shield your eyes from glass shards and potential debris. Additionally, consider wearing safety gloves to safeguard your hands from sharp edges and accidental cuts. These protective measures create a barrier against potential hazards, ensuring a safer working environment.
-
Work in a Controlled Environment: Choose a well-lit and well-ventilated workspace for your glass-cutting endeavors. Adequate lighting is essential for clear visibility, allowing you to accurately mark and score the glass. Proper ventilation helps disperse any fumes that may arise from the use of cutting oil or other materials, promoting a comfortable and safe working atmosphere.
-
Handle Glass with Care: Treat glass sheets with caution to avoid accidental breakage or injury. When transporting or maneuvering glass, use both hands to provide adequate support and minimize the risk of dropping or mishandling the material. Always be mindful of the fragility of glass and handle it with care throughout the cutting process.
-
Keep Work Area Clean: Maintain a clutter-free work surface by removing any unnecessary items or debris that could pose a tripping hazard or scratch the glass. A clean and organized workspace not only enhances safety but also contributes to a more efficient and focused cutting process.
-
Properly Dispose of Waste: After cutting the glass, dispose of any waste materials, such as glass shards and leftover pieces, in a secure and designated container. Use caution when handling and disposing of glass waste to prevent accidental cuts or injuries. Implementing proper waste disposal practices contributes to a safer and tidier work environment.
-
Secure Glass Sheets: When cutting larger glass sheets, ensure that they are adequately supported and secured on the work surface to prevent unexpected movement or sliding. This stability minimizes the risk of the glass shifting during cutting, reducing the likelihood of uneven or inaccurate cuts.
By adhering to these safety precautions, you create a secure and controlled environment for your glass-cutting endeavors. Prioritizing safety not only safeguards against potential hazards but also fosters a more focused and confident approach to working with glass. With these precautions in place, you're ready to proceed with marking and scoring the glass, knowing that safety remains a top priority throughout the cutting process.
Step 1: Marking the Glass
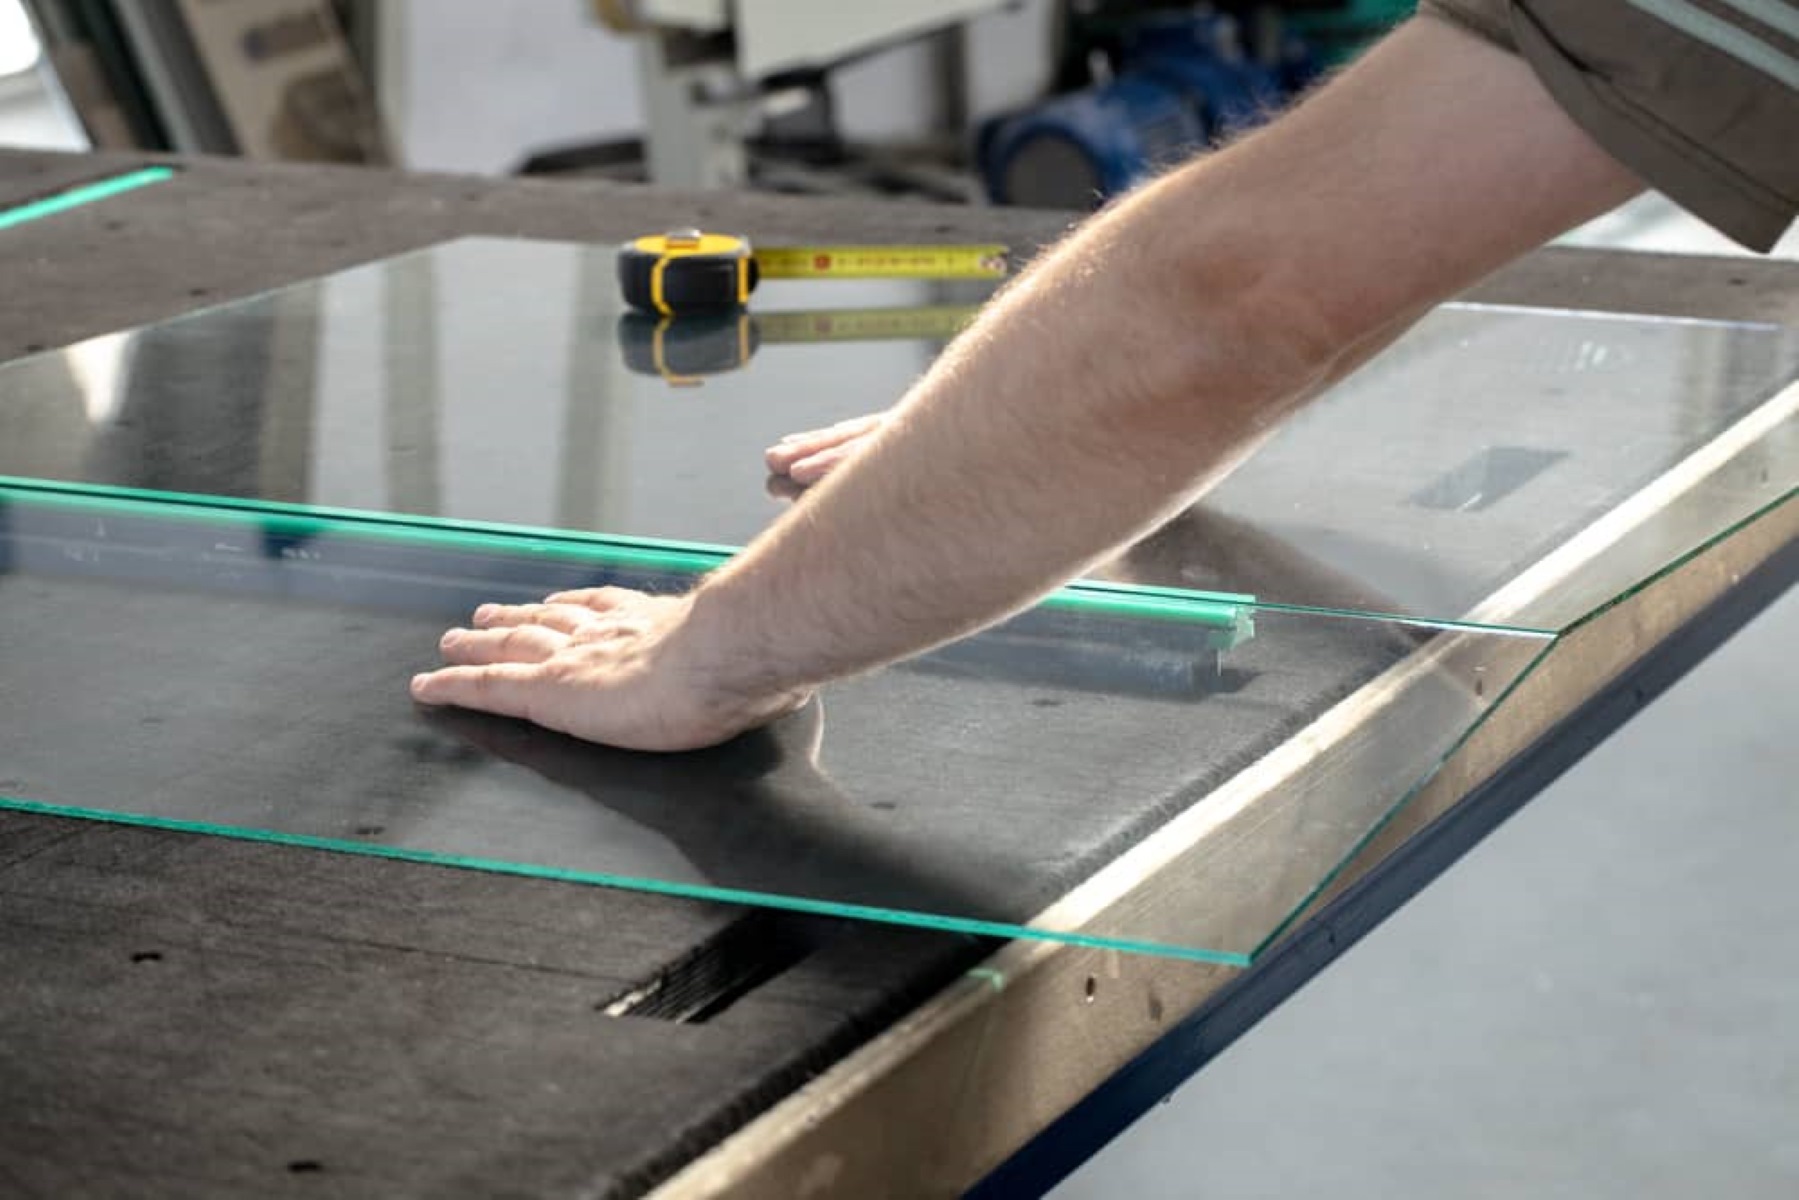
Marking the glass accurately is the foundational step in the glass-cutting process, setting the stage for precise cuts and ensuring the desired dimensions are achieved. To begin, place the glass sheet on a clean and stable work surface, ensuring that it is securely positioned to prevent any movement during marking and scoring.
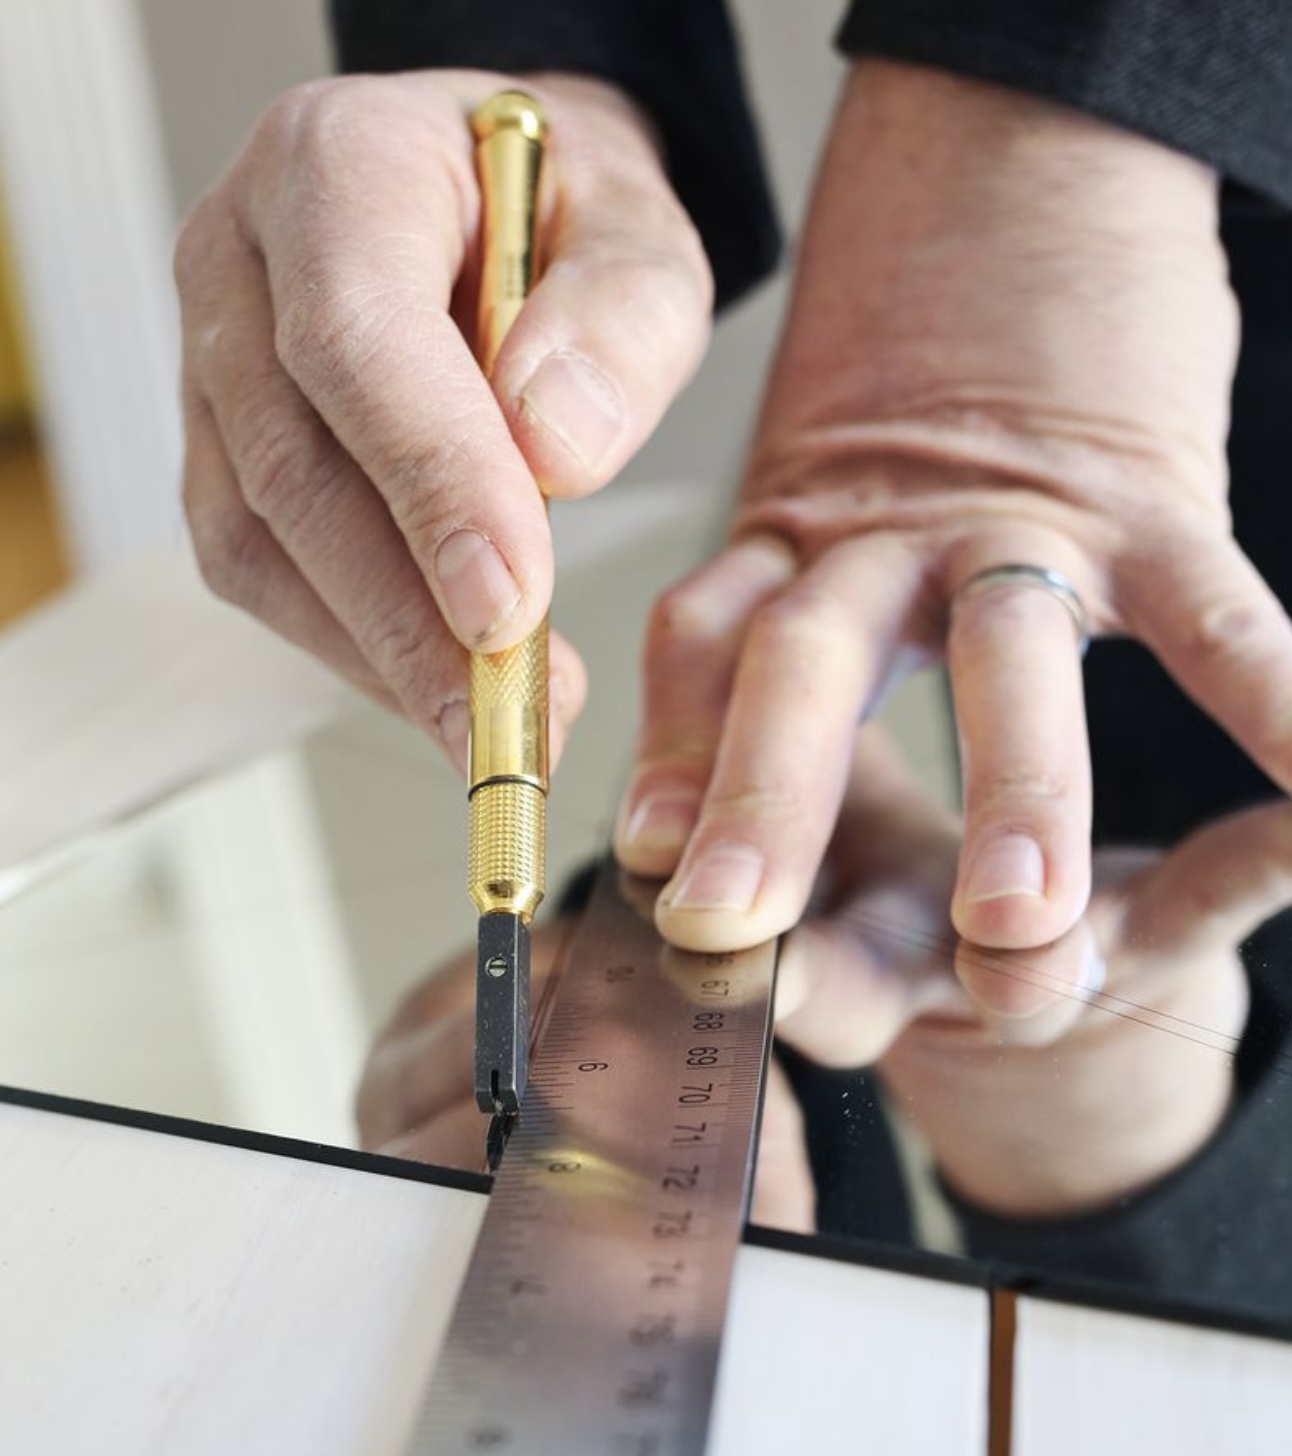
Using a straight edge, such as a metal ruler or a T-square, align it with the intended cutting line on the glass. Ensure that the straight edge is firmly held in place to maintain a consistent and straight marking line. With the straight edge in position, use a glass marker or a fine-tip permanent marker to carefully trace along the edge of the straight edge, creating a clear and visible line on the glass surface.
When marking the glass, it's essential to apply even pressure to the marker, allowing for a smooth and continuous line without interruptions or inconsistencies. Take your time to ensure that the marking line is straight and accurately represents the intended cutting dimensions. Precision at this stage is crucial, as it directly influences the accuracy of the subsequent scoring and breaking steps.
If you're marking multiple cutting lines on the glass, such as for complex shapes or intricate designs, approach each line with the same attention to detail and precision. Consistency in marking ensures that the subsequent cutting process unfolds smoothly, resulting in clean and uniform cuts across the glass sheet.
Throughout the marking process, maintain a steady hand and a focused approach, as any deviations or inaccuracies in the marked lines can impact the final outcome of the glass cutting. By taking the time to mark the glass meticulously, you establish a solid foundation for the subsequent steps, setting the stage for successful and precise glass cutting.
With the glass accurately marked, you're now ready to proceed to the next critical phase: scoring the glass surface. This pivotal step involves creating a controlled and precise line along the marked area, laying the groundwork for clean and accurate glass breaks. As you transition to the scoring stage, carry forward the same attention to detail and precision that characterized the marking process, ensuring a seamless progression toward achieving your glass-cutting goals.
Step 2: Scoring the Glass
Scoring the glass is a critical phase in the glass-cutting process, where precision and technique converge to create a controlled fracture line along the marked area. This step sets the stage for the subsequent glass-breaking process, influencing the final outcome of the cut. To score the glass effectively, follow these detailed steps:
-
Prepare the Glass Cutter: Before scoring the glass, ensure that the glass cutter's wheel is in optimal condition. A sharp and undamaged wheel is essential for creating a clean and consistent score line. Additionally, apply a small amount of cutting oil to the wheel to facilitate smooth movement and reduce friction during scoring.
-
Position the Glass Cutter: Place the glass cutter at the beginning of the marked line on the glass, ensuring that it is perpendicular to the surface. Hold the cutter firmly, but avoid excessive pressure, as it may cause the glass to crack prematurely. The goal is to create a distinct and uniform score line without exerting unnecessary force.
-
Apply Even Pressure: With a steady hand, apply even pressure on the glass cutter as you begin to score the glass. Maintain a consistent speed and pressure throughout the scoring process, allowing the cutter to glide smoothly along the marked line. Avoid pausing or lifting the cutter mid-score, as this can result in an uneven or jagged score line.
-
Score in a Single Pass: Strive to score the glass in a single, continuous pass to achieve a uniform and well-defined line. Starting from the beginning of the marked line, guide the glass cutter along the entire length with a fluid and controlled motion. A confident and uninterrupted scoring motion contributes to a clean and predictable fracture line.
-
Visual Inspection: After scoring the glass, visually inspect the score line to ensure that it is consistent and free of any gaps or irregularities. A well-executed score line appears as a subtle, matte impression on the glass surface, indicating a successful and precise score.
-
Repeat for Complex Cuts: If your glass-cutting project involves intricate or curved cuts, repeat the scoring process for each marked line with the same attention to detail and precision. Consistency in scoring ensures that the glass breaks cleanly along the intended lines, resulting in accurate and polished cuts.
By meticulously scoring the glass with precision and care, you establish the foundation for controlled and accurate glass breaks in the subsequent step. The scoring process demands focus and finesse, as it directly influences the quality of the final cut. With the glass expertly scored, you're now poised to advance to the pivotal stage of breaking the glass along the scored lines, bringing you closer to realizing your glass-cutting aspirations.
Read more: How Do You Cut Tempered Glass
Step 3: Breaking the Glass
Breaking the glass along the scored lines is a decisive and transformative step in the glass-cutting process, where precision and control converge to achieve clean and accurate breaks. This pivotal stage requires a methodical approach and the use of specialized tools to ensure that the glass fractures along the intended lines without causing damage or irregularities. To execute this step effectively, follow these detailed guidelines:
-
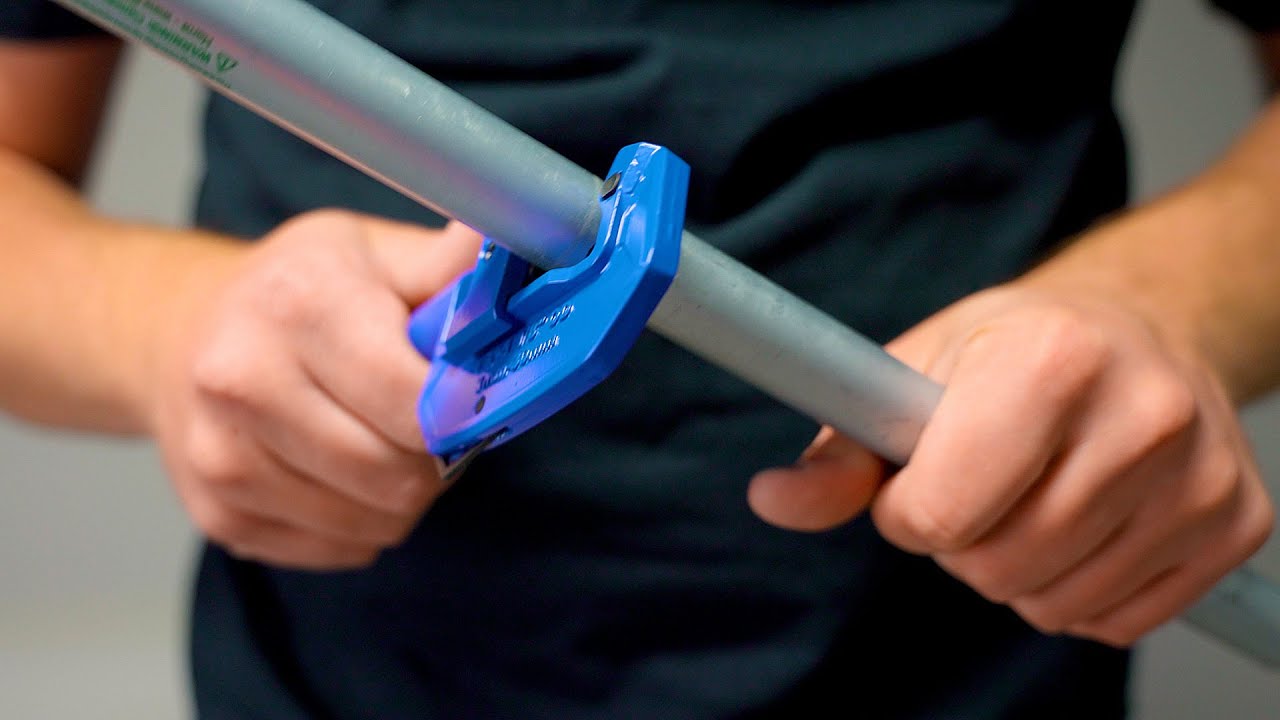
Utilize Running Pliers: Running pliers are instrumental in applying controlled pressure along the scored line, facilitating the separation of the glass along the intended break. Position the running pliers so that the jaws align with the scored line, ensuring a firm and even grip on the glass. The adjustable screw mechanism allows you to fine-tune the pressure exerted on the glass, providing a tailored and precise breaking action.
-
Apply Even Pressure: With the running pliers in position, apply gradual and consistent pressure to the handles, focusing on the area adjacent to the scored line. The goal is to encourage the glass to break along the scored line without exerting excessive force that could lead to unintended fractures. A steady and controlled application of pressure guides the glass to separate cleanly, resulting in a smooth and predictable break.
-
Listen for the Snap: As you apply pressure with the running pliers, listen for the distinct sound of the glass snapping along the scored line. This audible cue indicates that the glass is breaking as intended, validating the effectiveness of the scoring and breaking process. The snap serves as a reassuring confirmation of the successful separation of the glass, signaling the completion of the break.
-
Inspect the Break: After the glass has been broken along the scored line, visually inspect the resulting break to ensure that it aligns with the intended cut. A clean and uniform break signifies a successful execution of the breaking process, indicating that the glass has separated precisely along the scored line. Any minor imperfections or residual connections can be addressed in the subsequent step of smoothing the edges.
By following these meticulous steps and exercising patience and precision, you can achieve controlled and accurate breaks in the glass, bringing your cutting project one step closer to fruition. The breaking process represents a critical juncture in the journey of transforming a marked and scored glass sheet into distinct and purposeful pieces, setting the stage for the final phase of smoothing the edges to refine and perfect the cut surfaces. With the glass successfully broken along the scored lines, you're poised to advance to the next stage, where the focus shifts to refining and enhancing the cut edges to achieve a polished and professional finish.
Step 4: Smoothing the Edges
After successfully breaking the glass along the scored lines, the next crucial step involves smoothing the edges to refine and perfect the cut surfaces. Smoothing the edges not only enhances the visual appeal of the glass but also ensures safety by removing any sharp or jagged edges that may pose a risk of injury. To achieve polished and professional-looking edges, follow these detailed guidelines:
-
Inspect the Edges: Begin by carefully examining the edges of the freshly cut glass to identify any irregularities, rough spots, or sharp protrusions. Pay close attention to areas where the glass has broken, as these sections may exhibit uneven or jagged edges that require attention.
-
Use a Glass File or Sandpaper: Employ a specialized glass file or fine-grit sandpaper to gently smooth the edges of the glass. Hold the file or sandpaper at a slight angle to the glass edge and apply gentle pressure while moving it in a consistent back-and-forth motion. This gradual approach helps to gradually refine the edges without causing damage or creating new imperfections.
-
Focus on Even Pressure: Maintain a steady and even pressure while smoothing the edges, ensuring that the file or sandpaper makes uniform contact with the glass surface. By distributing pressure evenly, you can achieve a consistent and smooth finish across the entire length of the cut edge.
-
Check for Smoothness: Periodically pause to assess the smoothness of the edges, running your fingers lightly along the treated areas to gauge their texture. Aim for a smooth and uniform feel, free of any rough or sharp areas. Continue filing or sanding as needed until the edges exhibit a refined and polished quality.
-
Deburr the Edges: If the glass edges feature small burrs or protrusions, utilize a deburring tool to gently remove these imperfections. The deburring tool effectively trims and smooths any remaining irregularities, contributing to a pristine and professional edge finish.
-
Clean the Edges: Once the edges have been smoothed and refined, use a damp cloth to wipe away any residual glass particles or debris. This final cleaning step ensures that the edges are free of any abrasive remnants, resulting in a clean and polished appearance.
By meticulously smoothing the edges of the cut glass, you elevate the overall quality and safety of the finished pieces, creating a professional and refined aesthetic. The process of refining the edges represents the final touch in the journey of cutting glass, culminating in the transformation of raw glass sheets into precisely crafted and polished components ready for integration into various projects and applications.
Conclusion
In conclusion, mastering the art of cutting glass is a skill that combines precision, patience, and attention to detail. From marking the glass to smoothing the edges, each step in the glass-cutting process plays a crucial role in achieving clean and accurate results. By following the outlined guidelines and employing the right tools and techniques, individuals can confidently embark on glass-cutting projects, whether for practical home improvement tasks or creative endeavors.
The journey of cutting glass begins with meticulous marking, where the foundation for precise cuts is established. This initial step sets the stage for the subsequent scoring and breaking processes, emphasizing the importance of accuracy and consistency. As the glass is scored with precision, the controlled fracture lines pave the way for clean and predictable breaks, guided by the application of even pressure and specialized tools.
The culmination of the glass-cutting process lies in the refinement of the cut edges, where the focus shifts to achieving polished and professional finishes. Smoothing the edges not only enhances the visual appeal of the glass but also ensures safety by eliminating sharp protrusions. Through the use of specialized tools and a methodical approach, the edges are transformed into refined and pristine surfaces, ready for integration into various projects and applications.
Ultimately, the journey of cutting glass is a testament to the fusion of craftsmanship and technique, where attention to detail and a commitment to precision yield tangible and rewarding outcomes. Whether it's crafting custom glass pieces, repairing windows, or engaging in creative projects, the ability to cut glass with finesse opens up a world of possibilities for DIY enthusiasts, artisans, and professionals alike.
As individuals embrace the art of cutting glass, they not only acquire a valuable skill but also gain a deeper appreciation for the artistry and precision involved in working with this versatile material. With the knowledge and insights gained from this comprehensive guide, aspiring glass-cutters can approach their projects with confidence, knowing that they have the tools and expertise to achieve exceptional results.
In essence, the art of cutting glass transcends mere technique; it embodies a blend of creativity, precision, and craftsmanship, empowering individuals to transform raw glass sheets into refined and purposeful components. With each successful cut, the journey of cutting glass becomes a testament to the fusion of skill and artistry, unlocking a world of creative possibilities and practical applications.
Frequently Asked Questions about How To Cut Glass
Was this page helpful?
At Storables.com, we guarantee accurate and reliable information. Our content, validated by Expert Board Contributors, is crafted following stringent Editorial Policies. We're committed to providing you with well-researched, expert-backed insights for all your informational needs.


0 thoughts on “How To Cut Glass”