Home>Ideas and Tips>DIY Guide to Installing a Kitchen Farmhouse Sink with a Copper Finish

Ideas and Tips
DIY Guide to Installing a Kitchen Farmhouse Sink with a Copper Finish
Modified: October 28, 2024
Learn how to install a stunning copper farmhouse sink in your kitchen with our step-by-step DIY guide. Perfect for adding elegance and functionality.
(Many of the links in this article redirect to a specific reviewed product. Your purchase of these products through affiliate links helps to generate commission for Storables.com, at no extra cost. Learn more)
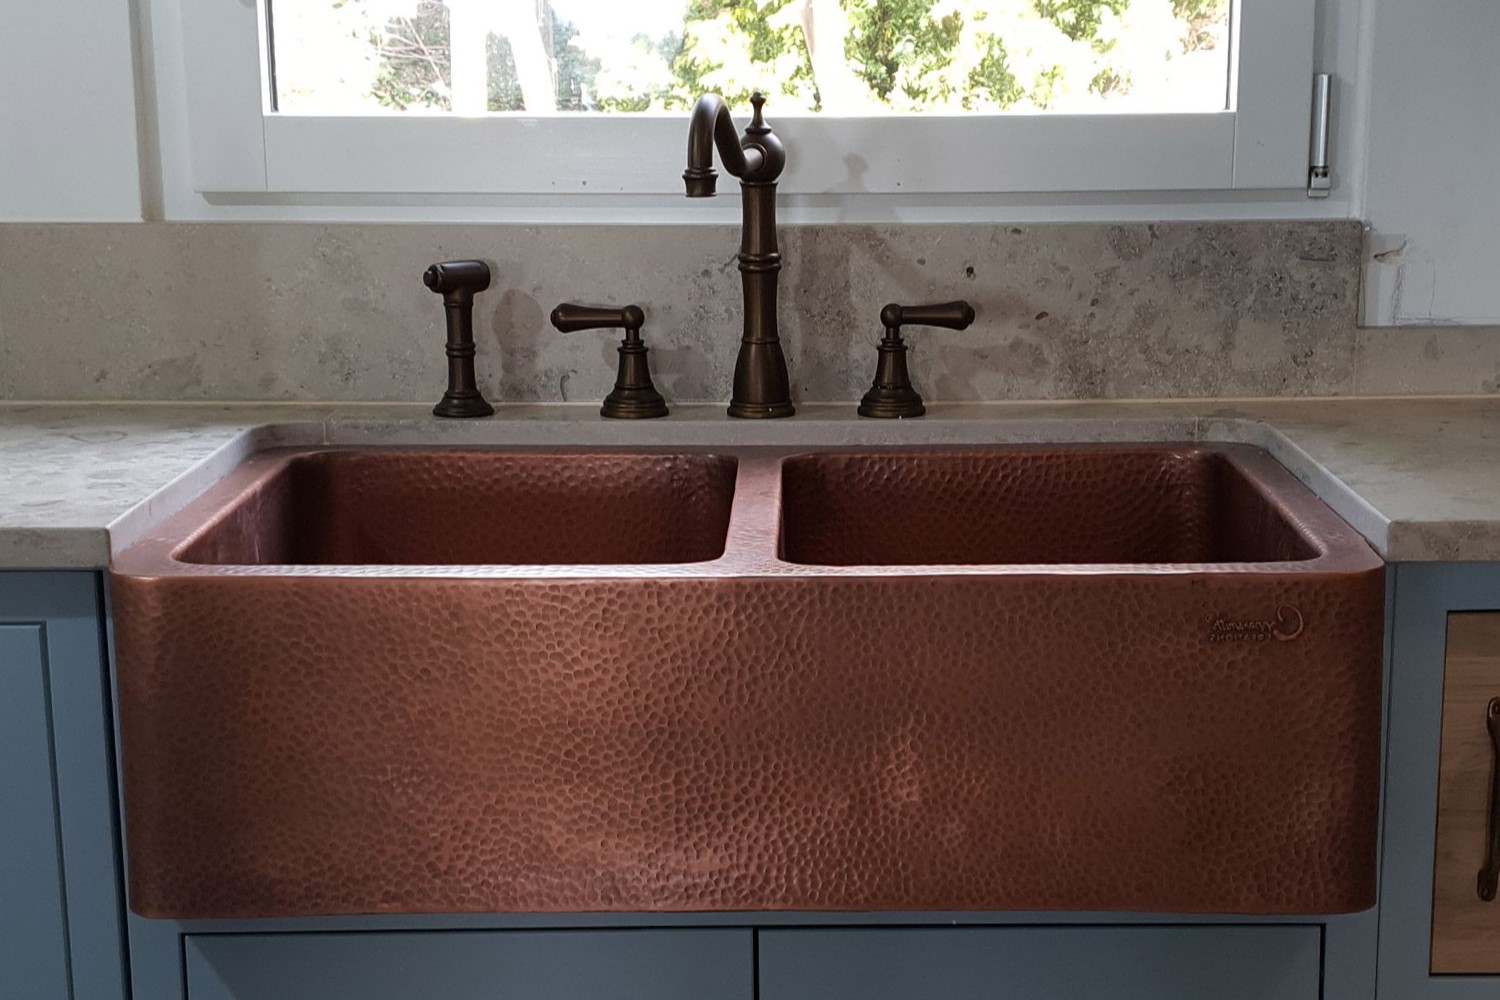
Installing a kitchen farmhouse sink with a copper finish can be a rewarding DIY project that adds a touch of elegance and functionality to your kitchen. The copper finish adds a unique and luxurious element to the sink, making it a standout feature in any kitchen. In this article, we will guide you through the step-by-step process of installing a kitchen farmhouse sink with a copper finish, highlighting the necessary tools, materials, and precautions to ensure a successful installation.
Choosing the Right Sink
Before you begin the installation process, it is crucial to choose the right sink for your kitchen. Here are some key factors to consider:
-
Size: Ensure that the sink fits your cabinet perfectly. Measure the width of your cabinet and the distance from the top of the cabinet to the bottom of the drawer opening or screw holes. This will help you determine if the sink's apron will interfere with any adjacent doors or drawers.
-
Material: Farmhouse sinks are available in various materials such as fireclay, stainless steel, and copper. Copper sinks offer a unique aesthetic and durability but are typically more expensive.
-
Style: Decide on the style of your sink. Common styles include top mount, flush mount, and undermount sinks. Each style has its own installation requirements and challenges.
-
Brand and Quality: Research different brands and read reviews to ensure you are getting a high-quality sink that will last long.
For this guide, we will focus on installing a copper farmhouse sink with an apron front.
Tools and Materials Needed
To install a kitchen farmhouse sink with a copper finish, you will need the following tools and materials:
Tools:
- Multi-tool or Hand Saw: For cutting the countertop.
- Jigsaw (Optional): If you are using plywood for the countertop.
- Phillips Head Screw Driver: For assembling the sink mount.
- Square Head Drill Bit: For removing and replacing pocket screws.
- Pocket Hole Jig (Optional): Useful for creating precise holes in the countertop.
- Level: To ensure the sink is level during installation.
- Drill: For drilling holes in the countertop for plumbing.
- Regular Wrench: For tightening bolts and screws.
- Plumber’s Wrench: For working with plumbing fixtures.
- Spare Towels and Bucket: To catch water from disconnected plumbing.
Materials:
- The Sink: Choose your desired copper farmhouse sink with an apron front.
- 2 People: To lift the sink into place.
- 2×4 Lumber: For building the sink mount frame.
- 3/4″ Plywood (Optional): If you need additional support or a custom countertop.
- Pencil and Compass: For marking the countertop accurately.
- Wood Glue: For securing the countertop pieces together.
- Sand Paper/Sander: To smooth out any rough edges.
- Silicone Caulk: To seal the edges of the sink.
Preparing Your Cabinet
Before installing the sink, you need to prepare your cabinet by removing the old sink and countertop if necessary. Here’s how you can do it:
-
Remove Old Sink: Take out the old sink by disconnecting the plumbing and removing any mounting hardware. Be careful not to damage the surrounding area.
-
Measure Cabinet: Measure the width of your cabinet and the distance from the top of the cabinet to the bottom of the drawer opening or screw holes. This will help you determine if the sink's apron will interfere with any adjacent doors or drawers.
-
Cut Out Template: Use a template or pattern provided with your new sink to mark the area on your countertop that needs to be cut out. Make sure to double-check that the template is aligned correctly with your cabinet.
-
Cut Countertop: Use a multi-tool or hand saw to cut out the marked area on your countertop. If you're using plywood, you might need a jigsaw for this step.
-
Sand Edges: Once you've cut out the area, use sandpaper to smooth out any rough edges.
Read more: DIY Guide To Installing A Farmhouse Sink
Installing the Sink Mount Frame
The sink mount frame is crucial for supporting the weight of the sink and ensuring it is level during installation. Here’s how you can build it:
-
Cut Lumber: Cut two pieces of 2×4 lumber to fit across the bottom of your cabinet, ensuring they are level and evenly spaced.
-
Assemble Frame: Use wood glue and screws to assemble the frame pieces together. Make sure it is sturdy enough to support the weight of your sink.
-
Secure Frame: Apply construction adhesive to the horizontal supports and secure them with screws. Add vertical supports that extend to the base of your cabinet for added stability.
Installing the Sink
Now that your cabinet is prepared and your sink mount frame is in place, it’s time to install your copper farmhouse sink:
-
Lift Sink: Carefully lift your sink into place using two people if necessary. Ensure it is centered over your sink mount frame.
-
Secure Sink: Apply silicone caulk around the edges of your sink to seal it in place. This will help prevent water from seeping underneath.
-
Level Sink: Use a level tool to ensure your sink is perfectly level before securing it further.
-
Drill Holes: Drill holes in your countertop for plumbing fixtures if needed.
-
Connect Plumbing: Reconnect plumbing fixtures according to manufacturer instructions.
Finishing Touches
After installing your copper farmhouse sink, there are several finishing touches you can add to complete your kitchen renovation:
-
Update Cabinet Hardware: Replace old cabinet hardware with new ones that match your kitchen’s aesthetic.
-
Install Backsplash: Consider installing a backsplash made from materials like shiplap or tile to protect your walls from splashes and add visual appeal.
-
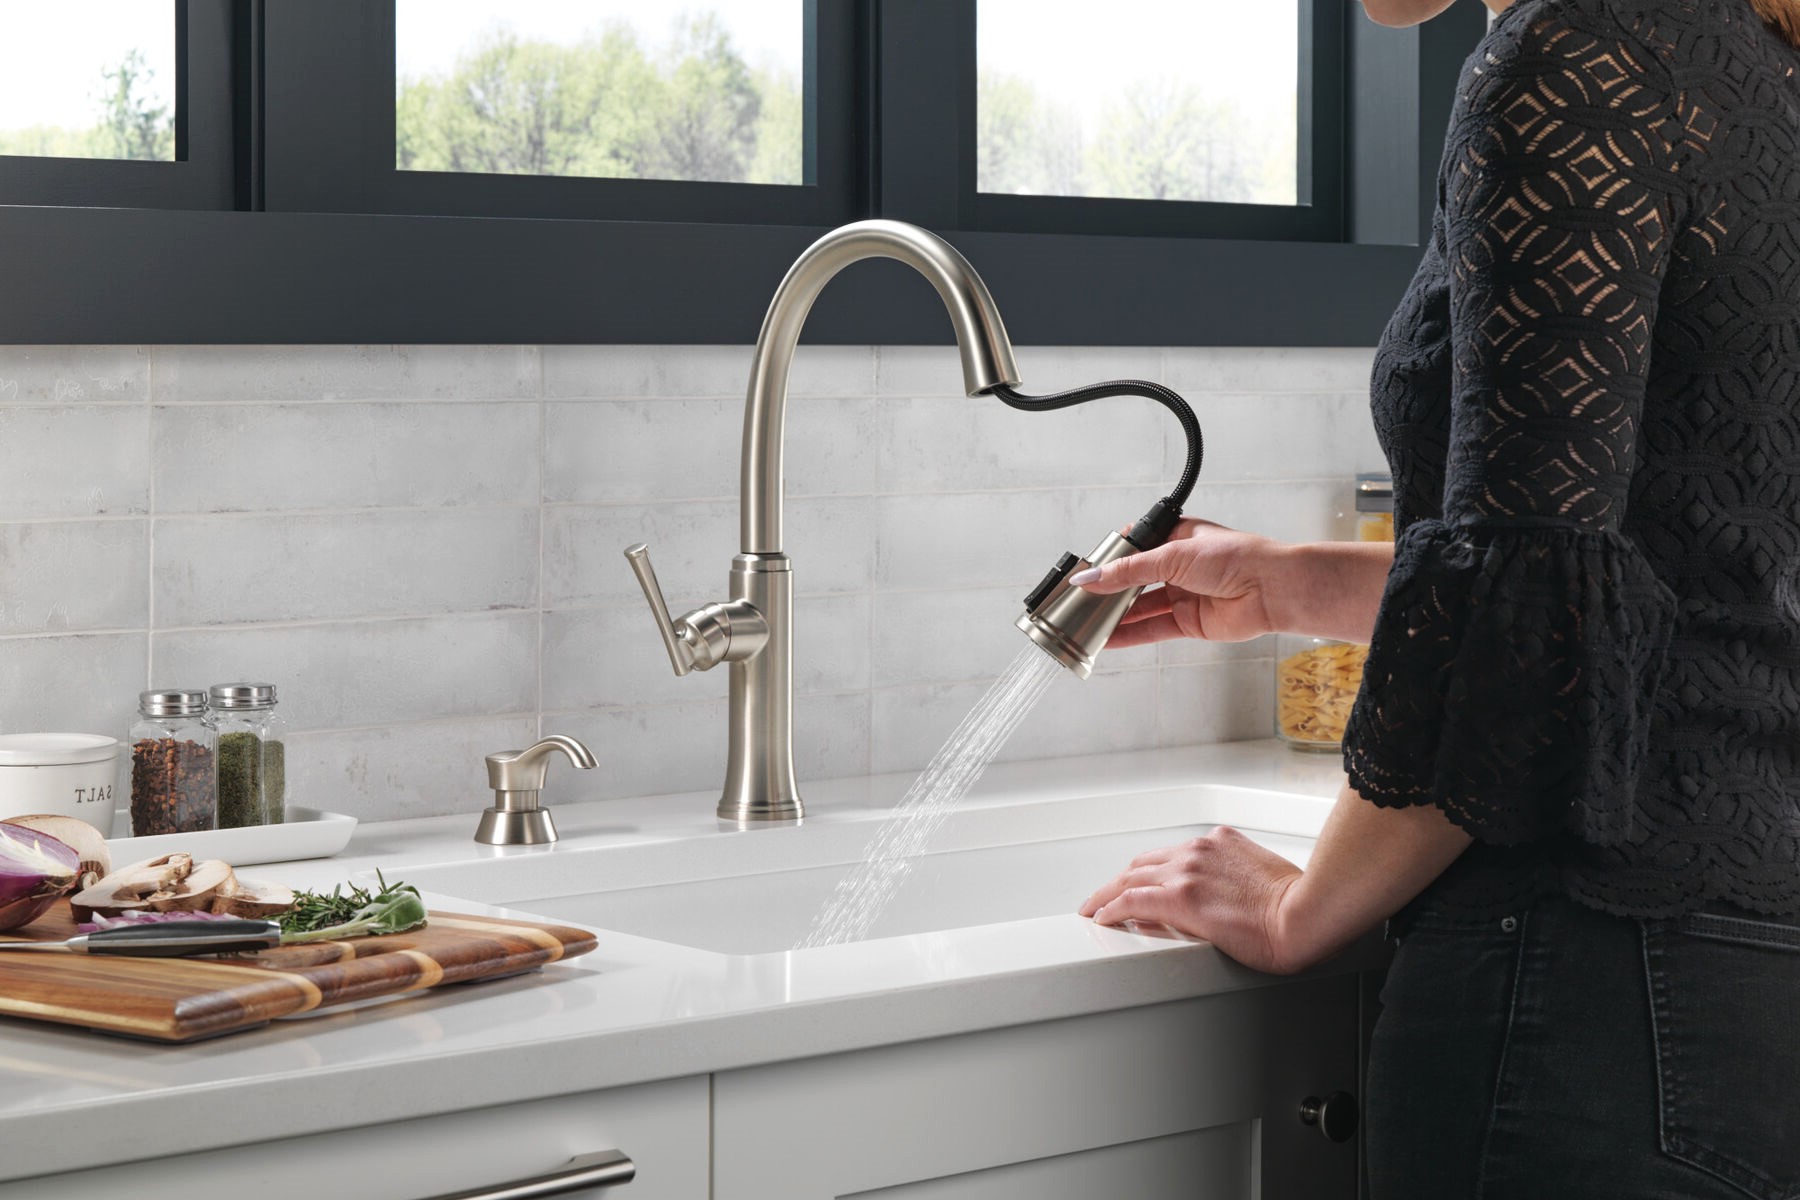
Add Faucet Accessories: Install a new kitchen faucet with a sprayer or other accessories like a soap dispenser if needed.
-
Seal Edges: Apply additional silicone caulk around any gaps between your sink and countertop for extra protection against water damage.
Tips and Precautions
Installing a kitchen farmhouse sink with a copper finish can be challenging due to its weight and unique installation requirements. Here are some tips and precautions to keep in mind:
-
Weight Consideration: Copper sinks are heavy; ensure you have enough support under them during installation.
-
Alignment: Double-check that your sink is aligned correctly with your cabinet before securing it further.
-
Support Structures: Add additional reinforcement under the sink if necessary, especially if you're using a custom countertop material like plywood.
-
Plumbing Care: Be careful when reconnecting plumbing fixtures as they can be delicate and require precise fitting.
-
Research: Research different brands and read reviews before purchasing your sink to ensure you're getting high-quality materials that will last long.
Conclusion
Installing a kitchen farmhouse sink with a copper finish is a rewarding DIY project that adds both functionality and aesthetic appeal to your kitchen. By following these steps carefully and taking necessary precautions, you can achieve professional-looking results without breaking the bank or hiring professionals. Remember always to measure twice and cut once when working with materials like plywood or stone countertops for accurate cuts every time.
Whether you're looking for an elegant touch or functional upgrade in your kitchen space, this guide provides comprehensive instructions tailored specifically towards installing copper farmhouse sinks successfully at home So go ahead; take on this exciting project today!
Additional Resources:
For more detailed tutorials or specific questions about installing farmhouse sinks, consider checking out YouTube channels like Lowe's or DIY blogs such as Do Dodson Designs for additional insights into various installation methods and tips from experienced homeowners who have gone through similar projects before you!
By following these steps diligently while keeping safety measures in mind throughout each stage of installation process—from preparing cabinets through final touches—you'll be able not only complete but also enjoy beautiful copper-finished farmhouse sink adding charm elegance into heart every home
Was this page helpful?
At Storables.com, we guarantee accurate and reliable information. Our content, validated by Expert Board Contributors, is crafted following stringent Editorial Policies. We're committed to providing you with well-researched, expert-backed insights for all your informational needs.




0 thoughts on “DIY Guide to Installing a Kitchen Farmhouse Sink with a Copper Finish”