Home>Ideas and Tips>DIY Guide To Installing A Kitchen Island


Ideas and Tips
DIY Guide To Installing A Kitchen Island
Modified: October 26, 2024
Enhance your kitchen's functionality and style with our comprehensive DIY guide to installing a kitchen island. Step-by-step instructions included!
(Many of the links in this article redirect to a specific reviewed product. Your purchase of these products through affiliate links helps to generate commission for Storables.com, at no extra cost. Learn more)
DIY Guide to Installing a Kitchen Island
Installing a kitchen island can be a fantastic way to enhance your kitchen's functionality and aesthetic appeal. However, it requires careful planning and execution to ensure that the project is completed safely and efficiently. In this comprehensive guide, we will walk you through the steps involved in installing a kitchen island, from preparation to final touches.
Step 1: Planning and Preparation
Before you start your project, it's essential to plan and prepare thoroughly. Here are some key steps to consider:
1.1. Measure Your Space
Measure the dimensions of your kitchen to determine the best location for your island. Consider the space between your countertops and any obstructions like plumbing or electrical outlets.
1.2. Choose Your Island
Select a kitchen island that fits your needs and budget. You can opt for a pre-made island or build one from scratch. If you're building one, decide on the materials you'll use, such as wood, metal, or stone.
1.3. Gather Tools and Materials
Make a list of the tools and materials you'll need for the project. This may include a saw, drill, sandpaper, paintbrushes, and various fasteners like screws and nails.
1.4. Check Local Building Codes
Ensure that your kitchen island complies with local building codes and regulations. This may involve obtaining permits or consulting with local authorities.
Read more: DIY Guide To Installing Wainscoting
Step 2: Preparing the Site
Before you start installing your kitchen island, prepare the site where it will be placed.
2.1. Clear the Area
Clear the area where you plan to install the island, removing any obstructions or debris.
2.2. Level the Floor
Ensure that the floor is level to prevent unevenness in your island's installation.
2.3. Mark Out the Area
Use a tape measure and chalk to mark out the area where your island will be placed.
Step 3: Building or Assembling Your Island
If you're building your kitchen island from scratch, follow these steps:
3.1. Cut and Assemble the Frame
Cut the frame of your island according to your design specifications. Use a saw to cut the wood or metal pieces accurately.
3.2. Attach Supports
Attach supports to the frame to provide stability and prevent it from tipping over.
3.3. Add Shelves or Drawers
If your design includes shelves or drawers, attach them securely to the frame using screws or nails.
3.4. Sand and Finish
Sand all surfaces of your island to smooth out any rough edges or splinters. Apply a finish such as paint or stain to protect the material and enhance its appearance.
Step 4: Installing Electrical Outlets
If you plan to include electrical outlets in your kitchen island, follow these steps:
4.1. Determine Outlet Placement
Determine where you want to place the outlets based on your design and functionality needs.
4.2. Hire an Electrician (Optional)
If you're not comfortable with electrical work, consider hiring a licensed electrician to install the outlets safely and correctly.
4.3. Run Cables
Run cables from the main electrical supply to the outlets in your kitchen island.
4.4. Install Outlets
Install the outlets securely into the island's surface, ensuring they are level and properly grounded.
Step 5: Installing Plumbing (Optional)
If you plan to include plumbing features like a sink or water dispenser in your kitchen island, follow these steps:
5.1. Determine Plumbing Needs
Determine what plumbing features you need based on your design and functionality requirements.
5.2. Hire a Plumber (Optional)
If you're not comfortable with plumbing work, consider hiring a licensed plumber to install the necessary pipes and fixtures safely and correctly.
5.3. Run Pipes
Run pipes from the main water supply to the plumbing fixtures in your kitchen island.
5.4. Install Fixtures
Install the plumbing fixtures securely into the island's surface, ensuring they are level and properly connected to the pipes.
Read more: DIY Guide To Installing Floating Shelves
Step 6: Installing Countertops
Once you have installed any electrical or plumbing features, it's time to install the countertops on your kitchen island.
6.1. Choose Countertop Material
Select a countertop material that complements your kitchen's style and functionality needs. Common options include granite, marble, quartz, and laminate.
6.2. Measure and Cut Countertops
Measure and cut the countertops according to your island's dimensions using a saw or a tile cutter.
6.3. Attach Countertops
Attach the countertops securely to the island's frame using adhesives or fasteners like screws or nails.
Step 7: Finishing Touches
After installing all components of your kitchen island, it's time for some finishing touches:
7.1. Add Lighting
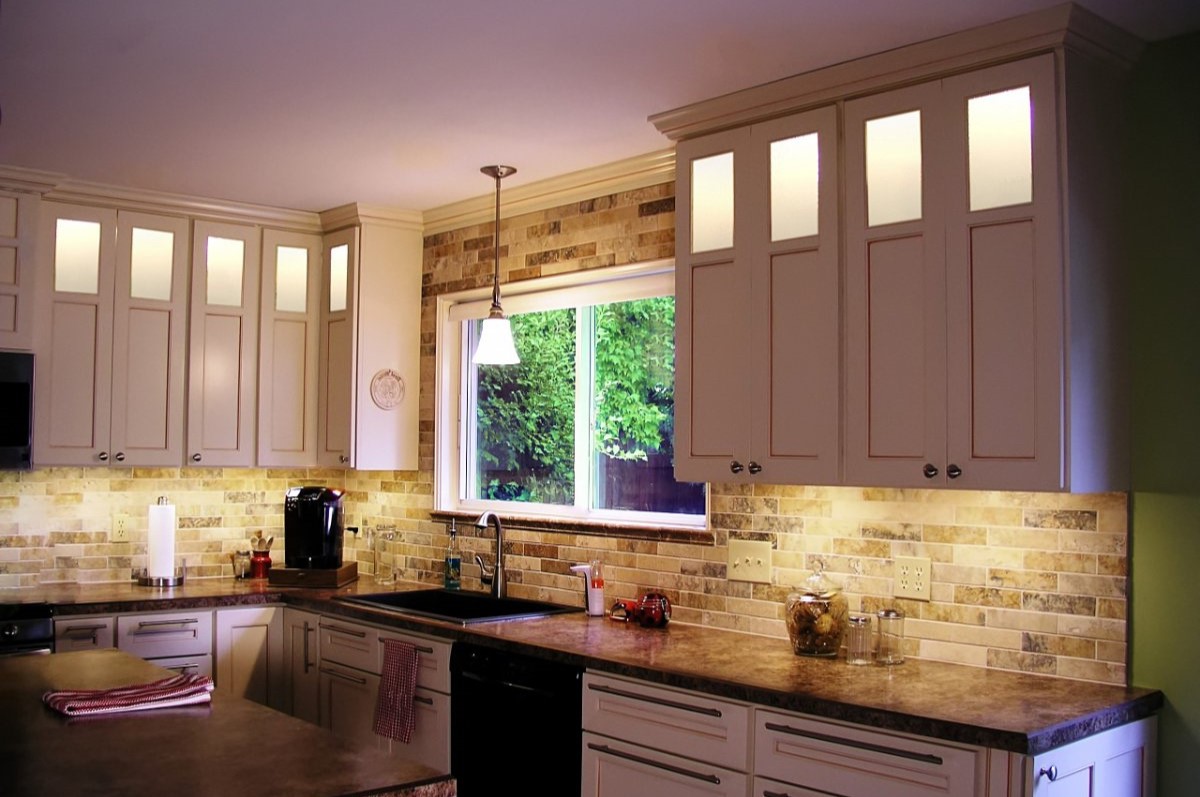
Add lighting fixtures like under-cabinet lights or pendant lights above your island to enhance its functionality and ambiance.
7.2. Install Hardware
Install hardware like knobs or handles on drawers and cabinets if applicable.
7.3. Paint or Stain
Apply a final coat of paint or stain to protect and enhance the appearance of your kitchen island.
7.4. Add Decorative Elements
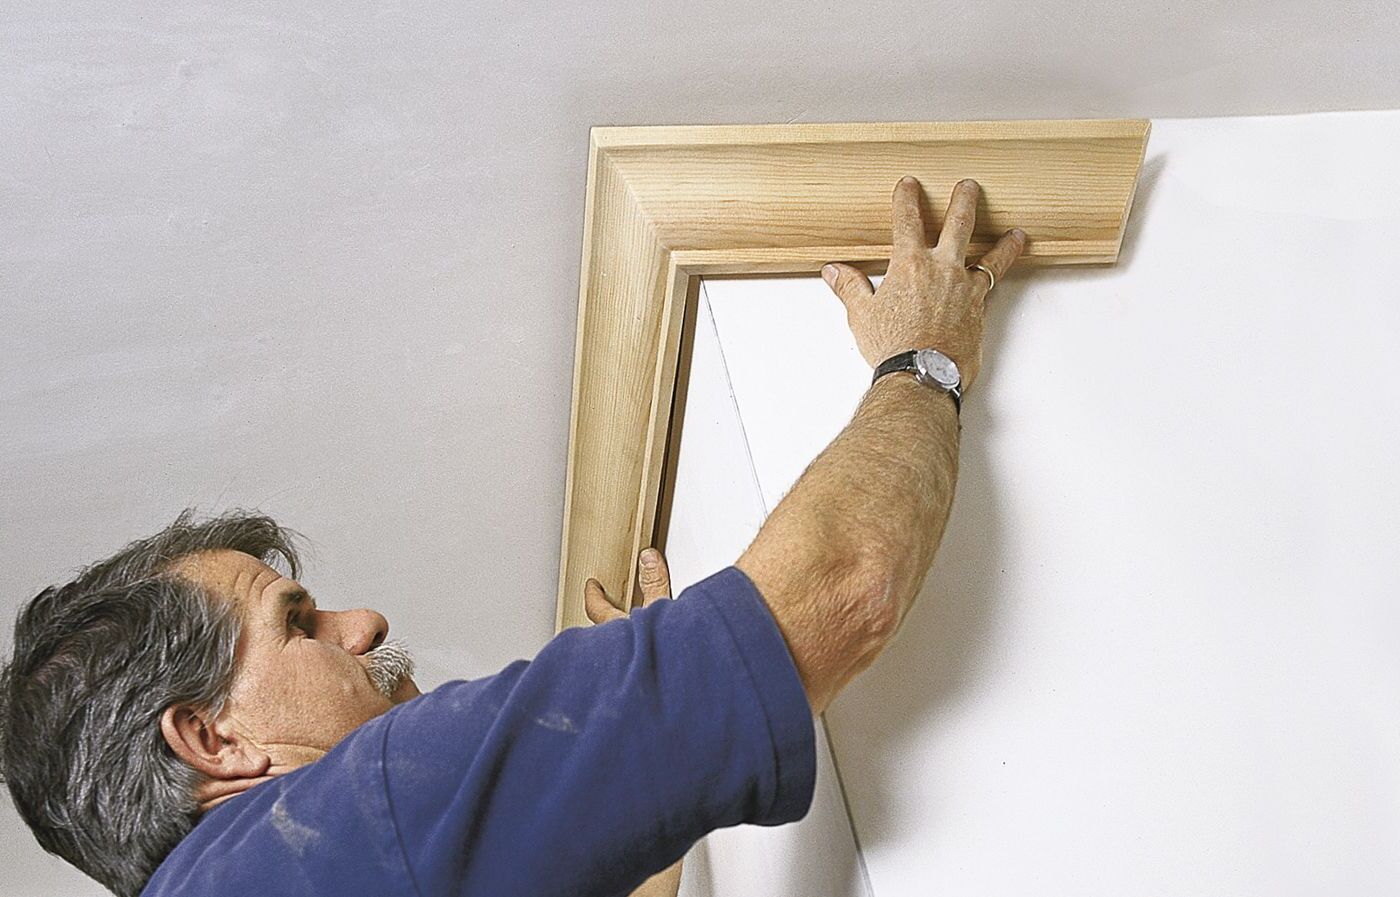
Add decorative elements like a backsplash or decorative trim around the edges of your countertops for a polished look.
Conclusion
Installing a kitchen island can be a rewarding DIY project that enhances both functionality and aesthetics in your kitchen. By following these steps carefully from preparation through finishing touches, you can create a beautiful and functional space that meets all your needs. Remember always to follow safety guidelines and consult professionals if you're unsure about any aspect of the installation process.
Additional Tips and Considerations
- Safety First: Always wear protective gear like gloves and safety glasses when working with power tools or handling materials.
- Measure Twice: Double-check all measurements before cutting or assembling any components to avoid errors.
- Consult Professionals: If unsure about any part of the installation process, consider hiring professionals who specialize in kitchen renovations or DIY projects.
- Budgeting: Plan your budget carefully including materials, tools, and potential labor costs if hiring professionals.
- Design Flexibility: Be flexible with your design as you may need to make adjustments based on site conditions or material availability.
By following these tips and guidelines, you'll be well-equipped to create a stunning kitchen island that adds value and functionality to your home. Happy building
Was this page helpful?
At Storables.com, we guarantee accurate and reliable information. Our content, validated by Expert Board Contributors, is crafted following stringent Editorial Policies. We're committed to providing you with well-researched, expert-backed insights for all your informational needs.







0 thoughts on “DIY Guide To Installing A Kitchen Island”