
Articles
How To Install Island Range Hood
Modified: August 27, 2024
Looking for step-by-step guides on how to install an island range hood? Our comprehensive articles cover everything you need to know.
(Many of the links in this article redirect to a specific reviewed product. Your purchase of these products through affiliate links helps to generate commission for Storables.com, at no extra cost. Learn more)
Introduction
Welcome to our comprehensive guide on how to install an island range hood! If you’re renovating your kitchen or simply looking to upgrade your cooking experience, installing an island range hood can be a game-changer.
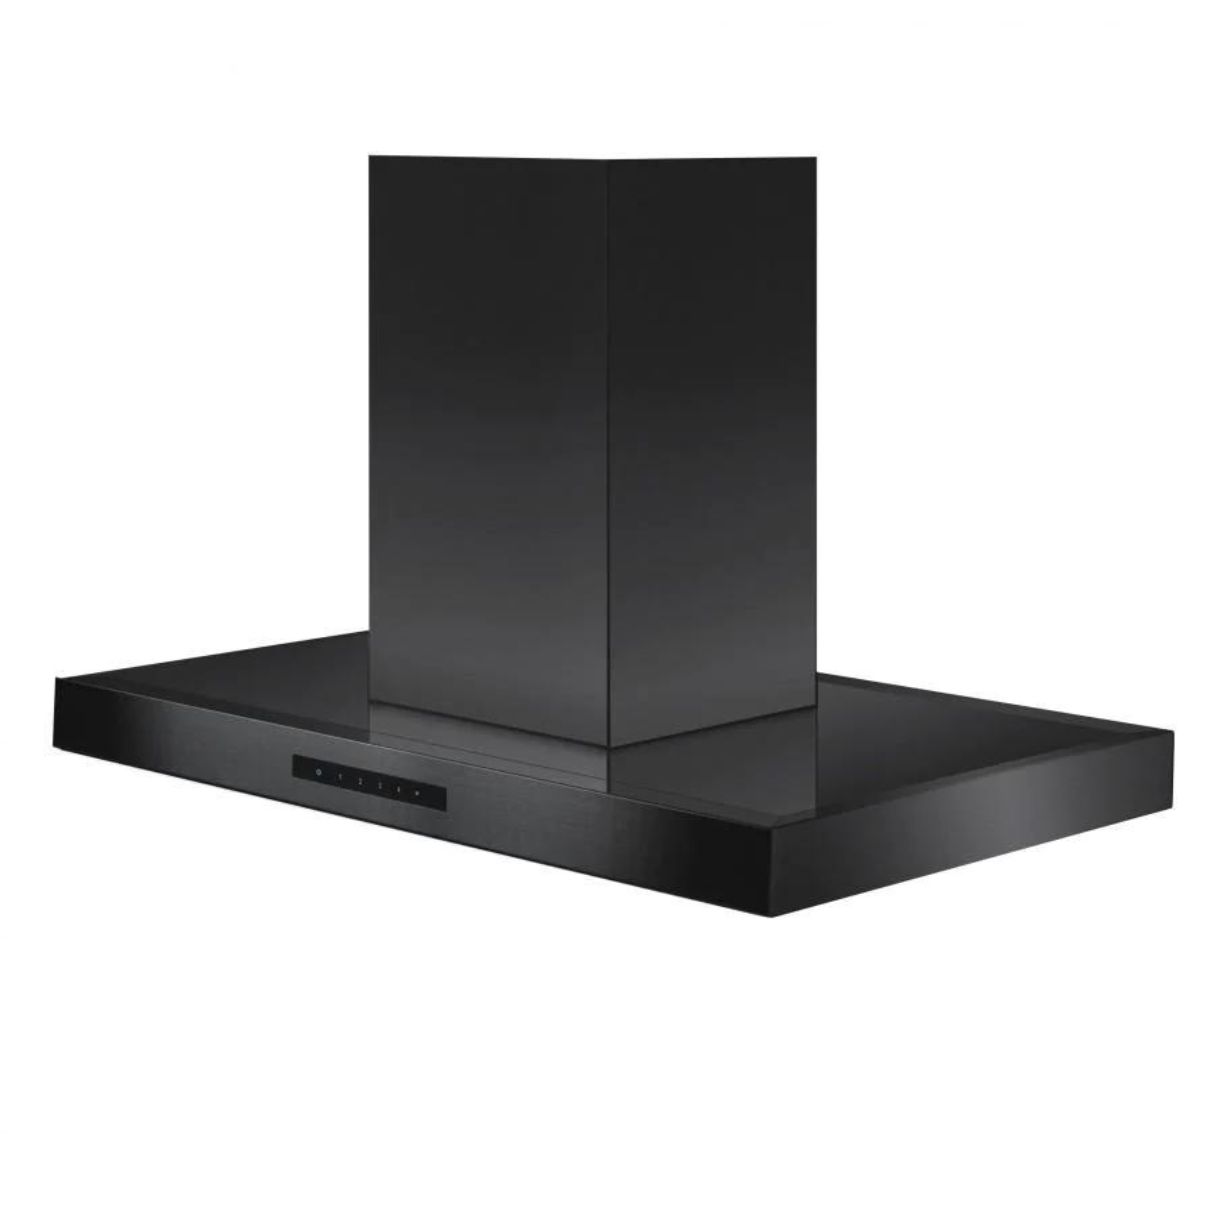
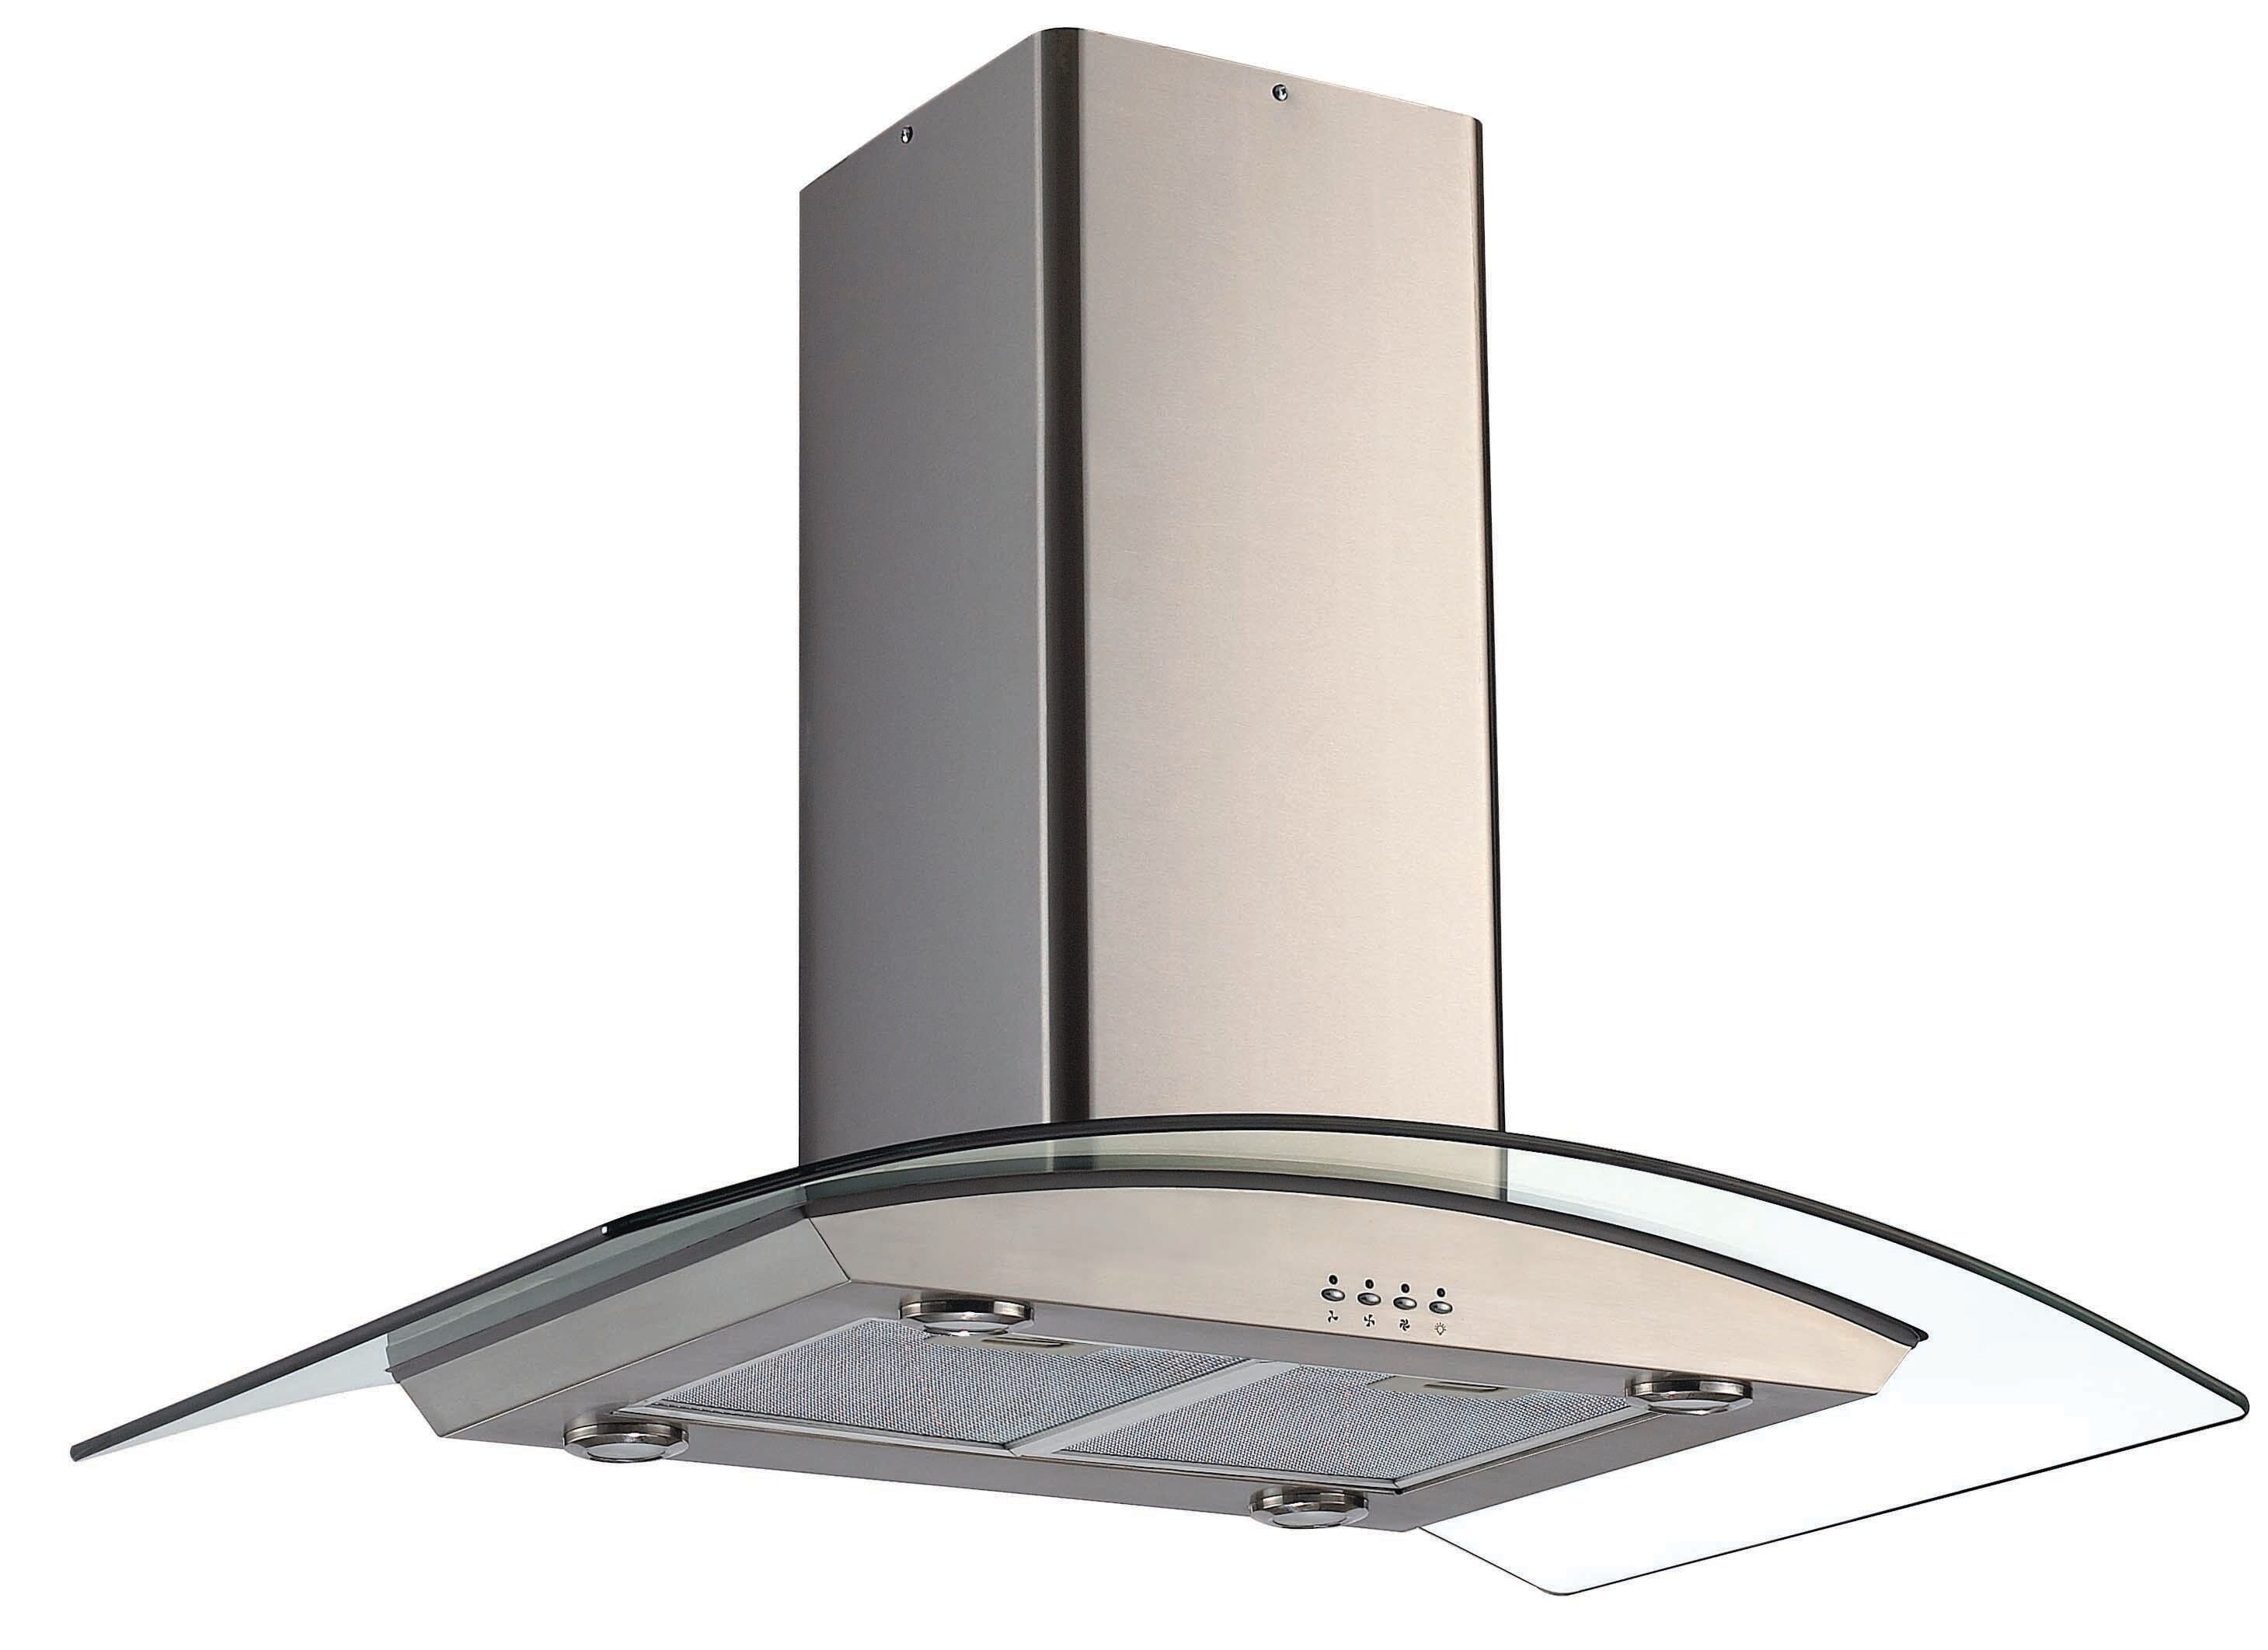
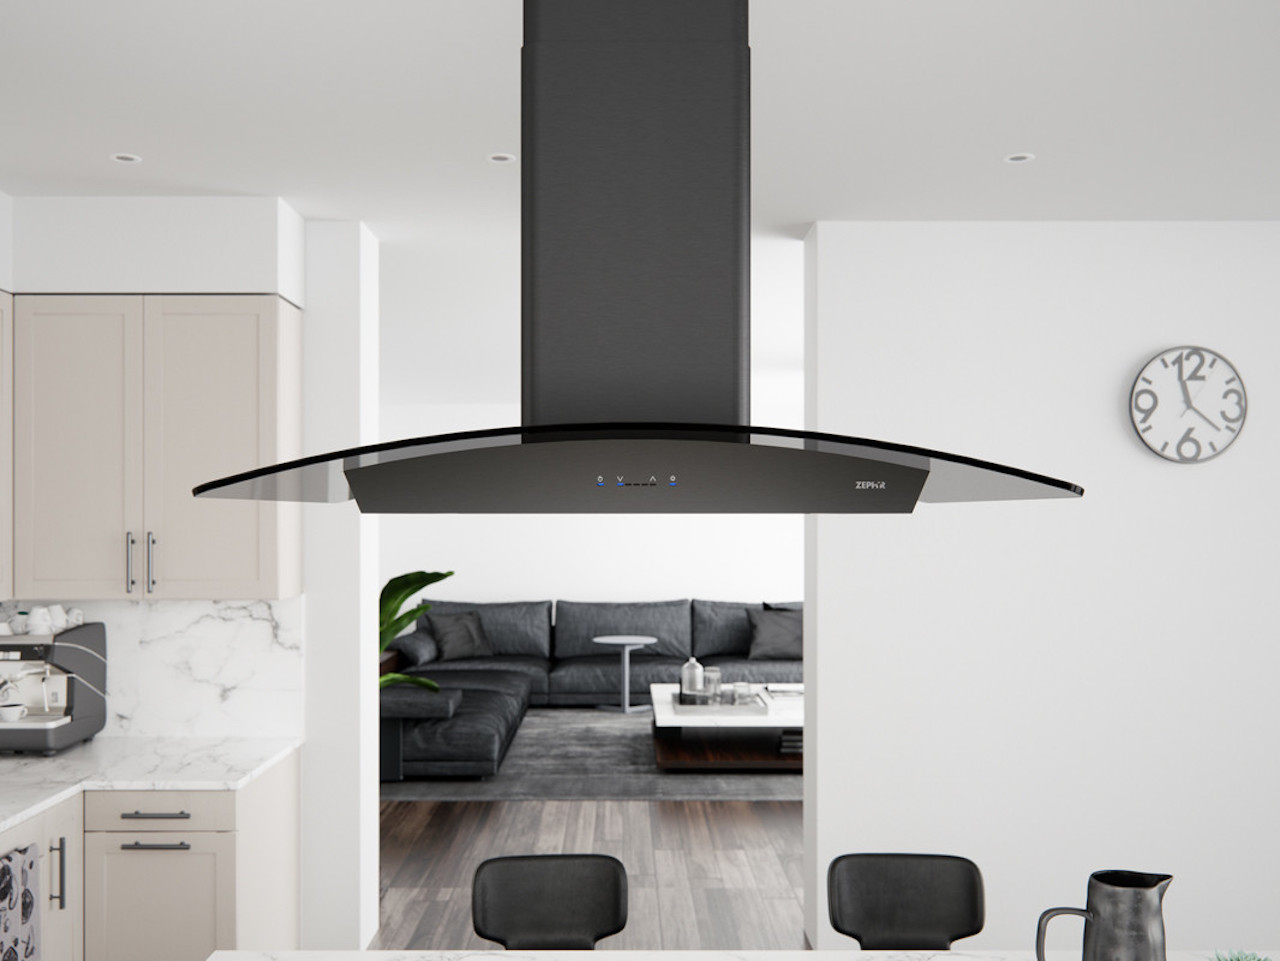
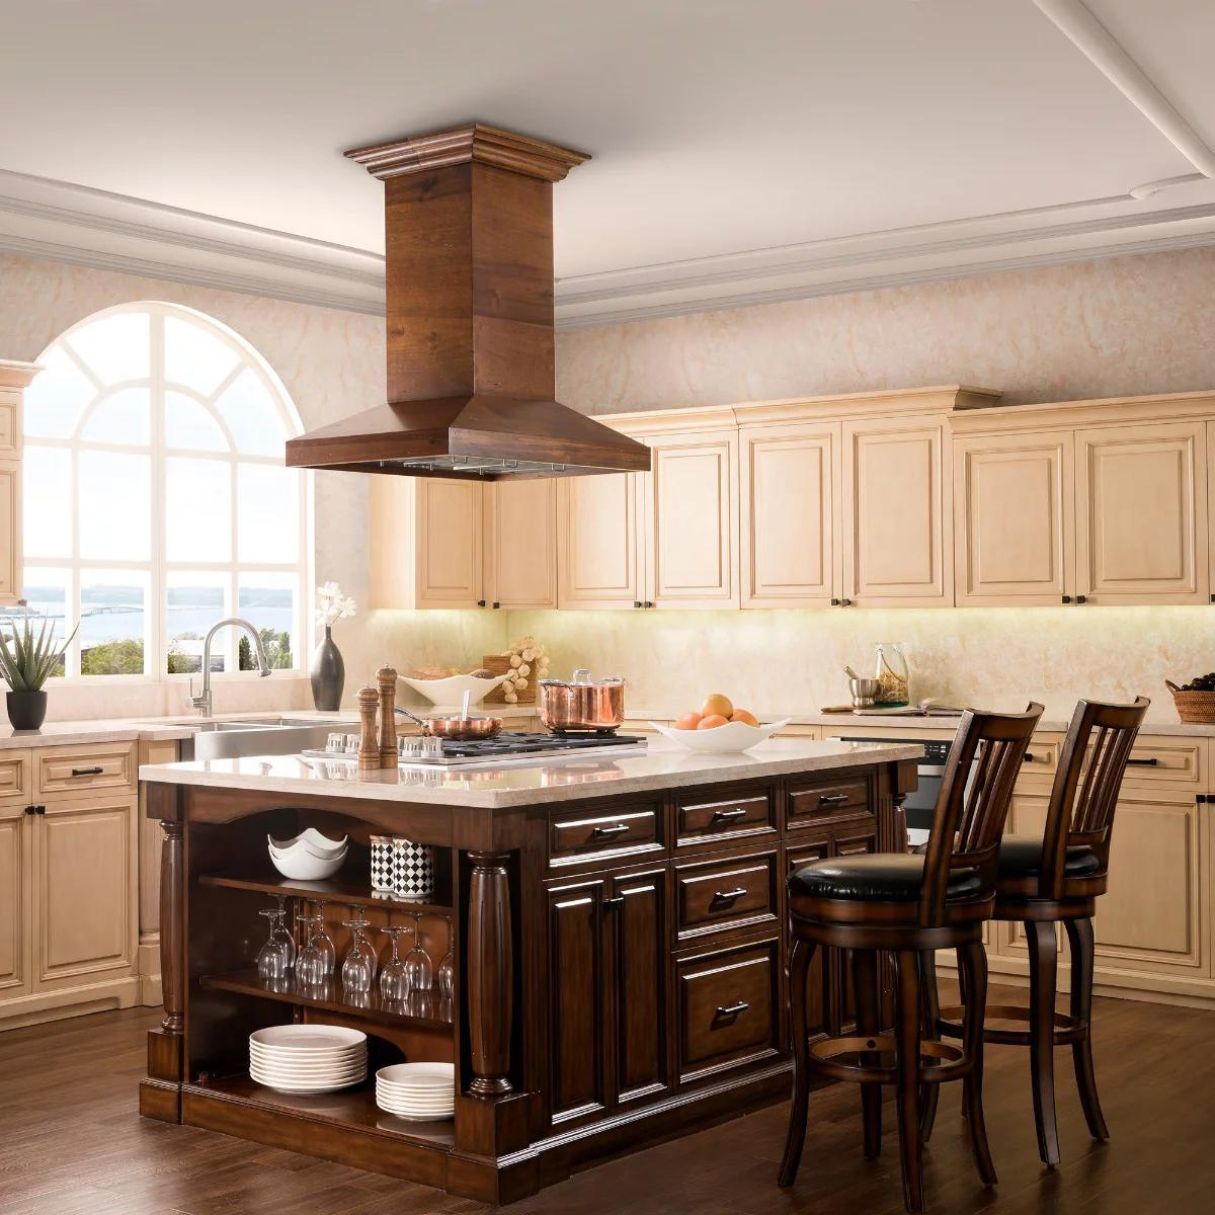
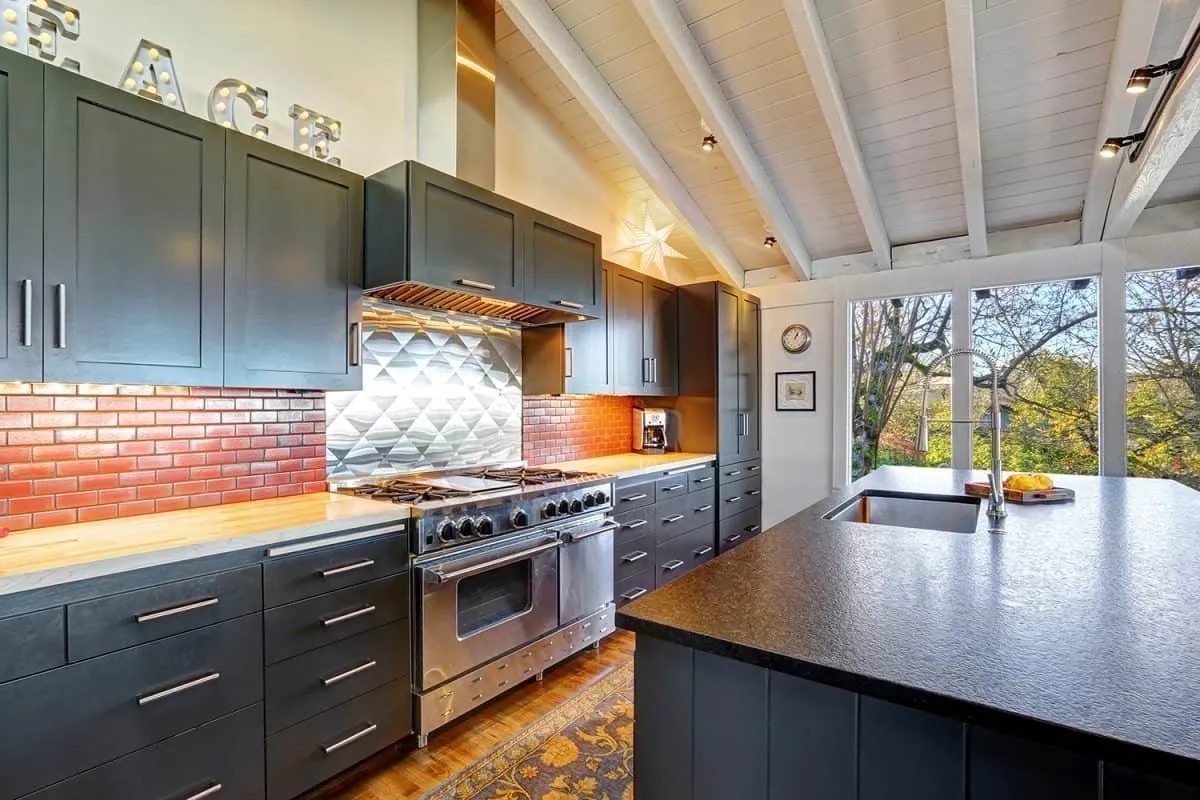
An island range hood serves as a ventilation system that helps remove smoke, odors, grease, and airborne particles generated during cooking. It is designed to be mounted above your kitchen island, providing both functionality and an attractive focal point.
While the installation process may seem daunting at first, with the right tools and our step-by-step instructions, you’ll be able to install your island range hood with ease. So, let’s dive into the details and get started on transforming your kitchen space!
Before we begin, keep in mind that the specific instructions may vary depending on the model and brand of your island range hood. Be sure to consult the manufacturer’s manual that came with your range hood for any specific details and guidelines.
Key Takeaways:
- Proper installation of an island range hood involves measuring for fit, turning off power, preparing the mounting area, assembling components, installing ductwork, mounting the hood, connecting wiring, testing functionality, and securing the installation.
- Safety is crucial when working with electrical components, and it’s advisable to consult a professional electrician if unsure. Regular maintenance and cleaning are essential to ensure the longevity and optimal performance of the island range hood.
Read also: 10 Unbelievable Range Hood Island For 2025
Step 1: Measure for Proper Fit
The first step in installing an island range hood is to measure the space to ensure a proper fit. This is crucial to ensure that the range hood works efficiently and looks aesthetically pleasing in your kitchen.
Here’s how you can measure for a proper fit:
- Clear the area: Remove any objects or obstructions from the kitchen island to create a clear workspace.
- Measure the width: Use a measuring tape to determine the width of your range hood. Measure the area on the kitchen island where the range hood will be installed.
- Measure the height: Measure the height from the cooking surface to the ceiling. This will help you determine the appropriate size for your island range hood.
- Measure the depth: Measure the depth from the back wall to the front edge of the kitchen island. This will determine how far the range hood will extend from the island.
- Note any obstructions: Take note of any existing obstacles such as cabinets, light fixtures, or outlets that may interfere with the installation of the range hood. This will help you plan accordingly and make any necessary adjustments.
Once you have these measurements, you can compare them with the specifications provided by the range hood manufacturer. This will ensure that you choose the right size and style of island range hood that fits your kitchen space.
Remember to double-check your measurements to ensure accuracy. It’s always better to measure twice and cut once!
Now that you have measured the space for your island range hood, let’s move on to the next step: turning off the power.
Step 2: Turn Off Power
Before you begin any electrical work, it is crucial to ensure your safety by turning off the power to the area where you’ll be installing the island range hood. This will prevent any accidental electrocution or damage to the electrical components.
Follow these steps to turn off the power:
- Locate the circuit breaker: Find the circuit breaker panel in your home. It is usually located in the basement, utility room, or garage.
- Identify the correct circuit breaker: Look for the circuit breaker that controls the power supply to your kitchen area. Most circuit breakers are labeled, making it easier to identify the right one.
- Turn off the circuit breaker: Flip the switch of the identified circuit breaker to the “off” position. This will cut off the power supply to the kitchen island and the range hood area.
- Verify the power is off: To double-check that the power is indeed off, try turning on the lights or plugs in the kitchen. If they don’t work, then you have successfully turned off the power.
It’s important to note that some homes may have multiple circuit breaker panels or subpanels. If you’re unsure which circuit breaker controls the kitchen area, it’s recommended to consult a qualified electrician for assistance.
Now that you have turned off the power, you can proceed with confidence to prepare the mounting area for your island range hood. This will ensure a smooth and safe installation process. Let’s move on to step 3!
Step 3: Prepare the Mounting Area
Once you have turned off the power, it’s time to prepare the mounting area for your island range hood. This step involves ensuring that the installation surface is clean, level, and structurally sound.
Follow these steps to prepare the mounting area:
- Clean the installation surface: Use a mild detergent and water to clean the surface of your kitchen island. Remove any grease, dirt, or debris that may interfere with the installation process.
- Check the structural integrity: Inspect the area where you’ll be mounting the range hood to ensure it is sturdy and capable of supporting the weight. If there are any concerns about the structural integrity, consult a professional to reinforce the area if necessary.
- Level the installation surface: Use a level to ensure that the installation surface is perfectly level. Adjust as needed by adding shims or making necessary adjustments to create a level surface.
- Mark the mounting holes: Position the range hood on the installation surface and mark the locations of the mounting holes. This will serve as a guide when it comes time to secure the range hood in place.
- Pre-drill holes (if necessary): Depending on the type of material your kitchen island is made of, you may need to pre-drill pilot holes for easier installation. Refer to the manufacturer’s instructions to determine if pre-drilling is required.
By properly preparing the mounting area, you’ll ensure a stable and secure installation of your island range hood. Taking the time to clean, level, and reinforce if needed, will contribute to the longevity and efficiency of your range hood.
Now that the mounting area is prepared, you can move on to the next step: assembling the range hood components. We’ll guide you through the process, so let’s proceed to step 4!
Step 4: Assemble the Range Hood
Now that you have prepared the mounting area, it’s time to assemble the components of your island range hood. This step involves following the manufacturer’s instructions and connecting various parts to create the complete unit.
Here are the general steps to assemble the range hood:
- Read the instructions: Carefully read through the manufacturer’s instructions that came with your range hood. Familiarize yourself with the different components and their respective functions.
- Attach the chimney or duct cover: If your range hood requires a chimney or duct cover, follow the instructions to attach it securely. This will ensure proper ventilation and airflow.
- Install the filters: Depending on your range hood model, you may have grease filters or charcoal filters. Follow the instructions to properly install these filters to capture grease and odors during cooking.
- Attach the control panel: Install the control panel, buttons, and any accompanying wiring according to the manufacturer’s guidelines. This will allow you to operate and control the range hood functions.
- Secure the lighting fixtures: If your island range hood includes built-in lighting, securely attach the light fixtures according to the instructions. This will provide adequate lighting while you’re cooking.
As you assemble the range hood components, ensure that all connections are secure and follow any specific instructions provided by the manufacturer. Taking your time during this step will ensure that your island range hood functions properly once it’s fully installed.
Once you have assembled the range hood, the next step is to install the ductwork. This will allow for proper ventilation and removal of smoke and odors. Let’s move on to step 5!
Read more: How To Install ZLINE Range Hood
Step 5: Install the Ductwork
The ductwork is a crucial component of your island range hood installation as it allows for proper ventilation by channeling smoke, odors, and airborne particles outside your home. In this step, we’ll guide you through the process of installing the ductwork.
Follow these steps to install the ductwork:
- Plan the ductwork route: Determine the most efficient and direct route to channel the ductwork from your range hood to the outside. Consider any obstacles such as cabinets, walls, or appliances that may require adjustments to the ductwork route.
- Measure and cut the ductwork: Using a measuring tape, measure the required length for the ductwork and cut it to size using tin snips or a saw. Be sure to wear appropriate safety equipment while cutting.
- Attach the ductwork to the range hood: Connect one end of the ductwork to the range hood using metal duct connectors or duct tape. Ensure a secure and tight connection to prevent any air leaks.
- Secure the ductwork in place: Use zip ties or metal clamps to secure the ductwork in place, making sure it is properly aligned and supported along its route.
- Create an opening to the outside: If there is no existing opening for the ductwork, you’ll need to create one in your kitchen wall or ceiling. Use a hole saw or reciprocating saw to make the necessary opening.
- Attach the ductwork to the outside vent: Connect the other end of the ductwork to the outside vent using metal duct connectors or duct tape. Ensure a secure and tight connection to prevent air leaks.
Installing the ductwork properly is essential for effective ventilation and removing smoke and odors from your kitchen. Take your time to ensure proper alignment, secure connections, and a tight seal at every junction.
With the ductwork successfully installed, you’re now ready to mount the range hood onto the kitchen island. Proceed to step 6 to learn how to accomplish this task.
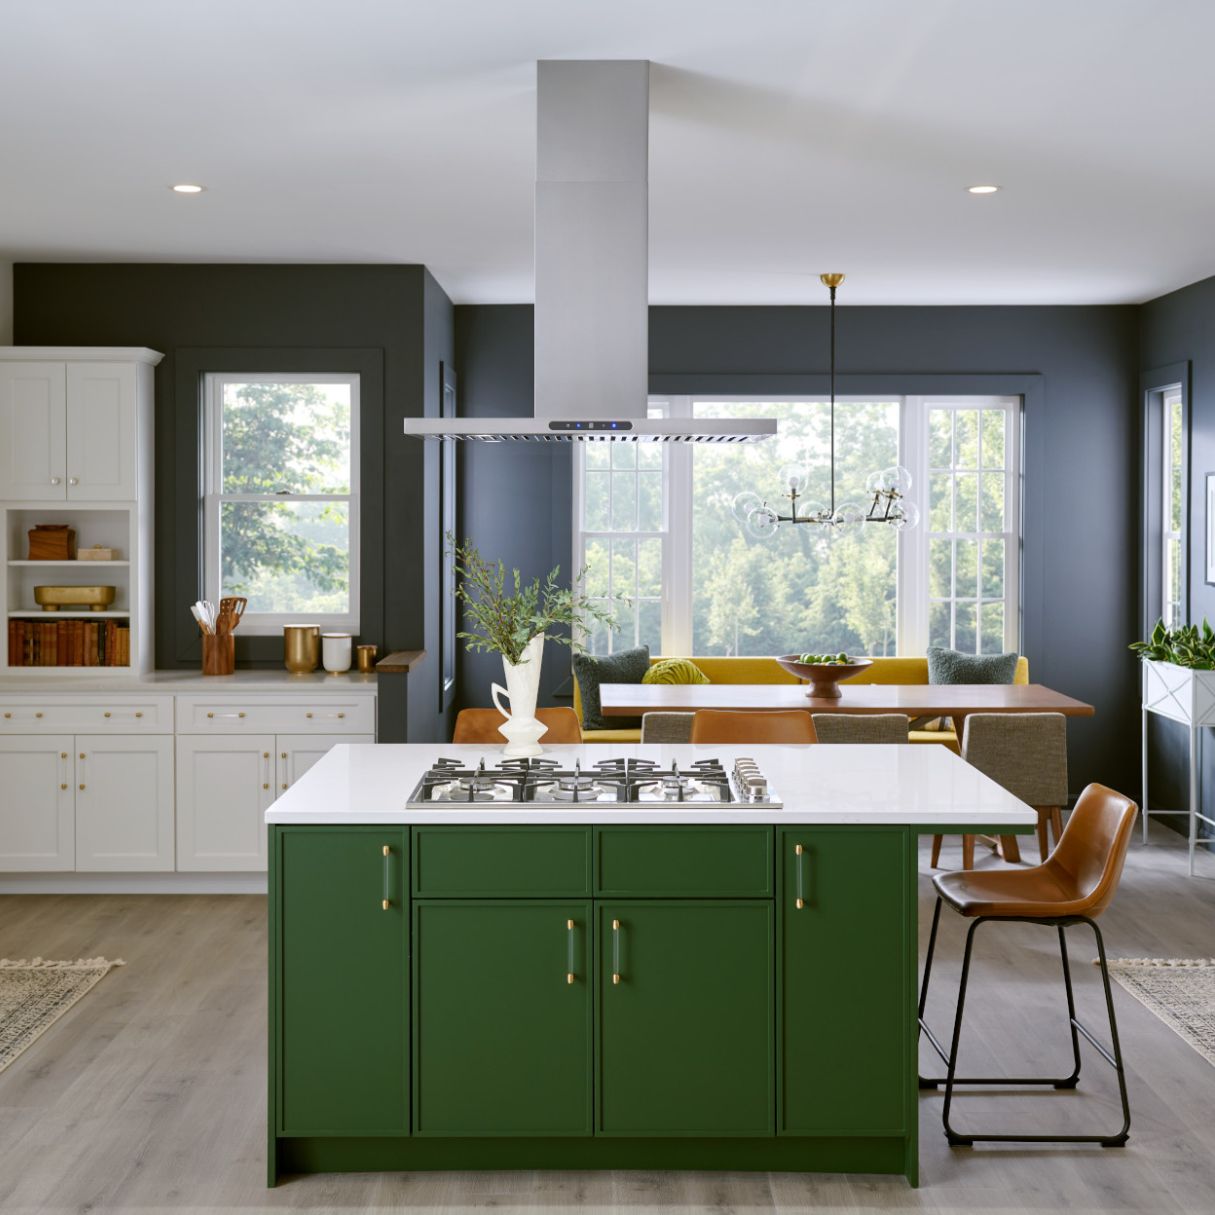
When installing an island range hood, make sure to carefully measure and mark the location for the hood, ensuring it is centered over the cooking surface. Use a stud finder to locate and mark the studs for secure mounting.
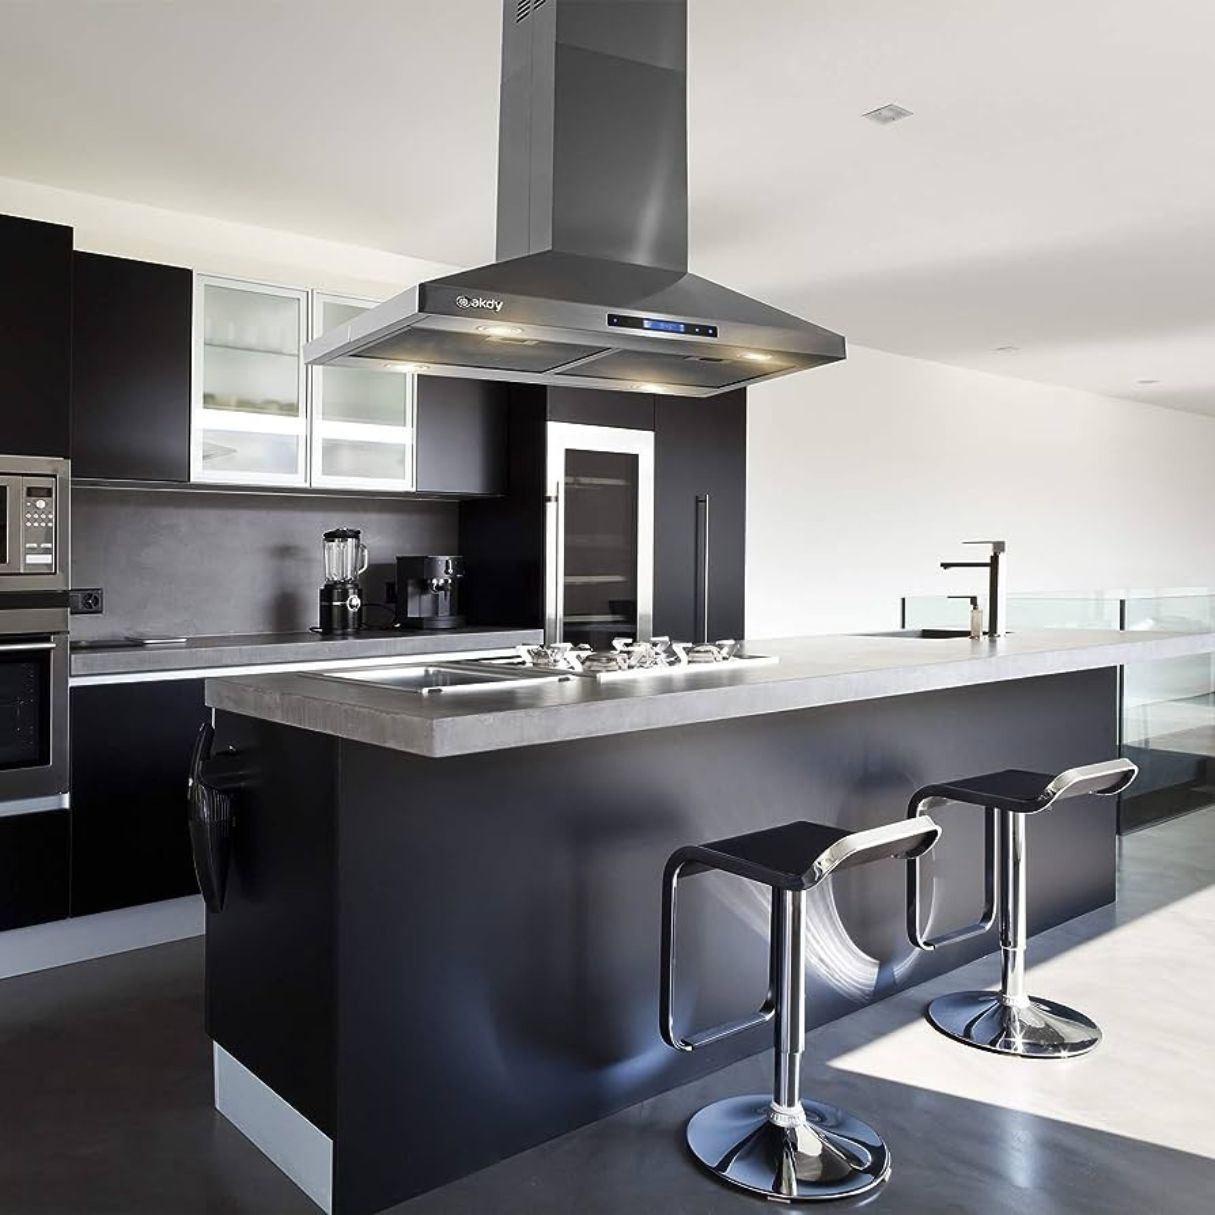
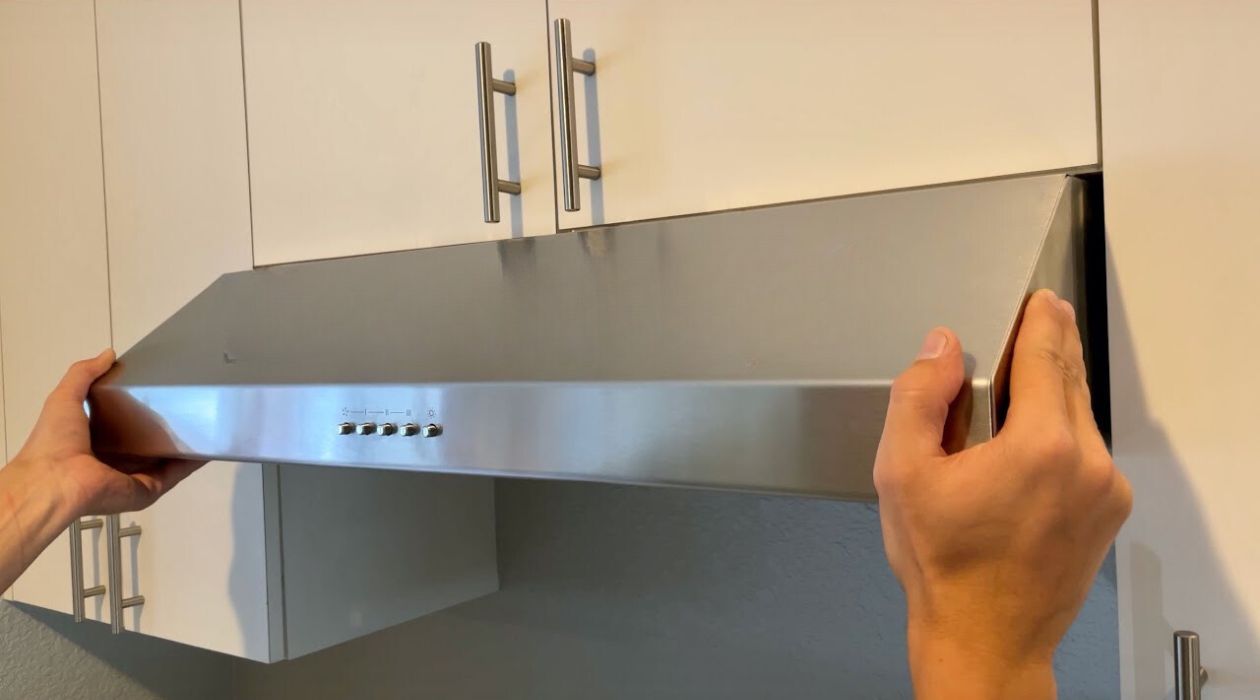
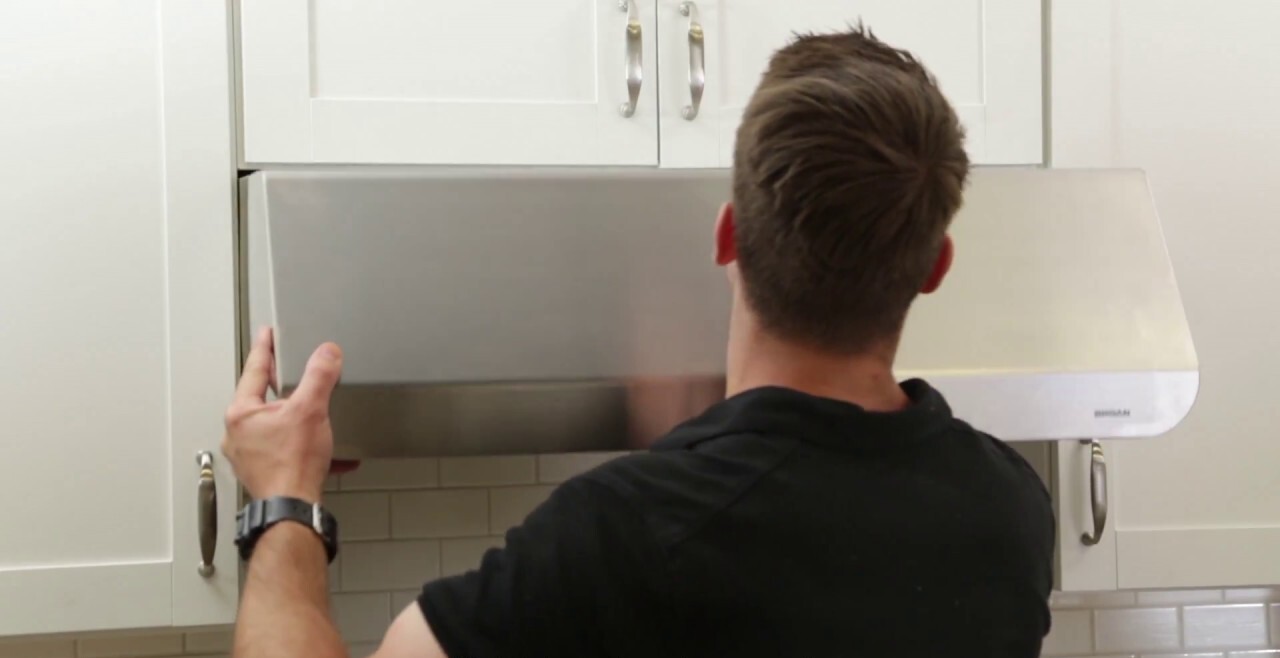
Step 6: Mount the Range Hood
Now that you have prepared the mounting area and assembled the components of your island range hood, it’s time to mount the range hood onto your kitchen island. Properly securing the range hood is crucial for stability and functionality.
Follow these steps to mount the range hood:
- Position the range hood: Carefully position the range hood on the prepared mounting area, aligning the marked mounting holes with the corresponding holes on the range hood.
- Insert the mounting screws: Insert the appropriate mounting screws through the range hood holes and into the marked holes on the mounting area. Use a screwdriver or drill with the correct bit size to tighten the screws securely.
- Check for level: Use a level to ensure that the range hood is perfectly level. Make any necessary adjustments by slightly loosening the screws and repositioning the range hood as needed.
- Tighten the screws: Once the range hood is level, tighten all the mounting screws firmly to securely hold the range hood in place. Be careful not to overtighten and damage the mounting surface.
During the mounting process, it’s essential to double-check that the range hood is securely attached and level. A level range hood ensures optimal performance and aesthetics in your kitchen.
Once the range hood is securely mounted, you can proceed to the next step: connecting the wiring. This step will bring power to your island range hood and enable its operational features. Let’s move on to step 7!
Step 7: Connect the Wiring
Connecting the wiring is a critical step when installing an island range hood. It involves safely and correctly wiring the range hood to the power supply in your kitchen. It’s important to follow electrical safety guidelines and consult a professional if you are not familiar with electrical work.
Here are the steps to connect the wiring:
- Turn off the power: Ensure that the power to the kitchen island is still turned off at the circuit breaker panel to avoid any electrical accidents.
- Locate the wiring access: Find the wiring access point on the range hood. It is usually located either on the back or inside the range hood’s control panel.
- Prepare the wires: Remove the insulation from the ends of the wires, exposing the copper wire underneath. If necessary, consult an electrician to install a junction box for connecting the wiring.
- Connect the wires: Match the corresponding wires from the range hood with the wires from the power supply. Usually, this involves connecting the black wires, white wires, and green or copper ground wires together. Follow the color-coding instructions provided by the manufacturer.
- Secure the connections: Once the wires are connected, use wire nuts or connectors to secure the connections. Make sure they are tightly fastened and insulated to prevent any electrical hazards.
- Verify the connections: Double-check that all the wiring connections are secure and properly insulated. Inspect for any exposed wires or loose connections, and make any necessary adjustments to ensure safety.
- Restore power and test: Finally, turn on the power at the circuit breaker panel. Test the range hood to ensure all functions, such as the fan and lighting, are working correctly.
It is crucial to follow local electrical codes and regulations when connecting the wiring for your island range hood. If you are uncertain or uncomfortable working with electricity, it is recommended to hire a licensed electrician for this task.
With the wiring successfully connected, you’re almost finished with the installation process! The next step is to test the range hood and make any final adjustments. Proceed to step 8 to learn more.
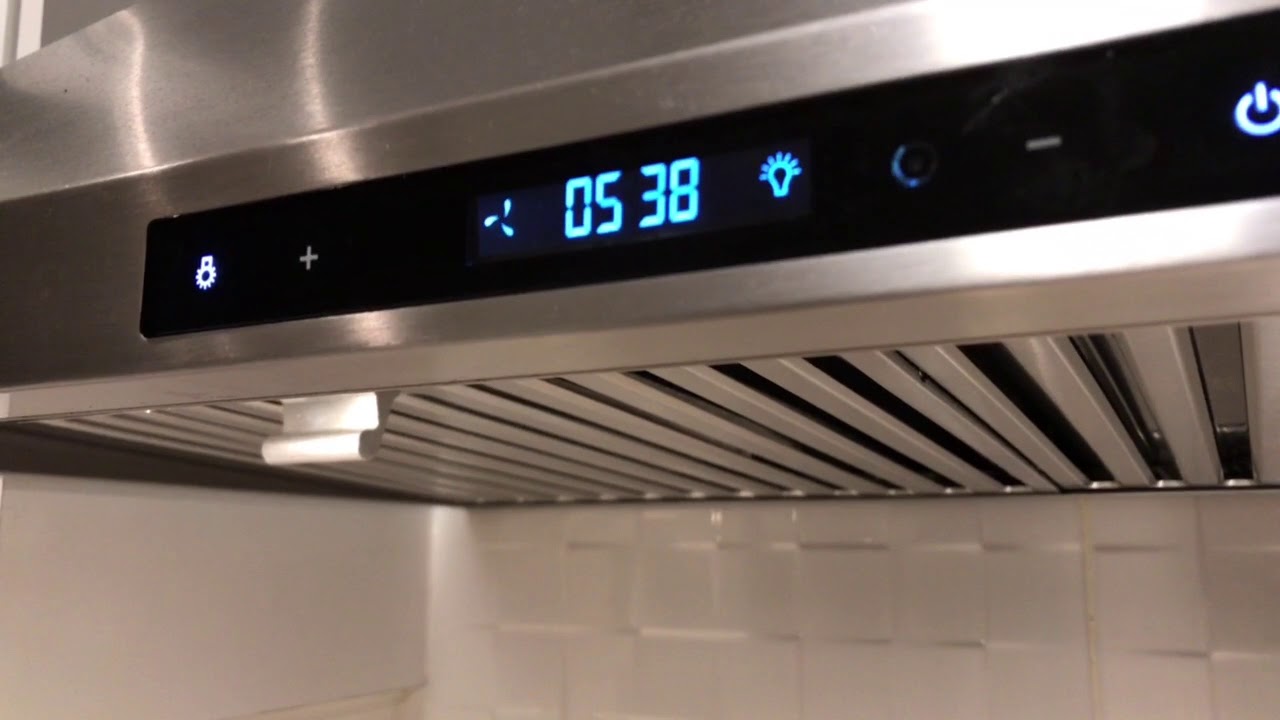
Step 8: Test the Range Hood
After completing the installation and wiring of your island range hood, it’s important to perform a thorough test to ensure that it is functioning properly. Testing the range hood will allow you to identify any issues or adjustments that need to be made before finalizing the installation.
Follow these steps to test the range hood:
- Turn on the power: Ensure that the power to the range hood is turned on at the circuit breaker panel.
- Check the controls: Test each control function on the range hood, such as the fan speed, lighting, and any other special features. Make sure they respond appropriately and function smoothly.
- Verify airflow: Run the range hood fan on various speeds and observe the airflow. Ensure that the fan is effectively removing smoke, odors, and airborne particles from the cooking area.
- Inspect for noise and vibrations: Listen for any unusual noises or excessive vibrations during operation. Excessive noise or vibrations may indicate an installation problem that needs to be addressed.
- Test the lighting: Ensure that the lighting fixtures on the range hood provide adequate illumination for your cooking needs. Adjust or replace the bulbs if necessary.
- Check for air leaks: Inspect the ductwork and connections for any air leaks while the range hood is in operation. Use foil tape or mastic sealant to seal any leaks that may be detected.
- Monitor ventilation: Observe the ventilation in the kitchen to ensure that the range hood effectively removes cooking fumes, steam, and odors from the cooking area.
If you notice any issues during the testing phase, consult the manufacturer’s manual or seek professional assistance to troubleshoot and resolve the problem. It’s essential to address any issues before finalizing the installation to ensure the optimal performance of your island range hood.
Once you have successfully tested the range hood and made any necessary adjustments, you are ready to secure and finish the installation. Proceed to step 9 for the final steps!
Read more: How To Install Range Hood Insert
Step 9: Secure and Finish Installation
Congratulations! You have reached the final step of installing your island range hood. In this step, you will secure and finish the installation to ensure that the range hood is stable, functional, and aesthetically pleasing in your kitchen.
Follow these steps to secure and finish the installation:
- Check the mounting screws: Double-check that all the mounting screws are tightened securely. This will ensure that the range hood is firmly attached to the kitchen island and will not wobble or shift during use.
- Inspect the ductwork: Examine the ductwork for any loose connections or gaps. Use foil tape or mastic sealant to seal any gaps and ensure proper airflow without leaks.
- Clean the range hood: Wipe down the range hood with a mild cleaning solution to remove any dust, fingerprints, or debris. This will give your range hood a clean and polished look.
- Secure any loose parts: Check for any loose parts or accessories on the range hood, such as the filters or control panel. Ensure they are securely fastened to prevent any issues during operation.
- Adjust the range hood height (if applicable): Some island range hoods have adjustable heights. If needed, adjust the height to ensure proper clearance between the range hood and cooking surface.
- Inspect the overall installation: Step back and carefully inspect the entire installation. Make sure the range hood is level, aligned properly, and looks visually appealing in your kitchen.
- Enjoy your new island range hood: Once you are satisfied with the installation, it’s time to enjoy the benefits of your new island range hood! Start cooking with confidence, knowing that you have an efficient ventilation system in place.
By following these final steps, you will ensure that your island range hood is securely installed, functions optimally, and enhances the overall aesthetics of your kitchen.
Remember to keep the manufacturer’s manual handy for future reference and maintenance of your range hood. Regularly clean and maintain the range hood to ensure its longevity and optimal performance.
Thank you for following our comprehensive guide on how to install an island range hood. We hope this has been helpful and that you enjoy the benefits of your new cooking space!
If you have any other questions or need further assistance, don’t hesitate to reach out. Happy cooking!
Conclusion
Installing an island range hood can greatly enhance your kitchen’s functionality and aesthetics. With proper ventilation, it helps to remove smoke, odors, and airborne particles generated during cooking, creating a cleaner and healthier environment for you and your family.
Throughout this comprehensive guide, we have walked you through the step-by-step process of installing an island range hood. From measuring for a proper fit to securing and finishing the installation, each step is crucial to ensure a successful and functional outcome.
Remember, safety is paramount when working with electrical components and installations. If you are not confident or experienced in electrical work, it is always recommended to consult a professional electrician to ensure a safe and compliant installation.
By following the instructions provided, you can confidently install your island range hood and enjoy its benefits for years to come. Properly measuring the space, turning off the power, preparing the mounting area, assembling the range hood, installing the ductwork, mounting the range hood, connecting the wiring, testing for functionality, and securing the installation are all essential steps to a successful installation.
Once your island range hood is installed, be sure to regularly clean and maintain it to keep it in optimal condition. Cleaning the filters, wiping down the surfaces, and inspecting for any maintenance needs will ensure the longevity and performance of your range hood.
We hope this guide has been helpful in guiding you through the installation process of your island range hood. Enjoy the benefits of a well-ventilated and stylish kitchen, and happy cooking!
Frequently Asked Questions about How To Install Island Range Hood
Was this page helpful?
At Storables.com, we guarantee accurate and reliable information. Our content, validated by Expert Board Contributors, is crafted following stringent Editorial Policies. We're committed to providing you with well-researched, expert-backed insights for all your informational needs.

0 thoughts on “How To Install Island Range Hood”