Home>Ideas and Tips>DIY Guide To Installing A Kitchen Sink With Built-in Produce Washing Station
Ideas and Tips
DIY Guide To Installing A Kitchen Sink With Built-in Produce Washing Station
Published: September 21, 2024
Learn how to install a kitchen sink with a built-in produce washing station. Enhance your kitchen's functionality and aesthetics with our step-by-step guide.
(Many of the links in this article redirect to a specific reviewed product. Your purchase of these products through affiliate links helps to generate commission for Storables.com, at no extra cost. Learn more)
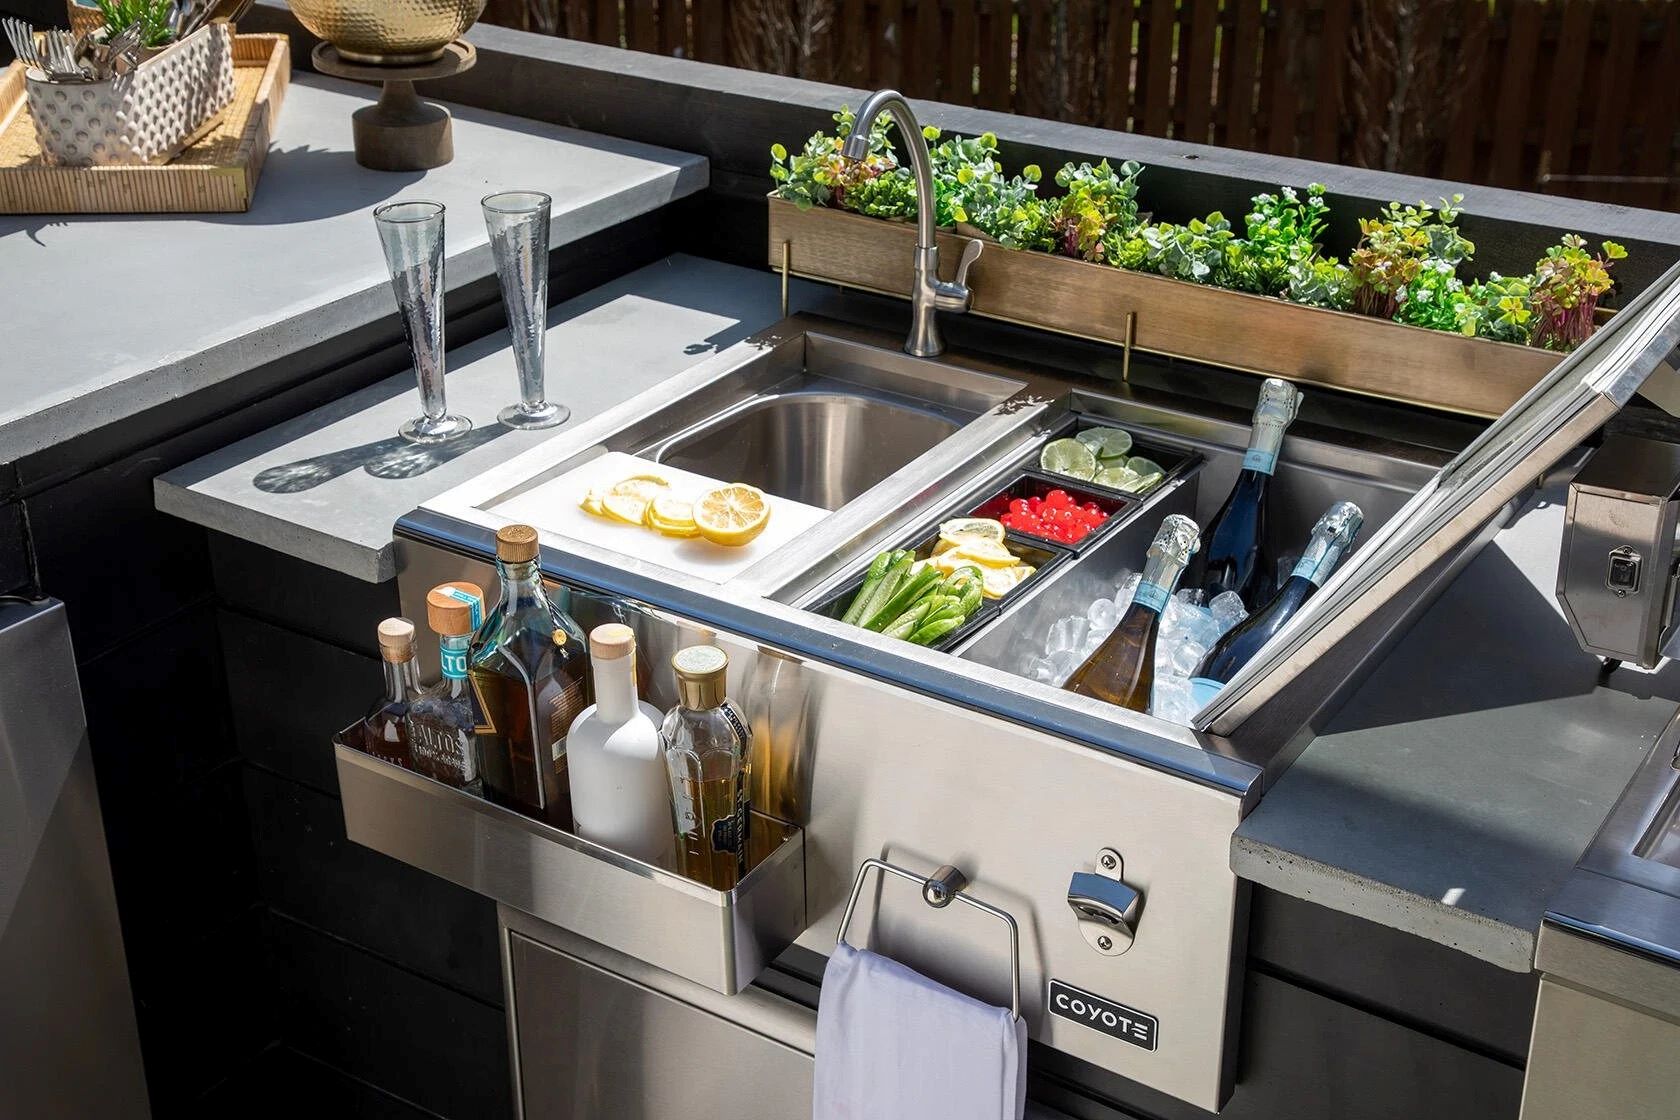
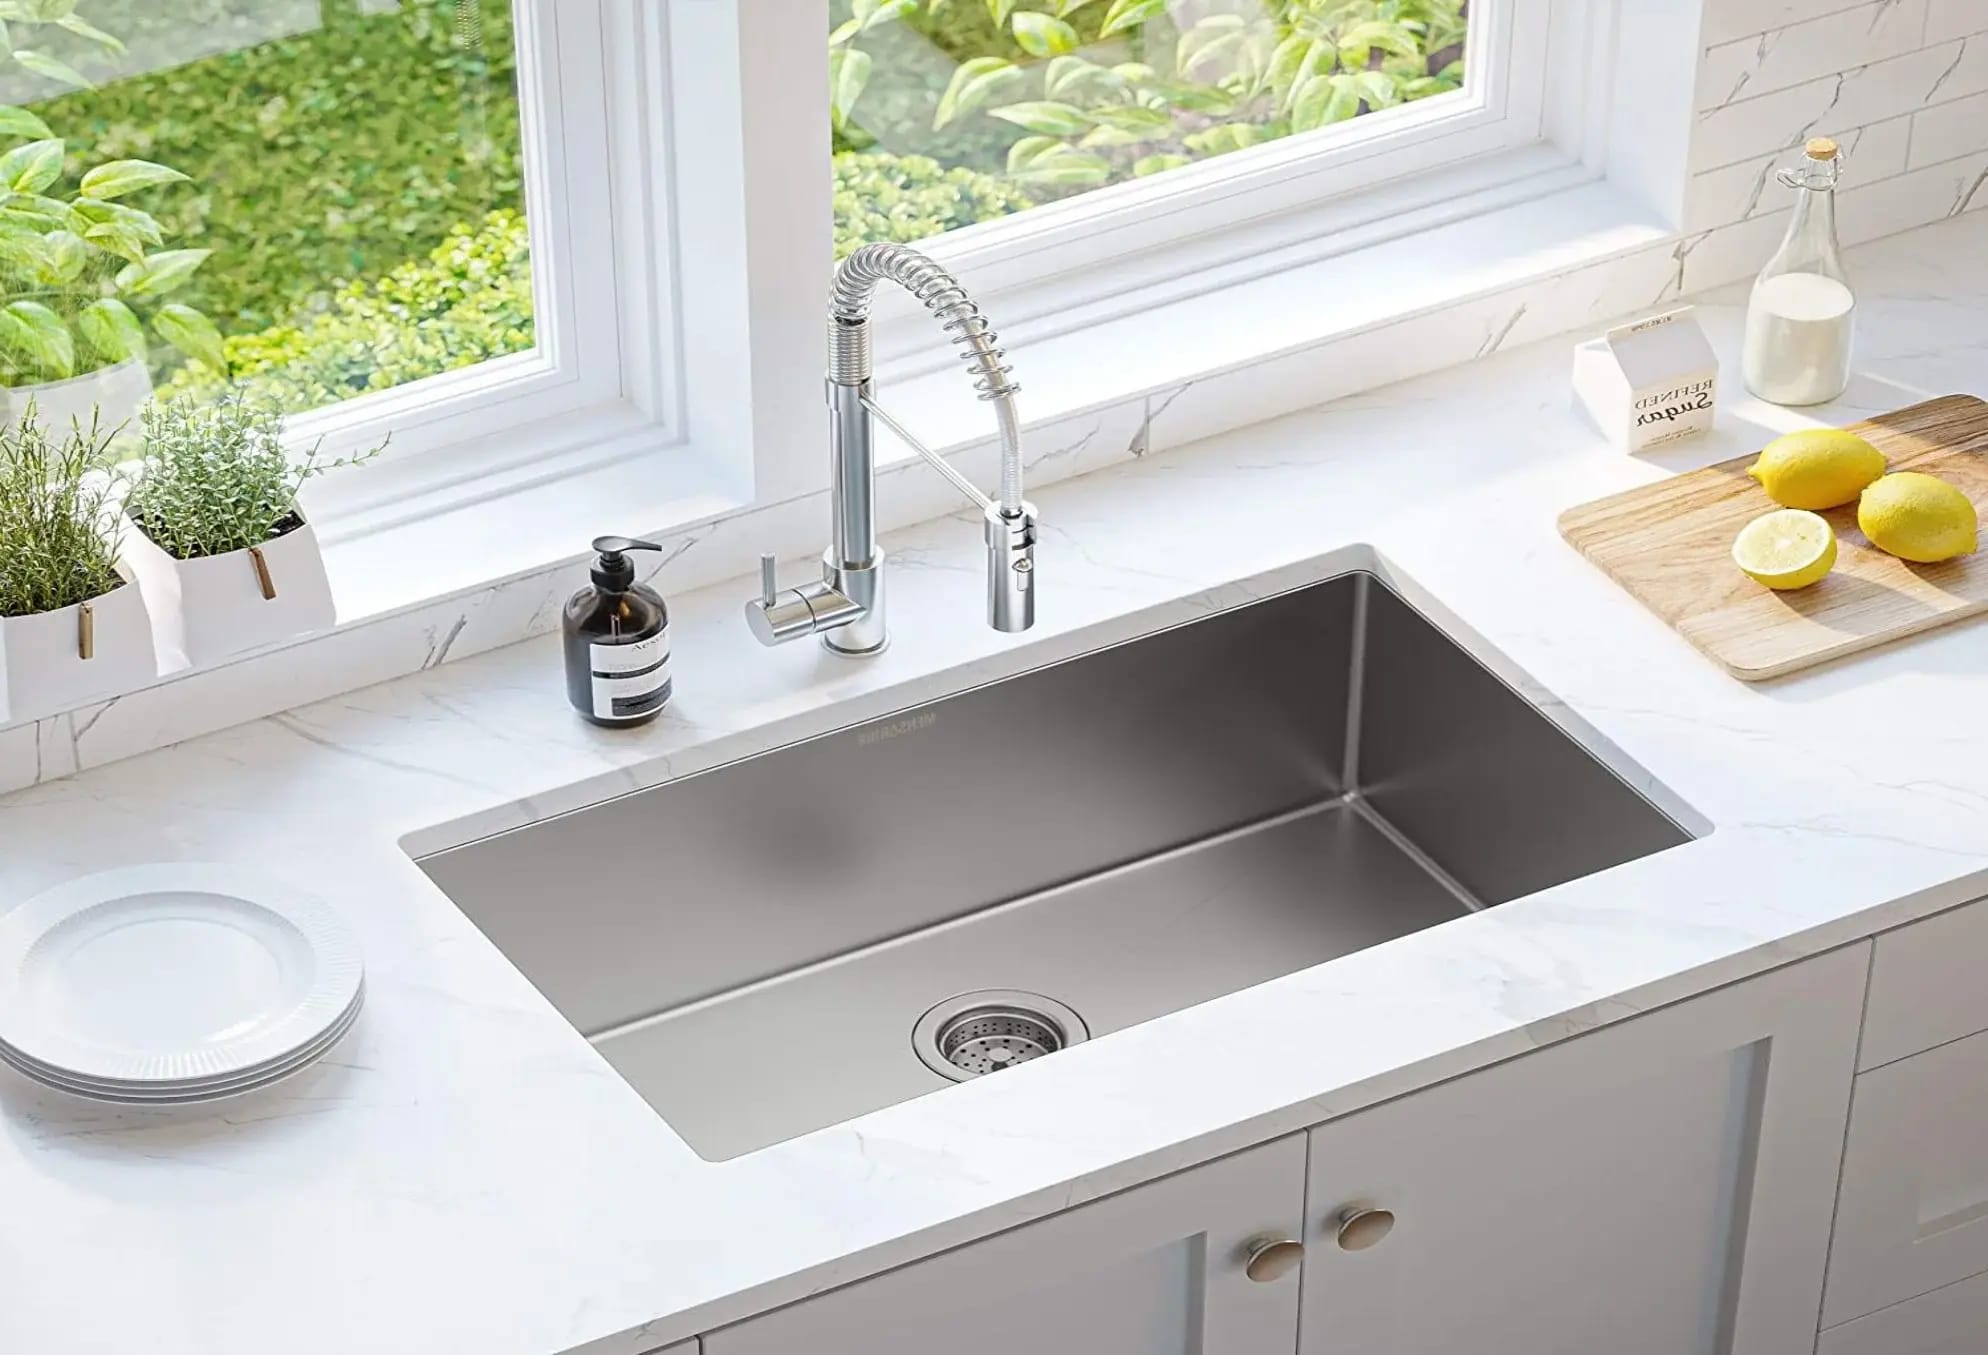
Installing a kitchen sink with a built-in produce washing station can seem like a daunting task, but it’s totally doable with the right guidance. The benefits are numerous, making it a worthwhile project for any DIY enthusiast. So, why should you install a kitchen sink with a built-in produce washing station?
First off, efficiency is a huge plus. Imagine having a dedicated spot to wash your veggies right next to where you prepare meals. No more running back and forth between the sink and the countertop. This setup saves time and effort, making your kitchen workflow smoother. Plus, it’s super convenient when you’re in the middle of cooking and need to rinse off some produce quickly.
Hygiene is another big reason. Washing your vegetables in a dedicated station ensures they’re clean and free from dirt and bacteria. This is crucial for maintaining good health. You don’t want to risk contaminating your food with germs from other kitchen activities. A built-in produce washing station helps keep things sanitary, giving you peace of mind.
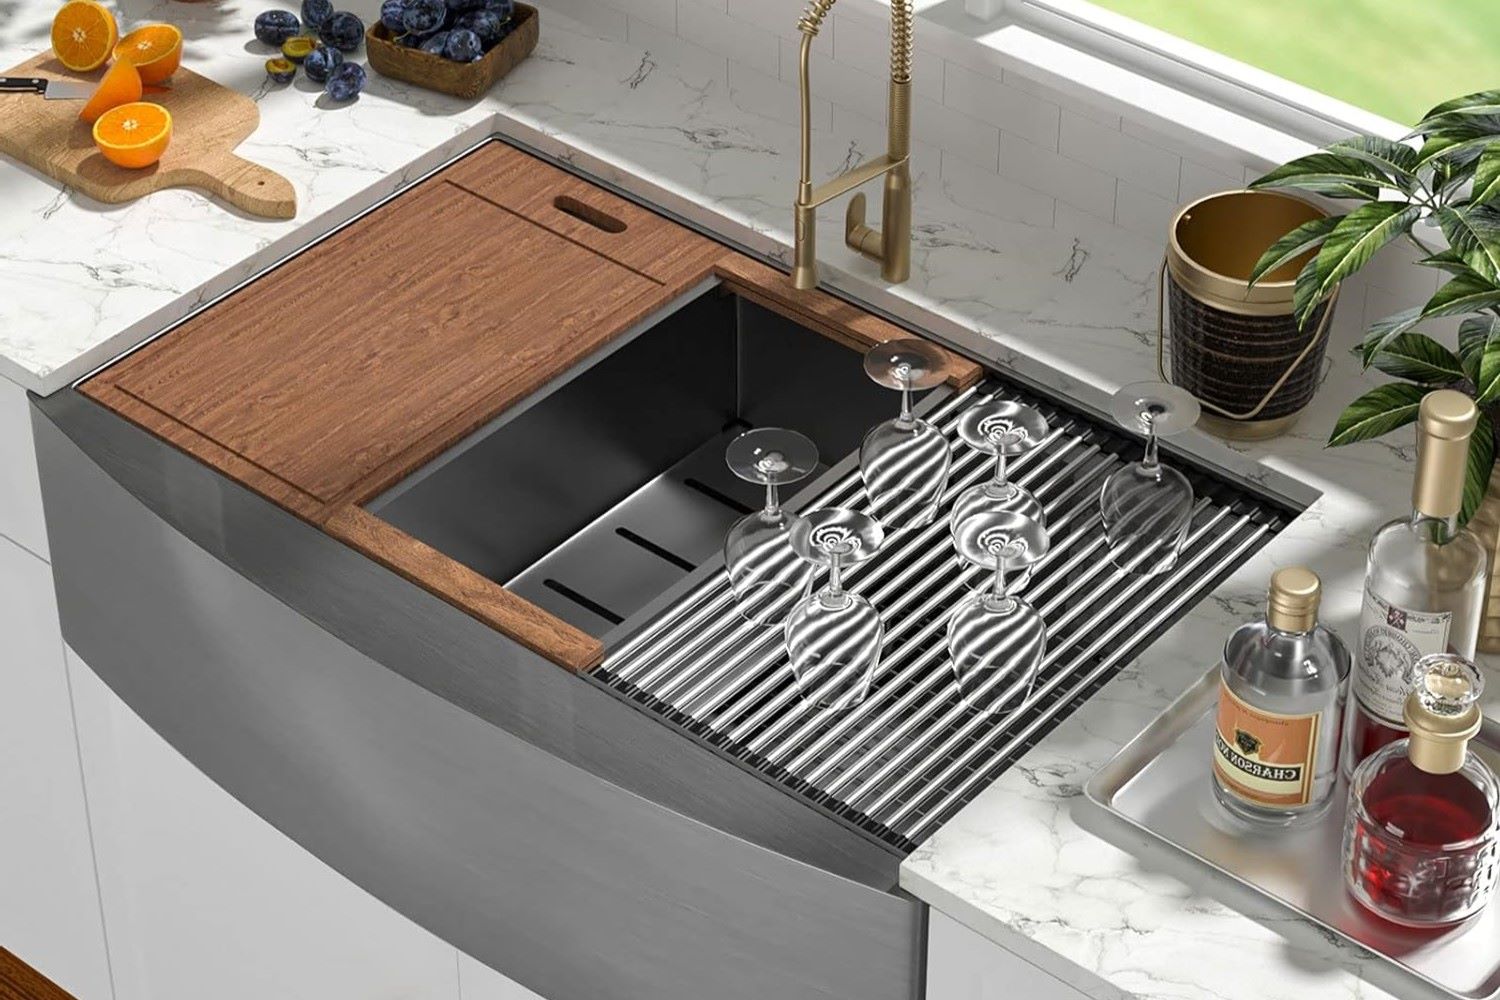
Then there’s the space-saving aspect. Integrating the washing station into your kitchen sink installation optimizes your kitchen space. You won’t need a separate sink or countertop area just for washing produce. This is especially beneficial if you have a small kitchen. Every inch counts, and this setup helps you make the most of your available space.
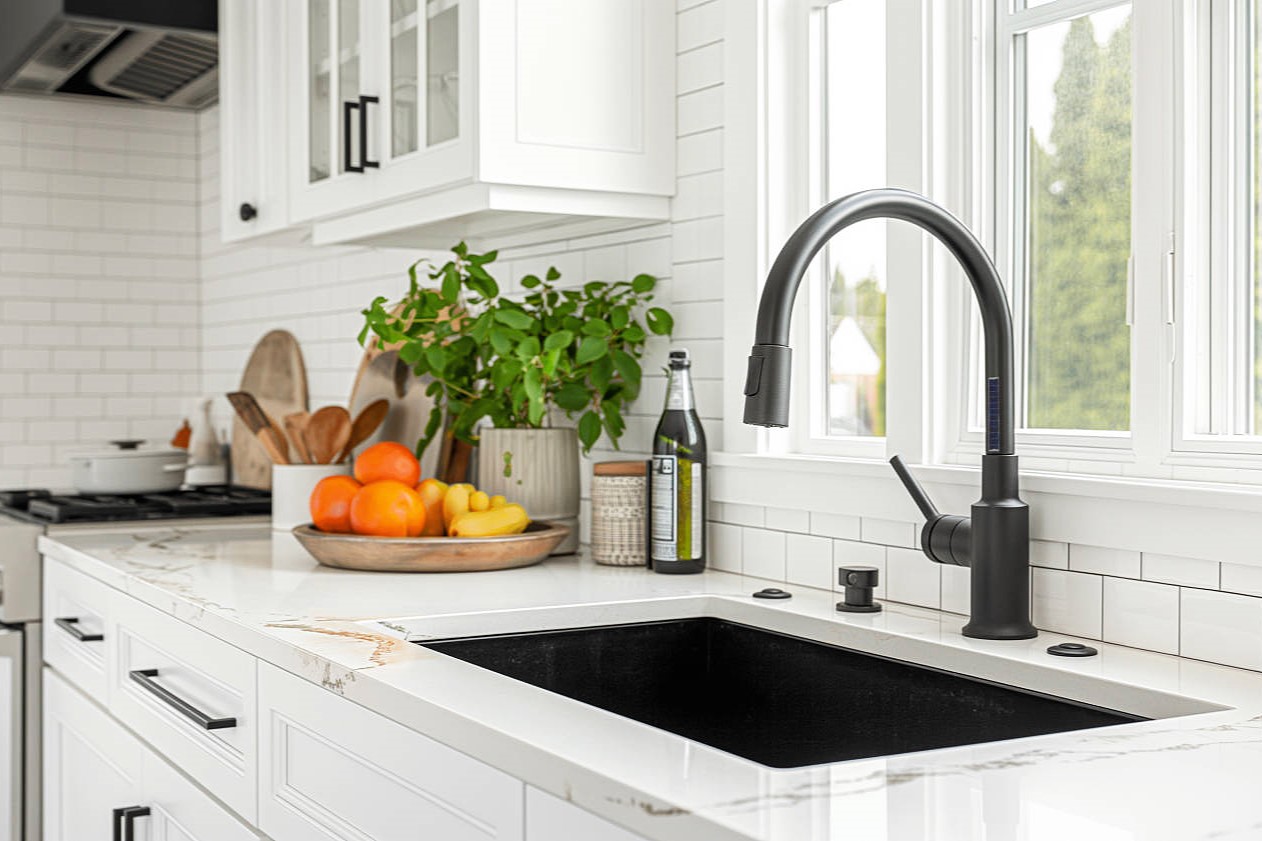
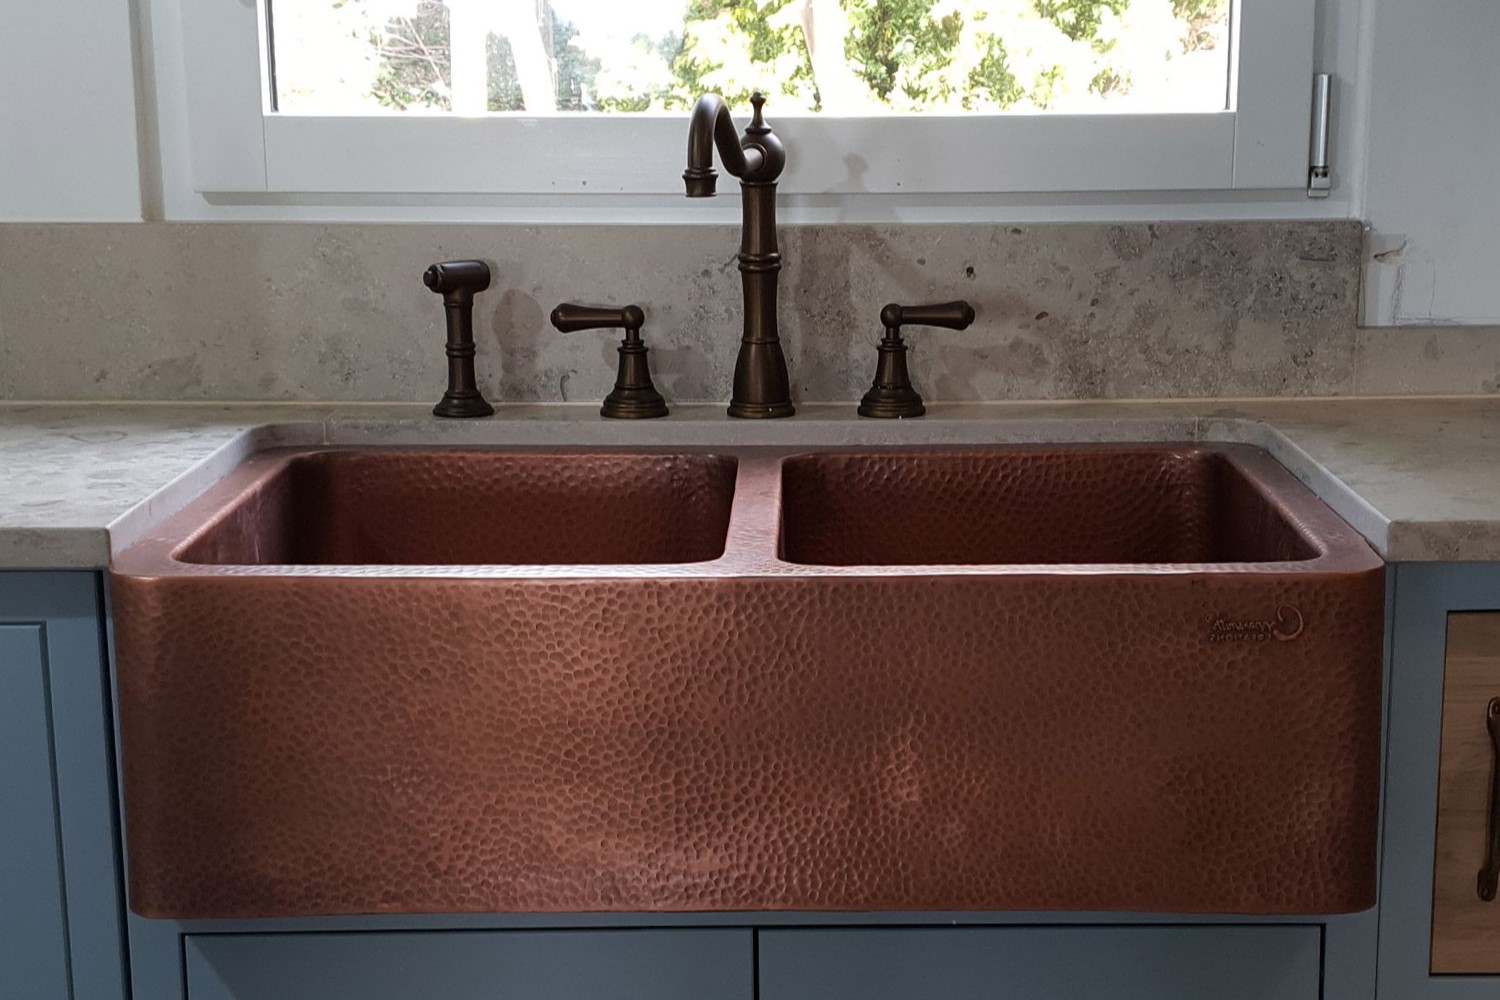
Lastly, let’s talk about aesthetics. A well-designed produce washing station can add a touch of elegance to your kitchen. It’s not just functional; it looks good too. A sleek, integrated design can make your kitchen more visually appealing, impressing guests and making your cooking space more enjoyable.
Materials Needed
Before you start, gather all the materials you’ll need. Here’s a handy list:
For the Kitchen Sink Installation
- New kitchen sink
- Faucet
- Drain assembly
- Mounting hardware (screws, washers, etc.)
- Silicone sealant
- Utility knife
- Flat pry bar
- Putty knife
- Bucket and towels for catching water and protecting surfaces
For the Produce Washing Station
- Wood (2x4s, 2x6s)
- Hardware cloth (galvanized wire with square openings)
- Staple gun
- Wood trim (optional)
- Screws and nails for assembling the frame
Step-by-Step Guide to Installing a Kitchen Sink
Step 1: Remove the Old Sink
Removing the old sink is often the most challenging part of the installation process. Here’s how you can do it:
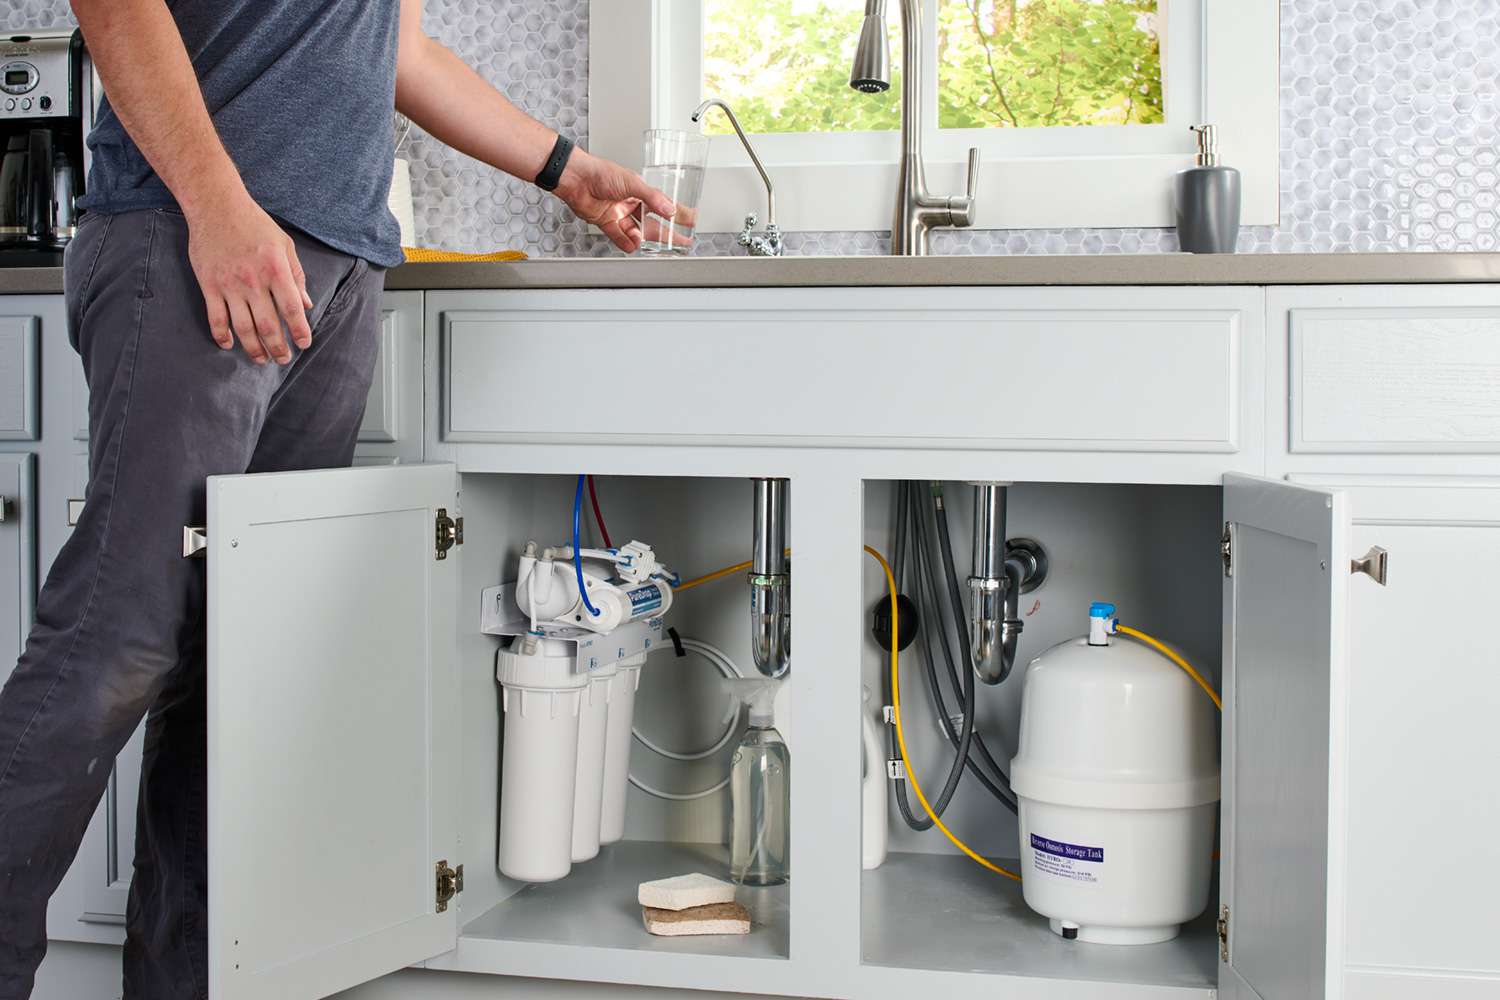
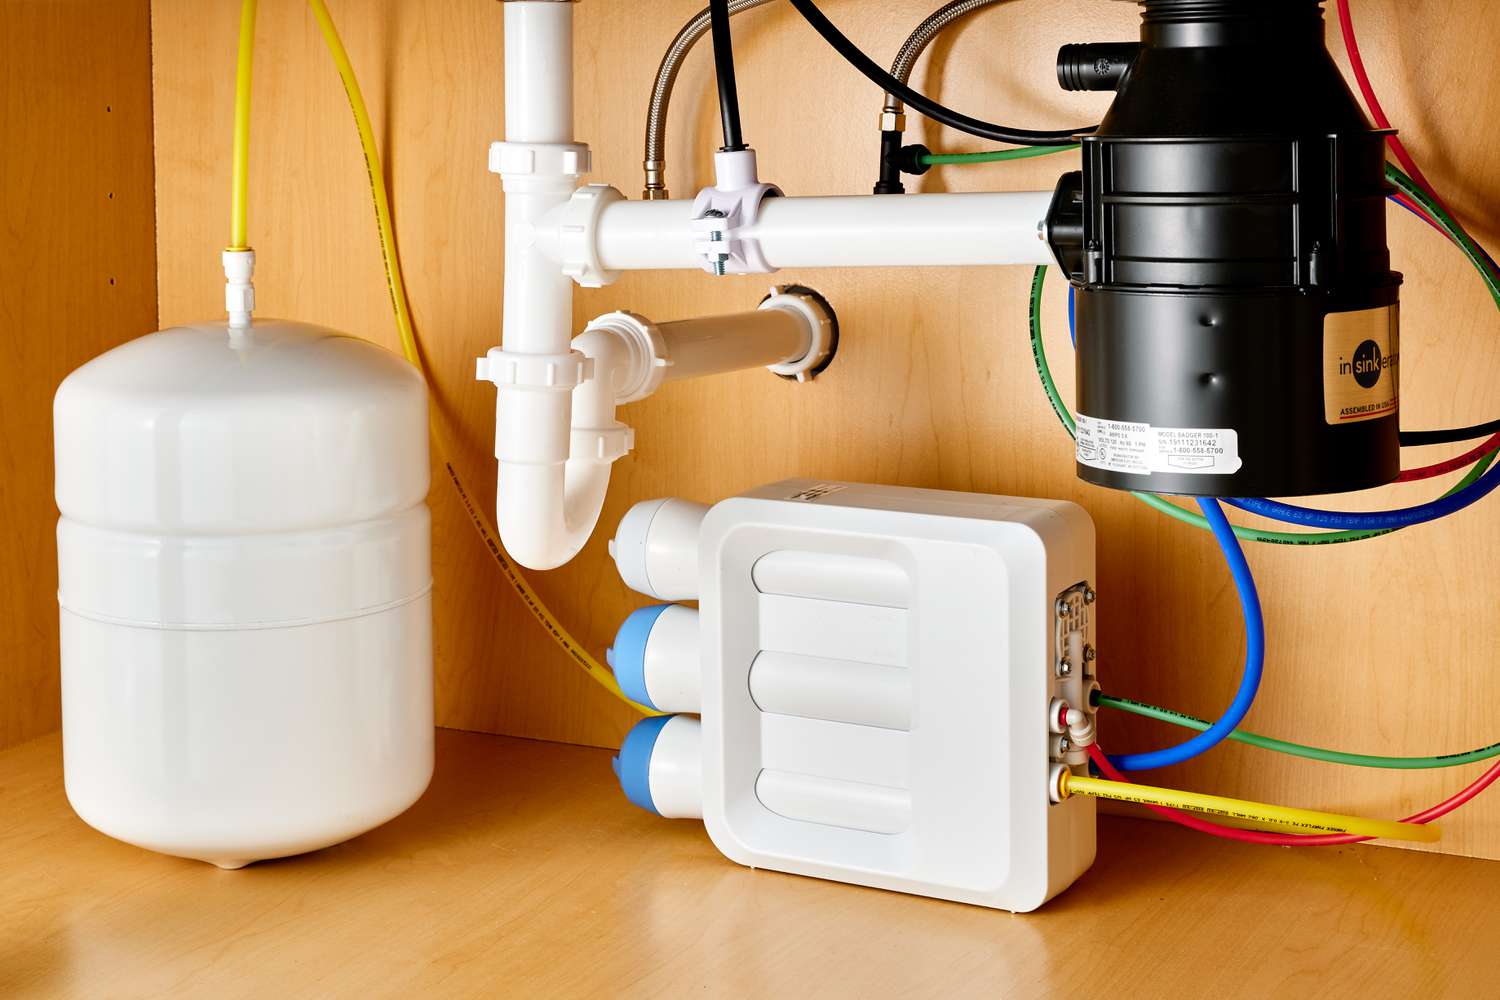
- Turn off the water supply: Locate the shut-off valves under the cabinet and turn them clockwise to shut off the water supply. If there are no shut-off valves, you may need to locate the main shut-off valve for your home.
- Disconnect the water lines: Use an adjustable wrench to loosen and remove the water supply lines from the old sink.
- Disconnect the drain assembly: Remove any P-trap or drain assembly connected to the old sink.
- Remove old sink: Loosen all screws that hold the old sink in place. For under-mount sinks, you may need to use a flat pry bar or putty knife to carefully pry it away from the countertop, taking care not to damage any surrounding surfaces.
Step 2: Measure and Mark Placement of Your New Sink
Measure twice to ensure accuracy:
- Measure the area: Measure the width and depth of your new sink to ensure it fits perfectly in your kitchen.
- Mark screw holes: Place your new sink upside down on the countertop and use a level to mark where each screw hole will go.
- Mark faucet placement: If you’re installing a new faucet simultaneously, mark its placement as well.
Step 3: Draw Cut Lines
If necessary, resize the opening:
- Lay tape down: Place tape along the edges where you need to cut.
- Draw cut lines: Use a permanent marker to draw cut lines as a guide.
- Avoid using pencil: Pencil lines can be hard to see once you start cutting.
Step 4: Use Your Jigsaw to Cut the Hole Open
Cut carefully:
- Start inside marked lines: Begin cutting from inside your marked lines using a jigsaw.
- Be cautious of wiring/plumbing: Avoid cutting into any wiring or plumbing that may still be attached.
- Cut slowly and steadily: Go slowly with your cuts to ensure accuracy and safety.
Step 5: Assemble Your Sink Parts
Follow manufacturer instructions:
- Screw in faucet: Attach your faucet according to manufacturer instructions.
- Run supply tubing: Run supply tubing through gaskets provided with your kit.
- Screw in mounting nuts/washers: Secure mounting nuts and washers according to manufacturer guidelines.
Step 6: Install the Sink in Place
Place it carefully:
- Hold sink in place: With a partner’s help, place your new sink into its newly cut hole.
- Use level as you go: Ensure it’s perfectly level by tightening or loosening screws as needed.
Step 7: Connect Water Supply
Reconnect lines carefully:
- Turn on faucet briefly: Turn on faucet briefly before reconnecting water lines to relieve pressure in lines.
- Reconnect water lines: Connect water supply lines back onto new sink while ensuring no leaks occur during connection process.
Step 8: Connect Drain Pipes
Finish assembling drain pipes:
- Reconnect P-trap/drain assembly: Reconnect any P-trap or drain assembly back onto new sink ensuring no leaks occur during connection process.
- Test drain pipes: Test drain pipes by running water through them checking for any leaks along way ensuring proper functioning before completing installation process completely!
Step 9: If You Have A Dishwasher Reconnect Drain
Reconnect dishwasher drain if applicable:
- Locate dishwasher drain connection point: Locate point where dishwasher drain connects back onto main drain pipe system ensuring no leaks occur during reconnection process!
- Reconnect dishwasher drain: Reconnect dishwasher drain back onto main drain pipe system ensuring proper functioning before completing installation process completely!
Step 10 Test Sink
Final check before completion:
- **Run water thoroughly checking pressure levels ensuring no leaks occur during testing phase!
- **Check under sink area thoroughly checking pressure levels ensuring no leaks occur during testing phase!
Step 11 Clean Up Enjoy!
Congratulations You've successfully installed your new kitchen sink!
- **Clean up area thoroughly removing any debris left behind during installation process ensuring clean workspace environment!
- **Pat yourself back enjoying fruits laborious efforts paying off handsomely making kitchen space more functional aesthetically pleasing overall experience!
Step-by-Step Guide To Building Produce Washing Station
Step 1 Make Tray First
Create base structure using wood pieces:
- **Cut wood pieces appropriately measuring dimensions required creating rectangular shape base structure using two-by-fours six-by-sixes ensuring stability durability long-term usage purposes!
- **Attach hardware cloth top tray securely using staple gun ensuring water flows freely draining efficiently preventing bacterial growth contamination risks associated improper hygiene practices!
Step 2 Assemble Frame Supporting Tray
Add additional support structure ensuring stability durability long-term usage purposes:
- **Cut additional wood pieces appropriately measuring dimensions required creating frame structure supporting base tray ensuring stability durability long-term usage purposes!
- **Attach bottom slats creating bottom tray securely using screws nails ensuring water flows freely draining efficiently preventing bacterial growth contamination risks associated improper hygiene practices!
Step 3 Secure Top Piece Backdrop Garden Tools
Add final touches completing produce washing station setup:
- **Cut top piece wood appropriately measuring dimensions required creating rectangular shape backdrop garden tools ensuring stability durability long-term usage purposes!
- **Attach hardware cloth back backdrop garden tools securely using staple gun ensuring water flows freely draining efficiently preventing bacterial growth contamination risks associated improper hygiene practices!
Integrating Produce Washing Station Into Kitchen Sink Installation
Now that you've built your produce washing station separately let's integrate it seamlessly into existing kitchen sink installation process ensuring smooth operation functionality overall experience!
Placement Considerations
When placing produce washing station consider following factors ensuring optimal performance functionality overall experience:
- Proximity kitchen sink: Place produce washing station close proximity kitchen sink ensuring easy access convenience overall experience!
- Counter space availability: Ensure sufficient counter space availability accommodating produce washing station setup without compromising existing workflow efficiency overall experience!
Installation Tips
Here are some additional tips ensuring successful integration produce washing station into existing kitchen sink installation process:
- Drainage considerations: Ensure proper drainage system place produce washing station preventing water accumulation creating slippery surfaces hazards associated improper hygiene practices!
- Hygiene practices: Implement strict hygiene practices place produce washing station ensuring cleanliness sanitation overall experience!
Installing kitchen sink built-in produce washing station comprehensive project requiring careful planning execution ensuring optimal performance functionality overall experience By following step-by-step guide outlined above successfully integrate produce washing station seamlessly into existing kitchen sink installation process enhancing both functionality aesthetic appeal kitchen space overall experience!
Remember always exercise caution safety during installation process seeking professional advice needed ensuring successful completion project without compromising safety integrity overall experience Happy building
Was this page helpful?
At Storables.com, we guarantee accurate and reliable information. Our content, validated by Expert Board Contributors, is crafted following stringent Editorial Policies. We're committed to providing you with well-researched, expert-backed insights for all your informational needs.


0 thoughts on “DIY Guide To Installing A Kitchen Sink With Built-in Produce Washing Station”