Home>Ideas and Tips>DIY Guide to Installing a Kitchen Sink with a Built-In UV Water Purifier
Ideas and Tips
DIY Guide to Installing a Kitchen Sink with a Built-In UV Water Purifier
Modified: October 31, 2024
Learn how to install a kitchen sink with a built-in UV water purifier. Follow our step-by-step DIY guide for clean, safe drinking water.
(Many of the links in this article redirect to a specific reviewed product. Your purchase of these products through affiliate links helps to generate commission for Storables.com, at no extra cost. Learn more)
Introduction
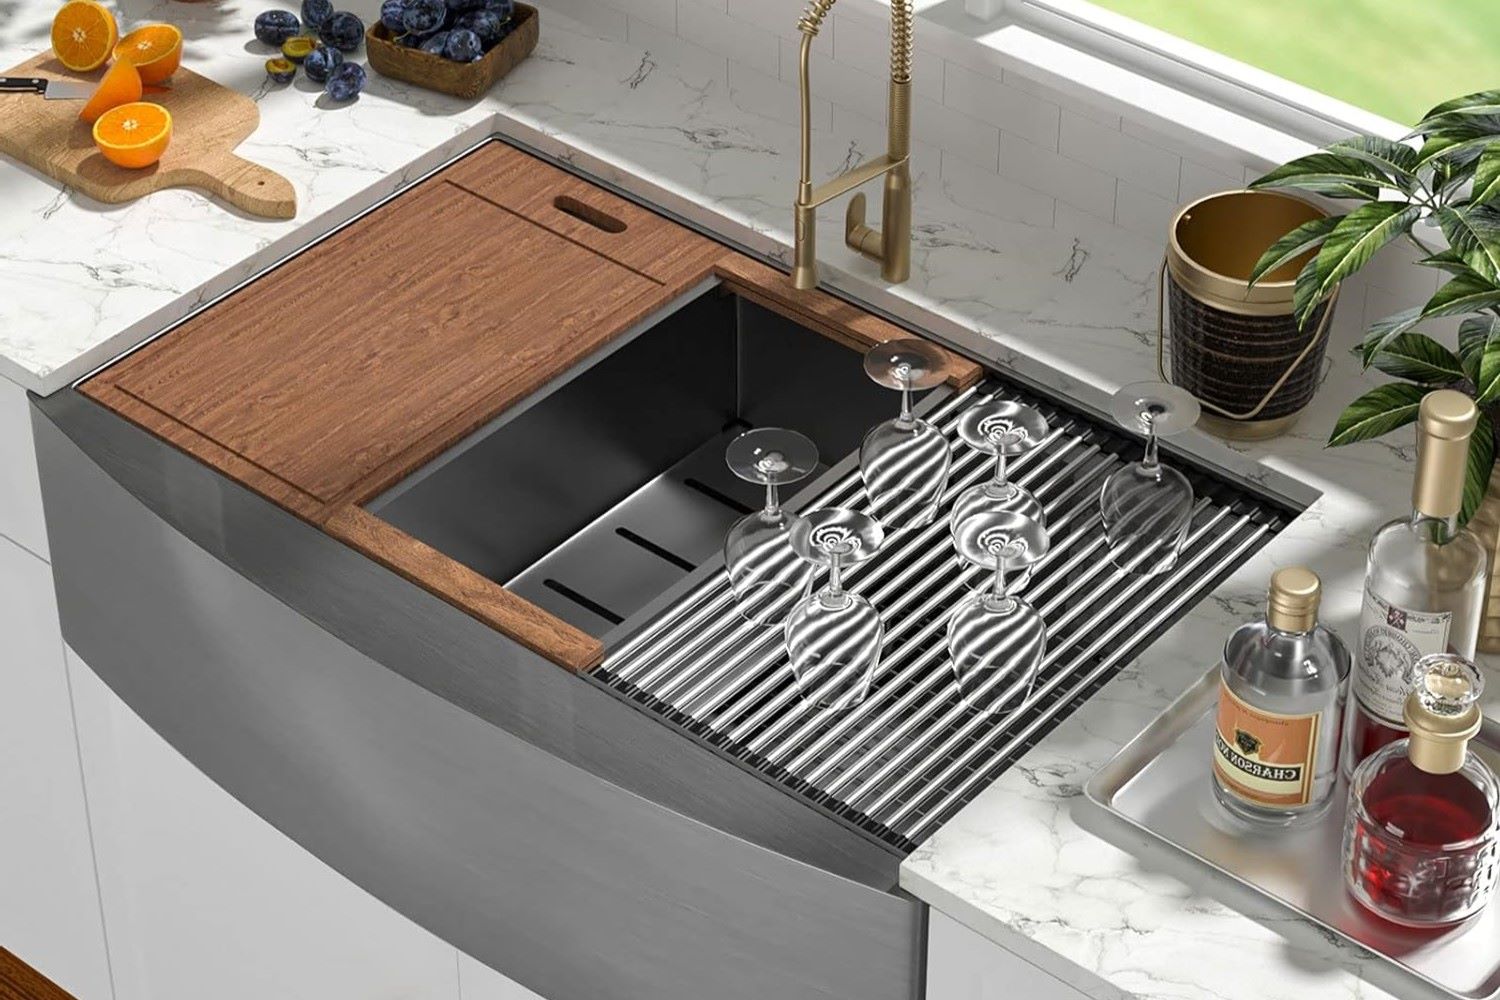
Having clean and safe drinking water is essential for any household. Traditional water purification methods often involve installing separate units under the sink or on the countertop. However, integrating a UV water purifier directly into your kitchen sink offers several advantages, including a sleek design, improved water quality, and enhanced convenience. In this guide, we will cover the steps involved in installing a kitchen sink with a built-in UV water purifier.
Step 1: Planning and Preparation
Before starting the installation, it is crucial to plan and prepare thoroughly. Here are some key steps to consider:
-
Choose the Right Components:
- UV Water Purifier: Select a UV water purifier that is specifically designed for under-sink or built-in installations. Ensure it has the necessary fittings and connections for integration with your kitchen sink.
- Sediment Filter: A sediment filter is often required before the UV light to remove any particles that could interfere with the UV light's effectiveness.
- Faucet and Fittings: Choose a faucet that is compatible with your chosen UV water purifier. You will also need various fittings such as tees, elbows, and adapters to connect the system.
-
Tools and Materials:
- Drill and Driver: For drilling holes in the sink or countertop.
- Pliers and Adjustable Wrench: For tightening connections.
- Teflon Tape: To seal threaded fittings.
- Plumber's Putty: To seal the faucet to the sink deck.
- PEX Crimper: If using PEX tubing.
- Power Tools: Such as a saw or cutter for any additional materials needed.
-
Turn Off Water Supply:
- Locate the main water shut-off valve and turn it off. Open a nearby faucet to relieve pressure in the lines.
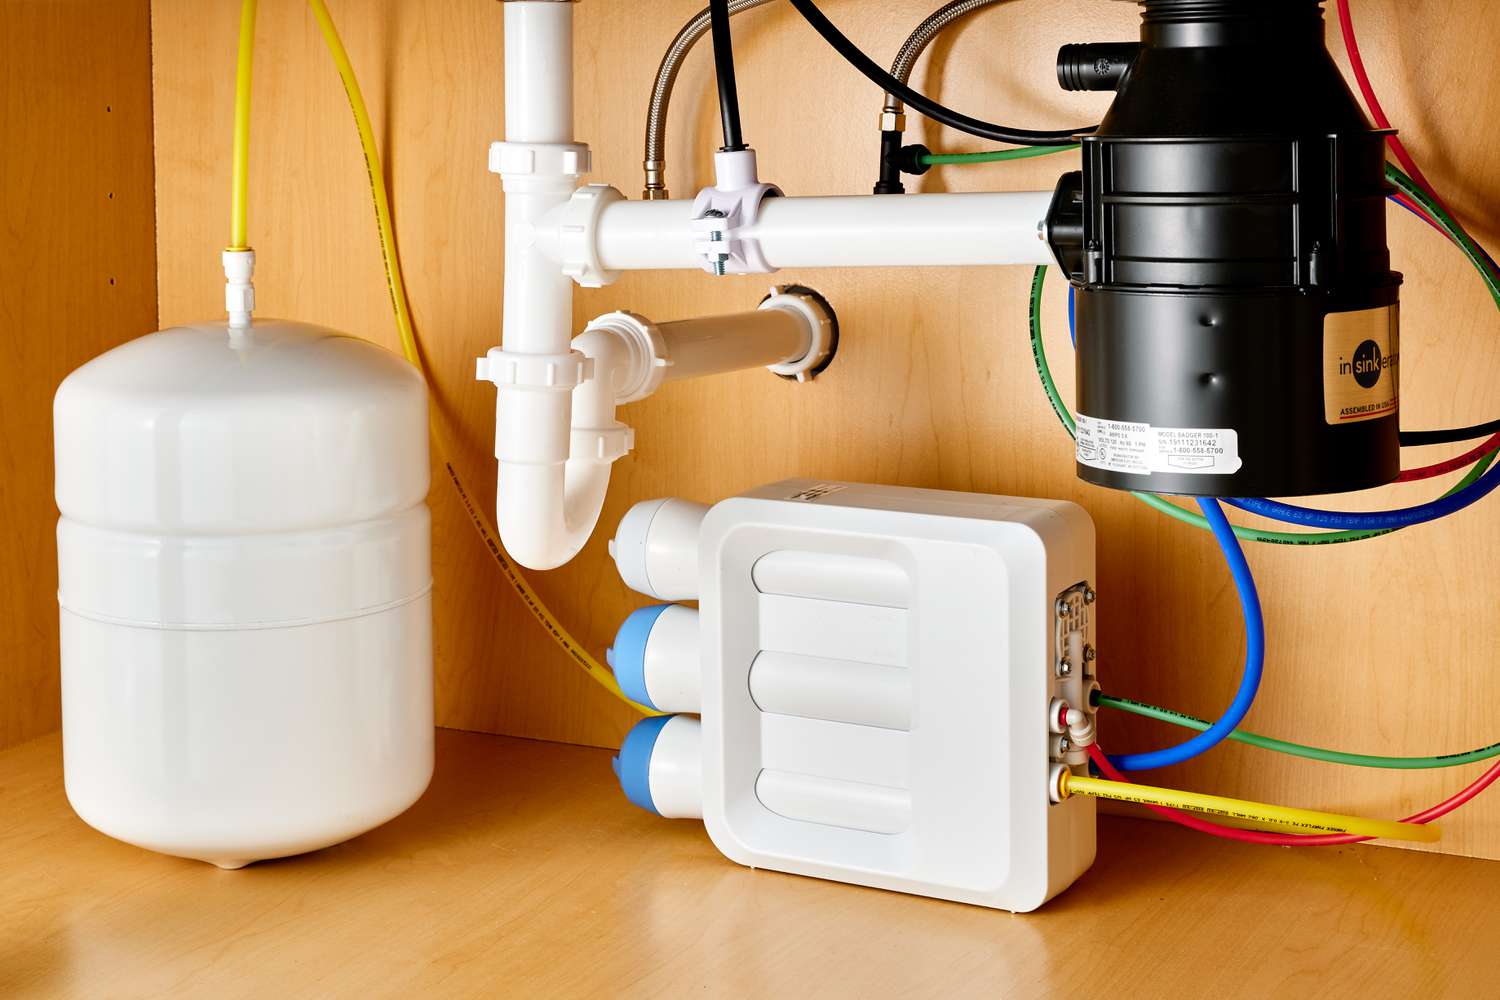
Step 2: Mounting the Sediment Filter
The sediment filter is typically installed first in the water flow path to remove any sediment or particles that could affect the UV light's performance.
-
Locate the Water Supply Line:
- Identify where the cold water supply line enters your kitchen sink.
-
Drill a Hole (if necessary):
- If your sink requires a hole for the sediment filter, use a drill bit appropriate for your sink material (e.g., stainless steel or granite). Check the manufacturer's instructions for the correct size hole.
-
Mount the Sediment Filter Housing:
- Place the sediment filter housing along with its stand on the floor below the sink. Wrap Teflon tape on the input-output ports and fix a 90-degree ball valve to it.
-
Connect Plumbing Lines:
- Use Teflon tape to seal threaded fittings and connect them securely with pliers and an adjustable wrench.
Step 3: Installing the UV Light
The UV light should be installed last in the water flow path to ensure maximum effectiveness.
-
Mounting the UV Light:
- Determine where you want to mount the UV light on your wall, considering space above it for bulb replacement every year.
- Use supplied hardware to mount it securely.
-
Connecting Plumbing Lines:
- Connect one end of your plumbing line from the sediment filter housing to one end of your UV light housing.
- Ensure all connections are watertight using Teflon tape.
-
Bypass Valves (if necessary):
- Install bypass valves if needed to bypass the UV system temporarily during maintenance or cleaning.
Step 4: Integrating with Faucet
Once both filters are in place, integrate them with your faucet.
-
Drill Additional Holes (if necessary):
- If required by your faucet design, drill additional holes for mounting it securely under your sink.
-
Connect Faucet to Filter System:
- Connect one end of your faucet's water supply line directly into one end of either filter housing (sediment or UV).
- Use Teflon tape and tighten connections securely with pliers and an adjustable wrench.
-
Final Check on Connections:
- Verify all connections are watertight by checking for leaks before turning on water supply again.
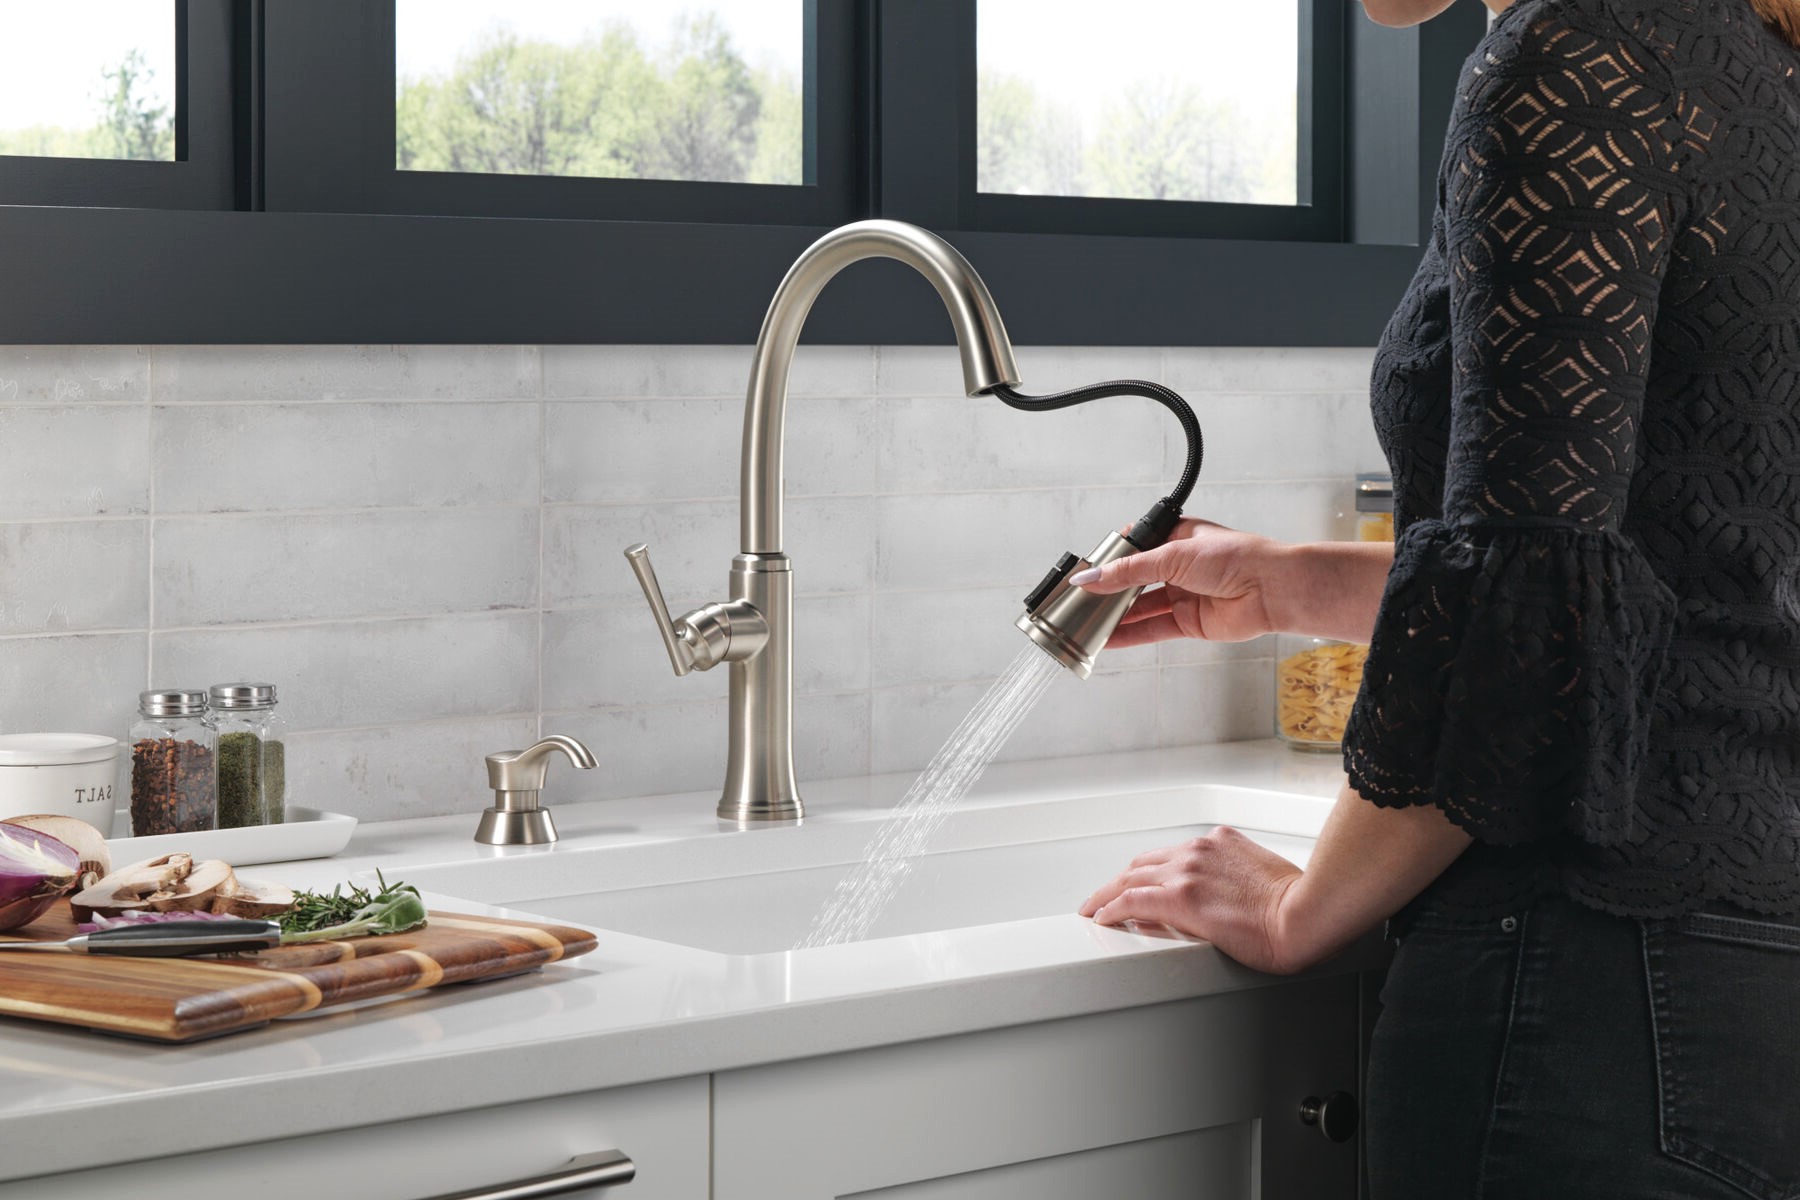
Step 5: Activating System
After ensuring all connections are secure and watertight:
-
Turn On Water Supply:
- Turn back on cold water supply line at main shut-off valve.
-
Flush System:
- Run filtered water through faucet for several minutes initially after installation to flush out any debris or contaminants from new system components.
-
Check Performance:
- Monitor TDS levels if possible or taste/smell quality post-installation ensuring optimal performance from integrated UV filtration system integrated within kitchen sink setup itself!
Conclusion
Installing a kitchen sink with built-in UV water purifier requires careful planning preparation along step-by-step execution ensuring maximum efficiency safety throughout entire process By following these guidelines closely while utilizing appropriate tools materials available today anyone can achieve desired results enhancing overall household experience significantly Remember always refer manufacturer instructions specific requirements particular components chosen during initial stages ensuring seamless integration final product delivered end-users satisfaction guaranteed!
Additional Tips & Considerations
- Regular Maintenance: Regularly check UV bulb replacement schedule ensuring optimal performance throughout lifespan product itself!
- Professional Assistance: If unsure about any aspect installation process consider hiring certified plumber avoid potential complications arising later stages operation/maintenance phases respectively!
- Energy Efficiency: Some modern UV systems come equipped energy-saving features reducing operational costs long-term basis making them even more appealing option homeowners alike!
By following this comprehensive guide step-by-step approach outlined above anyone can successfully install kitchen sink featuring integrated UV water purification system enhancing quality life significantly
Was this page helpful?
At Storables.com, we guarantee accurate and reliable information. Our content, validated by Expert Board Contributors, is crafted following stringent Editorial Policies. We're committed to providing you with well-researched, expert-backed insights for all your informational needs.


0 thoughts on “DIY Guide to Installing a Kitchen Sink with a Built-In UV Water Purifier”