Home>Ideas and Tips>DIY Guide To Installing A Pendant Light
Ideas and Tips
DIY Guide To Installing A Pendant Light
Published: September 5, 2024
Learn how to install a pendant light with our step-by-step DIY guide. Enhance your home's lighting and style safely and efficiently.
(Many of the links in this article redirect to a specific reviewed product. Your purchase of these products through affiliate links helps to generate commission for Storables.com, at no extra cost. Learn more)
Introduction
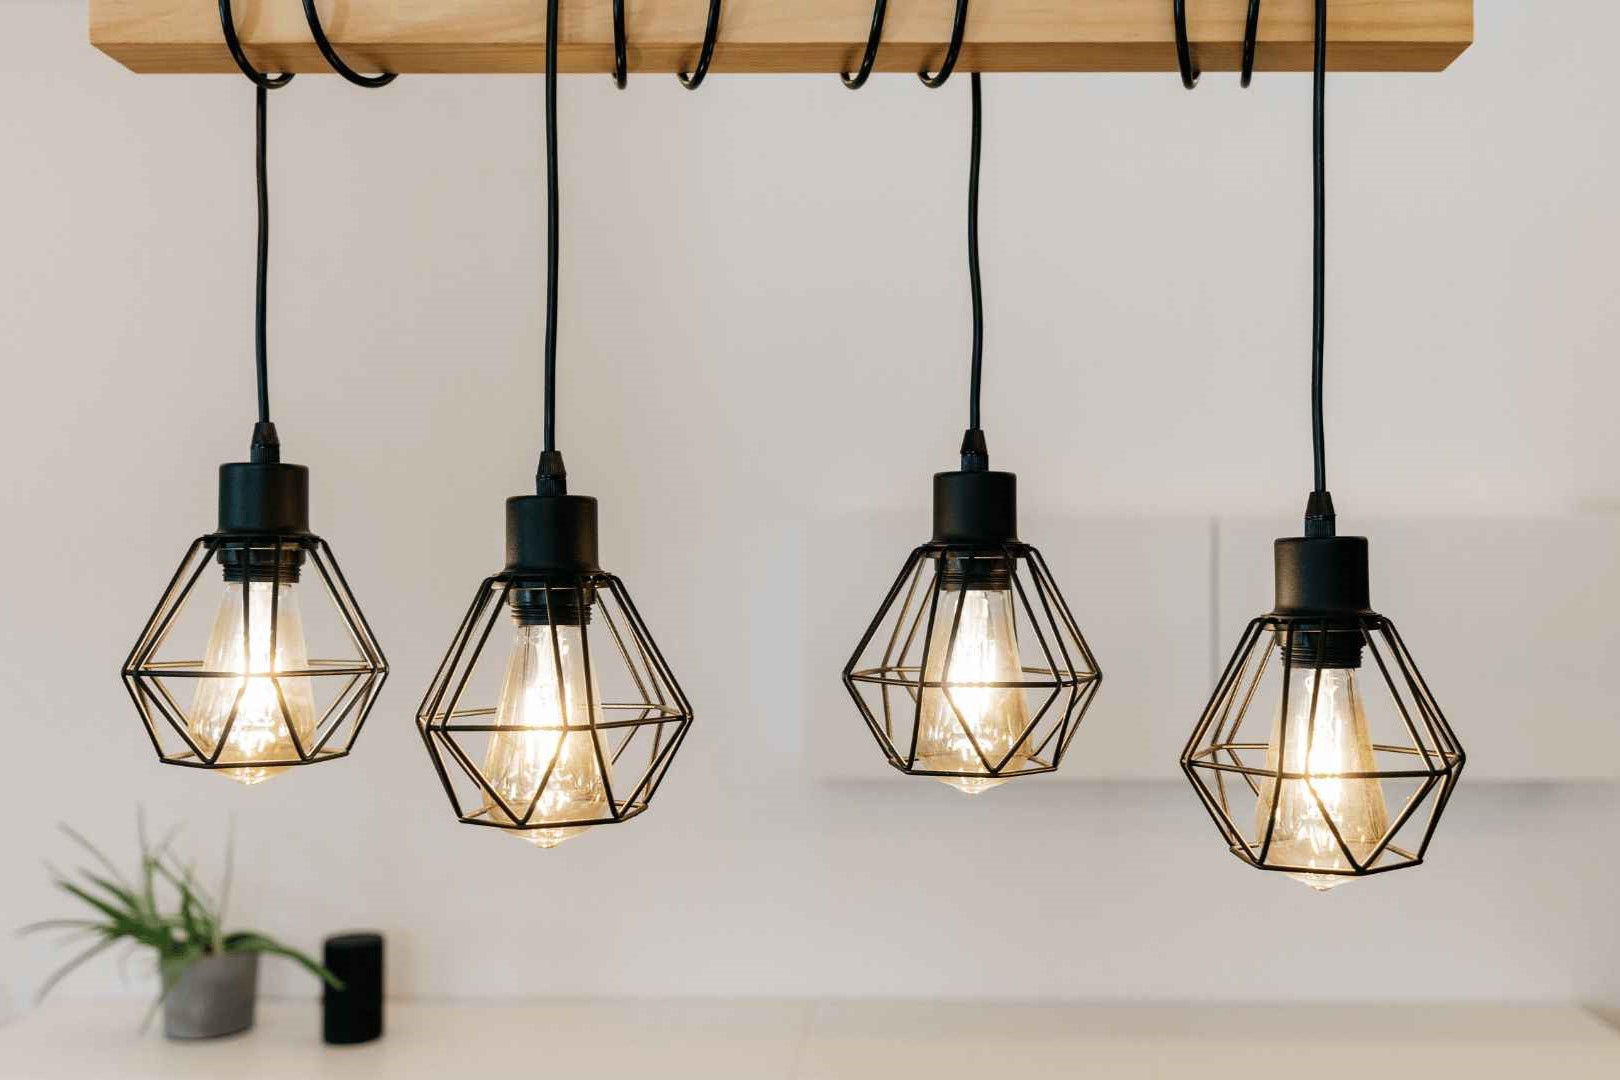
Installing a pendant light is a great way to enhance the lighting and aesthetic of any room. Whether you're looking to add task lighting over a kitchen island, ambient lighting in a dining area, or simply a stylish touch to your living room, pendant lights are an excellent choice. This guide will walk you through the step-by-step process of installing a pendant light, covering all the necessary tools, materials, and safety precautions.
Pendant lights are versatile and can be used in various settings, from kitchens and dining rooms to living rooms and hallways. They bring light closer to the task area, providing better illumination and creating a more inviting atmosphere. With the right tools and some basic knowledge of electrical wiring, you can easily install a pendant light yourself. However, if you're not comfortable working with electrical wiring or installation, it's always recommended to contact a licensed electrician.
Tools Required
Before starting your project, make sure you have the following tools:
- Wire Stripper/Cutter: This tool is essential for stripping the insulation from the electrical wires and cutting them to the correct length.
- Screwdriver: A screwdriver is necessary for attaching the pendant light to the ceiling cap and any other hardware provided with the fixture.
- Measuring Tape: A measuring tape helps in determining the correct length of the pendant rod and ensuring that the light is hung at the desired height.
- Voltage Meter: A voltage meter is crucial for double-checking that the power is turned off before starting the installation.
Materials Required
Here are the materials you'll need for the installation:
- Pendant Light: The pendant light fixture itself, which includes the shade, bulbs, and any additional hardware.
- Wire Nuts: These are used to connect the electrical wires to the power leads.
- Cross Bar: The cross bar connects the bezel to the electrical box and provides the strength needed to support the light fixture.
- Pendant Rod: The rod that connects the pendant light to the ceiling cap.
- Chain Link: Some pendant lights use a chain link to connect the pendant rod to the ceiling cap.
- Ceiling Canopy: This covers the opening to the junction box and houses the wiring.
- Screws and Other Hardware: These are included with the pendant light fixture and are used for attaching it to the ceiling cap and junction box.
Step-by-Step Installation Guide
Step 1: Disconnect the Power
The first step in installing a pendant light is to disconnect the power to the room. This is crucial for safety reasons to avoid any electrical shock or injury.
- Turn Off the Breaker Switch: Locate the breaker switch at the distribution panel and turn it off. Make sure you know which switch controls the circuit you're working on.
- Double Check with a Voltage Meter: Use a voltage meter to double-check that there is no electricity flowing through the wires in the ceiling junction box.
Read more: DIY Guide To Installing Wainscoting
Step 2: Attach Cross Bar to Junction Box
The cross bar is an essential component that connects the bezel to the electrical box and provides the necessary support for the light fixture.
- Locate the Junction Box: Identify the junction box in your ceiling where you'll be installing the pendant light.
- Attach Cross Bar: Attach the cross bar to the junction box using the supplied 8-32 thread screws. Make sure it is securely fastened.
Step 3: Feed Electrical Wire Through Pendant Rod
Next, you need to feed the electrical wire through the pendant rod and cut it to the correct length.
- Determine Rod Length: Determine how long you want your pendant rod to be based on your design preferences.
- Feed Wire Through Rod: Feed the electrical wire through the center of the pendant rod and cut it to length using a wire cutter.
Step 4: Attach Pendant Rod to Ceiling Cap
Now it's time to attach the pendant rod to the ceiling cap using a chain link or threaded connector.
- Feed Wires Through Cap: Feed any wires through the cap and loop them through any eyelets provided.
- Attach Chain Link/Threaded Connector: If using a chain link, loop it through eyelets on both ends of the pendant rod and attach it securely to both ends of the ceiling cap. If using a threaded connector, simply thread it onto both ends.
Step 5: Connect Electrical Wire to Light
This step involves connecting the electrical wire to the light fixture.
- Identify Wires: Identify which wires are which (ground wire, white wire, black wire).
- Connect Ground Wire: Loop the ground wire (bare copper) around the green nut and attach that first.
- Use Wire Nuts: Using wire nuts, connect each wire lead to its corresponding power lead on the light fixture.
Read more: DIY Guide To Installing Floating Shelves
Step 6: Check for Functionality
Finally, it's time to check if everything is working correctly.
- Insert Bulb: Screw in a light bulb of your choice.
- Turn On Power: Flip the breaker switch back on and turn on the light to test it.
Additional Tips and Considerations
Hanging Height
When installing pendant lights, it's important to consider the hanging height based on your design preferences and the type of fixture you're using.
- General Rule: Pendants should be at least 12 inches away from the wall when mounted over nightstands or other furniture.
- Kitchen Island: For kitchen islands, hang pendants at least 30-36 inches above the countertop.
Types of Pendant Lights
There are several types of pendant lights available, each with its own installation requirements:
- Cord Mounted Pendant: This type uses an electrical cord that mechanically supports the weight of the fixture and is easy to manipulate for changing heights.
- Chain Mounted Pendant: These use standard metal chains that can be shortened or lengthened depending on ceiling height and preference.
- Stem Mounted Pendant: These hide electrical wires within a metal finished stem and typically come with multiple sections (6”, 12”, 18”) for adjusting length.
Read more: DIY Guide To Installing A Stair Runner
Universal Bracket
If you encounter issues with aligning the canopy bracket with screw holes in the junction box, consider using a universal mounting bracket:
- Align Bracket: Take the universal bracket and align it with your light fixture to understand which holes will be needed to accept screws coming from the light fixture.
- Mount Bracket: Mount this bracket to the junction box using any combination of slotted openings. Avoid using screw holes as they may not provide enough support.
Sloped or Vaulted Ceilings
Installing pendant lights on sloped or vaulted ceilings requires special consideration:
- Cord/Chain Pendants: These operate similarly to standard installations and can hang straight down without issues.
- Stem/Rod Pendants: These may require a slope adaptor mechanism so that they can hang straight down with an angle into the canopy.
Conclusion
Installing a pendant light is a straightforward DIY project that can significantly enhance your home's lighting and aesthetic. By following these steps and considering the specific requirements of your pendant light fixture, you can achieve professional-looking results safely and efficiently. Remember always to turn off power before starting any electrical work and consult professional help if you're unsure about any part of the process.
Frequently Asked Questions
Read more: DIY Guide To Installing A Kitchen Island
Do I Need an Electrician?
While it's always recommended to have electrical installations done by licensed professionals, many DIY enthusiasts can successfully install pendant lights if they have basic knowledge of tools and electrical wiring.
How Far Should Pendants Hang from Walls?
Pendants should be at least 12 inches away from walls when mounted over nightstands or other furniture.
How Do I Install Pendants Over Kitchen Islands?
For kitchen islands, hang pendants at least 30-36 inches above countertops.
Can I Hang Pendants on Sloped/Vaulted Ceilings?
Yes, but it depends on the type of pendant and mounting mechanism used. Cord/chain pendants work well on sloped ceilings, while stem/rod pendants might require additional adaptors for proper installation.
By following this comprehensive guide, you'll be well-equipped to tackle your next DIY project involving pendant lighting installations with confidence and precision.
Was this page helpful?
At Storables.com, we guarantee accurate and reliable information. Our content, validated by Expert Board Contributors, is crafted following stringent Editorial Policies. We're committed to providing you with well-researched, expert-backed insights for all your informational needs.


0 thoughts on “DIY Guide To Installing A Pendant Light”