Home>Ideas and Tips>DIY Guide To Installing A Subway Tile Backsplash
Ideas and Tips
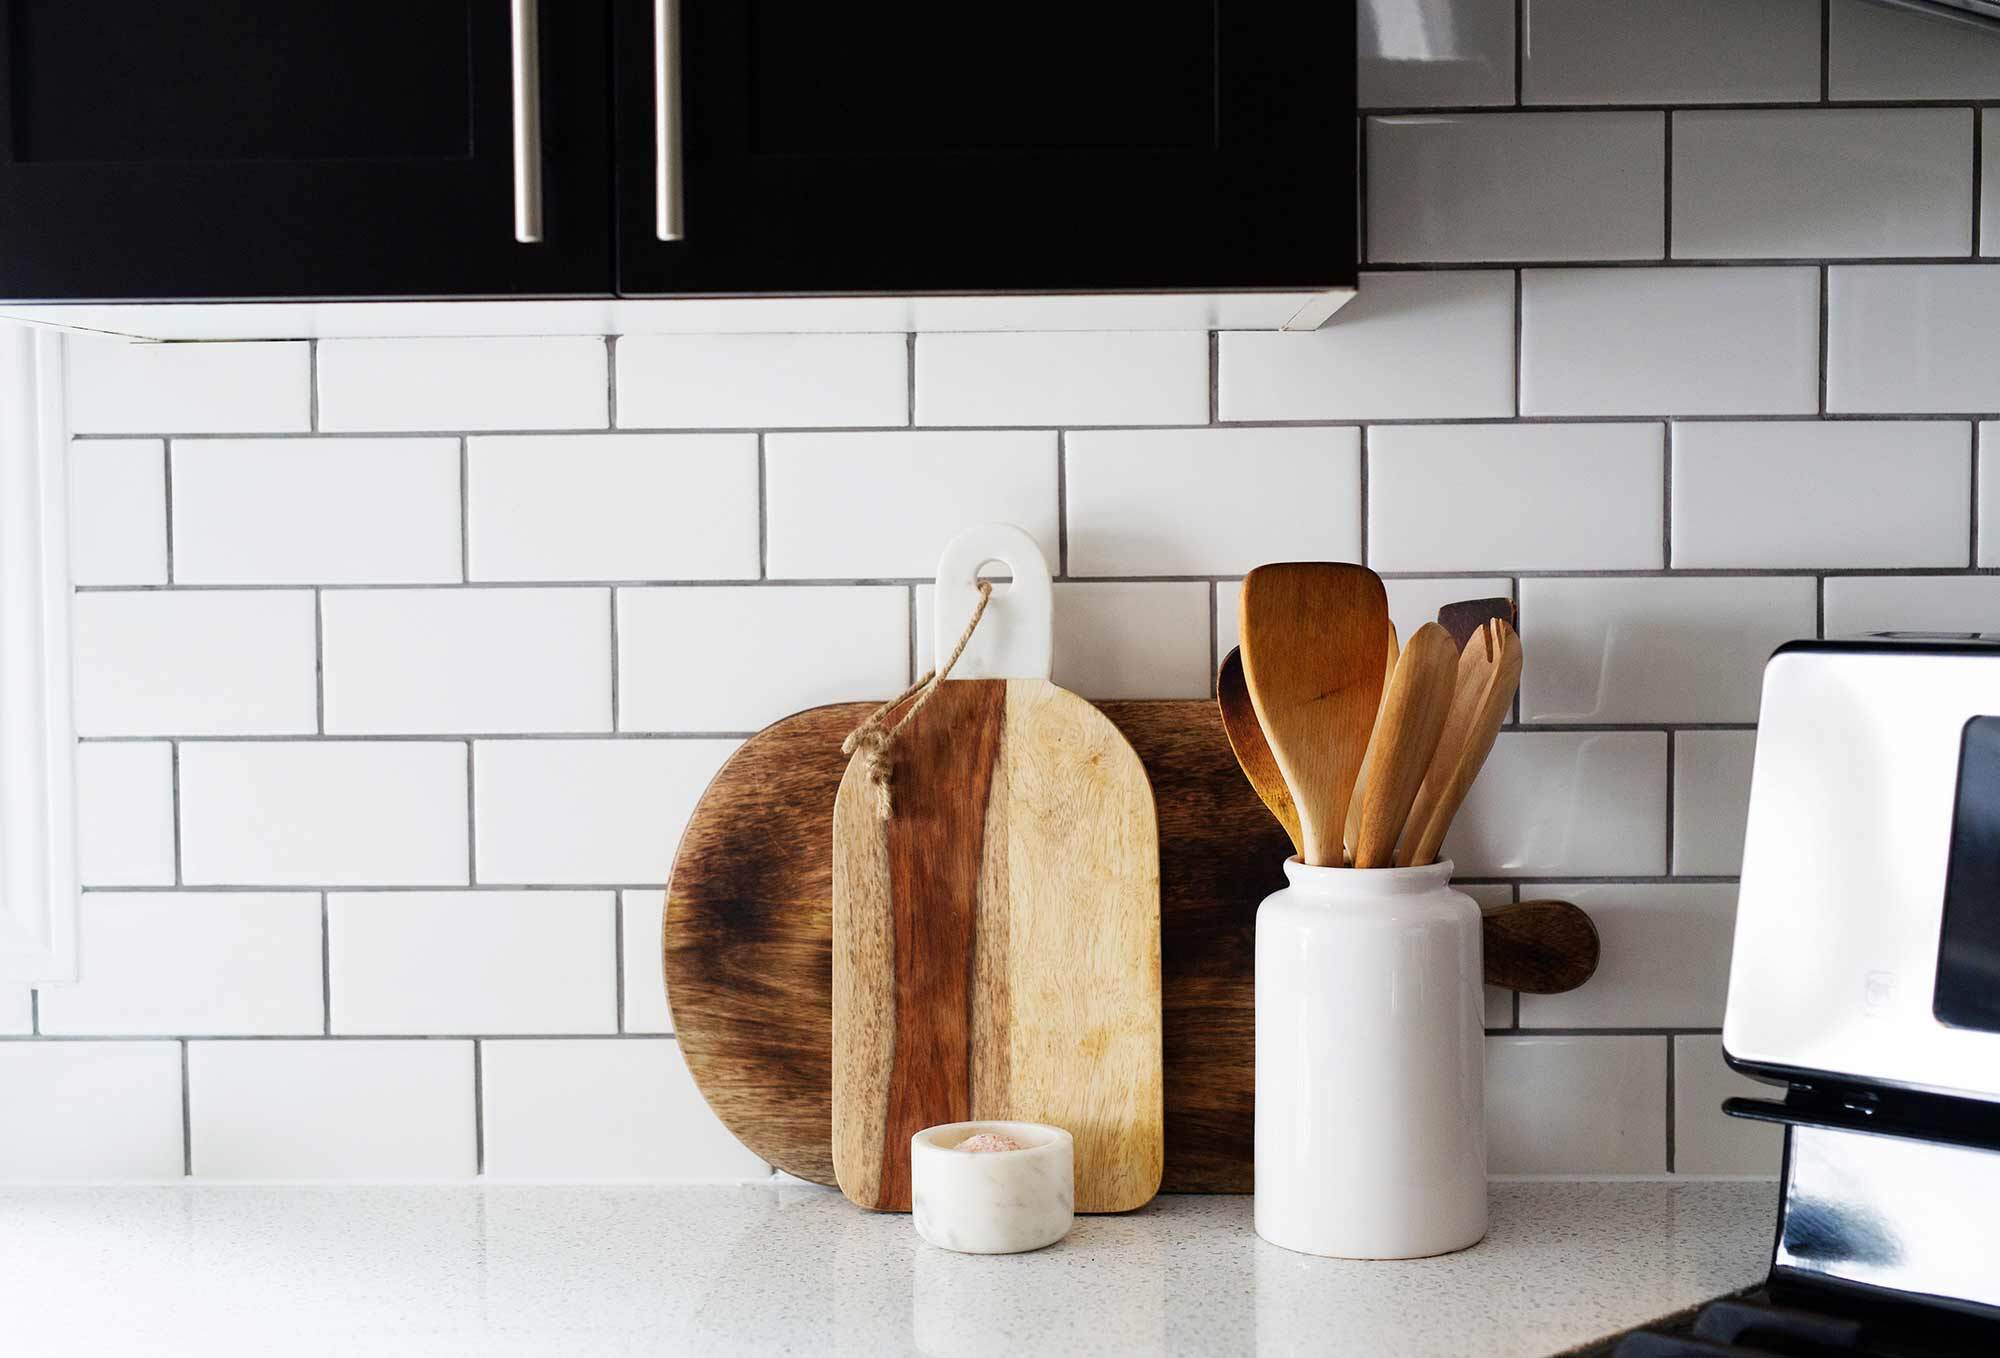
DIY Guide To Installing A Subway Tile Backsplash
Modified: November 2, 2024
Learn how to install a subway tile backsplash with our step-by-step DIY guide. Perfect for enhancing your kitchen's look and functionality.
(Many of the links in this article redirect to a specific reviewed product. Your purchase of these products through affiliate links helps to generate commission for Storables.com, at no extra cost. Learn more)
Installing a subway tile backsplash can be a rewarding DIY project that enhances the aesthetic and functionality of your kitchen. This guide will walk you through each step of the process, from preparation to completion, providing you with the necessary tools, materials, and tips to achieve a flawless finish.
Preparation
Before diving into the installation process, it's crucial to prepare your space and gather all the necessary materials. Here’s what you need to do:
Read more: DIY Guide To Installing A Subway Tile Shower
Tools and Materials
-
Tile Cutting Tools:
- Tile saw or snap cutter for cutting tiles.
- Wet saw or glass cutter for specific tile types.
- Tile nippers for small cuts.
- Tile spacers (between tiles and between tile and counter).
-
Materials:
- Subway tiles (3×6 inches or 6×12 inches).
- Tile adhesive (also known as thin-set mortar).
- Unsanded grout.
- Grout float.
- Grout sponge.
- Caulk.
- Level.
- Laser level (optional).
- Tape measure.
- Pencil and chalk.
- Painter’s tape.
- Electrical box extender (if necessary).
- Bullnose tiles (for edges).
- Schluter strips (for finishing edges).
-
Additional Supplies:
- Drop cloths or old sheets to protect your countertops.
- Safety goggles and gloves.
- A bucket for mixing grout.
Step 1: Plan and Measure Your Backsplash
Measure Your Walls
To determine how much tile you'll need, measure each wall that you're going to tile. Calculate the total linear feet of each wall and then multiply that by the height of your backsplash to get the square footage. Add about 10% for waste, as you'll inevitably have some cuts and irregularities.
Choose Your Starting Point
Decide where you want to start your tiling project. Some common starting points include:
- The center of a window or door.
- The edge of a countertop.
- The corner of a wall.
Marking these points will help you ensure that your tiles are aligned properly.
Use Chalk Lines
Use chalk lines to mark the top edge of your backsplash on each wall. This will help guide you as you lay out your tiles and ensure that they are level and straight.
Check for Level
Use a level or laser level to check if your walls are perfectly level. If they are not, you may need to adjust your starting point accordingly.
Step 2: Prepare Your Wall
Remove Outlets and Switches
Turn off the power to the outlets and switches in your kitchen. Remove them from the wall by unscrewing them and leaving them protruding. This will give you clear access to the area behind them.
Paint Your Wall (Optional)
If your wall has any paint or wallpaper, consider painting it down to the lower cabinet area. This will make it easier to apply the tile adhesive and ensure a clean finish.
Apply Underlayment (If Necessary)
If you're using a new tile adhesive, apply it according to the manufacturer's instructions. This will create a smooth surface for your tiles.
Step 3: Lay Out Your Tiles
Hold Up Tiles
Hold up a sheet of your tiles on the far left, right, and roughly center of your area. Make a mark at the top edge of each sheet where it meets the wall. This will help you visualize how your tiles will fit together.
Read more: DIY Guide To Installing A Kitchen Tile Backsplash With Photocatalytic Self-Cleaning Tiles
Measure Around Outlets
Measure around outlets and switches to determine how much space you'll need to leave between them and the tiles. Use an electrical box extender if necessary to keep live wires safely inside the box.
Use Painter’s Tape
Apply painter’s tape along the edges of your chalk lines to protect them from grout and adhesive.
Step 4: Apply Tile Adhesive
Mix Adhesive
Mix the tile adhesive according to the manufacturer's instructions. Apply it directly to the wall or to each tile using a notched trowel.
Apply Adhesive to Tiles
For easier application, apply the adhesive directly to each tile rather than spreading it on the wall. This method reduces mess and ensures even coverage.
Work in Small Areas
Work in small areas so that the adhesive doesn’t dry out before you can place the tiles. Keep the adhesive lines horizontal and smooth to prevent air pockets from forming behind the tiles.
Step 5: Install Your Tiles
Start with Bottom Row
Begin by installing the bottom row of tiles. Ensure that this row is level using a level or laser level. Apply spacers between each tile to maintain even spacing.
Read more: DIY Guide To Installing A Tile Floor
Apply Spacers
Use tile spacers between each tile and between the tile and counter to maintain even spacing and prevent uneven grout lines.
Install Remaining Rows
Once the bottom row is set, start installing the remaining rows of tiles. For a traditional subway tile look, alternate each row by starting with a full tile on the bottom row and then using a tile cut in half for the second row.
Cut Tiles Around Outlets
When cutting tiles around outlets, use a wet saw or snap cutter to make precise cuts. Apply painter’s tape around outlets to protect them from grout and adhesive.
Tiling Corners
When tiling corners, decide whether you want to make your tiles flush with the adjacent wall or leave a gap and fill it with grout later. Both methods look great but require different techniques.
Step 6: Finishing Edges
Use Schluter Strips
To finish edges neatly, use Schluter strips. These strips come pre-cut and can be easily attached to the wall using thin-set mortar. Cut them at a 45-degree angle for a seamless finish.
Apply Trim Edge Pieces
Cut trim edge pieces at a 45-degree angle and apply them using thin-set mortar. This will create a smooth transition between the tiles and any adjacent surfaces.
Step 7: Apply Grout
Read more: DIY Guide To Installing A Pebble Tile Floor
Mix Grout
Mix the unsanded grout according to the manufacturer's instructions. Apply it to your grout float and work in an “X” pattern keeping your float at a 45-degree angle to work the grout into the spaces between the tiles.
Wipe Excess Grout
Use your grout float at a 90-degree angle to wipe off excess grout from the front of the tiles. Work in small spaces letting no more than five minutes pass without using your grout sponge to wipe clean any remaining grout.
Clean Tiles
Wet your sponge and wring it out as much as possible before wiping down the tiles clean. This will prevent any remaining grout from drying onto the surface of your tiles.
Step 8: Seal Your Grout (Optional)
If desired, apply a grout sealer after the grout has dried completely. This will protect your grout from stains and make future cleaning easier.
Step 9: Caulk Around Edges
Apply caulk around edges where tiles meet countertops or adjacent surfaces. This will seal any gaps and prevent water from seeping behind your tiles.
Conclusion
Installing a subway tile backsplash is a rewarding DIY project that can significantly enhance your kitchen's aesthetic appeal. By following these steps carefully and using the right tools and materials, you can achieve professional-looking results without breaking the bank. Remember to take your time, work methodically, and enjoy the process of transforming your kitchen into a beautiful space that reflects your personal style.
Additional Tips and Tricks
-
Use Laser Level: A laser level can be incredibly helpful in ensuring that your tiles are perfectly level and straight. It provides an accurate reference point that can save you from making costly mistakes later on.
-
Measure Twice: Double-check all measurements before cutting tiles or applying adhesive. This will save you from having to redo any work due to errors.
-
Work in Small Areas: Divide your workspace into smaller sections to avoid working with dried-out adhesive or grout. This ensures better coverage and prevents air pockets from forming behind tiles.
-
Clean as You Go: Regularly clean tools and surfaces as you work through each step of the installation process. This keeps everything organized and prevents messes from building up over time.
-
Watch Videos: There are many excellent videos available online that demonstrate different aspects of installing subway tile backsplashes. Watching these can provide additional insights and tips that might not be covered in this guide.
-
Practice Makes Perfect: If this is your first DIY project involving tile installation, don’t worry if things don’t go perfectly at first Practice makes perfect; each project will help you gain more experience and confidence in your abilities.
By following these steps and tips, you'll be well on your way to creating a stunning subway tile backsplash that adds both beauty and functionality to your kitchen space.
Tools and Materials Used
Here’s a list of tools and materials used during this project:
-
Tools:
- Tile saw or snap cutter
- Wet saw or glass cutter
- Tile nippers
- Level
- Laser level (optional)
- Tape measure
- Pencil and chalk
- Painter’s tape
- Electrical box extender (if necessary)
-
Materials:
- Subway tiles (3×6 inches or 6×12 inches)
- Tile adhesive (thin-set mortar)
- Unsanded grout
- Grout float
- Grout sponge
- Caulk
- Bullnose tiles (for edges)
- Schluter strips (for finishing edges)
Resources
For more detailed instructions or additional tips, consider checking out these resources:
- Crafted Workshop Blog: This blog provides an in-depth guide on installing glass mosaic subway tile backsplashes with detailed steps and tricks.
- YouTube Videos: There are several excellent YouTube videos available that cover various aspects of installing subway tile backsplashes, including tips and tricks for achieving a flawless finish.
- Wilkerdos Blog: This blog offers an easy-to-follow step-by-step guide along with accompanying videos for installing subway tile backsplashes.
By combining these resources with your own efforts, you'll be well-equipped to tackle any challenges that come up during your DIY project.
Final Thoughts
Installing a subway tile backsplash is not only an aesthetically pleasing project but also one that requires patience and attention to detail. By following these steps carefully and using the right tools and materials, you can achieve professional-looking results without breaking the bank. Remember to enjoy the process as much as possible; it's all part of creating something beautiful for yourself or your loved ones.
I hope this comprehensive guide has provided you with everything you need to successfully install your own subway tile backsplash Happy DIY-ing
Was this page helpful?
At Storables.com, we guarantee accurate and reliable information. Our content, validated by Expert Board Contributors, is crafted following stringent Editorial Policies. We're committed to providing you with well-researched, expert-backed insights for all your informational needs.


0 thoughts on “DIY Guide To Installing A Subway Tile Backsplash”