
Articles
How To Repair Window Blinds
Modified: December 7, 2023
Learn how to repair window blinds with our informative articles. Find step-by-step guides and tips to quickly fix any issue.
(Many of the links in this article redirect to a specific reviewed product. Your purchase of these products through affiliate links helps to generate commission for Storables.com, at no extra cost. Learn more)
Introduction
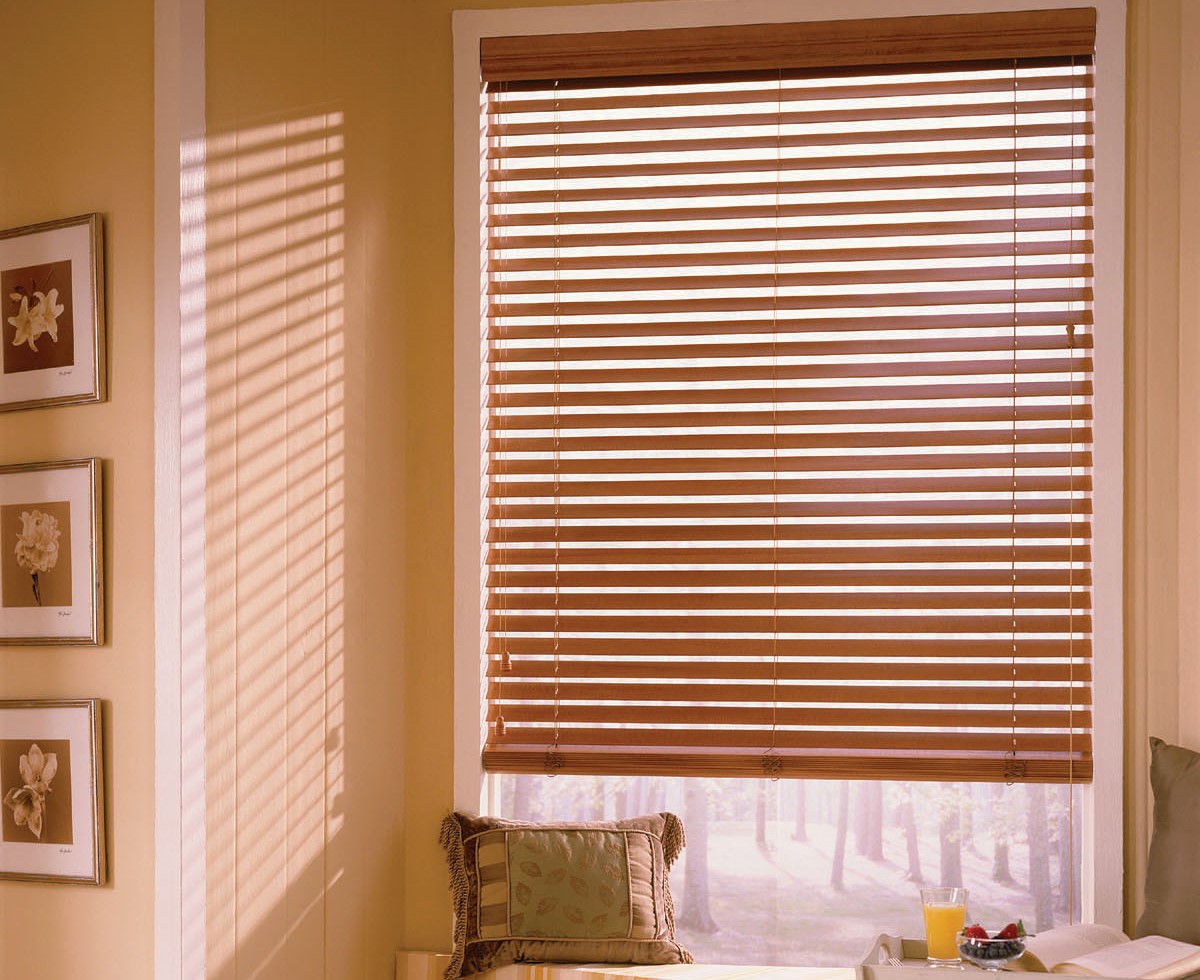
Window blinds are an essential part of any home, offering privacy, light control, and aesthetic appeal. However, like any other household item, blinds can sometimes encounter issues that require repair. Whether it’s a broken slat, a tangled cord, or a malfunctioning mechanism, knowing how to repair window blinds can save you time and money.
In this article, you will learn step-by-step instructions on how to repair window blinds and bring them back to their optimal functionality. We will cover common issues such as damaged slats, broken cords, and malfunctioning tilt mechanisms. By following these simple DIY techniques, you can extend the lifespan of your blinds and maintain a beautiful and functional window treatment.
Before we dive into the repair process, let’s make sure you have all the necessary tools and materials at your disposal. Gathering these items beforehand will ensure a smooth and efficient repair process.
Key Takeaways:
- Repairing window blinds is a manageable DIY project that can save you money and extend the lifespan of your window treatments. By following simple steps and using the right tools, you can bring your blinds back to optimal functionality.
- Prioritizing safety and attention to detail during the repair process is crucial for successful blind repairs. With the knowledge and skills gained from this guide, you have the power to maintain the beauty and functionality of your window blinds for years to come.
Read more: What Is Window Blinds
Tools and Materials Needed
Before you begin repairing your window blinds, it’s important to gather the essential tools and materials. Having these items on hand will simplify the repair process and make it easier to fix any issues that may arise.
Here are the tools and materials you’ll need:
- Screwdriver: A screwdriver with the appropriate head (Phillips or flathead) will be needed to remove screws and perform various repairs.
- Pliers: Pliers will come in handy when repairing broken cords or manipulating small parts.
- Replacement Parts: Depending on the specific repair needed, you may require replacement parts such as slats, cords, or tilt mechanisms.
- Scissors: Scissors will be necessary for cutting cords to the desired length or trimming down replacement slats.
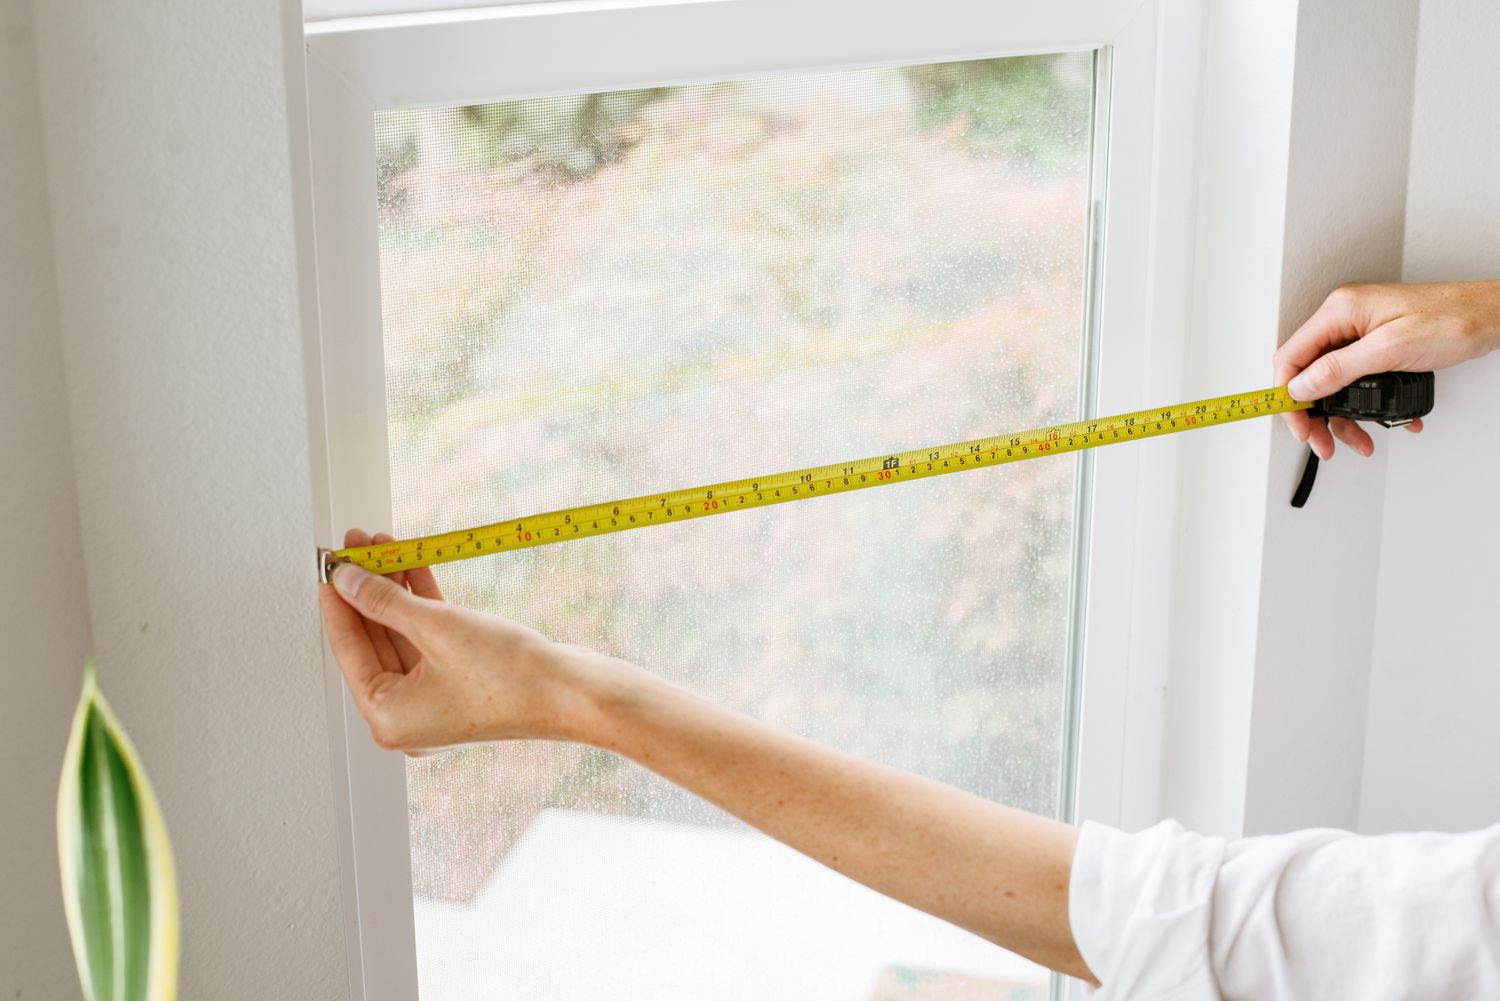
- Tape Measure: A tape measure will help ensure accurate measurements when cutting cords or replacing slats.
- Cord Condenser: If you have corded blinds, a cord condenser can help keep your cords organized and prevent tangling.
- Lubricant: A silicone-based lubricant will be useful for fixing stiff or stuck mechanisms.
- Optional: If you’re working with metal blinds, you may need a hacksaw for trimming down replacement slats.
By gathering these tools and materials beforehand, you’ll be well-prepared to tackle any repairs needed for your window blinds. Now, let’s move on to the step-by-step process of repairing your blinds.
Step 1: Assess the Damage
The first step in repairing your window blinds is to assess the extent of the damage. Take a close look at your blinds and identify any visible issues such as broken slats, tangled cords, or malfunctioning mechanisms. By understanding the specific problem, you can plan the necessary repairs and gather the appropriate replacement parts.
Here are a few common issues and how to assess them:
- Broken Slats: Inspect your blinds for any broken or damaged slats. If you notice any, count the number of slats that need to be replaced. This will help you determine the quantity of replacement slats required.
- Tangled Cords: Check if the cords are tangled or knotted. Gently untangle them to see if they are still in good condition. If the cords are frayed or severely damaged, you may need to replace them.
- Malfunctioning Mechanisms: Test the tilt mechanism and the lifting mechanism of your blinds. If they are not functioning properly, you’ll need to inspect the components and identify the specific part that needs repair or replacement.
By assessing the damage thoroughly, you can determine the scope of the repairs and ensure you have the necessary replacement parts and tools on hand. This will save time and prevent any unnecessary delays during the repair process.
Step 2: Gather Replacement Parts
Once you have assessed the damage to your window blinds and identified the specific parts that need repairing or replacing, the next step is to gather the necessary replacement parts. This ensures that you have everything you need to complete the repairs smoothly and efficiently.
Here are some common replacement parts you may need:
- Slats: If you have broken or damaged slats, measure the length and width of the slats that need to be replaced. You can find replacement slats at home improvement stores or online retailers that specialize in window blind parts.
- Cords: If you have tangled, frayed, or broken cords, you will need to replace them. Measure the length of the cords needed and ensure they are the same type and thickness as the original cords.
- Tilt Mechanism: If your blinds’ tilt mechanism is not functioning properly, you may need to replace it. Identify the specific type and size of the tilt mechanism for your blinds and purchase a matching replacement.
- Lift Mechanism: If the lifting mechanism for your blinds is faulty, you may need to replace it as well. Determine the type and size of the lift mechanism and acquire a suitable replacement.
When gathering replacement parts, it’s essential to ensure they are compatible with your specific window blind model. Take note of any product codes or specifications provided by the manufacturer to aid in your search for the correct parts.
Once you have acquired the necessary replacement parts, you’ll be ready to move on to the next step: removing the blinds from the window.
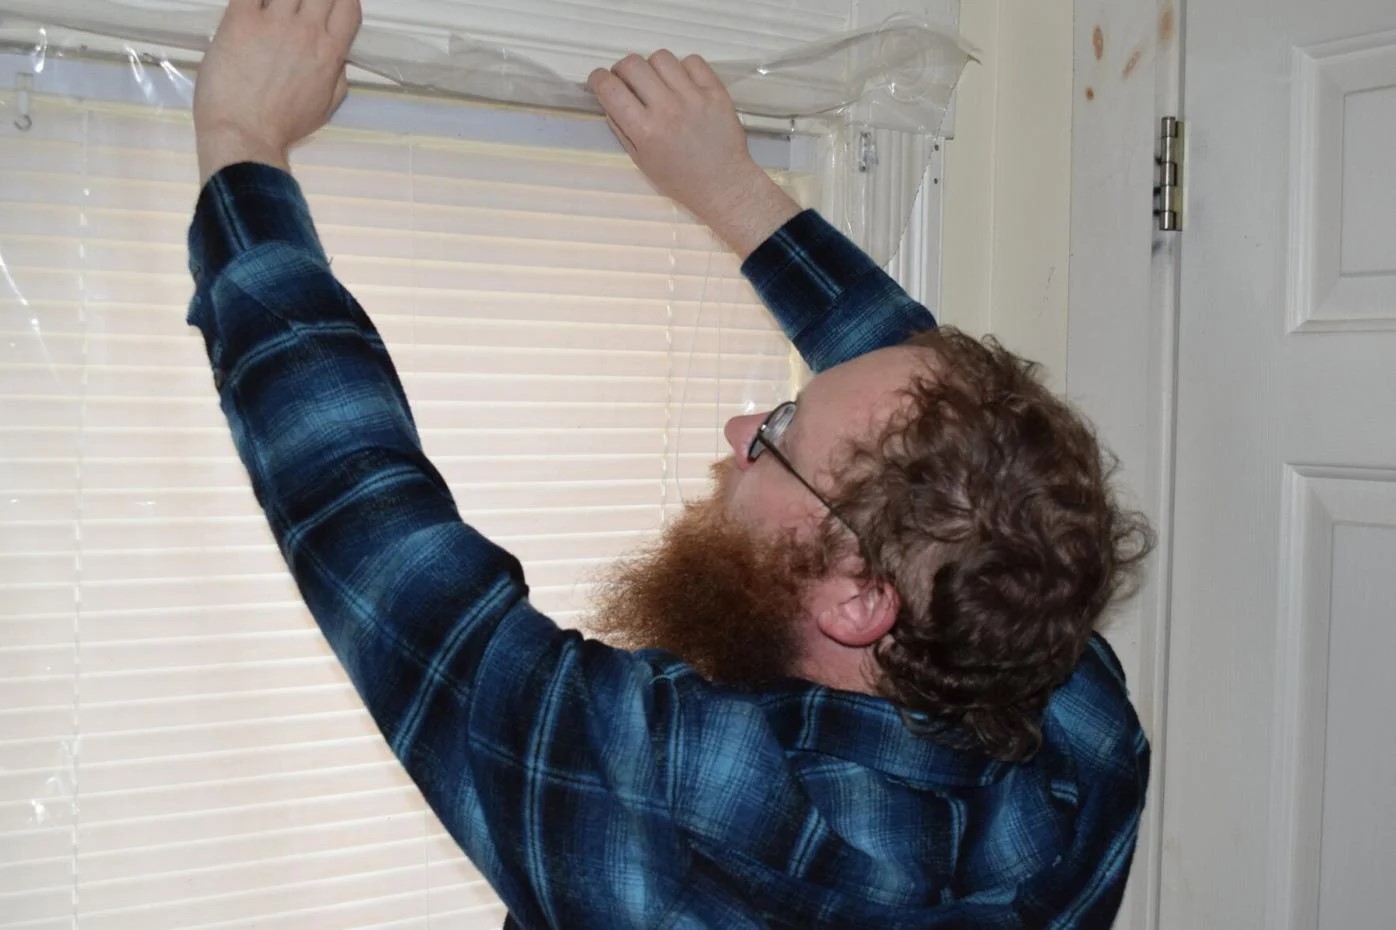
Step 3: Remove the Blinds from the Window
Before you can proceed with repairing your window blinds, it is important to remove them from the window. This will provide easier access to the blinds and ensure a safe and convenient repair process.
Follow these steps to remove the blinds:
- Make sure the blinds are fully closed or in the raised position.
- Locate the mounting brackets at the top of the window frame or inside the window casing.
- Using a screwdriver, loosen and remove the screws that secure the brackets to the frame or casing.
- Once the brackets are detached, carefully lift the blinds out of the brackets.
- Place the blinds on a flat surface, such as a table or the floor, for easier access during the repair.
It is essential to handle the blinds with care while removing them to avoid any damage or injury. If the blinds are heavy or large, it is advisable to have someone assist you in safely removing them from the window.
With the blinds now removed and placed on a stable surface, you can move on to the next step: identifying and fixing the issue.
When repairing window blinds, start by identifying the specific issue, such as a broken slat or a tangled cord. Then, gather the necessary tools and replacement parts before beginning the repair process.
Read more: How To Close Window Blinds
Step 4: Identify and Fix the Issue
With the blinds removed from the window and placed on a stable surface, it’s time to identify the specific issue and implement the necessary repairs. This step requires careful observation and troubleshooting to pinpoint the problem and determine the correct course of action.
Here are some common issues and their respective solutions:
- Broken Slats: If you have broken or damaged slats, remove the affected slats by unhooking them or removing any screws or clips. Replace the broken slats with the new ones you gathered earlier, ensuring they are properly aligned and secured in place.
- Tangled Cords: If the cords are tangled or knotted, untangle them carefully and smooth out any twists or kinks. If the cords are frayed or severely damaged, you will need to replace them with the new cords you acquired.
- Malfunctioning Mechanisms: If the tilt mechanism or lifting mechanism is causing issues, inspect the components for any visible damage or obstruction. Clean any dirt or debris that may be affecting their functionality. If necessary, replace the faulty mechanisms with the new ones you gathered.
It is crucial to follow the manufacturer’s instructions or specific guidelines for your blinds when implementing the repairs. This will ensure that the repairs are done correctly and that the blinds will operate smoothly and safely.
Take your time during this step to carefully assess and fix the issue. Pay attention to details and make any necessary adjustments to guarantee the optimal functioning of your window blinds.
Once you have successfully repaired the blinds, you are ready to proceed to the next step: reinstalling them back onto the window.
Step 5: Reinstall the Blinds
After you have completed the necessary repairs and fixed any issues with your window blinds, it’s time to reinstall them back onto the window. Follow these steps to ensure a proper and secure reinstallation:
- Hold the blinds at an angle, aligning the headrail with the mounting brackets on the window frame or inside the window casing.
- Insert the headrail into the brackets, making sure it is securely seated.
- Rotate the blinds up or down, if necessary, to adjust the positioning.
- Use a screwdriver to reattach the mounting brackets to the window frame or casing, tightening the screws securely.
- Once the brackets are securely fastened, test the blinds by operating the mechanisms and ensuring that the slats move smoothly and the cords function properly.
It’s important to ensure that the blinds are properly aligned and securely attached to the window during reinstallation. This will prevent any potential accidents or issues with the blinds’ functionality.
If you encounter any difficulties during the reinstallation process, refer to the manufacturer’s instructions or consult with a professional if necessary. They can provide guidance or assistance to ensure a successful reinstallation.
With the blinds securely reinstalled, it’s time to move on to the final step: testing the blinds for proper functioning.
Step 6: Test for Proper Functioning
After reinstalling your window blinds, it’s important to thoroughly test them to ensure they are functioning properly. Testing your blinds will help you confirm that the repairs have been successful and that the blinds are in optimal working condition.
Here’s how to test your blinds for proper functioning:
- Operate the lifting mechanism: Pull the lift cord or use the wand to raise and lower the blinds. Make sure the blinds move smoothly and evenly, without any sticking or resistance. If there are any issues, double-check the alignment of the headrail and make any necessary adjustments.
- Adjust the tilt mechanism: Use the tilt rod or wand (depending on your blinds) to tilt the slats. Verify that the slats move evenly and maintain their desired position when tilted. If there is any imbalance or difficulty in adjusting the slats, inspect the tilt mechanism and make sure it is properly installed and functioning.
- Test the cord operation: If you have corded blinds, check the operation of the cords. Ensure that they retract smoothly and do not tangle or get stuck. If needed, adjust the tension in the cord condenser to keep the cords organized and prevent tangling.
While testing your blinds, pay attention to any unusual sounds, resistance, or irregularities in movement. These could indicate underlying issues that need further investigation or additional repairs.
If you encounter any problems during the testing process, make note of the specific issues and refer back to the previous steps to identify the potential causes and solutions. If necessary, consult with a professional for further assistance or guidance.
Once you have confirmed that your blinds are functioning properly and meeting your expectations, you can conclude the repair process.
Conclusion
Repairing window blinds can seem like a daunting task, but with the right knowledge and tools, it can be a rewarding DIY project. By following the step-by-step guide outlined in this article, you can successfully repair common issues with your window blinds and extend their lifespan.
We started by assessing the damage and identifying the specific issues, whether it was broken slats, tangled cords, or malfunctioning mechanisms. Then, we gathered the necessary replacement parts and tools, ensuring we had everything on hand to complete the repairs.
We then proceeded to remove the blinds from the window, allowing for easier access and safer repairs. With the blinds off, we carefully identified and addressed the specific issue, whether it was replacing the slats, cords, or mechanisms. Attention to detail and following manufacturer instructions were essential to ensure a successful repair.
After fixing the identified issues, we reinstalled the blinds back onto the window, making sure they were aligned properly and securely attached. Finally, we conducted a thorough testing process to ensure the blinds were functioning correctly, adjusting the tilt and lift mechanisms if necessary.
Repairing your window blinds not only saves you money but also allows you to maintain the beauty and functionality of your window treatments. By following the steps outlined in this guide, you have the power to bring your blinds back to life and enjoy their benefits for years to come.
Remember to always prioritize safety during the repair process and seek professional assistance if you encounter any challenges or feel unsure about handling certain repairs.
With the knowledge and skills gained from this article, you are empowered to take care of your window blinds and keep them in excellent condition. Happy repairing!
Frequently Asked Questions about How To Repair Window Blinds
Was this page helpful?
At Storables.com, we guarantee accurate and reliable information. Our content, validated by Expert Board Contributors, is crafted following stringent Editorial Policies. We're committed to providing you with well-researched, expert-backed insights for all your informational needs.


0 thoughts on “How To Repair Window Blinds”