Home>Ideas and Tips>Home Bar Sink Installation: Convenient Drink Preparation
Ideas and Tips
Home Bar Sink Installation: Convenient Drink Preparation
Published: September 23, 2024
Enhance your home bar with a sink for convenient drink preparation. Learn the essentials of installation and fun additions to elevate your entertainment space.
(Many of the links in this article redirect to a specific reviewed product. Your purchase of these products through affiliate links helps to generate commission for Storables.com, at no extra cost. Learn more)
Adding a sink to your home bar is a fantastic way to enhance the functionality and convenience of your entertainment space. Whether you're hosting a casual gathering or an elaborate party, having a wet bar with a sink can make all the difference in terms of efficiency and enjoyment. In this article, we will delve into the components required for a wet bar installation, the process of adding a sink, and some fun additions you can consider to make your home bar truly special.
What Do You Need for a Wet Bar?
A wet bar installation requires several key components to ensure it functions properly and adds value to your home. These components include:
Countertop and Cabinets
The countertop serves as the surface for preparing food and drinks, while the cabinets hold all your wet bar necessities such as drinking glasses, towels, and serving trays. The cabinets can be custom-designed or chosen from various styles and colors to match your home's décor.
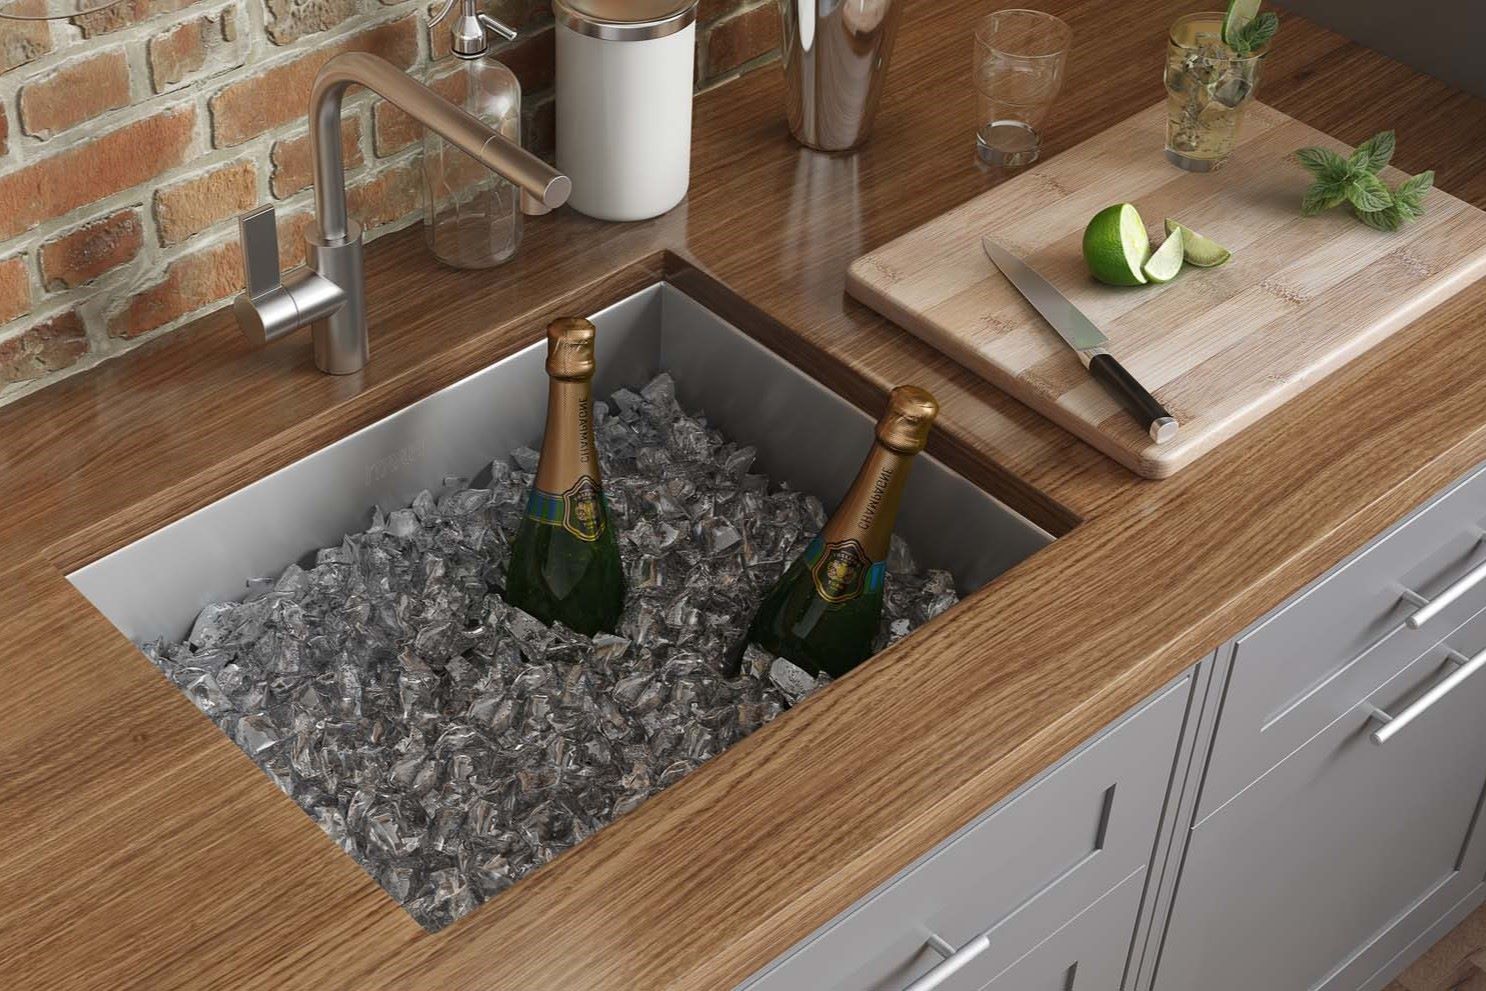
Sink
The sink is what differentiates a wet bar from a dry bar and makes it such a convenient fixture. It allows you to rinse glasses on the spot rather than carrying them to the kitchen, making mixology much easier.
Drainage Pipe
A drainage pipe extends below the sink to drain water efficiently. This is crucial for preventing water accumulation and ensuring smooth operation of the sink.
Drain Pump System
A drain pump system is an easy solution for sink water drainage. This system is particularly useful if a direct drainage line is not available under the sink. An automatic sink pump system can help prevent wet bar drainage issues by pumping wastewater out of the home.
Sump Basin
A sump basin holds the drain pump system and holds water until the system’s float switch activates it to start pumping water out of the home. The average sump basin can hold approximately 30 wastewater gallons.
Vent
Vents are crucial for any plumbing fixtures because adequate venting prevents water drainage flow from creating negative pressure. Proper venting ensures that water drains efficiently without causing any issues with the plumbing system.
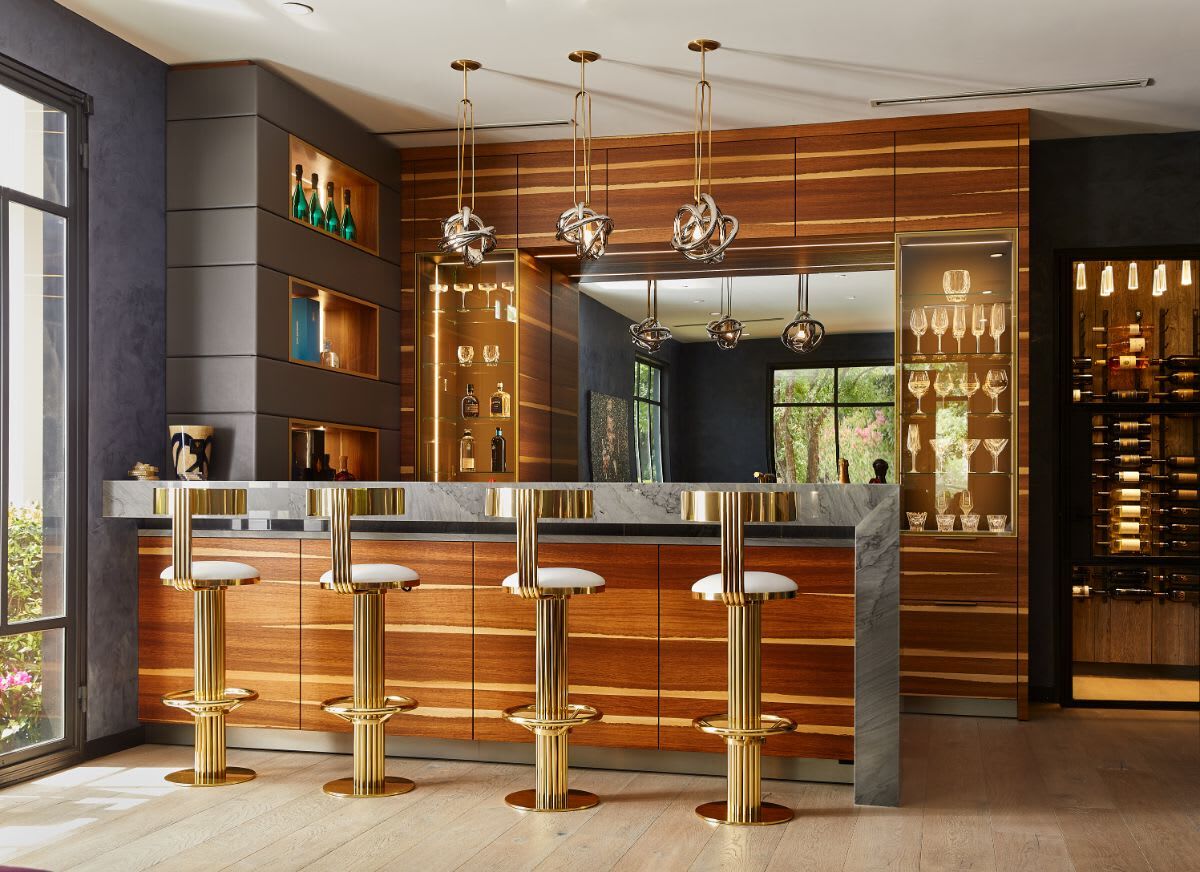
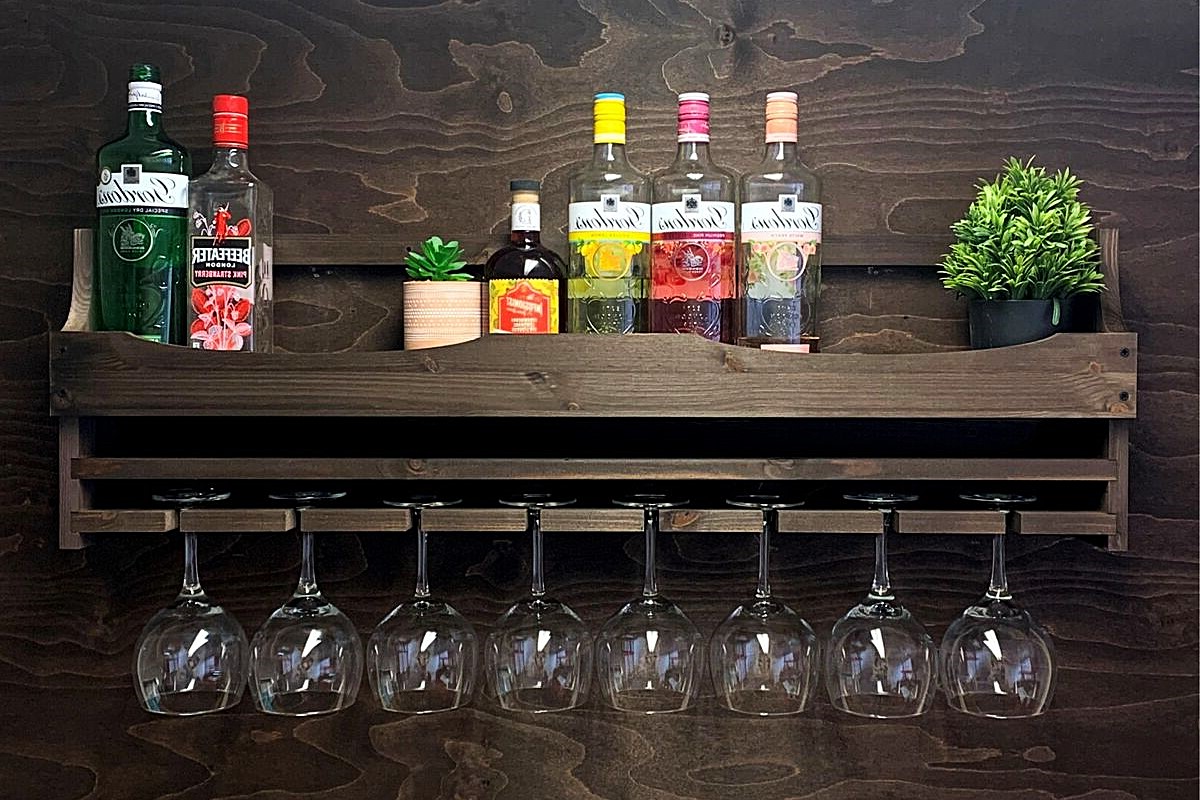
Fun Wet Bar Additions
Once you have all the necessary components for your wet bar, you can start thinking about fun additions to enhance its functionality and aesthetic appeal. Here are some ideas:
Various Cabinet Colors and Options
Your wet bar can be a beautiful focal point in your basement. Choose your favorite wood type and paint colors to style your cabinets and create the aesthetic you desire. Custom-designed cabinets can also add a unique touch to your wet bar.
Dishwasher
With a water source and drainage system in your bar, you can add a dishwasher to enhance convenience. After each party, simply load your glasses and dishes in the dishwasher for easy cleanup.
Fridge
Adding a fridge under the bar further reduces your trips to the kitchen because you can store cold foods under the bar. This makes it easy to prepare appetizers, snacks, and beverage garnishes.
Wine Cooler
A wine cooler is an excellent addition to a wet bar if you have an extensive wine collection. It keeps your wine at the perfect temperature, ensuring that every glass is served perfectly.
Ice Maker
An ice maker can keep your parties running smoothly by providing a continuous supply of ice. This is especially useful during hot summer months or when hosting large gatherings.
Display Shelves
Add some display shelves above your wet bar to show off your collection of beverages, beautiful wine glasses, gorgeous house plants, or family photos. Display shelves can add the perfect touch to a wine bar and make your basement even more inviting.
Bar Stools
Bar stools add an excellent touch to wine bars. With bar stools, your friends and family can gather around the bar comfortably and enjoy conversations over food and drinks as you prepare them.
Microwave
A microwave can enhance your wet bar by allowing you to heat snacks or appetizers quickly. Whether you microwave popcorn for a fun family movie night or heat some appetizers for a party, a microwave can be a valuable addition.
How to Add a Sink to a Wet Bar
Adding a sink to a wet bar requires careful planning and execution. Here’s a step-by-step guide on how to do it:
Step 1: Plan Your Installation
Before starting the installation process, ensure that you have all the necessary components and tools. Measure your space carefully to determine the best location for the sink and drainage system.
Step 2: Connect Drainage Pipe
Connecting a drainage pipe to the basement’s existing plumbing can be challenging. There are two ways to do this:
- Hire a Professional: One option is to hire a professional to break through the concrete floor, which can be expensive, labor-intensive, and challenging.
- Install Drain Pump: An easier and more cost-effective option is to have a professional install a drain pump. This system effectively removes wastewater by using an automatic pump that activates when the water level reaches a certain threshold.
Step 3: Install Drain Pump System
If a direct drainage line is not available under the sink, a drain pump system can be installed. Here’s how it works:
- Sump Basin Placement: Place the sump basin in a sump pit, which is a pit cut into the basement floor.
- Water Collection: The sump basin collects wastewater until it reaches a certain level.
- Float Switch Activation: Once it reaches the system’s threshold, the water lifts the system’s movable float switch, which triggers the utility pump to drain the wastewater.
- Pumping Action: After draining the wastewater in the sump basin, the float lowers and signals the system to stop pumping water.
Step 4: Install Sink
Once you have installed the drainage system, you can proceed with installing the sink:
- Choose Sink Type: Select a bar sink that suits your space and style preferences. Bar sinks come in various shapes (rectangle, square, round) and mounting styles (drop-in, undermount).
- Template Creation: For both drop-in and undermount sinks, create a template by tracing the outside edge of the sink onto craft paper or cardboard.
- Cutting Countertop: Place the template on the countertop and mark openings before cutting it using a saw or hole saw.
- Sink Installation: Apply a bead of silicone around the hole on the countertop for drop-in sinks or on the rim of the sink for undermount sinks.
- Mounting Hardware: Install mounting hardware according to manufacturer instructions.
- Final Check: Ensure that the sink fits snugly in its hole and apply additional silicone if necessary.
Choosing the Right Bar Sink
When selecting a bar sink, consider several factors to ensure it meets your needs:
Compact Sinks
Bar sinks are designed to be compact but mighty. They are usually smaller and shallower than standard kitchen sinks but pack quite a punch as primary sinks in small kitchens or secondary sinks in larger kitchens.
Style Versatility
Bar sinks come in various styles ranging from clean and classic designs with sweeping rounded lines to sleek modern sinks with straight walls and tight-radius corners. Choose a style that matches your home's décor and enhances its aesthetic appeal.
Additional Prep Space
Bar sinks offer additional prep space with plumbing connections, which is especially useful for large households or busy kitchens. They provide a place to wash hands, get water for cooking, or quickly rinse measuring cups, mixing bowls, utensils, and cooking implements during meal prep or clean-up.
DIY Bar Sink Installation
If you're on a budget or prefer a DIY project, you can create a bar sink using creative materials like a salad bowl. Here’s how:
Materials Needed:
- Sink drain
- Caulking gun
- Drill
- Metal drill bit
- Channellocks
- Tin snips
- Wood blocks to protect your table
- Silicone
- Tape measure
- Plumbers putty
- Marker
- Salad bowl
Steps:
- Mark Center: Find the center of your salad bowl and make a little mark.
- Drill Pilot Hole: Drill a small pilot hole.
- Prepare Drain: Take apart the drain and place the top bit that goes through the holes on top of the hole you just drilled.
- Cut Hole: Trace your drain and cut out a hole as close to the size of the threaded part as possible using tin snips or a hole saw.
- Smooth Edges: Cut off all sharp edges and anything sticking up using channellocks.
- Apply Putty: Wrap plumbers putty around the top of your drain.
- Assemble Drain: Place rubber gaskets to hold bits in place and screw long pieces onto them tightly to ensure watertightness.
- Install Sink: Trace out the sink onto your countertop if it's going underneath or slightly smaller if it's going on top for an overhang effect.
- Secure Sink: Apply silicone around the top of the sink and place it under the countertop ensuring it’s even before letting it dry for at least 12 hours.
- Install Plumbing: Connect plumbing according to your setup requirements or call a professional if needed.
Upgrading Your Basement Space
Adding a bar area as an upgrade to your finished basement can significantly enhance its functionality and resale value. Here’s why:
Inviting Vibe
A well-stocked bar adds an inviting vibe to your living space by providing a convenient place for washing hands and quenching thirst without having to go all the way upstairs to your kitchen.
Resale Value
A basement remodel that incorporates a wet bar is also an excellent way to increase the resale value of your home. Modern home buyers often look for exciting features like this in potential homes.
Plumbing Importance
Plumbing makes all the difference when adding a bar to any space—whether it’s in your basement, living room, or entertainment area. While a dry bar may have shelves and cabinets, a wet bar includes a sink with running water that makes mixology much easier by allowing you to rinse glasses on the spot rather than carrying them upstairs.
Size Matters
The depth of the sink you choose depends on the space available in the base cabinet for plumbing. If you don’t have much room, installing a smaller sink ensures enough space for required plumbing connections without compromising functionality.
Conclusion
Adding a sink to your home bar is more than just installing plumbing fixtures; it’s about creating a convenient space that enhances entertainment experiences while adding value to your home. By understanding what components are required for installation and choosing the right type of sink based on style versatility and additional prep space needs, you can transform any room into an inviting wet bar perfect for hosting gatherings or enjoying quiet moments at home. Whether you opt for professional installation or take on a DIY project like using a salad bowl as a makeshift sink, remember that proper planning ensures smooth operation and long-lasting enjoyment from this essential home improvement feature.
Was this page helpful?
At Storables.com, we guarantee accurate and reliable information. Our content, validated by Expert Board Contributors, is crafted following stringent Editorial Policies. We're committed to providing you with well-researched, expert-backed insights for all your informational needs.


0 thoughts on “Home Bar Sink Installation: Convenient Drink Preparation”