
Articles
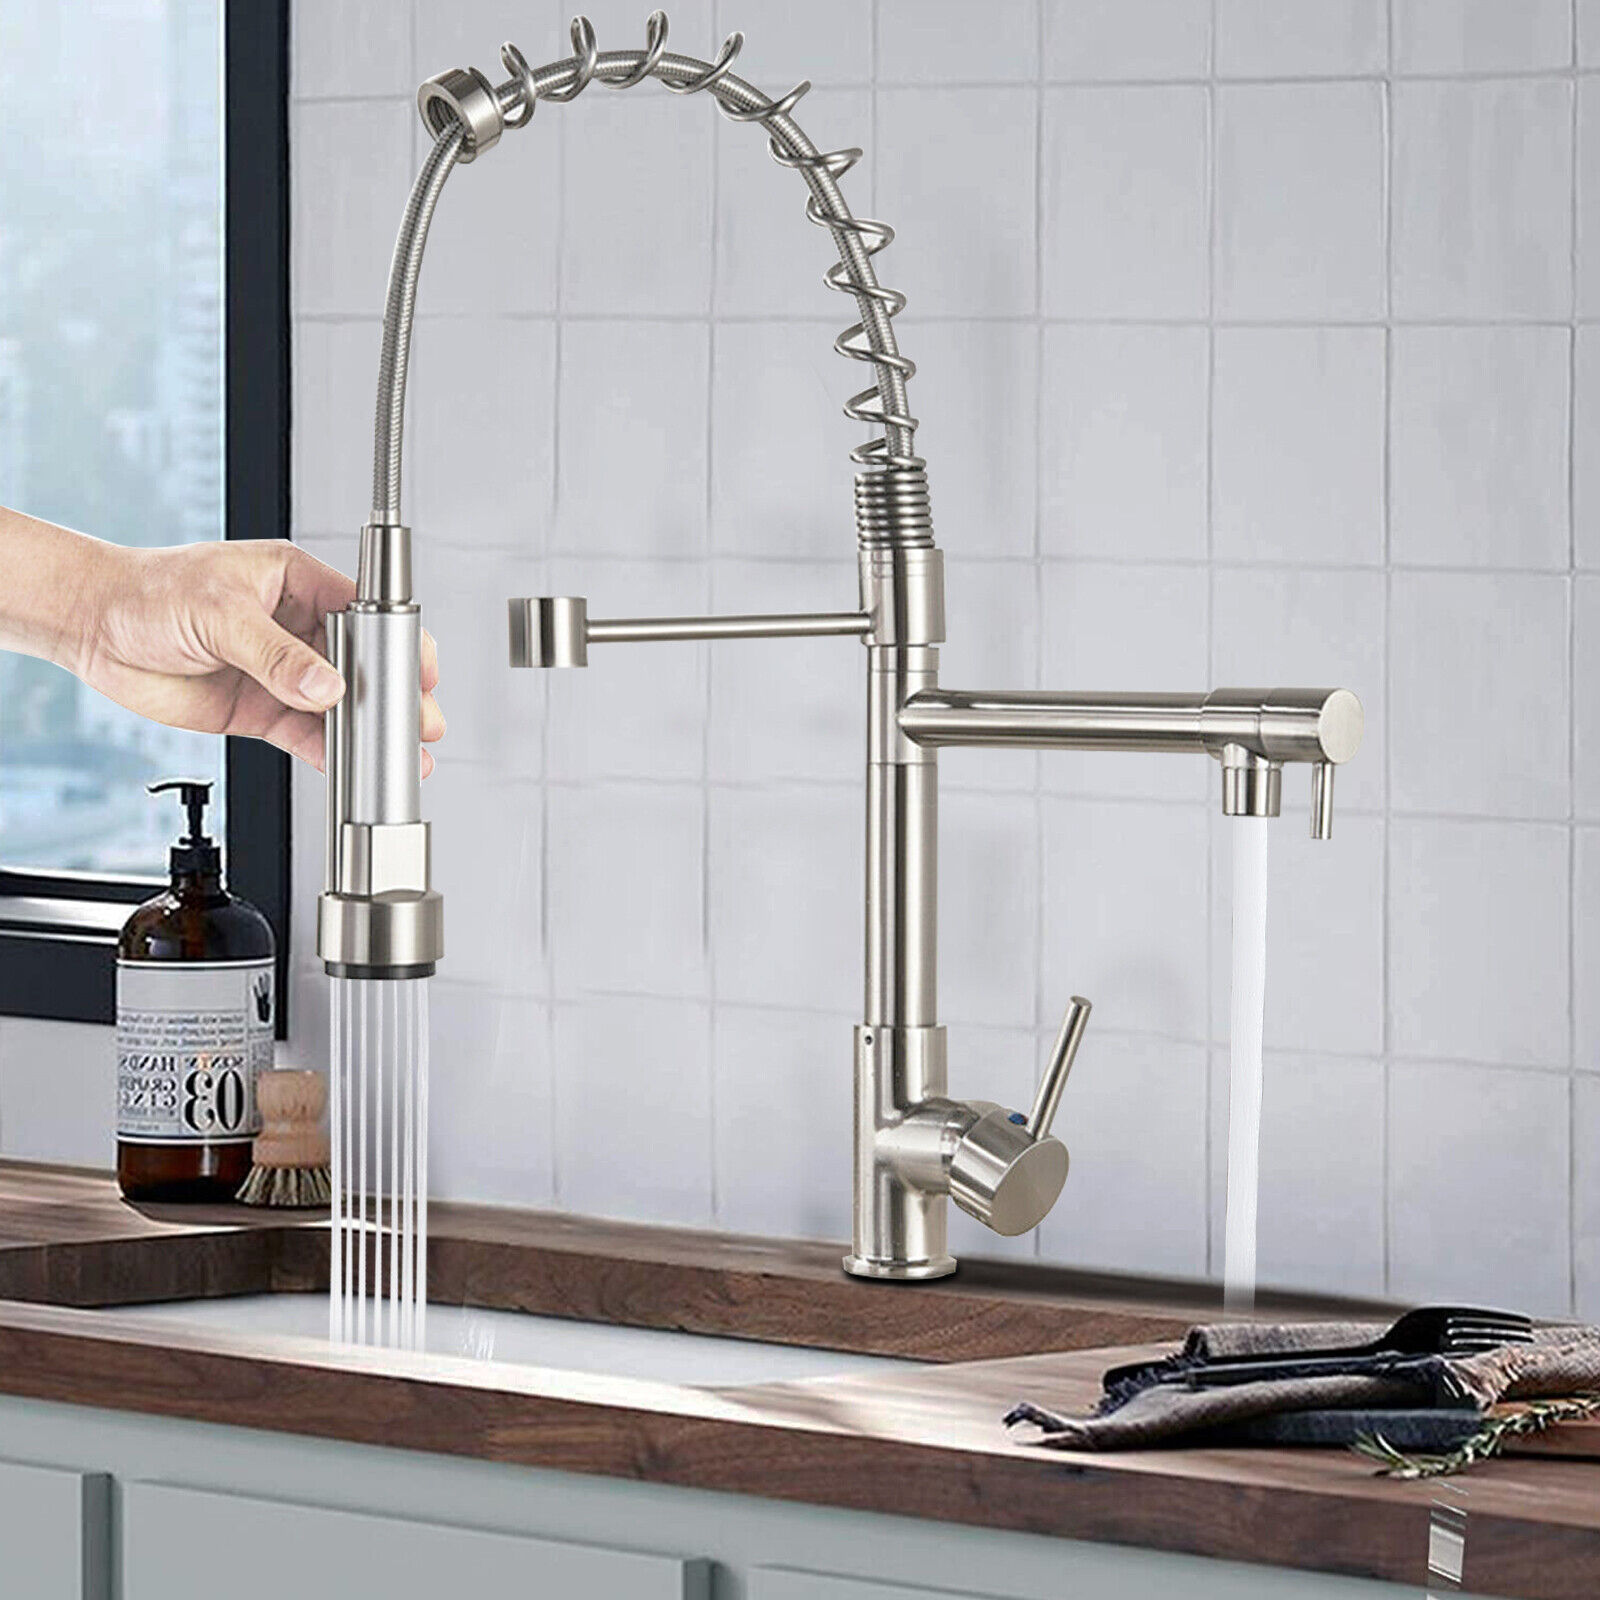
How To Install A Sink Faucet
Modified: October 27, 2024
Learn step-by-step instructions on how to install a sink faucet with our informative articles. Improve your DIY skills and complete your home improvement projects with confidence.
(Many of the links in this article redirect to a specific reviewed product. Your purchase of these products through affiliate links helps to generate commission for Storables.com, at no extra cost. Learn more)
Introduction
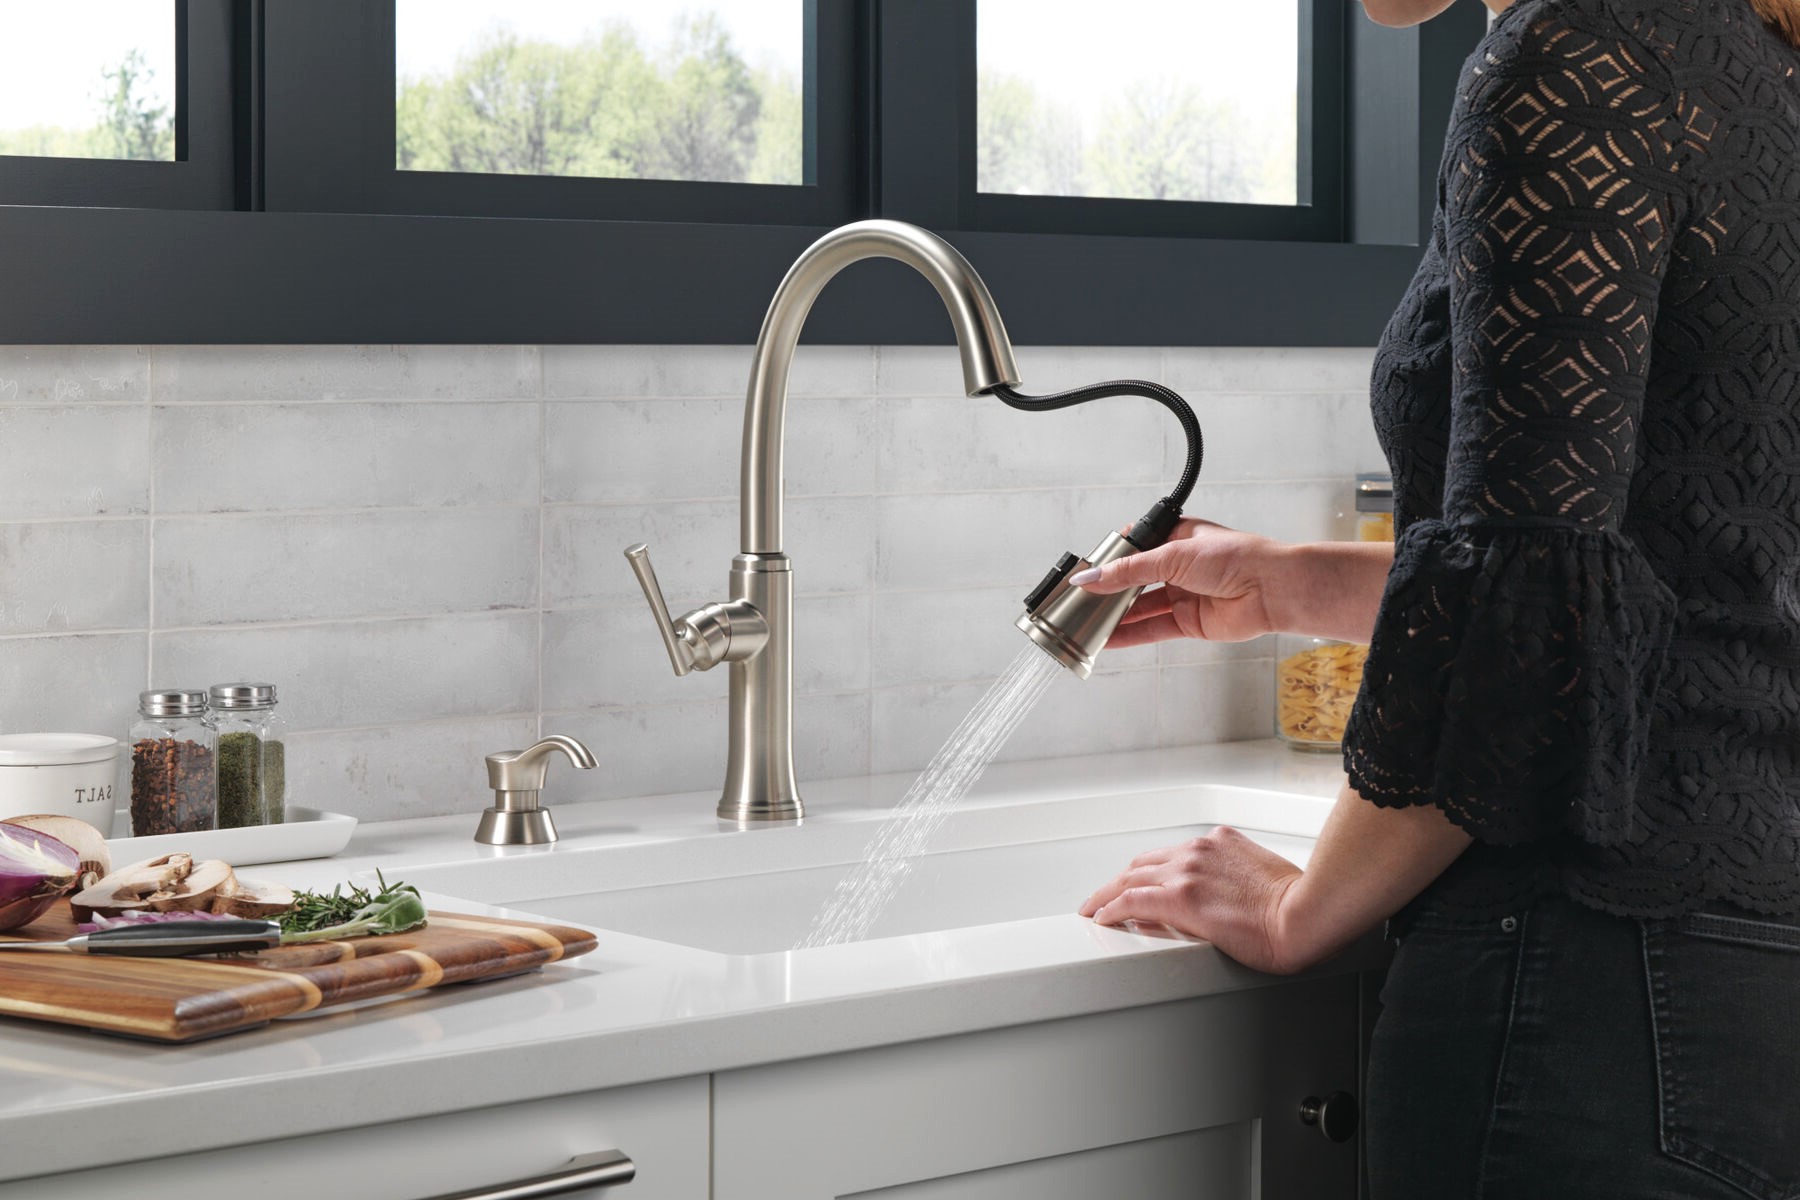
Welcome to our comprehensive guide on how to install a sink faucet. Whether you are replacing an old faucet or installing a new one, this step-by-step tutorial will provide you with the necessary guidance to complete the job with ease. A sink faucet installation may seem daunting, but with the right tools and a little know-how, you can have a functional and stylish faucet in no time.
A sink faucet is an essential component of any kitchen or bathroom, providing a convenient source of water for various tasks, such as washing dishes or brushing your teeth. It is important to have a properly functioning faucet that not only meets your aesthetic preferences but also delivers water efficiently and without leaks. By following the instructions in this article, you can ensure a successful installation that enhances the functionality and appearance of your sink.
Before we get started, it’s worth mentioning that this guide assumes you have basic plumbing knowledge and are comfortable working with tools. If you are uncertain or uncomfortable with any part of the installation process, it is always recommended to consult a professional plumber.
Now, let’s dive into the tools and materials you will need to have on hand before you begin the installation process.
Key Takeaways:
- Installing a sink faucet is a manageable DIY project with the right tools and guidance. From preparing the sink to checking for leaks, attention to detail ensures a successful and functional installation.
- Properly connecting water supply lines and securing faucet components are crucial for a leak-free and efficient sink faucet. Following manufacturer’s instructions and conducting thorough checks guarantee a reliable outcome.
Tools and Materials Needed
Before you start installing a sink faucet, make sure you have the following tools and materials ready:
1. Adjustable Wrench: This wrench will be used to tighten and loosen various fittings during the installation process.
2. Pipe Wrench: A pipe wrench is necessary for gripping and turning pipes when connecting supply lines.
3. Plumber’s Tape: Also known as Teflon tape, plumber’s tape is used to ensure a tight seal on threaded connections.
4. Screwdriver: You may need a screwdriver to remove or install screws on certain faucet models.
5. Silicone Caulk: Silicone caulk is used to seal gaps between the faucet base and the sink, preventing water from seeping through.
6. Bucket or Container: Having a bucket or container nearby will come in handy to catch any water that may spill during the installation process.
7. New Sink Faucet: Of course, you will need a new sink faucet to install. Make sure to choose a model that fits your sink and matches your desired style.
8. Water Supply Lines: Depending on your setup, you may need to purchase new water supply lines that connect the faucet to the water supply pipes.
9. Safety Glasses and Gloves: It’s always a good idea to protect yourself by wearing safety glasses and gloves while working on any plumbing project.
Having these tools and materials readily available will significantly streamline the installation process and prevent any unnecessary delays. Once you have everything you need, it’s time to move on to the first step: preparing the sink.
Step 1: Prepare the Sink
Before you can install a new sink faucet, you need to prepare the sink by removing the old faucet (if applicable) and ensuring a clean surface for the new installation. Follow these steps to prepare the sink:
1. Turn off the Water Supply: Locate the shut-off valves under the sink and turn them clockwise to shut off the water supply. This will prevent any water from flowing while you work on the faucet.
2. Disconnect the Water Supply Lines: Use an adjustable wrench to loosen and disconnect the water supply lines from the old faucet. Have a bucket or container ready to catch any water that may spill out.
3. Remove the Old Faucet: Depending on the type of faucet you have, you may need to remove a mounting nut or unscrew screws to detach the old faucet from the sink. Follow the manufacturer’s instructions for your specific faucet model.
4. Clean the Sink: Once the old faucet is removed, clean the sink thoroughly to remove any debris or residue. Use a mild cleaner and a non-abrasive scrub brush or sponge to ensure a clean surface for the new faucet.
5. Measure the Faucet Hole: Measure the diameter of the faucet hole in your sink to ensure that your new faucet will fit properly. Most sinks have either a single hole or three holes for the faucet and handles.
6. Apply Plumbers Tape: If your new faucet comes with threaded connections, wrap a few layers of plumber’s tape clockwise around the threads. This will create a tight seal when you connect the water supply lines.
By carefully preparing the sink, you create a solid foundation for the proper installation of your new faucet. Once the sink is prepared, you can move on to step two: installing the faucet base.
Step 2: Install the Faucet Base
Now that you have prepared the sink, it’s time to install the faucet base. Follow these steps to securely install the base:
1. Position the Faucet Base: Take the faucet base and position it on the sink, aligning it with the faucet hole(s). Make sure the base is centered and level before proceeding.
2. Install Mounting Hardware: Depending on your faucet model, you may need to install mounting hardware to secure the faucet base in place. This can include clips, nuts, or screws. Refer to the manufacturer’s instructions for proper installation.
3. Insert the Faucet Base: Carefully insert the faucet base into the faucet hole(s) on the sink. Use gentle pressure to ensure a snug fit.
4. Secure the Faucet Base: If your faucet base requires additional securing, use the provided nuts, screws, or clips to fasten it to the sink. Use a wrench or screwdriver to tighten the hardware, but be careful not to over-tighten and damage the sink or faucet.
5. Check for Stability: Give the faucet base a gentle shake to ensure it is securely installed and doesn’t move or wobble. If there is any movement, double-check the mounting hardware and tighten it further if necessary.
6. Attach the Gasket: If your faucet comes with a rubber or plastic gasket, place it between the faucet base and the sink surface. The gasket helps create a watertight seal and prevents water from leaking under the faucet.
By properly installing the faucet base, you ensure a stable and secure foundation for the rest of the faucet components. In the next step, we will connect the water supply lines.
Step 3: Connect the Water Supply Lines
After installing the faucet base, it’s time to connect the water supply lines. Follow these steps to ensure a secure and leak-free connection:
1. Locate the Water Supply Valves: Look under the sink and locate the water supply valves. These valves control the flow of water to the faucet. Turn them clockwise to shut off the water supply.
2. Connect the Water Supply Lines: Take the water supply lines provided with your new faucet and connect them to the corresponding hot and cold water supply valves. Make sure the lines are tightly secured by using an adjustable wrench.
3. Check for Leaks: Once the water supply lines are connected, turn on the water supply valves and check for any leaks or drips. If you notice any leaks, tighten the connections with a wrench or add additional plumber’s tape to create a better seal.
4. Test the Water Flow: Turn on the faucet and let the water flow for a few minutes. Check for any irregularities in the water flow, such as uneven pressure or unusual noises. If any issues arise, double-check the connections and make sure the water supply valves are fully open.
5. Verify hot and cold handles: Ensure that the hot and cold handles are properly aligned and labeled. If they need adjustments, refer to the manufacturer’s instructions on how to adjust the handles properly.
Connecting the water supply lines is a crucial step in the installation process, as it ensures a reliable water supply to your faucet. Once you have successfully connected the lines, you can move on to attaching the faucet spout in the next step.
Before installing a sink faucet, make sure to turn off the water supply to the sink. This will prevent any leaks or water damage during the installation process.
Step 4: Attach the Faucet Spout
With the water supply lines connected, it’s time to attach the faucet spout. Follow these steps to securely attach the spout:
1. Align the Spout: Take the faucet spout and align it with the opening on the faucet base. Ensure that it is positioned correctly and facing the desired direction.
2. Insert the Spout: Carefully insert the spout into the opening on the faucet base. Apply gentle pressure and wiggle it slightly to help it slide into place.
3. Tighten the Spout: Depending on your faucet model, you may need to use a wrench or screwdriver to tighten the spout to the base. Follow the manufacturer’s instructions to ensure proper tightening without over-tightening.
4. Verify the Swivel Range: Test the swivel range of the faucet spout to ensure it rotates smoothly without any obstructions. This will allow you to conveniently position the spout as needed.
5. Check for Leaks: Turn on the water supply valves and check for any leaks around the spout area. If you notice any leaks, check the connection between the spout and the base and ensure it is tightly secured.
6. Test the Water Flow: Turn on the faucet and let the water flow. Check for any irregularities or disruptions in the water flow. If there are any issues, make sure the water supply valves are fully open and that the spout is properly connected.
By attaching the faucet spout correctly, you ensure a functional and efficient water flow from your sink. In the next step, we will secure the faucet handles.
Step 5: Secure the Faucet Handles
After attaching the faucet spout, it’s time to secure the faucet handles. Follow these steps to ensure that the handles are securely in place:
1. Position the Handles: Take the faucet handles and position them on the base or valve stems. Make sure they align properly and face the desired direction for hot and cold water.
2. Attach the Handles: Depending on your faucet model, you may need to use screws or other fasteners to attach the handles to the base. Refer to the manufacturer’s instructions for the correct installation method.
3. Tighten the Handles: Use a screwdriver or other applicable tool to tighten the screws or fasteners that secure the handles. Ensure that the handles are securely in place but be careful not to overtighten and damage any components.
4. Test the Handle Operation: Give the handles a gentle twist to test their operation. They should turn smoothly and without resistance. If you encounter any issues, ensure that the screws or fasteners are securely tightened, and if necessary, refer to the manufacturer’s instructions for troubleshooting steps.
5. Check for Leaks: Turn on the water supply valves and check for any leaks around the handles. If you notice any leaks, tighten the handle connections further or add plumber’s tape to create a better seal.
6. Adjust Handle Alignment: If the handles are not perfectly aligned or centered, you may be able to adjust them by loosening the screws or fasteners slightly and repositioning them. Once aligned, tighten the screws or fasteners to secure the handles in the desired position.
By properly securing the faucet handles, you ensure smooth and easy operation when adjusting the water temperature or flow. In the final step, we will check for any leaks and ensure the proper functioning of your newly installed sink faucet.
Step 6: Check for Leaks
After completing the installation process, it is essential to check for any potential leaks or drips to ensure that your new sink faucet is functioning properly. Follow these steps to verify that there are no leaks:
1. Turn on the Water Supply: Open the water supply valves fully to allow water to flow through the faucet.
2. Inspect for External Leaks: Carefully examine the connections between the faucet and the sink, as well as the handles and the spout. Look for any signs of water leakage or drips.
3. Check Underneath the Sink: Place a towel or container underneath the sink to catch any potential leaks. Leave it in place for several minutes while the water is running to identify any water accumulation or drips.
4. Pay Attention to Water Flow: Observe the water flowing from the faucet spout. Look for any irregularities, such as low water pressure or spraying water, which may indicate a problem with the installation or a faulty connection.
5. Test Hot and Cold Water: Turn on the hot and cold water separately and check for consistent water temperature and proper functioning of the handle mechanism.
6. Address any Leaks: If you notice any leaks or drips during the inspection, it is vital to address them promptly. Tighten any loose connections, add plumber’s tape or sealant if necessary, or consult a professional plumber if you are unable to resolve the issue on your own.
Remember, a leak-free faucet ensures efficient water usage and prevents any potential damage to your sink or surrounding area. By conducting a thorough leak check, you can ensure the proper functioning of your newly installed sink faucet.
Congratulations! You have successfully completed the installation of your sink faucet. Enjoy the convenience and functionality of your new faucet for years to come!
Conclusion
Installing a sink faucet may seem like a daunting task, but with the right tools, materials, and guidance, it can be a manageable and rewarding DIY project. By following the step-by-step instructions outlined in this comprehensive guide, you can successfully install a new sink faucet and enhance the functionality and aesthetics of your kitchen or bathroom.
From preparing the sink and installing the faucet base to connecting the water supply lines and attaching the spout and handles, each step plays a crucial role in ensuring a secure and leak-free installation. It is important to pay attention to detail, follow manufacturer’s instructions, and take the necessary precautions to guarantee a successful outcome.
Throughout the installation process, be sure to check for any leaks and test the water flow for any irregularities. Addressing any issues promptly will help you avoid potential water damage and ensure the longevity of your new faucet.
If you have any doubts or concerns during the installation process, it is always recommended to consult a professional plumber. They have the knowledge and expertise to handle any challenges that may arise and can ensure that your sink faucet installation is done correctly and safely.
Now that you have completed the installation, you can enjoy the convenience and functionality of your new sink faucet. Whether you are washing dishes, preparing meals, or simply washing your hands, your new faucet will provide a reliable and efficient source of water.
Thank you for following this comprehensive guide on how to install a sink faucet. We hope this article has been informative and helpful in guiding you through the installation process. Happy plumbing!
Frequently Asked Questions about How To Install A Sink Faucet
Was this page helpful?
At Storables.com, we guarantee accurate and reliable information. Our content, validated by Expert Board Contributors, is crafted following stringent Editorial Policies. We're committed to providing you with well-researched, expert-backed insights for all your informational needs.


0 thoughts on “How To Install A Sink Faucet”