Home>Ideas and Tips>Home Recording Studio Soundproofing for Professional Audio Spaces
Ideas and Tips
Home Recording Studio Soundproofing for Professional Audio Spaces
Modified: October 20, 2024
Learn how to soundproof your home recording studio for professional audio quality. Discover tips, materials, and techniques for pristine recordings.
(Many of the links in this article redirect to a specific reviewed product. Your purchase of these products through affiliate links helps to generate commission for Storables.com, at no extra cost. Learn more)
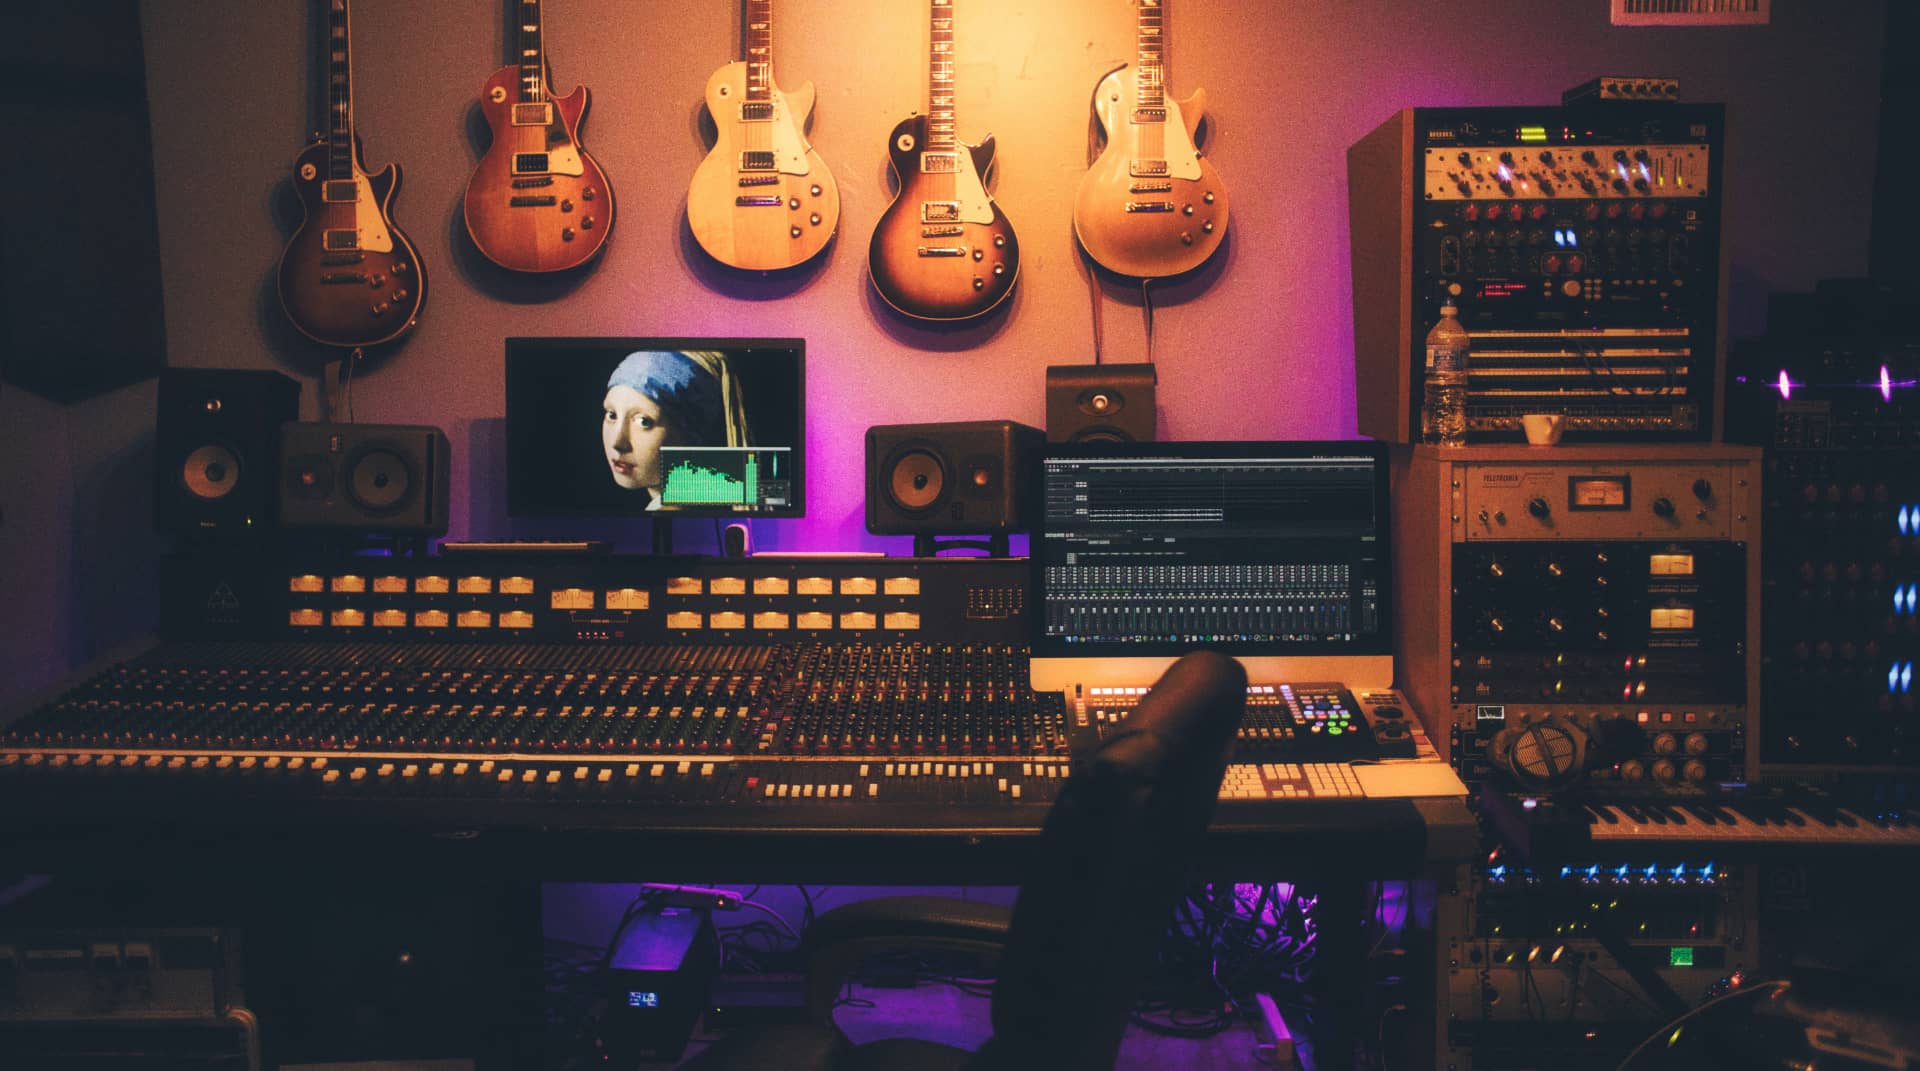
Creating a professional-grade home recording studio requires more than just the right equipment; it also demands a well-designed and soundproofed space. Soundproofing is crucial for preventing external noise from entering the room and internal noise from escaping, ensuring that your recordings are pristine and free from unwanted distractions. In this article, we will delve into the world of soundproofing and acoustic treatment, providing you with a comprehensive guide to transforming any room into a professional recording studio.
Understanding Soundproofing and Acoustic Treatment
Before we dive into the specifics of soundproofing, it's essential to understand the difference between soundproofing and acoustic treatment. Soundproofing is the process of preventing sound from entering or leaving a room by using materials that block or absorb sound waves. This includes measures like installing soundproof doors, windows, and walls, as well as using sound-absorbing materials to reduce reverberation.
Acoustic treatment, on the other hand, focuses on managing the internal sound environment within the room. This involves using materials and techniques to control echoes, refine sound reflections, and create an ideal acoustic space for recording. Acoustic treatment is essential for ensuring that your recordings sound natural and professional.
Choosing the Right Space
When setting up your home recording studio, selecting the right space is of high importance. The ideal location should be furthest away from noisy areas like busy streets or household appliances. Ideally, a room with minimal external noise intrusion is your best bet. Consider the room's size as well; larger spaces may require more acoustic treatment to control sound reflections effectively, while smaller rooms can sometimes offer natural sound advantages.
If the room is too small, however, it will be difficult to monitor your project because audio needs space to breathe in. A general rule of thumb is that your living room is probably too large and your closet is probably too small. The shape of your room also plays a part; an ideal studio space is rectangular, like most rooms are. However, a square room can sometimes be better than a long, rectangular one.
Additionally, look for a room with minimal windows and irregular wall shapes, as these can be sound control challenges. Ultimately, finding the right space is the first step in creating a recording environment that sets you up for success.
Step-by-Step Guide to Soundproofing Your Home Studio
Soundproofing your home studio involves several steps, each designed to minimize external noise and maximize internal sound quality. Here’s a detailed breakdown of the process:
1. Determine Your Soundproofing Goals
Before you start soundproofing, determine what quality you're aiming for. Professional studios typically have an STC (Sound Transmission Class) rating in the 60-70 range. For a home studio, aiming for an STC rating of 50 is a good starting point, which is more easily achievable and still provides significant soundproofing benefits.
2. Choose Your Room
Selecting the right room for your home studio is crucial. Some locations in your house will be better starting points than others. For example, a quieter or more secluded space will mean less investment in soundproofing and fewer disruptions.
3. Install a Soundproof Door
The best bang-for-your buck with interior noise is soundproofing your door. A solid core door with a door seal kit is plenty for most home studios. Higher-end home studios may opt for the Sound Lock Soundproof Door, which offers superior sound isolation.
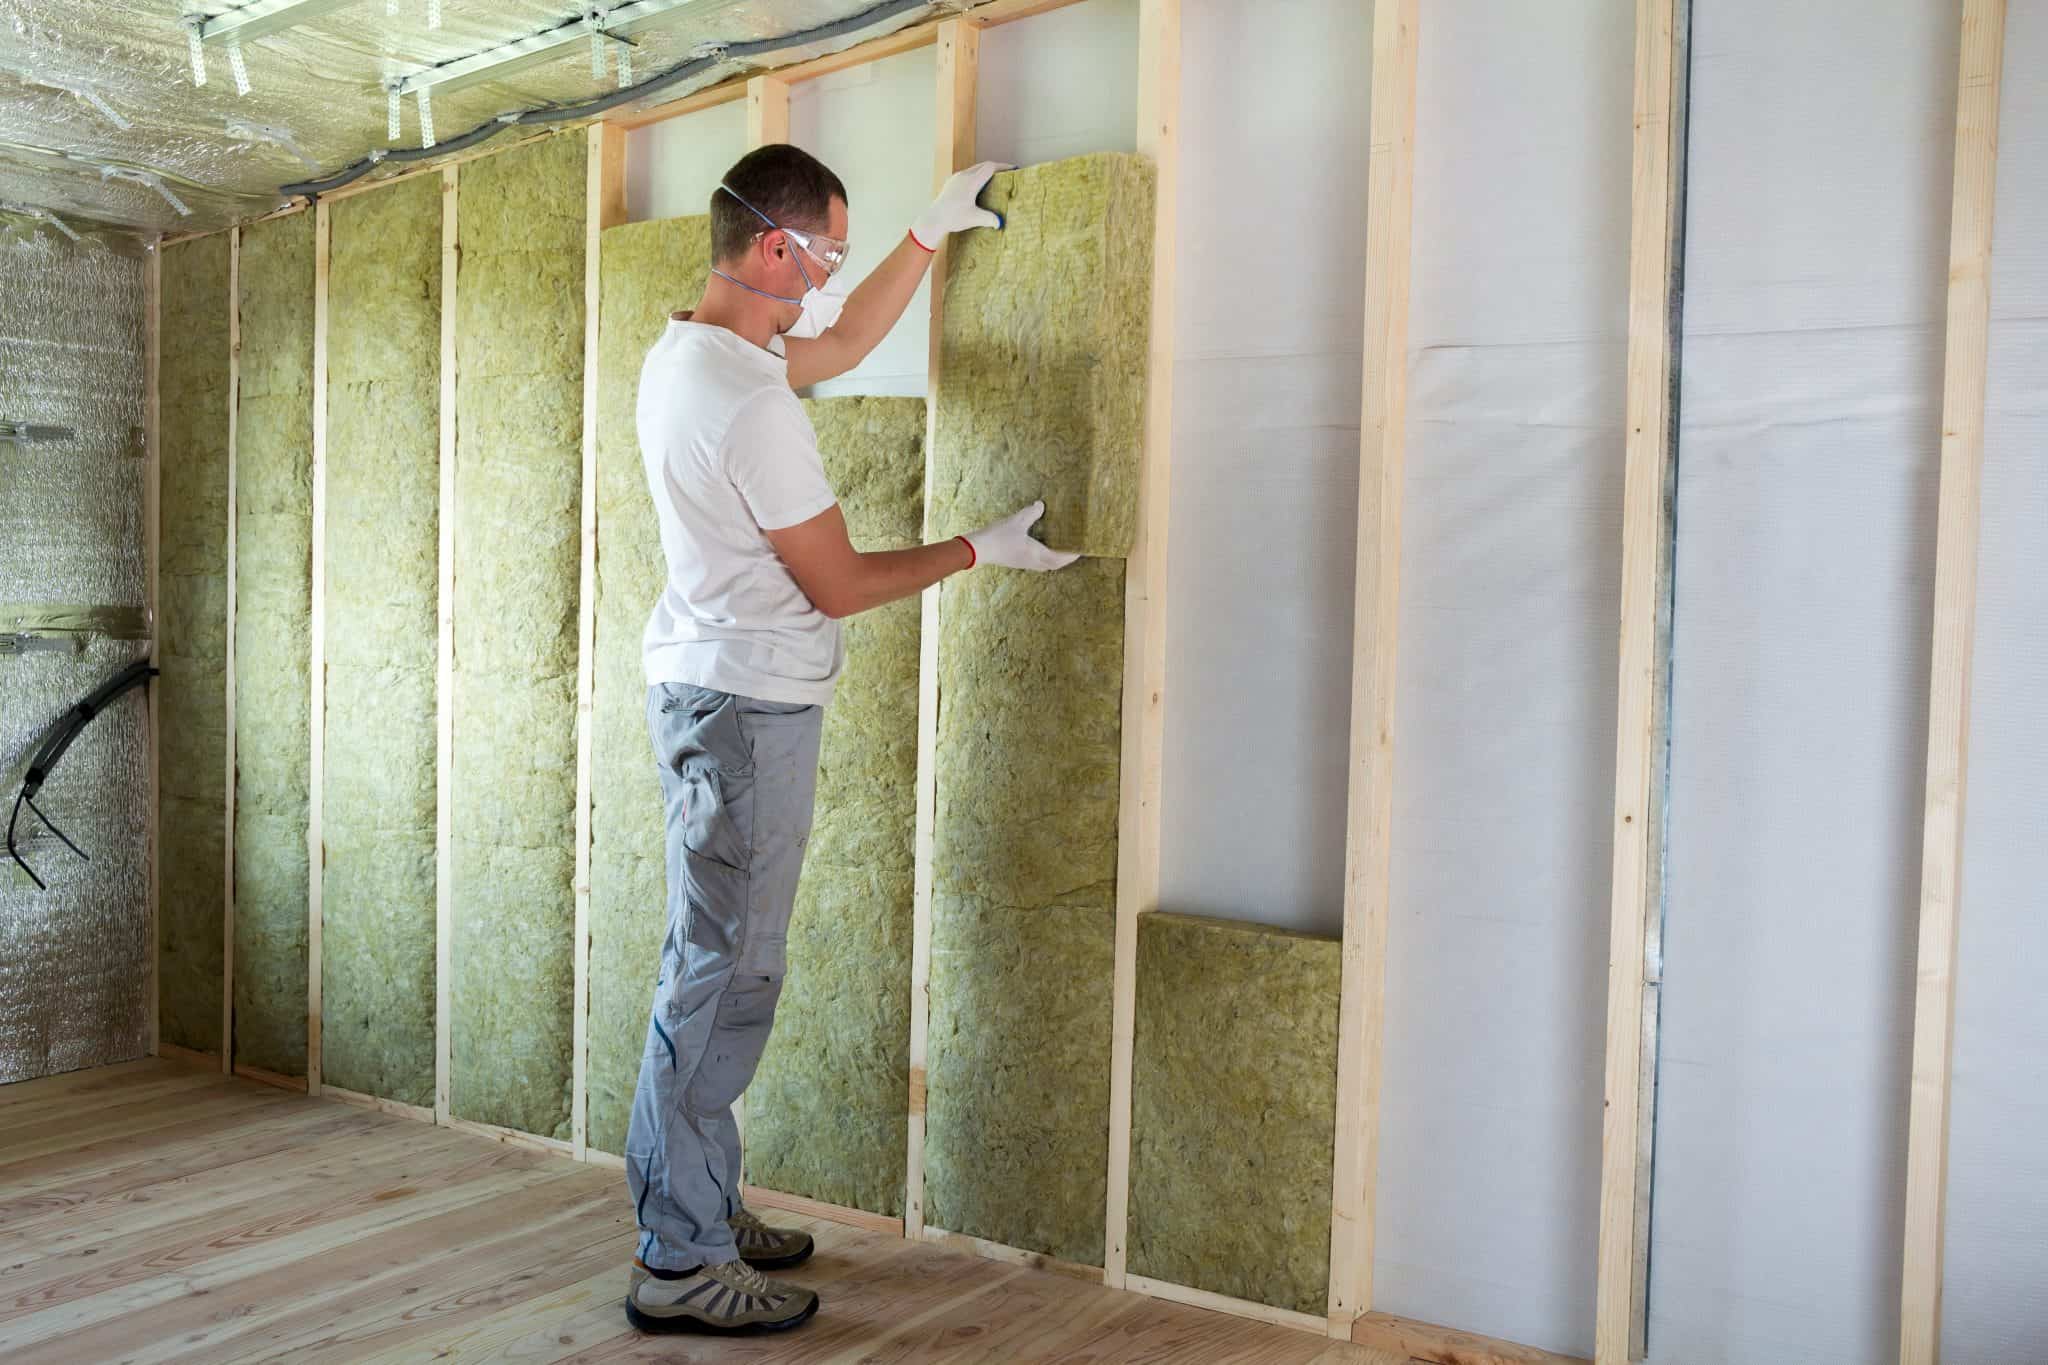
4. Soundproof the Walls and Ceiling
At the very least, you need to avoid serious detractors like unsealed walls and canned lights. Some locations (like basements) may require RSIC-1 clips on the ceiling. Higher-end studios or new construction should use RSIC-1 clips on both walls and ceilings for maximum soundproofing.
5. Soundproof the Floor
When soundproofing a room, consider all six surfaces. Depending on how you plan to use your home studio and the level of investment, not everyone soundproofs the floor. For new construction, it's strongly recommended to install soundproof flooring like UnderBlock™ Rubber Floor Underlayment to treat impact noise effectively.
6. Add Soundproof Window Inserts
To block out exterior noise, consider adding soundproof window inserts. These can significantly reduce noise coming from outside, ensuring that your recordings are not disrupted by external sounds.
7. Seal Gaps and Cracks
Seal any gaps or cracks around doors, windows, outlets, and other openings using acoustic caulk. This will prevent sound from escaping or entering through these openings.
Additional Soundproofing Tips
While the above steps provide a comprehensive guide to soundproofing your home studio, there are additional tips that can enhance your soundproofing efforts:
- Use Mass Loaded Vinyl: This material is specifically designed to absorb sound and can be applied to walls and ceilings for added soundproofing.
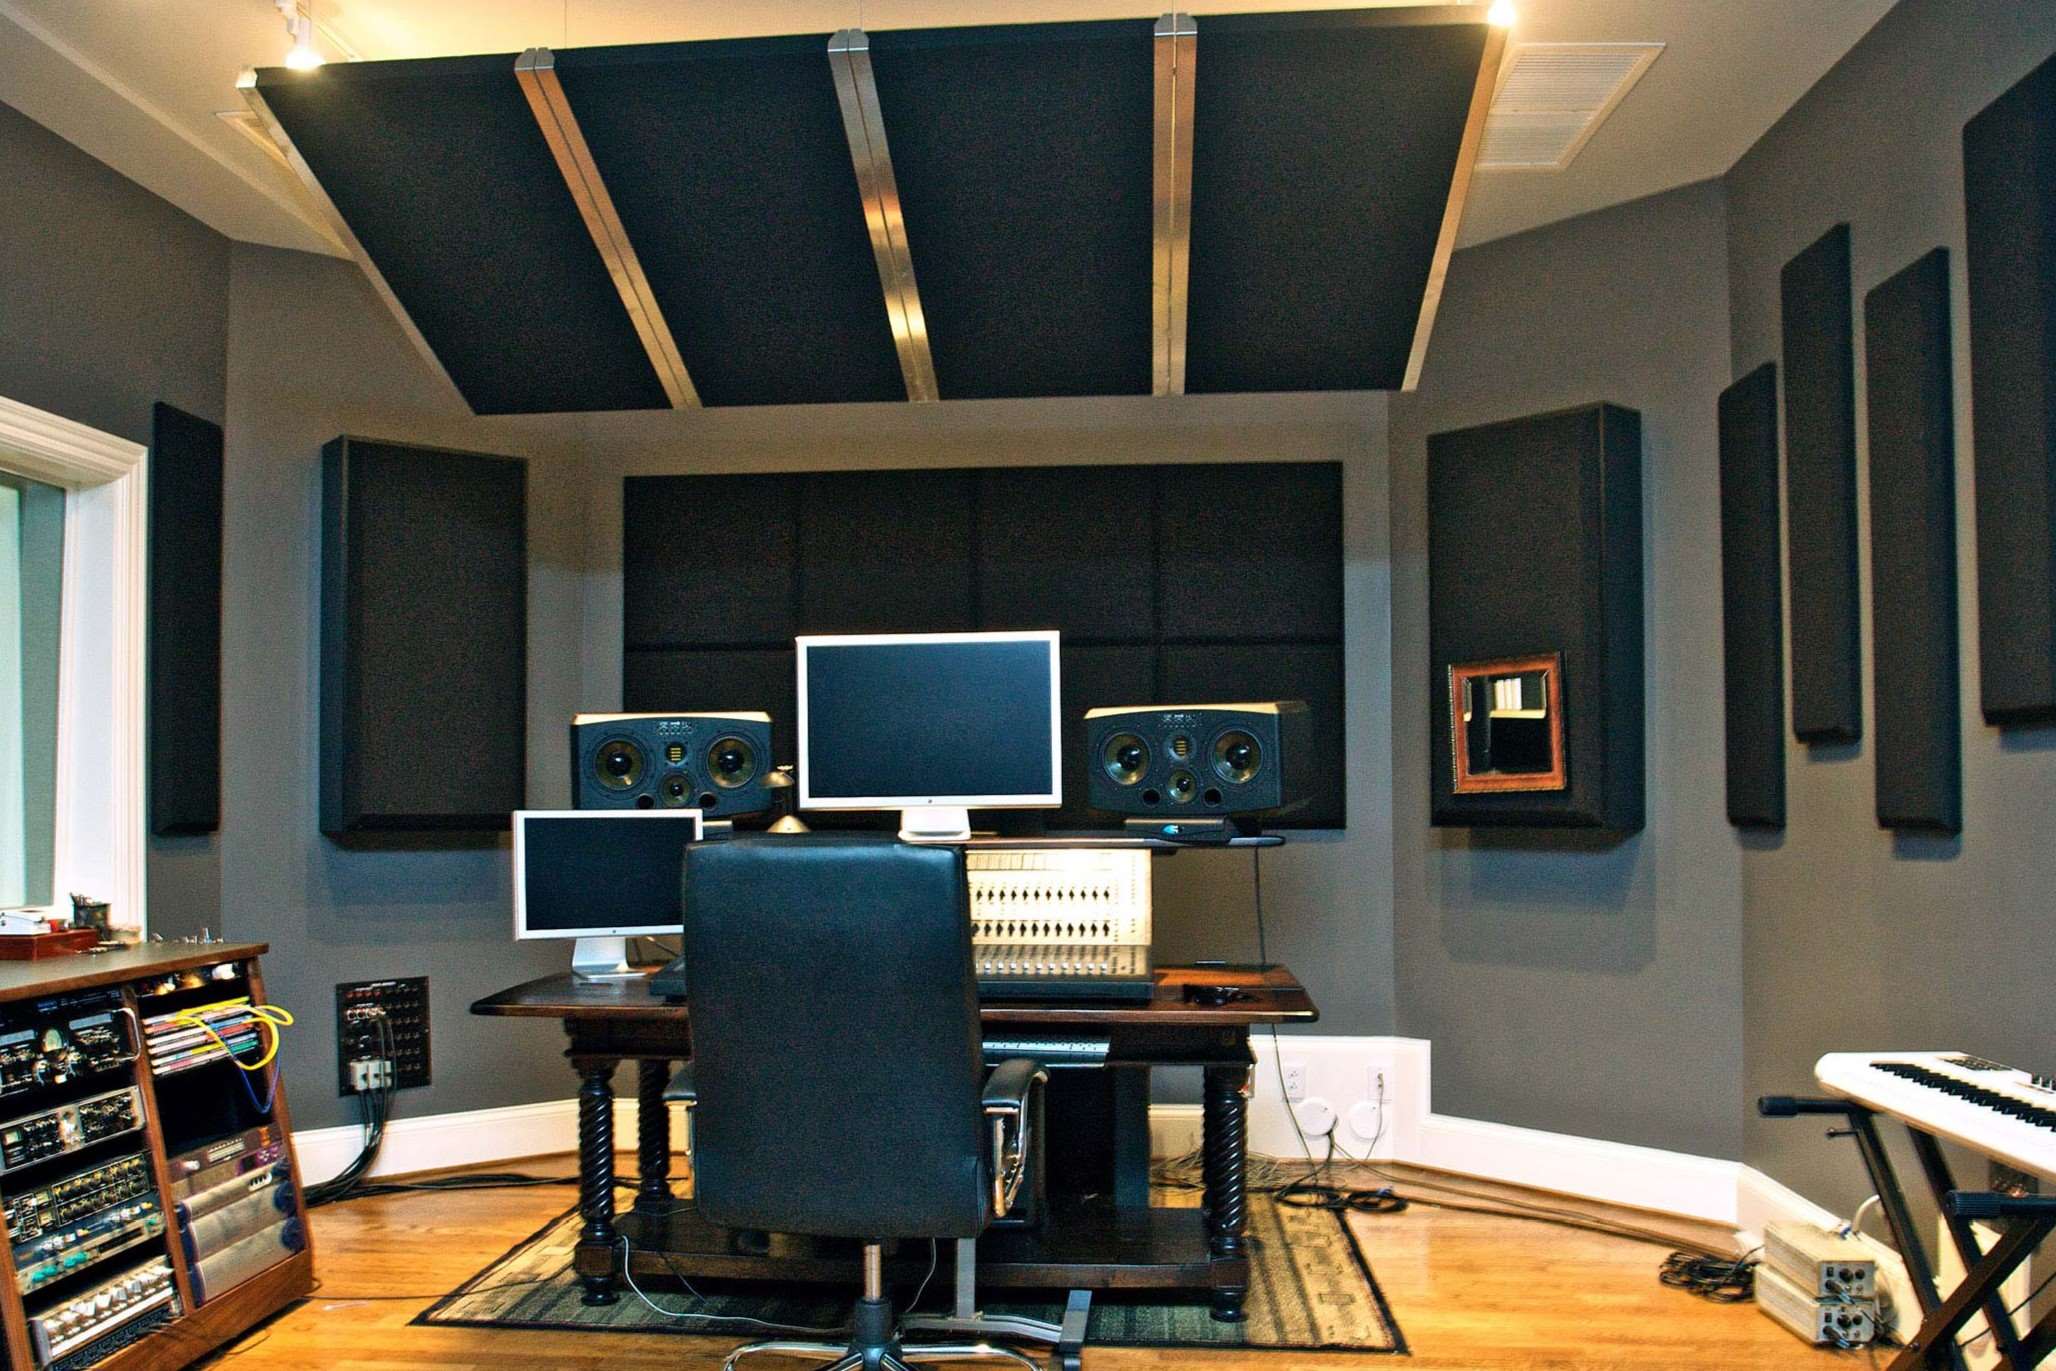
- Install Acoustic Panels: Acoustic panels are essential for treating the acoustics within your room. They help manage echoes and refine sound reflections, ensuring that your recordings sound natural and professional.
- Carpeting and Mattress Covers: Thicker carpeting and egg crate mattress covers can be used to dampen noise coming from outside. These materials work similarly to acoustic foam and can be easily installed by gluing or stapling them to walls.
- Sound Baffles: Attach sheets or pieces of foam at various points across your ceiling to reduce airborne sound. These barriers stop reverberation in a room, making a significant impact without needing to touch the floor.
Acoustic Treatment for Professional-Grade Recordings
Once you've soundproofed your room, it's time to focus on acoustic treatment. This involves using materials and techniques to control echoes, refine sound reflections, and create an ideal acoustic space for recording.
Why Acoustic Treatment is Important
Acoustic treatment enhances the quality of the sounds within your space by absorbing audio and keeping it from bouncing around and reflecting. It helps eliminate unwanted echoes, reduces reverberation, and creates a controlled environment where you can fine-tune your music with precision.
Steps for Acoustic Treatment
- Install Recording Studio Acoustic Panels: Every home studio should have acoustic treatments to fit the goals of the space. These panels come in various shapes, sizes, and colors to match any aesthetic goal. One of your professionals can help with optimal placement.
- Add Diffusers: Diffusers are designed to scatter sound waves evenly throughout the room, reducing hot spots where sound can accumulate and create echoes. They come in different shapes and sizes, making them versatile for any room layout.
- Use Bass Traps: Bass traps are specifically designed to absorb low-frequency sound waves that can cause room resonance. They are usually placed in corners where sound tends to accumulate.
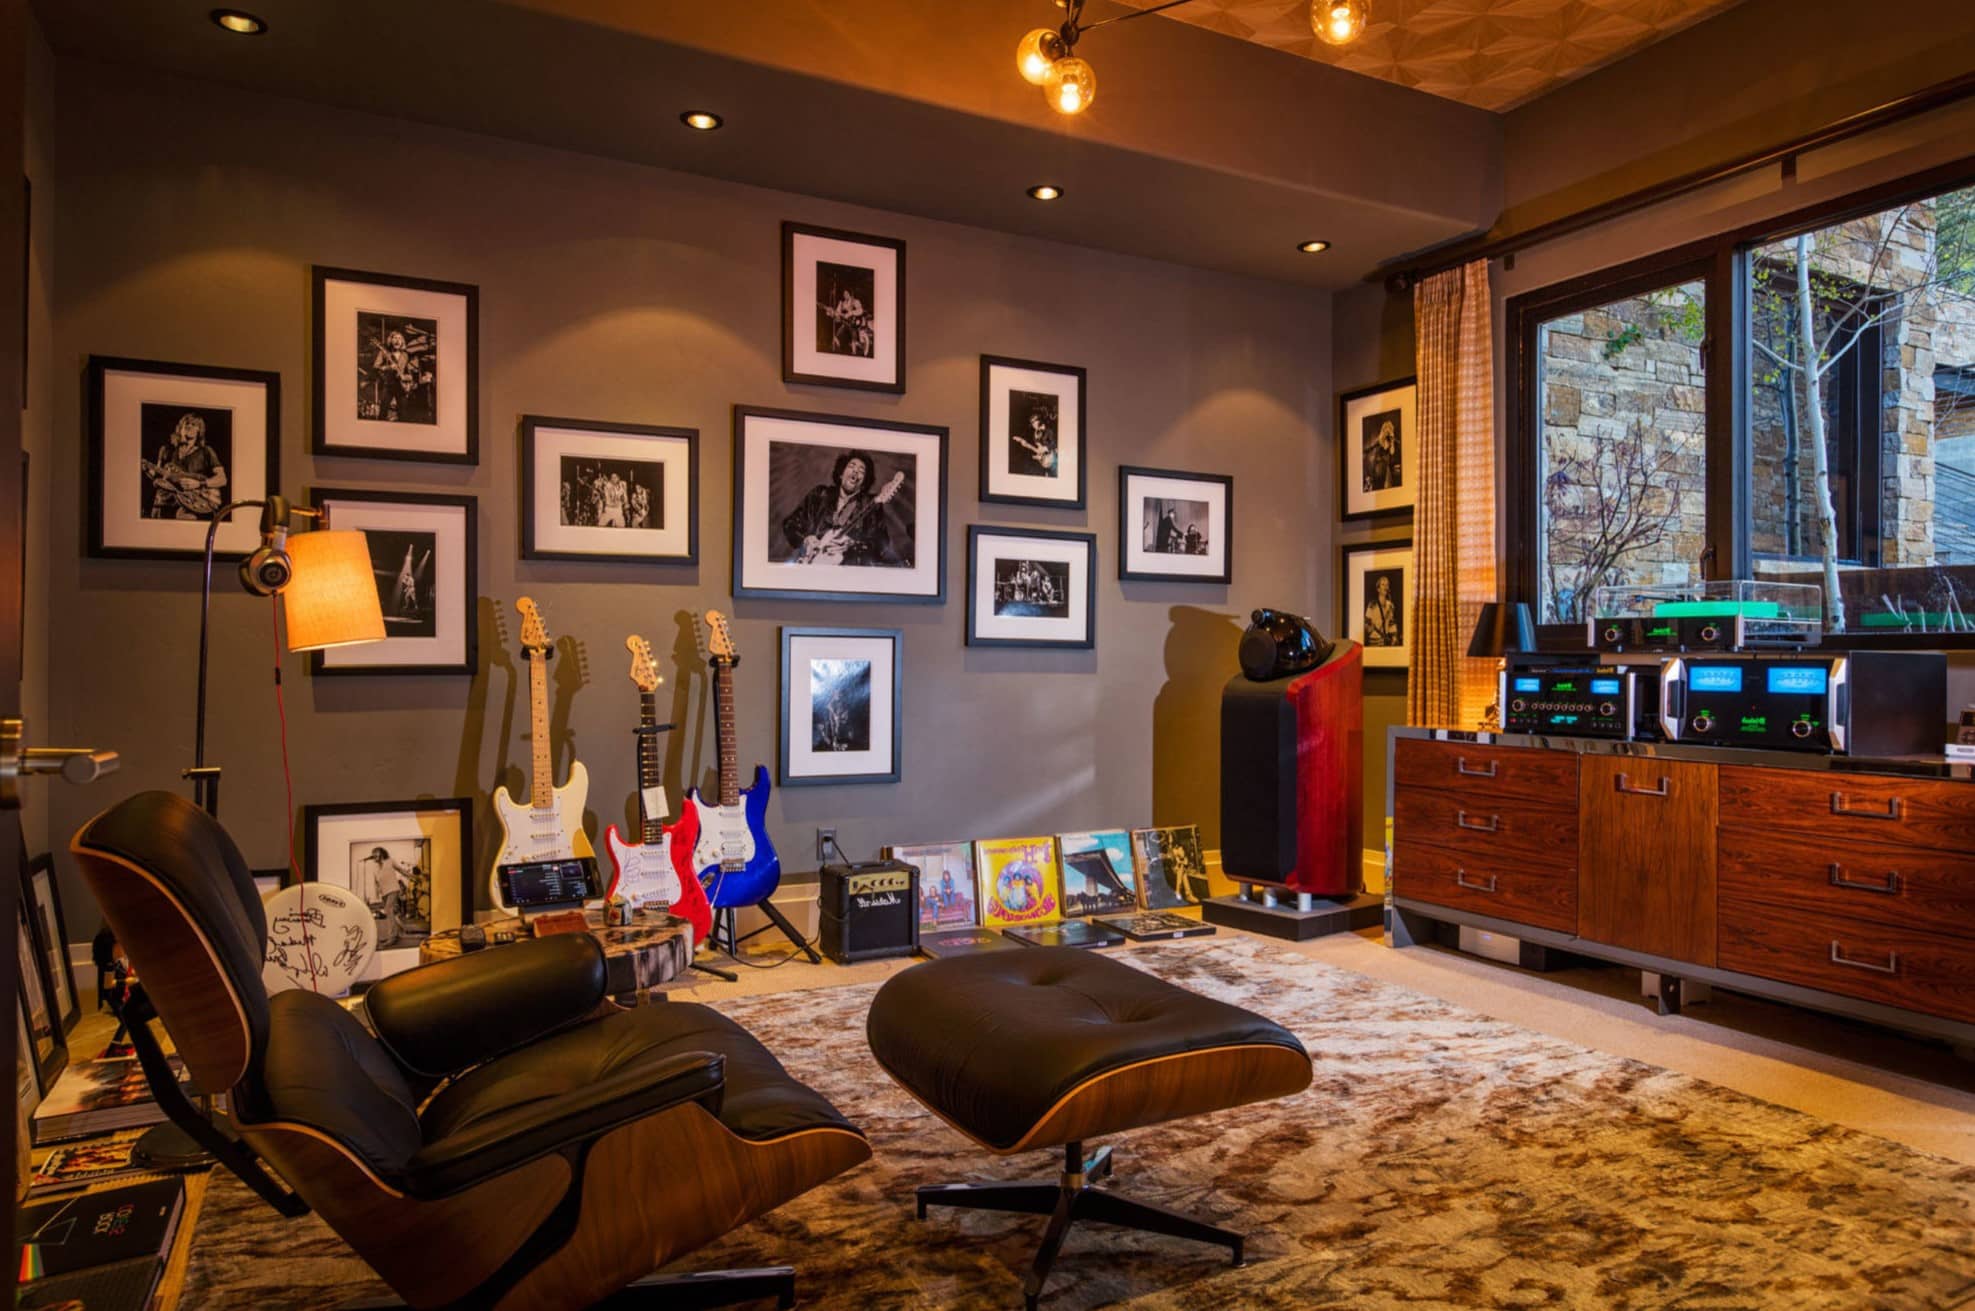
- Optimize Room Layout: The layout of your room can significantly impact its acoustics. Consider placing furniture away from walls and using rugs to reduce echo. An ideal studio space is rectangular with minimal windows and irregular wall shapes.
Read also: 13 Best Soundproofing Studio Foam for 2025
Professional-Grade Soundproofing Products
When it comes to soundproofing your home studio, using professional-grade products can make a significant difference. Here are some products you might consider:
- Acoustic Panels from ASI: ASI offers a diverse line of acoustical products including flat or curved acoustic panels, ceiling tiles, diffusers, doors, and soundproof windows. These products are engineered to create natural sounding and professionally accurate acoustic spaces.
- Soundproofing Solutions from Second Skin Audio: Second Skin Audio provides comprehensive soundproofing solutions including soundproof doors, walls, ceilings, and floors. Their UnderBlock™ Rubber Floor Underlayment is particularly effective in treating impact noise.
- MasterClass Soundproofing Tips: MasterClass offers expert DIY soundproofing tips that cover everything from choosing the right space to installing soundproof windows and doors. Their guide provides actionable steps for achieving professional-level soundproofing.
Conclusion
Creating a professional-grade home recording studio requires careful planning and execution. By understanding the difference between soundproofing and acoustic treatment, choosing the right space, and following a step-by-step guide to soundproofing your room, you can ensure that your recordings are pristine and professional.
Remember that soundproofing doesn't have to include major renovations; it can be done within your budget. With the right materials and techniques, you can transform any room into a professional recording studio that produces top-notch audio quality.
In summary:
- Select the Right Space: Choose a room that is furthest away from noisy areas.
- Soundproof Your Room: Use solid core doors, soundproof windows, and treat all six surfaces (walls, ceiling, floor).
- Acoustically Treat Your Room: Install acoustic panels, diffusers, and bass traps to manage echoes and refine sound reflections.
- Use Professional-Grade Products: Consider products from ASI or Second Skin Audio for optimal soundproofing results.
By following these steps and tips, you'll be well on your way to creating a home recording studio that rivals professional studios in terms of sound quality and functionality. Happy recording
Was this page helpful?
At Storables.com, we guarantee accurate and reliable information. Our content, validated by Expert Board Contributors, is crafted following stringent Editorial Policies. We're committed to providing you with well-researched, expert-backed insights for all your informational needs.


0 thoughts on “Home Recording Studio Soundproofing for Professional Audio Spaces”